 Skip to content


How to Make a Drawstring Backpack Using the Basic Knots of Macrame

One of my favorite things to create is macramé bags.
These bags are super versatile, so you can dress them up for a night on the town or dress them down for a day trip.
Either way, you get to have your hands free to do what you need to do while your essentials are securely kept out of the way :)
For this tutorial, I soaked the completed bag in an avocado dye. Suppose you want to change your project’s color.
In that case, I recommend doing it before knotting it, so the color can settle properly and evenly on all parts of the design.
If you’re new to macramé and want an in-depth look at the basic knots you need for most projects, check out our Kami Wall Hanging Starter Kit.
This is an all-in-one kit containing all the cords and supplies you need to complete a small wall hanging.
It comes with a video tutorial and step-by-step guide, walking you through the six basic macramé knots.
What if you’re already hooked and want to take your knotting journey to the next level? Check out our Bochiknot Macramé Community on Patreon!
This is where I share regular tips and tricks and exclusive pattern tutorials to help you fast-track your macramé journey from beginner to macramé master.
I also walk you through creating your own designs, incorporating your own ideas and inspirations into your masterpieces.
As an added bonus, you get access to exclusive discounts in our online macramé store.
With that, let’s dive into this backpack tutorial :)
This project should take 30-60 minutes, depending on your skill level.
Cord & Supplies
To create this pattern, you will need:
Materials
- 5mm cotton cord
You can find all the cords and supplies you need in our shop. I used 3mm Rainbow cord in Natural color.
Cord Lengths
- 2 x 290cm
- 12 x 300cm
- 16 x 200cm
- 1 x 100cm
Creating The Drawstring Backpack Pattern
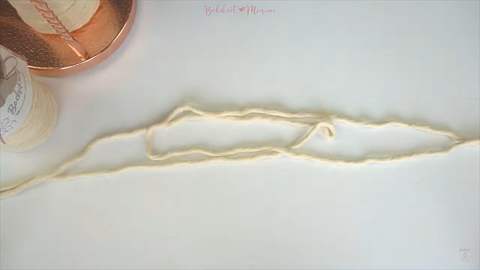
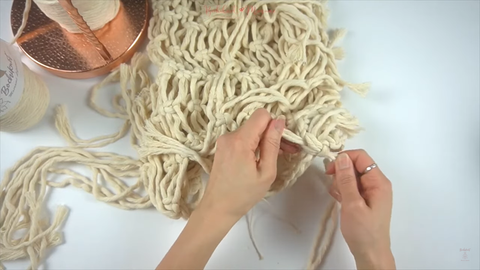
Step 1: Take two cords at 290cm, folded in half, placed with the loops facing each other. This forms the drawstring part of the bag.
Step 2: Attach twelve 300cm cords to the bottom two cords using Lark’s Head knots.


Step 3: Flip the pattern upside down.

Attach fourteen 200cm cords to the remaining two anchor cords using Lark’s Head knots.

Step 4: Turn the pattern upside down. Using Lark’s Head knots, attach two more 200cm cords, one on each side.

The side with the longer cords forms the front of the backpack.
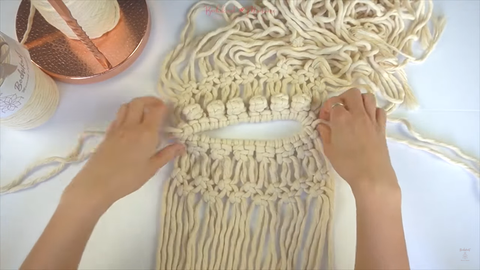
Step 5: Skip the first two cords from the left. Use the next four cords to make a Berry knot:
Make three consecutive Square knots.

Weave the middle two cords through the hole above the first Square knot.

Make another Square knot underneath.

Repeat this to create a row of six Berry knots.

Step 6: Leave a space of 3cm underneath the Berry knots and create a row of five Alternating Square knots.

Step 7: Turn the pattern upside down. Skip the far left two cords, using the next four cords to create a Square knot.

Continue to the right, creating a row of six Square knots.

Step 8: Leave 3cm of space and create another row of Alternating Square knots.

Step 9: Using the far left four cords, create a Square knot in line with the previous row of Square knots.

Repeat this on the far right.

Step 10: Flip the pattern upside down. Make a Square knot on the right and on the left, in line with the previous row of Square knots.

Step 11: Leave 1cm of space, then create another row of Alternating Square knots.

Flip the bag upside down and repeat this step.
Step 12: Place the sides together, one on top of the other, with the back facing you.

Attach the front to the back: using the two far left cords from the front and back, make a Square knot.

Repeat this on the right.

Step 13: Flip the bag over so that the front faces you. Leave 3cm of space and make another row of five Berry knots.

On the far left and far right, add an alternating Square knot in line with the Berry knots.

Step 14: Flip the pattern upside down. Skip 3cm and make a row of Alternating Square knots.

Step 15: Flip the bag around again. Make a row of Alternating Square knots along the front and back of the bag.

Step 16: Skip 3.5cm and make a row of six Berry knots.

Make another row of Alternating Square knots on the back of the bag.

Step 17: Skip 3.5cm and add a Alternating Square knot row all around the bag.

Skip 3.5cm and add five Berry knots to the front of the bag.
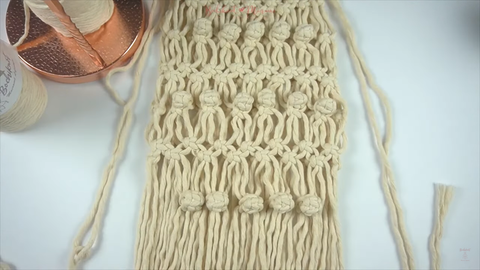
Add another row of Alternating Square knots to the back of the bag.

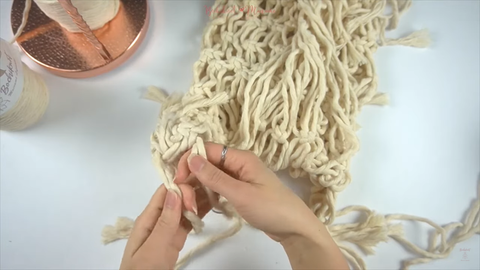
Step 18: Turn the bag inside out and align the last row of Square knots between the front and back sides, pairing them up.

Separate the far left and far right bottom Square knots. Place the middle four cords from each side into the center.

Using a small piece of string or elastic, tie these cords together using a Double Overhand knot.

On the far left, make a Square knot using the four cords that are left.
Repeat this on the right.
Continue this pattern using two cords from the front and two from the back for each Square knot. There should be a total of six Square knots.

Step 19: Using a 100cm cord as an anchor cord, make a row of Double Half Hitch (DHH) knots along the bottom of the bag.


Cut off the excess cord all around the bottom.

Step 20: Flip the bag right side in again. Weave the drawstrings through a loop at the bottom of the bag.


Measure 45cm of the strap from the bottom to the top and secure the bottom using a Barrel knot.
Wrap the loose end of the cord around your finger three times.

Pull the loose cord end through the loop and pull the cords to tighten the knot.

Add an overhand knot to each of the loose cord ends.

Step 21: Trim the excess cord.

This completes the drawstring backpack. I hope you love this bag as much as I do!
VIDEO TUTORIAL
Much love,


Leave a comment