DIY Macrame Christmas Tree Ornament: Simple Step-by-Step Tutorial

DIY Macrame Christmas Tree Ornament: A Beginner-Friendly Holiday Project
Looking for a charming handmade addition to your holiday decor?
This DIY macrame Christmas tree ornament is the perfect weekend project.
Using just one simple knot—the whimsical Pipa knot—you'll create an adorable miniature tree that's perfect for hanging on your Christmas tree or gifting to loved ones.
The best part? Even if you're new to macrame, you can complete this project in about an hour.
Let's get knotting!
ProTip: For the clearest instructions and best results, we recommend following along with the tutorial video as you work through each step.
Essential Macrame Terms Every Beginner Should Know
Before we dive in, let's familiarize ourselves with key macrame terminology. Understanding these terms will help you follow patterns with confidence and build a strong foundation for future projects.
-
Knots: Macrame involves various knots, like the overhand knot and alternating overhand knot. Learning these basic knots is key to building a solid foundation. Check the "Macrame Knots You Need to Know" section for the knots used in this pattern.
-
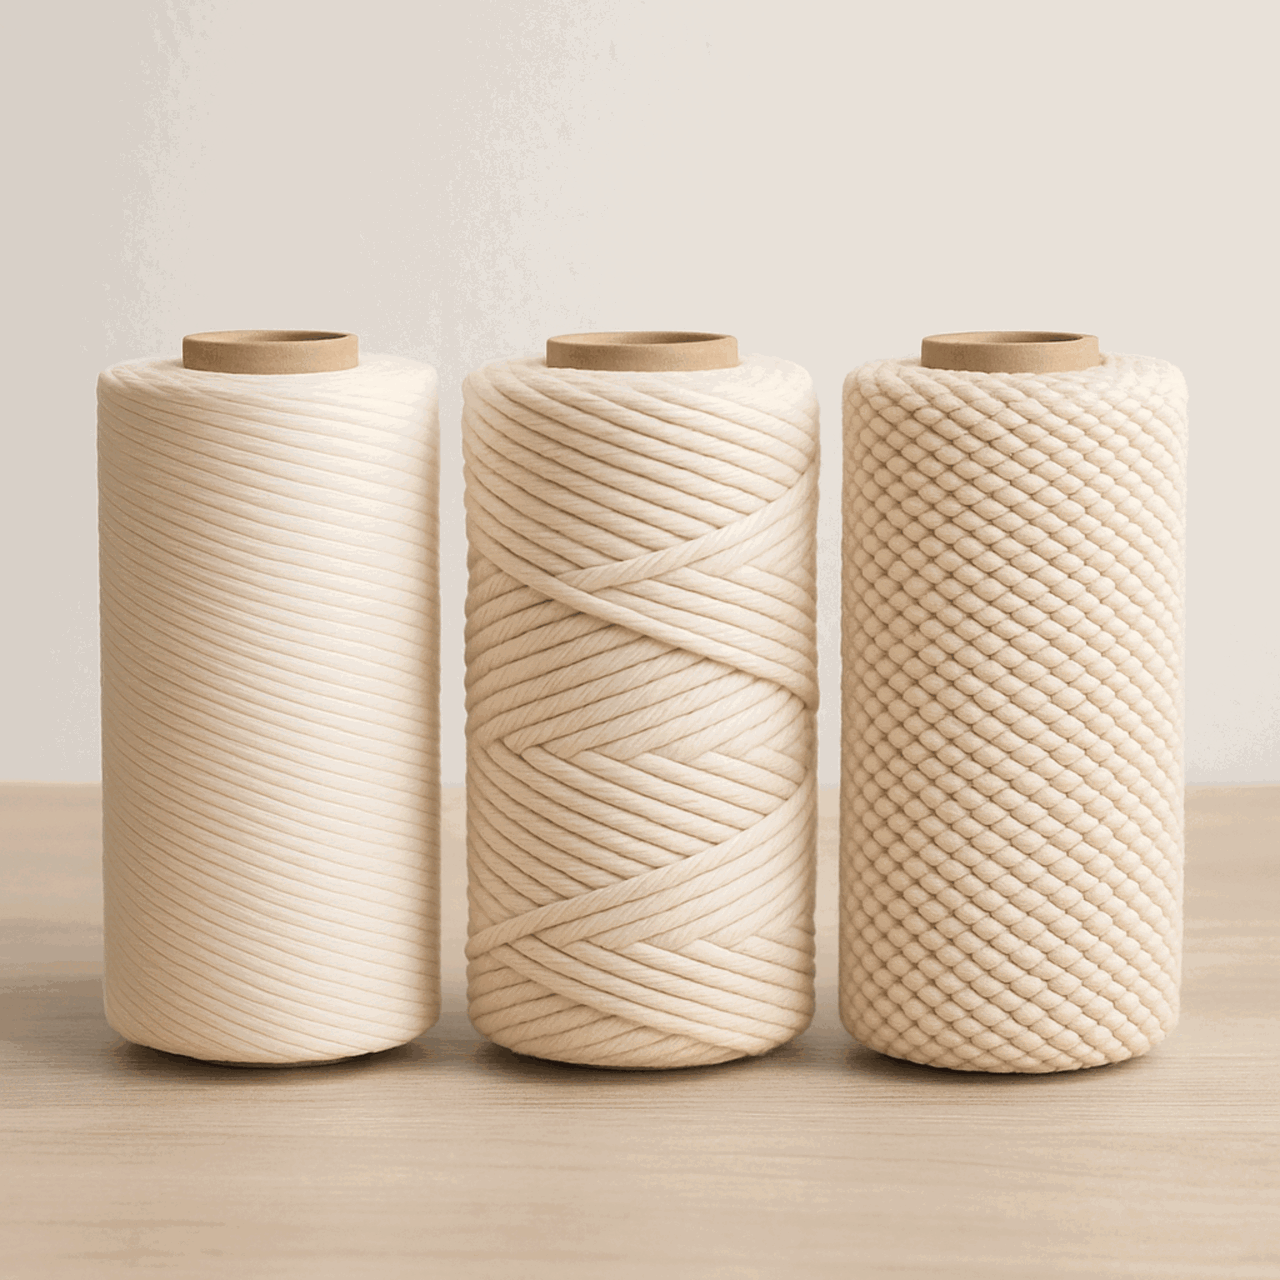
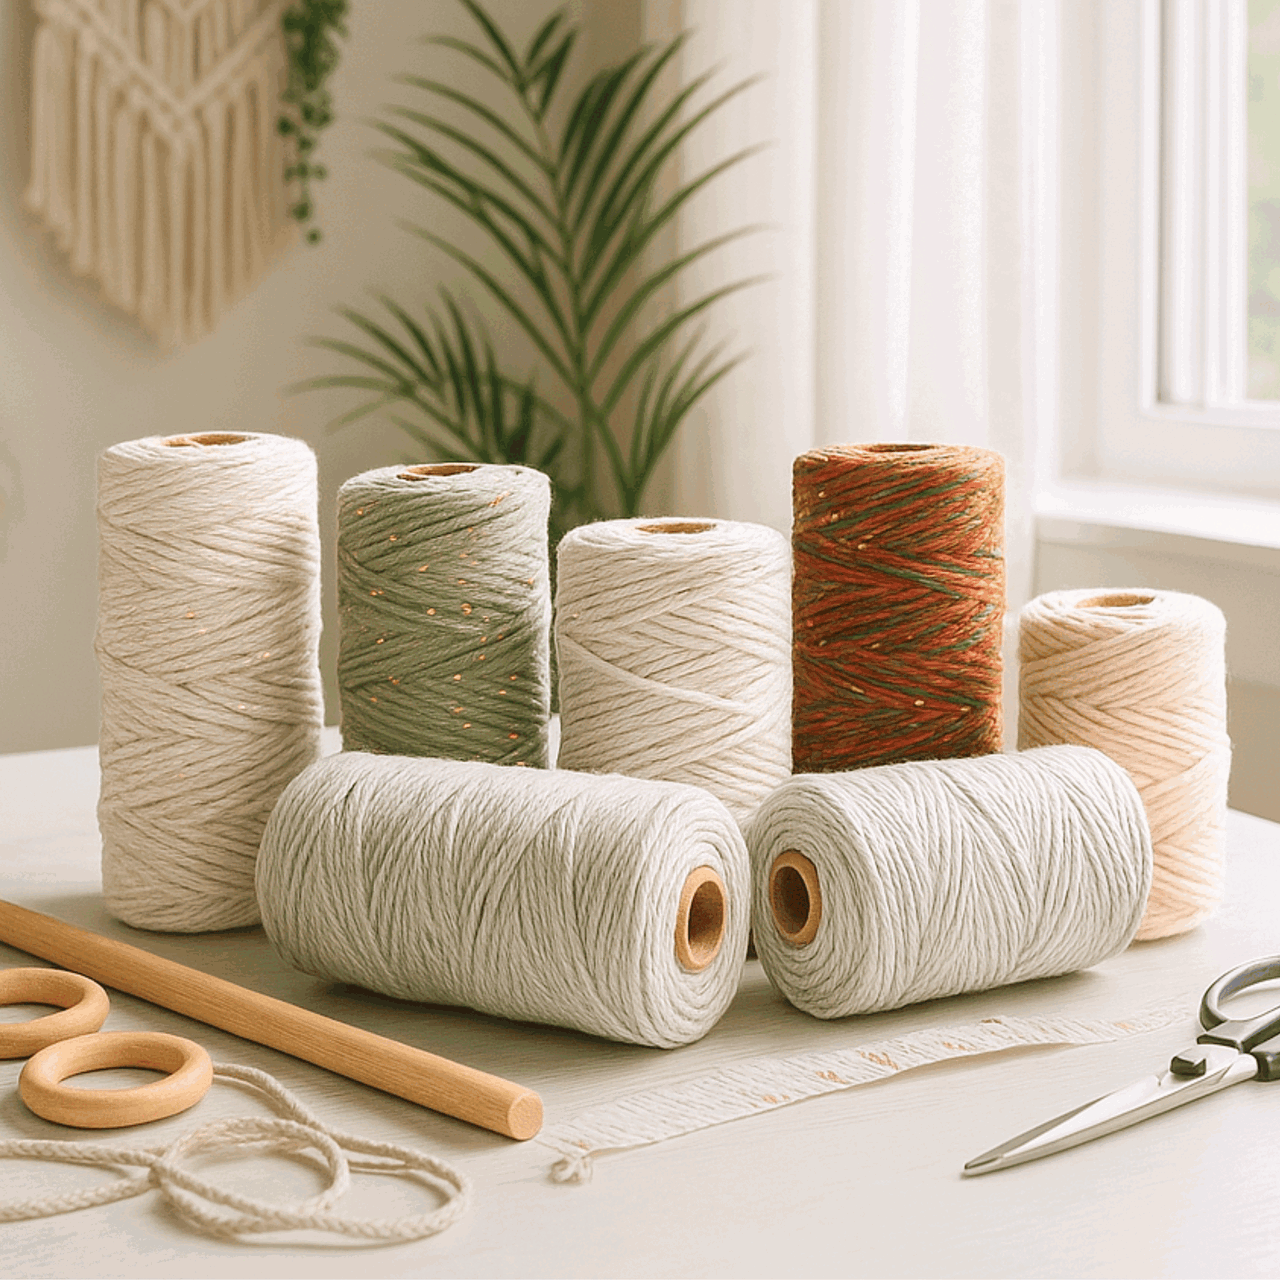
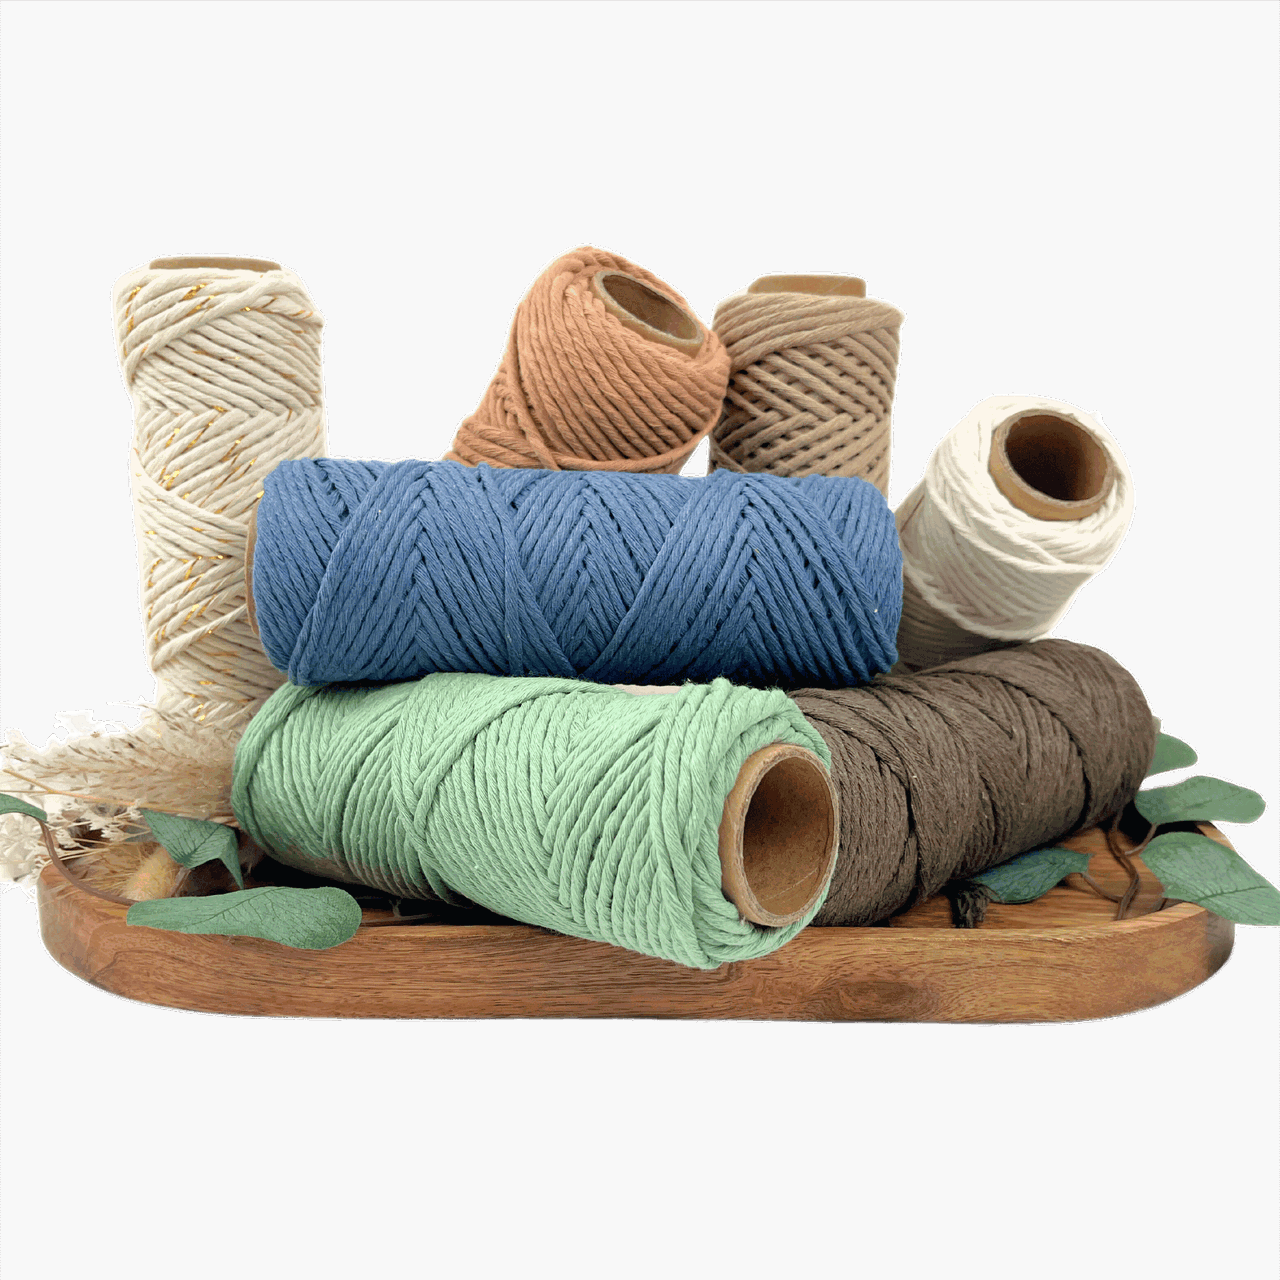
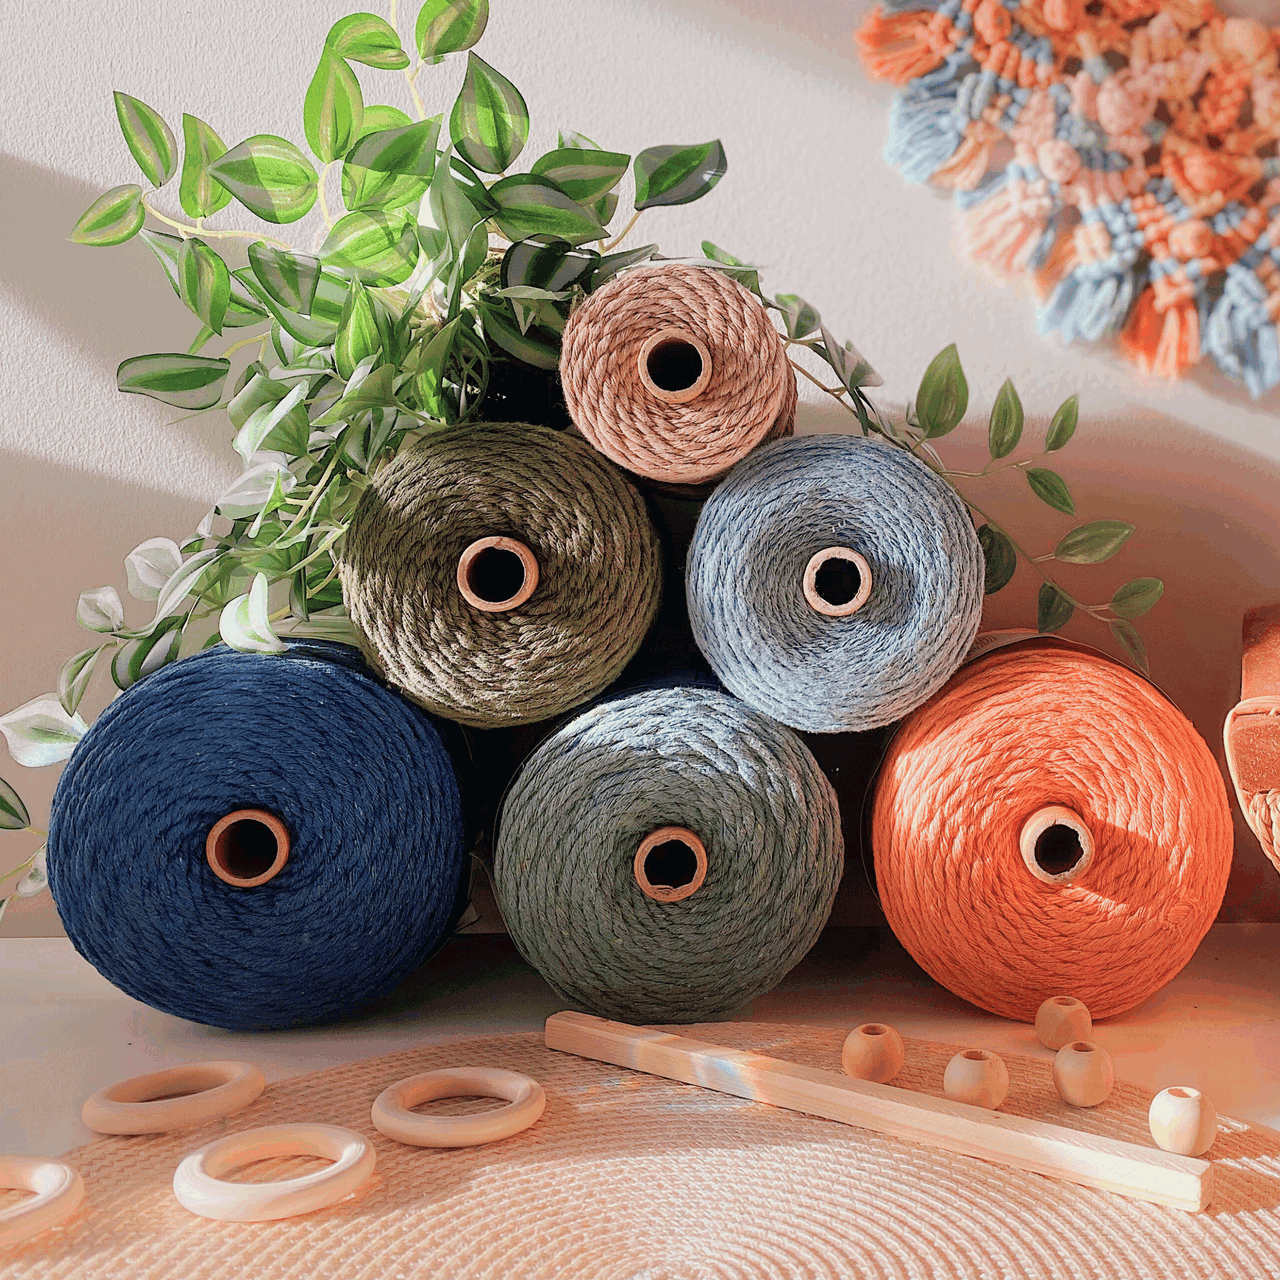
Cords: The primary material in macrame is cords made from cotton, jute, nylon, or synthetic fibers. They come in different thicknesses and colors. You can learn more about macrame cords with our "Macrame ESSENTIALS: Everything You Need—Cord, Tools, & Materials" post.
-
Loop: A loop is formed by crossing the cord over itself to create a ring-like shape. Loops are essential in many macrame designs.
-
Fringe: The loose ends of cords that hang down, adding a decorative element. The fringe can be left as is or trimmed to your desired length. Want to learn more about fringe? Here's "My Top 5 Secrets for Creating PERFECTLY Styled Fringe" post you might find helpful.
-
Anchor Cord: The fixed cord or structure to which other cords are attached. It provides stability and support for your design.
-
Working Cord: The cord that is actively manipulated to create knots and patterns throughout the project.
-
Sennit: A series of knots grouped together to form a pattern or part of your macrame project.
Project Overview
Skill Level: Advanced Beginner
Finished Size: 2" wide × 4.5" long (excluding hanging loop)
Time Required: 1–2 hours (depending on experience)
Materials You'll Need
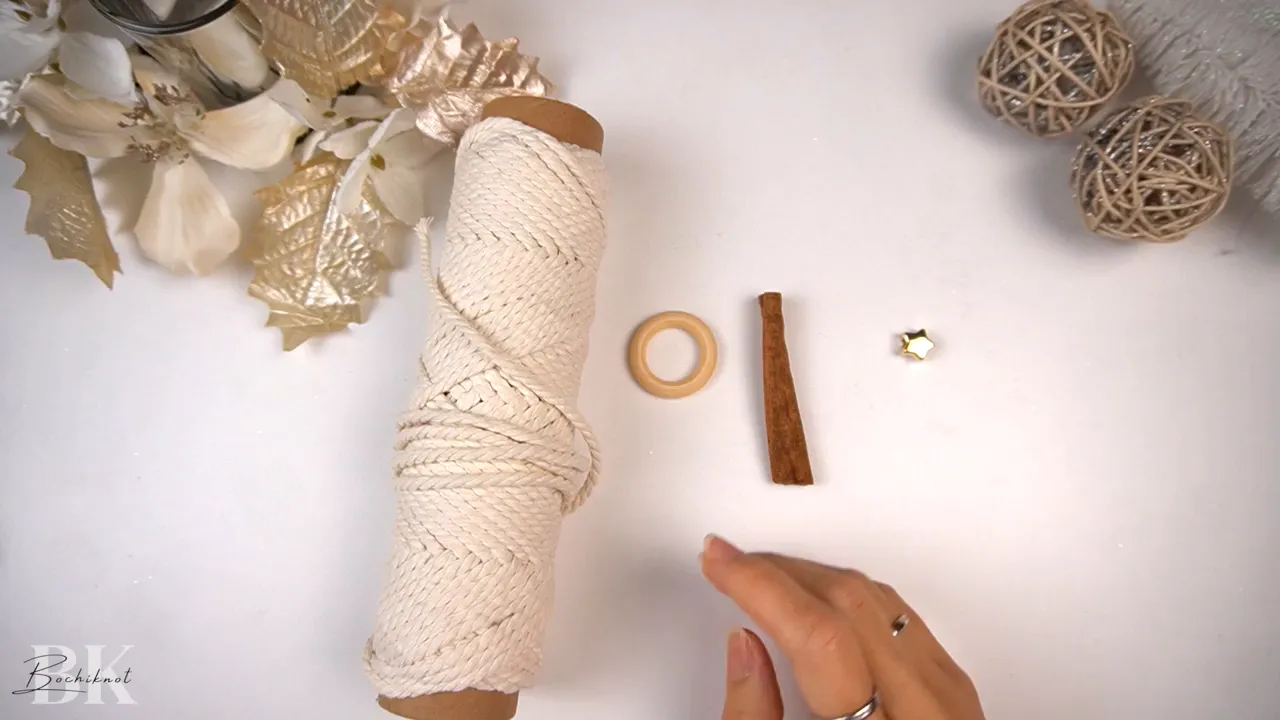
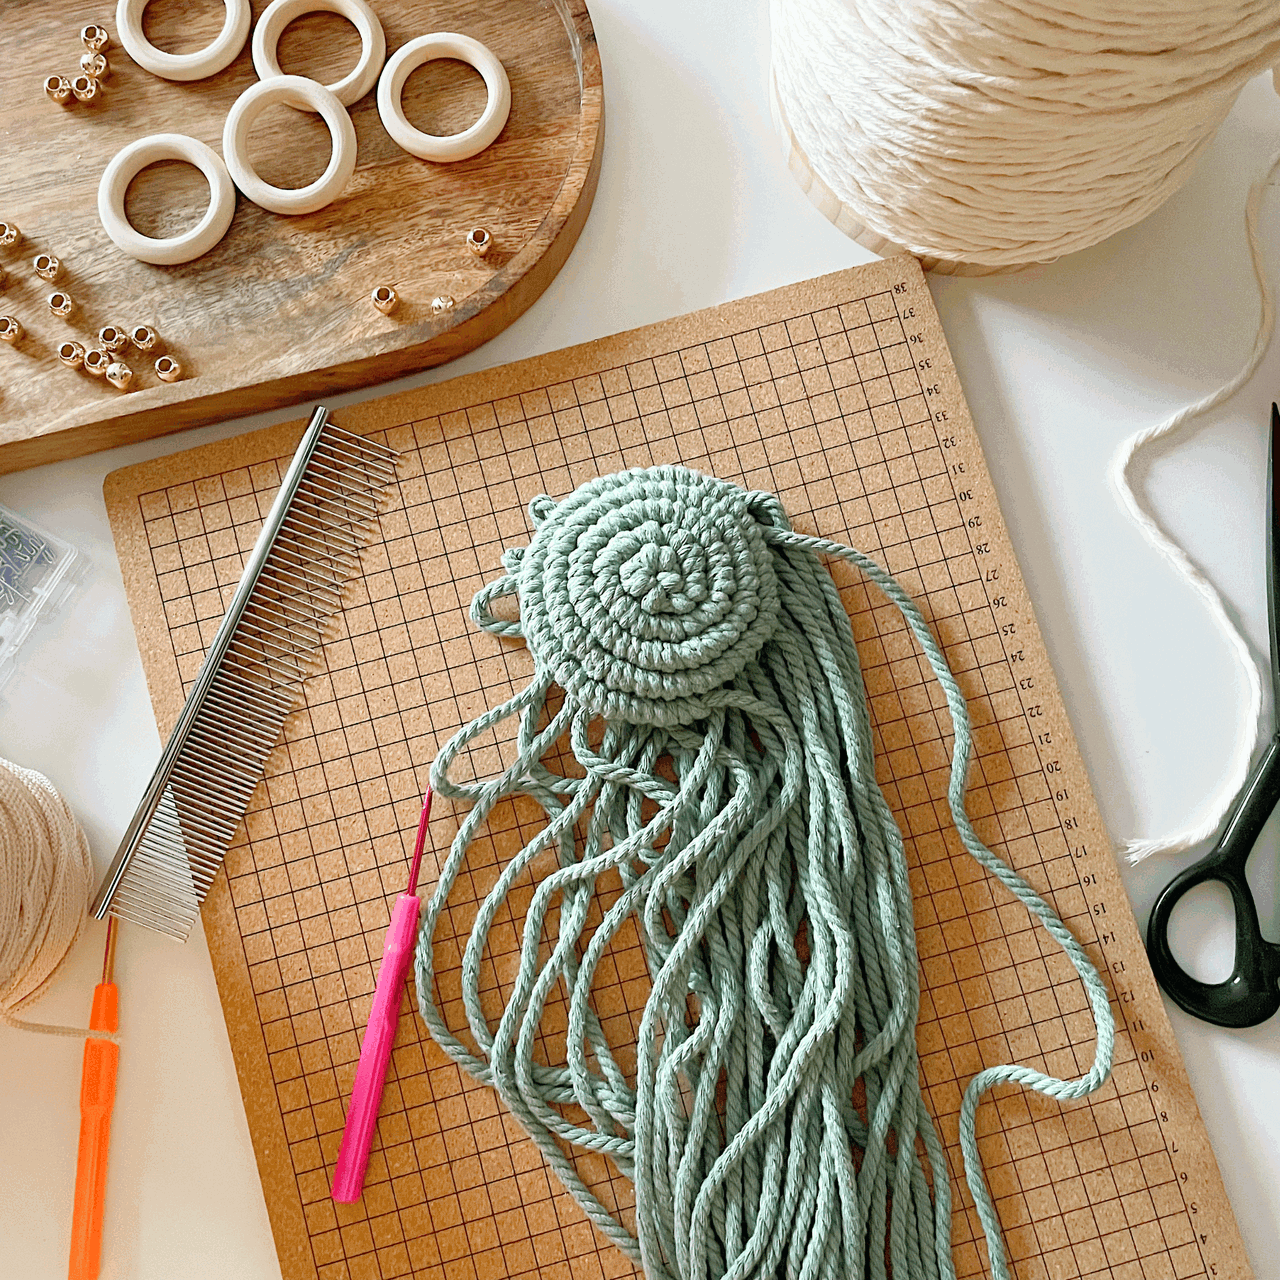
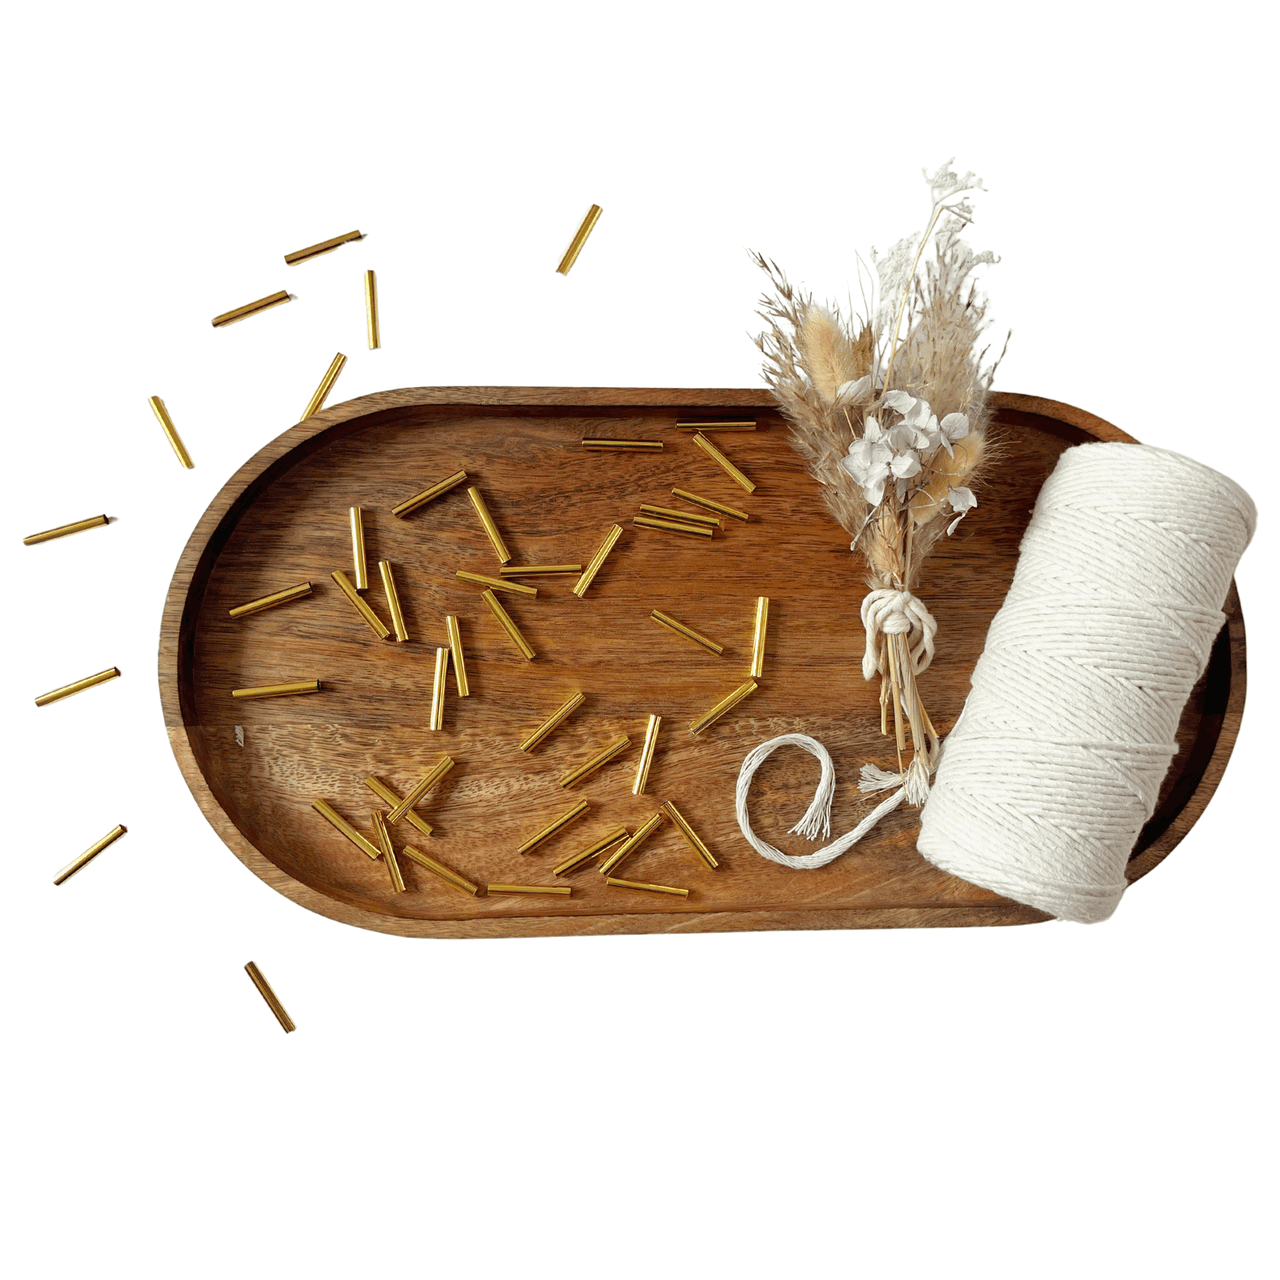
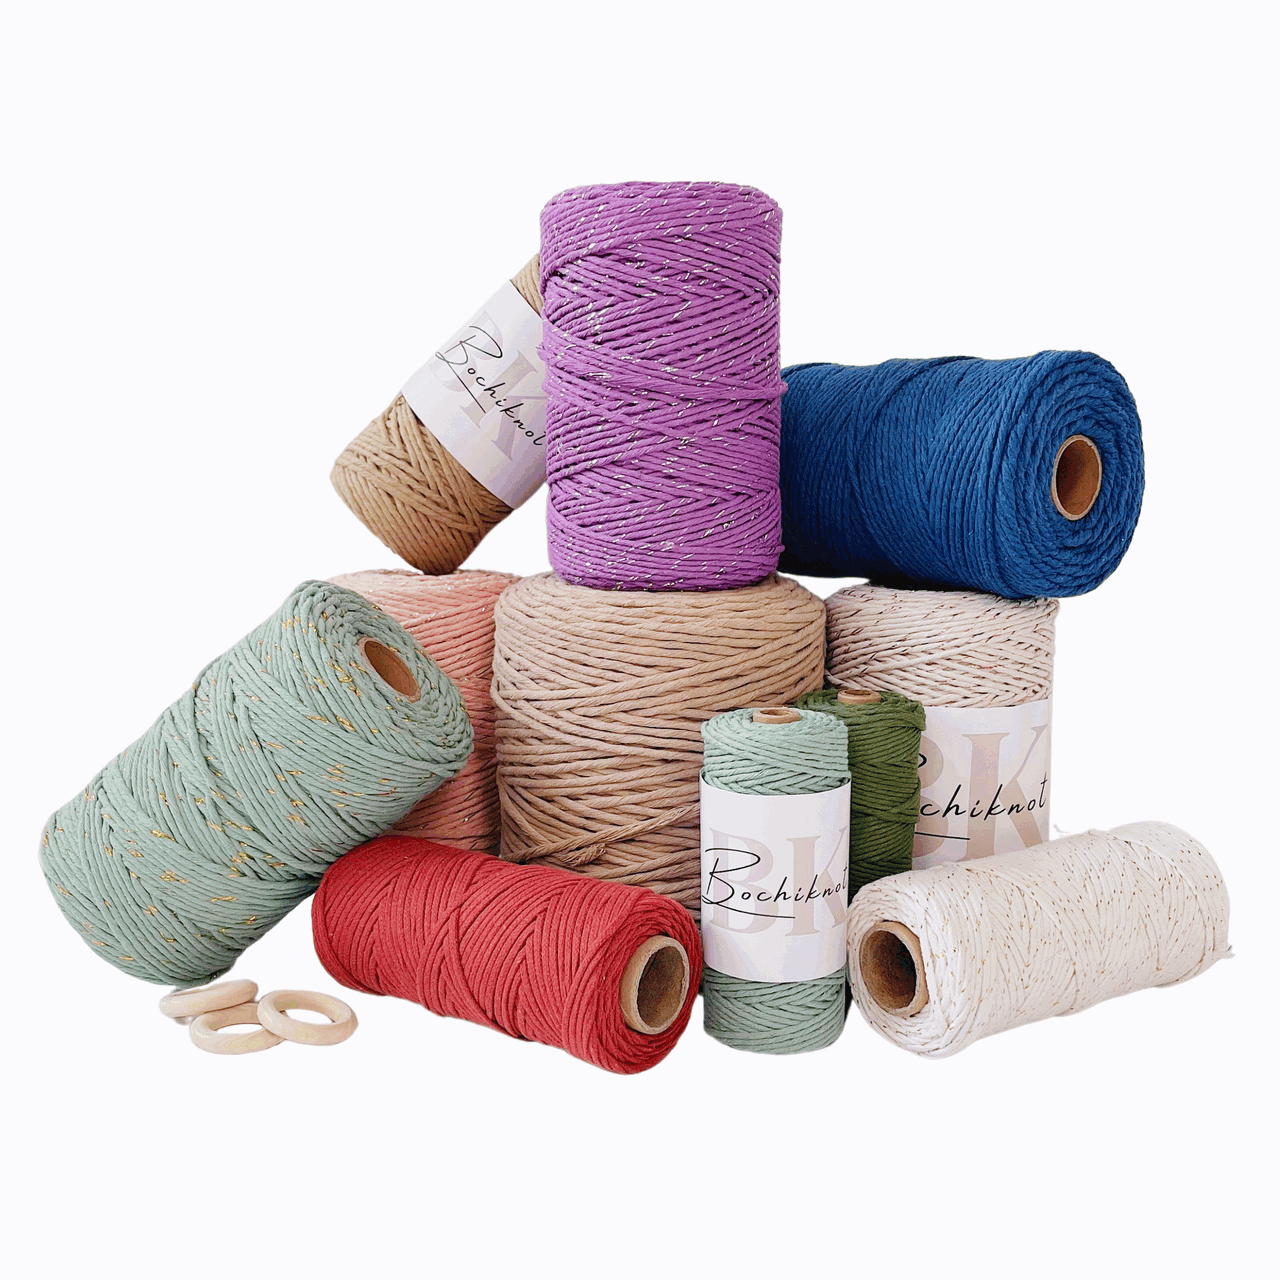
- 3-4mm 3ply macrame cord (10 pieces × 60cm/24" each)
- 1.5-2mm macrame string (for the hanging loop)
- 1.25" wooden ring
- Small star bead (with small hole)
- 1 cinnamon stick (for the trunk)
- Hot glue gun and glue sticks
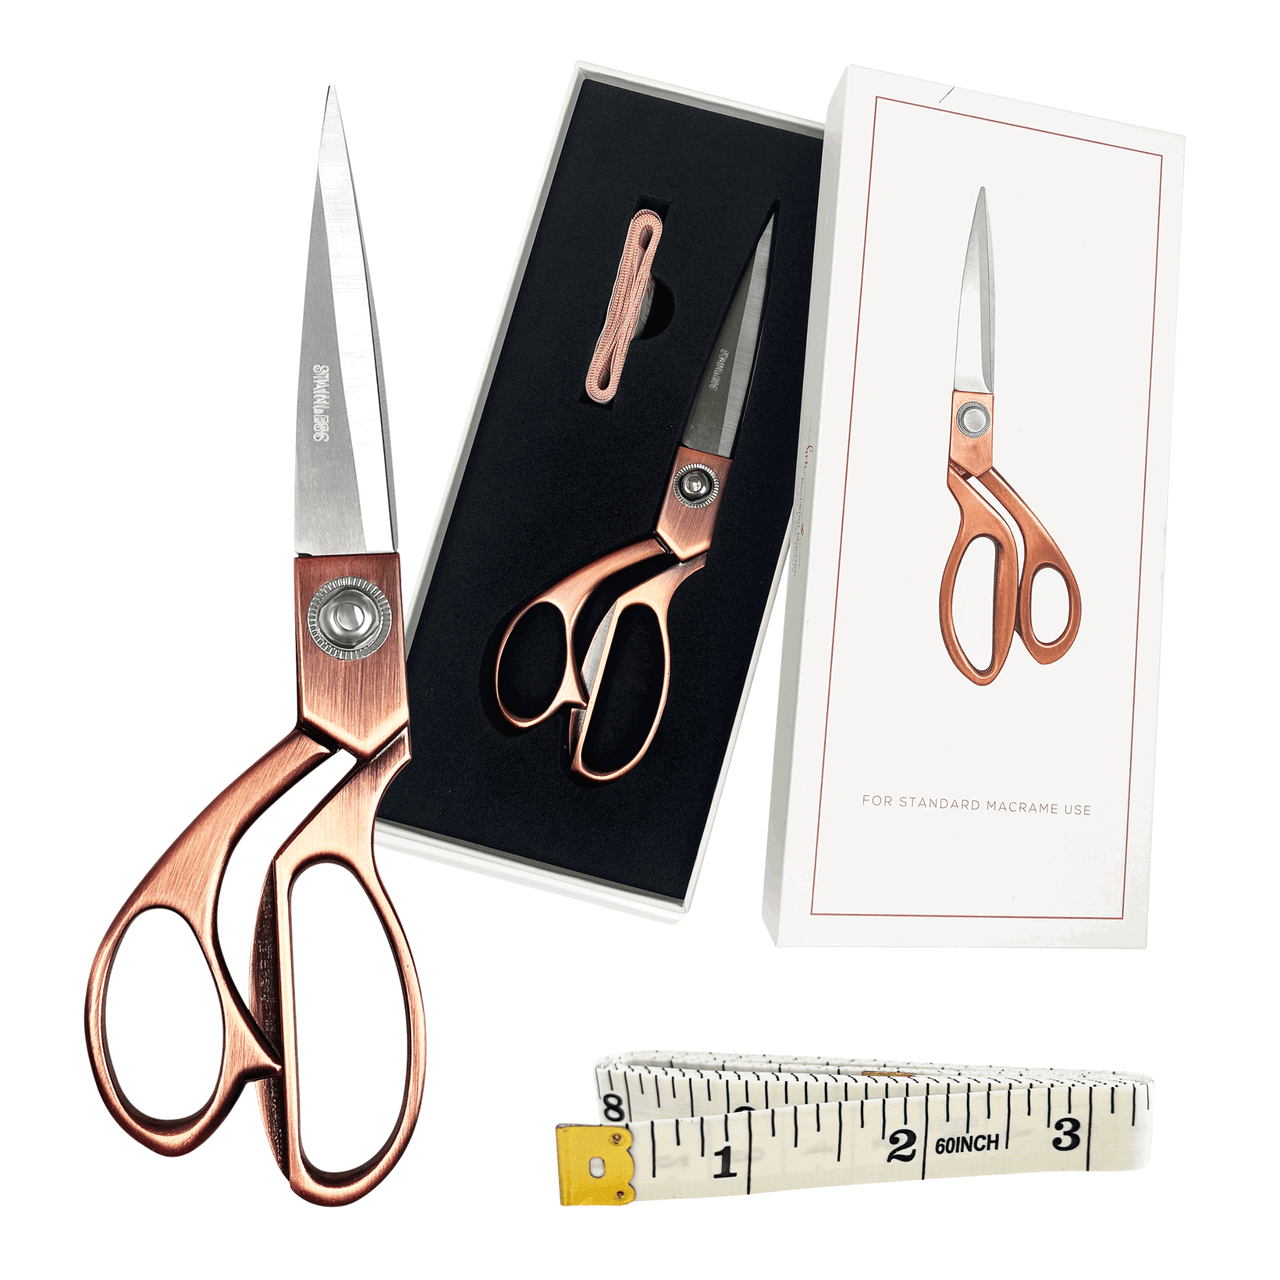
- Sharp scissors
Shopping Tip: Find all these supplies at the Bochiknot SHOP, where we regularly offer discounts on macrame essentials.
Want to Expand Your Macrame Skills?
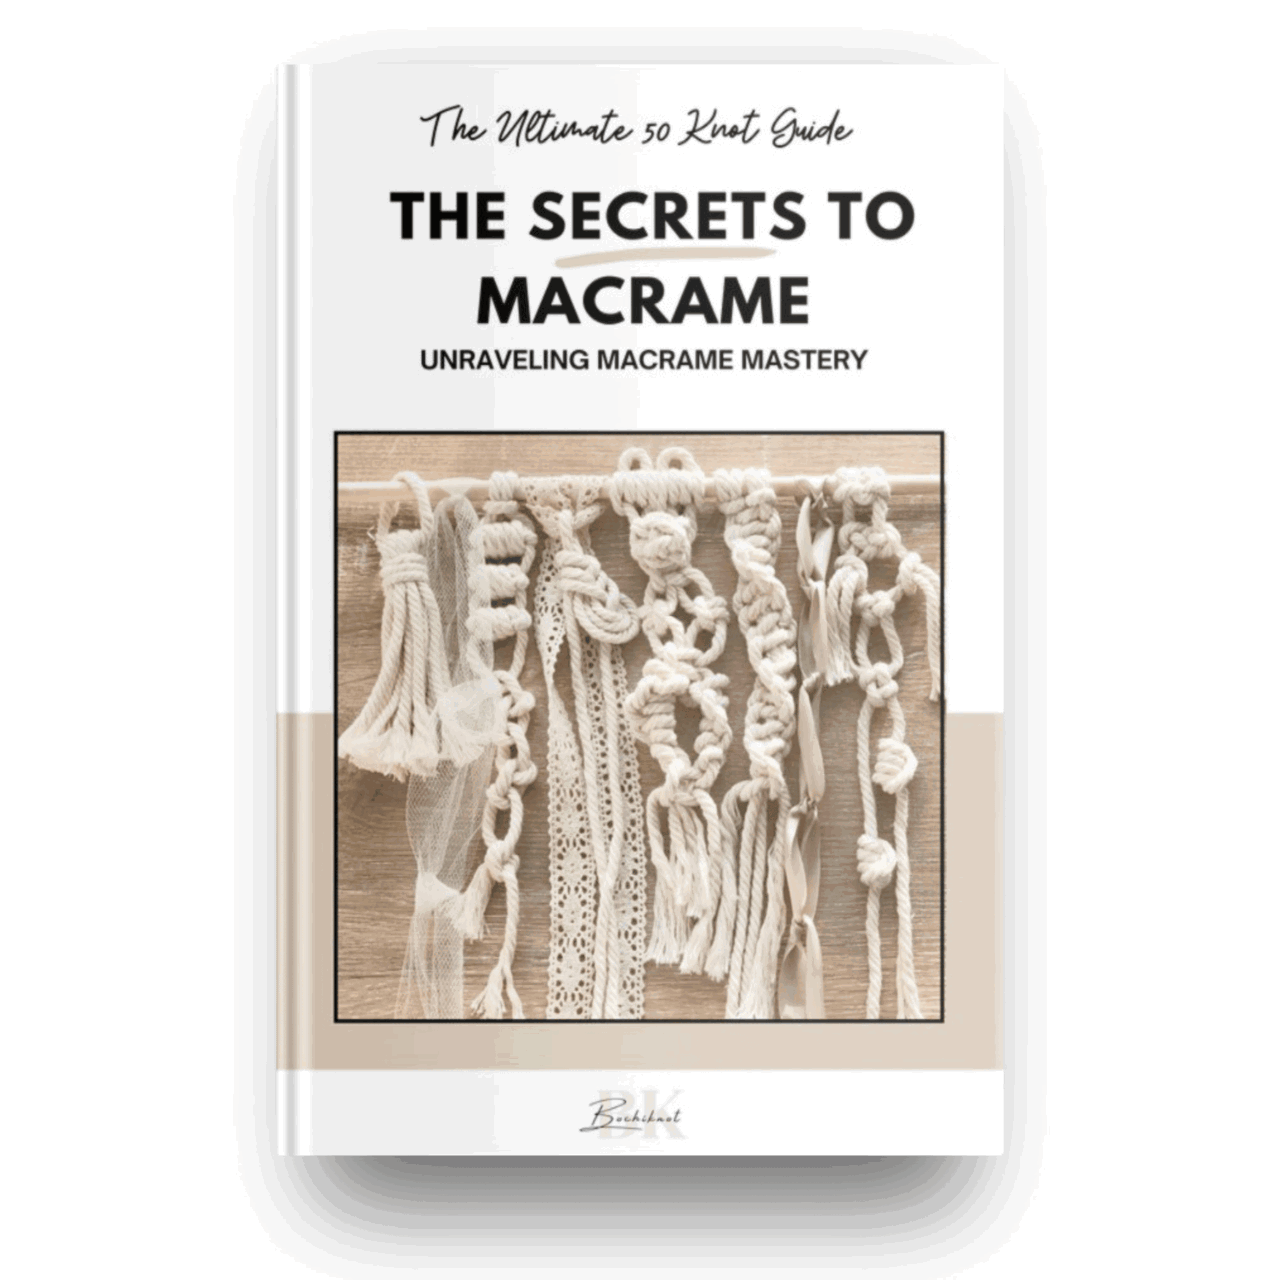
Explore knotting techniques by downloading my free "50 Macrame Knots & Sennit Guide."
This comprehensive resource includes step-by-step instructions for dozens of knots to enhance your macrame repertoire and inspire new projects. Access it here.

Table of Contents
- Step 1: Gather materials for your DIY Macrame Christmas Tree Ornament
- Step 2: Learn the Pipa knot (the ornament's building block)
- Step 3: Tidy and secure each Pipa knot
- Step 4: Attach the first row of Pipa knots to the ring
- Step 5: Add the second layer of Pipa knots
- Step 6: Make and attach the hanging loop and star bead
- Step 7: Add the trunk, glue everything, and finish
- Tips, variations, and sizing
- Final notes & next steps
Step-by-Step Instructions
Step 1: Gather Your Materials
Start by collecting all your supplies. This small project is budget-friendly and perfect for using up leftover cord and embellishments you already have on hand.
Step 2: Master the Pipa Knot
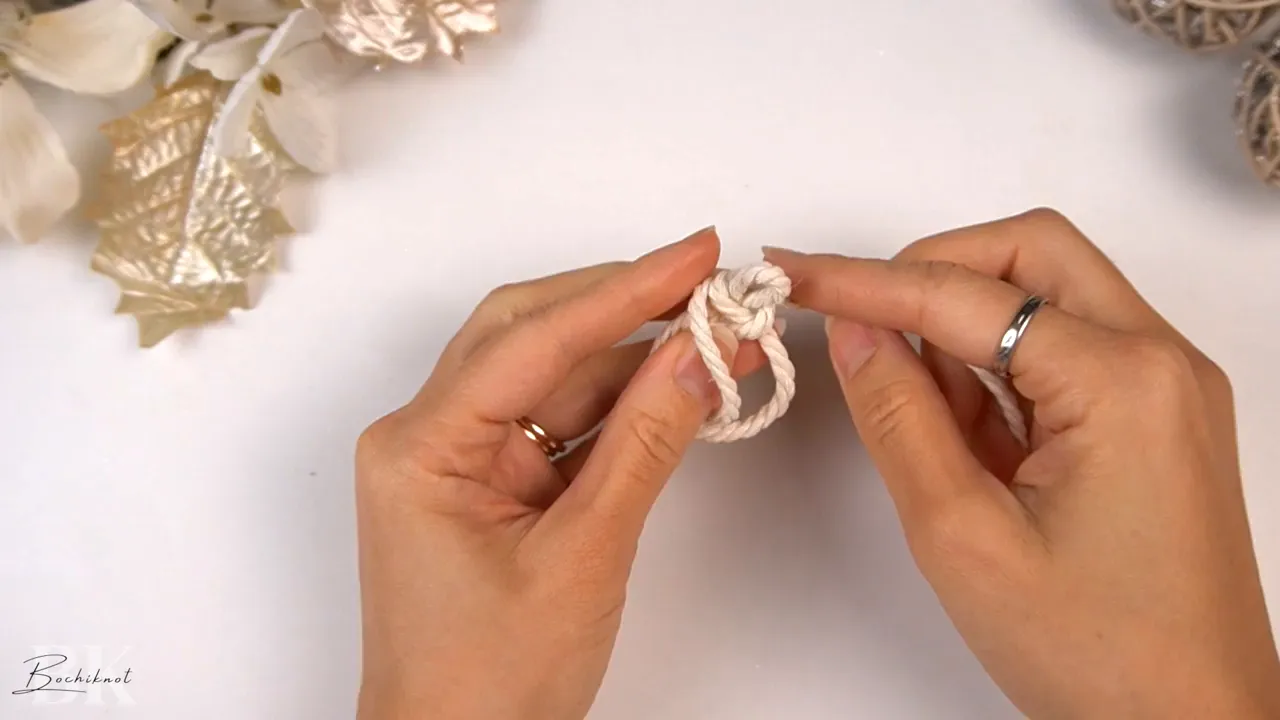
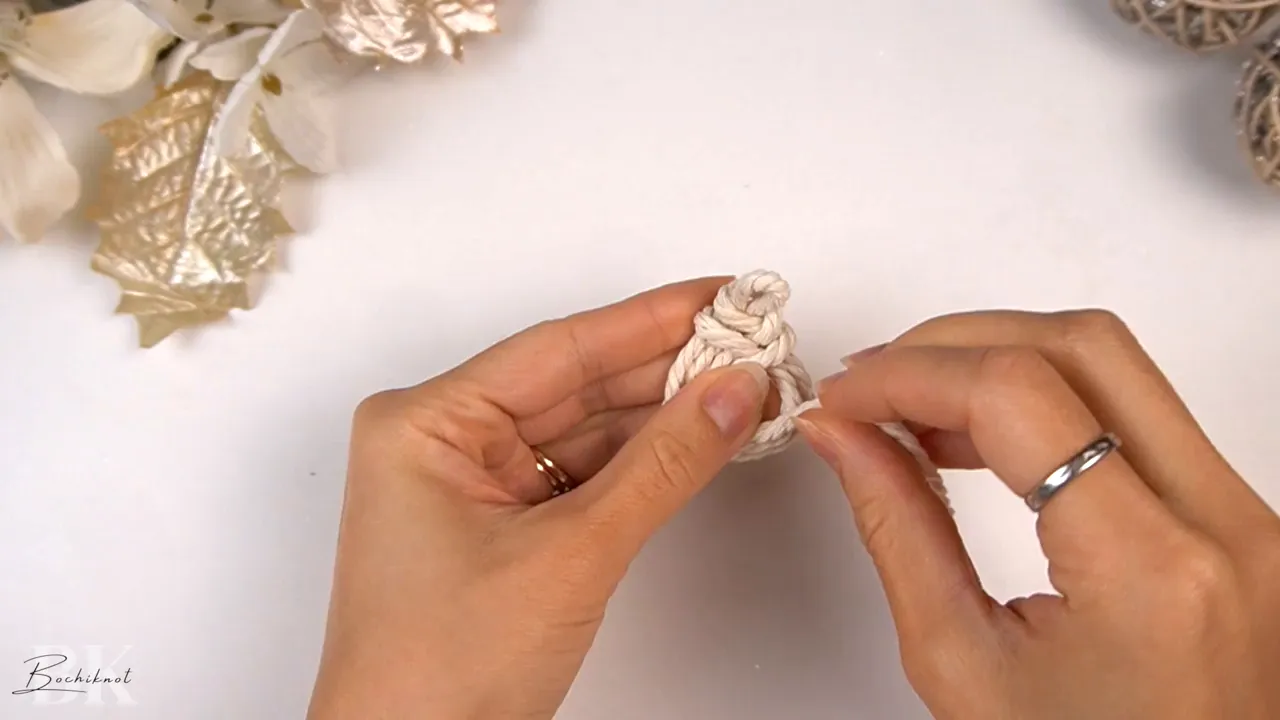
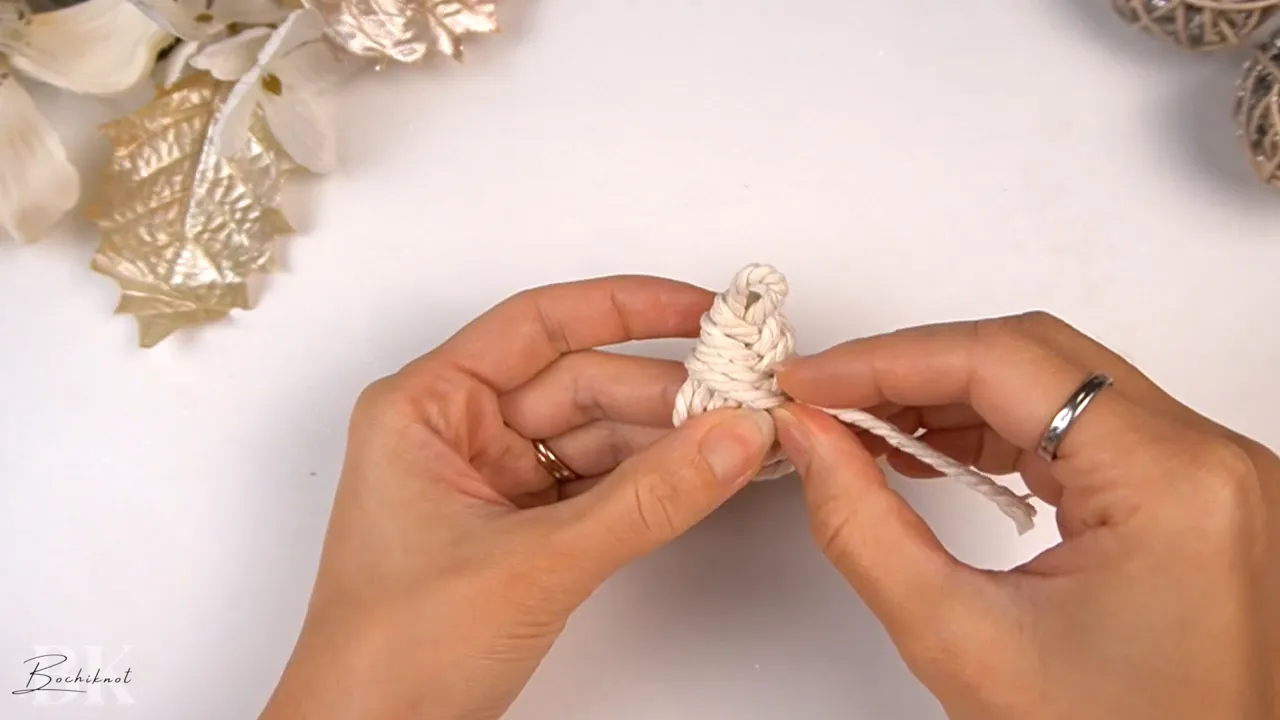
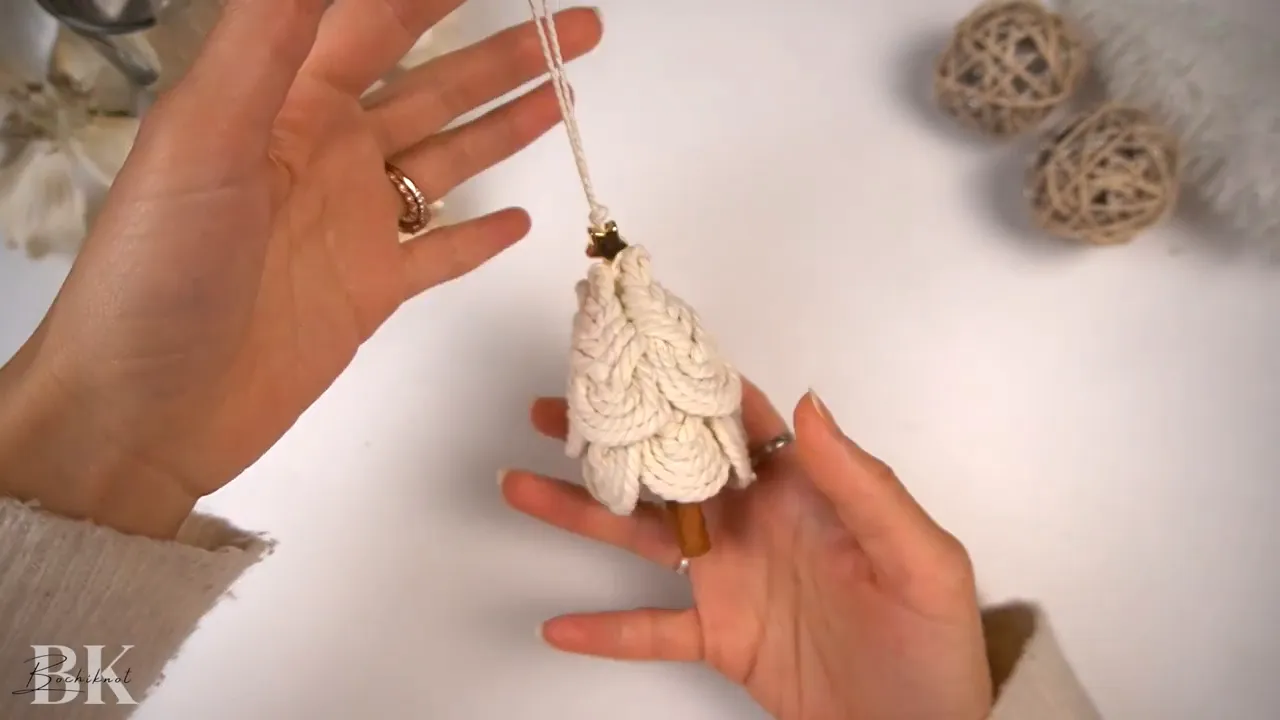
The Pipa knot is the star of this ornament. Each knot creates a rounded, bulb-like shape that stacks together to form your tree's silhouette—imagine tiny ornamental lights arranged in a triangular pattern.
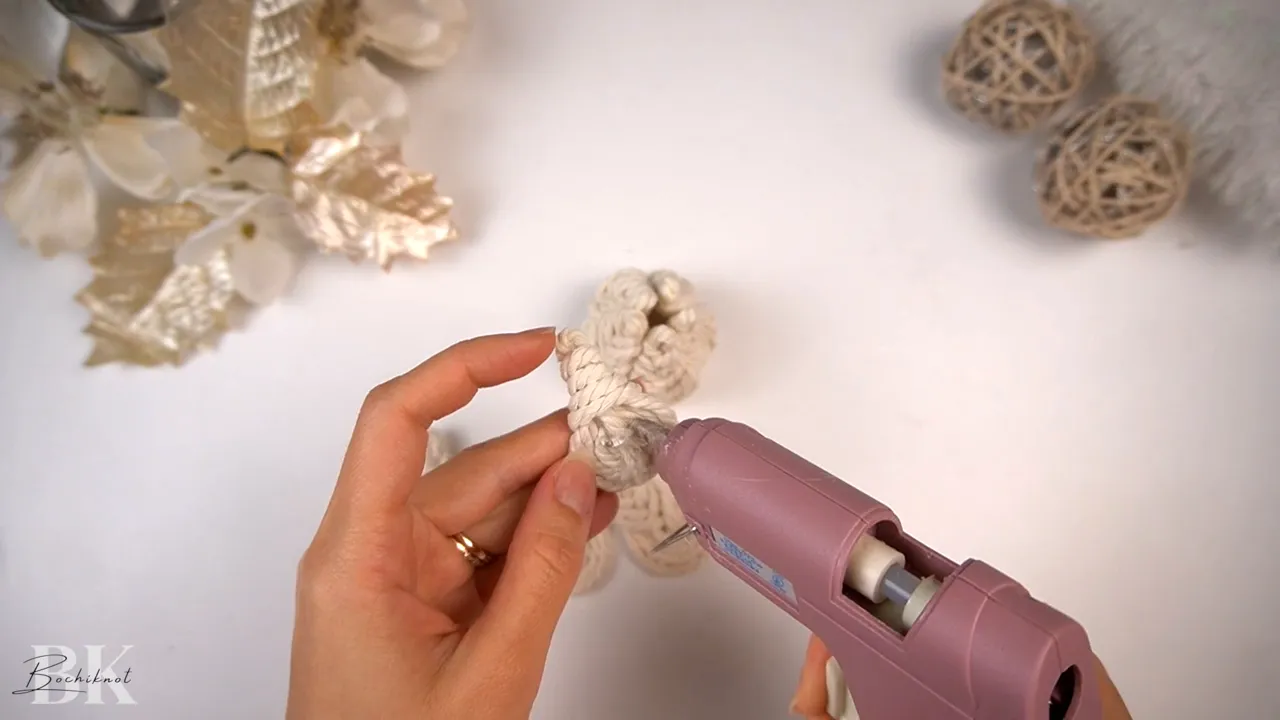
Since Pipa knots aren't structurally secure on their own, you'll seal each one with hot glue on the back.
How to Make a Pipa Knot:
- Cut a 60cm cord (adjust length for larger or smaller "bulbs")
- Fold the cord to create a short tail at the back
- Weave the working end from front to back, forming a loop at the bottom
- Create four successive loops inside each other—this rounds the bottom and tapers the top
- Thread the working end through the bottom middle hole
- Pull it through to the back to close the knot
Step 3: Secure and Tidy Each Knot
Clean finishing makes your ornament look professional and ensures the knots glue together smoothly.
For Each Pipa Knot:
- Trim the cord ends at the back, keeping them short and neat
- Pull the top loop until only a small opening remains
- Apply a dab of hot glue to the back to seal the ends and maintain the shape
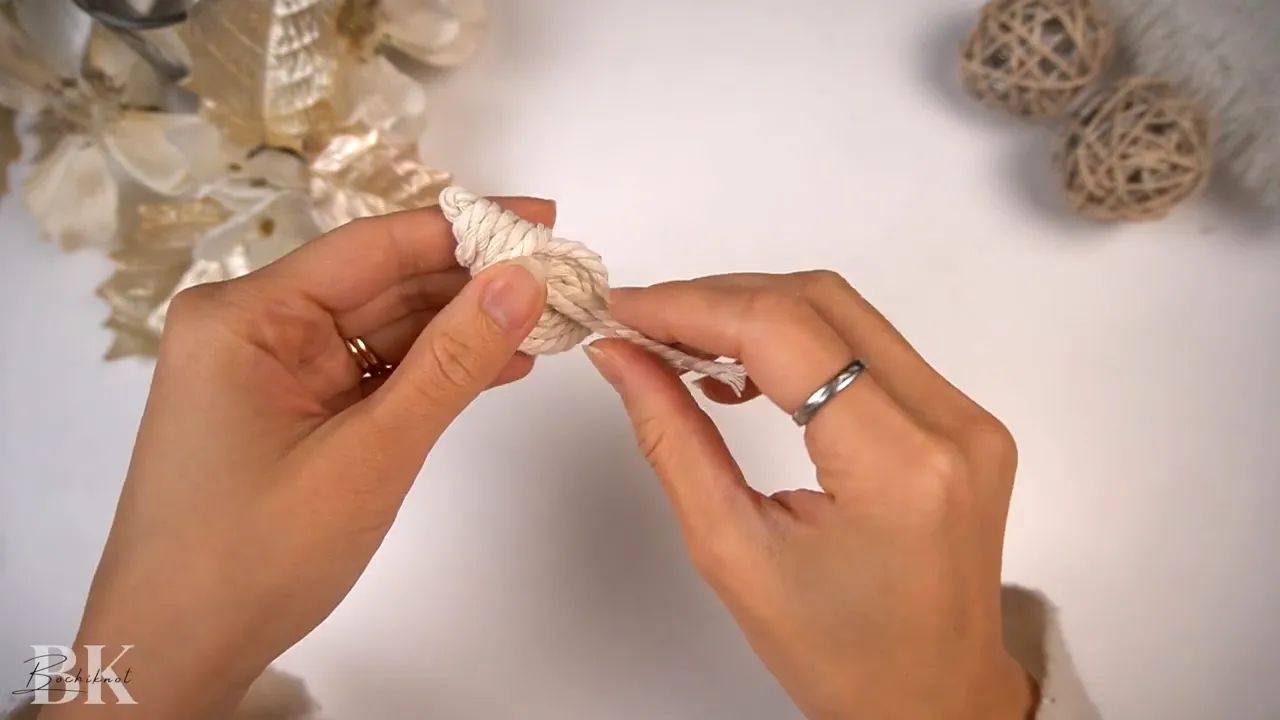

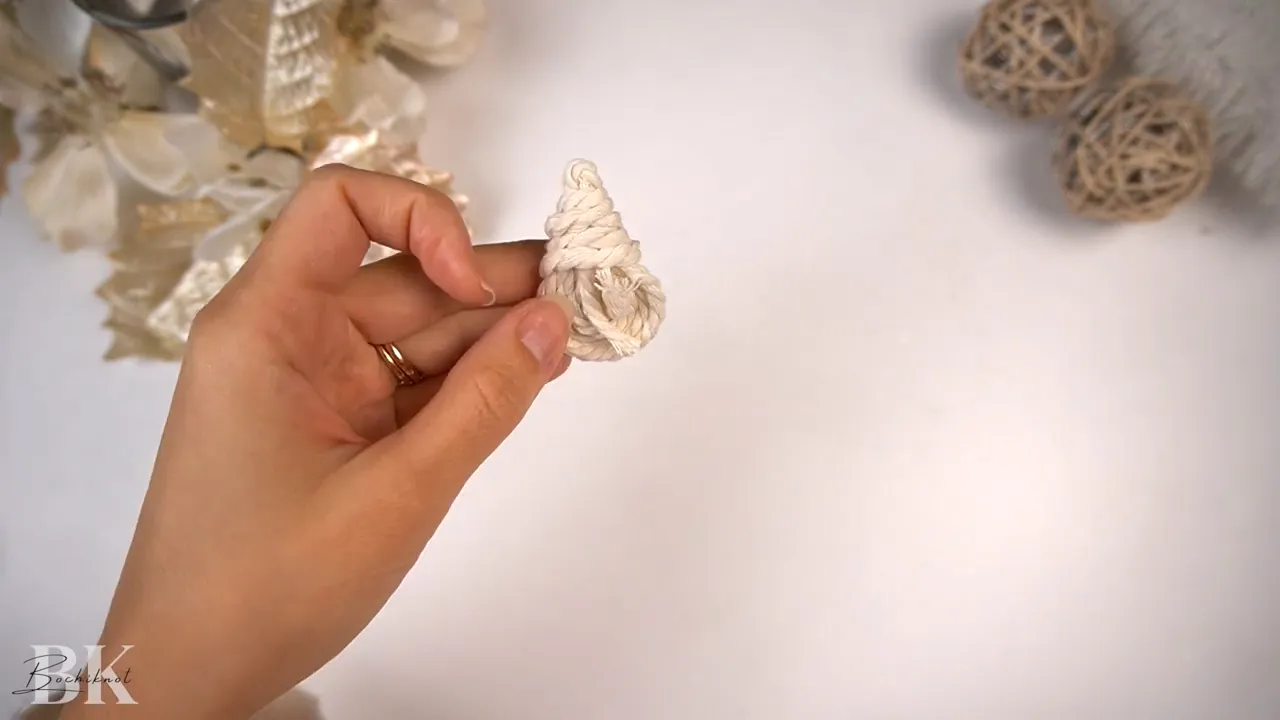
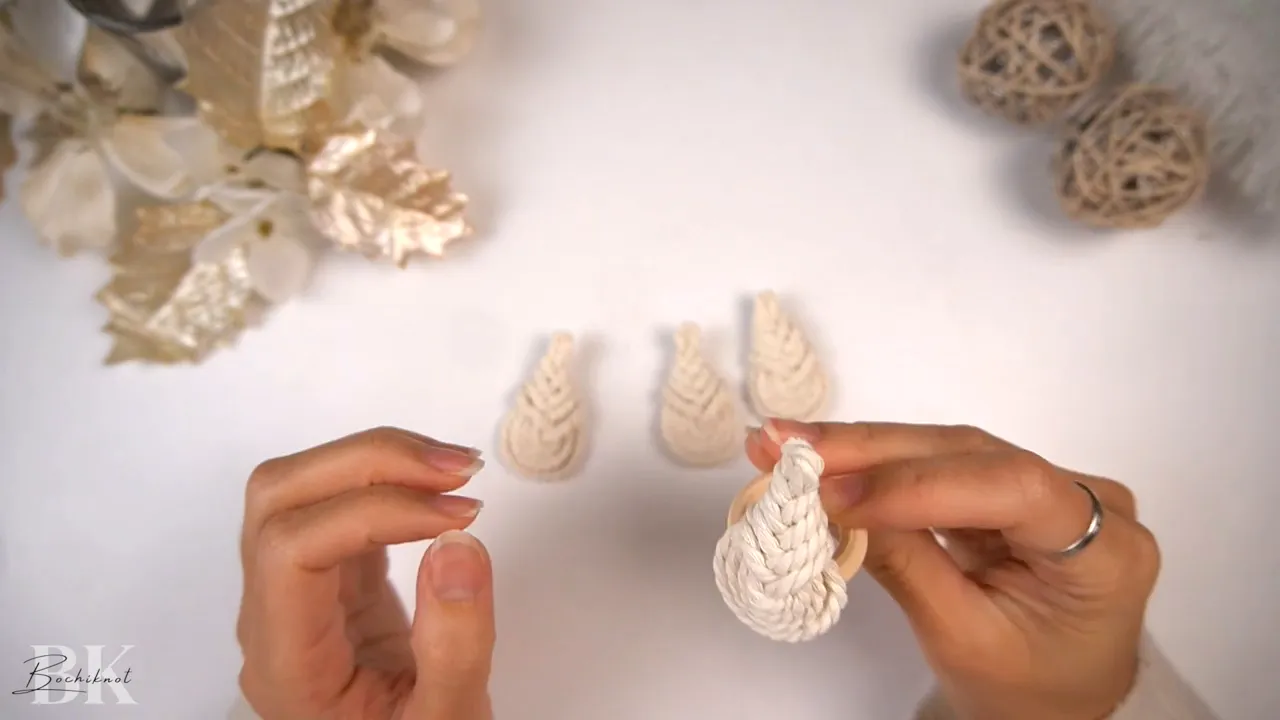
Repeat this process to create 10 Pipa knots total (5 for the bottom row, 5 for the middle row). Adjust the quantity if you're using a different ring size.
Step 4: Attach the First Row
Now you'll start building your tree shape by attaching the first row of Pipa knots around your wooden ring.
Assembly Instructions:
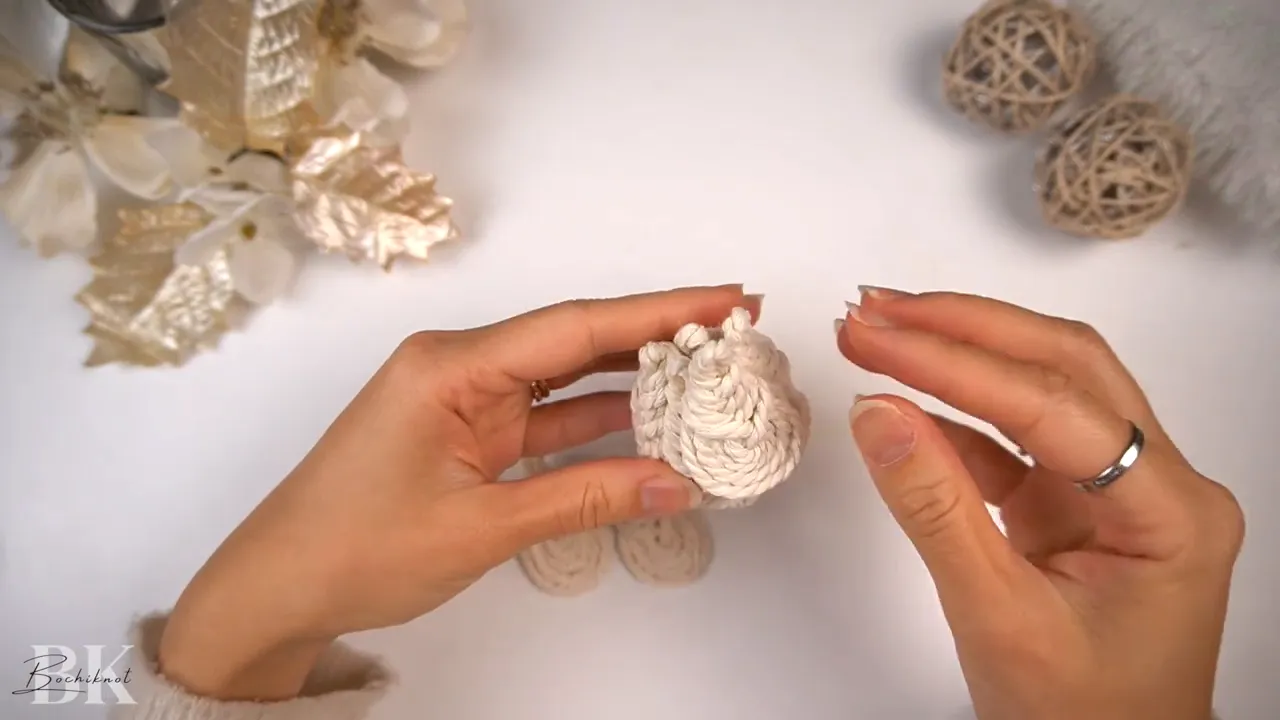
- Position five Pipa knots around the lower portion of the ring, angling them upward to create the tree's triangular silhouette
- Apply hot glue to the back of each knot
- Press firmly onto the ring's side, slanting toward the top
- Place knots side by side; overlap slightly if needed for a full appearance

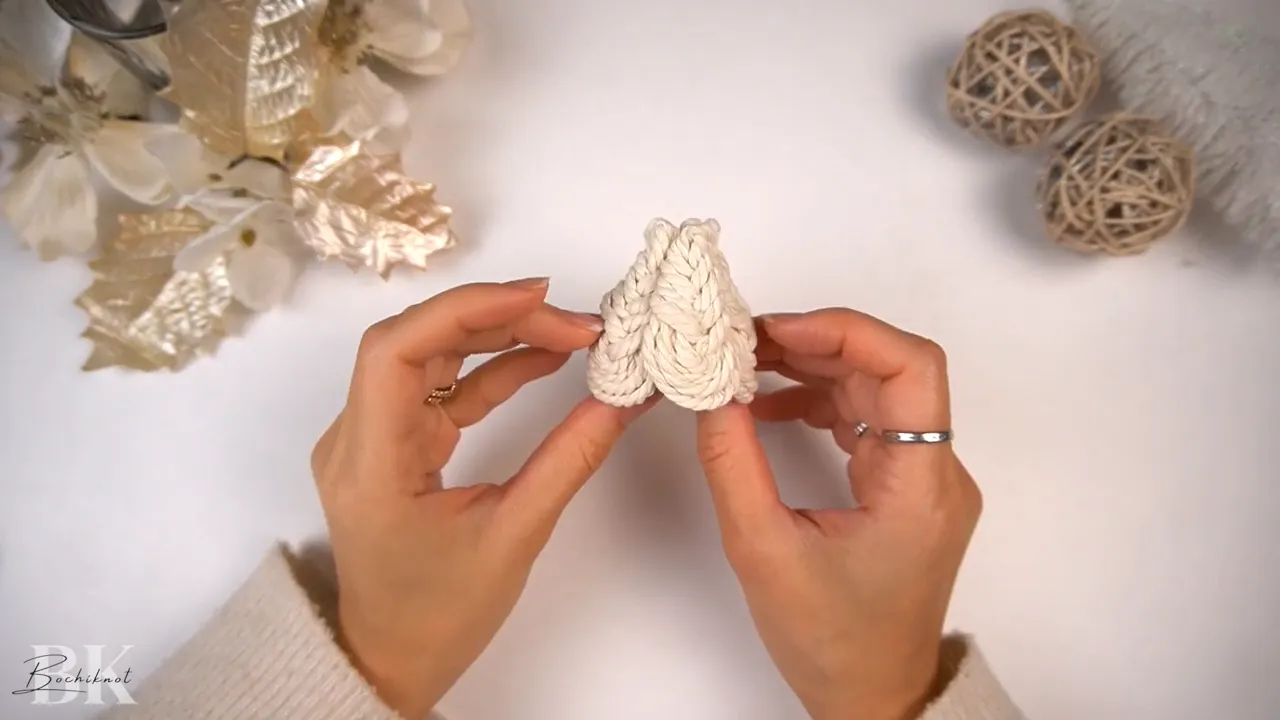
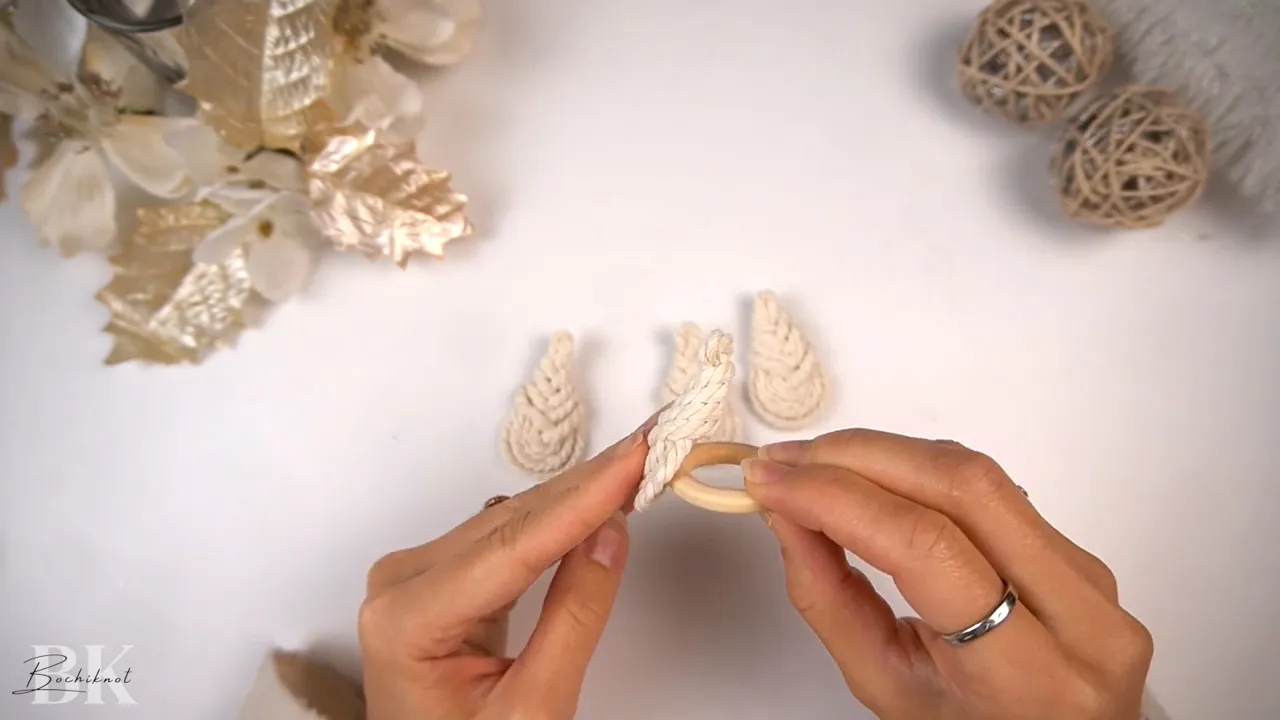
Step 5: Build the Second Layer
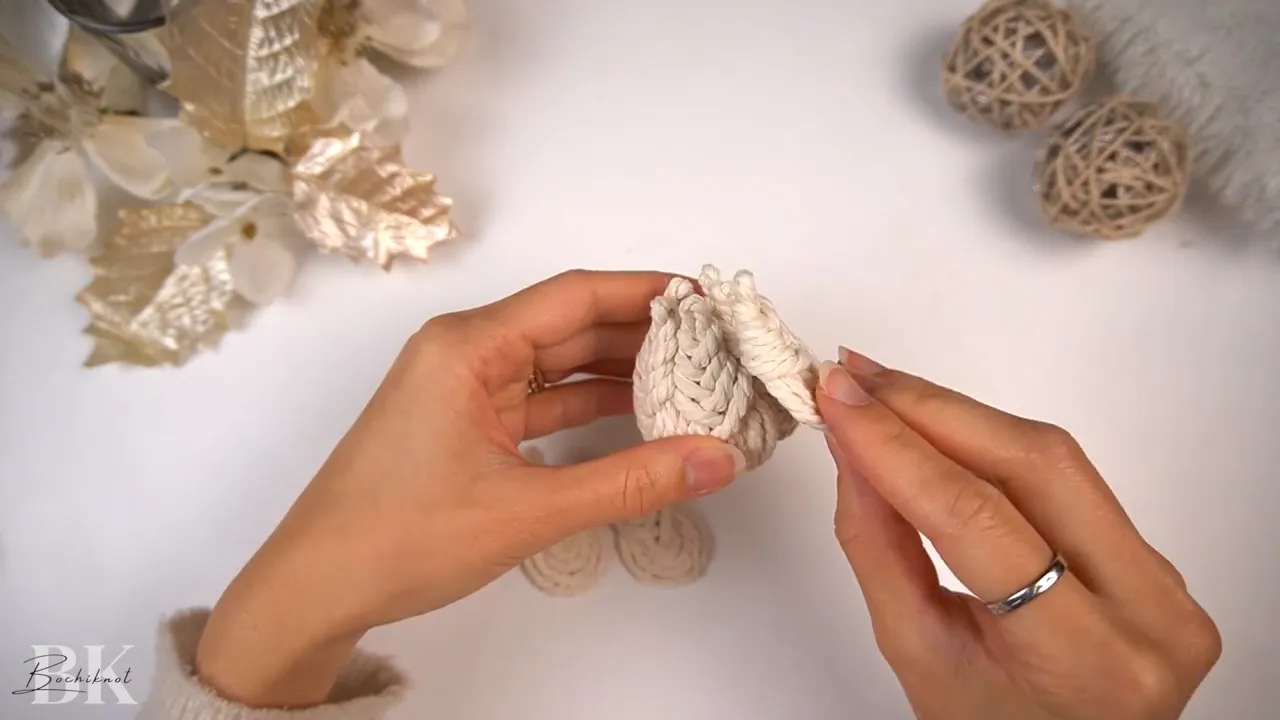
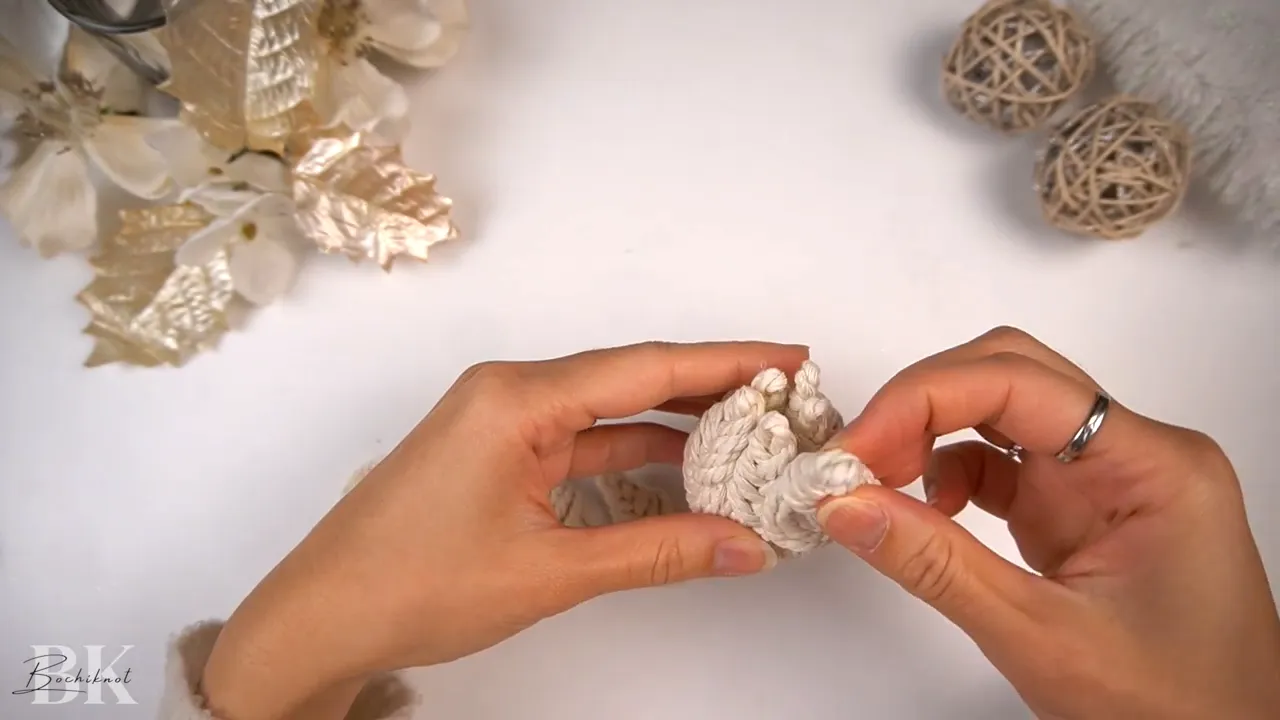
The second row adds dimension and fills in gaps between the bottom knots.
- Create five more Pipa knots using the same technique
- Glue these knots between the gaps in the bottom row
- Position them to nestle naturally and enhance the layered, tree-like shape
Step 6: Create the Hanging Loop and Star Topper
Time to add the finishing touches that transform your ornament into a displayable decoration.
Assembly Steps:
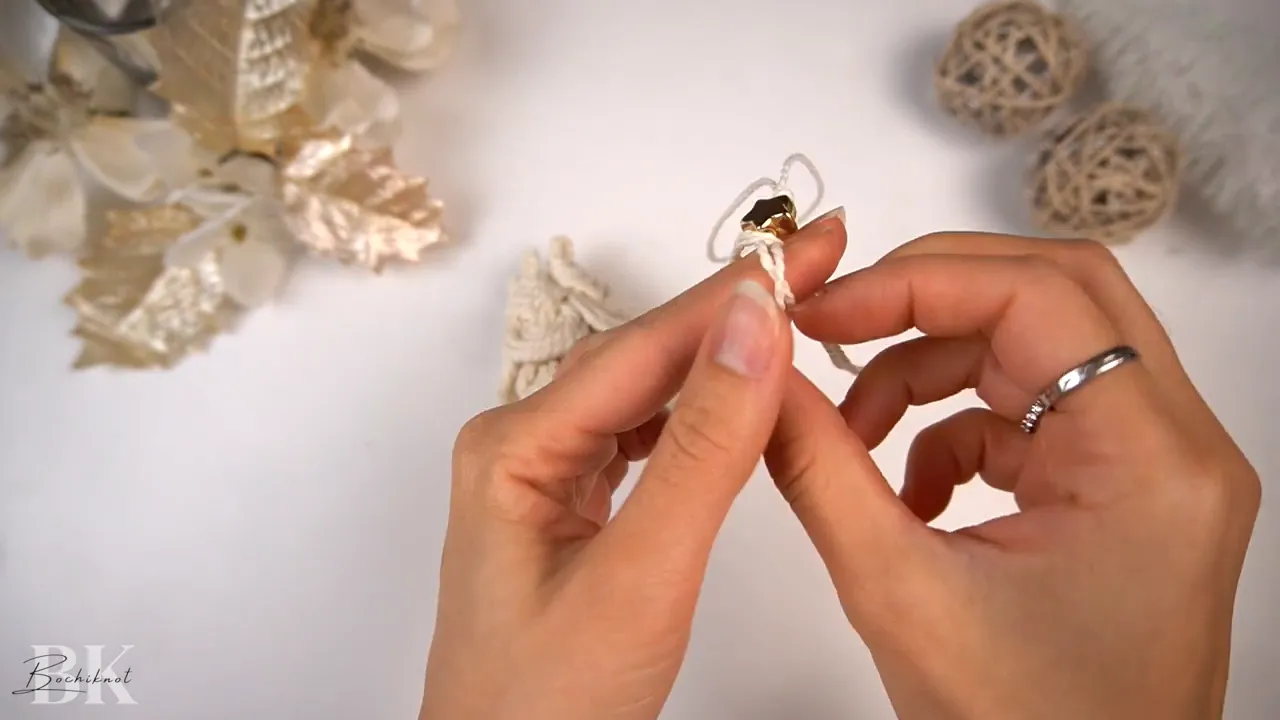
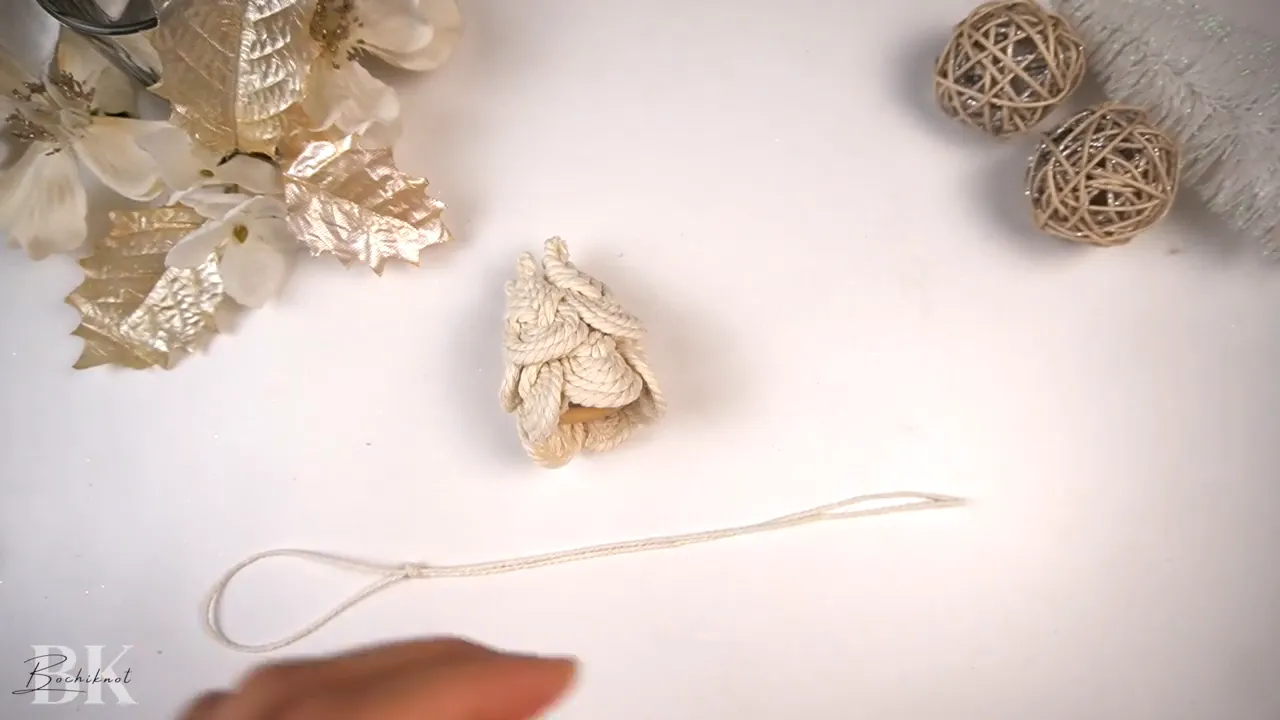
- Cut a 50cm length of thin string (1–1.5mm)
- Tie an overhand knot near one end to create the hanging loop
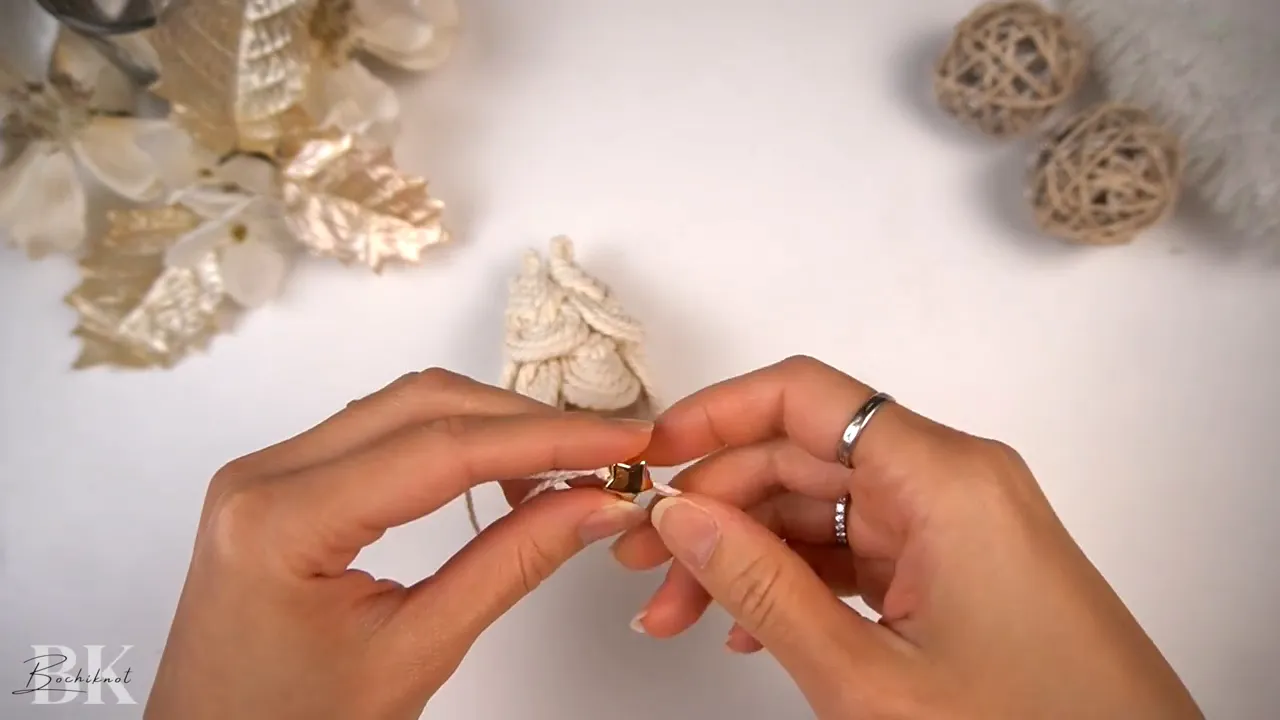
- Thread your star bead below this knot so it sits above the tree
- Tie a second overhand knot beneath the bead to lock it in place
- Feed the string top-down through the center of your tree, positioning the star just above the top row of knots
Step 7: Add the Trunk and Final Touches
A cinnamon stick trunk adds a natural element and subtle holiday scent to your ornament.
Finishing Steps:
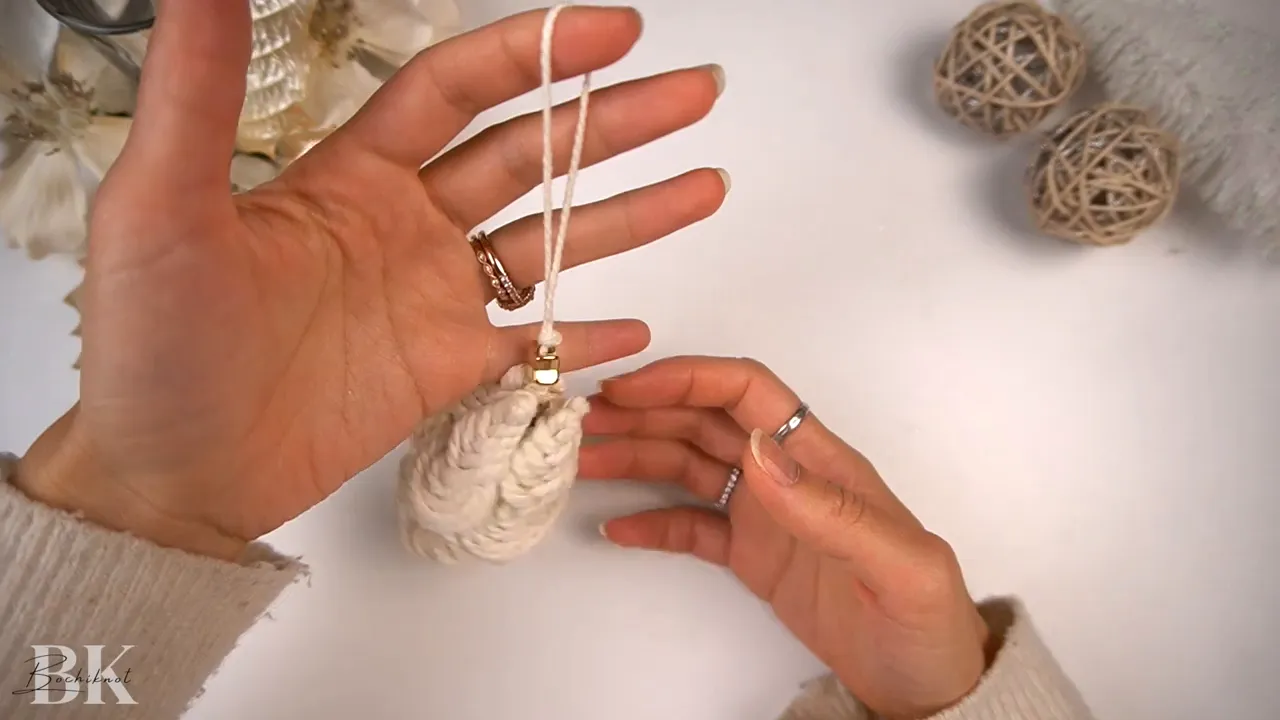
- Insert the cinnamon stick from the bottom, pushing it up through the tree's center
- Leave a small portion visible below as the trunk, with the thicker end resting above the bottom row
- Apply hot glue at the top to secure the Pipa knots to the stick and to each other
- Glue the hanging string into the top knot area
- Trim any excess string at the bottom
- Clean up any stray fibers for a polished finish
Tips, Variations & Customization Ideas
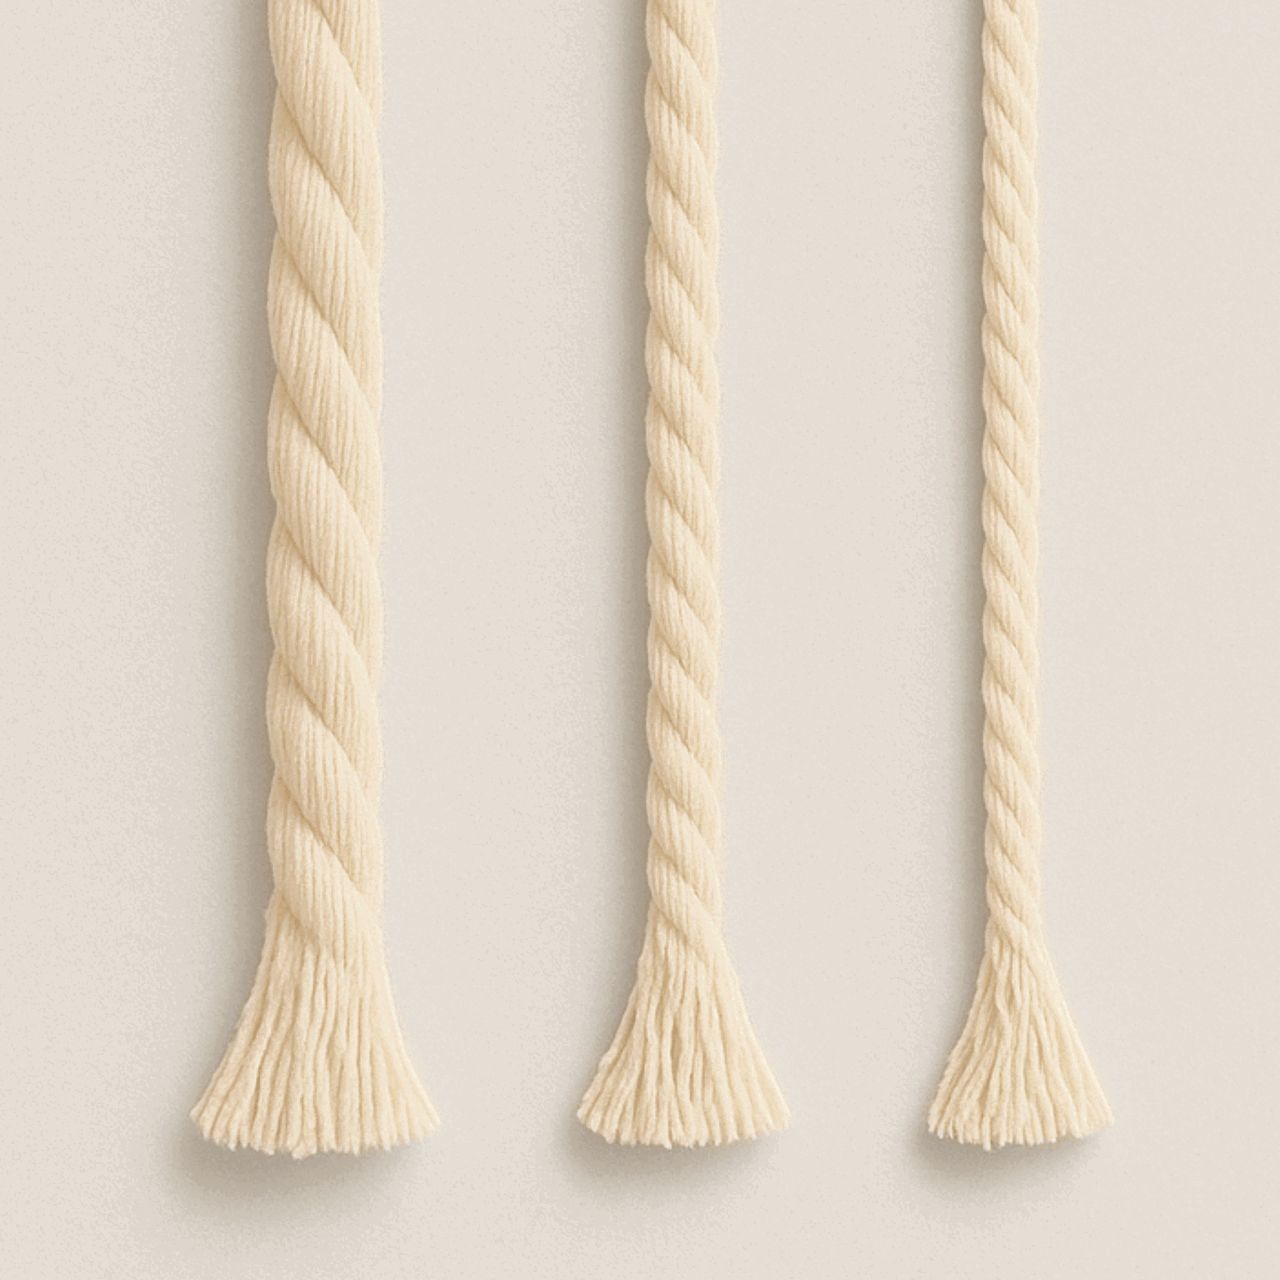
Cord Selection: 3mm 3-ply cord works best—it holds the Pipa knot shape beautifully and glues cleanly without excessive fraying.
Size Adjustments: Use a larger ring and more Pipa knots per row for a statement ornament, or go smaller with fewer knots for a delicate mini version.
Trunk Alternatives: Swap the cinnamon stick for a knotted cord trunk or small wooden dowel if you prefer a different aesthetic.
Bead Considerations: If your star bead has a tiny hole, stick with 1–1.5mm string for the hanger.
Color Experiments: Try dyed cord, metallic accents, or gradient color schemes for unique variations.
Frequently Asked Questions
Q: How many Pipa knots do I need?
For a 1.25" ring, you'll make 10 total: 5 for the bottom row and 5 for the middle. Adjust this number when using different ring sizes.
Q: Is hot glue necessary?
Yes—this design relies on hot glue to hold the structure together and secure the trunk and hanger. If you prefer a no-glue project, consider a different pattern designed for structural knots.
Q: What's the best cord thickness?
3mm 3-ply cord is ideal because it maintains the Pipa knot shape and glues without fraying excessively.
Q: Can I scale this pattern?
Absolutely! Increase the ring diameter and add more Pipa knots for a larger tree, or reduce both for a miniature version. Keep proportions consistent for best results.
Q: How long does this take to make?
Beginners should expect 30–45 minutes from start to finish. With practice, you can complete one in under 20 minutes.
Final notes & next steps
This DIY macrame Christmas tree ornament is more than just a craft project—it's a meditative creative experience that results in a charming handmade decoration.
These little trees make thoughtful gifts, beautiful tree ornaments, or elegant package accents that add a personal touch to your holiday presentation.
Once you've mastered the Pipa knot, let your creativity shine. Experiment with different color combinations, try various bead styles, or use scented elements for the trunk.
For more inspiration and techniques, explore knotting guides like the 50-knot ebook to expand your macrame skills.
Happy crafting, and may your holidays be filled with handmade joy!
Love,

Looking for Macrame Patterns and Projects?
I’ve got a fun variety of DIY macrame patterns for you to explore—whether you’re into creating unique wall hangings to spruce up your home or timeless plant hangers, there’s something for every skill level.
Each pattern is super easy to follow with step-by-step photos, clear instructions, and plenty of tips to help you along the way.
Ready to start creating?
Browse DIY macrame patterns on Etsy and dive into your next project.

Join the Bochiknot Macrame Community: Your Gateway to Exclusive Tutorials & Inspiration
Discover the art of macrame like never before! Join our exclusive community of passionate macrame enthusiasts and unlock a world of creativity.
Gain access to a treasure trove of unique patterns, expert guidance, and a supportive network of fellow artists.














Leave a comment