


























Mini 3D Macrame Christmas Tree Ornament: Free Leaf Pattern

FREE CHRISTMAS MACRAME PATTERN · BY NICOLE WOO
A tiny Christmas tree with real depth: this ornament combines knotted leaf sections, a brown crown-knot trunk, and a little star at the top. Instead of making a flat tree with fringe, you’ll build separate leaf patterns and assemble them around the trunk.
This free macrame Christmas tree ornament pattern is a good next project if you can already follow a double half hitch. You’ll practice changing the anchor cord’s direction, repeating a small motif, and turning those pieces into a three-dimensional ornament.
New to the knots? Keep our free 50 Macrame Knots & Sennits guide nearby while you follow the video.
The Project at a Glance
Overall length depends on your hanging loop. The original article described the tree itself as roughly 4 inches tall; Nicole’s video lists 6.5 inches overall. Use the loop length that suits your branch. Allow extra time if you are learning the knots.
Cord and Materials for Your Macrame Christmas Tree
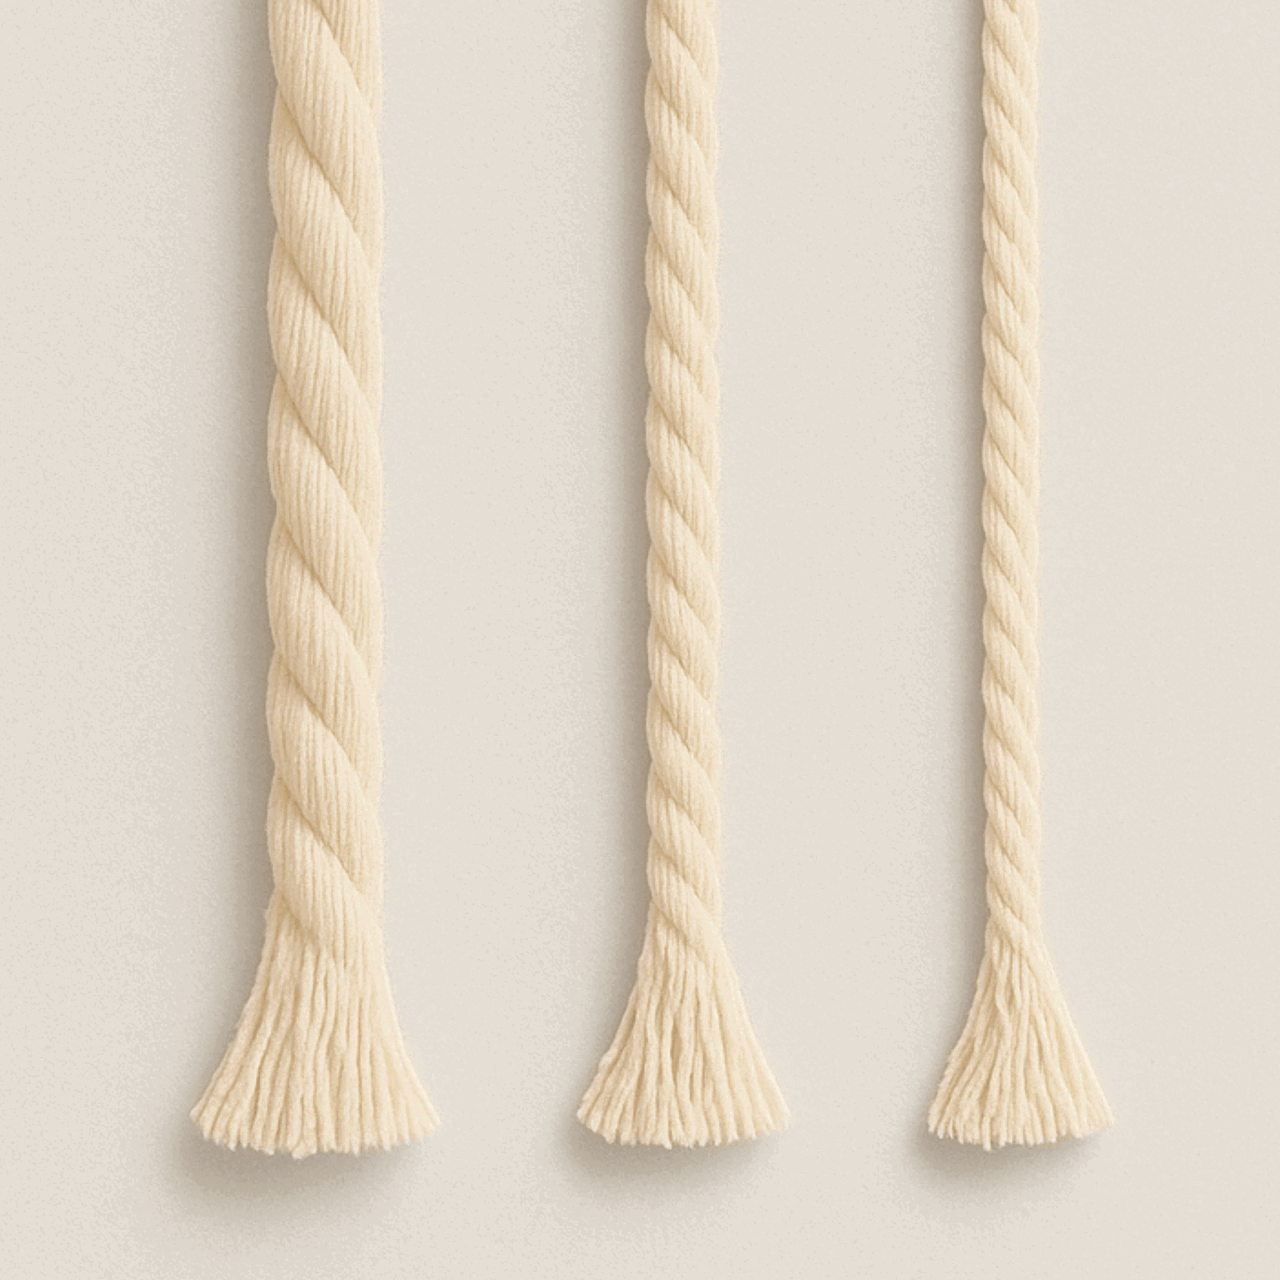
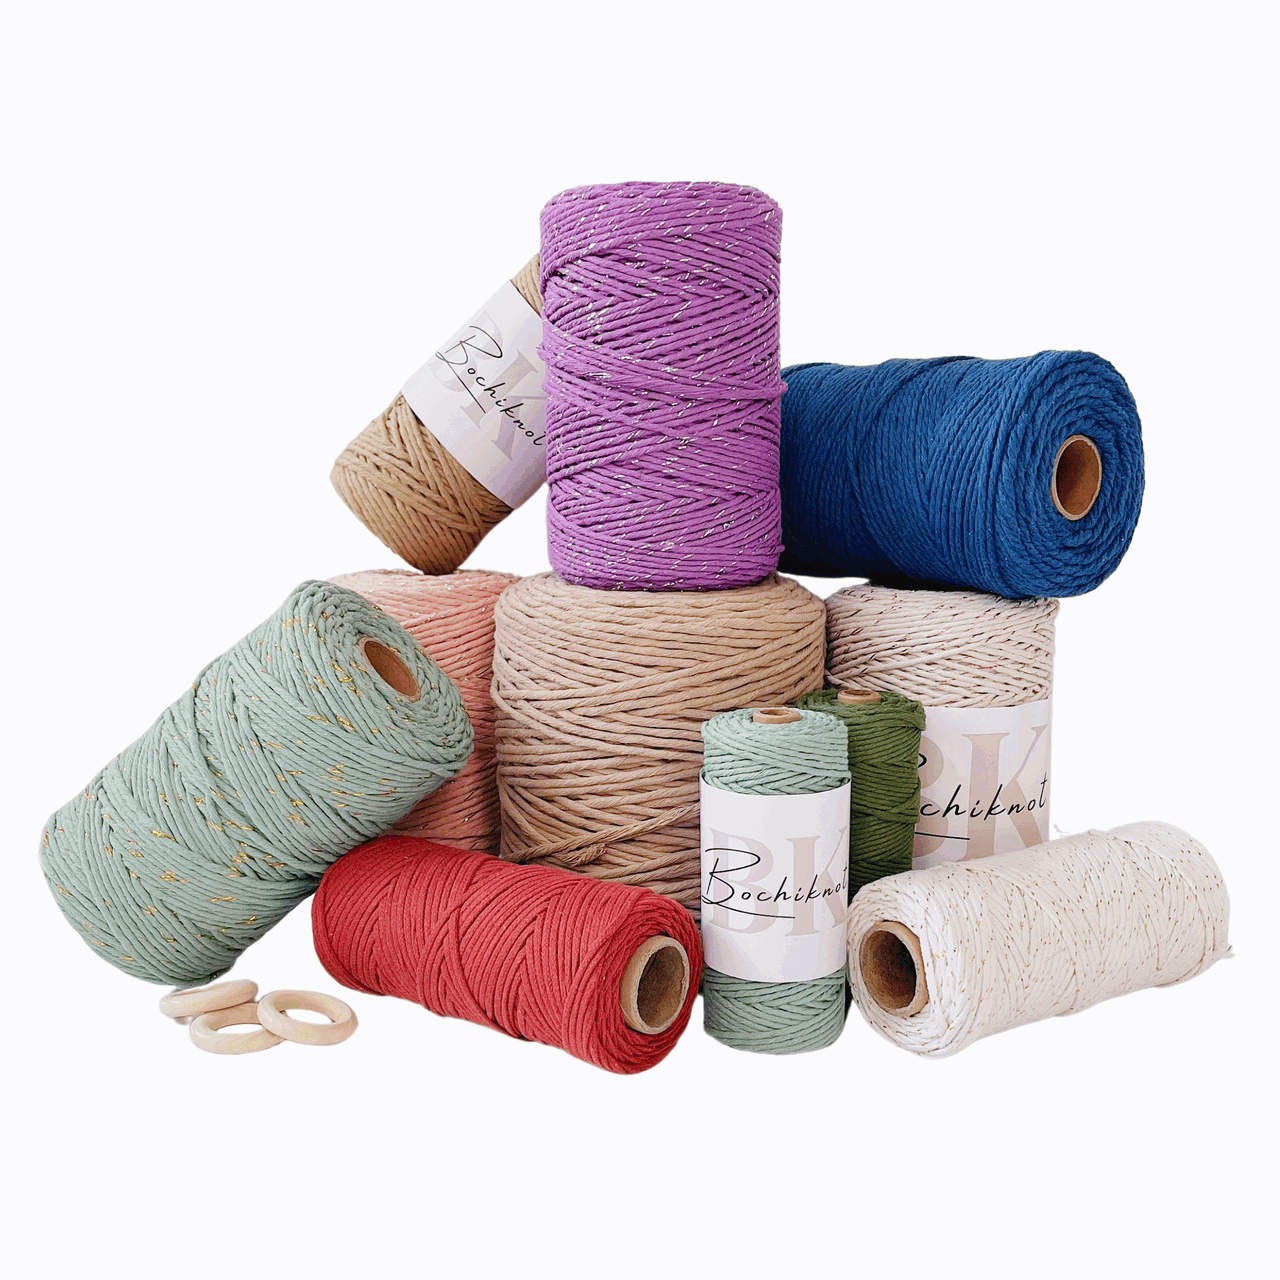
Use 4mm braided cord for the defined, compact leaves in this design. The tutorial colors are army green and coffee brown. Check the current color options before ordering; a different cord construction can change both the size and the amount used.
Some links are affiliate links. As an Amazon Associate, Bochiknot earns from qualifying purchases, at no extra cost to you.

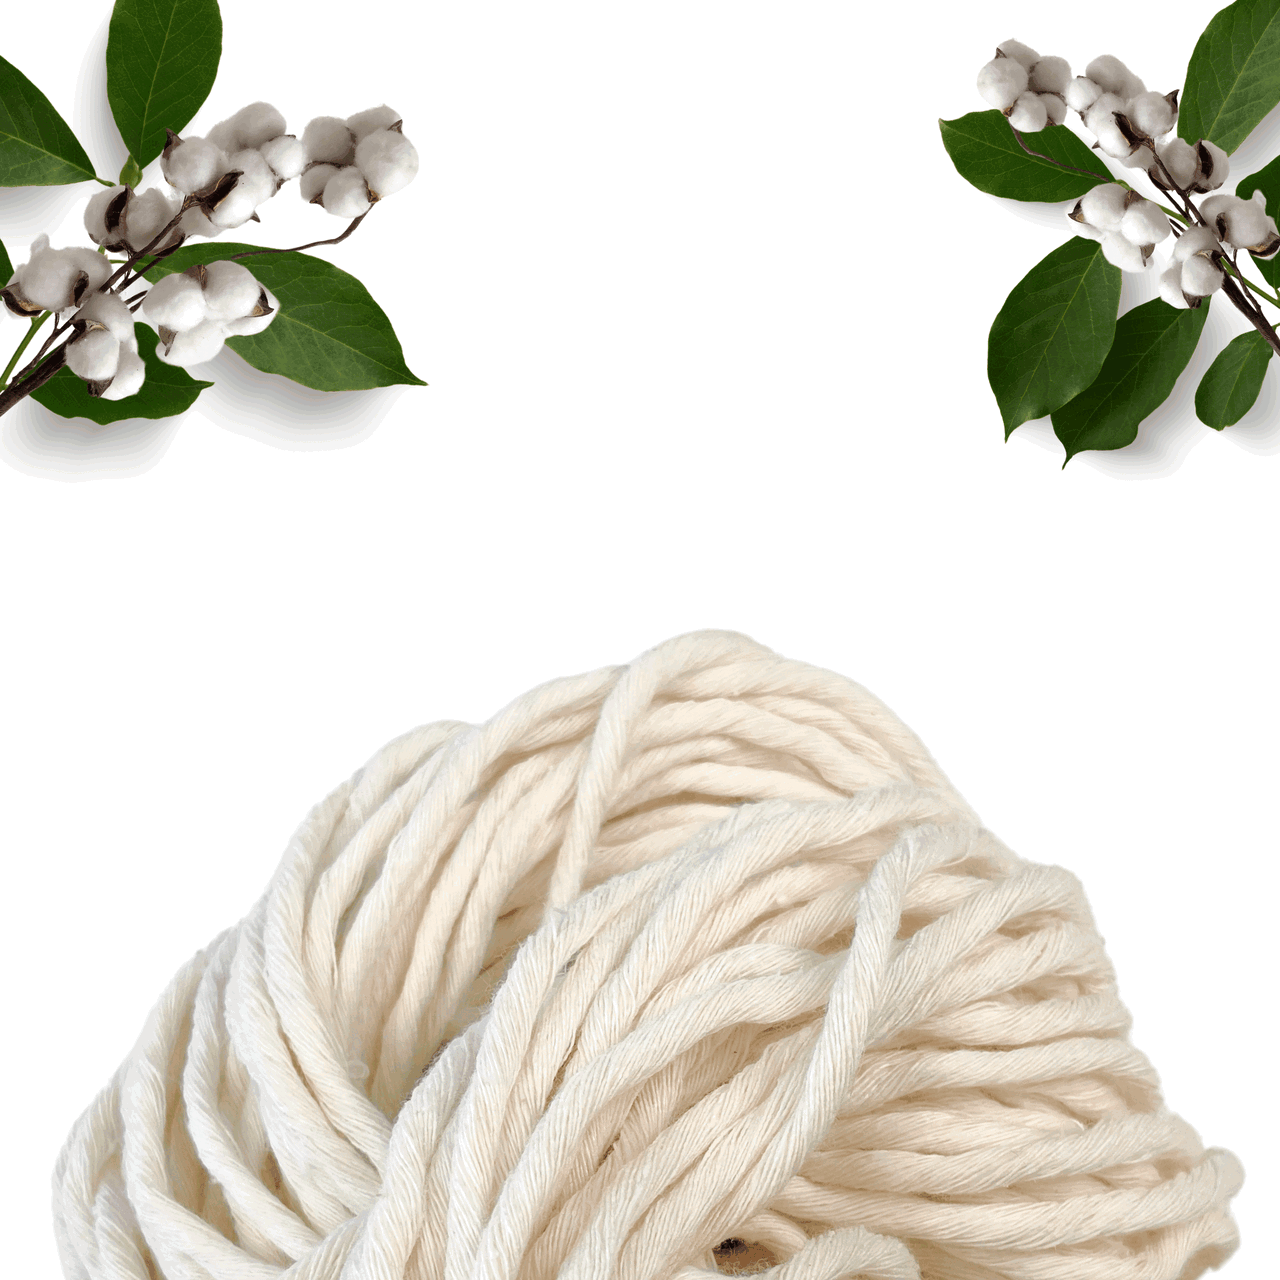
4mm Braided Macrame Cord
Choose the 4mm option. Set aside 5.25 m for the leaf patterns and 1.10 m in a contrasting trunk color, plus practice cord.
Shop Braided Cord →
Star Bead for the Topper
The video uses an older rounded star bead. For a replacement, test both hanging ends through the hole before you begin. The small 1.6mm-hole option is not suitable for two 4mm ends.
Check Star Bead Options →
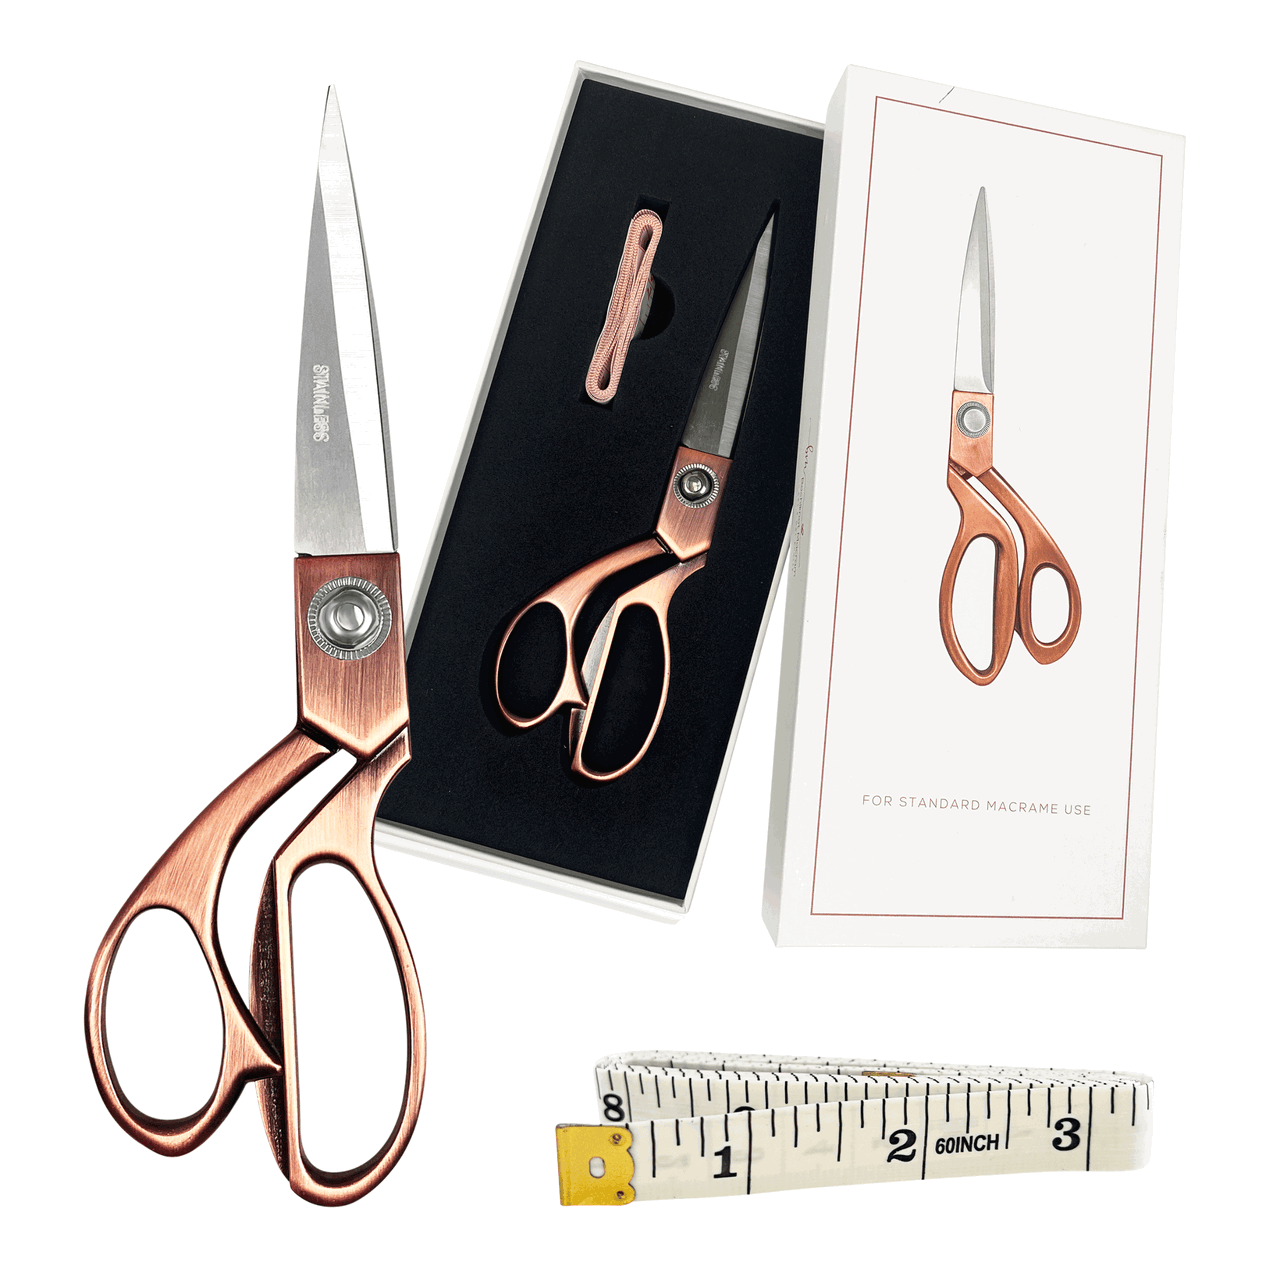
Gold Precision Scissors
Use small detailing scissors to trim the hidden tails after the leaf layers are secure.
Shop Precision Scissors →Your Remaining Tools
Also gather a measuring tape, low-tack adhesive tape to hold the anchor steady, and a glue gun with compatible glue sticks. A blunt weaving needle or crochet hook can help thread the trunk cords through the leaf layers. Keep the measuring tape and the adhesive tape separate on your checklist.
Use supplies you already own where possible. For other craft essentials, browse the Bochiknot Amazon US storefront.
Cut Your Cord Before You Start
| Use | Cut length | Approximate conversion | Notes |
|---|---|---|---|
| Leaf anchors | 3 × 65 cm | About 26 in each | Army green |
| Leaf working cords | 3 × 110 cm | About 43 in each | Army green |
| Trunk | 1 × 65 cm + 1 × 45 cm | About 26 in + 18 in | Coffee brown |
Total cut cord: 5.25 m green + 1.10 m brown = 6.35 m (about 6.9 yd), across eight pieces. Each green 65/110 cm pair makes one complete leaf strip; make three strips. Keep extra cord for your first practice leaf. Inch measurements are rounded—use the centimeter lengths for consistency.
Understand the Knots Before You Combine Them

Reverse Lark’s Head + Half Hitch
Begin each leaf strip with the combined attachment shown in the tutorial.
See The Knot Tutorial →
Double Half Hitch
Tie two half hitches with the working strand around an anchor. The anchor sets the direction.
See The Knot Tutorial →You’ll also make seven crown knots for the trunk and use double overhand/overhand knots to secure the assembly and hanger. Watch the crown-knot demonstration in Step 8 at 10:10 before cutting the trunk cords.
Make one leaf first and compare its shape with Nicole’s photo. Keep the anchor steady while the working cord wraps around it. Don’t glue or cut the leaf tails until you have checked that all three strips match.

Watch Nicole Make It
Use the full video for an overview, or click the timestamp beside any step to jump directly to that demonstration.
Mini Tree Ornament: Step-by-Step Pattern
Read the instruction, compare the original step photos, then use the linked video whenever you need to see the cord move. Clicking a step photo also opens that step in the video.
1. Attach the first pair of leaf cords
Lay one green 65 cm cord horizontally. Attach a 110 cm green cord to its left-hand end with a reverse lark’s head plus half hitch knot. This pair becomes one complete leaf strip.


2. Change direction around the anchor
Use the second strand from the right as the anchor. Make a double half hitch to the right, then a double half hitch back toward the left. Follow the anchor’s path rather than pulling every strand straight down.


3. Work two knots to the left
Bring the far-right cord across toward the left. Tie two double half hitches along it, keeping the knots close together.


4. Return toward the right
Use the same anchor cord to make two double half hitches toward the right. Keep the turning point neat without crushing the braid.


5. Finish the first leaf
Repeat the same back-and-forth sequence to finish the leaf shape. Compare it with the step photos before continuing.


6. Make two more leaves on the strip
Continue underneath the first leaf to make two more leaf sections. You now have one strip containing three leaves.


7. Repeat for three complete strips
Use the remaining two green cord pairs to make two more full leaf strips. Compare all three side by side and adjust any noticeably loose knots before assembly.


8. Tie the crown-knot trunk
Lay the brown 65 cm cord horizontally and the brown 45 cm cord vertically. Make seven crown knots following Nicole’s demonstration. Keep track of the longer ends; these will travel through the tree and become the hanger.


9. Close the leaf sections
Check the leaf shapes, trim the indicated tails, and glue the sides together as shown. Work a small section at a time and let the glue set before handling. Keep the central openings clear for the trunk cords.


10. Join the trunk to the first layer
Weave two trunk cords between the leaf sections of the first leaf pattern. Weave the other two through the opposite side so the trunk sits centrally.


11. Thread the shorter ends through the next layer
Pass one shorter cord through a leaf section on the next leaf pattern. Thread the other shorter cord through a leaf on the opposite side.


12. Bring the longer ends through the center
Feed the two longer cord ends through the middle opening. Gently bring the layers together without flattening the leaves.


13. Secure the shorter ends
Tie a double overhand knot with the shorter ends as demonstrated. Check that the layer is held securely, then trim the excess.


14. Add the remaining leaf layer
Weave both longer ends through the center of the remaining leaf layer. Arrange the leaves so the tree has an even outline when it hangs.


15. Add the star and hanging loop
Thread the star bead onto the two long ends. Tie an overhand knot at the top to form the hanging loop, then trim the excess. Hang the tree briefly and check the layers and bead before your final trim.


You should have three assembled leaf patterns, one crown-knot trunk, and a secure hanging loop. The leaves should remain rounded rather than squeezed into a flat stack.
If Your Tree Looks Different
My leaves look different from each other
Compare each strip before gluing. Check the number of direction changes and whether the same cord stays the anchor at each turn. Undo the mismatched section while the tails are still long.
The layers bunch up around the trunk
Loosen the assembly slightly and redistribute the leaf sections around the center. Pulling the long cords too hard can squash the shape.
The star bead will not fit
Don’t force the braid through an undersized hole. Choose a topper that accepts the actual pair of cord ends, or leave the bead off and keep the hanging knot. Product hole sizes vary.
The glue shows on the front
Use a small amount on the hidden joining edges and keep glue away from visible knot faces. Dry-fit the layers first so you know exactly where the contact points are.

Display It, Gift It, Make It Yours
Hang it on a branch where the layered leaves can turn freely, or tie it to a wrapped gift. Keep the small star and textured trunk visible; you do not need extra embellishments for the design to read as a Christmas tree.
Share your finished piece and tag @bochiknot on Instagram. Seeing how a familiar pattern looks in another maker’s colors is part of the fun.
Questions Before You Start?
Is this macrame Christmas tree beginner-friendly?
It is best for a confident beginner who can follow double half hitch knots. The repeated leaves are manageable, but the direction changes and three-dimensional assembly need attention. Practice one leaf before making all three strips.
Can I use single-strand cord instead of braided cord?
You can experiment, but it is not a like-for-like swap. Softer single-strand cord can make less defined leaves and use a different amount. Test one complete strip before cutting the rest; the published measurements are for 4mm braided cord.
Do I need glue?
Yes. This version uses glue to close and secure parts of the leaf assembly. Dry-fit the pieces first, follow your glue product’s directions, and keep the hot nozzle away from your fingers.
Can I use the ornament as a gift topper?
Yes. Tie its hanging loop to the gift ribbon so the recipient can remove it and hang it afterward. Avoid gluing the ornament to the wrapping.
What Would You Like to Make Next?
Keep exploring with another free Christmas macrame tutorial. Choose a different construction to build on what you just practiced.

3D Macrame Christmas Tree with Loops: Free Tabletop Pattern
Turn a continuous strip of open loops into a small tabletop tree.
Try This Free Pattern →
Macrame Star Snowflake Ornament: Free Step-by-Step Pattern
Repeat a geometric knot motif around a ring to create six points.
Try This Free Pattern →
Daisy Knot Christmas Wreath
Try a wreath ornament with a different decorative knot pattern.
Make The Wreath →Browse all Christmas macrame tutorials, or follow the Macrame Journey to choose your next learning stage.
KEEP A KNOT REFERENCE NEARBY
A Little Help Between Tutorial Pauses
Revisit a knot before repeating it across your project. Our free 50 Macrame Knots & Sennits guide gives you a reference to return to as you learn.
Get The Free Knot Guide →A LITTLE SUPPORT FOR YOUR NEXT PROJECT
Keep Learning With The Bochiknot Patreon Community
If you would like a regular reason to pick up your cord, explore the Bochiknot community on Patreon. Choose the level of guidance that fits the projects you want to make.

TIER 1
Mini-Macrame Creations
Explore smaller projects with patterns and video guidance.

TIER 2
Mastering Macrame Skills
Build your technique through guided projects, lessons, and creative challenges.

TIER 3
Macrame Masterpiece
Explore a learning and materials-kit option. Compare the kit schedule and shipping details on Patreon.
Tier 3 also has Macrame Masterpiece Lite (S2) and Macrame Masterpiece Bundle (S1) options. See Patreon for the current inclusions, availability, and pricing.

NICOLE WOO · BOCHIKNOT
Take your time with the first leaf, and let that small success guide the next two strips. Watching separate pieces become a little tree is the rewarding part. Happy knotting!

A Little Inspiration Between Projects
Follow Bochiknot for tutorials, new ideas, and more ways to keep knotting.
Pattern and instruction: Nicole Woo, Bochiknot. Original step photographs accompany the linked tutorial. Lifestyle scenes are styled illustrations of the finished project.

Leave a comment