DECK the HALLS with This Macrame CHRISTMAS TREE Ornament

Handmade, Heartfelt, and Oh-So-Festive: The Perfect Ornament for Your Tree
There’s something magical about decorating the Christmas tree, isn’t there?
The soft glow of the lights, the twinkle of ornaments collected over the years, and the sense of tradition that fills the air.
Every ornament has its own story—like that snowman you’ve had since childhood or the glittery star your family made together one snowy Christmas Eve.
But what if this year, you added something new and extra special?
A handmade touch that reflects the joy of the season, made with your own hands.
That’s where this DIY Macrame Christmas Tree Ornament comes in—an easy yet beautiful project that will not only add charm to your tree but become a keepsake for years to come.
Imagine sitting down with a warm cup of cocoa, holiday music playing softly in the background, as you knot your way through this festive macrame project.
With every knot, you’re creating not just an ornament, but a new memory, a piece of this year’s Christmas that you’ll look back on fondly.
So, grab your macrame cord and join me in crafting something special this holiday season.
By the time you’re done, you’ll have a handmade ornament that adds a little extra sparkle to your tree and a whole lot of heart to your holiday decor.
Let’s get knotting!
Macrame Knots You Need to Know to Make a Christmas Tree Ornament (With Beads)
Before we start making your macrame Christmas tree ornament, it’s helpful to get familiar with a few basic macrame knots.
These are simple but essential knots that will give you the foundation you need to create beautiful designs.
Here are the knots you’ll need:
- Overhand Knot
- Reverse Lark’s Head Knot
- Double Half Hitch Knot
- Gathering Knot
These knots are commonly used in many macrame projects, so once you learn them, you'll be ready to tackle lots of other designs, including your Christmas tree ornament with beads.
-
Overhand Knot: This is a simple knot used to tie off cords or keep the ends from fraying. It’s one of the most basic and useful knots in macrame.
-
Double Half Hitch Knot: This knot is versatile and a key part of many macrame patterns. It’s used to create clean lines and structure, which will help shape your ornament.
-
Reverse Lark’s Head Knot: This is a variation of the Lark’s Head Knot, with an added Half Hitch knot on both sides. It’s great for securing your cords and creating strong foundations.
-
Gathering Knot: This knot wraps around several cords to hold them together. It’s often used at the bottom of macrame pieces to tie everything neatly.
Interested in More Knots for You Future Macrame Projects?
If you want to add more knots to your macrame designs, check out my free resource, "50 Macrame Knots & Sennit Guide."
It's packed with easy, step-by-step instructions to help you improve your skills and try new creative projects.
Access it here.
Important Macrame Terms for Beginners
Before we begin, it's probably best to go over a few important terms used in macrame.
This will help you understand the techniques more easily, follow patterns with confidence, and set a strong foundation for your macrame journey.
- Knots: Macrame involves various knots, like the overhand knot and alternating overhand knot. Learning these basic knots is key to building a strong foundation. Check the "Macrame Knots You Need to Know" section for the knots used in this pattern.
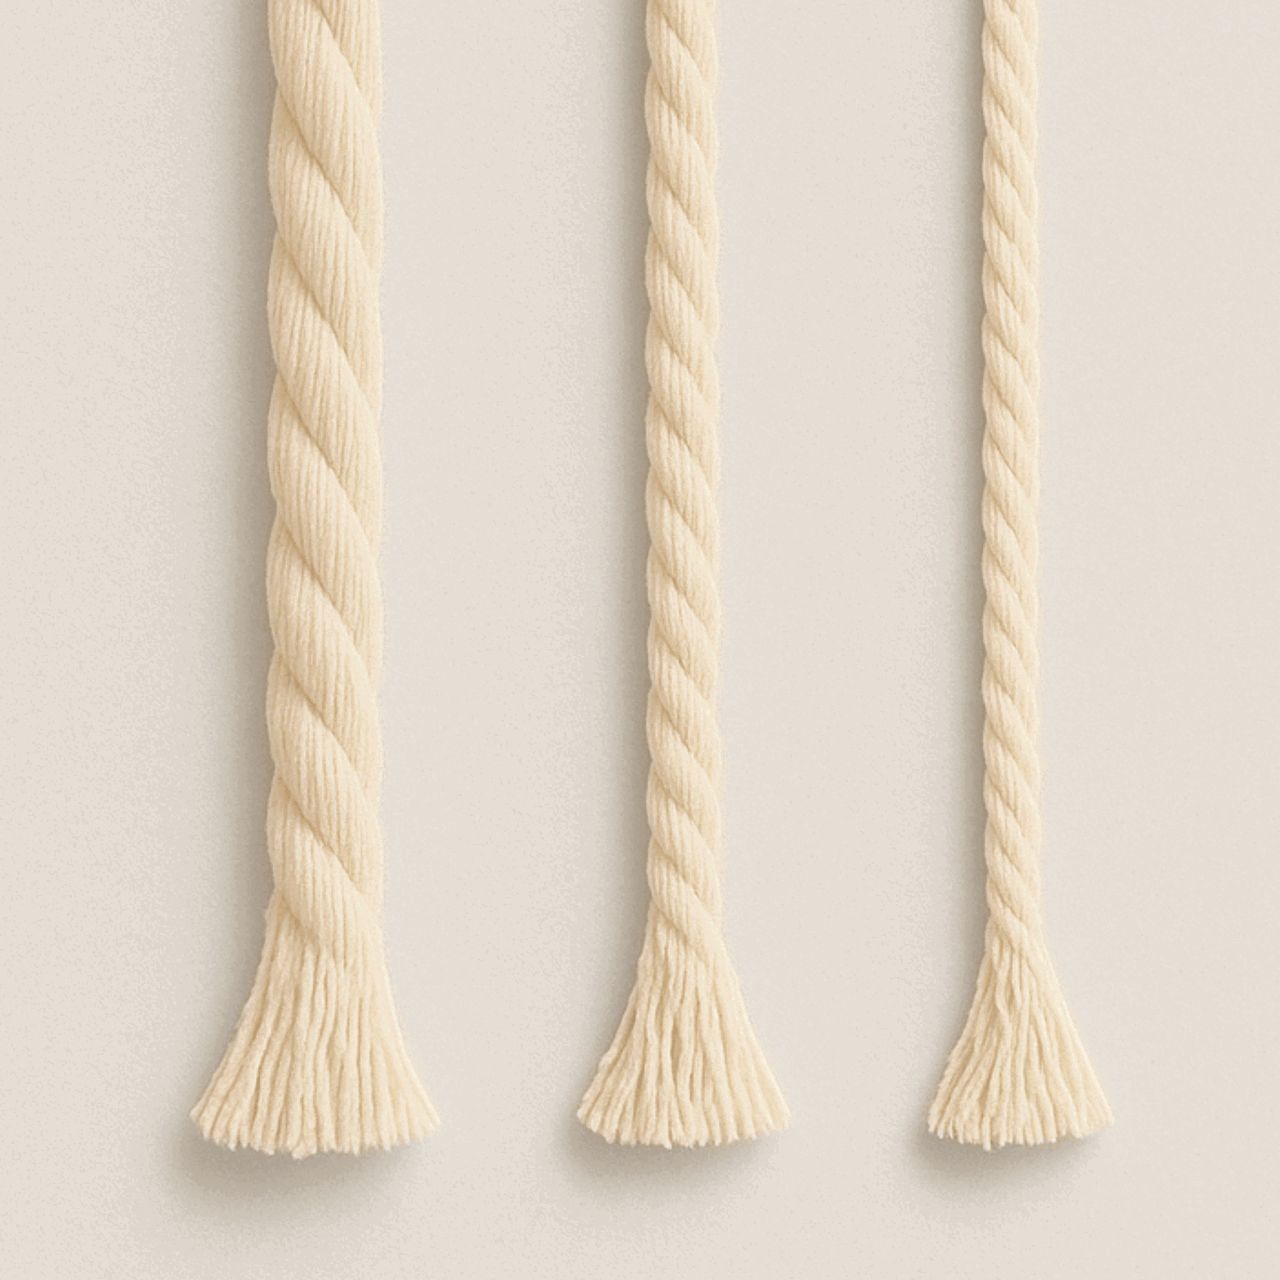
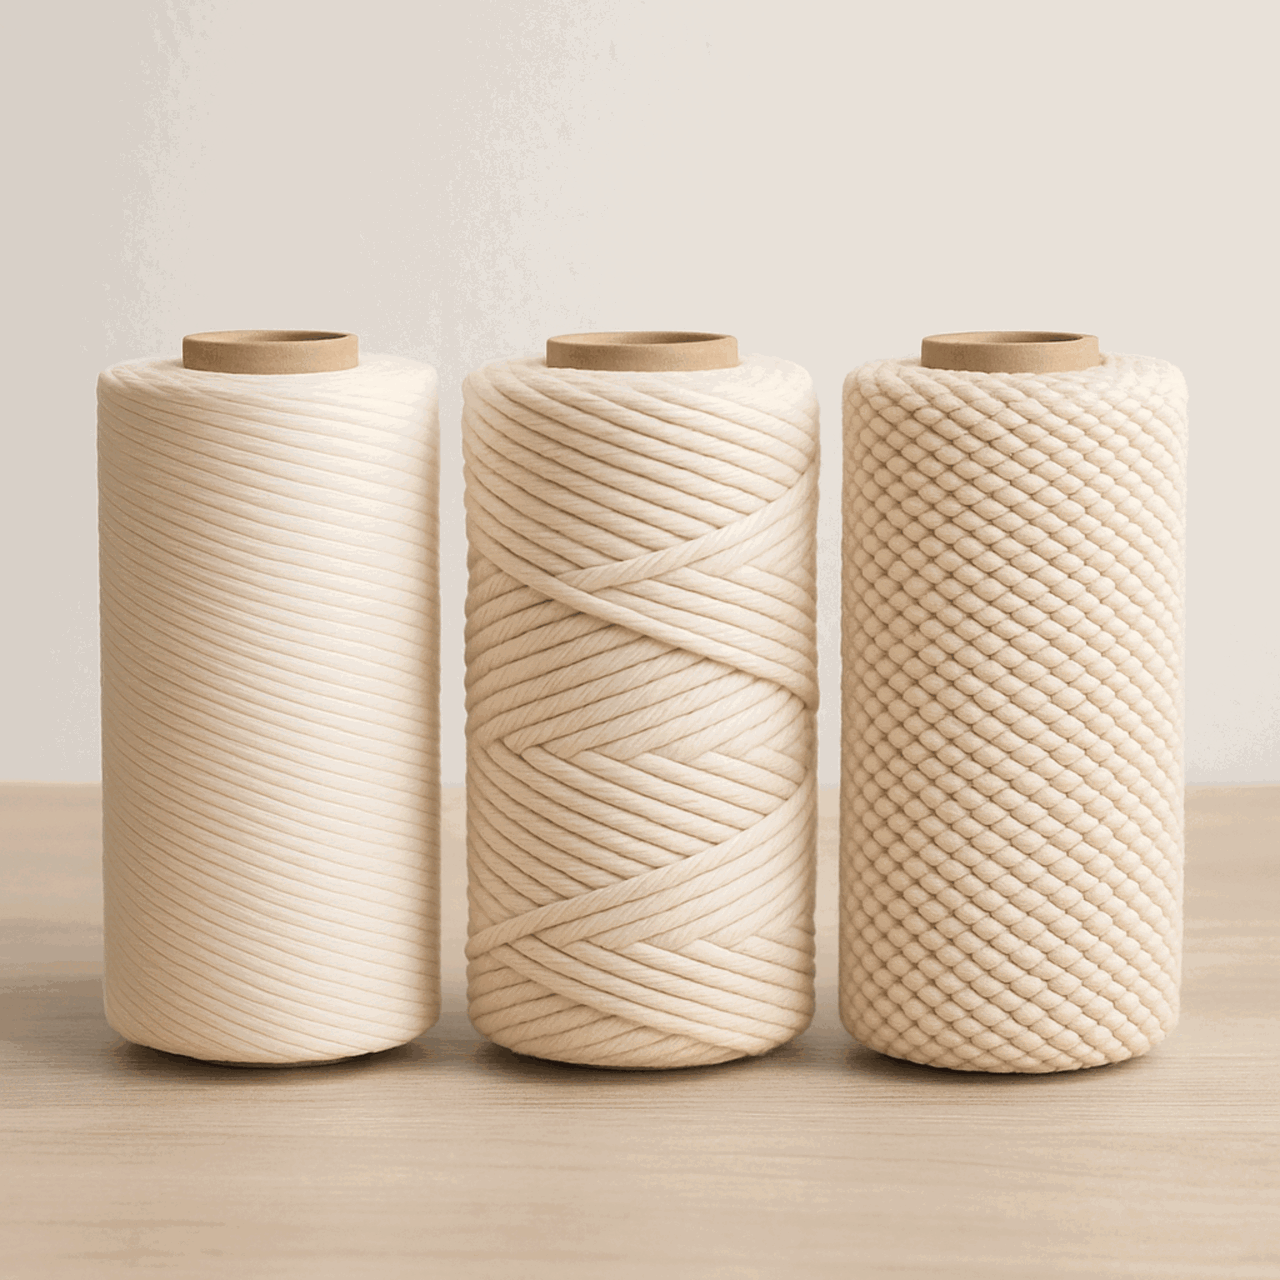
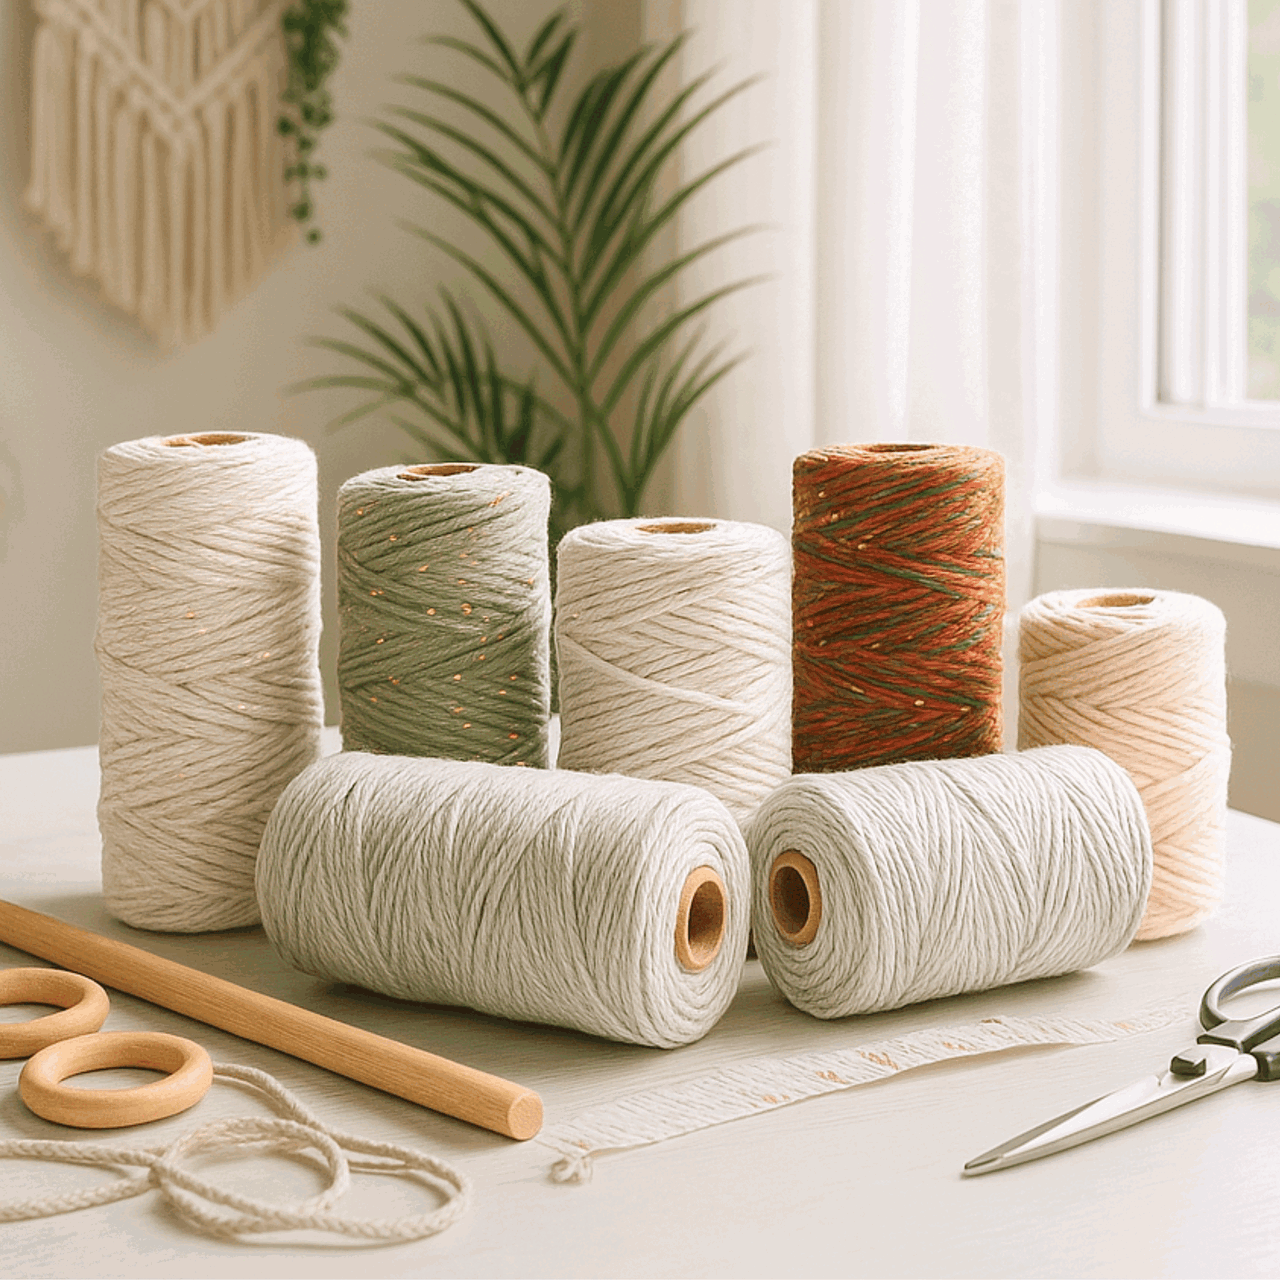
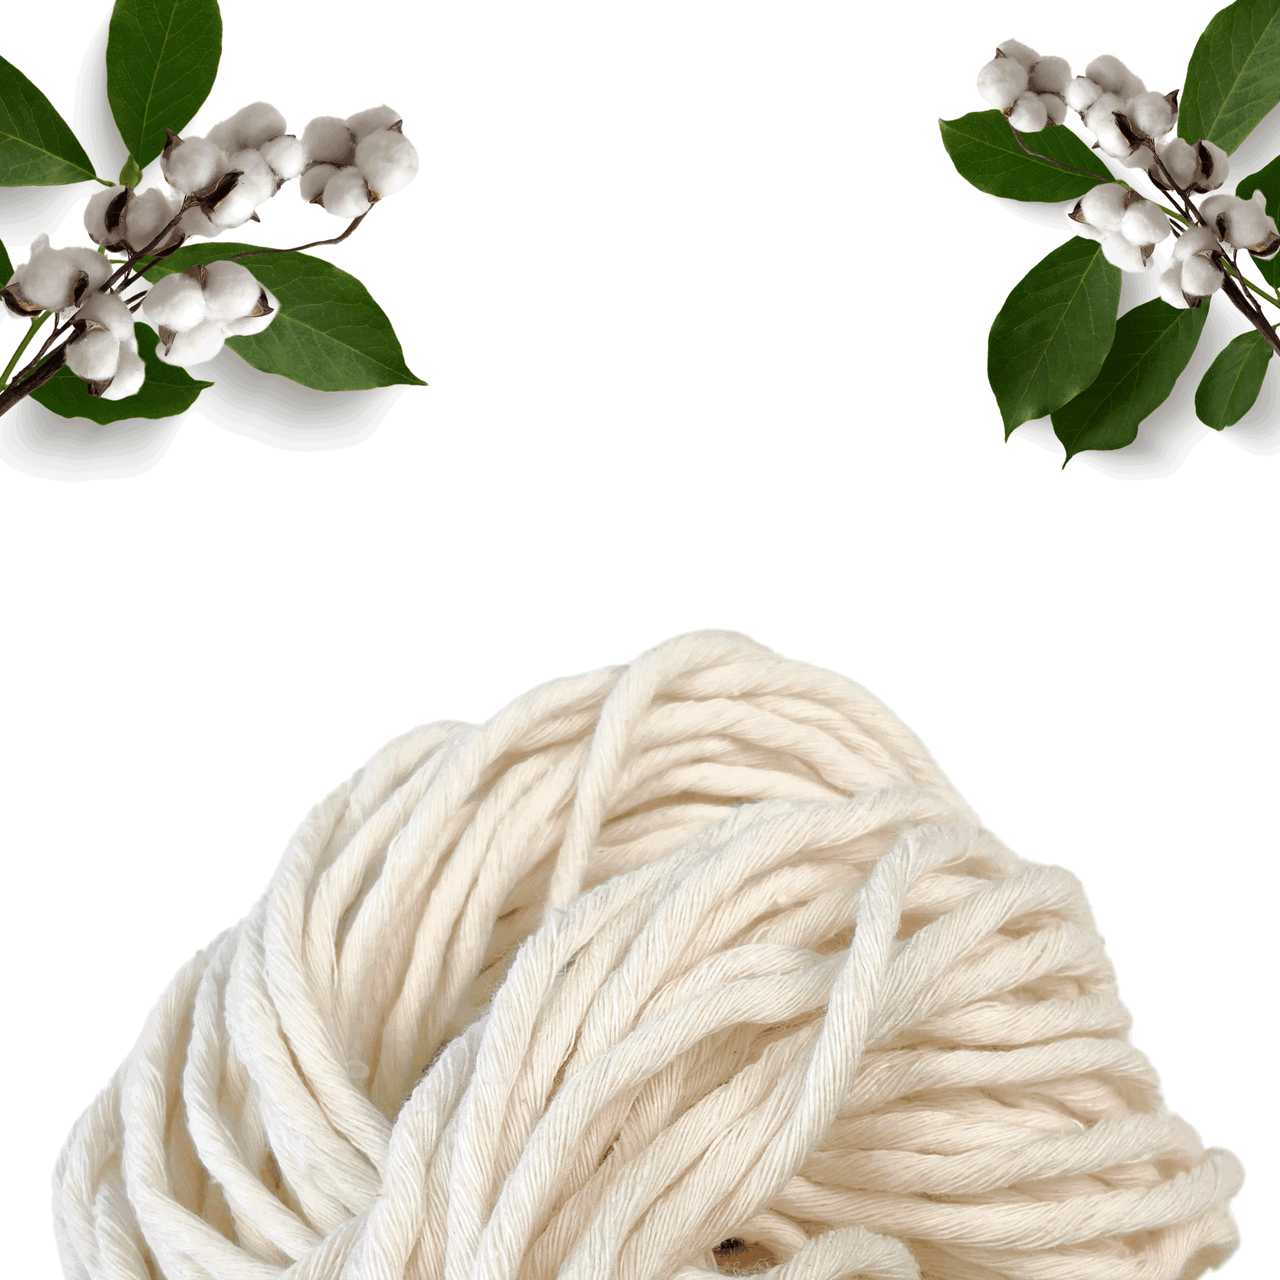
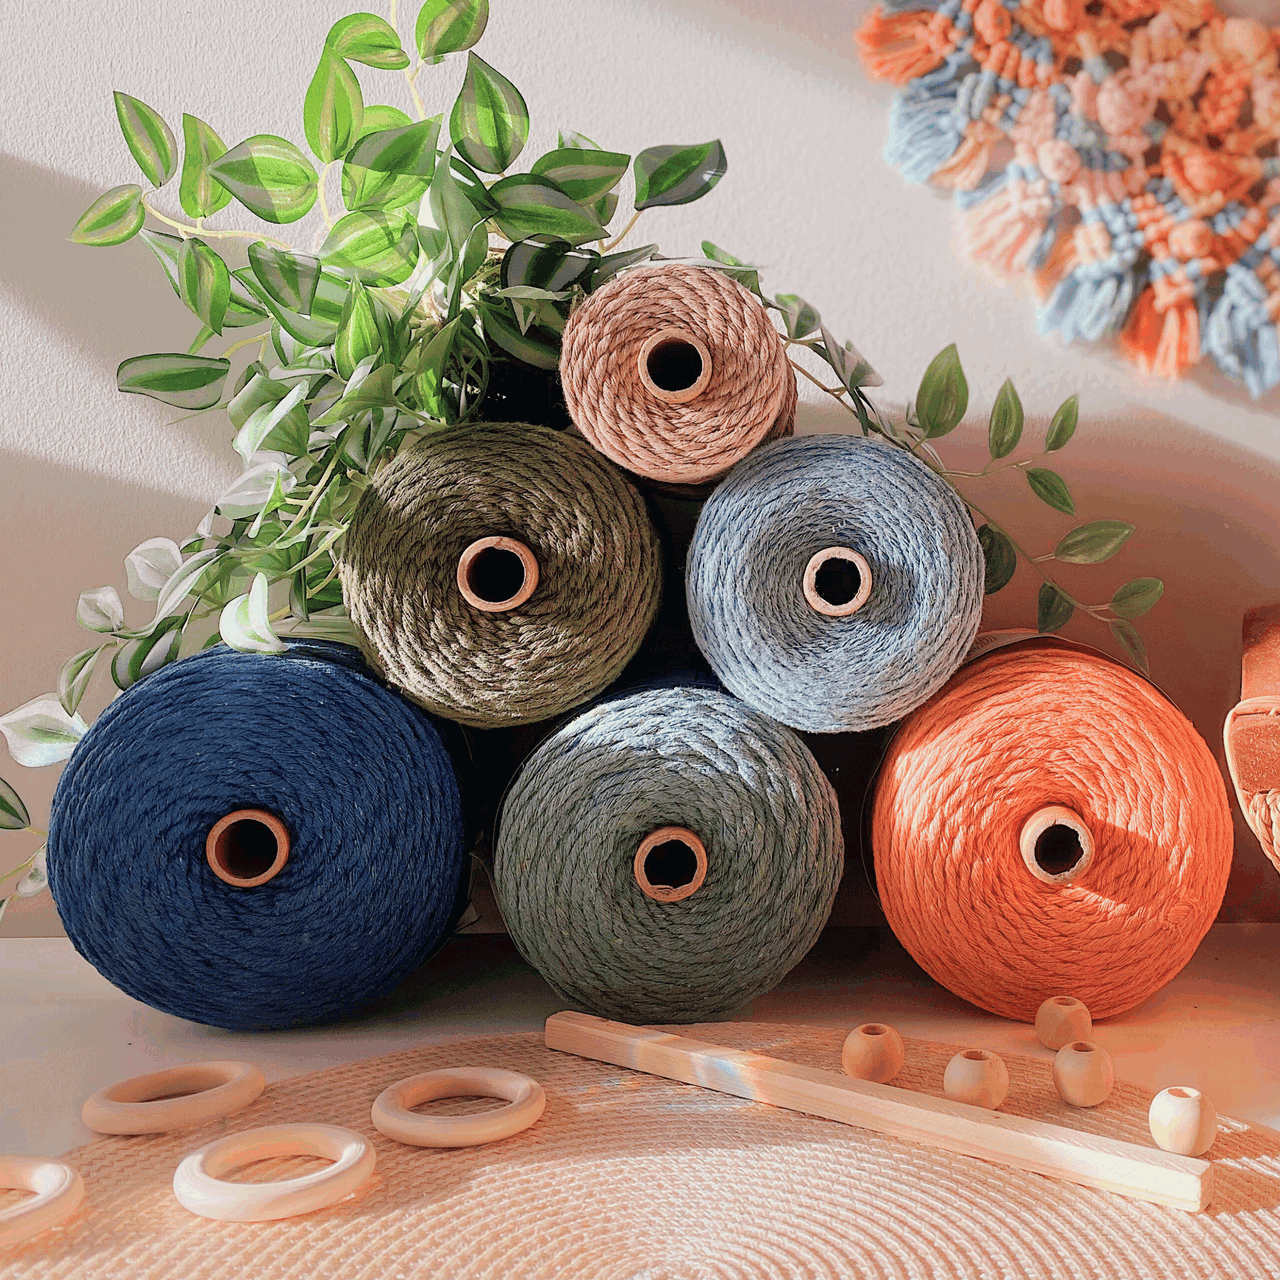
- Cords: The primary material in macrame is cords made from cotton, jute, nylon, or synthetic fibers. They come in different thicknesses and colors. You can learn more about macrame cord with our "Macrame ESSENTIALS: Everything You Need—Cord, Tools, & Materials" post.
- Loop: A loop is formed by crossing the cord over itself to create a ring-like shape. Loops are essential in many macrame designs.
- Fringe: The loose ends of cords that hang down, adding a decorative element. The fringe can be left as is or trimmed to your desired length. Want to learn more about fringe? here's "My Top 5 Secrets for Creating PERFECTLY Styled Fringe" post you might find helpful.
- Anchor Cord: The fixed cord or structure to which other cords are attached. It provides stability and support for your design.
- Working Cord: The cord that is actively manipulated to create knots and patterns throughout the project.
- Sennit: A series of knots grouped together to form a pattern or part of your macrame project.
- Frays and Tassels: The loose ends of your cords, often used intentionally as decorative elements like frays or tassels in your design.
Macrame Christmas Tree Ornament Cords and Materials
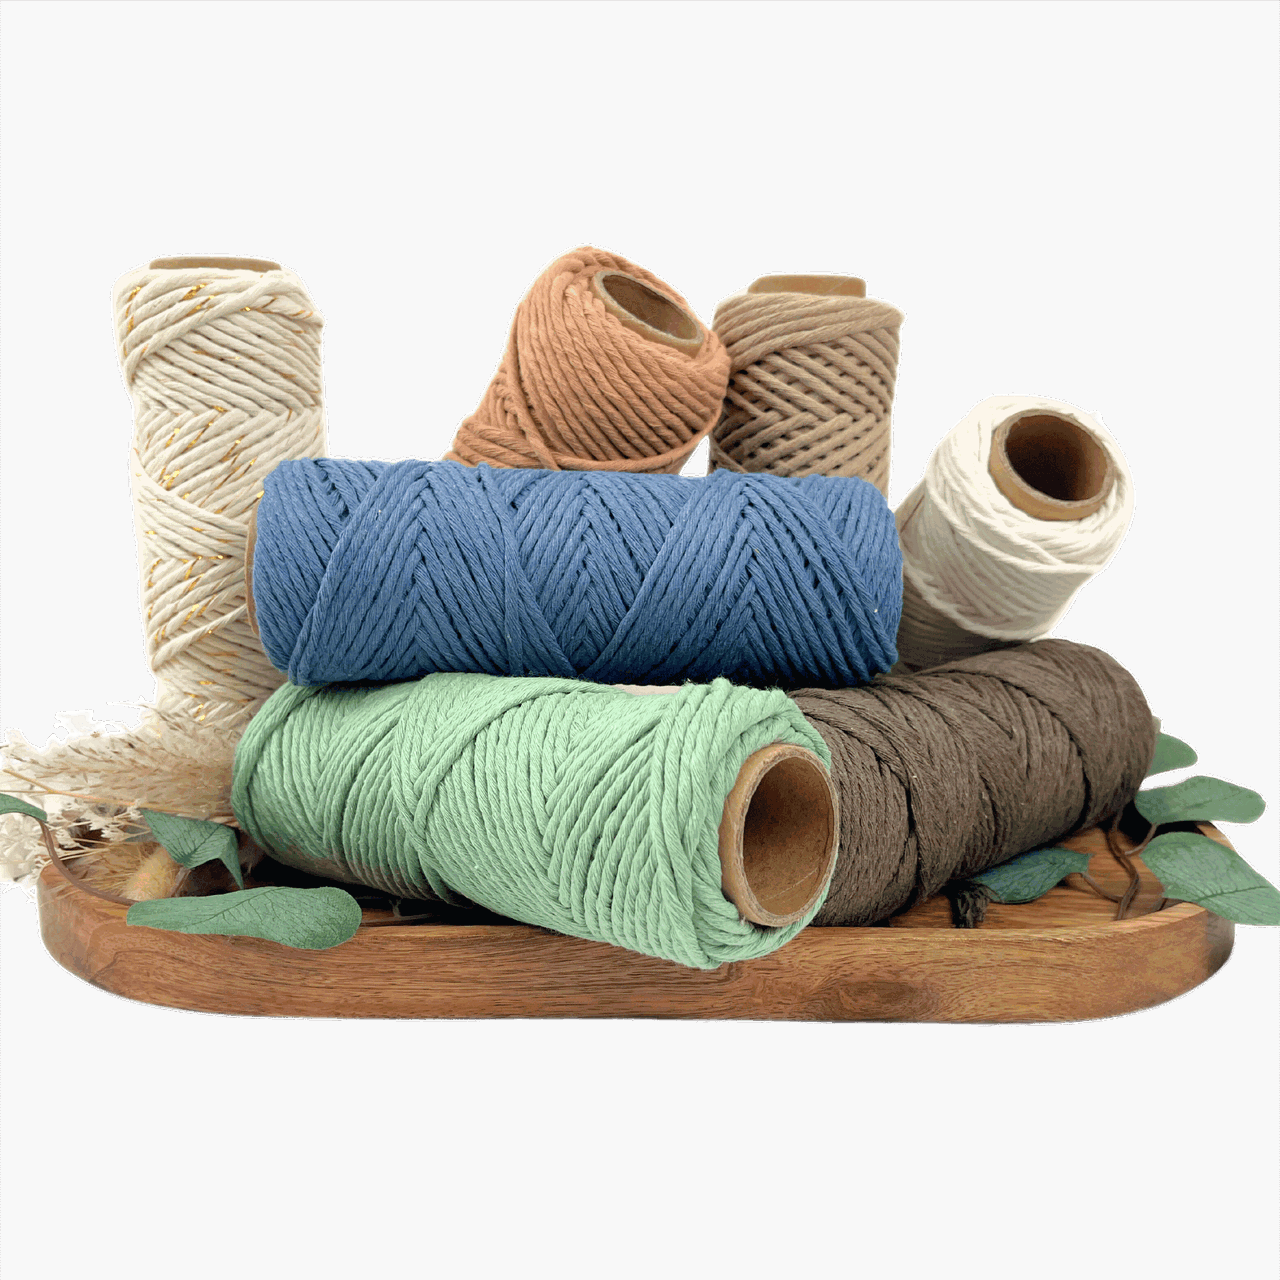
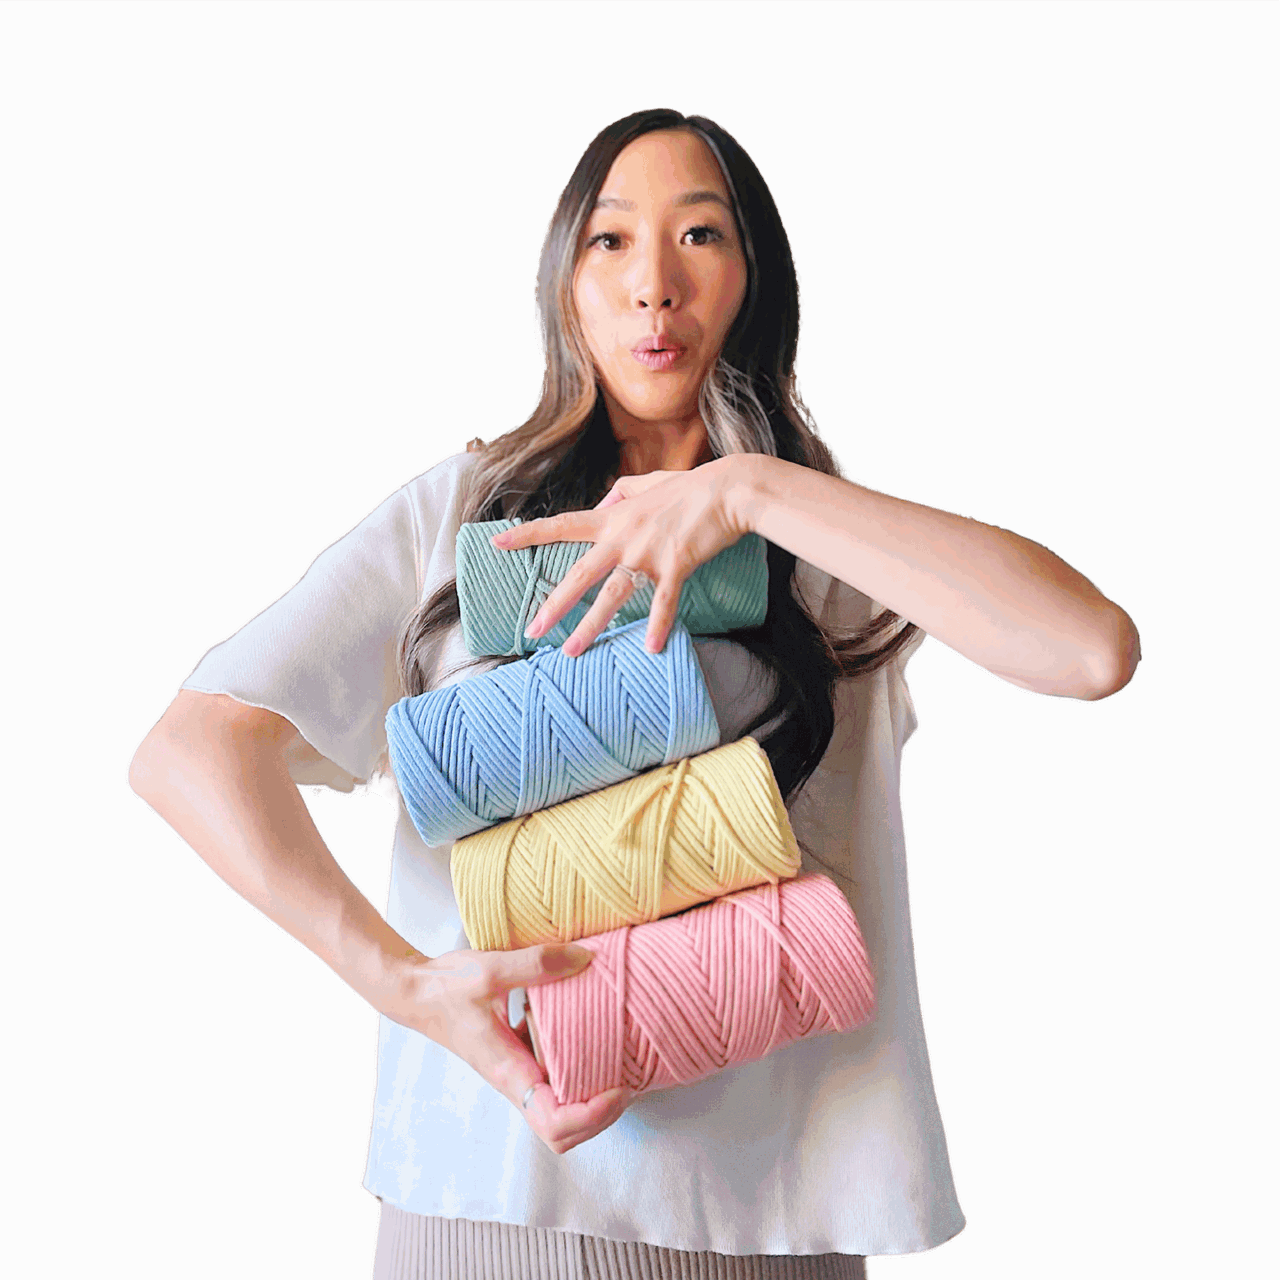
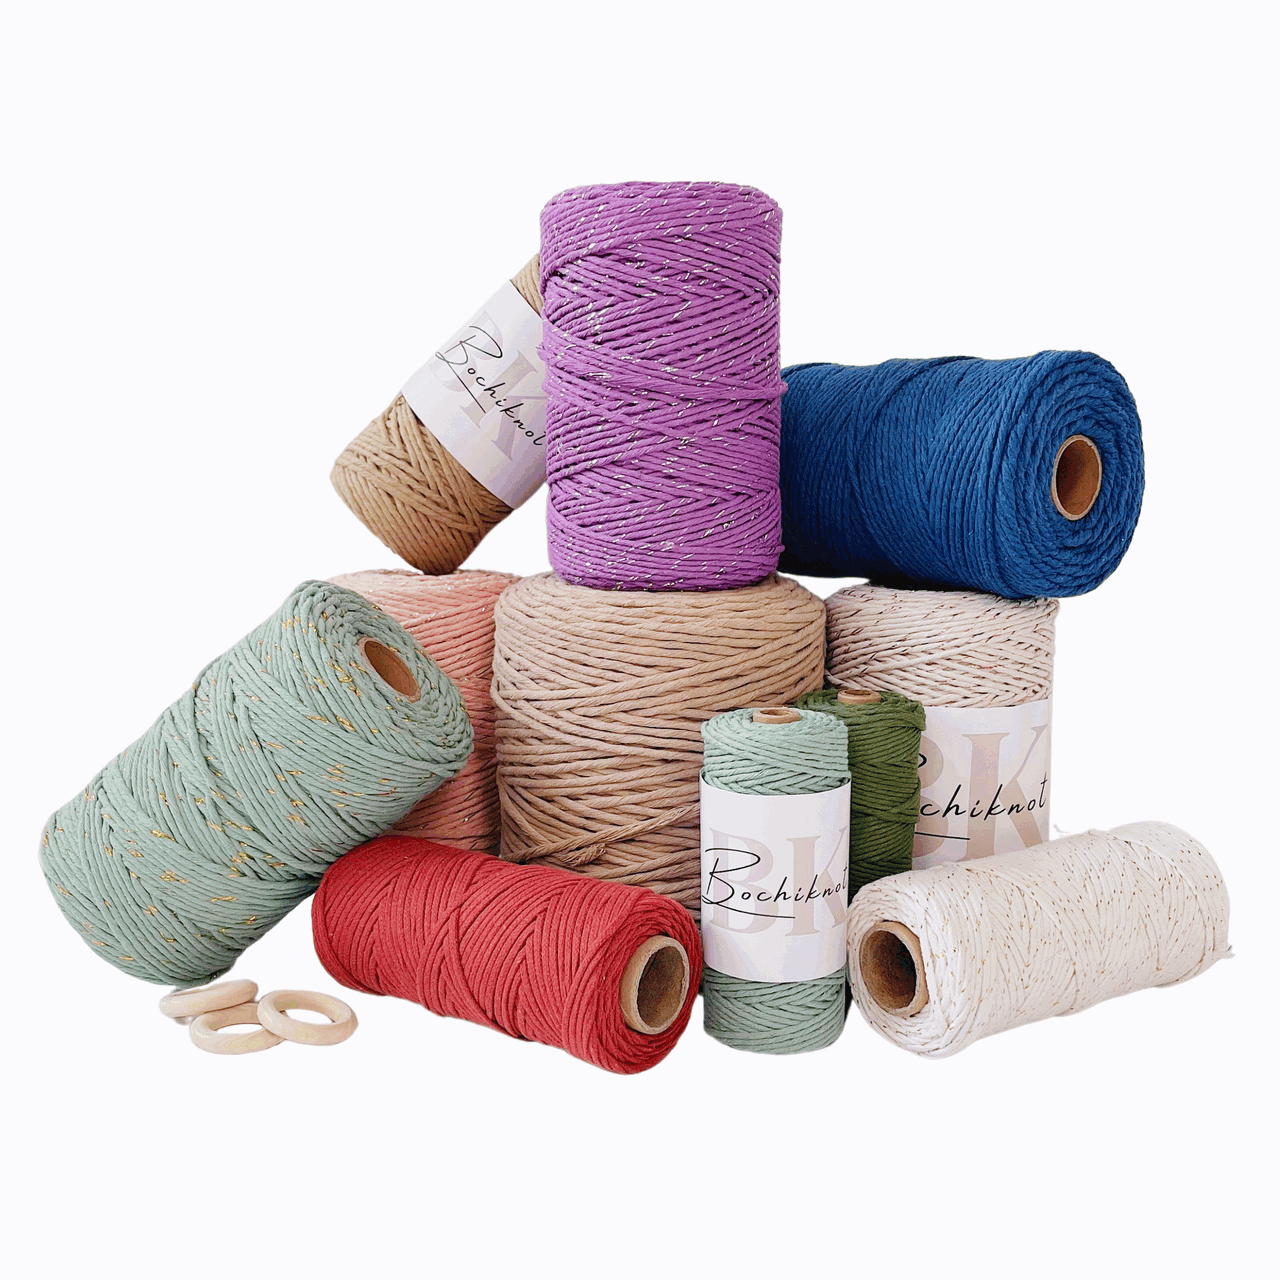
To make your macrame Christmas tree ornament (with beads), we recommend using 3mm single-strand macrame cord.
This type of cord is perfect because it’s soft, easy to work with, and holds knots beautifully.
The 3mm macrame cord size strikes the right balance between being flexible enough for intricate details and strong enough to keep the shape of your ornament sturdy.
Cotton cord also gives your project a nice, polished look, which is why we love using it for macrame.
That said, feel free to get creative! You can customize your ornament by using different types of cord or materials that suit your style.
Whether you want to add beads, play with colors, or use a different texture, the choice is yours.
Just keep in mind that for the best results and to follow along exactly with our tutorial, we recommend using the same cord we use.
But remember—this is your project, so have fun and make it your own!
Macrame Supplies & Tools
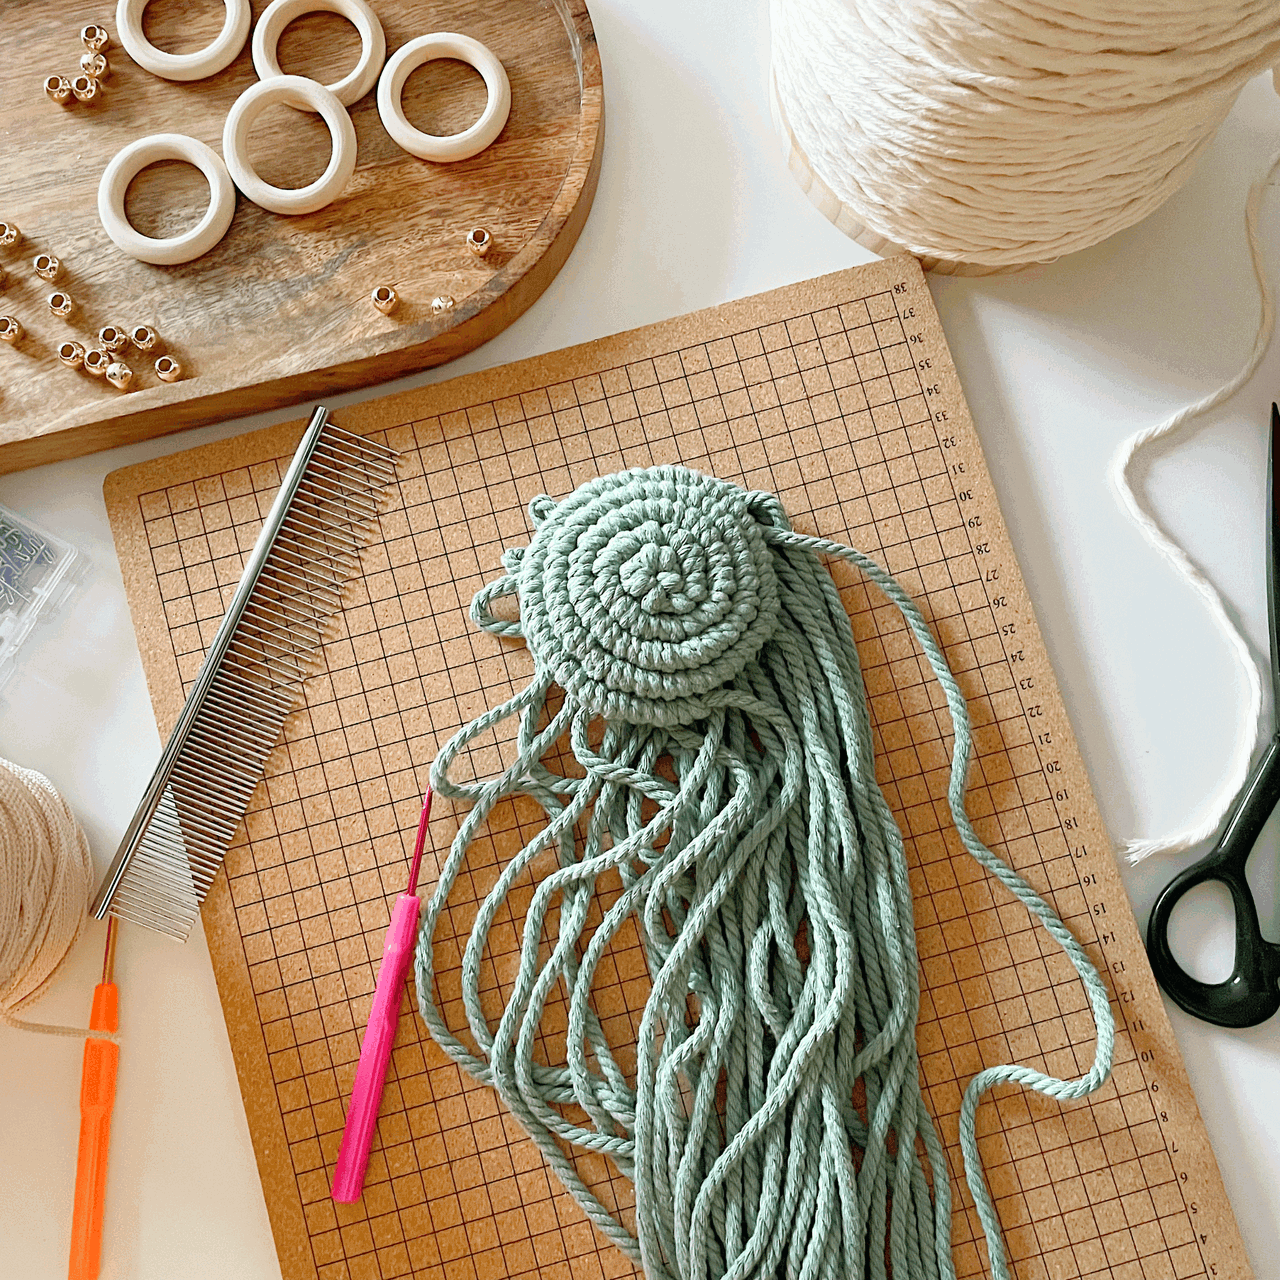
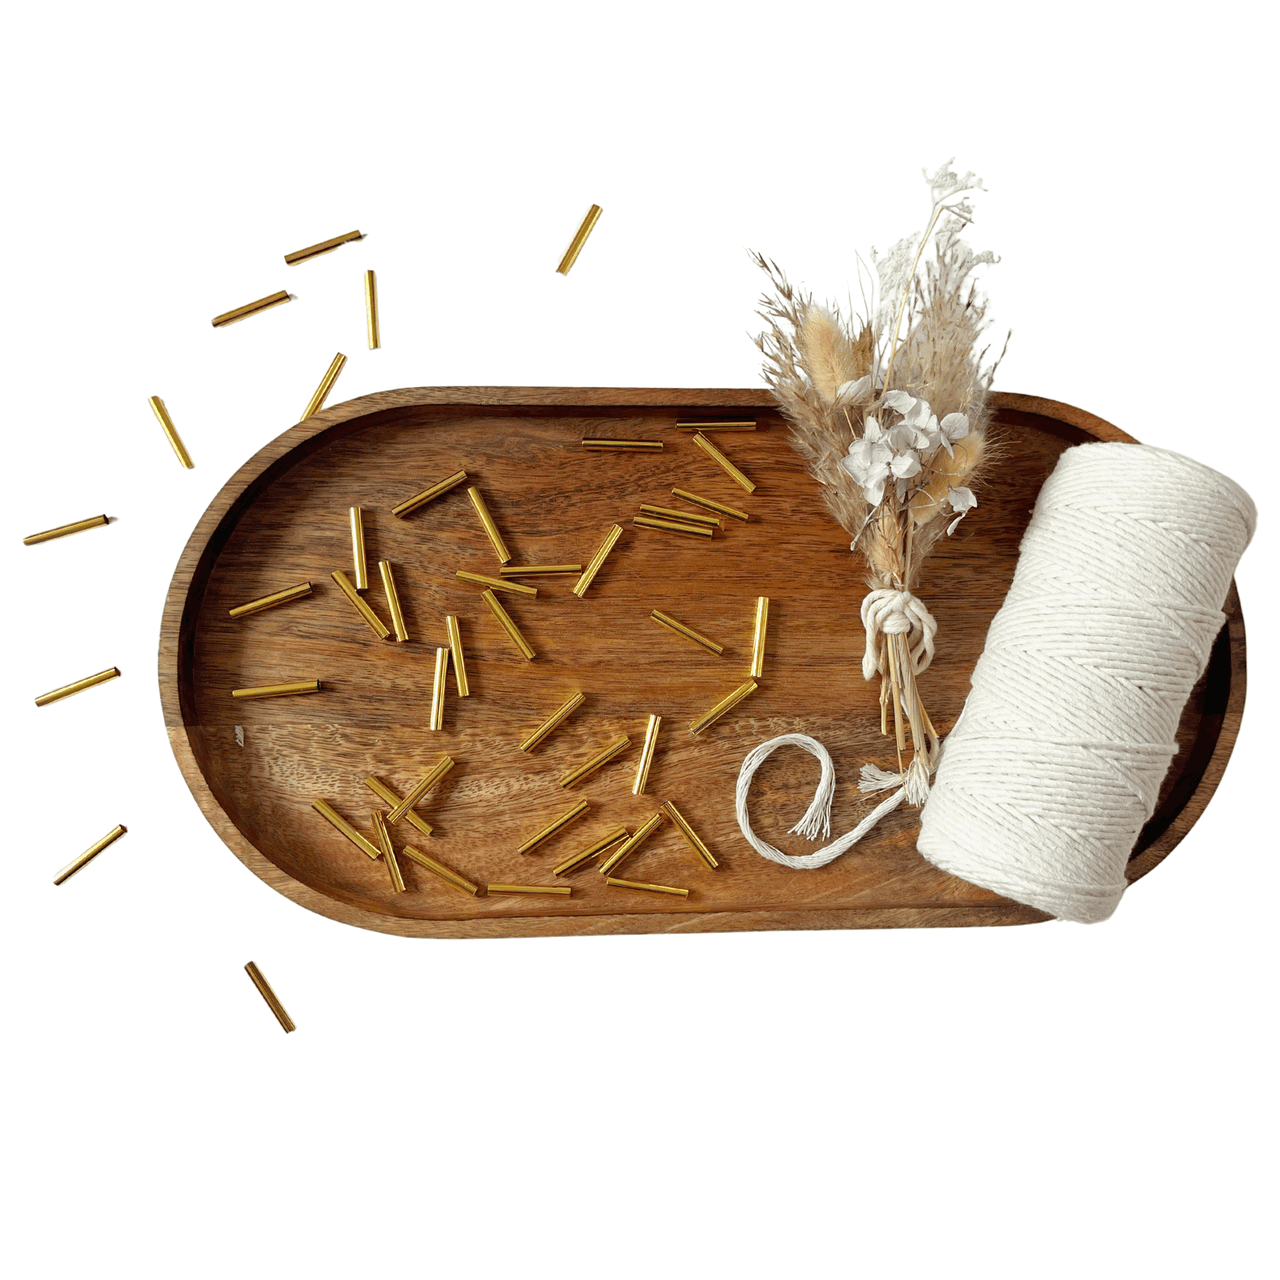
- 6 x Large hole beads
Essential Macrame Tools

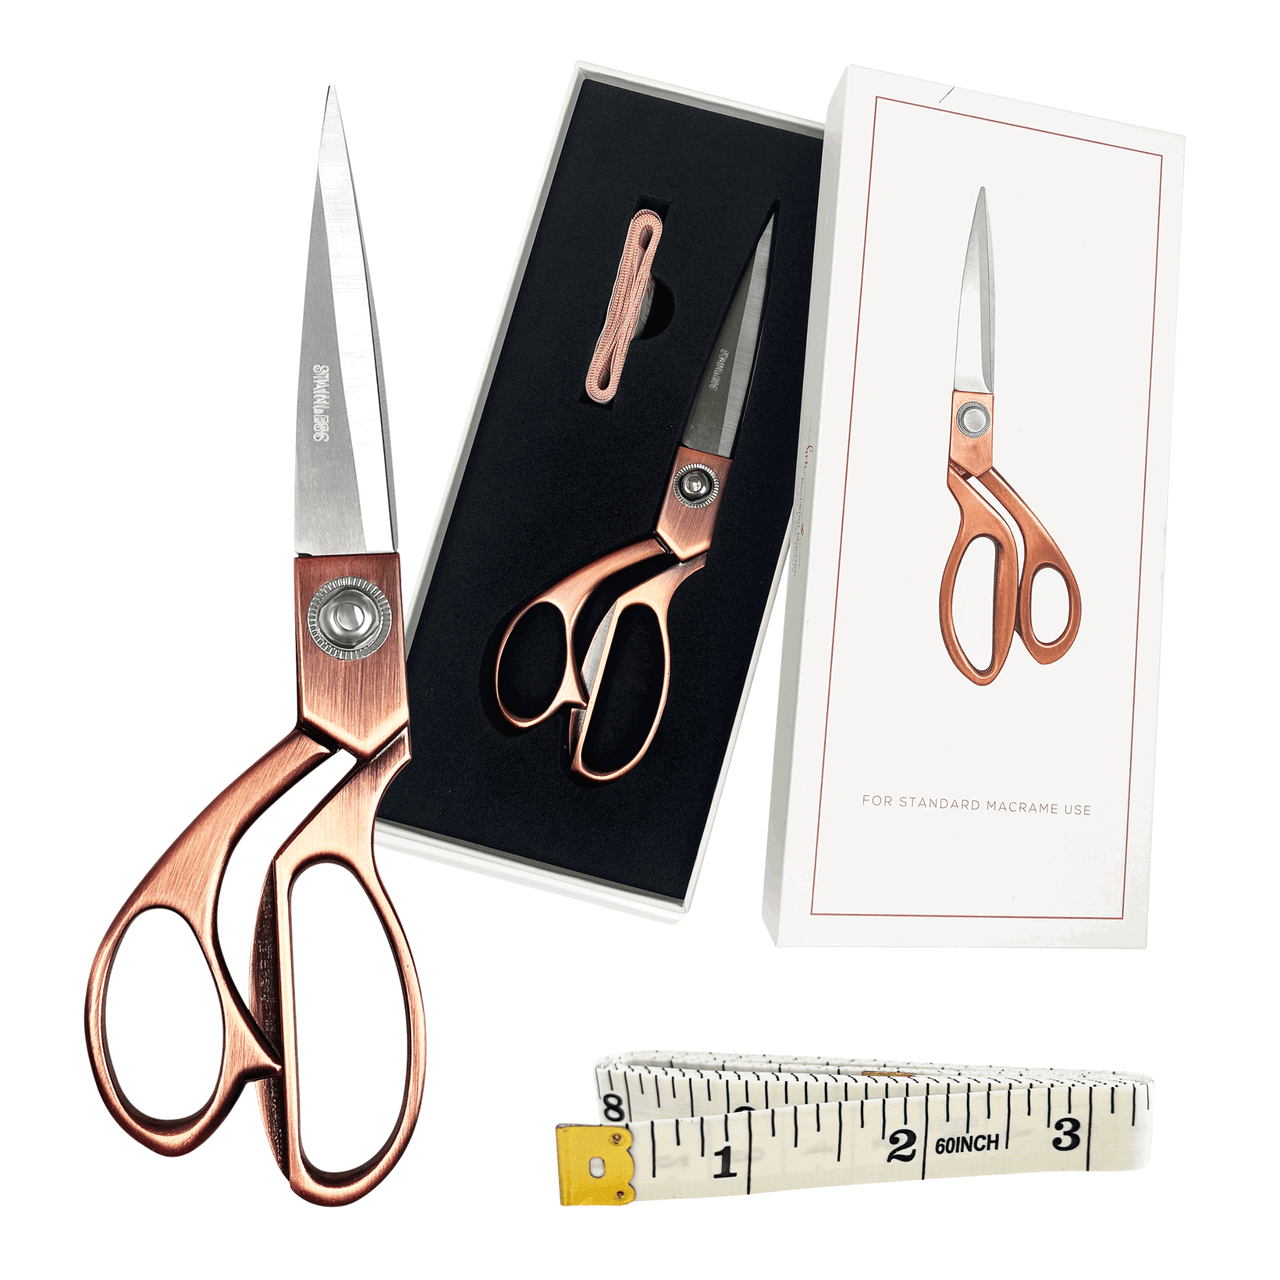
You will also need some essential tools:
Christmas Tree Ornament Details
Skill Level:
- Advanced Beginner
Completed Size:
- 2.25” (7cm) x 9” (23cm)
Completion Time:
- 1 to 2 hours depending on skill level
Materials Needed (for 1 unit):
Cotton Lengths Needed:
- String:
- 2 x 25cm (10”)
- Cord:
- 3 x 125cm (49”)
- 1 x 90cm (35”)
- 1 x 70cm (28”)
* Note: The cord lengths suggested here are based on the pattern using a 3mm single-stand cotton cord.
Should you use a different size cord or cord from another brand, actual cord lengths may differ slightly and, therefore, should be adjusted accordingly.
Macrame Christmas Tree Ornament | Video Tutorial
Macrame Christmas Tree Ornament | Step-by-Step Guide
*Note: We recommend following the tutorial video for more detailed instructions and to achieve the best results.
This will provide additional guidance and clarity as you work through each step.
Step 1:
- Fold a 30 cm string in half and tie an Overhand knot at the ends.
- Then, attach a 125 cm cord to the loop using a Reverse Lark's Head knot.


Step 2:
-
Take another 125 cm cord and tie 2 Double Half Hitch (DHH) knots around the two vertical cords.


Step 3:
-
Make a diagonal DHH knot toward the center on both sides.


Step 4:
-
Take another 125 cm cord and attach it to the two middle cords with DHH knots.


Step 5:
- Thread a bead onto the far-left cord.
- Then, using the second cord from the left as the anchor, make 1 DHH knot to the left and 2 DHH knots back to the right.


Step 6:
- Repeat this process on the right side.


Step 7:
- Make a diagonal DHH knot with the middle two cords.
- Then, using the outer cords on both sides, make a row of DHH knots toward the center.


Step 8:
-
Attach a 90 cm cord to the middle two cords with DHH knots.

Step 9:
- Thread another large bead onto the cord. Make 2 DHH knots to the left and 3 back to the right. Repeat this on the right side.


Step 10:
- Finish with a DHH knot in the middle, then make another row of DHH knots toward the center from both sides.


Step 11:
-
Attach a 70 cm cord to the middle two cords with DHH knots.

Step 12:
- Thread a bead through and make 3 DHH knots to the right and 4 back to the left. Repeat on the left side.


Step 13:
- Close off the middle with a DHH knot.
- Then make a row of DHH knots toward the center, including the working cord with the anchor cord group each time.


Step 14:
-
Use a 25 cm string to tie a Gathering knot at the bottom.


Step 15:
-
Trim the fringe at the bottom to finish.


What started with a few simple knots has now turned into a beautiful, handmade decoration that adds a personal touch to your holiday decor.
This ornament is just the start. With each knot, you’re gaining more confidence, and there are so many more macrame holiday projects waiting for you.
If you're ready for the next project, head over to our Macrame Journey page to find even more festive macrame ideas to keep your creative spirit going strong this holiday season.
Happy knotting, and may your home be filled with the warmth and joy of handmade creations this Christmas! 🎄✨
Much love,

Looking for Macrame Patterns and Projects?
I’ve got a fun variety of DIY macrame patterns for you to explore—whether you’re into creating unique wall hangings to spruce up your home or timeless plant hangers, there’s something for every skill level.
Each pattern is super easy to follow with step-by-step photos, clear instructions, and plenty of tips to help you along the way.
Ready to start creating?
Browse DIY macrame patterns on Etsy and dive into your next project.

Join the Bochiknot Macrame Community: Your Gateway to Exclusive Tutorials & Inspiration
Discover the art of macrame like never before! Join our exclusive community of passionate macrame enthusiasts and unlock a world of creativity.
Gain access to a treasure trove of unique patterns, expert guidance, and a supportive network of fellow artists.
Get access to our library of macrame tutorials and best practices, here.











Leave a comment