

































DIY Macrame Mummy: A Little Spooky, a Lot of Personality


Hi, I’m Nicole. This little mummy starts with a loop of cord and ends with a personality of its own. We’ll knot a rounded head and body, add two tiny arms, then wrap it in handmade braids for that unmistakable bandaged look.
If you’ve been curious about 3D macrame, this is a playful way to explore it. The knots are familiar; the shaping comes from adding cords, setting a few aside and bringing them back. I’ll walk you through each stage in this free macrame mummy pattern, with photos and the original video beside you.
Make one for your Halloween shelf, then change the wrapping on the next. A partly hidden eye or an extra crossing of the bandages can give the same pattern a completely different expression.
For more: Halloween patterns · Video lessons · Learn with me ·
A Little Knot Inspiration In Your Inbox
Subscribe for project ideas and get the free 50 Macrame Knots & Sennits guide.
Can’t see the form? Get the free knot guide here.
P.S. Want a project to look forward to each month? Explore our patterns, video tutorials and membership options. Learn more →
Project at a glance
Cord and Materials for Your Macrame Mummy
For this project, we recommend Bochiknot 3mm recycled single-strand macrame cord, plus dark 1.5mm two-ply Rainbow string for the eyes. Choose contrasting shades for the body and bandages so the wrapping stands out. The original video uses bamboo cord, which is sold out; our recycled cord is the recommended alternative.
This section includes Amazon affiliate links. We may earn a commission from qualifying purchases at no extra cost to you.


Complete materials and tools checklist
- 3mm recycled single-strand macrame cord: 20.5m for the head, body and arms; 9m for the bandages. Keep extra for practice. Shop 3mm Recycled Single-Strand Cord →
- Fine dark string: two 15cm pieces for the eyes; the video uses 1.5mm two-ply string.
- Crochet hook or weaving needle: for drawing arm ends and eye string through the knots.
- Scissors and measuring tape: shop Bochiknot rose gold scissors →
- Optional craft glue: a small amount to secure the braided bandage ends.
Before you cut: Select the 3mm recycled option in our single-strand macrame cord collection. The cutting list follows the original video; changing fibers can affect firmness, finished size and cord use. Test a few knots with your recycled cord and keep extra cord available.
Your cord cutting list
Measure each length before folding it. Separate the body, arm and bandage cords into labelled groups so the two sets of 150cm cords stay distinct.
| Purpose | Cut | Total |
|---|---|---|
| Body anchor | 1 × 240cm | 2.4m |
| Starting body cords | 4 × 150cm | 6m |
| First-round additions | 4 × 140cm | 5.6m |
| Third-round additions | 3 × 130cm | 3.9m |
| Arm filler cords | 4 × 25cm | 1m |
| Arm working cords | 2 × 80cm | 1.6m |
| Two braided bandages | 6 × 150cm | 9m |
| Eyes: fine dark string | 2 × 15cm | 0.3m |
Total: 29.5m of 3mm cord, plus 30cm of fine eye string. This is the cutting total, not a guarantee of the exact amount your knotting tension will use.
Practice these knots first
- Reverse Lark’s Head (RLH): attaches folded cords to the anchor. Review the Lark’s Head knot guide and follow the reverse orientation shown in the video.
- Double Half Hitch (DHH): builds the head and body. Keep the anchor steady while the working strand makes both wraps. Read five tips for neater DHH knots.
- Square knot: makes the two arms.
- Overhand and Double Overhand knots: start the braids and secure the arm attachments.
- Three-strand braid: makes the bandage texture.

A REFERENCE BESIDE YOUR CORD
Keep Your Next Knot Within Reach.
Use the free 50 Macrame Knots & Sennits guide when a pattern introduces a technique you want to practice.
How the flat start becomes a 3D mummy
The early rounds grow wider when you add folded cords. Once you stop adding them, the next rows begin to cup. Skipping working strands narrows the head toward the neck; returning those strands widens the work for the shoulders. Keep skipped strands inside rather than cutting them away.
Watch the macrame mummy video tutorial
Use the full video below, or open the timestamp under any step to replay that part on YouTube.
Open the full tutorial on YouTube →
How to make a macrame mummy: 18 steps
Work through the head and body first. The eyes and braided wrapping come last, when you can give your mummy its own expression.
Part 1: Shape the head
Step 1: Make the starting loop
Fold one end of the 240cm cord into a loop, leaving the other end long. Fold each of the four 150cm body cords in half and attach it to the loop with a Reverse Lark’s Head knot.

Keep the long end of the 240cm cord easy to identify: it will be your anchor throughout the body.
Step 2: Tighten the loop and start the first round
Pull the long anchor end to draw the starting loop closed. Bring that same long end across the hanging cords and tie two Double Half Hitch knots onto it.

One DHH knot consists of two half hitches. Count complete DHH knots, not individual wraps.
Step 3: Add four cords around the first round
Attach one 140cm cord to the anchor with a Reverse Lark’s Head knot. Continue with two DHH knots, then attach another 140cm cord. Repeat until you have added all four 140cm cords around the round.

Including the pair of DHH knots from Step 2, the sequence is two DHH knots followed by one added cord, repeated four times.
Step 4: Work a round without adding cords
Continue around the piece with a full round of DHH knots. Use the existing working cords without attaching any new lengths.

Rotate the work as you go. Keep the long anchor separate from the shorter working strands.
Step 5: Add three cords in the third round
Work a few DHH knots until you reach a gap, then attach one 130cm cord with a Reverse Lark’s Head knot. Continue around, adding the other two 130cm cords at gaps in the row.

Add three 130cm cords in total. The video places them to fill gaps rather than giving a fixed knot count between additions.
Step 6: Shape the head with four more rounds
Make four full rounds of DHH knots without adding more cords. As the work starts to cup, gently tighten the anchor and guide the centre inward to form the dome shown in the video.

You should now see a rounded head. Avoid pulling so firmly that the surface puckers.
Part 2: Narrow the neck and widen the shoulders
Step 7: Begin narrowing the head
Skip a working strand, tie two DHH knots with the next two strands, then skip the next strand. Repeat this pattern around the row, bringing the unused strands inside.

Skipping means leaving a strand out of this round, not cutting it off. You will use these strands again.
Step 8: Narrow for one more round
Work another round of DHH knots, skipping a few additional strands as Nicole demonstrates. Keep the skipped strands inside and available.

The head should narrow toward the neck. The tutorial does not specify an exact skip count for this round; watch the linked section while checking your shape.
Step 9: Bring the skipped cords back to form the shoulders
Over the next two rounds, gradually return the inside strands to the anchor with DHH knots. In the first round, Nicole adds one inside strand after every second DHH knot. In the second, work the remaining inside strands back between the existing knots until all are in use again.

Return the strands you set aside in Steps 7–8. Do not cut or attach new lengths here.
Part 3: Add the arms and finish the body
Step 10: Make two square-knot arms
Lay two 25cm cords side by side as the centre filler cords. Centre an 80cm cord around them and tie six consecutive Square knots. Repeat with the remaining two 25cm cords and the second 80cm cord to make the other arm.

Compare the two arms before attaching them. Matching knot tension helps them finish at a similar length.
Step 11: Attach the tops of the arms
Use a crochet hook to draw the short ends from one arm through the upper body near the neck. Tie the ends together inside with a Double Overhand knot. Attach the second arm on the opposite side in the same way.

Check both positions from the front before tightening the inside knots.
Step 12: Start securing the lower arm ends
Continue a DHH round on the body until you reach an arm. Draw two loose ends from that arm inside the body, then make two DHH knots using the next body strands.

Keep the arm ends inside the body while the body cords continue the round.
Step 13: Finish securing both arms
Draw the remaining two arm ends inside, then continue the DHH round to the opposite arm and repeat the same sequence. Secure the arm ends inside with Double Overhand knots, as shown in the video.

Give each arm a gentle tug. Check the attachments now, while you can still reach inside easily.
Step 14: Build the body with five more rounds
Tuck the excess arm cords inside. Using the long body anchor, make five full rounds of DHH knots around the mummy.

Keep these rounds even. Turn the figure regularly and compare the front, back and sides.
Step 15: Trim and tuck the loose ends
Trim the excess cord ends and tuck them inside the mummy. Use the crochet hook where needed to guide the ends out of sight.

Leave enough length to tuck securely. Do not cut flush against the final row of knots.
Part 4: Give your mummy its personality
Step 16: Weave the eyes
Use one 15cm length of dark fine string for each eye. Weave it repeatedly through a DHH knot section until the eye looks filled in, then tuck the loose ends inside. Repeat for the second eye.

Check the spacing before building up both eyes. The original uses 1.5mm two-ply string.
Step 17: Braid two bandages
Take three 150cm bandage cords, tie an Overhand knot at one end and make a three-strand braid along their length. Repeat with the other three 150cm cords to make a second braid.

“Three-strand braid” describes the technique here; you do not need to substitute three-ply macrame cord.
Step 18: Wrap your mummy
Wrap one braid around the head and the second around the body. Cross and overlap the bandages to give your mummy its own character. Leave both eyes visible, or partly cover one as Nicole suggests. Tuck the braid ends inside.

A small dab of glue on the bandage ends is optional for extra security. Check the final shape before fixing them in place.
Small fixes that make a big difference
- The head stays flat: check that you stopped adding cords after Step 5. In Step 6, guide the centre inward as the rows cup.
- The surface looks puckered: ease the anchor tension and adjust the last few knots before adding another round.
- The neck looks too wide: check that you set strands aside for both narrowing rounds. Do not keep knotting every strand through Steps 7–8.
- The arms sit unevenly: adjust their top attachments before securing the lower ends.
- The bandages slide: overlap the braids and tuck the ends into the body. Add a little glue only if you want extra security.
Your macrame mummy questions, answered
Is this a beginner macrame pattern?
It suits a maker who is already comfortable with Double Half Hitch knots. You can follow it as an adventurous beginner, but allow extra time for the shaping and arm attachments.
How much cord do I need?
The listed cuts use 29.5m of 3mm cord: 20.5m for the body and arms, and 9m for the braids. You also need two 15cm lengths of fine dark string for the eyes. Keep spare cord for practice and tension differences.
Do I need stuffing or a wire frame?
Neither is added in this tutorial. The rounded structure comes from the knotted rows, and the loose cord ends are tucked inside.
Do I need glue?
Glue is optional. Nicole tucks the braid ends inside and suggests a small dab of glue on the bandages if you want extra security.
Can children help make it?
The full figure needs careful knotting and shaping. A child who can braid may enjoy helping with the bandages under adult supervision. Keep scissors, hooks, glue and loose cord under adult control; treat the finished piece as decor rather than a toy.
Can I change the colors or wrapping?
Yes. Keep a contrast between the body and bandages if you want the wrapping to show clearly. Wrap both eyes in view, partly cover one, or vary where the braids cross.
How should I store it after Halloween?
Keep the mummy dry and gently support its shape in a box. Avoid crushing it beneath heavier decorations; smooth the bandages before displaying it again.
More free macrame Halloween patterns
Keep practicing 3D shapes with another small seasonal project.
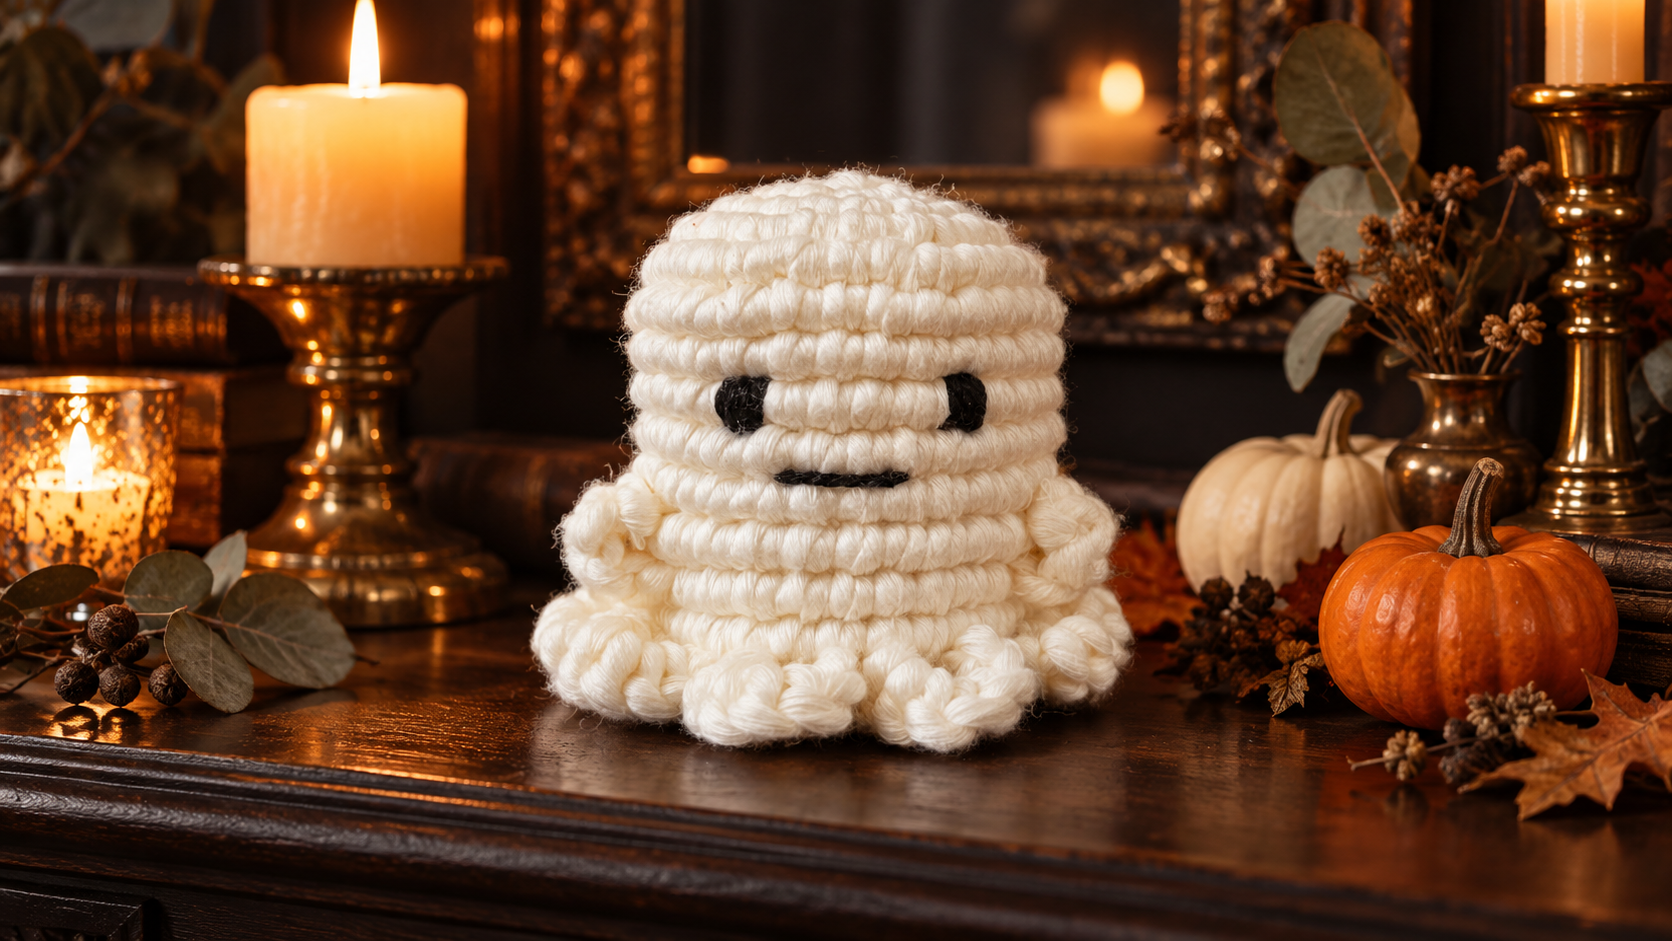
Macrame ghost
Explore another rounded form with a free-standing ghost and a playful face.
Make The Ghost →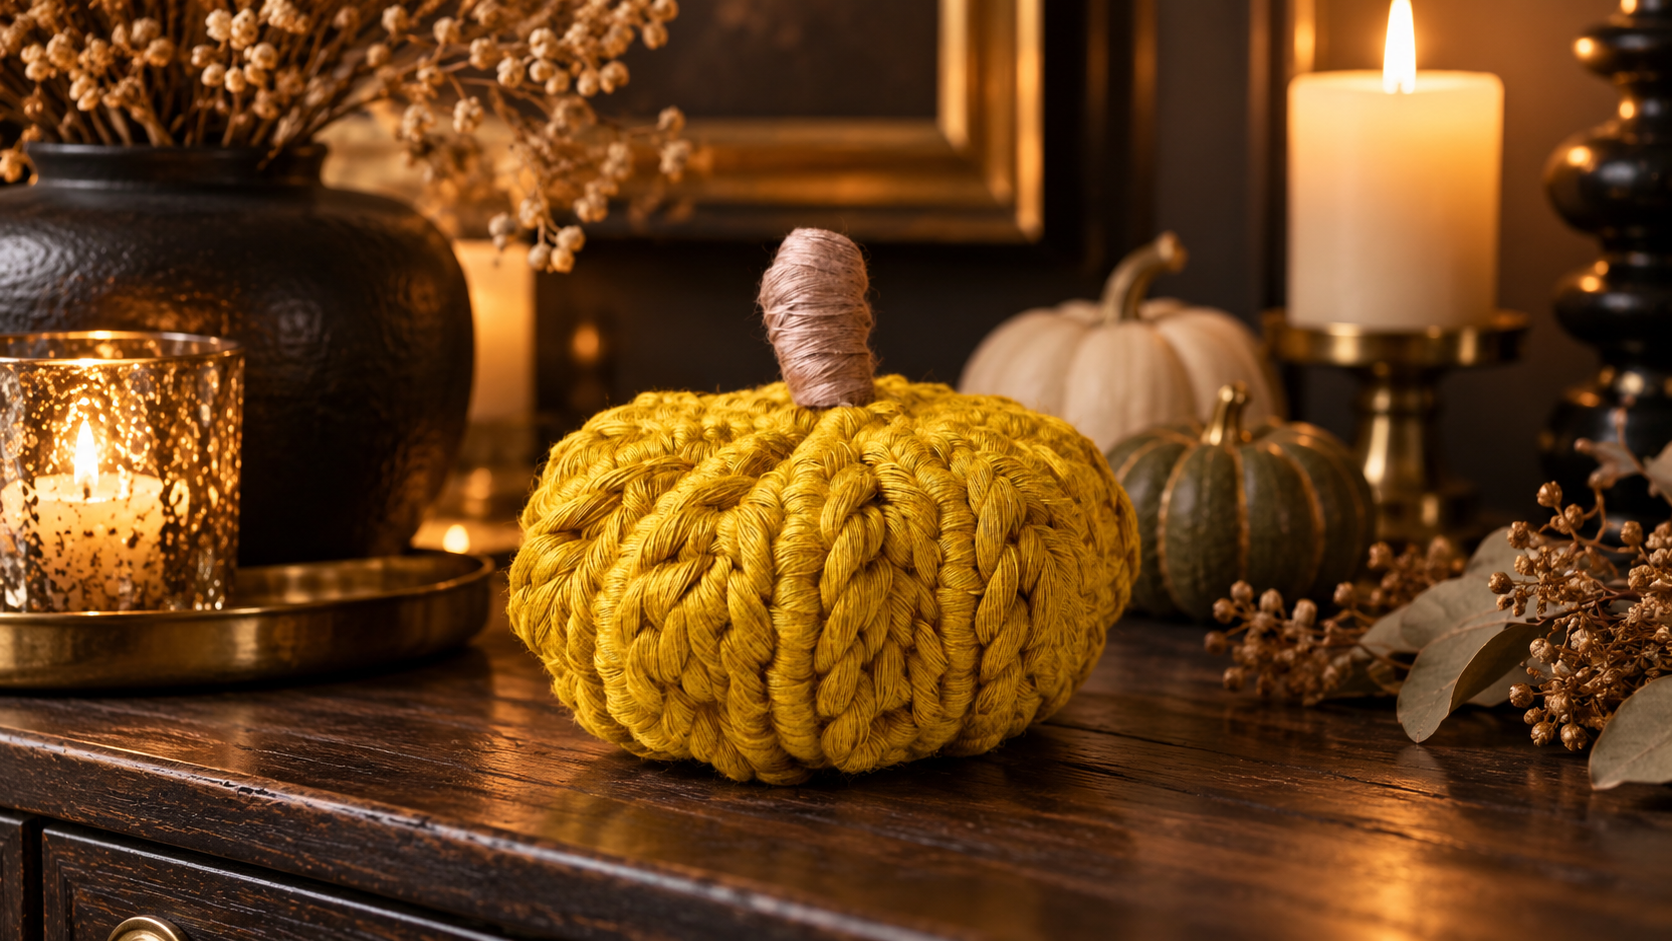
Mini macrame pumpkin
Try a different silhouette with a knotted pumpkin for your fall display.
Make The Pumpkin →Want to compare the whole collection? Browse our four Halloween macrame projects.
MAKE SOMETHING NEXT MONTH, TOO
Keep Learning With Nicole
You’ve just practiced turning rows of knots into a 3D character. If that has you wondering what else you could make, come keep learning with me. Explore guided projects, technique lessons and a community of makers as you build confidence one piece at a time.
Mini-Macrame Creations
For a new project without the search.
- A new #MakingMacrame pattern each month
- A full video tutorial to follow as you knot
- Access to the complete pattern archive
- Revisit past projects at your own pace
Mastering Macrame Skills
For understanding how and why the knots work.
- Everything in Mini-Macrame Creations
- A library of macrame lessons and challenges
- Technique breakdowns to help you understand the knots
- More ways to practice beyond the monthly project
Macrame Masterpiece
For learning with project supplies included.
- Everything in Mastering Macrame Skills
- Project supplies through a kit-inclusive plan
- Lite, Bundle and Masterpiece options
- A kit schedule to suit how often you make
Compare current prices and full benefits on Patreon. Kit contents, delivery frequency and availability depend on the plan you choose.
A NOTE FROM YOUR MACRAME TEACHER
Made By You. Shared With Love.
From one starting loop to a tiny wrapped character, you’ve made something full of personality. I hope this mummy gives you the confidence to try another 3D shape. Will yours have both eyes peeking out, or one hiding behind a bandage?
Much love,

Leave a comment