How to INCORPORATE Beads onto a Macrame Keychain

Macrame is all about creativity and expression, but sometimes, even the best keychains need a little extra flair.
That’s where beads come in!
Adding beads to your macrame keychains is like adding a splash of color to a blank canvas—it instantly elevates your design, adding texture, personality, and just the right amount of “wow!”
In this post, I’ll walk you through how to take your macrame keychains from basic to stunning by incorporating beads.
Let’s get started!
Creating a Flower Pattern with a Bead Center
We’re going to go beyond just adding beads here and there—we’re creating a gorgeous flower pattern where the bead will act as the center of the flower, surrounded by knots that resemble petals.
This design adds both texture and structure to your keychain, making it stand out with a stunning floral look.
Here’s what you’ll be learning:
We’ll start by placing a bead in the center of the keychain and then working with a series of knots around it to create petal-like shapes.
The knot pattern will help frame the bead, making it look like the bead is blooming from the center of a flower. Ready to give it a try? Here’s how to do it step by step.
Why Beads Are a Game-Changer in Macrame
Let’s be honest—plain macrame keychains are nice, but when you add beads, they go from “Oh, that’s cute” to “Wow, you made that?!”
Beads add an element of surprise and give your keychains a bit of personality that can’t be achieved with knots alone.
Here’s why you’ll love working with beads:
- Personalization: Beads come in endless shapes, colors, and materials. Whether you're into sleek metal, rustic wood, or bright pops of color, beads let you make each keychain uniquely yours.
- Visual Appeal: Beads break up the monotony of repetitive knots and create focal points, drawing attention to the intricate details of your work. They take your keychains from simple to sophisticated in no time.
- Creativity Boost: Adding beads challenges you to think differently about your designs. You'll be inspired to play with different knot combinations, bead placements, and patterns.
- Versatility: Want a minimalist design? Add a single bead. Want something bold? Load up on them! The possibilities are endless, and it’s easy to experiment with different looks.
Macrame Knots You Need to Know to Make a Flower Macrame Keychain
Mastering the essential macrame knots is the foundation of any great macrame project, and it’s no different when creating your beautiful flower keychain.
The good news?
You don’t need to know every knot out there—just a few key ones that will bring your flower pattern to life!
For this project, you’ll need to be comfortable with the following knots:
1. Gathering Knot
The Gathering knot is perfect for securing the cords neatly at the end of your project.
It’s used to gather all the loose ends together, creating a clean and professional finish.
The gathering knot also provides structure to the base of your keychain, making it more durable and cohesive.
2. Half-Hitch Knot
The half hitch knot is one of the simplest yet most versatile knots in macrame.
In this project, it’s used to form the petals around your bead, giving your keychain that lovely floral design.
By mastering this knot, you can create symmetrical, petal-like shapes that radiate from the bead, making it the star of your design.
3. Vertical Lark’s Head Knot
The vertical lark’s head knot is a go-to for attaching cords to the keychain ring or clasp. It’s quick, easy, and secure—perfect for starting your project.
In this design, it will also help hold the bead in place, allowing the flower pattern to blossom around it.
Why These Knots Matter
These basic knots form the backbone of this project, and once you’ve mastered them, you’ll be able to create a wide variety of designs.
The gathering knot ensures a polished finish, the half hitch knot builds beautiful patterns, and the lark’s head knot is essential for starting any keychain.
The best part?
These knots don’t just apply to this flower keychain.
By learning and practicing them, you’re building a solid foundation for other macrame projects, from wall hangings to jewelry.
So, if you’re new to macrame, this is a perfect opportunity to master the essentials while creating something truly stunning.
More Macrame Knots
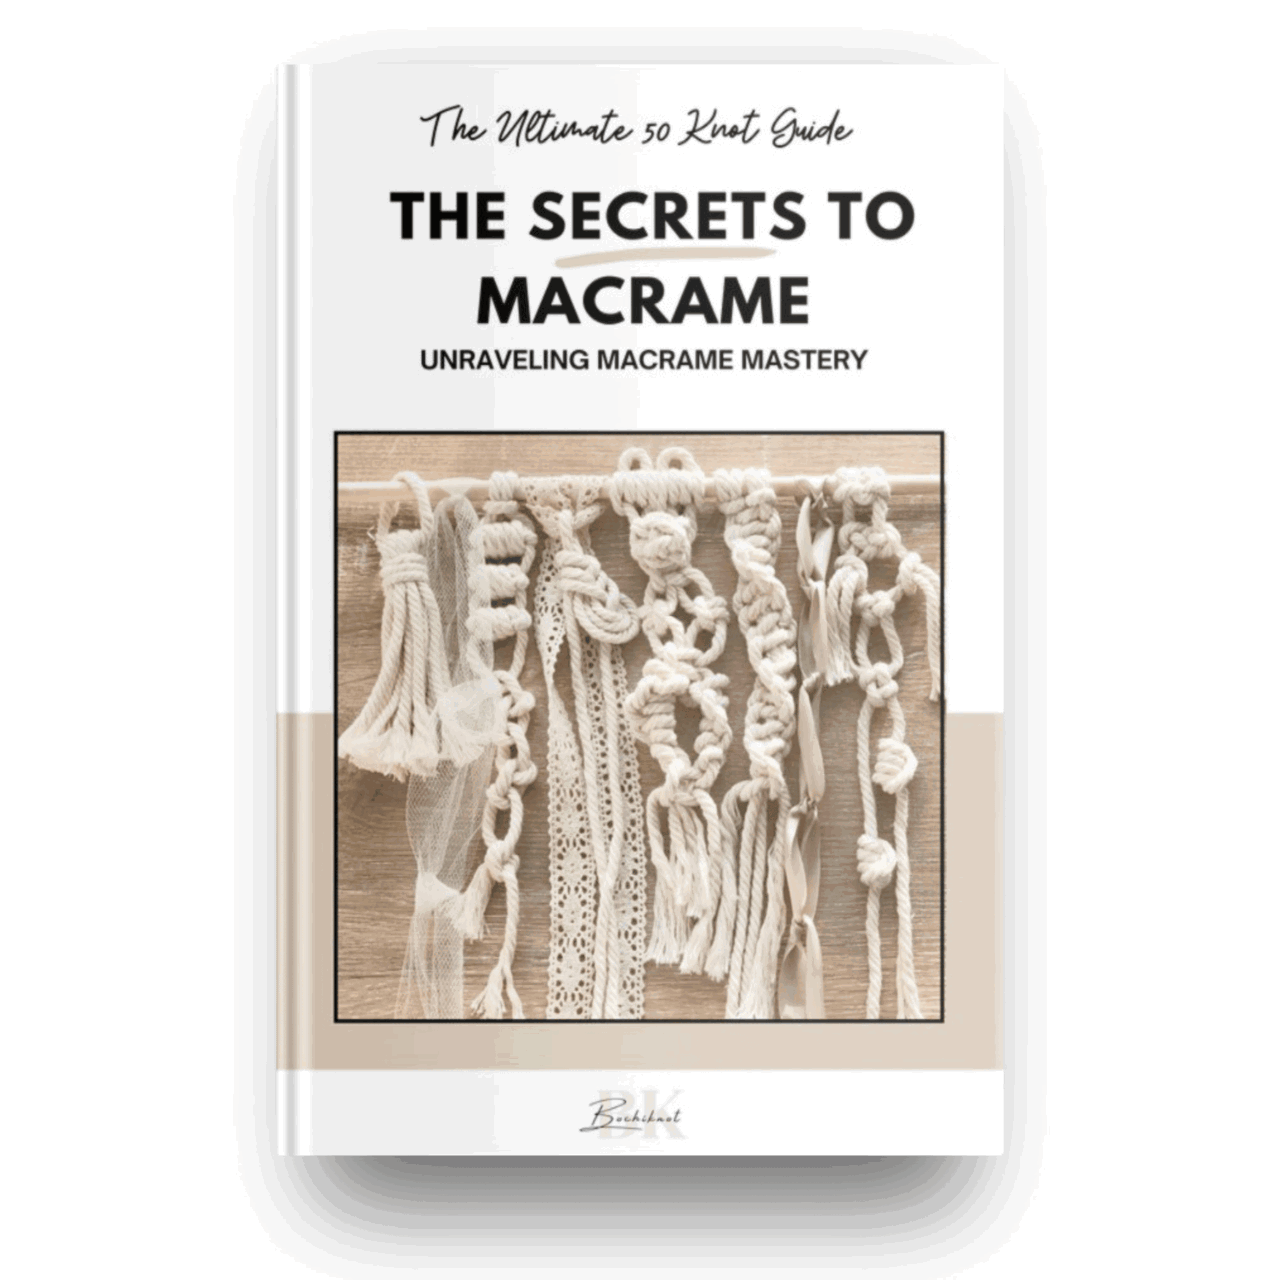
If you want to add more knots to your macrame designs, check out my free resource, "50 Macrame Knots & Sennit Guide."
It's packed with easy, step-by-step instructions to help you improve your skills and try new creative projects.
Access it here.
Important Macrame Terms for Beginners
Before we begin, it's probably best to go over a few important terms used in macrame.
This will help you understand the techniques more easily, follow patterns with confidence, and set a strong foundation for your macrame journey.
- Knots: Macrame involves various knots, like the overhand knot and alternating overhand knot. Learning these basic knots is key to building a strong foundation.Check the "Macrame Knots You Need to Know" section for the knots used in this pattern.
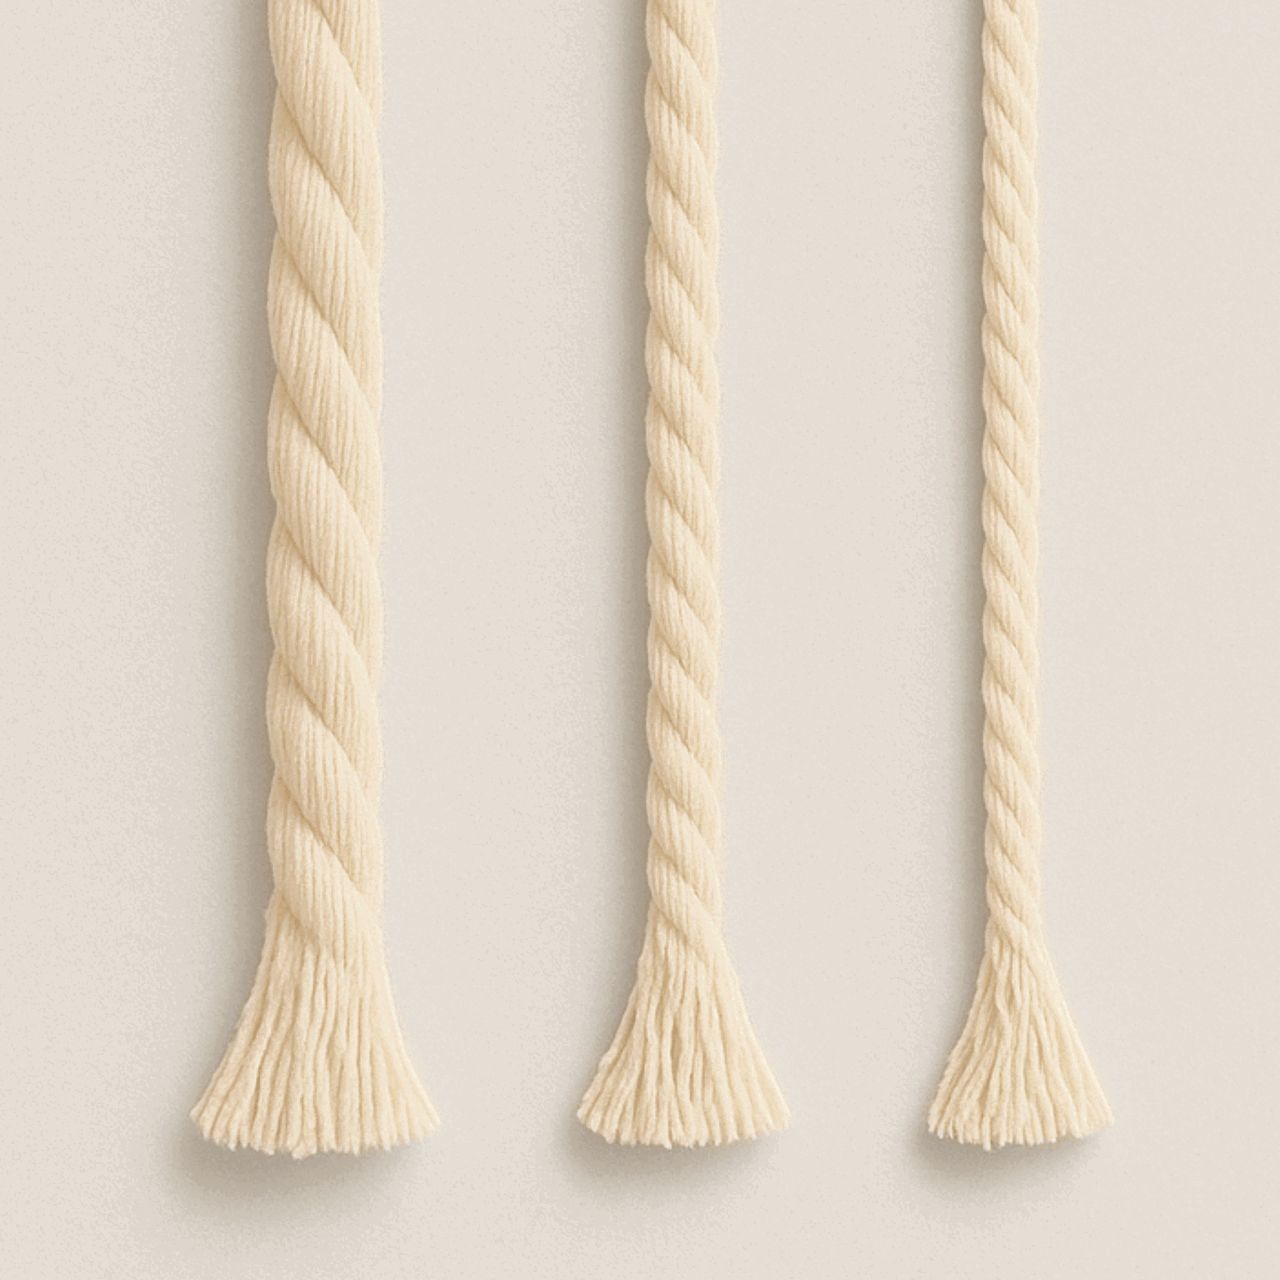
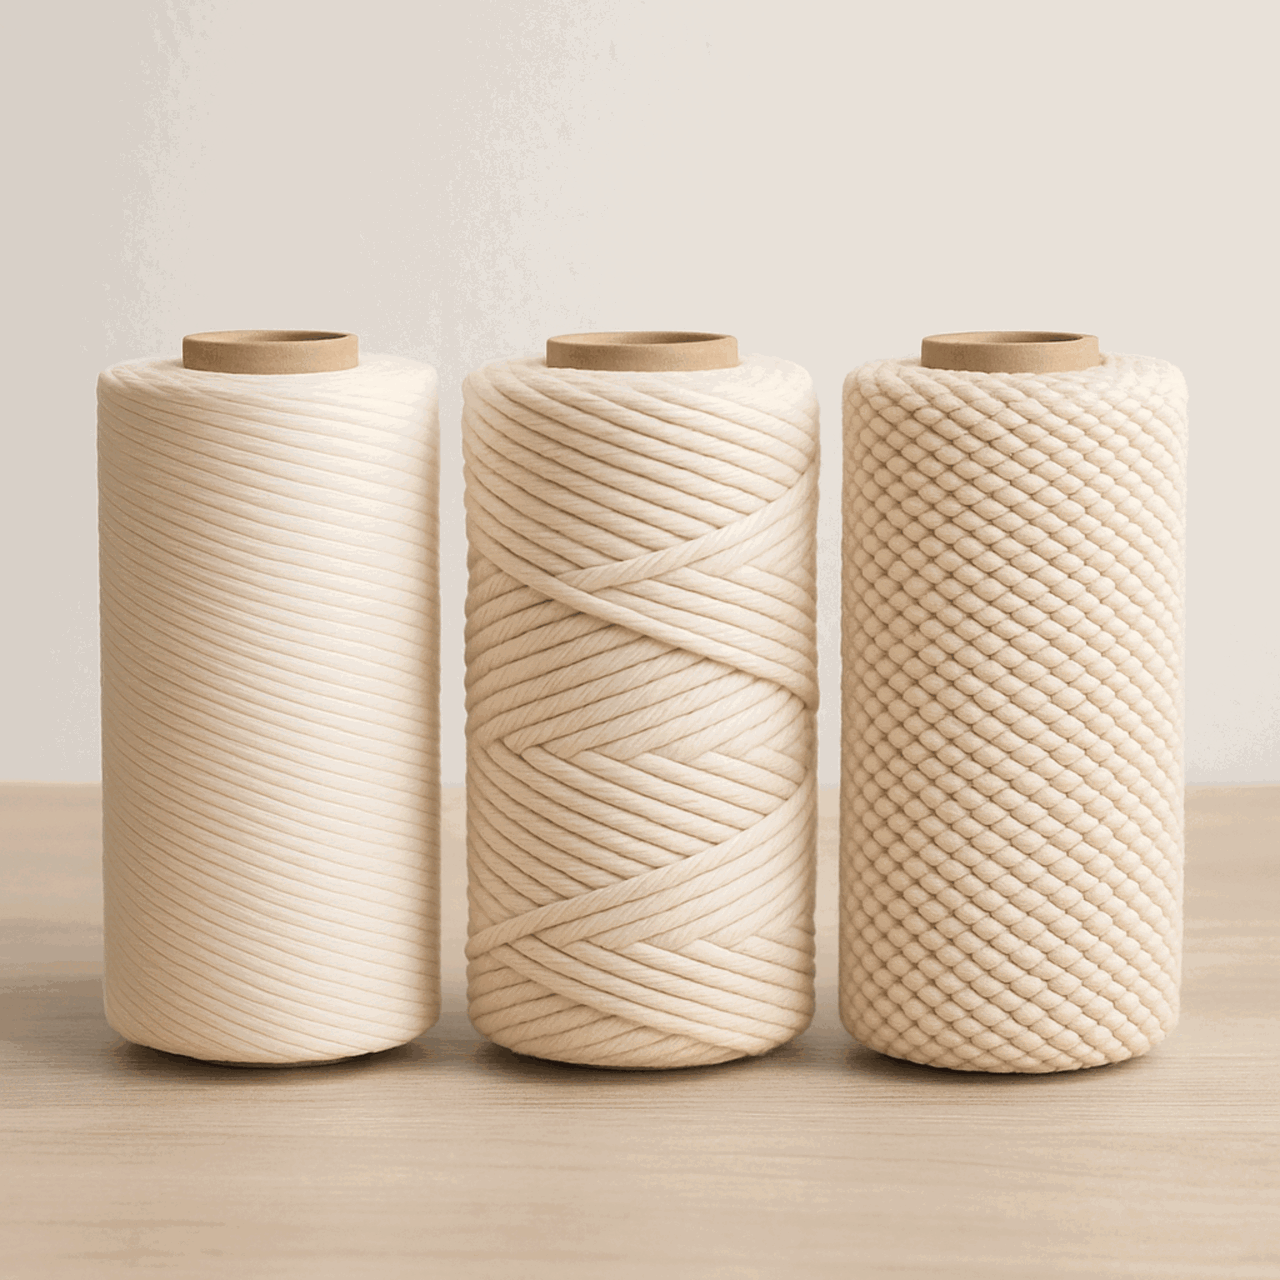
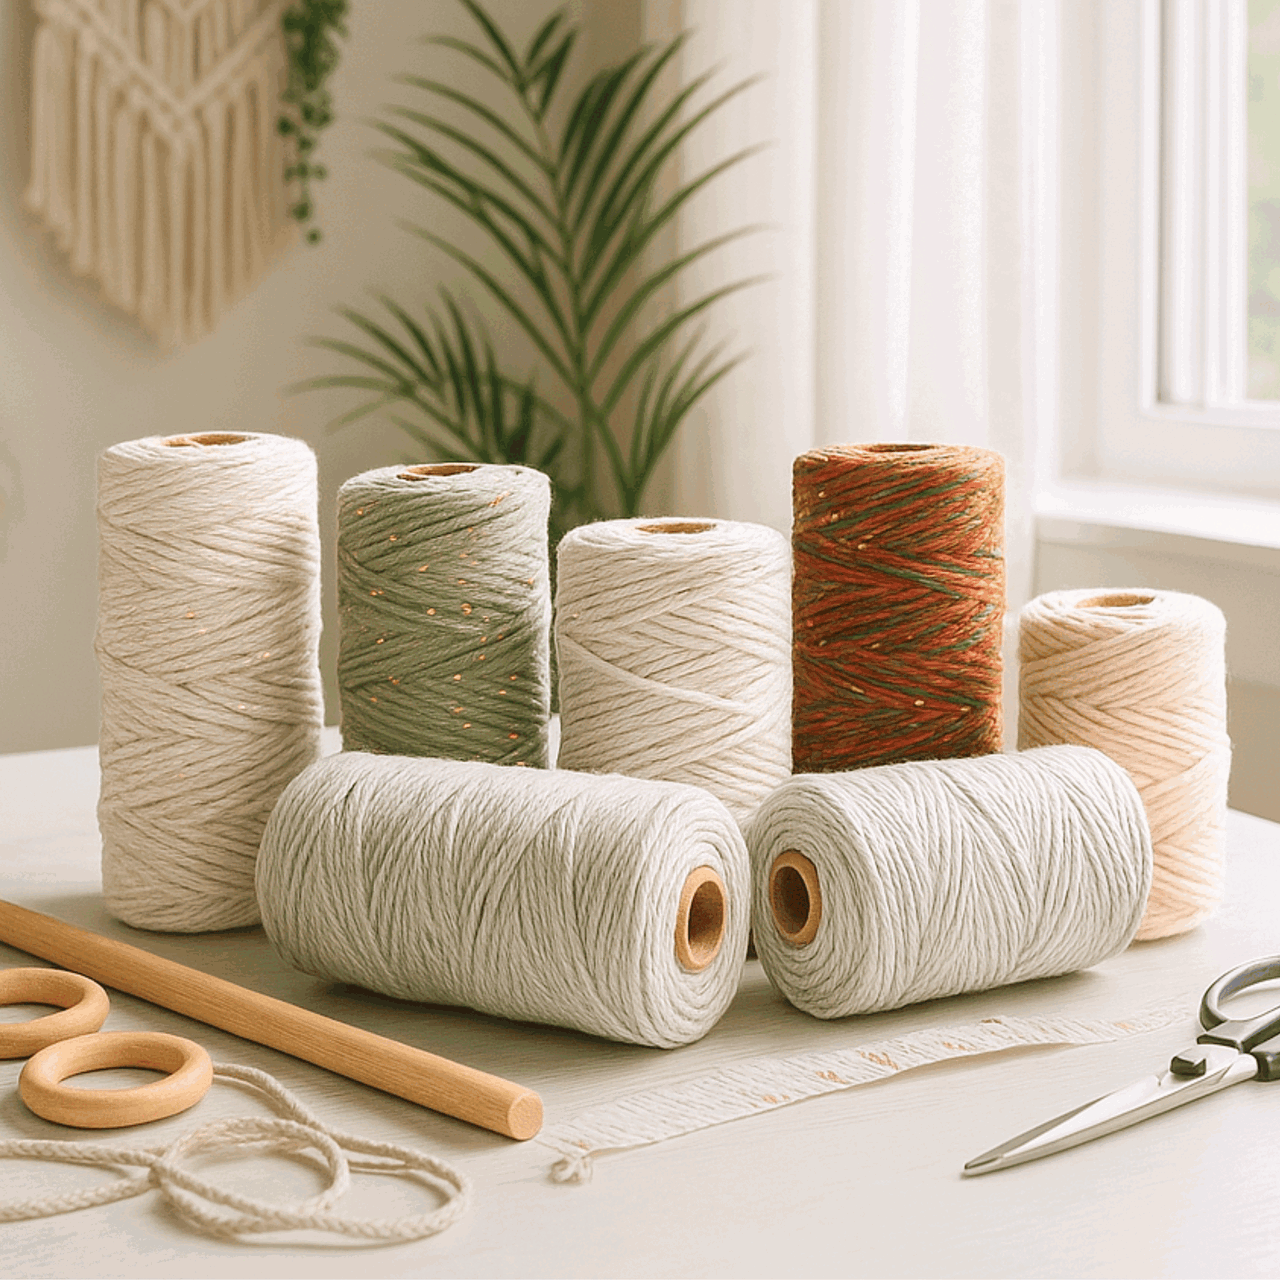
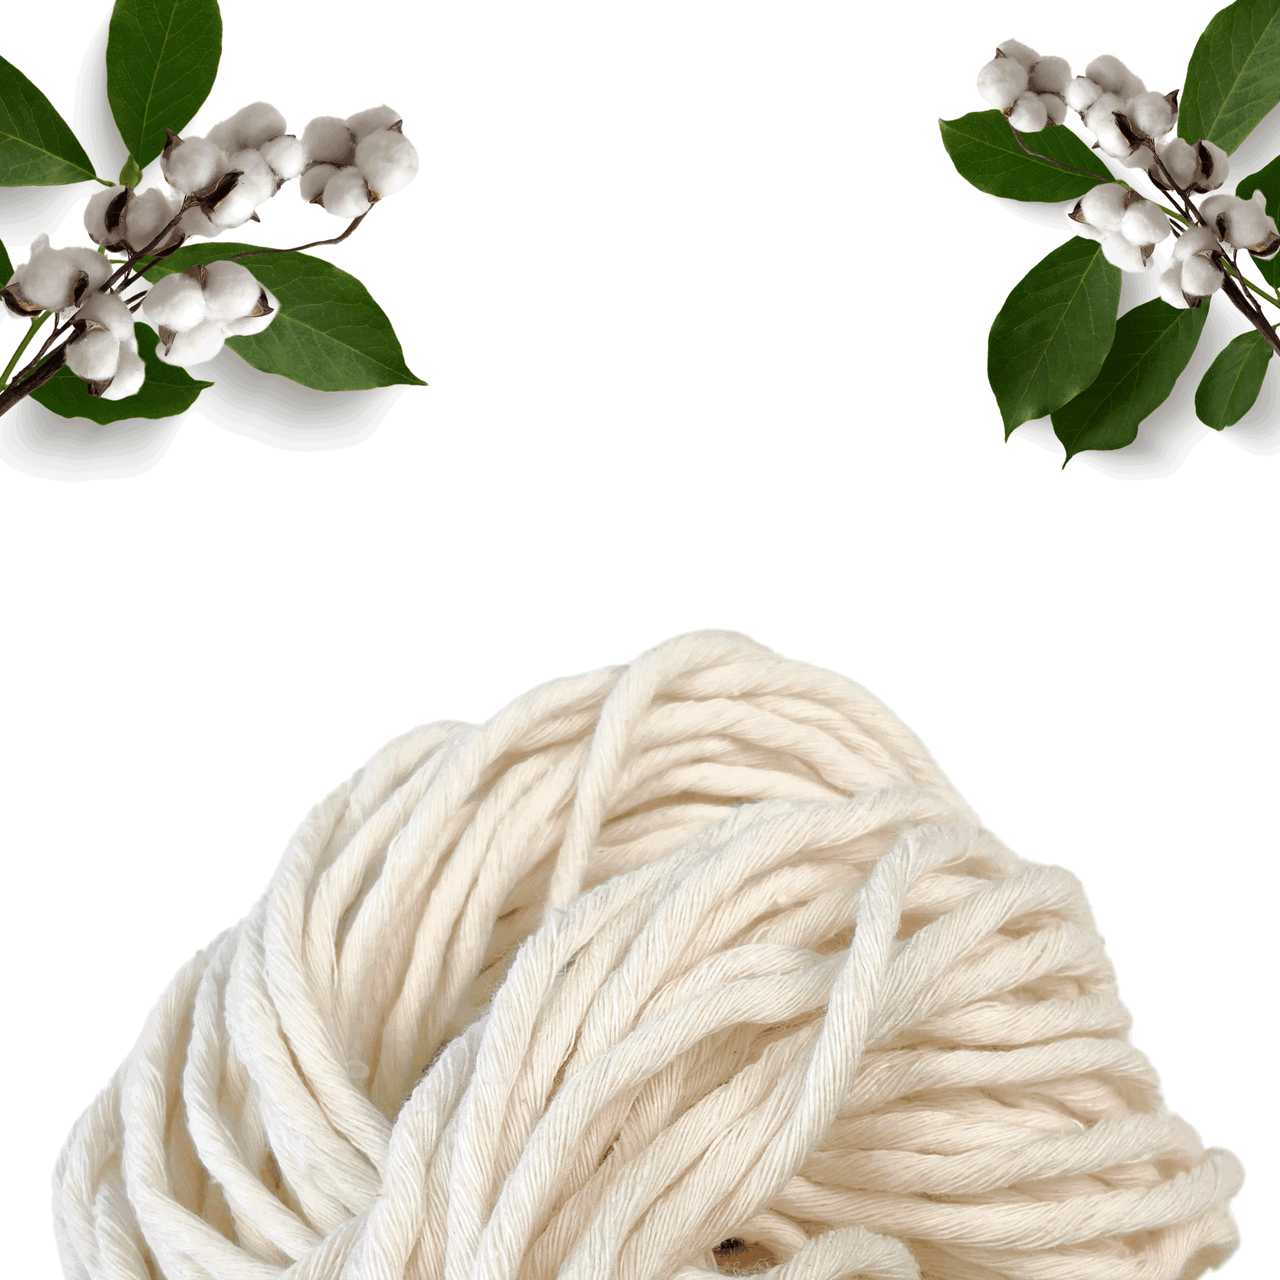
- Cords: The primary material in macrame is cords made from cotton, jute, nylon, or synthetic fibers. They come in different thicknesses and colors. You can learn more about macrame cord with our "Macrame ESSENTIALS: Everything You Need—Cord, Tools, & Materials" post.
- Loop: A loop is formed by crossing the cord over itself to create a ring-like shape. Loops are essential in many macrame designs.
- Fringe: The loose ends of cords that hang down, adding a decorative element. The fringe can be left as is or trimmed to your desired length.
- Anchor Cord: The fixed cord or structure to which other cords are attached. It provides stability and support for your design.
- Working Cord: The cord that is actively manipulated to create knots and patterns throughout the project.
- Sennit: A series of knots grouped together to form a pattern or part of your macrame project.
- Frays and Tassels: The loose ends of your cords, often used intentionally as decorative elements like frays or tassels in your design.
Macrame Cord & Materials Details

What You’ll Need
Before we dive into the steps, let’s make sure you’ve got everything on hand. (And yes, I’ve learned the hard way that having the right materials before starting is key.)
You will need the following materials to make your Macrame Flower Keychain
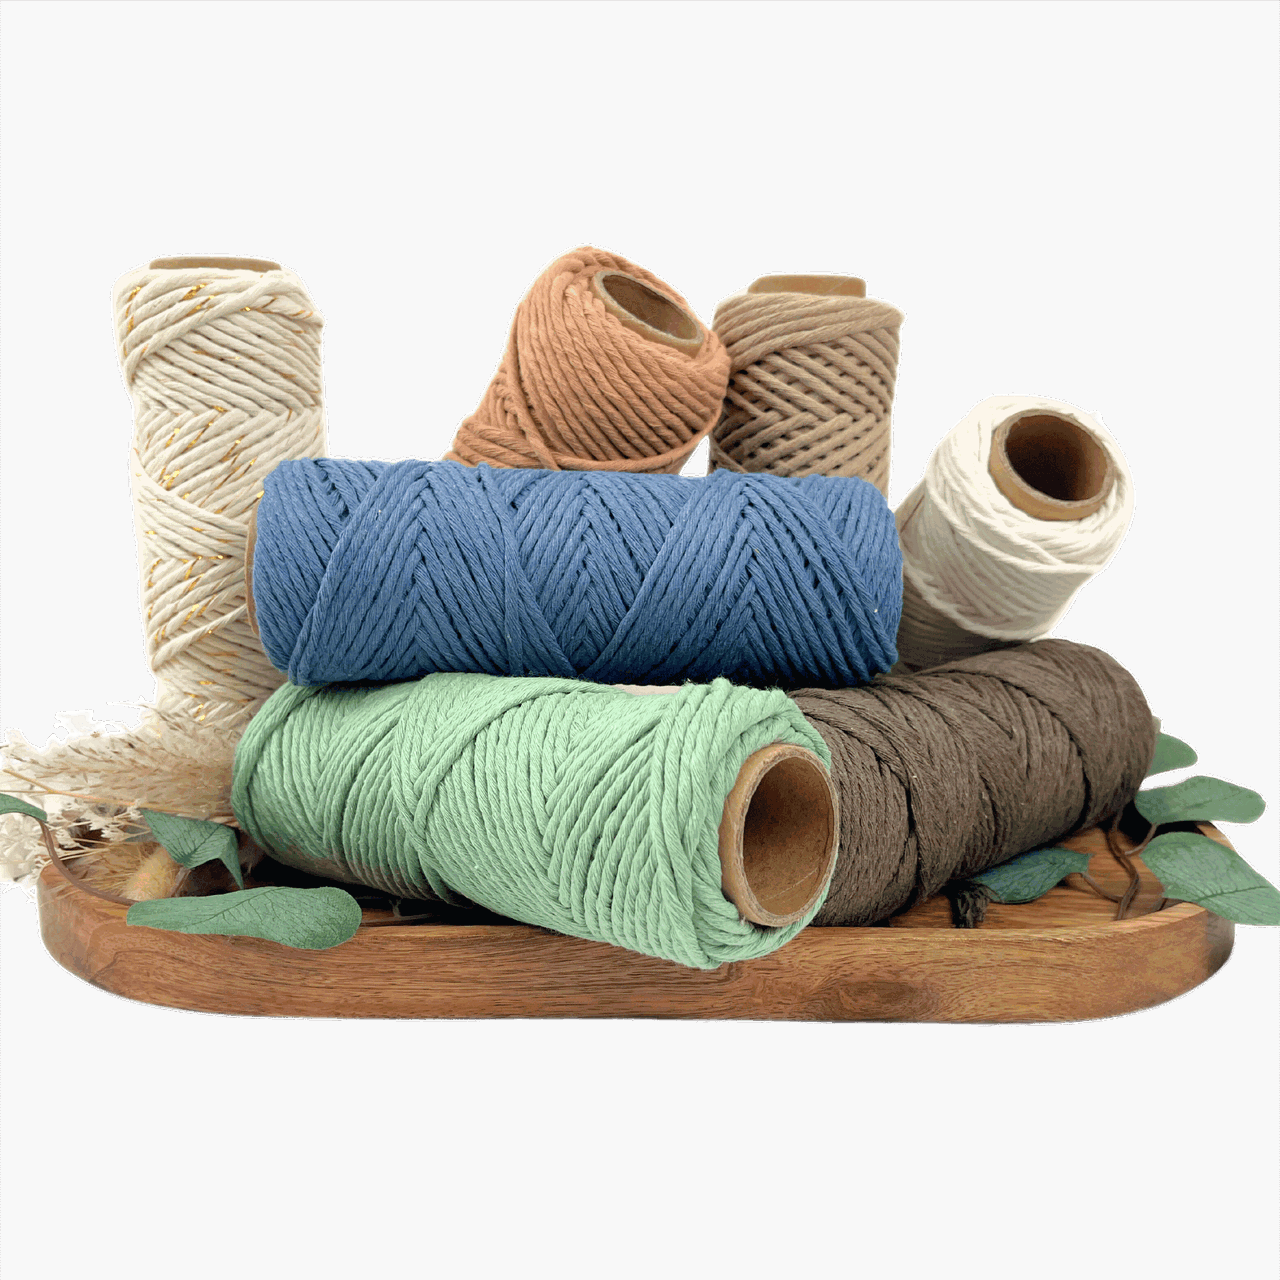
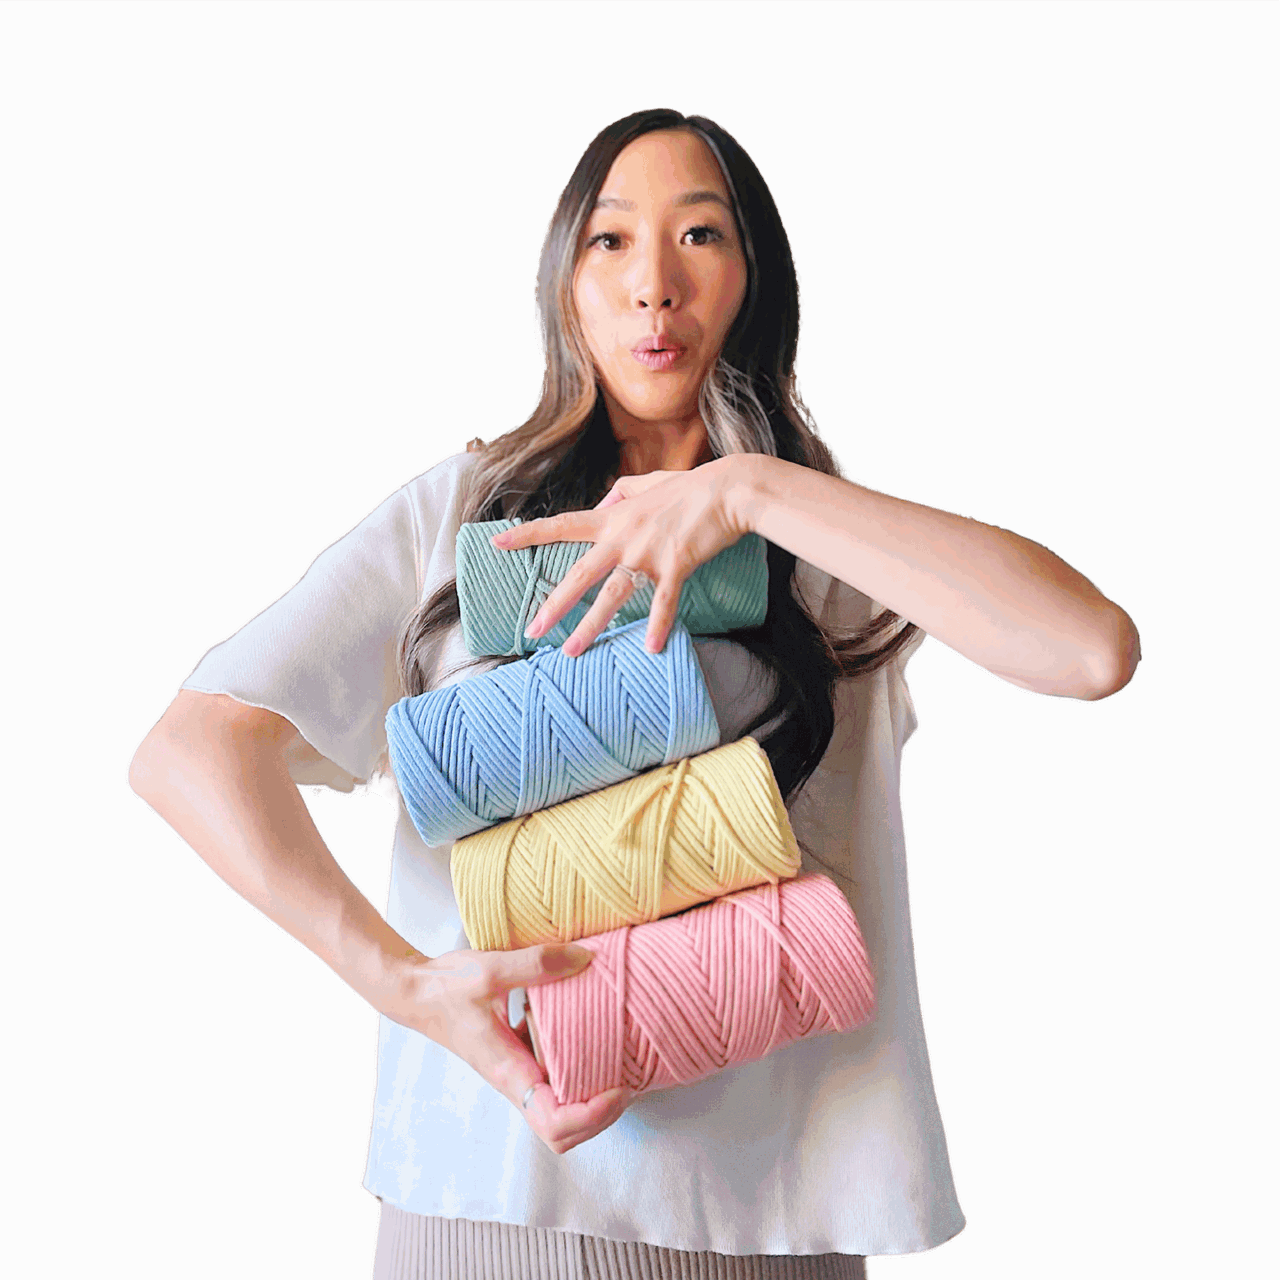
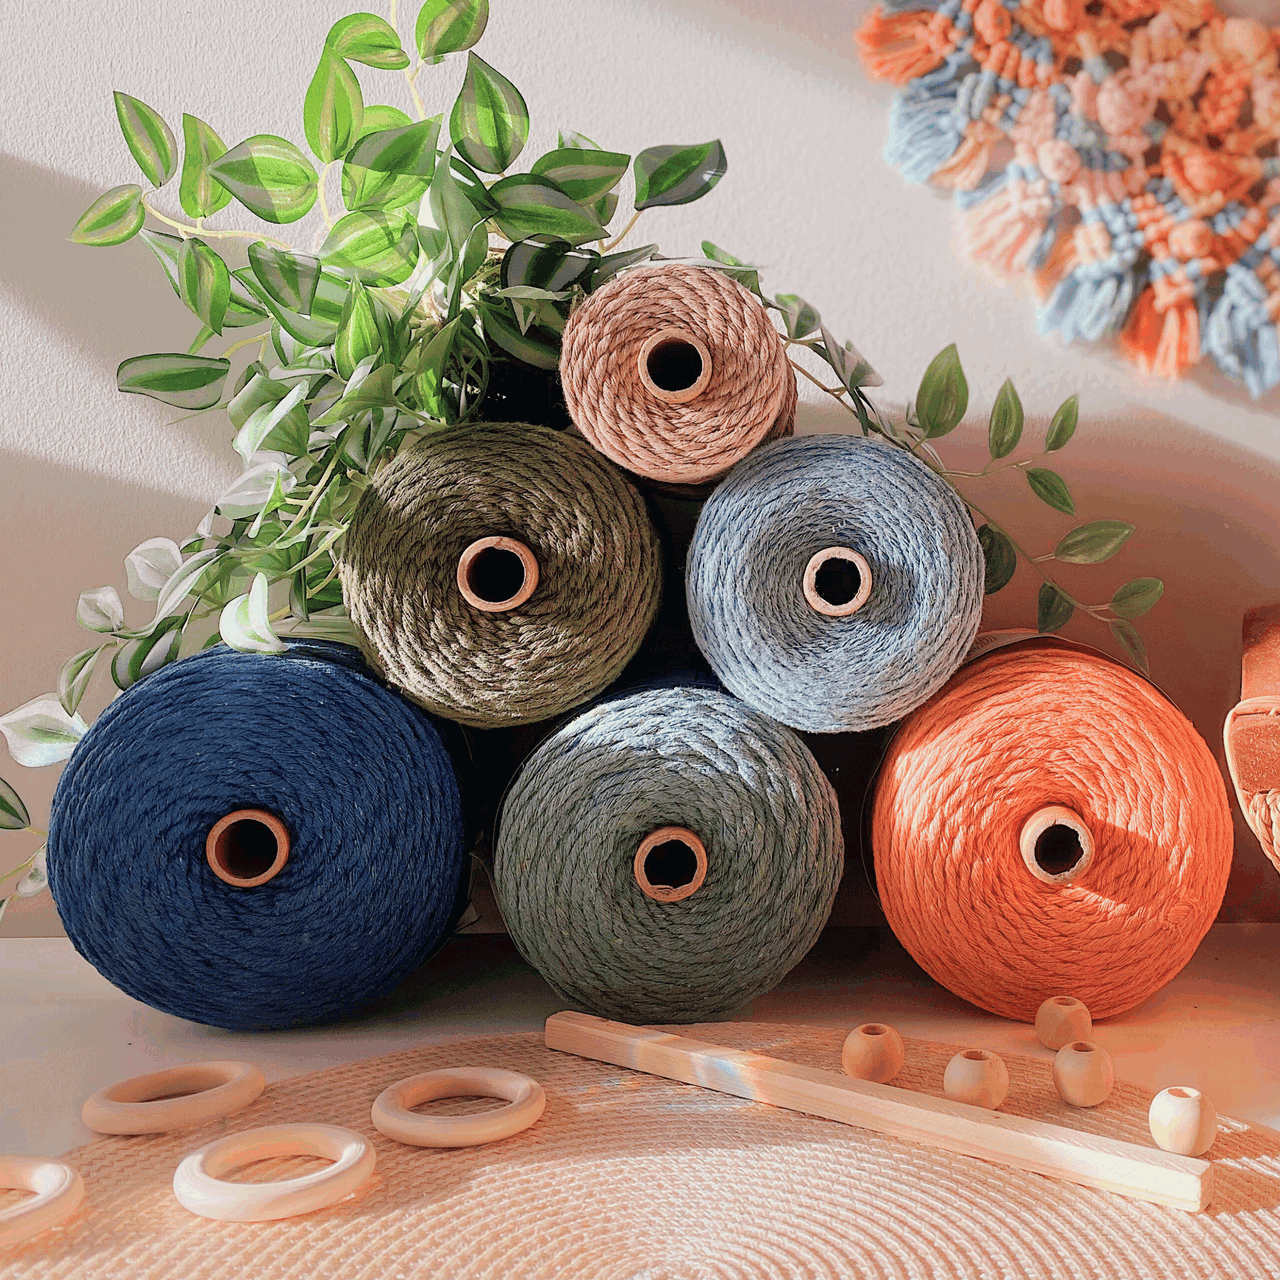
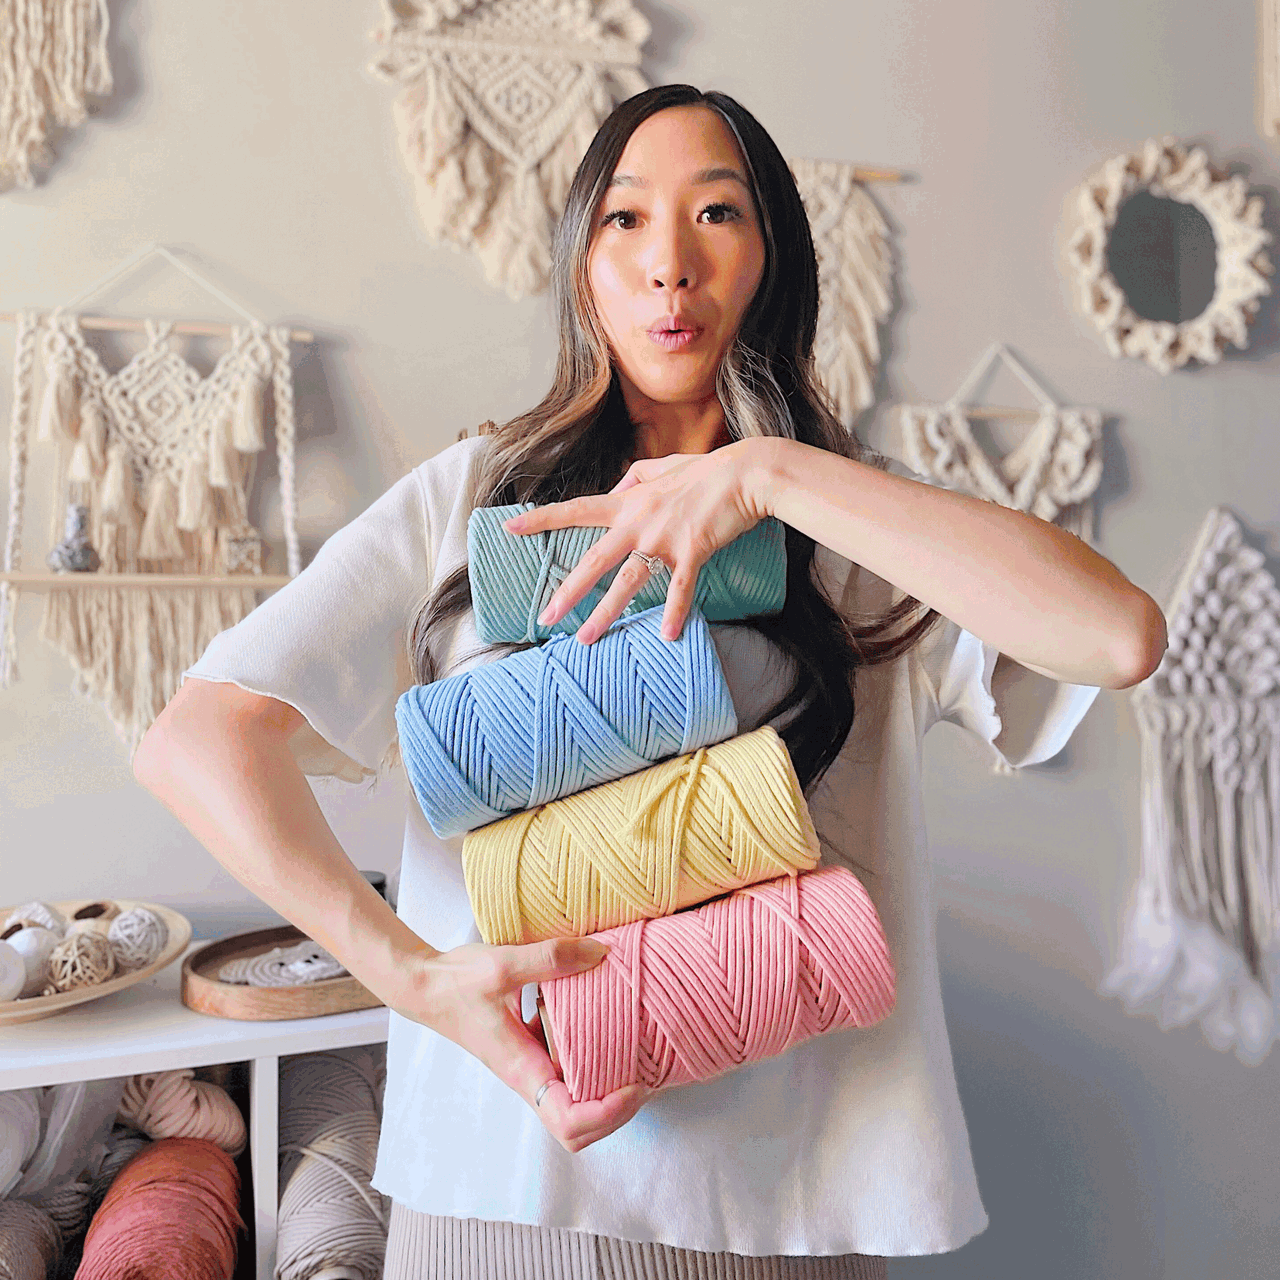
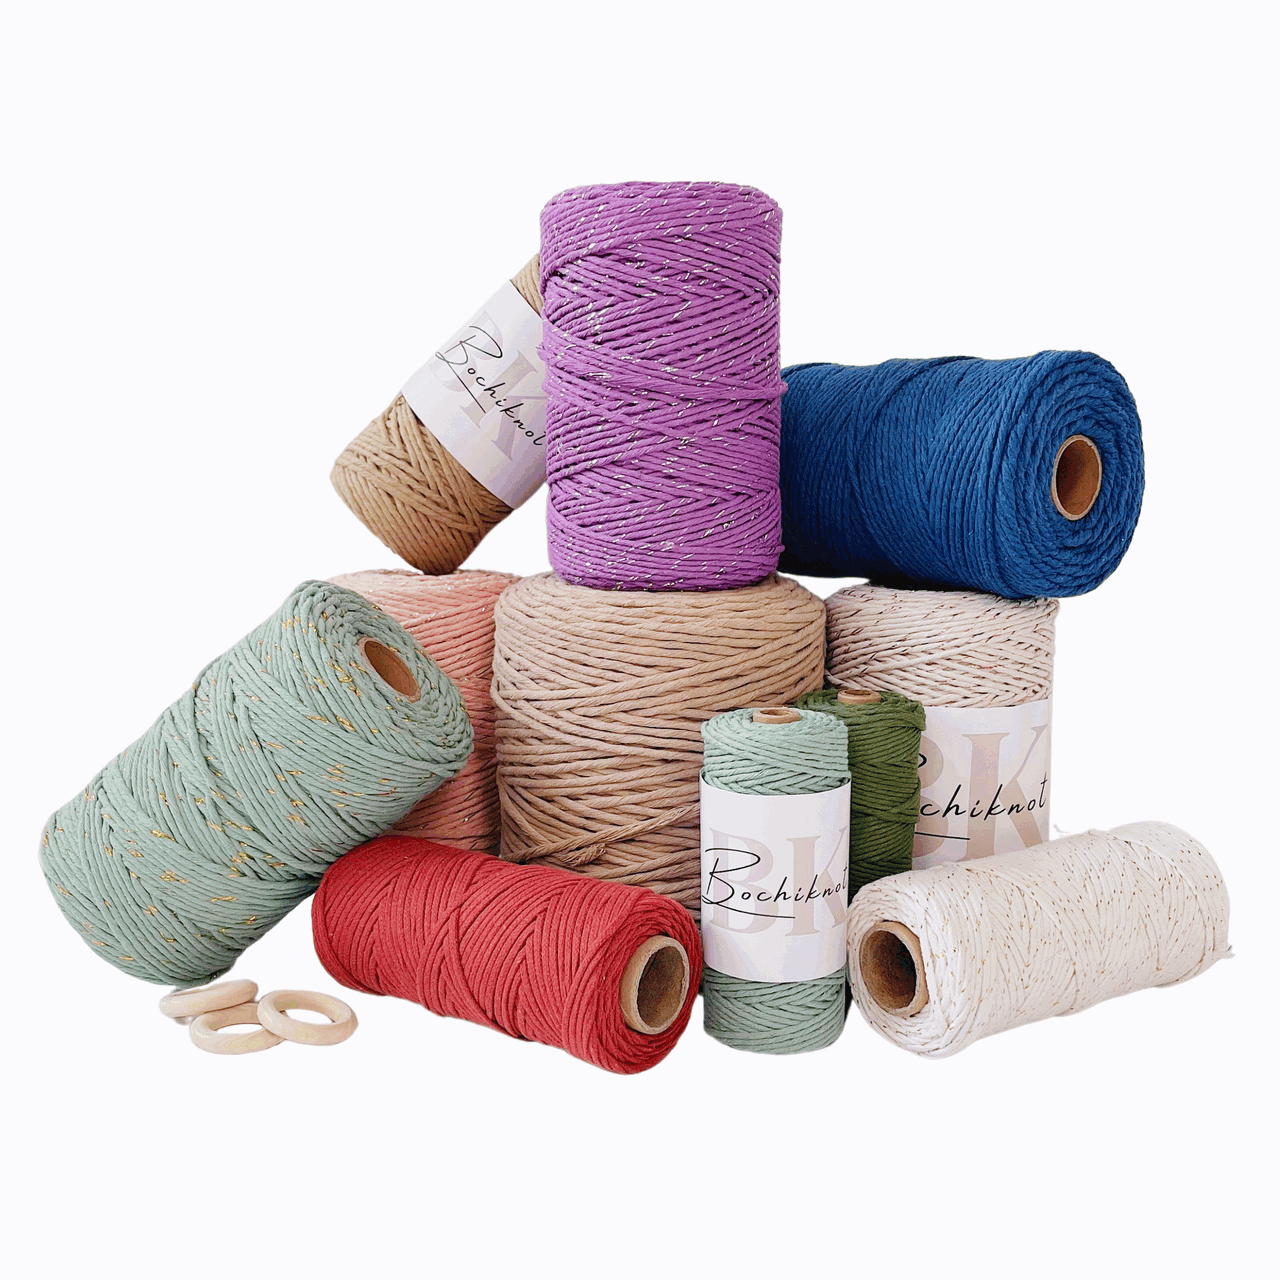
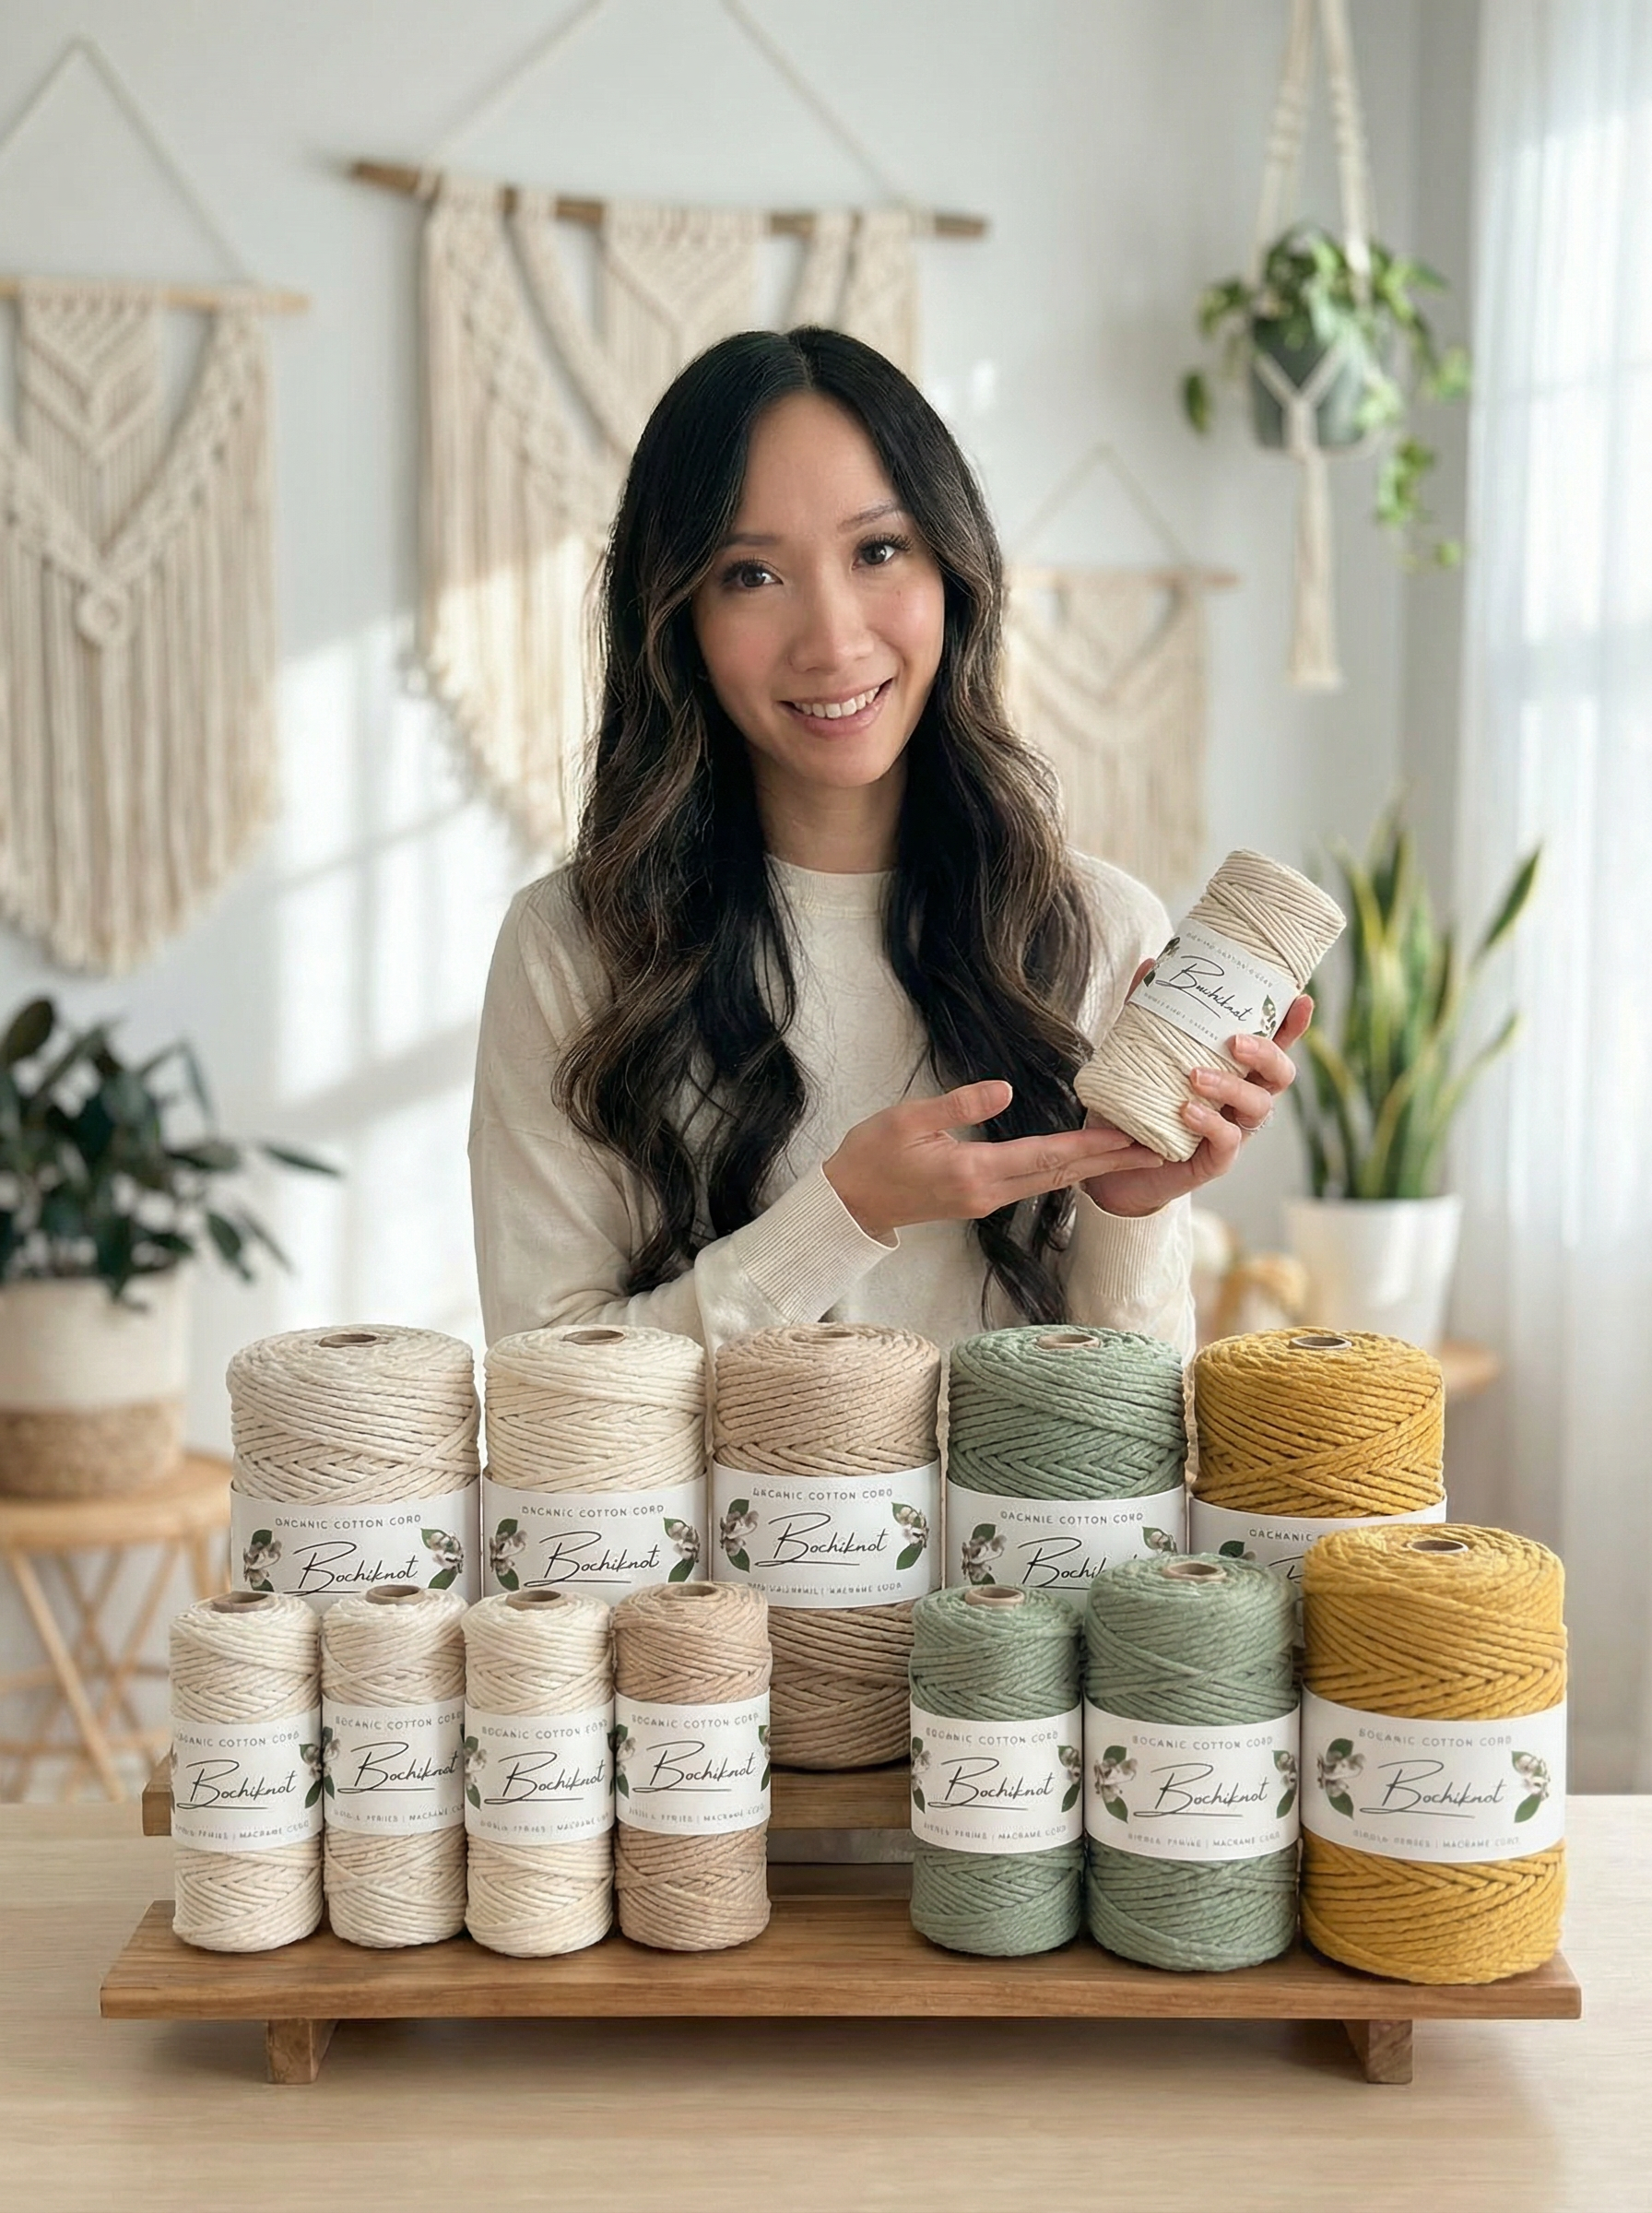
For this particular macrame project, I chose to use 4mm 3ply Strand cotton cord in the color mauve, sage, steel blue, and buttermilk.
- Keychain Lobster Clasp
- 3 x large hole (8mm hole) beads
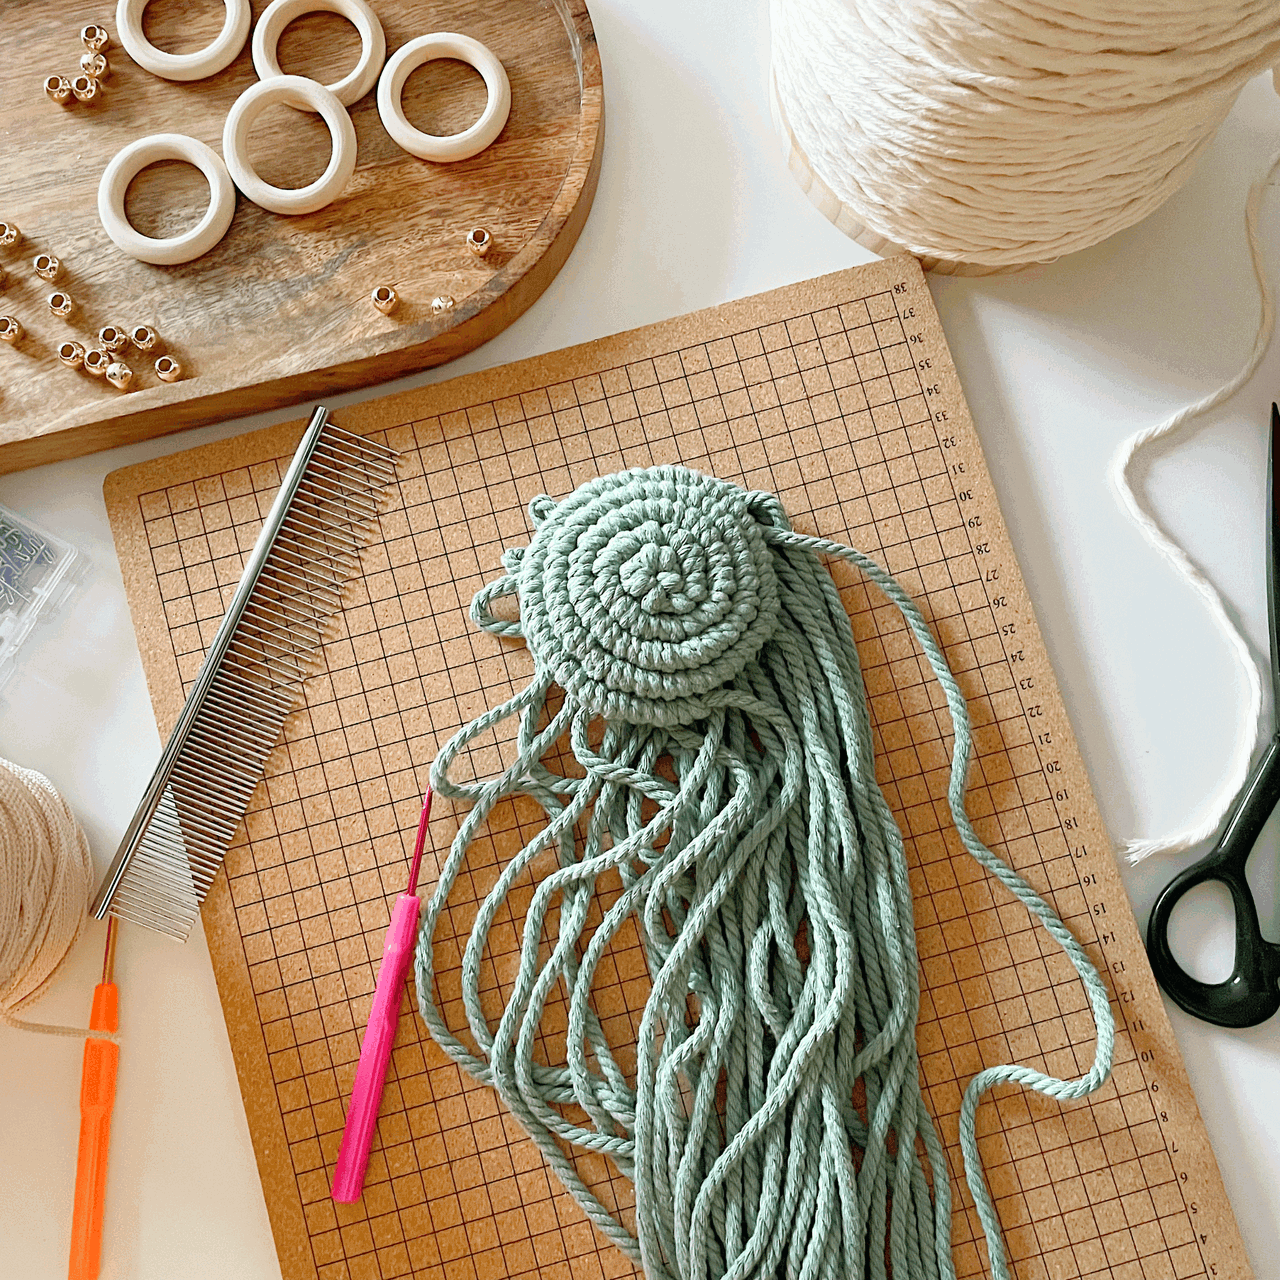
- Cork macrame board (tape and a stable surface like a desk will also work)
Macrame Tools
You will also need some essential tools:
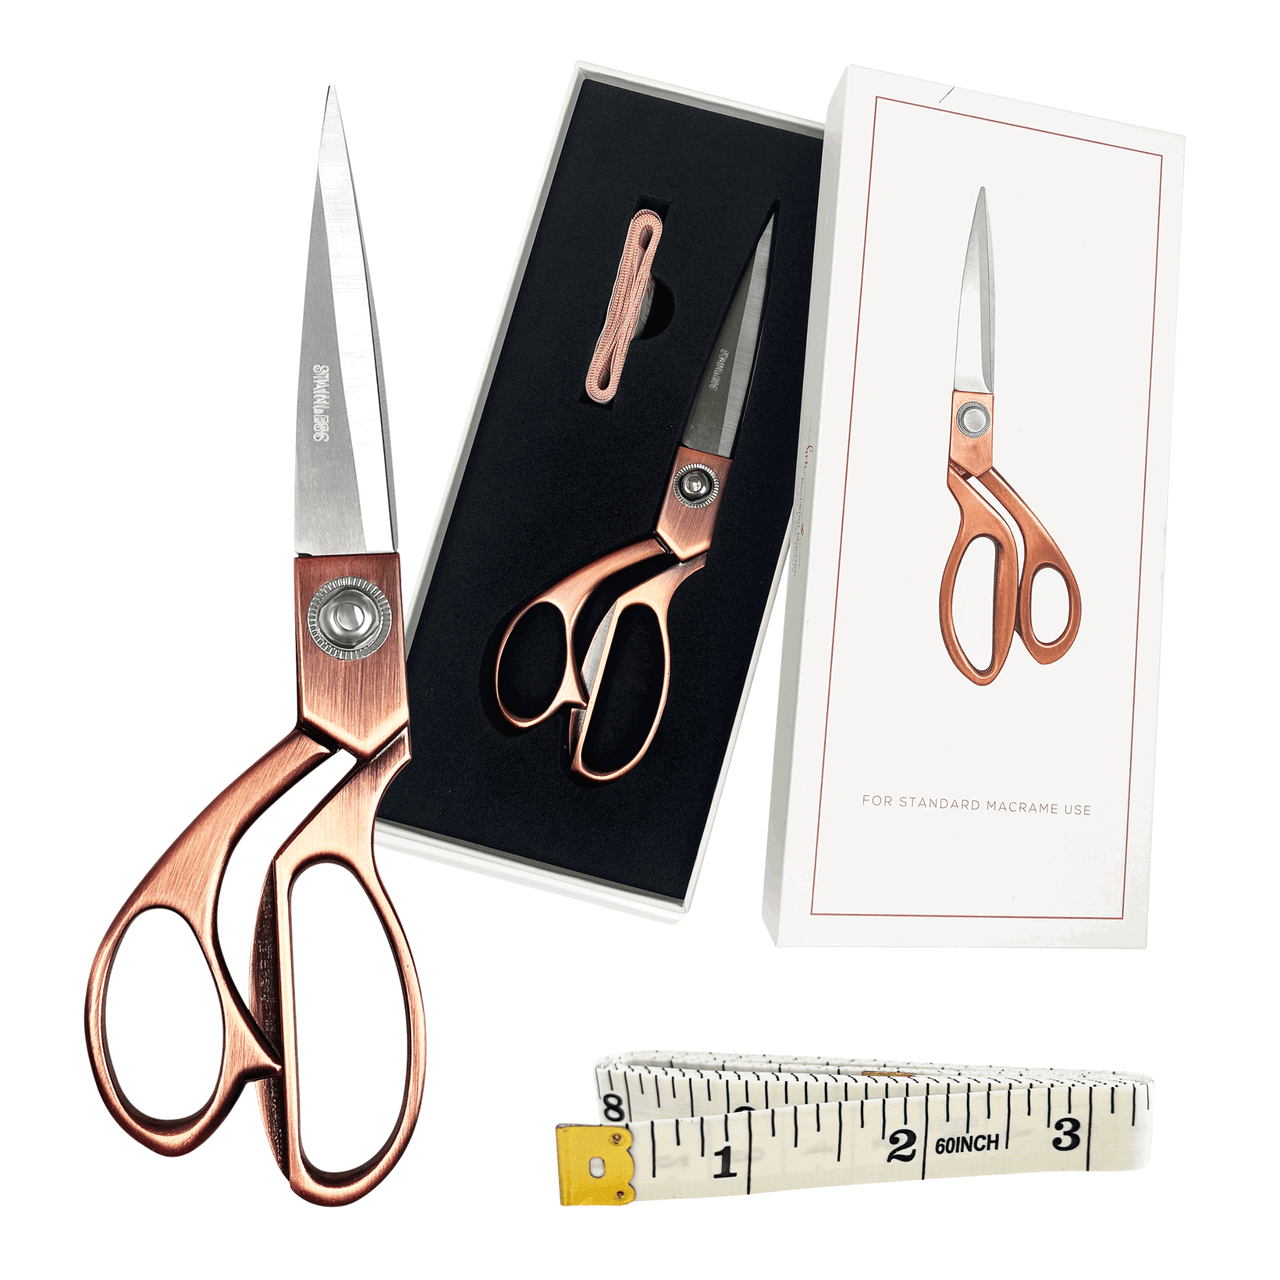
- Scissors
- Measuring Tape
- Crochet Hook / Weaving needle (Optional)
Macrame Keychain with Beads Details
Skill Level:
- Beginner
- 6" length
- 1-2 hours depending on skill level
- Color #1: 1 x 100 cm (39”), 1 x 50 cm (20”)
- Color #2: 2 x 150 cm (59”)
* Note: Cord lengths are based on a 4mm Three-ply cord. Adjust as needed for different cord sizes or brands.
How to Incorporate Beads onto a Macrame Keychain | Video Tutorial
How to Incorporate Beads onto a Macrame Keychain | Step-by-Step Guide
*Note: We recommend following the tutorial video for more detailed instructions and to achieve the best results.
This will provide additional guidance and clarity as you work through each step.
Step-by-Step Pattern Instructions
Step 1:
- Take a 100 cm cord (Color #1) and attach it to the bottom of the lobster clasp using a Reverse Lark’s Head knot.

Step 2:
- Overlap the two cords you’ve just attached.

Step 3:
- Take two 150 cm cords (Color #2). Measure 40 cm from one end, keeping the shorter end in the middle, and attach each cord to the overlapped cords using Reverse Lark’s Head knots.


Step 4:
- Pull on the anchor cords to tighten.
- Using the right Color #2 cord as your working cord, make 3 Vertical Lark’s Head knots onto the Color #1 cord.


Step 5:
- Repeat the same pattern on the left side, making 3 Vertical Lark’s Head knots.


Step 6:
- Slide a bead onto the middle two cords.


Step 7:
- Overlap the anchor cords, then use the remaining cords to tie Half Hitch knots around the overlapped cords.


Step 8:
- Repeat the same pattern to create 2 more flower (Daisy) patterns below the first one.


Step 9:
- Take a 50 cm cord (Color #1) and create a Gathering knot at the bottom to secure everything.


Step 10:
- Trim the excess cord and shape the tassel at the bottom to finish your keychain.


With this technique, you’re not just adding beads—crafting something with depth, texture, and beauty.
By framing the bead with knot “petals,” you can transform an ordinary keychain into a stunning piece of art.
I hope you loved this macrame tutorial on adding beads to your keychain with a beautiful flower pattern!

Looking for Macrame Patterns and Projects?
I’ve got a fun variety of DIY macrame patterns for you to explore—whether you’re into creating unique wall hangings to spruce up your home or timeless plant hangers, there’s something for every skill level.
Each pattern is super easy to follow with step-by-step photos, clear instructions, and plenty of tips to help you along the way.
Ready to start creating?
Browse DIY macrame patterns on Etsy and dive into your next project.

Join the Bochiknot Macrame Community: Your Gateway to Exclusive Tutorials & Inspiration
Discover the art of macrame like never before! Join our exclusive community of passionate macrame enthusiasts and unlock a world of creativity.
Gain access to a treasure trove of unique patterns, expert guidance, and a supportive network of fellow artists.









Leave a comment