Macrame Wall Pocket to ORGANIZE and BEAUTIFY Your Space

A Macrame Wall Pocket: The Simple & Stylish Way to Organize Your Space
Imagine this: It’s a lazy Sunday afternoon, and you’ve finally found some “me-time” after a hectic week.
The house is quiet, your favorite playlist is softly playing in the background, and as you take a look around, you realize—there’s stuff everywhere.
Keys on the coffee table, mail piled up on the counter, magazines scattered across your desk, and random trinkets seem to have claimed every available surface.
Sound familiar?
That was exactly me just a few months ago.
Nothing too crazy—just small clutter that had slowly built up and was now all over the place.
I knew I needed to get things organized, but I didn’t want to just hide things away in drawers.
I wanted a solution that would tidy things up and look good, something that would make my space feel cozy, warm, and inviting.
That’s when I came across the idea of making a macrame wall pocket—and let me tell you, it’s now one of my favorite ways to organize AND decorate!
Macrame wall pockets do more than just store your stuff.
They bring a personal, handmade touch that transforms your space from cluttered to stylish.
These pockets give off a cozy, lived-in vibe that’s both functional and decorative.
In this post, I’m going to share the details of a small macrame wall pocket I made recently.
I love the idea of creating things that are not only beautiful but also practical—and macrame projects are perfect for that.
I’ve already made a few macrame wall pockets, and they add a fun boho-chic touch to my room, which is pretty much macrame heaven right now.
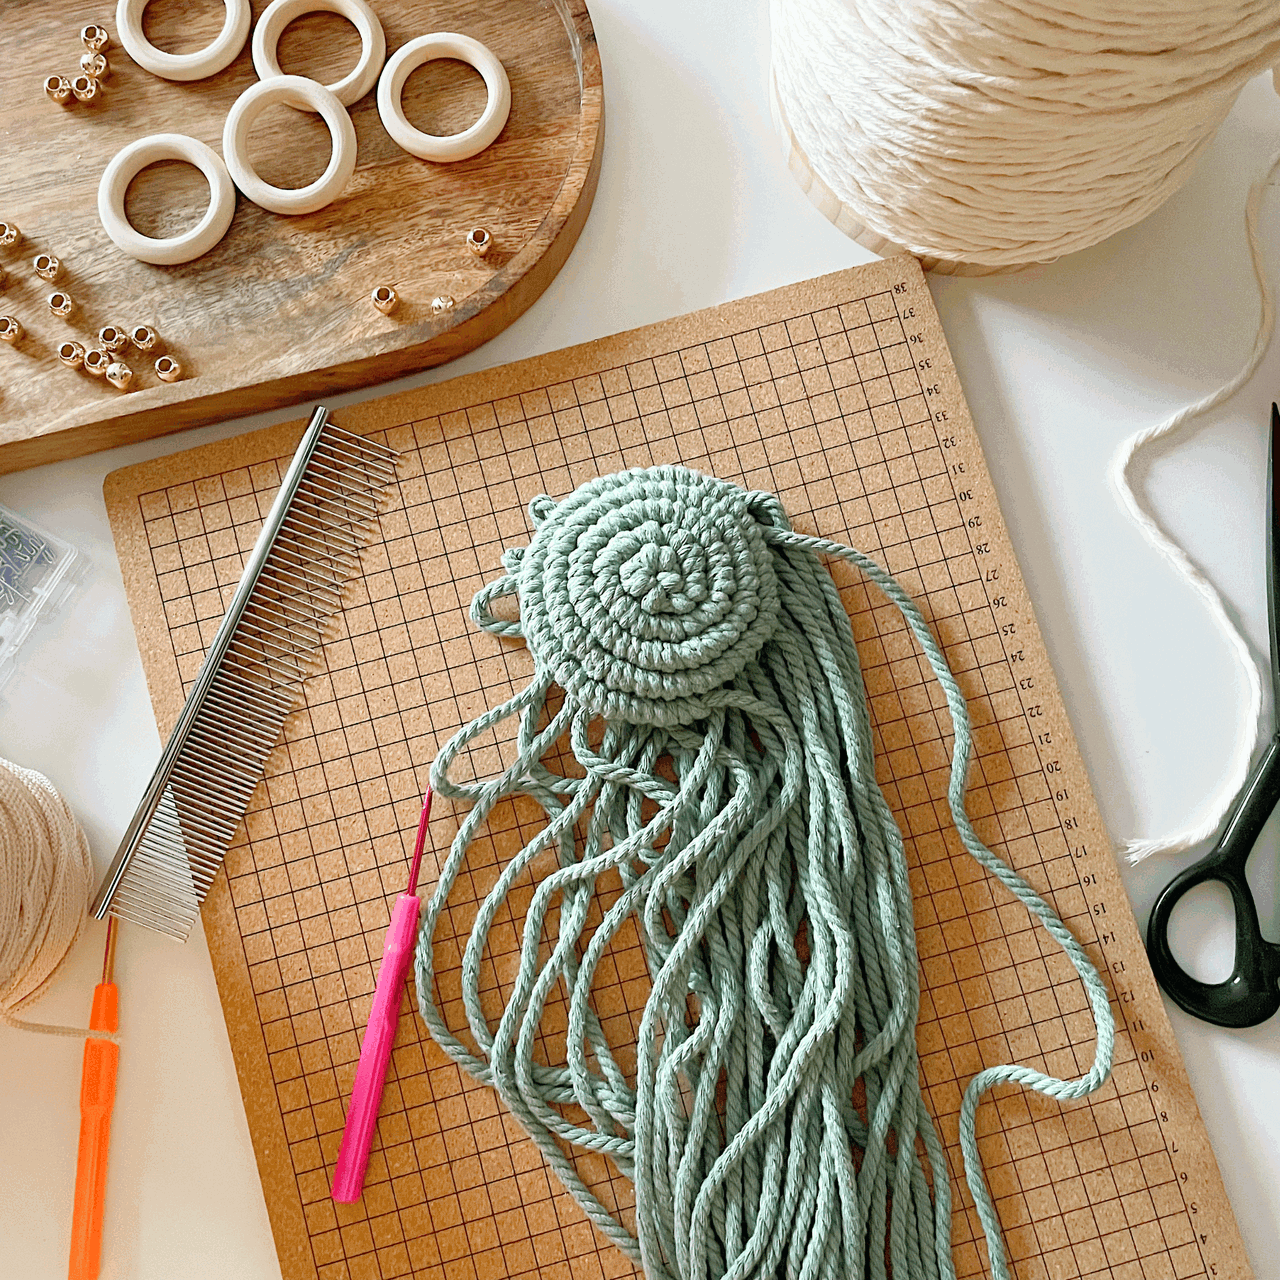
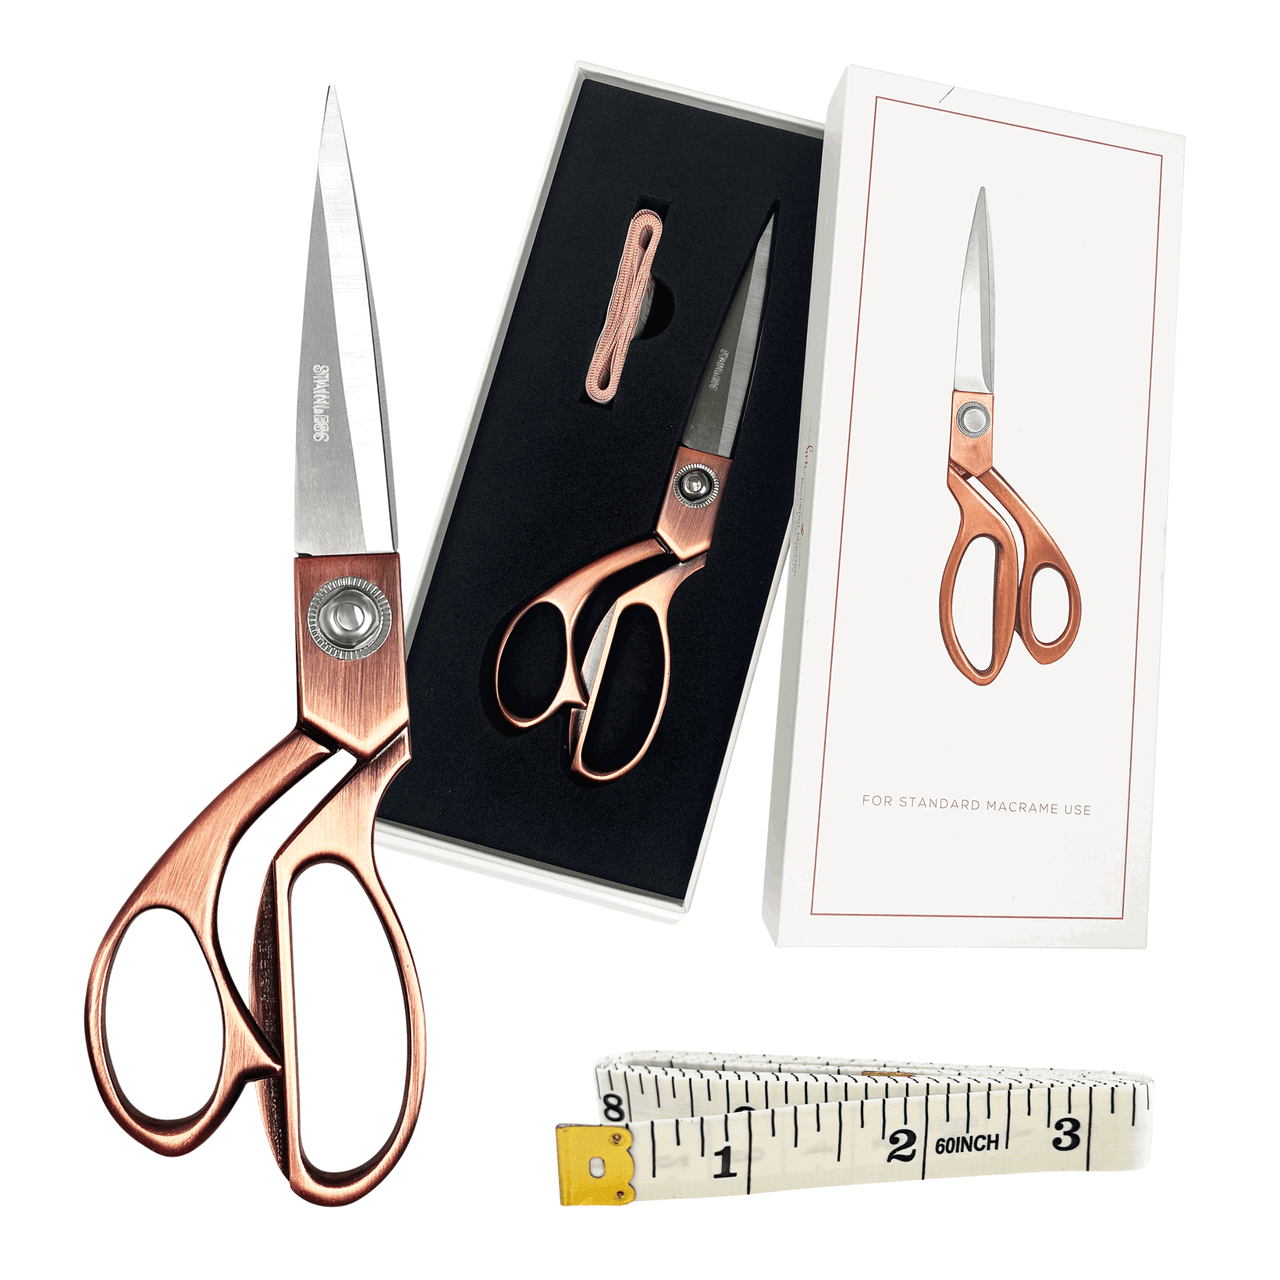
I use mine to hold my macrame essentials—my fringe comb, scissors, and my trusty measuring tape—so everything I need is always close by.
And guess what?
You can make your own, too, even if you’ve never tied a macrame knot before.
I’ll walk you through the steps, and trust me, by the end of this project, you’ll be hooked (and maybe even looking for more things to macrame!).
Let’s dive in and get started!
Macrame Knots Used for the Pocket Wall Hanging
The great thing about this macrame wall pocket project is that it gives you plenty of practice with just three basic macrame knots.
Don’t be fooled by their simplicity—once you master these knots, you’ll be able to create hundreds (if not thousands) of different patterns and come up with all kinds of unique designs!
The three knots we'll be focusing on are:
These three are the foundation of so many macrame projects, and with them, the possibilities are endless.
One thing I always encourage is to practice, practice, and then practice some more!
The more you work with these knots, the more natural they’ll feel.
Getting comfortable with the way the cord moves between your fingers is key to making clean, tight, and beautiful knots.
It’s great to know these knots ahead of time or at least have a basic understanding of how they work because we’ll be using variations of them throughout the project.
So, don’t worry if you’re new to macrame—by practicing these basic knots, you’ll be setting yourself up to create stunning designs in no time.
More Macrame Knots
If you want to add more knots to your macrame designs, check out my free resource, "50 Macrame Knots & Sennit Guide."
It's packed with easy, step-by-step instructions to help you improve your skills and try new creative projects.
Access it here.
Important Macrame Terms for Beginners
Before we begin, we should review a few important terms used in macrame.
This will help you understand the techniques more easily, follow patterns confidently, and set a strong foundation for your macrame journey.
- Knots: Macrame involves various knots, like the overhand knot and alternating overhand knot. Learning these basic knots is key to building a solid foundation. Check the "Macrame Knots You Need to Know" section for the knots used in this pattern.
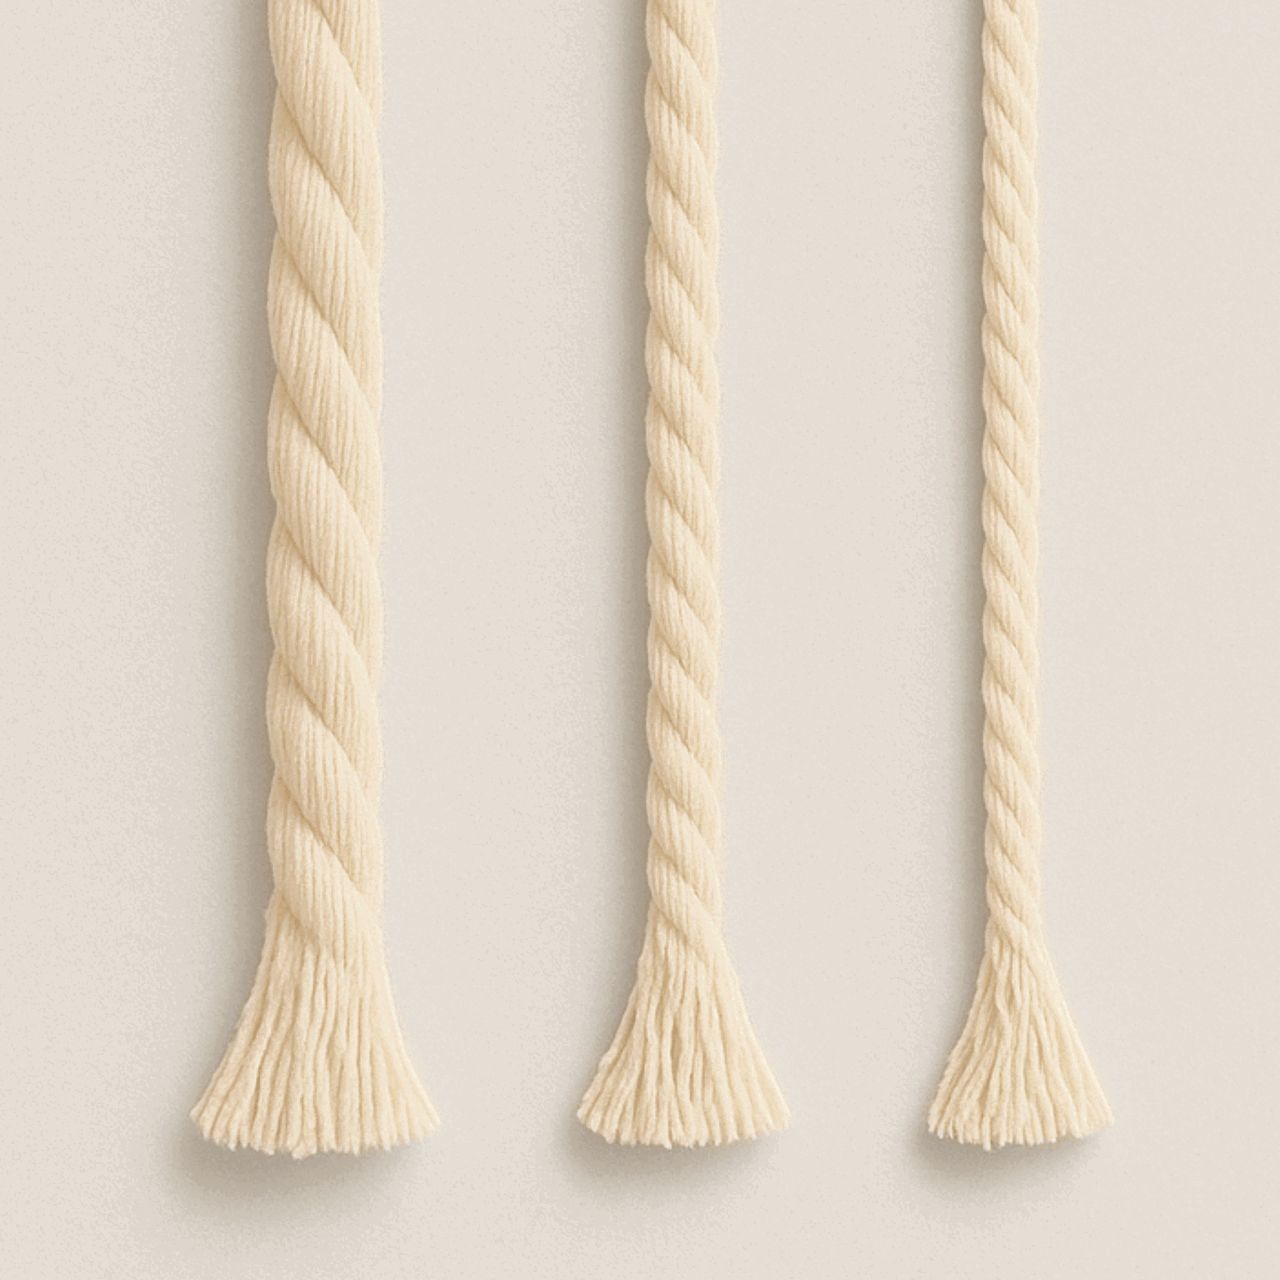
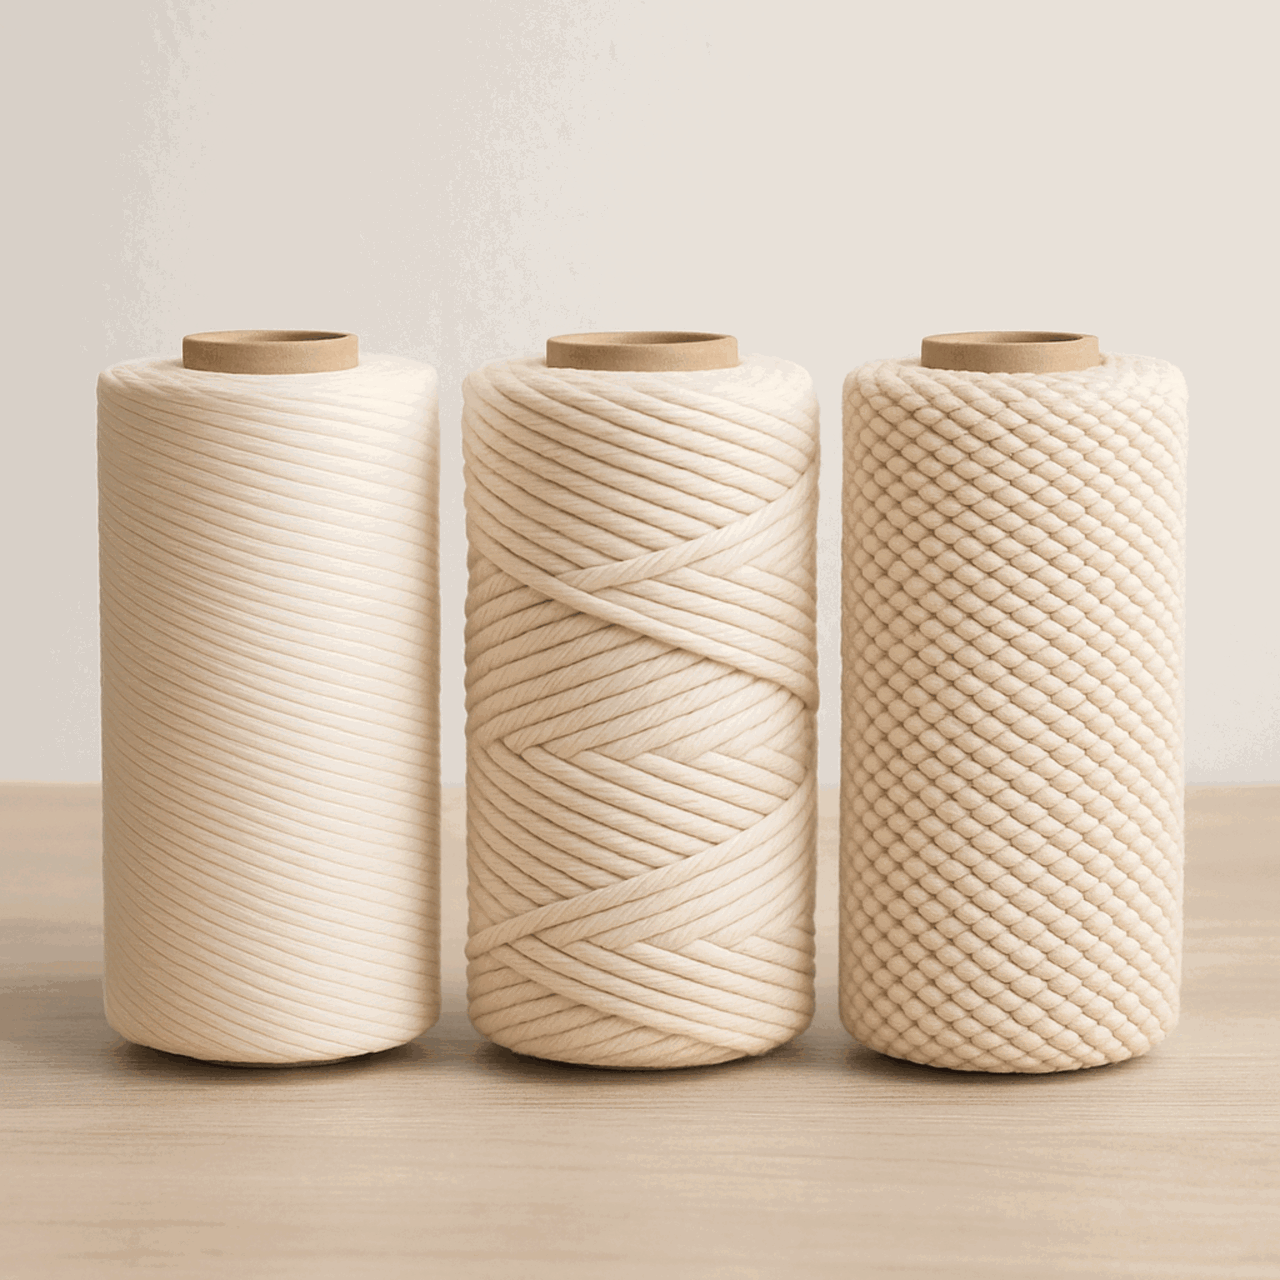
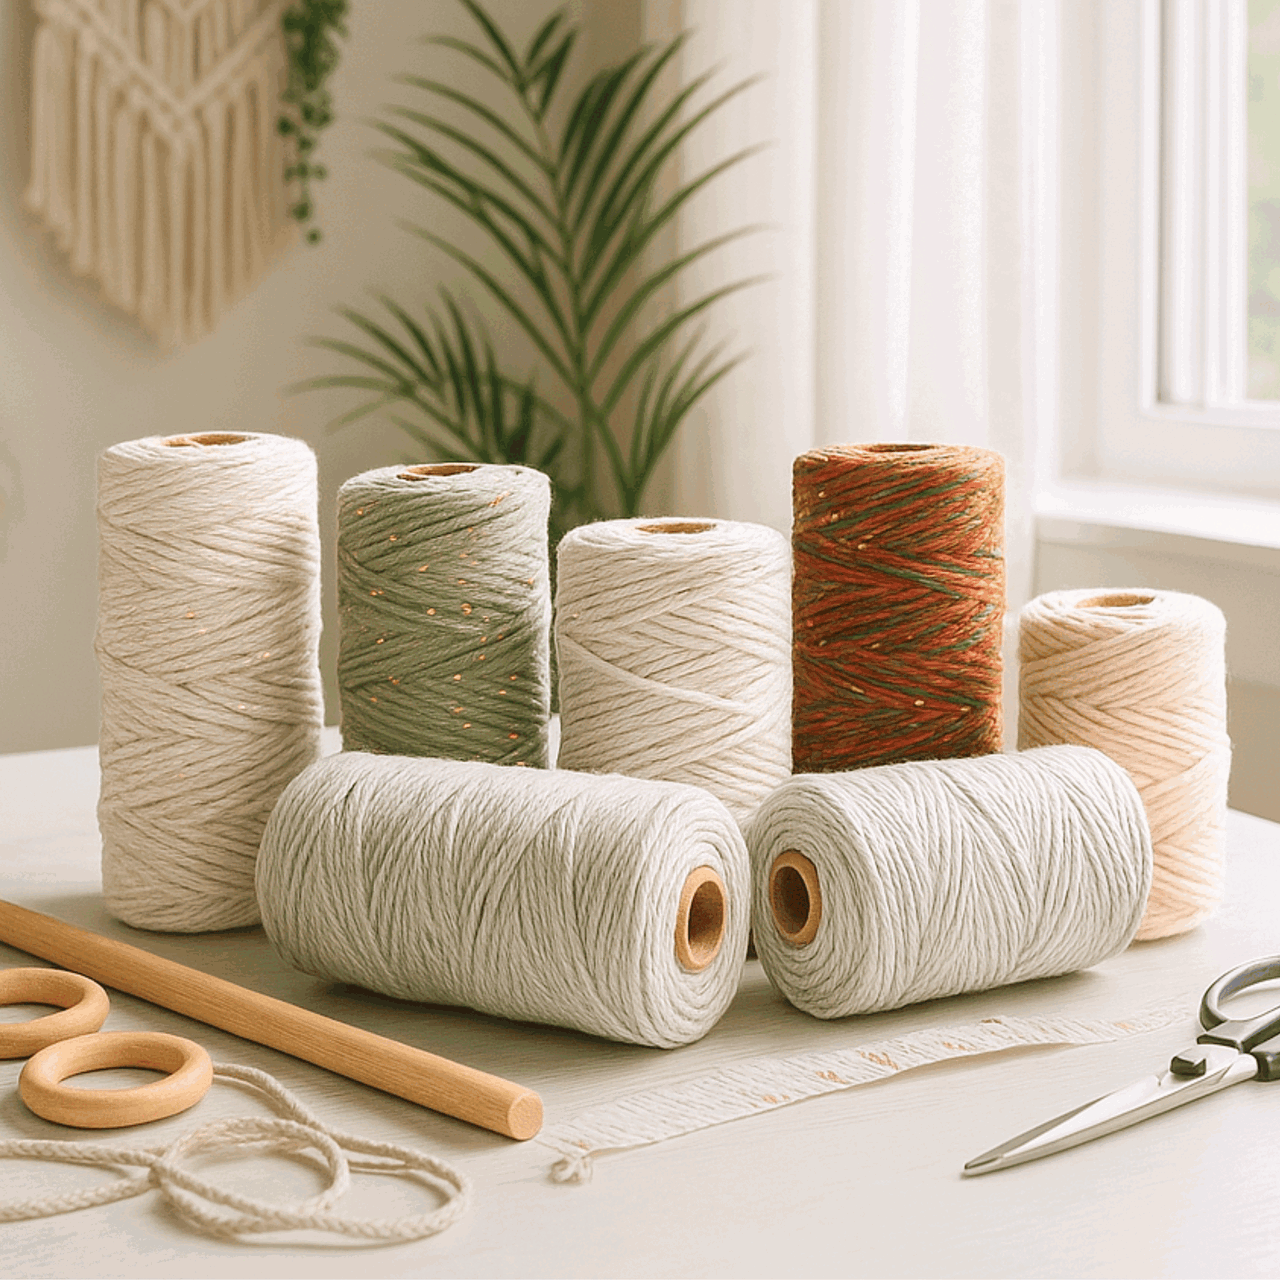
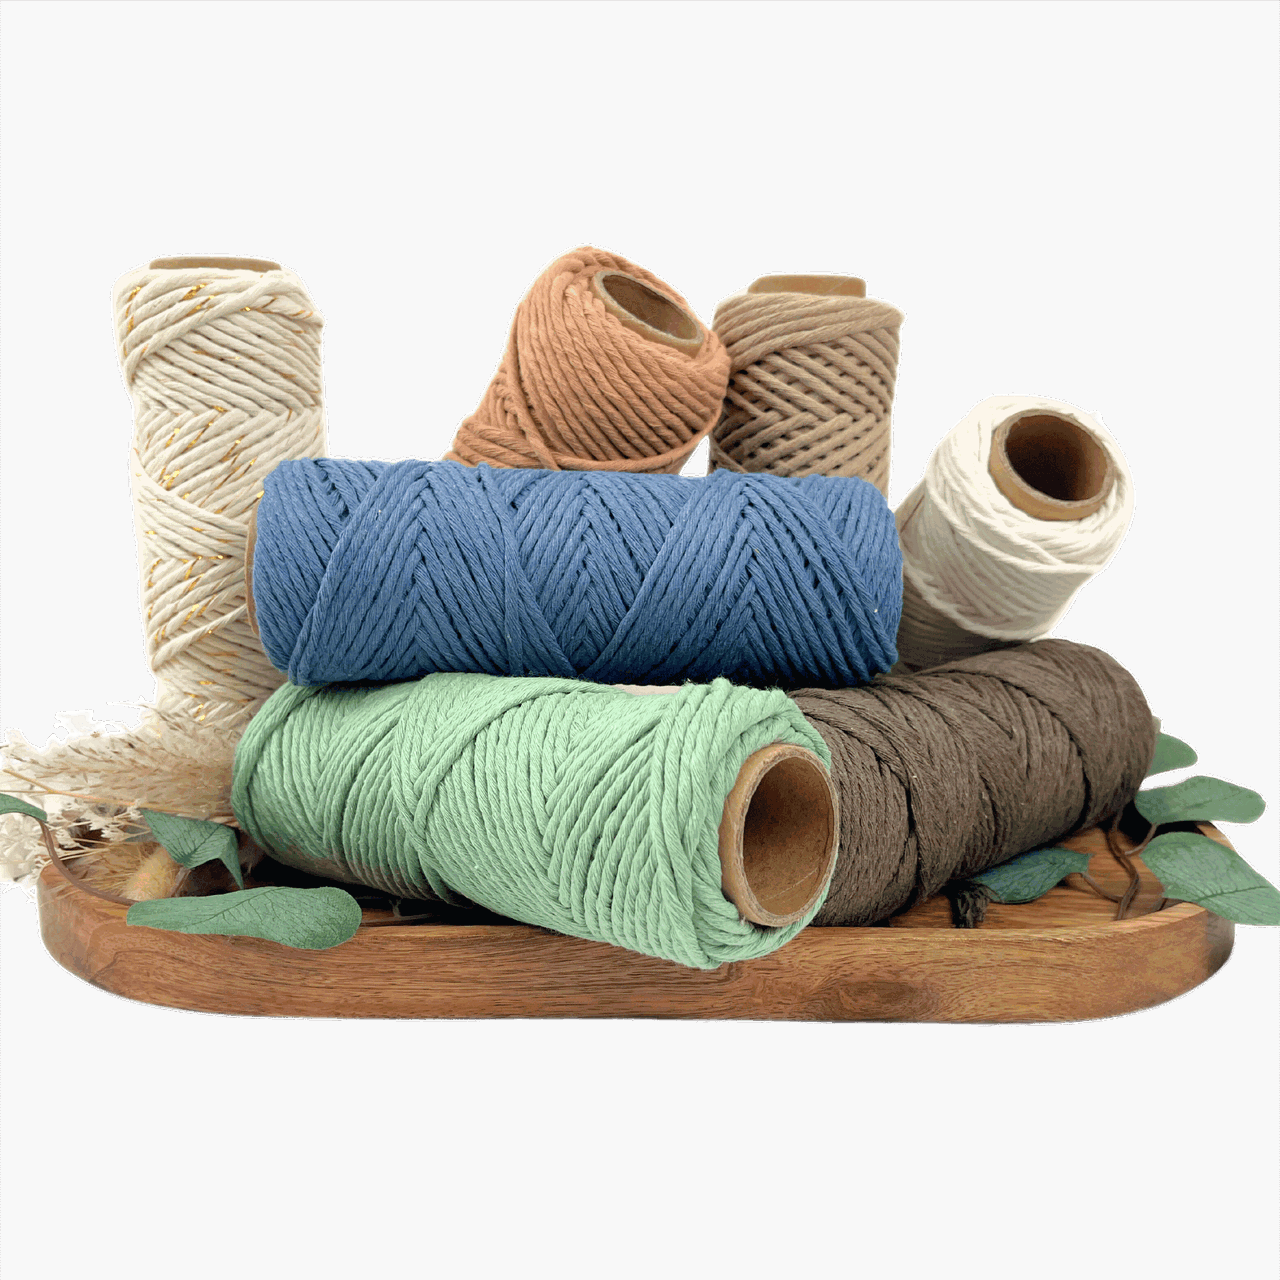
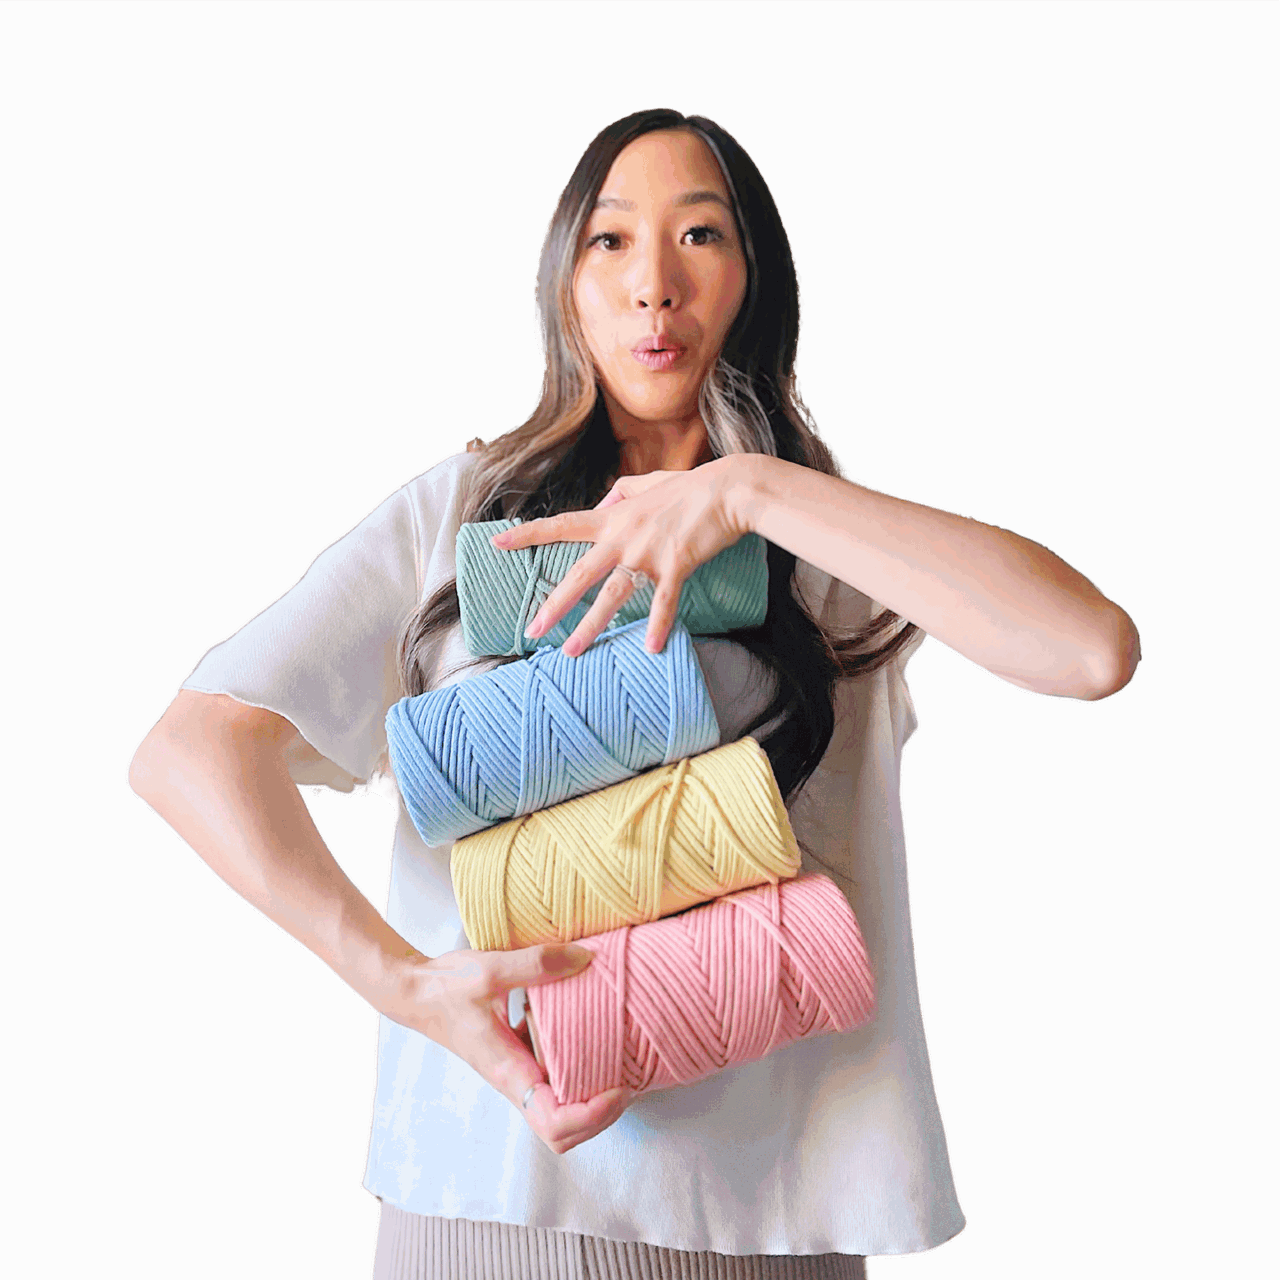
- Cords: The primary material in macrame is cords made from cotton, jute, nylon, or synthetic fibers. They come in different thicknesses and colors. You can learn more about macrame cords with our "Macrame ESSENTIALS: Everything You Need—Cord, Tools, & Materials" post.
- Loop: A loop is formed by crossing the cord over itself to create a ring-like shape. Loops are essential in many macrame designs.
- Fringe: The loose ends of cords that hang down, adding a decorative element. The fringe can be left as is or trimmed to your desired length. Want to learn more about fringe? Here's "My Top 5 Secrets for Creating PERFECTLY Styled Fringe" post you might find helpful.
- Anchor Cord: The fixed cord or structure to which other cords are attached. It provides stability and support for your design.
- Working Cord: The cord that is actively manipulated to create knots and patterns throughout the project.
- Sennit: A series of knots grouped together to form a pattern or part of your macrame project.
- Frays and Tassels: The loose ends of your cords are often used intentionally as decorative elements like frays or tassels in your design.
Macrame Wall Pocket: Cords and Materials You’ll Need
To create this macrame pocket wall hanging, we’ll be keeping it simple with just two essential materials: macrame cord and a wooden ring.
These basic supplies are all you need to get started.
For my project, I used:
- 3mm single-strand cotton cord: This size is perfect for creating neat, clean knots and gives the finished piece a soft, smooth texture.
- 2-inch wooden ring: The ring acts as the base for your wall pocket and gives it structure.
If you want the best results, I recommend using these same materials. But don’t stress if you don’t have the exact size or type—use what you have!
Just keep in mind that different cords can affect how your knots look, how the pattern turns out, and even the texture of the finished project.
Thicker cords will make the knots bulkier, while thinner ones create a more delicate look.
Be aware that changing the type of cord (like using braided vs. single-strand cotton) or the size (like using 5mm instead of 3mm) will alter the overall appearance and feel of your wall pocket.
It can be fun to experiment, but if you want to follow along exactly, sticking to these materials will give you the closest match.
Macrame Tools
You will also need some essential tools:
Now that we’ve got the cord, materials, and tools sorted out, let’s dive into the details of how to make your very own macrame pocket wall hanging!
Macrame Wall Pocket Pattern Details
Skill level:
- Intermediate (completed 5 or more projects)
Completed size:
- 4.5" wide x 12" length
Completion time:
- 1-2 hours (depending on skill level)
Materials needed (for 1 unit):
- 1 x 3mm macrame cord
- 1 x 2" ring
Cord lengths:
- 18 x 220cm (87")
- 18 x 100cm (40")
- 1 x 95cm (37")
How to Macrame a Pocket Wall Hanger | Video Tutorial
How to Macrame a Pocket Wall Hanger | Step-by-Step Guide
*Note: We recommend following the tutorial video for more detailed instructions and to achieve the best results.
This will provide additional guidance and clarity as you work through each step.
Step 1:
This forms the back section of your wall hanging.
- Attach a 220cm cord to the ring using a Lark’s Head knot.
- Repeat this 7 more times so you have 8 cords attached.


Step 2:
- Attach two 220cm cords to the far-left and far-right cords using Reverse Lark’s Head knots.
- Repeat this process 4 more times on each side, so there are 5 cords on each side.


Step 3:
- Using the far-left 4 cords, make a Square knot.
- Repeat two more times to the right, making 3 Square knots in total.
- Now, using the far-left group of cords, create 3 more Square knots.
- Do the same on the far-right side.


Step 4:
- Make a row of Alternating Square knots underneath the previous row.

Step 5:
- Create an Alternating Square knot using the far-left cords attached to the ring.
- Continue creating Alternating Square knots as you move to the right.


Step 6
- Following the diagonal pattern, make two more Alternating Square knots underneath the previous ones, then one more underneath that.

Step 7:
- Repeat Steps 5 and 6 on the right side to mirror the left side.

Step 8:
- Using the middle-right cord as an anchor cord, make a row of Diagonal Double Half Hitch (DHH) knots to the left, ending in the middle of the bottom Square knot.
- Repeat this on the left side, using the middle-left cord as an anchor cord.


Step 9:
- Create a row of Diagonal Reverse Double Half Hitch (RDDH) knots.
- Using the right middle cord as an anchor cord, make RDDH knots to the left.
- Repeat this on the right, using the middle-left cord as an anchor.


Step 10:
- Use the far-left cord as an anchor and create a row of diagonal DHH knots to the right, connecting it to the middle with a DHH knot.
- Mirror this on the right side.


Step 11:
- Use the far-left cord as an anchor and create a row of RDHH knots.
- Add one more RDHH knot to the left side of the middle, connecting it to the far-left portion of the pattern.
- Mirror this on the right side.


Step 12:
- On the left, use the same anchor cord as before to create a diagonal row of RDHH knots.
- Continue this to the middle, using the anchor cord from the row above.
- Mirror this on the right side, connecting the two sections with an RDHH knot.


Step 13:
- On the left, use the middle-right cord as an anchor for a diagonal row of DHH knots.
- Repeat this on the right side and close the pattern with a DHH knot in the center.


Step 14:
- Create a Square knot using the middle 4 cords of the left section.
- Add 2 Alternating Square knots underneath.
- Repeat this process twice, adding one Alternating Square knot per row, for a total of 4 Square knots in the last row.
- Mirror this on the right side.


Step 15:
- Starting on the far-left side, create a row of Alternating Square knots.
- Repeat this 14 more times.


Step 16:
This forms the front pocket of the wall hanging.
- Use the 95cm cord to attach 18 x 100cm cords with Reverse Lark’s Head knots.


Step 17:
- Create a row of 9 Square knots, starting with the far-left 4 cords.
- Add 4 rows of Alternating Square knots underneath.


Step 18:
- Skip about 1cm from the last row and create another row of Alternating Square knots.
- Skip another 1cm and create a second row of Alternating Square knots.


Step 19:
- Create 4 more rows of Alternating Square knots, just like in Step 17.

Step 20:
Connect the front and back sections.
- Connect the front and back sections by matching the last 15 rows of Square knots.
- Weave the anchor cord from the front through the loops of the front and back layers, using a crochet hook or stick for assistance. Do this twice per loop.
- Repeat on the right side.


Step 21:
- On the far-left, use the far-left and far-right cords from the back section’s Square knot as working cords. Make two Square knots, including all the cords from the front and back sections’ far-left Square knots.
- Repeat this all the way to the right.


Step 22:
- Trim the fringe to your desired length.

Wrapping Up: Your Stylish and Functional Macrame Wall Pocket
And there you have it—a beautiful, handmade macrame wall pocket that not only helps keep your space organized but also adds a personal, creative touch to your décor.
If you’re using it to store your crafting tools, keep mail and keys off the counter, or even display small plants, this pocket is as practical as it is stylish.
Macrame is all about mindfulness and creativity, and this project is a great way to relax and enjoy the art of knotting while also making something that serves a real purpose in your home.
So, what’s next?
Maybe a matching wall hanging, a plant holder, or even another macrame pocket for a different room.
The possibilities are endless when it comes to macrame, and I can’t wait to see what you create next.
Head over to our macrame journey page to choose your next macrame DIY.
And don’t forget to share your wall pocket creation—tag me so I can see your beautiful work!
Until then, happy knotting!

Looking for Macrame Patterns and Projects?
I’ve got a fun variety of DIY macrame patterns for you to explore—whether you’re into creating unique wall hangings to spruce up your home or timeless plant hangers, there’s something for every skill level.
Each pattern is super easy to follow with step-by-step photos, clear instructions, and plenty of tips to help you along the way.
Ready to start creating?
Browse DIY macrame patterns on Etsy and dive into your next project.

Join the Bochiknot Macrame Community: Your Gateway to Exclusive Tutorials & Inspiration
Discover the art of macrame like never before! Join our exclusive community of passionate macrame enthusiasts and unlock a world of creativity.
Gain access to a treasure trove of unique patterns, expert guidance, and a supportive network of fellow artists.











I love this! How can I make this pattern wider? I’d like a short but wide pocket. It can even have 2 rings. Can I just make 2 using this pattern and connect them as I’m making them? Thank you for your help! I’m inspired by your talent for sure! Ready to make and have so many supplies.
Hi Gillian,
Thanks for pointing that out.
It should be:
18 × 220cm (87")
18 × 100cm (40")
1 × 95cm (37")
Hi..
I think the cord list at top of post should read..
14×220
18 × 100
1×95?
or should it be 18 of each length ..or 14?
thanks
Leave a comment