 Skip to content


How to Make a Baby Play Gym With Macramé Toys (Step-by-Step)
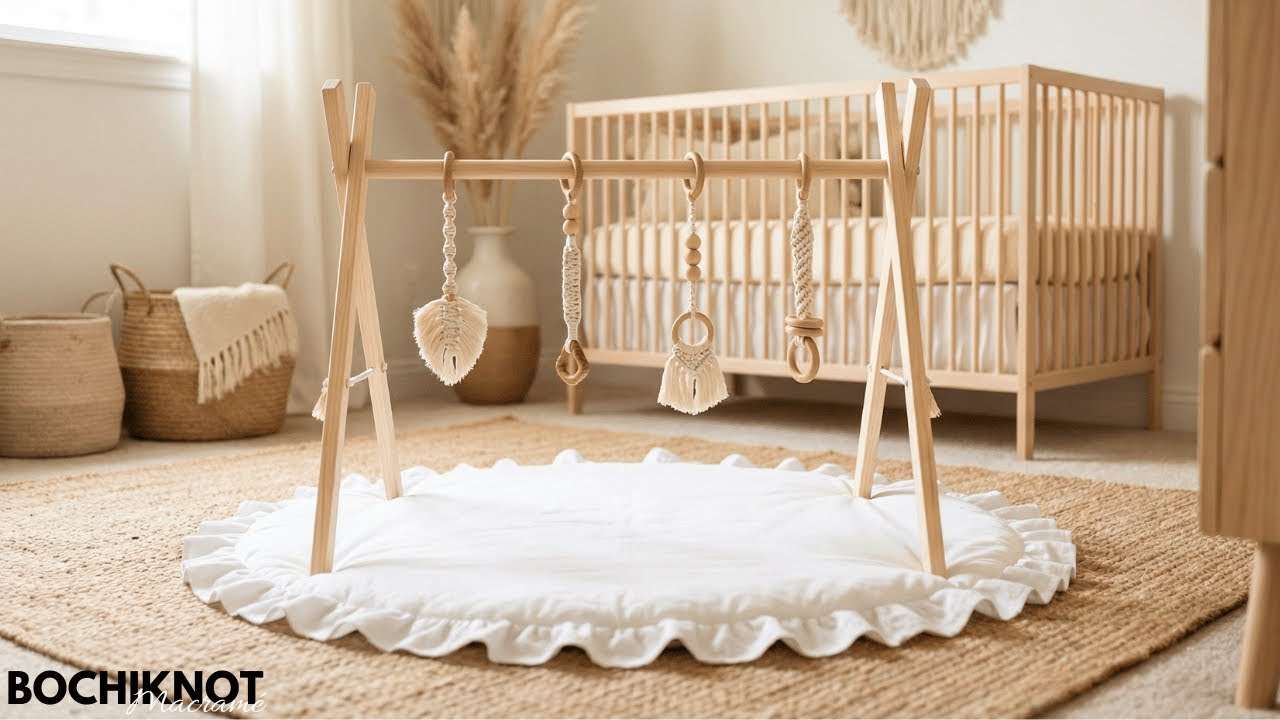
If macramé is your favorite part of baby crafts, this project starts right there. The hanging toys are what make a baby play gym engaging — soft textures to grab, natural fibers to chew safely, and gentle movement that supports early sensory play.
Whether you’ve already made macramé teethers, rainbows, or simple knotted shapes, they instantly give the play gym a warm, handmade feel.
Once your macramé toys are ready, you’ll build a lightweight wooden frame designed to display them safely.
This guide covers the full process — materials, measurements, cutting angles, drilling, sanding, finishing, and simple cord work to keep the frame stable.
Make your macramé pieces shine by pairing them with a beautiful, functional play gym.
Getting Started: Materials and Tools
What you'll need:
- 4 wooden legs (planks cut to size; thickness: 0.75" on one side, 1.5" on the other)
- 1 wooden dowel (length to match gym width)
- 2 long screws (2.5" each) + 2 washers
- Small screws for fastening dowel (pre-drill recommended)
- Non-toxic acrylic paint (for baby-safe finishes)
- Sandpaper or an electric sander
- Macrame Toys (macrame baby teether toys
- 4mm single-strand cotton cord (20" strand)
Essential Macrame Tools
You will also need some essential macrame tools:

DIY Wooden Baby Play Gym Details
Skill level
-
Beginner to Intermediate
Completed size
Completion time
-
2 - 3 hours
Materials needed
- 4 wooden legs (planks cut to size; thickness: 0.75" on one side, 1.5" on the other)
- 1 wooden dowel (length to match gym width)
- 2 long screws (2.5" each) + 2 washers
- Small screws for fastening dowel (pre-drill recommended)
- Non-toxic acrylic paint (for baby-safe finishes)
- Sandpaper or an electric sander
- Macrame Toys (macrame baby teether toys
- 4mm single-strand cotton cord (20" strand)
Interested in More Macrame Knots?
If you want to add more knots to your macrame designs, check out my free resource, "50 Macrame Knots & Sennit Guide."
It's packed with easy, step-by-step instructions to help you improve your skills and try new creative projects.
Access it here.

DIY Wooden Baby Play Gym | Video Guide
*Note: We recommend following the tutorial video for more detailed instructions and to achieve the best results.
This will provide additional guidance and clarity as you work through each step.
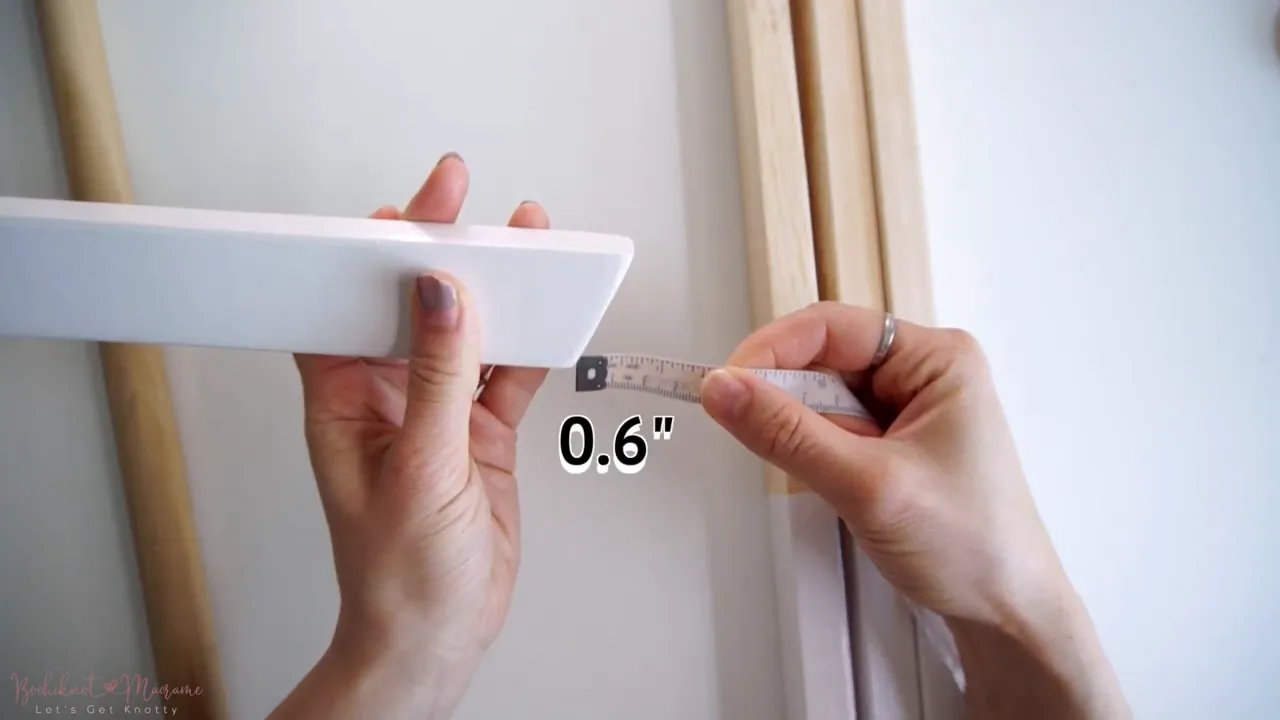
Step 1: Prepare the legs
- Have four wooden legs cut to length by the hardware store, or cut yourself.
- Mark a 20° angle on one end of each leg. A quick method: measure 0.6" along the longer side from the corner, draw the diagonal, then cut.
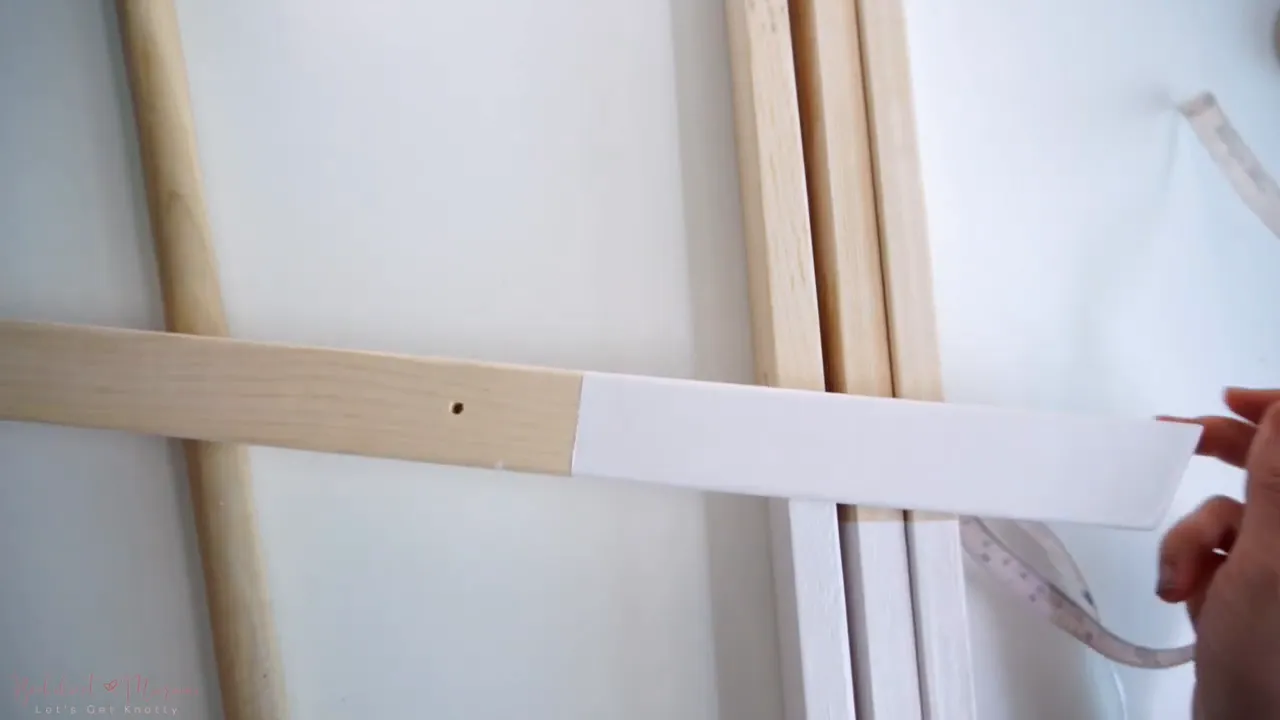
Step 2: Drill holes
- Drill two holes in each leg: one approximately 4.5" from the top, and one about 10" from the bottom. These will be used to attach the dowel and the cord stabilizer.
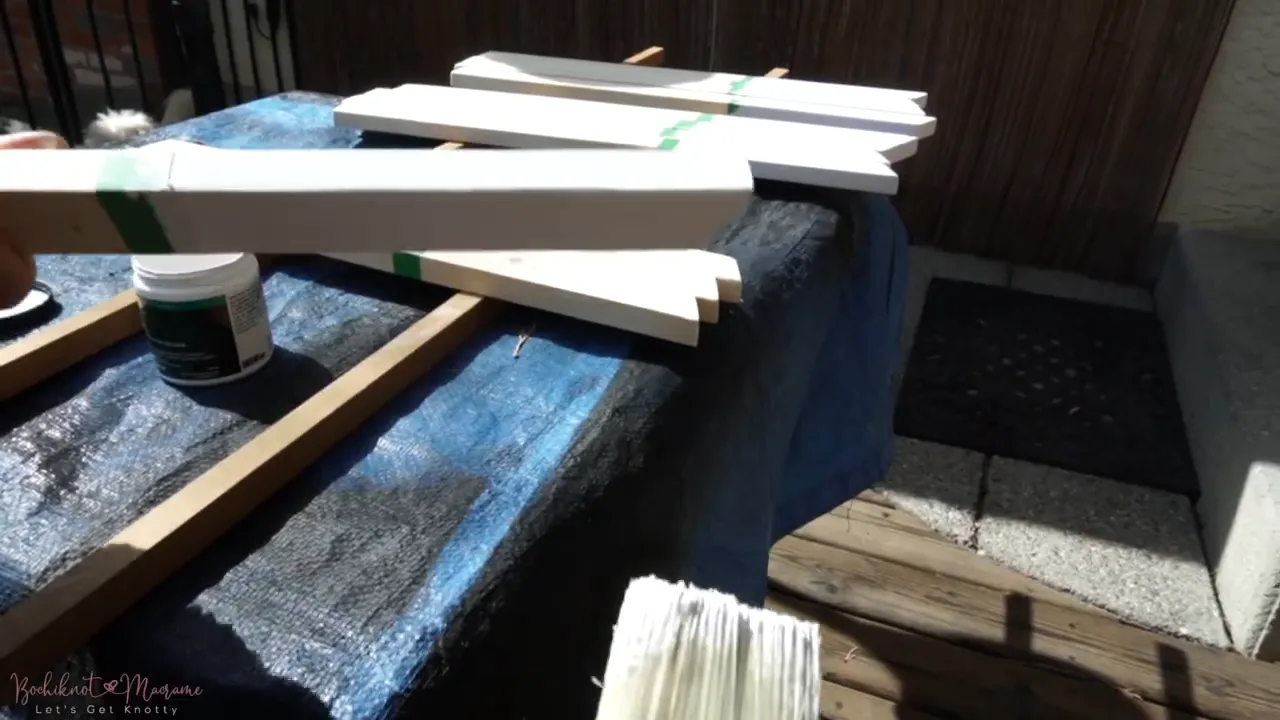
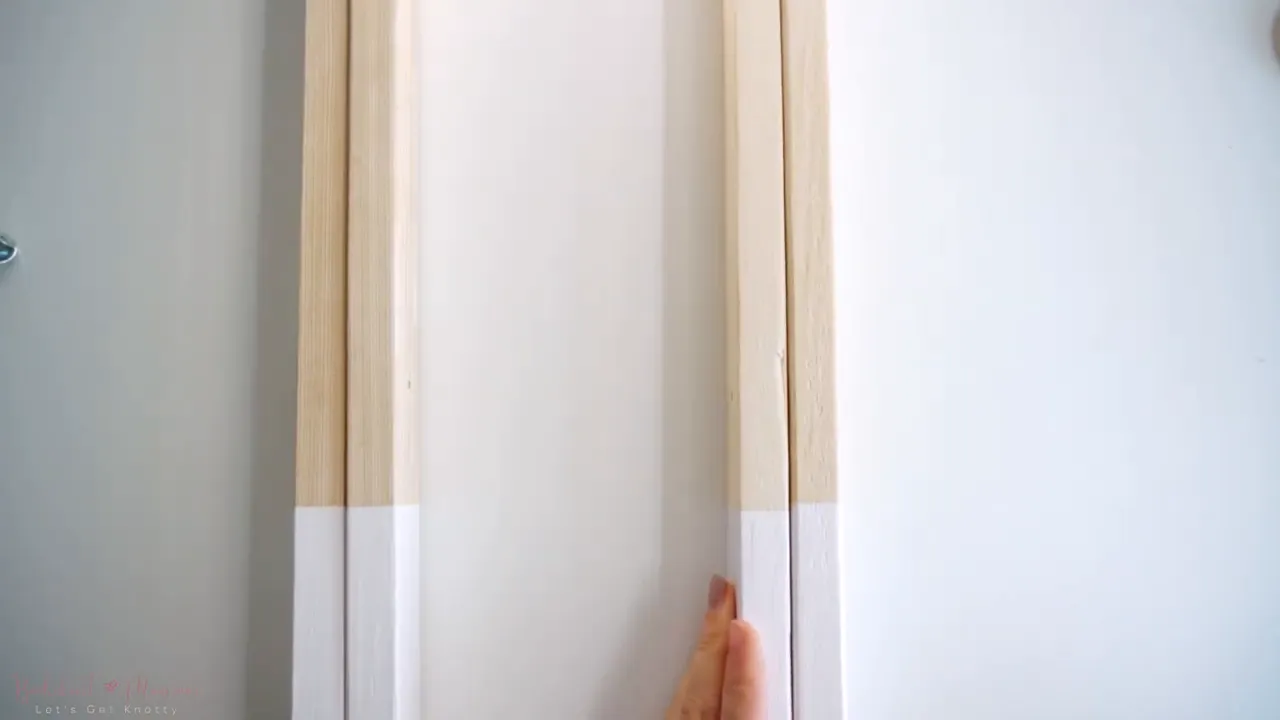
Step 3: Sand and round edges, then paint the leg ends.
- Sand all edges smooth, rounding the corners so there are no sharp surfaces — safety first for little hands.
- Mask off 8.5" from the bottom of each leg using tape, then paint the lower portion with non-toxic acrylic paint. The painted contrast looks modern and keeps things baby-friendly.
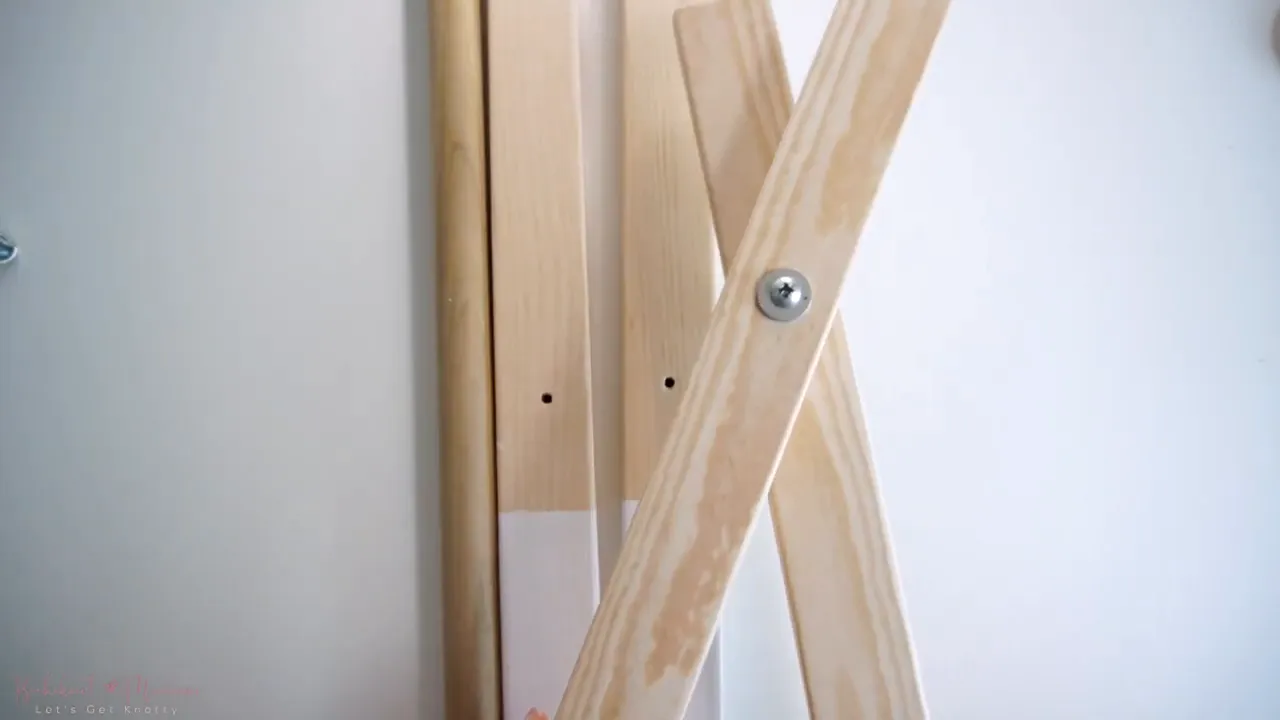
Step 4: Prep the dowel and assemble the side frames
- Drill small pilot holes centered at each end of the dowel to make screwing easier later.
- Pair legs with opposite-angled ends so that when opened, they sit flat on the floor.
- Align the top holes, place the inner legs facing the same way, then insert one 2.5" screw + washer through the top hole to hinge the pair. Repeat for the other pair.
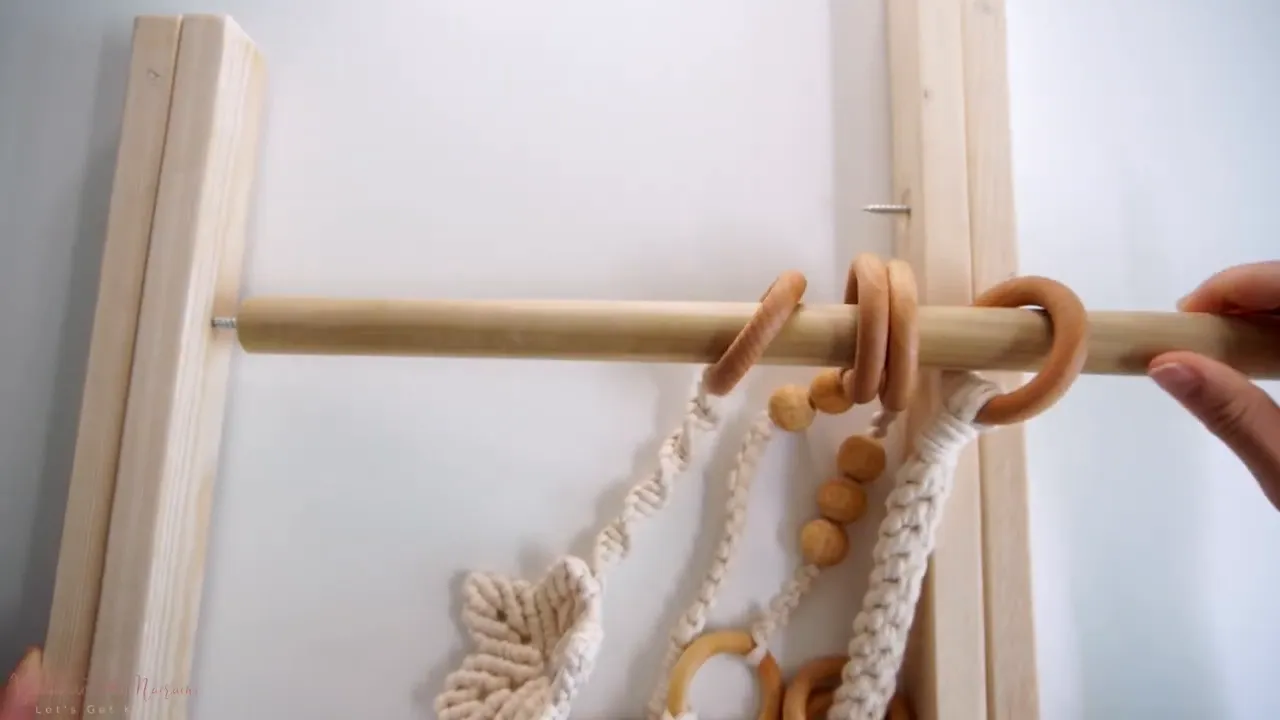
Step 5: Add macrame toys and attach a dowel
- Slide your Macrame Toys onto the dowel before attaching it to the side frames.
- Line the dowel up with the top holes of each side frame, then secure it with the screws through the pre-drilled dowel ends. Use a handheld or electric drill for a snug fit.
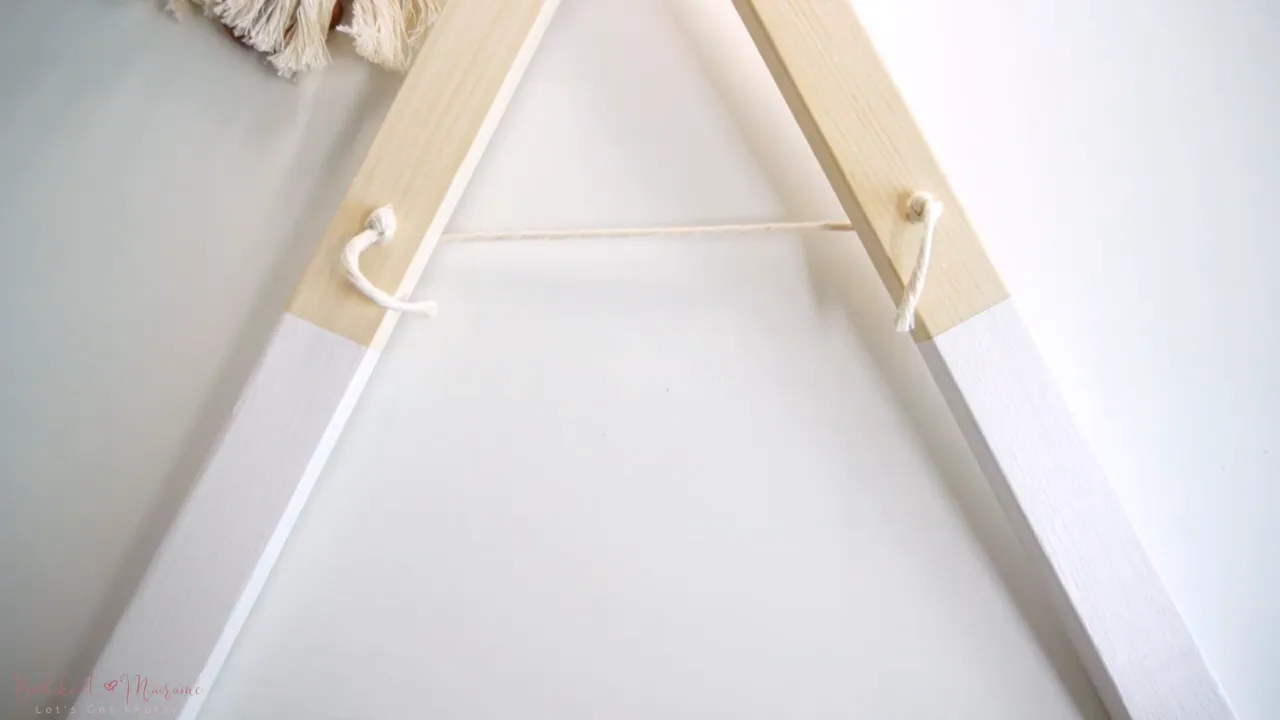
Step 6: Stabilize the base with a cord
- Open the frame to your desired height. Take a 20" strand of cord and weave it through the bottom holes on the legs to hold that spread.
- Pro tip: loop fishing line around the cord and pull the fishing line through the hole first — it makes threading thicker cord or beads much easier.
- Tie double overhand knots on the outside faces of the legs to lock the height in place. Repeat for the other side.
Step 7: Final checks
- Make sure the dowel is secure and that Macrame Toys hang vertically at baby-friendly lengths (8"–9").
- Test stability by gently pressing on the frame and checking knots and screws.
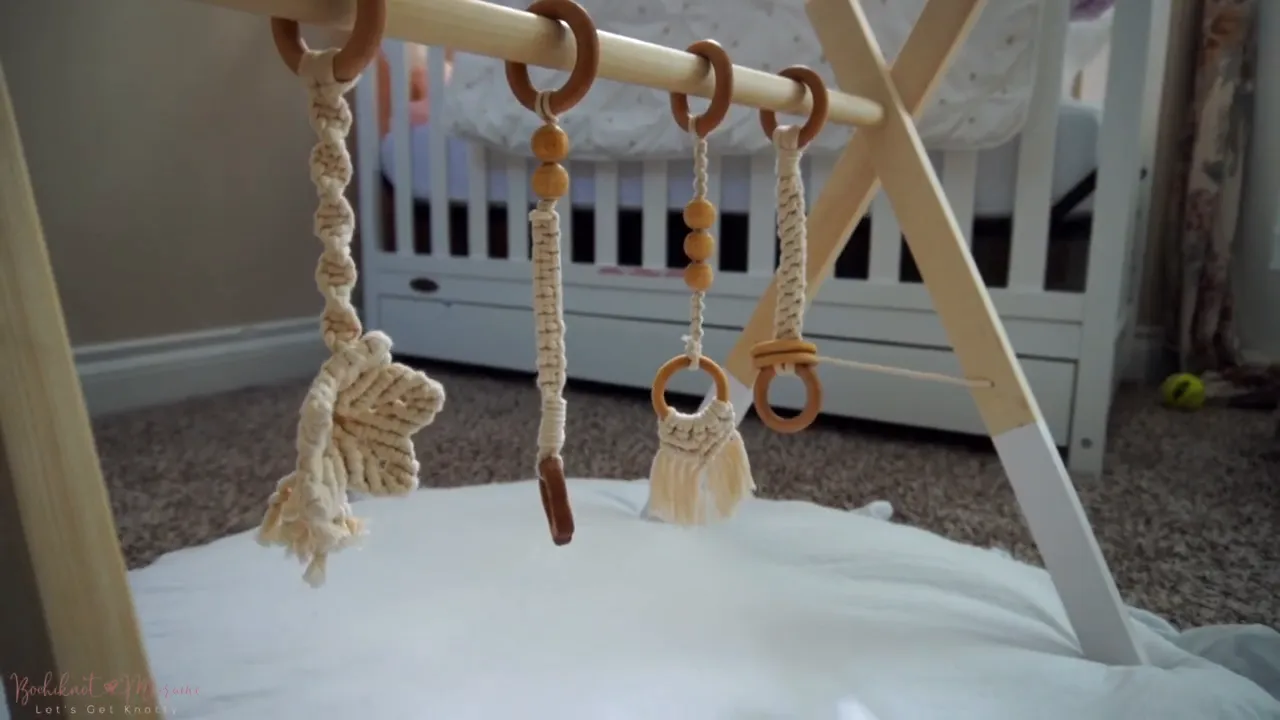
Macrame Toys — quick notes
The Macrame Toys (macrame baby teether toys) are the heart of this project. They should be made with baby-safe materials: untreated wooden rings, non-toxic finishes, and cotton cord.
If you want to make the toys yourself, follow a dedicated macrame teether tutorial (there's a separate pattern for four designs). Otherwise, pick premade pieces that meet safety standards.
Final thoughts
Building a wooden baby play gym and pairing it with handmade Macrame Toys is one of those projects that rewards both craftsmanship and creativity. It's inexpensive, customizable, and makes a wonderful gift for expecting parents or a thoughtful addition to your nursery. If you enjoy combining crafts like woodworking and macrame, this project opens the door to many more hybrid builds — swings, mobile frames, and more.
Happy building — and happy knotting with your Macrame Toys!
Safety & baby-proofing checklist
- Use non-toxic paints and sealants.
- Sand all surfaces smooth — no splinters or sharp edges.
- Secure screws tightly and check periodically for loosening.
- Keep Macrame Toys short enough that baby can reach them but not so low that they tangle around the neck (supervise at all times).
- Do not leave baby unattended under the play gym.
Tips & troubleshooting
- If your cord is too thick to pass through holes easily, use fishing line to pull it through.
- Match inner and outer leg angles before screwing so the frame sits even.
- Want a different look? Paint just one side of legs or add simple woodburned accents.
FAQ
Do I need advanced woodworking skills to build this play gym?
No. Basic cuts and drilled holes are all that's required. Have your local hardware store cut and pre-drill if you prefer to avoid saw work. If you do cut yourself, take your time and use proper safety gear.
What kind of cord is best for the Macrame Toys and stabilizer?
A three-ply single-strand cotton cord works well for macrame baby pieces; it's soft, natural, and easy to knot. For the bottom stabilizer, any sturdy cotton cord or drawcord will work.
Can the Macrame Toys be removed and used separately?
Yes — one of the advantages of this design is that the Macrame Toys slide on the dowel and can be used independently as baby teethers or sensory toys.
How long will the paint and finish last with regular use?
Non-toxic acrylic paint is durable, but regular play can cause wear. Check the painted areas periodically and touch up as needed. Always keep surfaces clean and dry.
Happy knotting and enjoy gifting or decorating with your tiny textured wreaths this season.


Looking for Macrame Patterns and Projects?
I’ve got a fun variety of DIY macrame patterns for you to explore—whether you’re into creating unique wall hangings to spruce up your home or timeless plant hangers, there’s something for every skill level.
Each pattern is super easy to follow with step-by-step photos, clear instructions, and plenty of tips to help you along the way.
Ready to start creating?
Browse DIY macrame patterns on Etsy and dive into your next project.

Join the Bochiknot Macrame Community: Your Gateway to Exclusive Tutorials & Inspiration
Discover the art of macrame like never before! Join our exclusive community of passionate macrame enthusiasts and unlock a world of creativity.
Gain access to a treasure trove of unique patterns, expert guidance, and a supportive network of fellow artists.
Get access to our library of macrame tutorials and best practices here.


Leave a comment