




























A Handmade Christmas Tree With a Beautiful Twist

FREE CHRISTMAS MACRAME PATTERN · BY NICOLE WOO
In this tutorial, I’ll show you how to make a 3D spiral macrame Christmas tree with a wooden star topper and a curled tail. You’ll knot a long beaded strand first, then shape it into gently widening coils. The gold beads become tiny ornaments along the edge.
The knot pattern is simple: five plain half hitch knots, then one beaded half hitch. Getting the spirals to sit evenly takes more patience. I struggled with that part when developing this design, so we’ll spend extra time on the wire supports and small adjustments that help the tree hold its shape.
How Does a Spiral Macrame Christmas Tree Work?
A spiral macrame Christmas tree is a hanging ornament made by knotting cotton cord around a wire core, adding beads, and bending the strand into widening coils. A separate wire supports opposite sides of the tree, helping the coils hold their shape. The strand finishes in a smaller curled tail.
The tree’s structure comes from two different uses of wire. A 150cm wire runs inside the knotted strand alongside a short core cord, so the strand can bend. A separate 100cm wire folds into two support ends that pass down opposite sides of the coils, helping you control their position.
Allow time for shaping. The video runs about 27 minutes and skips ahead through repeated knotting, so it is not a real-time measure of how long the project takes. Work at your own pace and leave the final wire trimming until the coils sit how you want them.

Materials and Tools for Your Spiral Tree
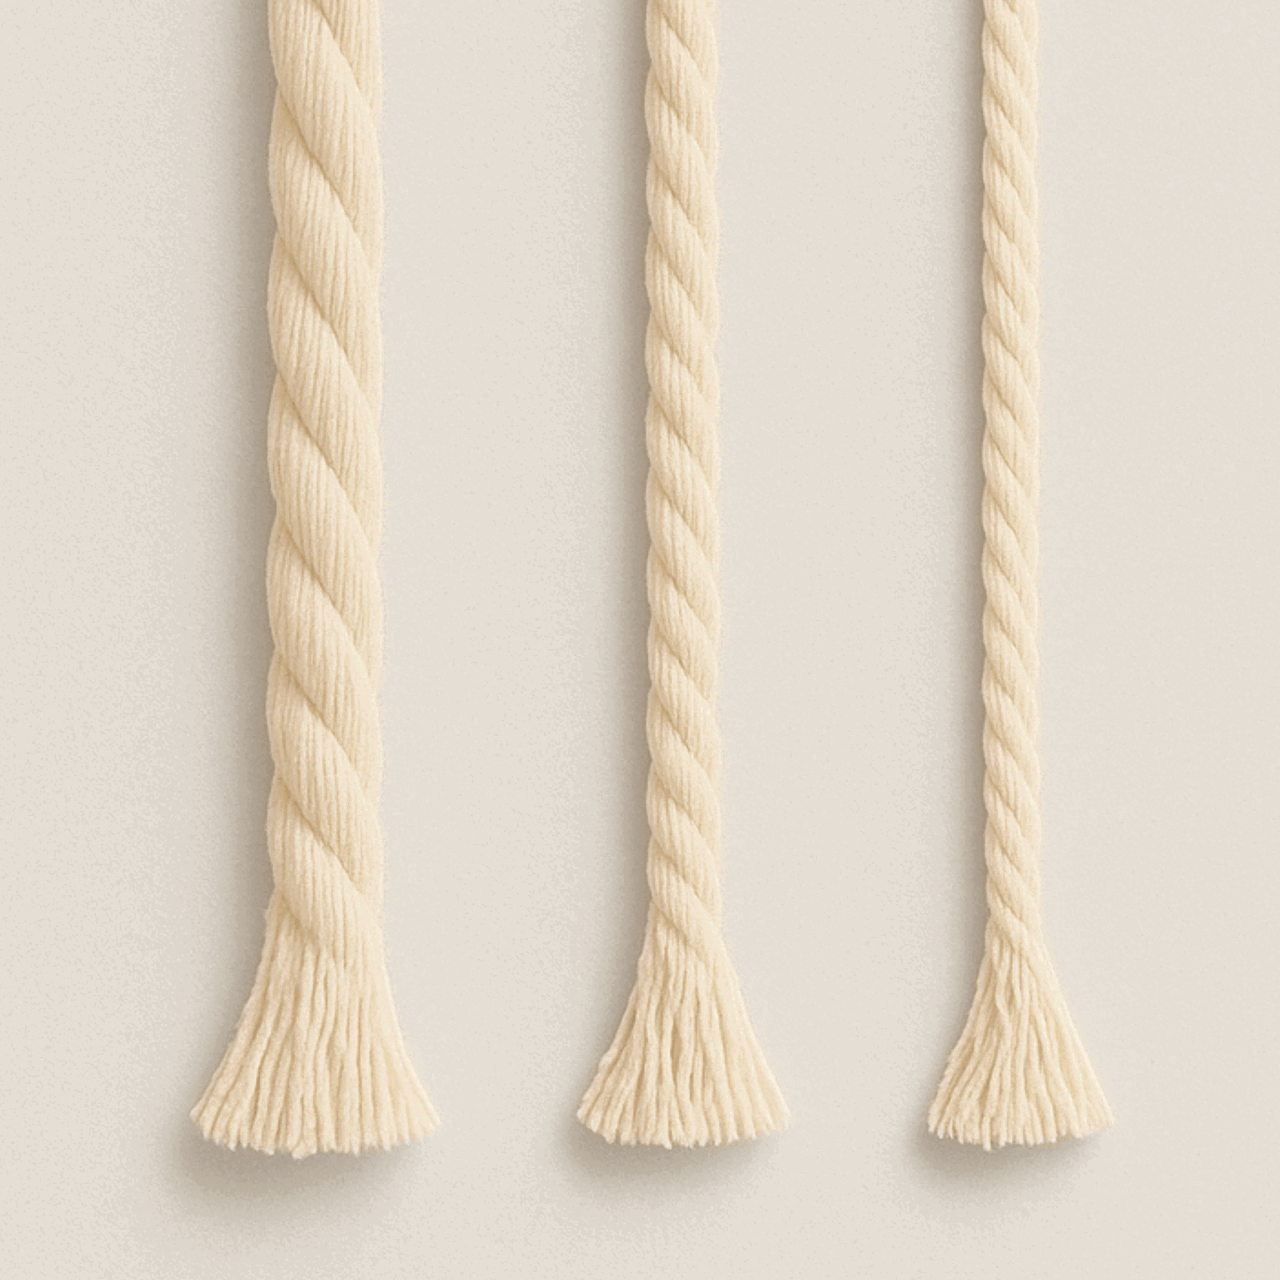
The sample uses 4mm 3-ply cord in Army Green. The twisted texture gives the strand body, while the wire provides its bendable structure.

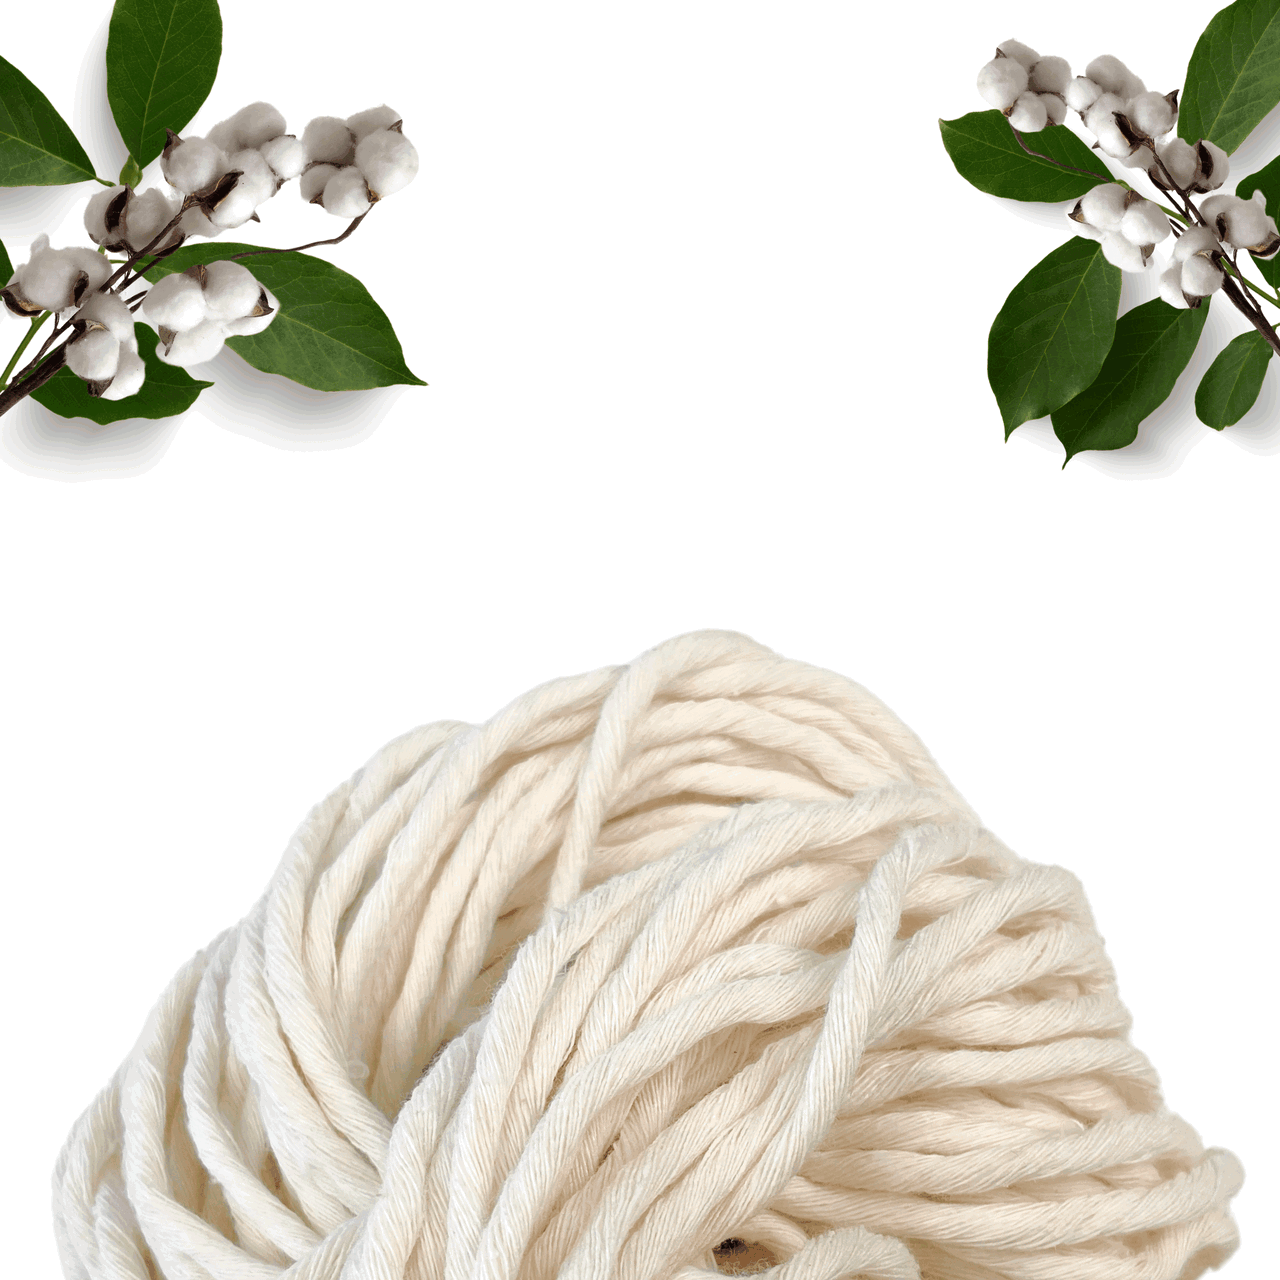
4mm 3-Ply Cord
Choose the 4mm size. Army Green is the color used in the tutorial; you’ll need one continuous 12m length.
Shop 3-Ply Cord →
Wooden Star Topper
The demonstrated topper is a 2-inch wooden star frame. Choose the small frame and check its dimensions for your project.
Shop Star Frames →
Gloss Gold Beads
Use 30 gold gloss circle beads. The tutorial uses 9mm beads with a 5mm hole for the 4mm cord.
Shop Gloss Beads →Also Have These Nearby
- 30 gloss gold beads: approximately 9mm outer diameter with a 5mm hole. Choose the gold option from our Metallic Gloss Circle Beads. Test one bead with your cord before threading the full set.
- Floral or jewelry wire: one 150cm piece and one 100cm piece. The video uses dark green floral wire to blend with the cord. Keep a few offcuts for optional spacers.
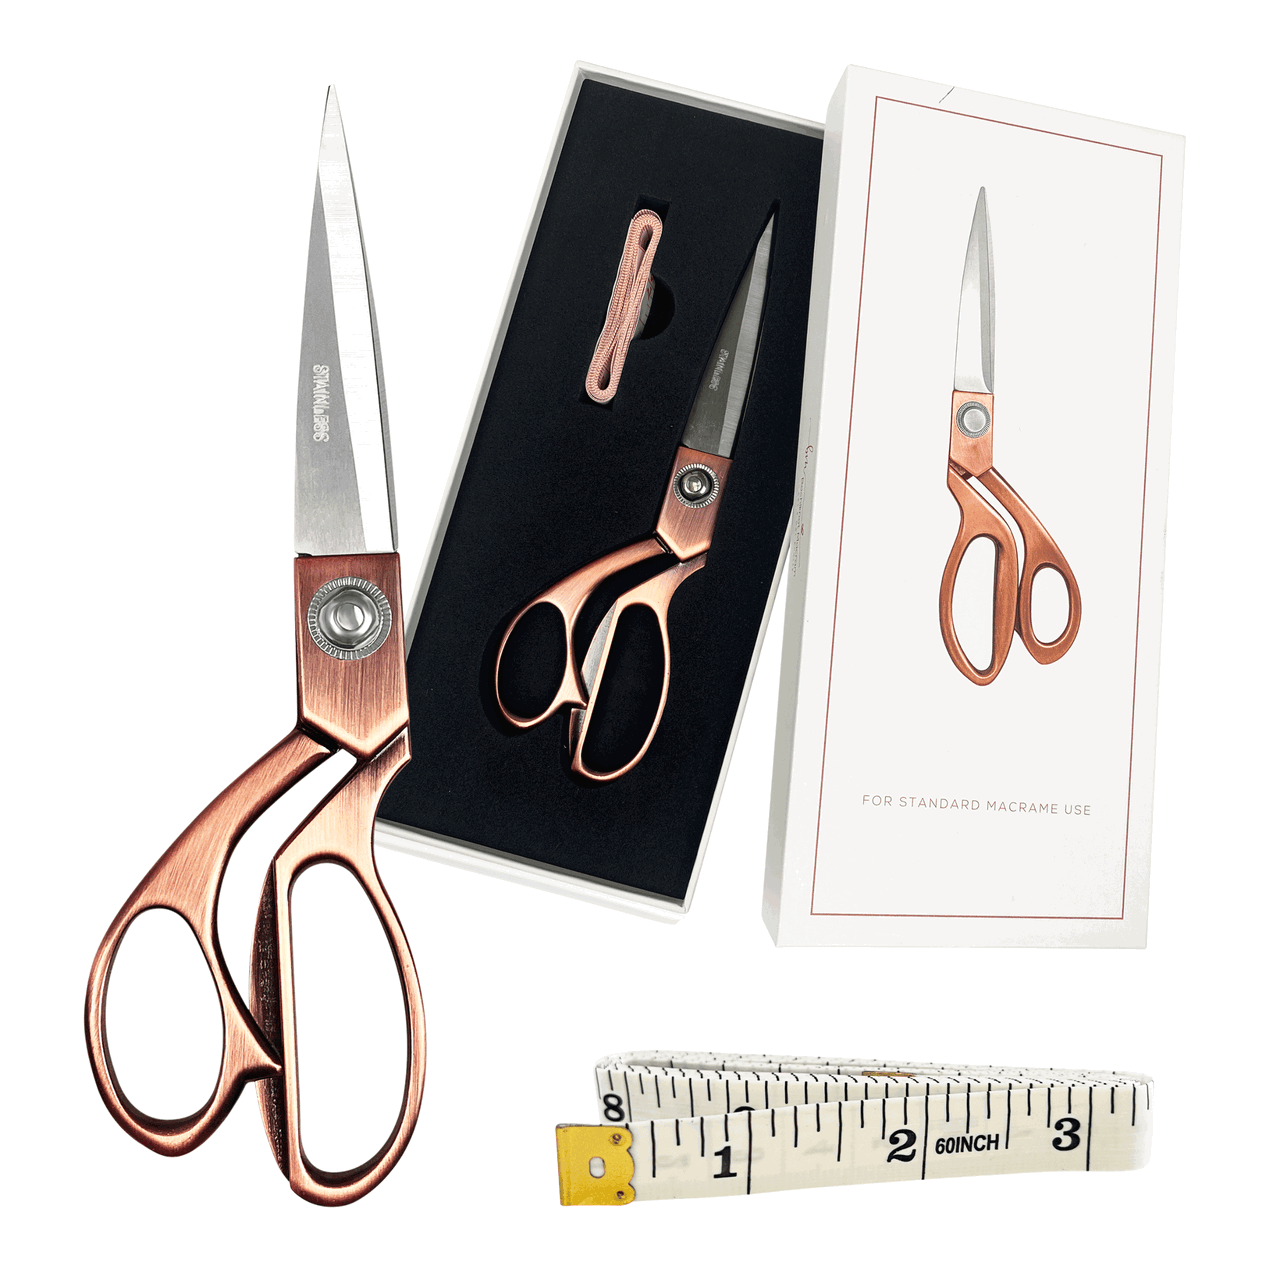
- Sharp scissors, Measuring tape, an elastic band for the cord bundle, and optional tape to stiffen the cord tip for threading beads.
- Wire cutters and small pliers for trimming, curling, and tucking the wire ends.
- Optional small pieces of tape or a dab of craft glue if you need extra stoppers between slipping coils.
A bead’s outside diameter does not tell you whether the cord will fit through it. Check the hole size and test one bead before threading all thirty. The video does not specify a wire gauge; choose wire that bends readily by hand but holds the shape you give it.

Cord and Wire Cutting List
These cuts make one spiral tree. Keep the cotton cord as a single continuous piece.
| Material | Cut | Purpose |
|---|---|---|
| 4mm 3-ply cord | 1 × 12m / about 39.4ft | Measure 150cm / about 59in from one end before folding. The short side becomes the core; the long side makes the knots. |
| Core wire | 1 × 150cm / about 59in | Attaches to the star and runs inside the entire knotted strand. |
| Support wire | 1 × 100cm / about 39in | Folds into two even ends that support opposite sides of the tree. |
Total measured wire: 250cm / 2.5m. Keep a little extra available for optional spacer pieces. Nicole specifies a 150cm piece and a 100cm piece in the video; this cutting list follows those demonstrated lengths.
Do not fold the 12m cord in half. You need an uneven fold so most of the length remains on the working side. Keep the leftover wire ends long enough to adjust the tree before the final trim.
Macrame Knots You’ll Use

Reverse Lark’s Head
Mount the uneven cord fold onto the bottom of the star frame.
See the Knot Tutorial →
Half Hitch Knot
Wrap the long working cord around the core cord and wire. Repeat with consistent, loose tension.
Watch the Knot Demonstration →- Reverse lark’s head knot: attaches the cord to the bottom of the star.
- Half hitch knot: the long working end wraps around the short cord and core wire together. Repeat in the same direction.
- Overhand knot: temporarily holds the two cotton ends together at the bottom before finishing.
Slide one bead up the working cord, then make an additional half hitch to hold it. That beaded half hitch is separate from the next set of five plain knots.
Tighten the very first half hitch firmly beneath the star. Make the following half hitches comfortably loose and consistent. Tight knots make the strand twist more strongly and can make the shaping harder.
New to mounting cords? Visit our lark’s head knot guide, and use the close-up video below for the reverse mounting and half hitch direction used here.
Watch the Spiral Macrame Christmas Tree Tutorial
Follow along with Nicole, then use the timestamp links beside each written step to revisit the tricky parts.
How to Make a Spiral Macrame Christmas Tree
Work in two stages: knot the beaded strand, then build and secure the spirals. Keep the core cord and wire together whenever you make a half hitch.
1. Attach the Core Wire to the Star
- Take the 150cm piece of wire and the 2-inch wooden star.
- Wrap a short end of the wire around the center of the star’s bottom edge several times.
- Keep the wraps close together so the mounting knot can cover them. Let the remaining long wire hang downward.


Keep the wire wraps close enough for the mounting knot to cover them.
2. Mount the Cord With an Uneven Fold
- Measure 150cm from one end of your 12m cotton cord and fold at that point.
- Attach the fold to the bottom of the star with a reverse lark’s head knot, covering the wire attachment as neatly as possible.
- Hold the short cotton end together with the core wire. These stay inside the half hitch knots.
- Keep the long cotton end separate. This is your working cord.


Keep the short cotton end and core wire together; the long end is your working cord.
3. Thread Ten Beads and Bundle the Working Cord
- Twist or tape the long cord tip and thread on ten beads.
- Slide them toward the working area, leaving about 100cm of usable cord below the star before the bundled remainder.
- Starting at the free end, wind the remaining long cord into a manageable bundle and secure it with an elastic band.
- Keep the beads outside the bundle so you can slide one up whenever it is needed. Release more cord from the bundle as you work.
You’ll add the beads in three batches of ten. This keeps the long cord easier to handle.


Keep the beads outside the elastic-bound bundle so they can slide freely.
4. Make the First Five Half Hitch Knots
- Hold the short core cord and wire together.
- Use the long working cord to form a loop around that pair, passing the bundle through the loop to make a half hitch. Follow the close-up video for the cord direction.
- Pull the first knot snugly up to the star and tighten it firmly.
- Make four more half hitch knots in the same direction, keeping these comfortably loose and similar in size.
The first firm knot secures the mounting. The looser knots that follow create the fuller edge of the tree strand.

Only the first half hitch is firm. Keep the remaining hitches comfortably loose.
5. Add a Bead and Repeat the Knot Pattern
- Slide one bead up to the knotted section, letting it sit along the right side as shown.
- Make one half hitch beneath it to hold the bead in place.
- Make five more plain half hitch knots, slide up the next bead, and make another beaded half hitch.
- Repeat until the first ten beads are used. Unbundle the cord, thread ten more beads onto the long end, and bundle it again.
- Work the second batch, then add and work the final ten beads. You’ll use thirty beads in total.
- Tie the two remaining cotton ends together in a loose overhand knot to stop the last hitches loosening while you shape the tree.
Keep the strip reasonably flat as you go. The tree’s large coils are shaped later; you do not need to force a tight spiral into the knotting now.


Count five plain half hitches, then one additional beaded half hitch.

6. Practice the Coils and Add the Support Wire
- Starting just beneath the star, gently bend the strand into a small coil.
- Practice winding the next coils, increasing their diameter only a little each time. Adjust the strand until you understand how the cone will form.
- Take the separate 100cm wire and feed it through the mounting knot beneath the star.
- Pull it through until both ends are even. Bring the ends down behind the mounting loop and twist them together a few times to secure the top.
This second wire becomes two supports. It is separate from the original wire already hidden inside the knotted strand.


The support wire is separate from the wire already inside the knotted strand.
7. Build the Tree Around Two Opposite Supports
- Form the first small coil under the star.
- Weave one support-wire end through the inner side of that coil, near the core cord and original wire.
- Weave the other support end through the opposite side of the same coil, approximately halfway around it.
- Form the next coil slightly wider and repeat, threading each support down its own side.
- Continue with small increases in diameter. Nicole aims for about eight coils before the finishing tail.
Avoid using only the loose outer half hitch loops to support the tree. Passing close to the core gives the supports a better hold and helps keep them less visible.


Thread through the inner edge on two opposite sides of each coil.
8. Reserve the Tail and Leave Adjustment Room
- Stop building the widening tree body when approximately 15 inches / 38cm of the knotted strand remains at the bottom.
- Check the overall cone shape without forcing the coils tightly together.
- Trim the two support-wire ends below the body, leaving about 2–3 inches / 5–8cm on each.
- Curl those ends into loose temporary loops. Leave room to adjust the spaces between the coils.
The 15-inch measurement is the length of the remaining knotted tail, not the finished height of the tree.


The 15-inch allowance is the remaining strand length, not the finished tree height.
9. Secure the End of the Knotted Strand
- Find the original core wire at the very bottom of the long strand, beside the loose overhand knot.
- Wrap it several times around the cotton just above that knot to hold the last knots in place.
- Once secure, trim the excess cotton and core wire.
- Use pliers to tuck any sharp wire tip inward so it does not stick out of the finished end.
Use scissors for cotton and wire cutters for metal. Leave the two separate support-wire ends beneath the tree body available for the next step.


Keep the two separate support-wire ends available for the final spacing adjustments.
10. Even Out the Gaps and Make Wire Stoppers
- Adjust each coil so there is a visible, fairly even gap between it and the one below.
- If a coil keeps sliding down a support wire, add a small stopper beneath it. Nicole suggests a little tape, a dab of glue, or a short extra piece of floral wire wrapped around the support.
- When you like the spacing, wind each support-wire end at the bottom into a small, tight spiral.
- Position those curls beneath the last supported coil so it cannot keep sliding down. Tuck the wire tips inward.
Adjust one gap at a time, then hold the tree upright and check it again. Sliding a coil a little higher or lower can make a bigger difference than changing its diameter.


Leave visible gaps and turn every cut wire tip inward.
11. Curl the Tail Into a Smaller Spiral
- Take the remaining knotted tail below the tree body.
- Curve it into coils that become progressively smaller, making a tapered finish beneath the widest part of the tree.
- Check the tree while holding it upright by the star. Adjust the gaps, bead positions, and tail curve until it hangs neatly.
Your spiral Christmas tree is ready to display. If you add a separate hanging loop through the star, choose its length to suit the branch or hook you’ll use.


Hold the tree upright by the star and check the shape before displaying it.
How to Keep the Spirals Even
- If the strand twists too tightly: check the tension of your half hitches. After the first firm knot, the remaining knots should be comfortably loose.
- If the tree widens too quickly: make smaller increases between coils. Aim for a gradual cone, with about eight coils in the main body.
- If a coil droops: check that both supports pass through its inner edge. Reposition it and add a small stopper if it still slides.
- If the tree looks compressed: open the gaps gradually before curling the support-wire ends tightly. Visible space is what makes the spiral effect stand out.
- If wire is showing: move it toward the inside edge and use a color close to your cord. Keep every cut wire tip turned inward.
Ways to Style and Gift Your Macrame Tree
Try natural cord with wooden beads for a softer look, or change the bead color while keeping the Army Green cord. A different topper can change the character of the whole piece, as long as it gives you a secure place to attach the cord and wire.
Hang the finished tree on a Christmas branch, from a wall hook, or as a decoration on a large wrapped gift. This pattern is designed to hang; the curled tail is decorative, not a freestanding base.
If you change the cord thickness, bead dimensions, or overall scale, test a short knot-and-bead section first. The original 12m cutting length is for the demonstrated 4mm version and may not suit a different size.

Spiral Macrame Christmas Tree FAQs
Is this spiral macrame tree suitable for beginners?
The knot repeat is approachable, but the wire threading and shaping require patience. It is a good next project once you are comfortable mounting cord and making consistent half hitch knots. Watch the shaping section before starting so you know what the wire will need to do.
How much cord and wire do I need?
Use one continuous 12m length of 4mm 3-ply cord. The demonstrated wire cuts are 150cm for the core and 100cm for the two-sided support, totaling 250cm. Keep a few extra wire offcuts for optional spacers.
Are the beads 9mm or 5mm?
Both measurements describe the same bead: approximately 9mm is its outside diameter, and 5mm is the hole diameter. The hole must accommodate one strand of your chosen cord.
Can I make it without wire?
The wire is structural in this version. Without the core wire and separate supports, the knotted strand will not reliably hold the demonstrated open spiral tree shape.
Do I need glue?
Not for the basic knotting and wire assembly. Glue is one optional way to make a stopper beneath a slipping coil. Nicole also shows or suggests wire curls, small wire pieces, and tape for controlling movement.
Why are my coils sliding down?
The vertical support wires guide the coils but do not automatically lock them in place. Thread through the inner edge near the core, adjust each gap, then add small stoppers wherever a coil keeps dropping.
How large is the finished tree?
The video does not give a measured finished height or width. Coil diameter, spacing, knot tension, and the final tail shape all affect the size. The approximately 15-inch tail allowance refers to the unshaped strand left at the bottom, not the finished tree height.
How should I store it after Christmas?
Support the tree in a roomy box so the coils are not crushed. Place soft tissue loosely around the shape, and gently readjust the wire before hanging it next season.
How long does this macrame Christmas tree take to make?
The tutorial is about 27 minutes long, but it skips repeated knotting, so that is not the project’s completion time. Allow additional time to knot all thirty beads into the strand and adjust the coils. Nicole does not give a measured total making time.
Can this spiral macrame tree stand on a table?
No. This pattern is designed to hang from its wooden star. The curled tail is decorative and does not form a stable base. Use a branch or hook to display it, or choose the linked tabletop Christmas tree tutorial for a freestanding design.
Your Next Step With Macrame
Build on what you’ve practiced with another Bochiknot Christmas tutorial.

3D Tabletop Christmas Tree
Try a freestanding tree built with looped knotwork.
Explore the Tutorial →
Beaded Tree Ornament
Make a smaller Christmas tree ornament decorated with beads.
Explore the Tutorial →
Fringeless Macrame Star
Practice shaping a six-pointed star with a neat, fringeless edge.
Explore the Tutorial →
KEEP A KNOT REFERENCE NEARBY
A Little Help Between Tutorial Pauses
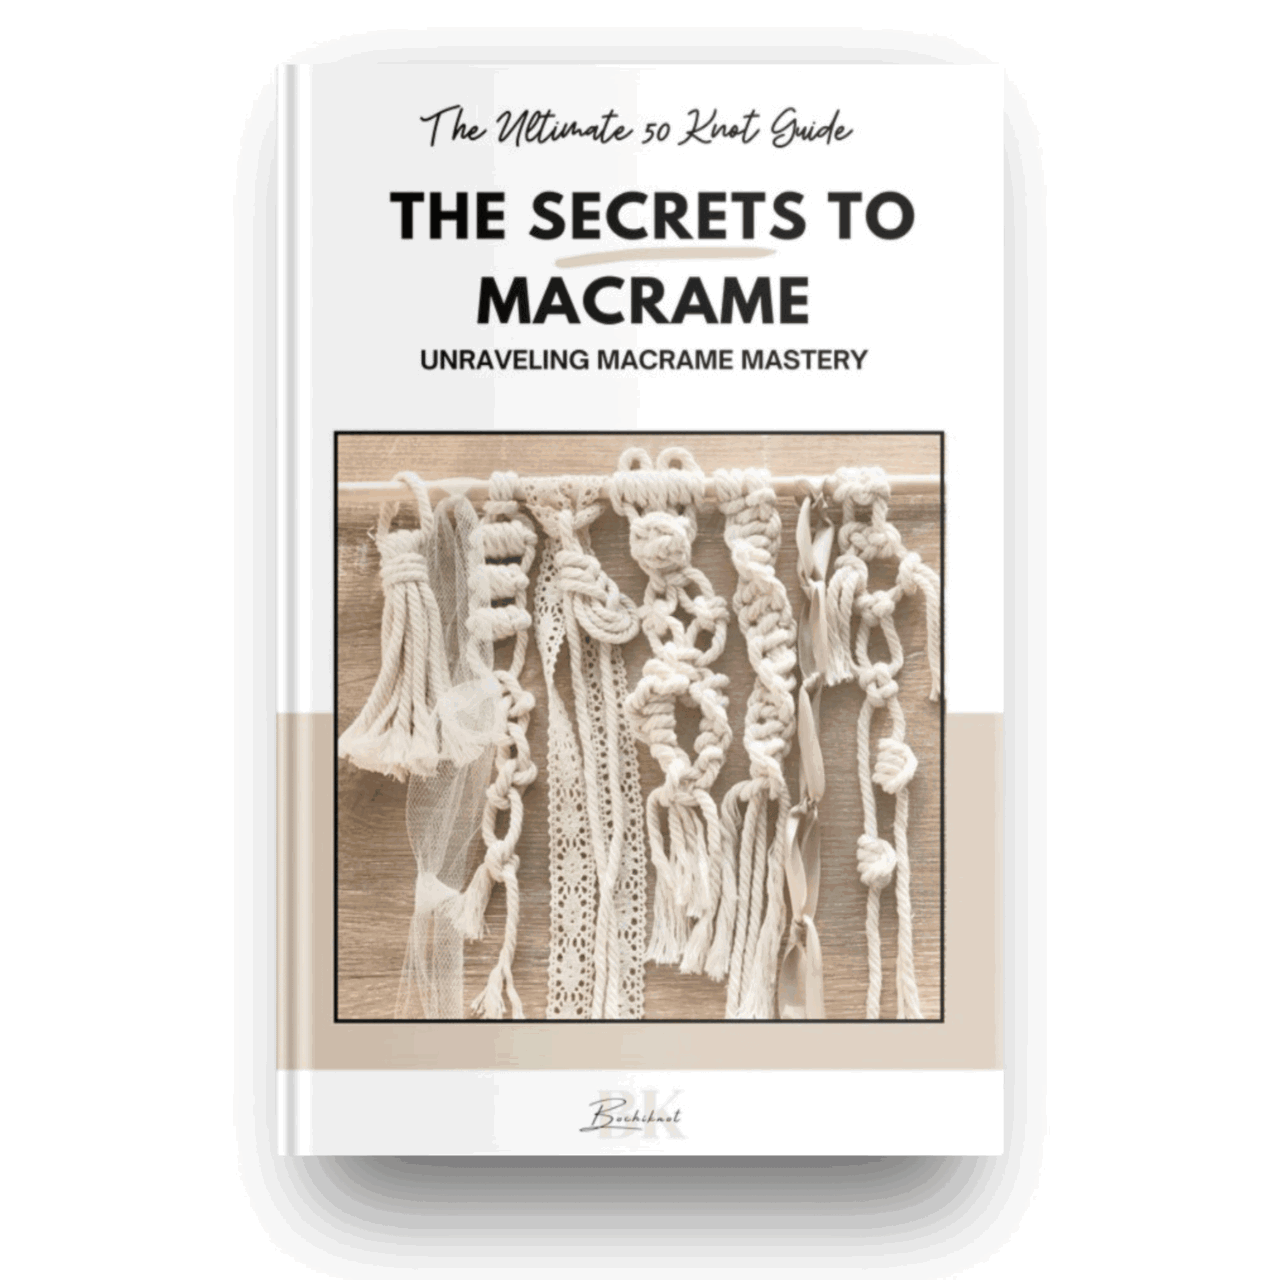
Revisit a knot before repeating it across your project. Our free 50 Macrame Knots & Sennits guide gives you a reference to return to as you learn.
Get The Free Knot Guide →A LITTLE SUPPORT FOR YOUR NEXT PROJECT
Keep Learning With the Bochiknot Community
If you would like a regular reason to pick up your cord, explore the Bochiknot community on Patreon. Choose the level of guidance that fits the projects you want to make.

Small Macrame Projects
Find inspiration for smaller makes and seasonal decorations.

Build Your Knotting Skills
Keep practicing techniques you can carry into your next design.

Larger Creative Projects
Explore ideas for more detailed macrame pieces.

NICOLE WOO · BOCHIKNOT
The knots are the relaxing part of this project. Give yourself time to adjust the spirals, and keep the wire ends long until you like the shape. A few small adjustments make all the difference. Happy knotting!

A Little Inspiration Between Projects
Follow Bochiknot for tutorials, new ideas, and more ways to keep knotting.
Pattern and video instruction: Nicole Woo, Bochiknot. Step-by-step photos are frames from the original tutorial. Seasonal lifestyle scenes are AI-styled using the finished ornament as a reference.

Leave a comment