My Top 5 Secrets for Creating PERFECTLY Styled Fringe

Picture this: You’ve spent hours crafting your macrame masterpiece.
The knots are on point, the design looks impressive, and it’s time for that final flourish—the fringe.
But you end up with a stiff, lifeless mess instead of a soft, flowy finish.
Sound familiar?
Trust me, I’ve been there.
In fact, my first attempt at a macrame fringe looked more like a bird’s nest than the dreamy fringe I’d imagined.
But don’t worry—you won’t have to go through that!
I’m about to spill all my best secrets for perfecting your macrame fringe game.
These five tips transformed my fringes from frumpy to fabulous, and I promise they’ll do the same for you.
So, grab your favorite macrame cord (hint: cotton is your best friend), and let’s start your journey to flawless fringe!
What is Macrame Fringe?
Before we dive into the tips, let’s start by answering a key question: what exactly is macrame fringe?
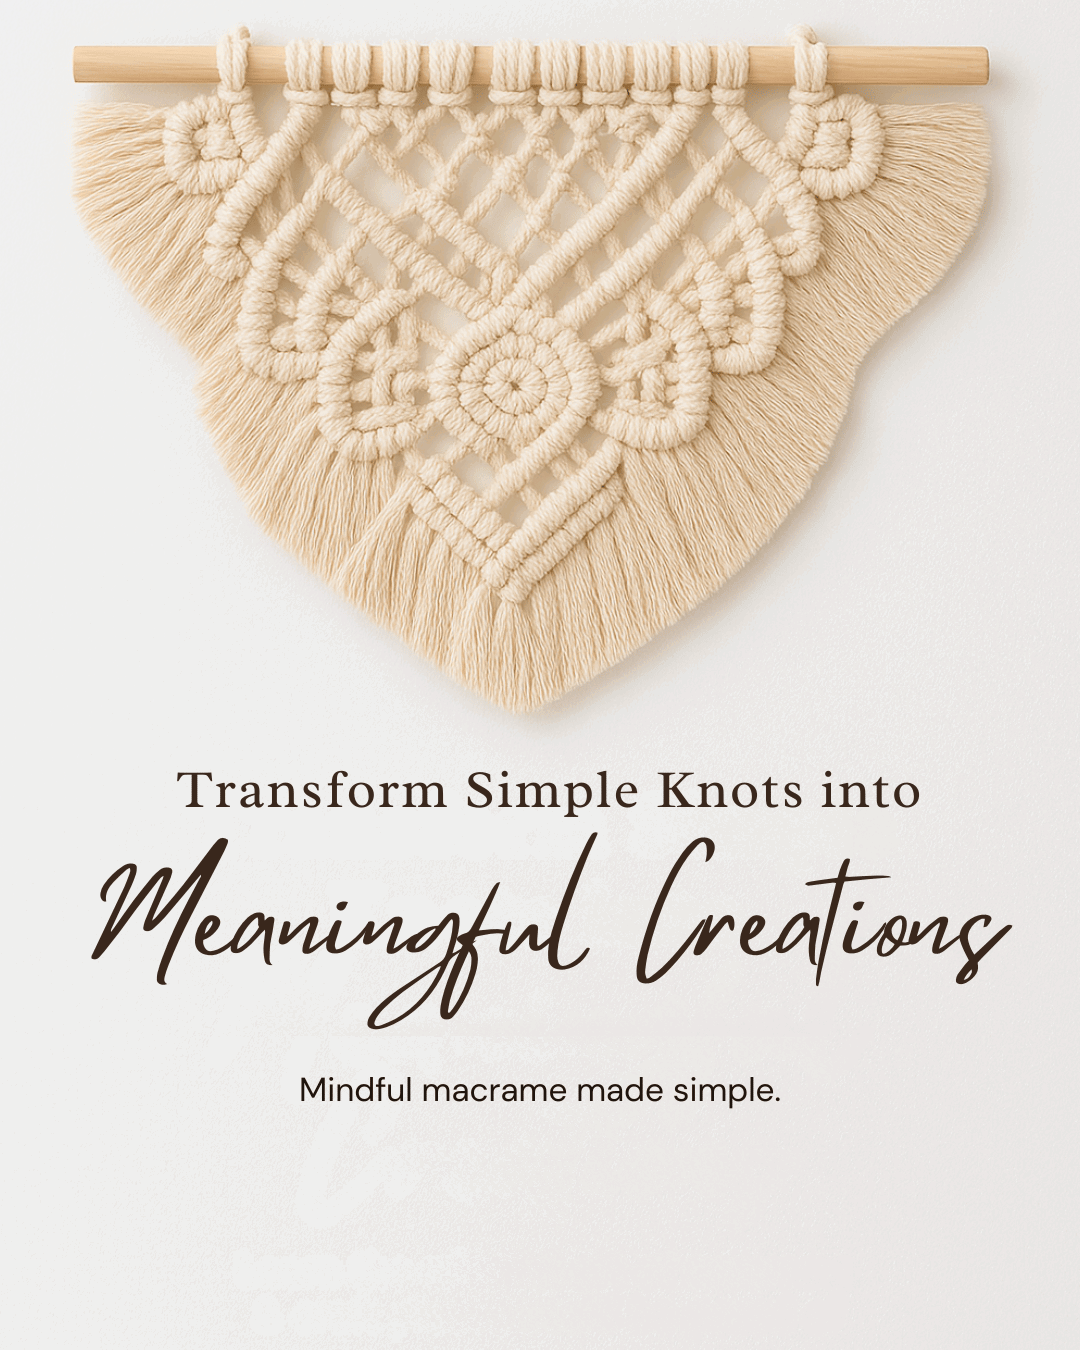
In its simplest form, macrame fringe is the loose, untied ends of your macrame cords, left intentionally as a decorative feature.
You create a soft, textured fringe that adds movement and personality to your designs by unraveling and brushing out the strands.
It’s the finishing touch that can take your macrame piece from simple to stunning.
If you’re looking for a more in-depth guide, I’ve got you covered.
Check out my full video tutorial on "Beginner's Guide to Macrame Fringe".
In the video, I guide you through each step, from prepping your cords to crafting smooth, stunning fringe, elevating your macrame projects like never before.
Why is Fringe Important?
Fringe is not just for aesthetics—it’s an integral part of the macrame style.
Think of it as the flare that gives your projects that signature bohemian look.
It adds texture, depth, and a sense of completion to your designs.
Plus, it can balance out the tight knots and geometric patterns with something a little softer and more free-flowing.
But beyond looks, fringe also serves a practical purpose.
It can help visually extend the length of your project, adding fullness to wall hangings or making your pieces feel more substantial without adding extra knots.
A well-done fringe gives your work a polished, professional finish.
Where is Fringe Best Used?

You’ll see macrame fringe used in various projects, and for a good reason—it adds a fun, dynamic element to almost any design! Here are a few places where fringe really shines:
- Wall Hangings are probably the most popular use for fringe. They soften the look of the knots and add length and texture, making them a focal point in any room.
- Macrame Bags: Fringe can take a bag from basic to boho-chic, adding personality and movement that makes it feel special.
- Plant Hangers: While it’s less common here, fringe can give plant hangers a playful edge and add a little extra flair to the cords that hold your plants.
- Home Decor: Think macrame curtains, table runners, or decorative cushions. Fringe is perfect for adding that relaxed, cozy vibe to your space.
Where is Fringe Not Best Used?
While fringe is a favorite in many macrame projects, there are some places where it may not be the best choice:
- Jewelry: Pieces like macrame bracelets or necklaces usually benefit from a more refined, intricate look. Fringe can make them feel too bulky or unfinished.
- Functional Pieces: Items like keychains or anything that gets a lot of wear and tear might pair poorly with fringe. Over time, the fringe can fray further, making it less durable.
- Outdoor Projects: If your macrame will be exposed to the elements, such as outdoor swings or garden decor, the fringe may need to be fixed. Wind, rain, and sun can cause the fibers to fray unevenly or lose their softness.
Fringe can be a game-changer for your macrame designs, but knowing when and where to use it is critical to making your projects look their best.
By understanding the role fringe plays, you can decide how much (or how little) to incorporate into your next piece, making it the perfect finishing touch.
The Best Macrame Cord and Tools for Perfect Fringe
Creating the perfect macrame fringe starts with using suitable materials and tools.
Without the right cord, your fringe won’t unravel and fluff out as beautifully as you’d like.
And without the proper tools, achieving that smooth, even look we’re all aiming for is hard.
Let’s talk about what you need to get it right.
The Ideal Macrame Cord for Fringe
When it comes to fringe, not all cords are created equal.
You’ll want to use a cord that unravels easily and creates that soft, flowy texture that’s key to great fringe.
Here’s what you should look for:
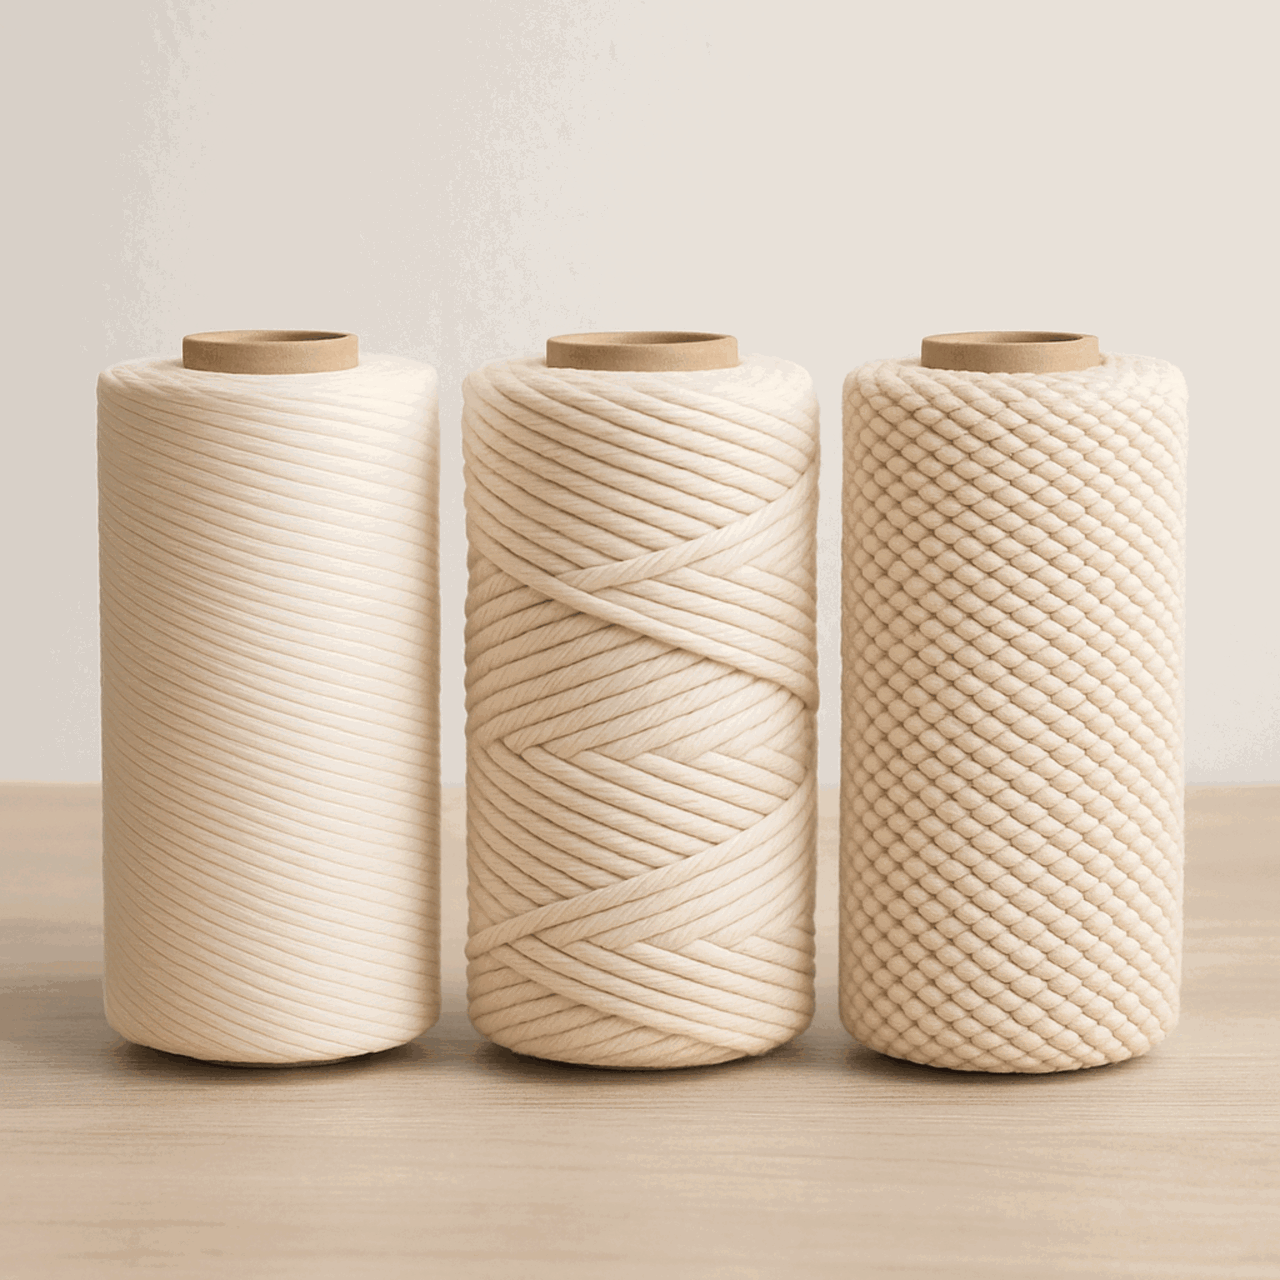
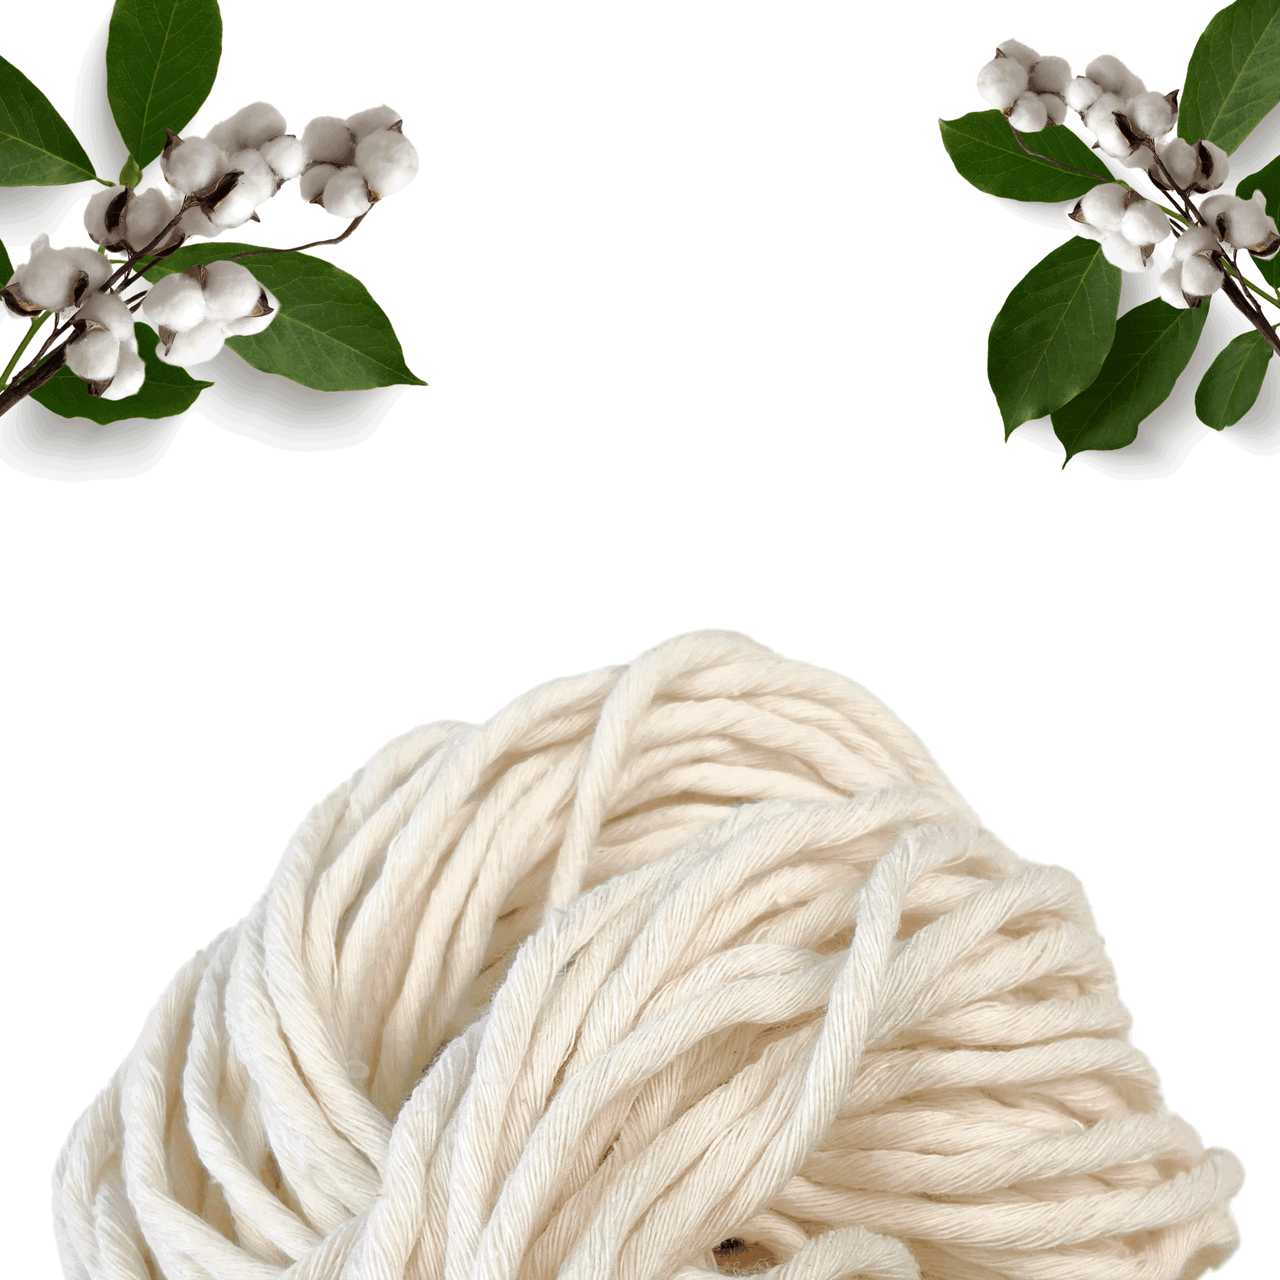
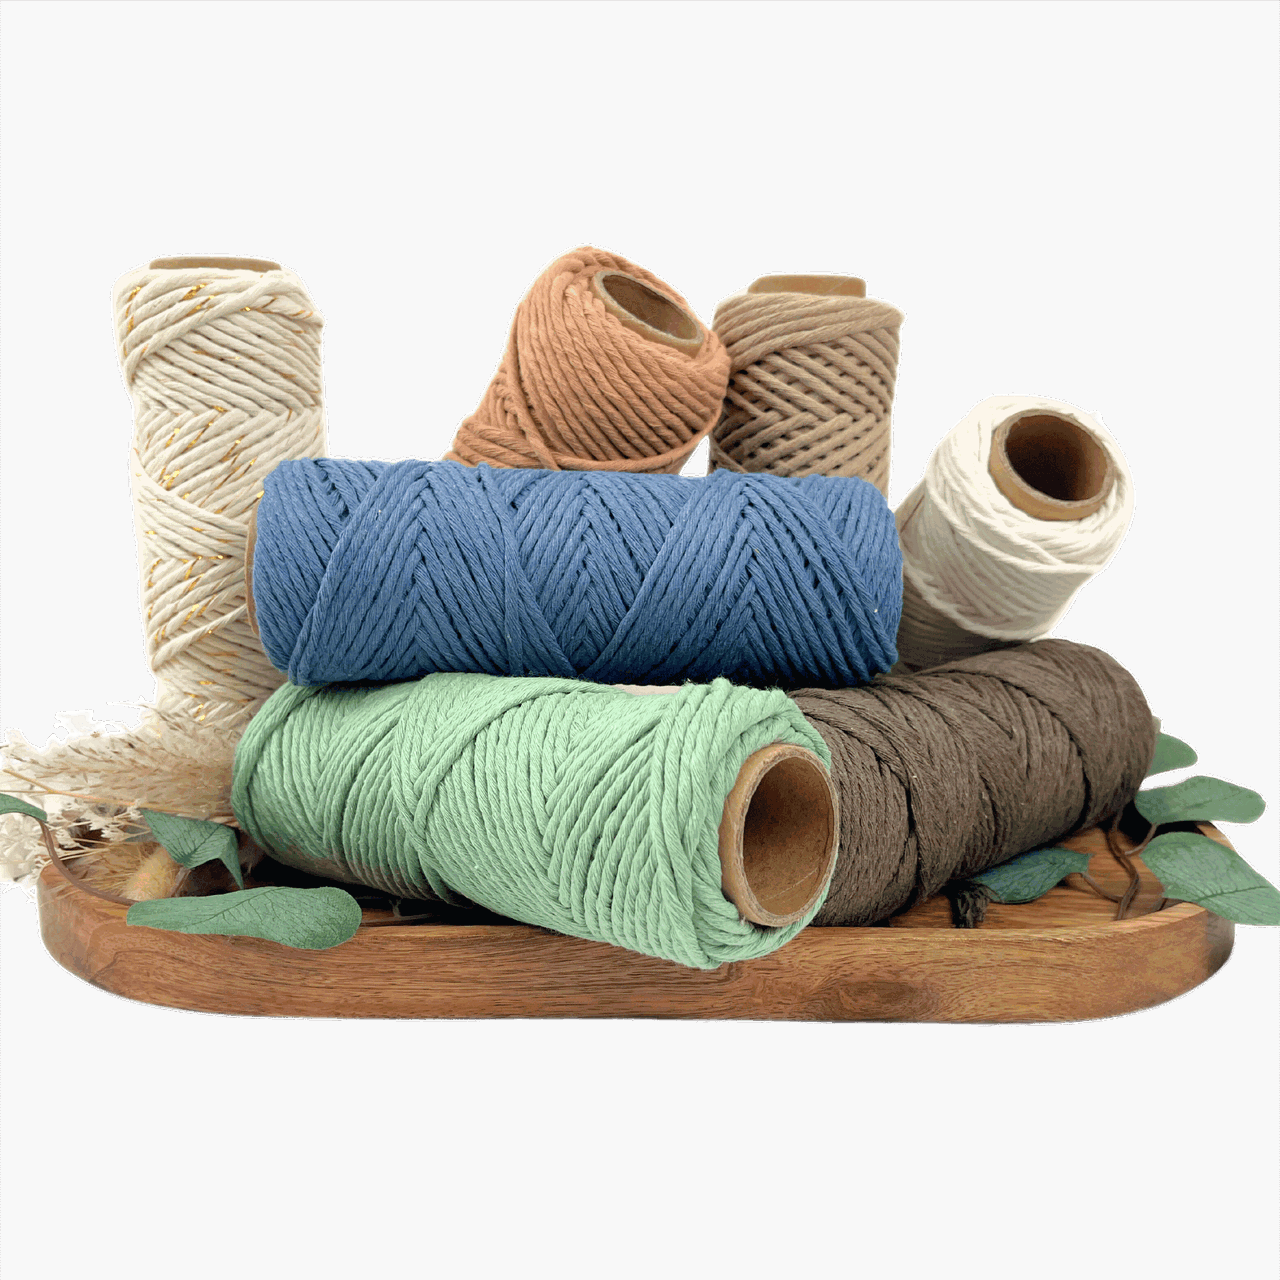
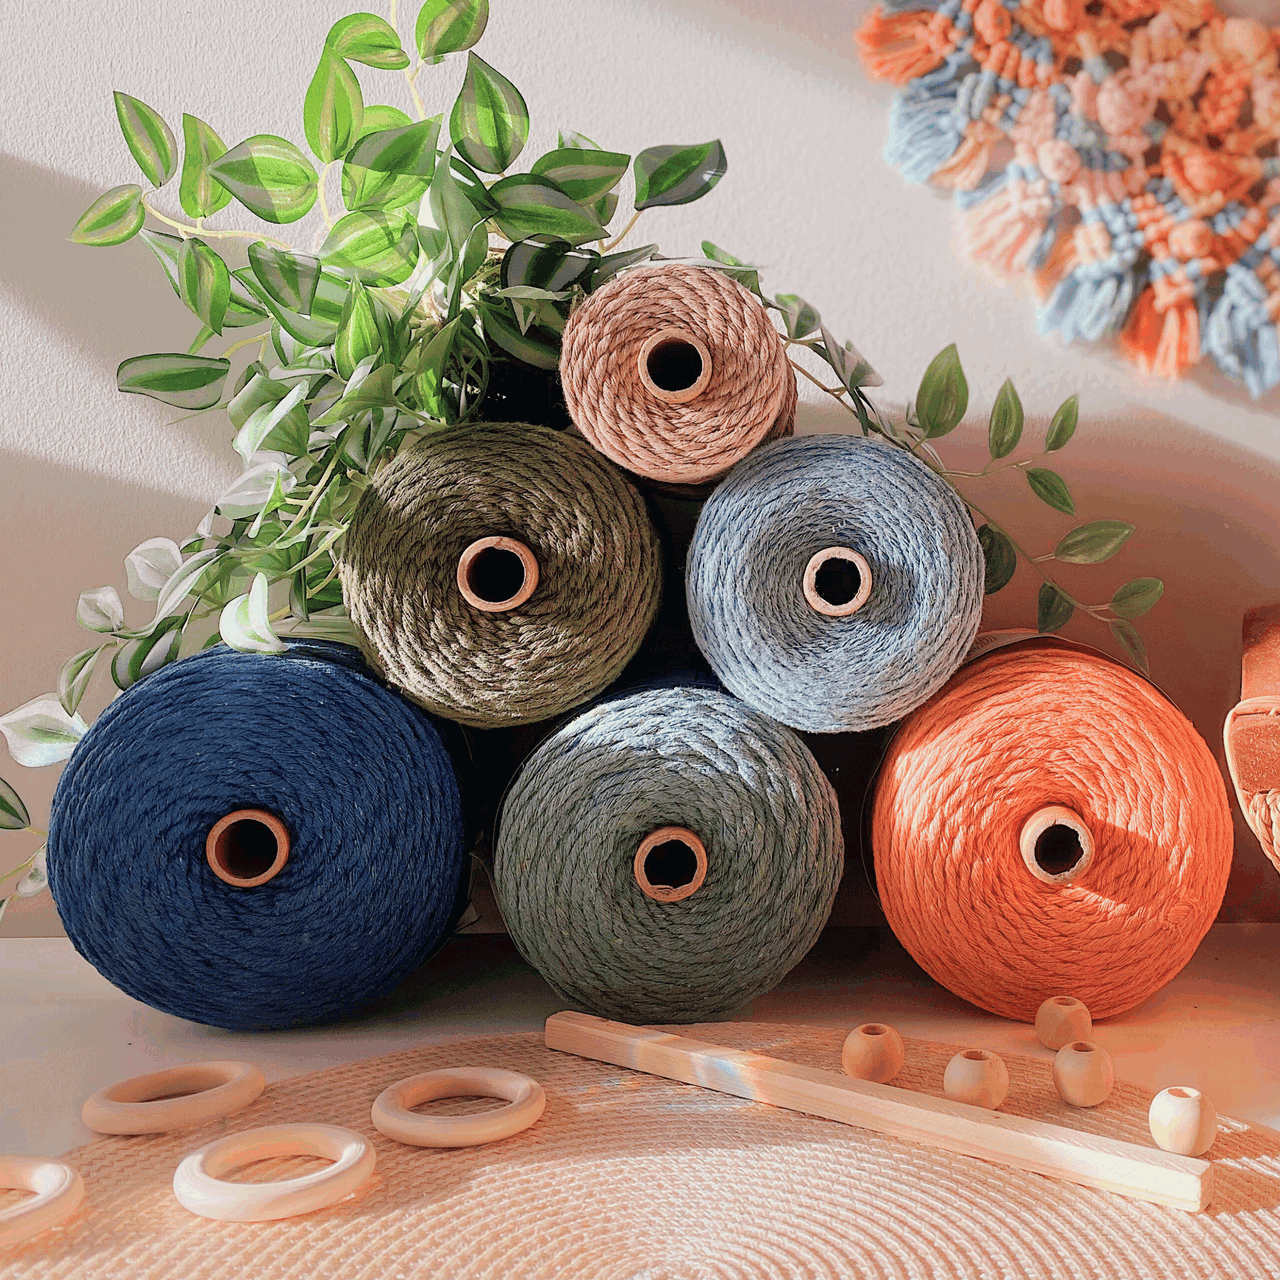
- Single-Strand Cotton Cord: This is the gold standard for fringe. Single-strand cotton cords are made of one bundle of fibers, making them super easy to unravel and brush out. The end result is a soft, fluffy fringe with minimal effort.
- Combed Cotton Cord: A combed cotton cord is an excellent option for a more polished look. It’s smoother and more refined, so your fringe will look neat and sleek without much frizz.
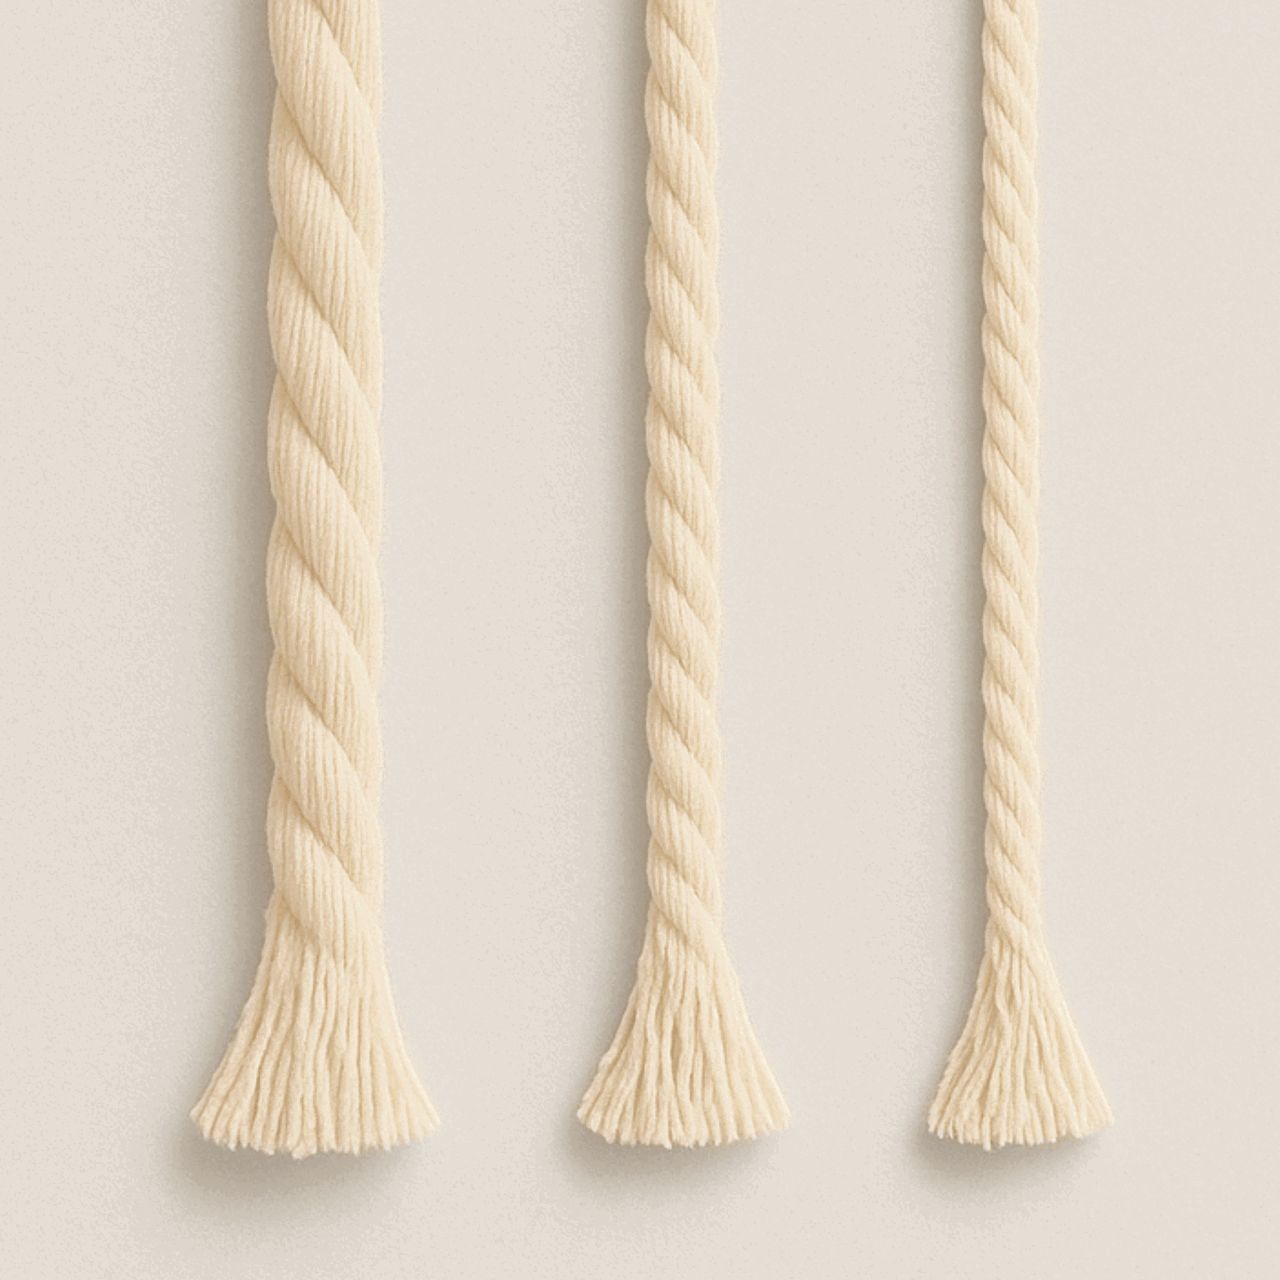
- Thickness: The thickness of your cord will also impact your fringe. Thicker cords (4-6mm) will give you a chunkier, more dramatic fringe, while thinner cords (1.5-3mm) will result in a finer, more delicate fringe.
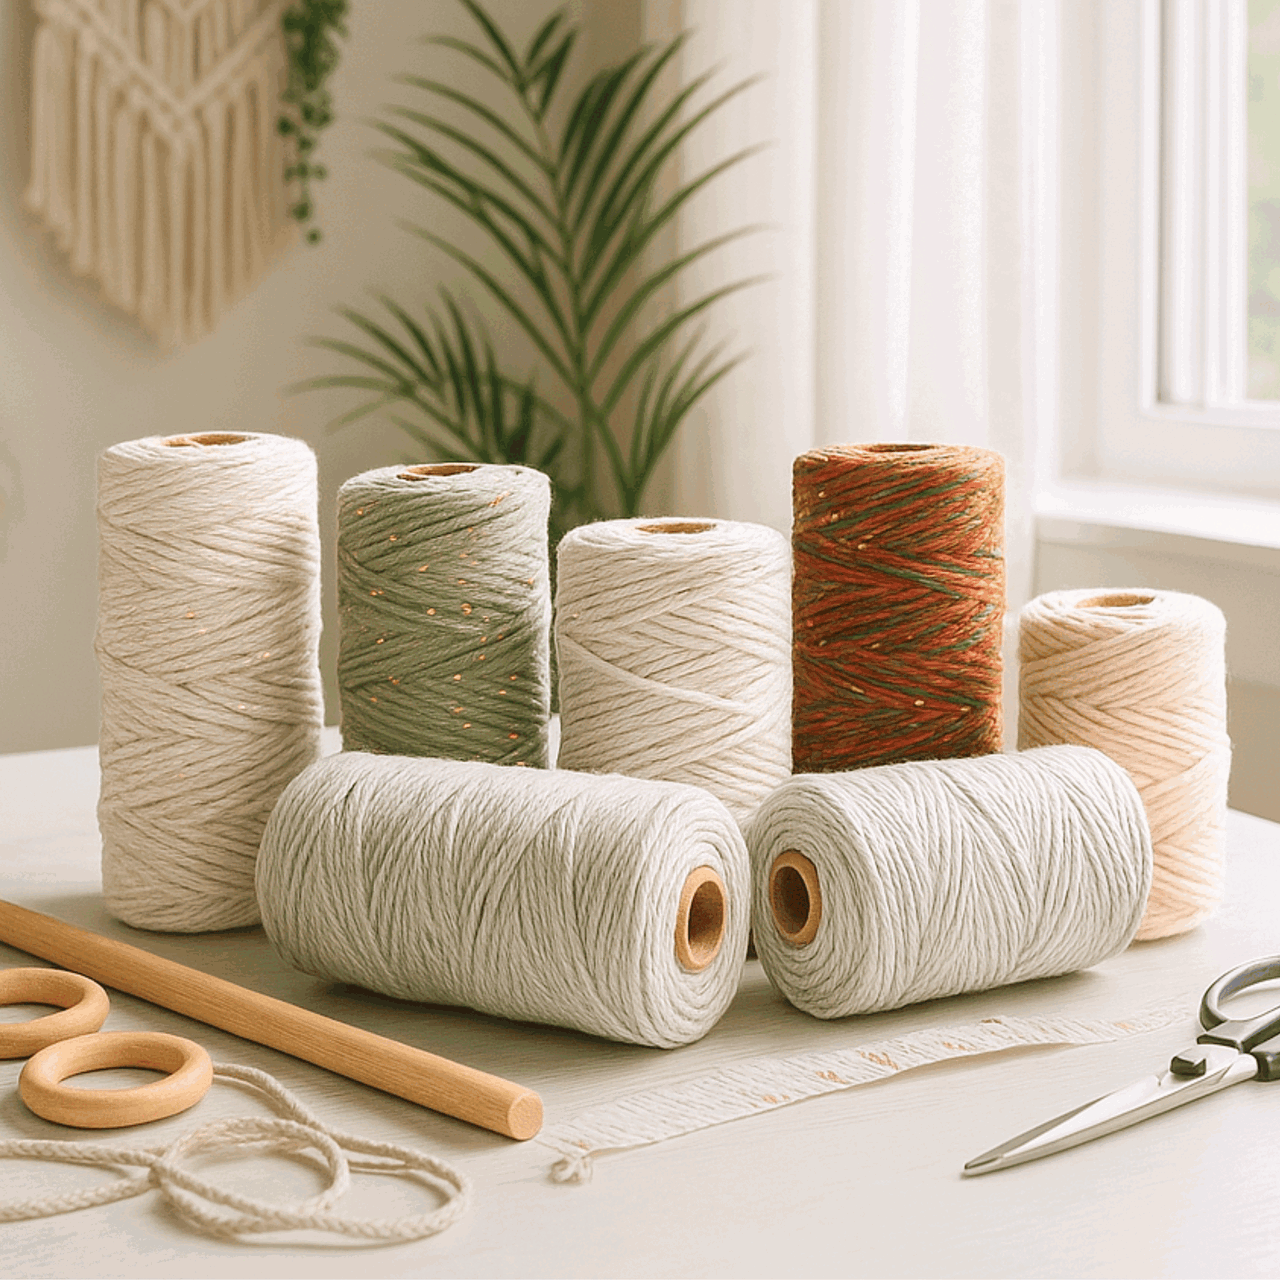
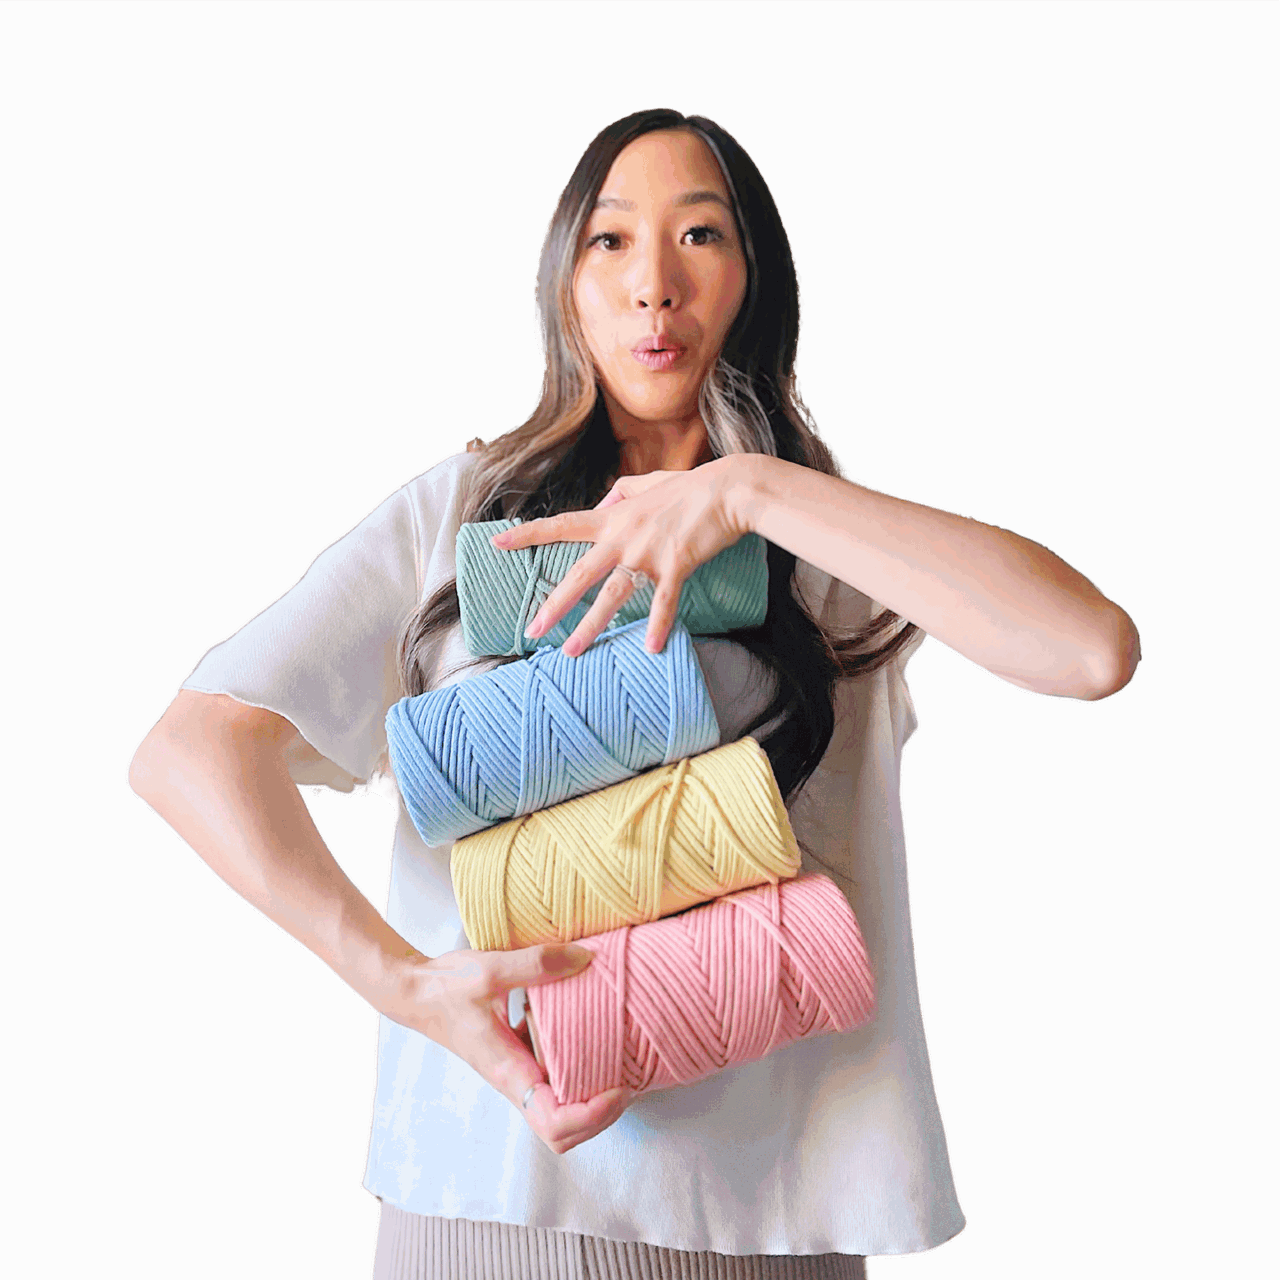
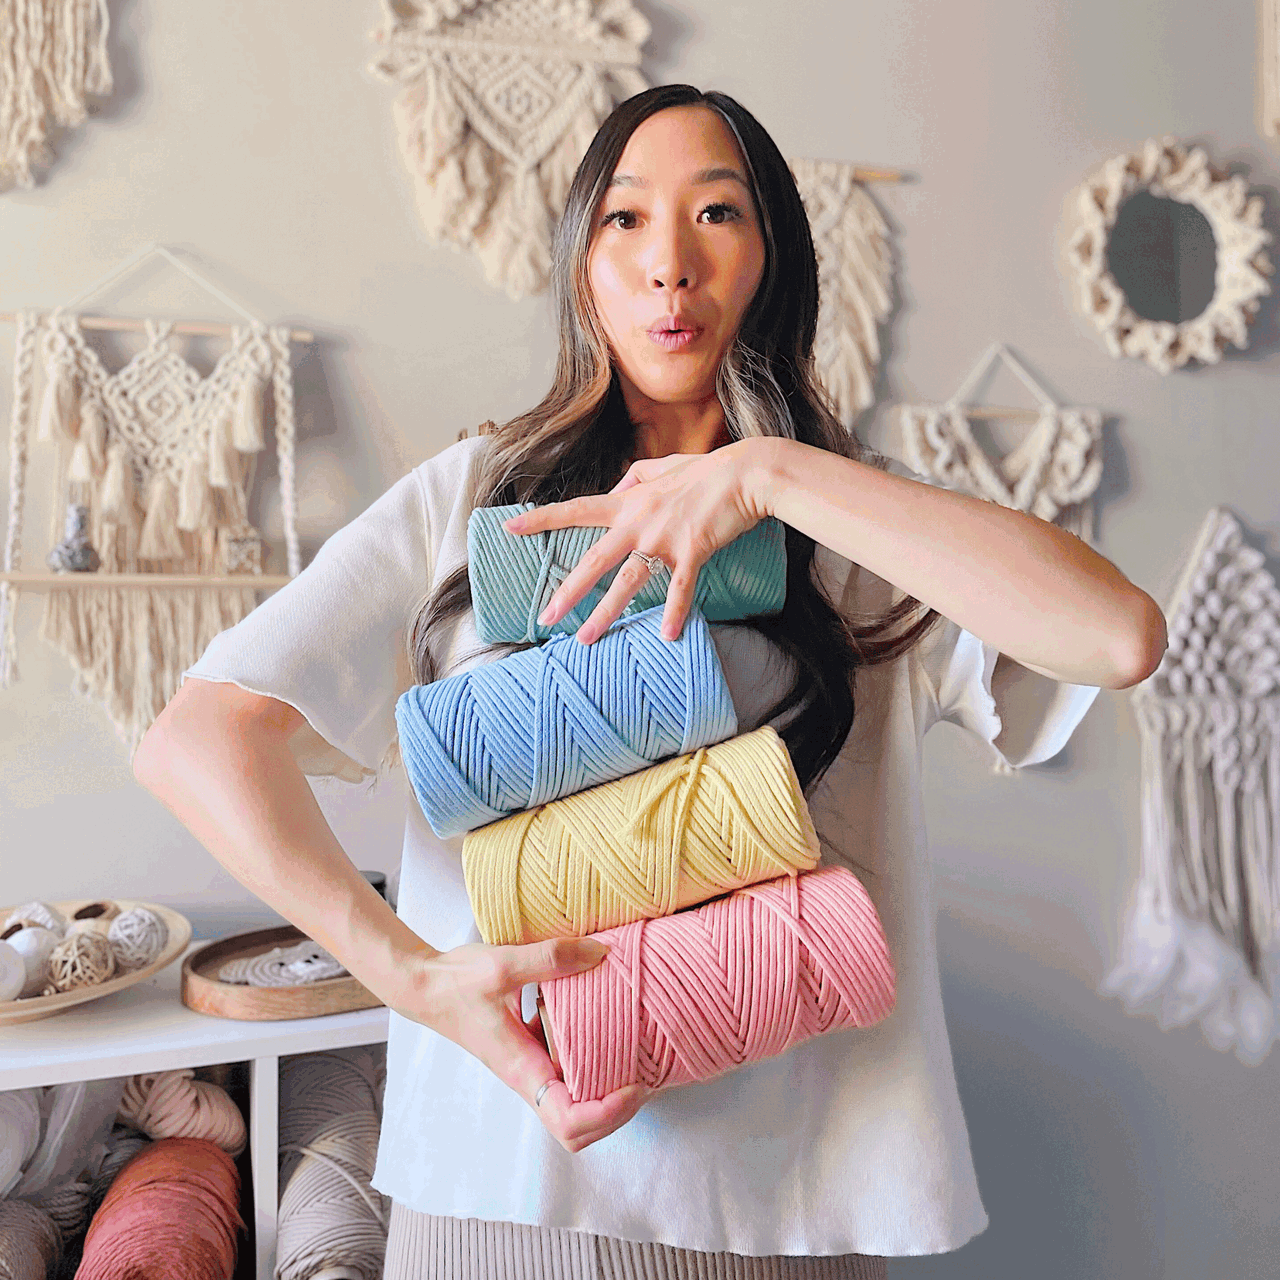
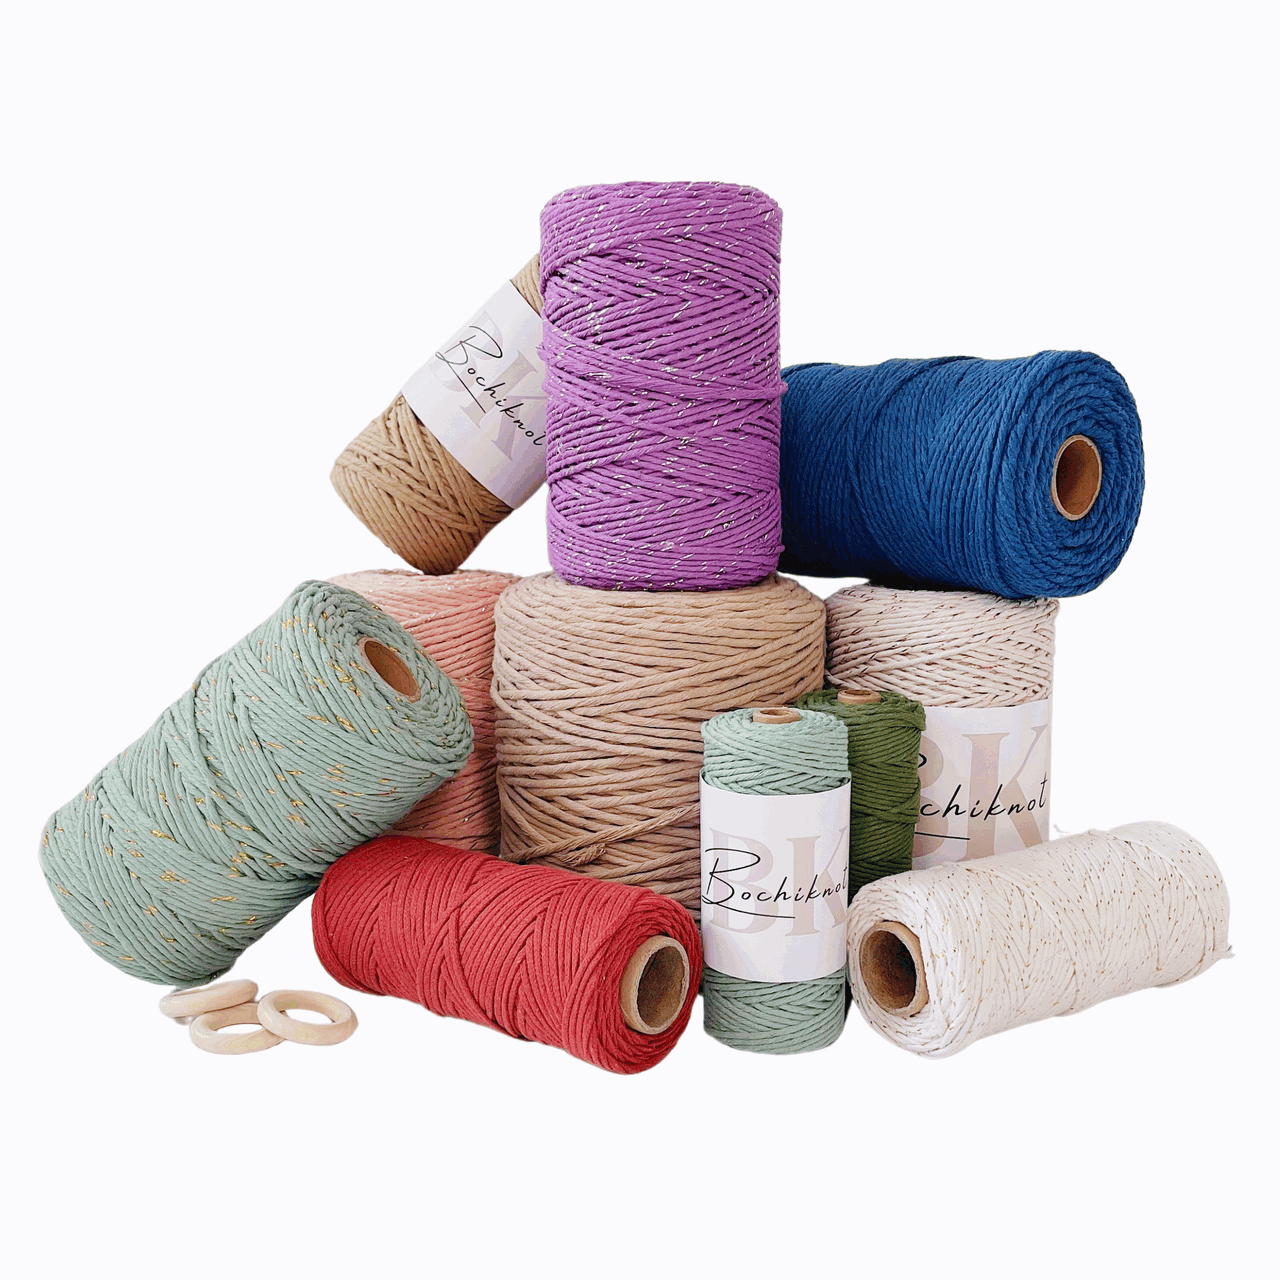
Bochiknot’s tip: Our Bochiknot cotton cords are specially made for macrame, so they’re perfect for creating beautiful fringes.
Whether you prefer a thicker or thinner look, our cords come in various sizes to suit your style.
Essential Tools for Brushing and Trimming

Now that you’ve got the right cord, let’s talk about the tools. Using the right ones will make the process smoother and ensure your fringe looks polished.
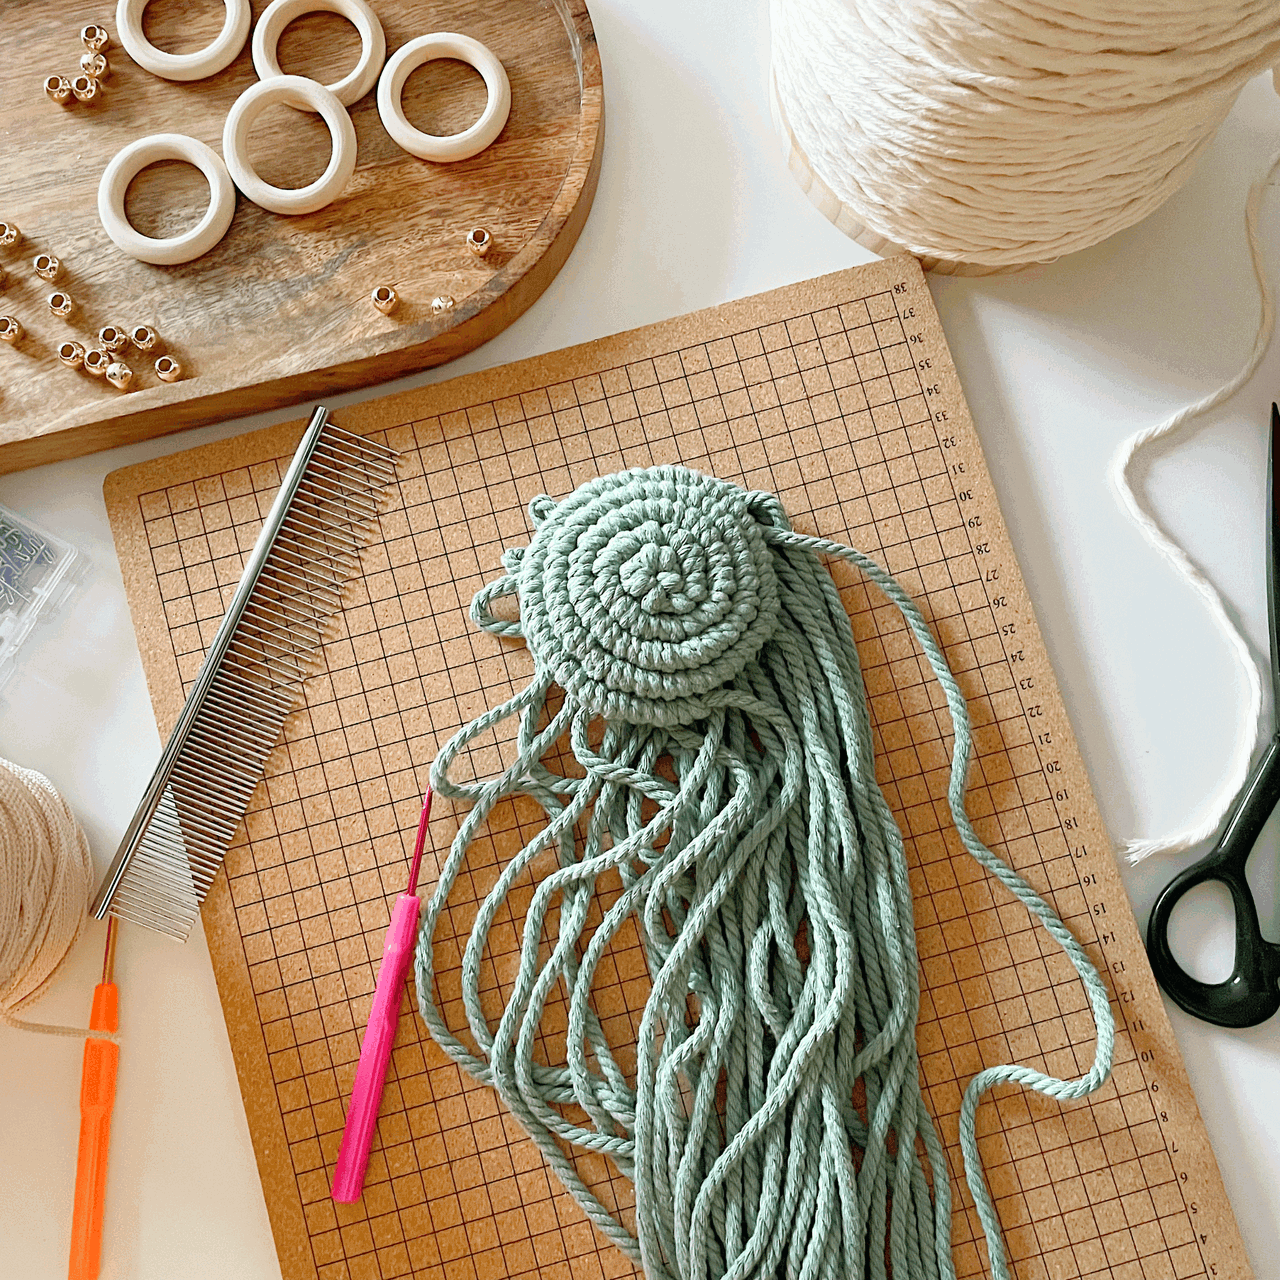
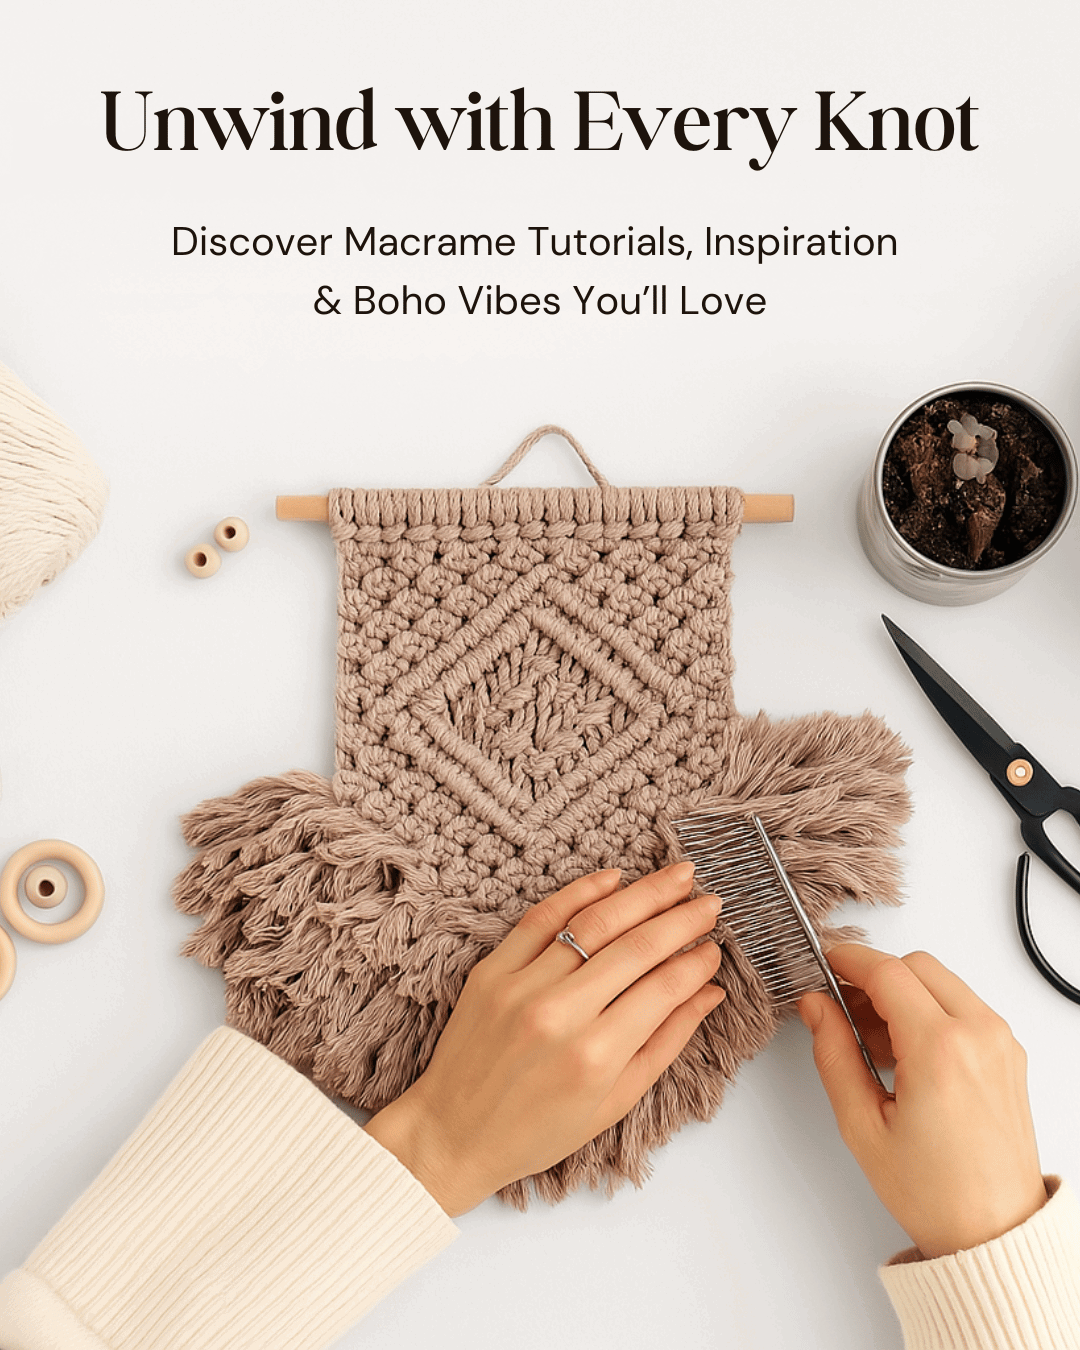
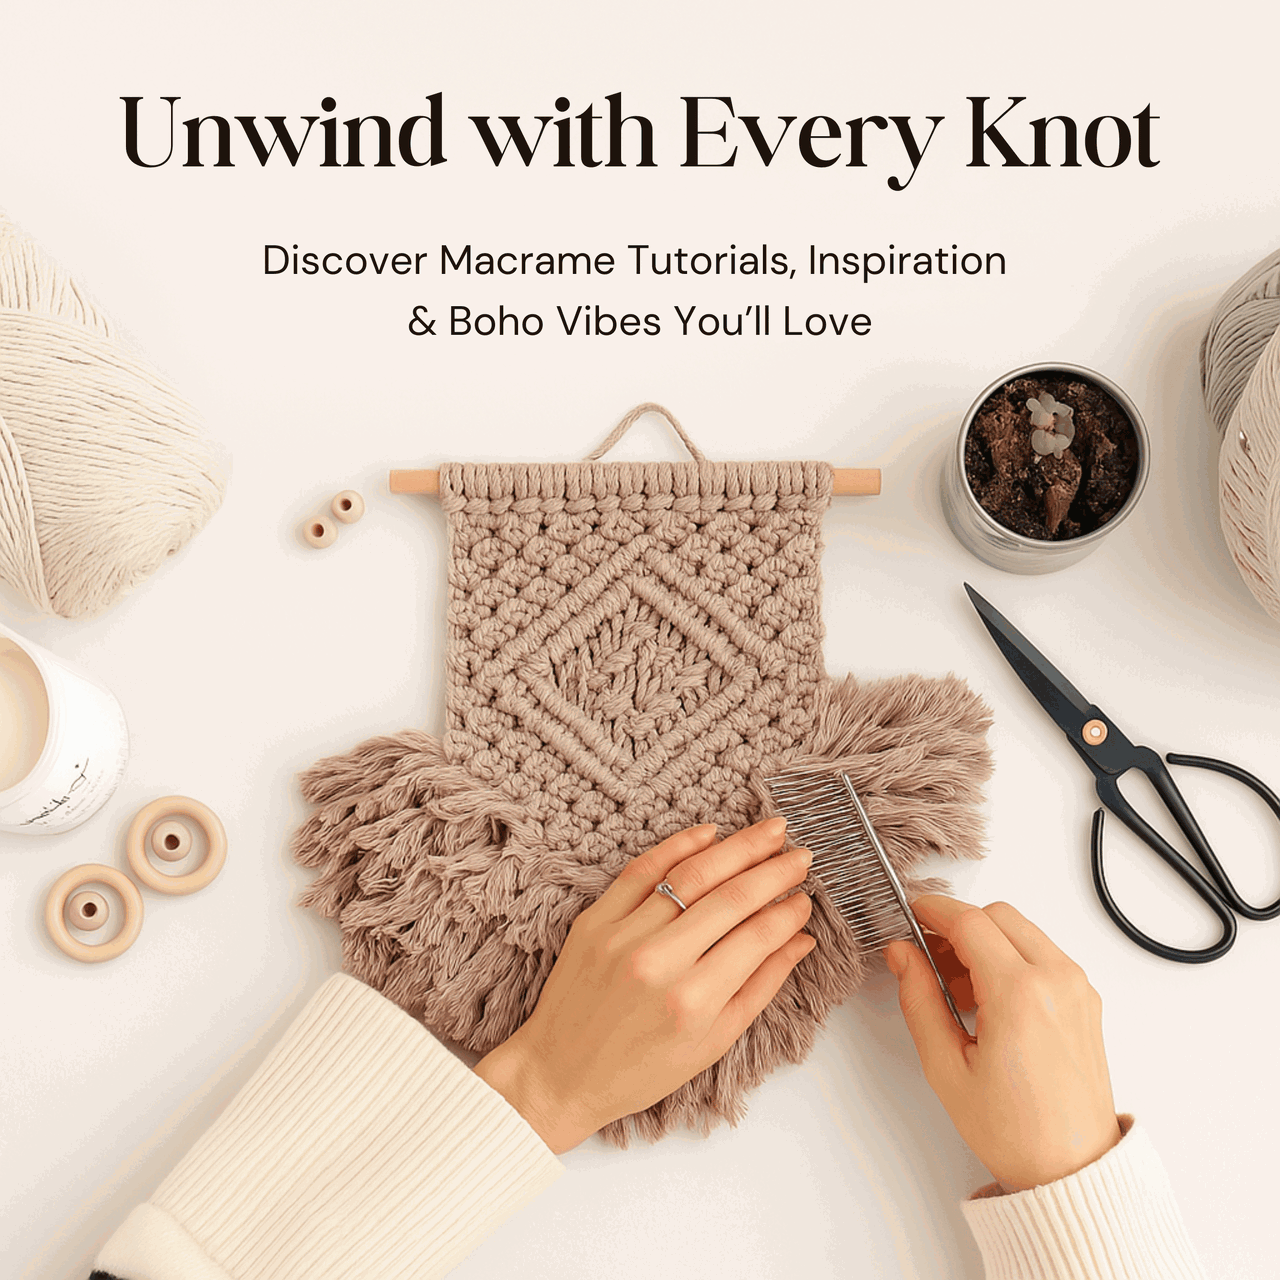
- Fine-Tooth Comb: Brushing it out properly is the key to a soft, fluffy fringe. A fine-tooth comb or a pet brush works wonders for this step. Start at the ends of your cords and work your way up to avoid tangles or breakage. Pet brushes are great for fluffing thicker cords, while fine-tooth combs are ideal for smaller, more detailed projects.
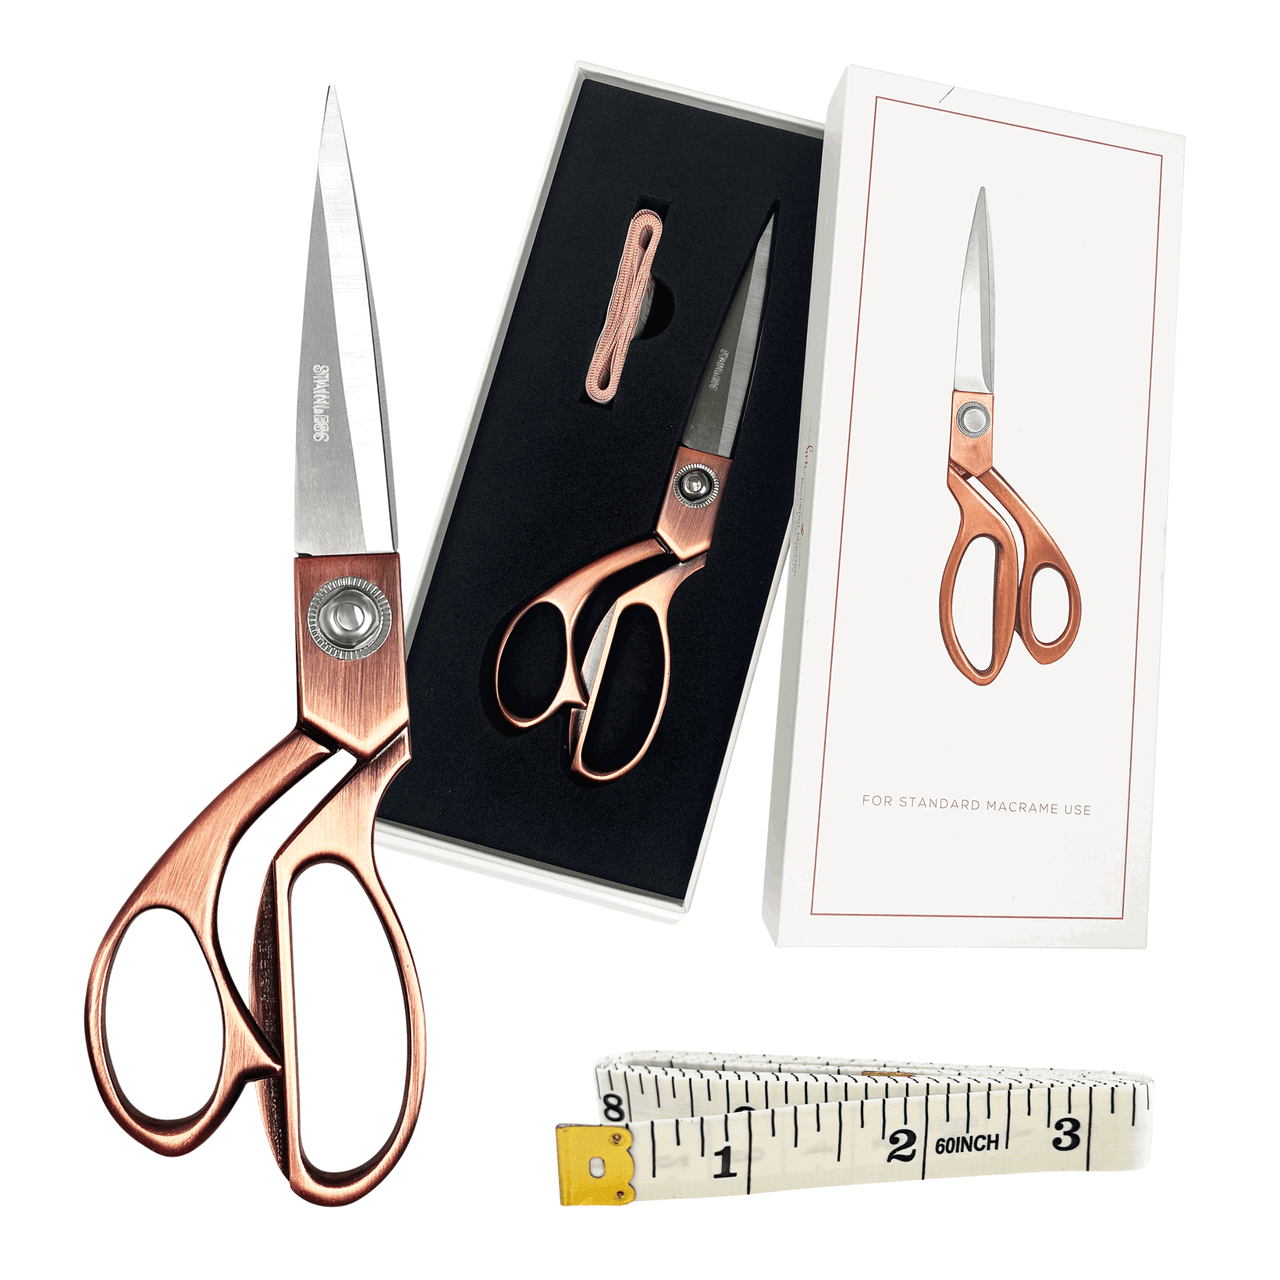
- Sharp Macrame Scissors: Once your fringe is brushed out, it’s time to trim. And for this, sharp macrame scissors are your best friend. They allow for clean, precise cuts that make your fringe look professional. Don’t even think about using dull scissors—they can fray the ends and make the whole thing look messy!
- Measuring Tape: A measuring tape is a helpful tool for ensuring your fringe is even, especially on larger projects like wall hangings. It’s an extra step, but it makes a difference in giving your fringe a balanced, symmetrical look.
- Steamer or Spray Bottle: For that final, polished touch, a steamer is perfect for setting your fringe and smoothing any kinks. If you don’t have a steamer, a spray bottle with water can also help relax the fibers and give your fringe a soft, finished look.
If you want to give your fringe that extra oomph, here’s a secret hack: use a detangling spray before brushing.
A quick, light mist will smooth out the fibers and make brushing a breeze—especially on thicker cords.
This simple trick will do wonders for your fringe.
It will give your macrame fringe a clean, crisp hold that keeps it looking polished and perfectly in place.
My Top 5 Secrets for Creating PERFECTLY Styled Fringe | Video Tutorial
My Top 5 Secrets for Creating PERFECTLY Styled Fringe | Step-by-Step Guide
*Note: We recommend following the tutorial video for more detailed instructions and to achieve the best results.
This will provide additional guidance and clarity as you work through each step.
Tip #1: Prep Your Cord Ends by Trimming Excess
Start by trimming any long, excess strands of cord, leaving enough for the fringe you want.
Use scissors or a rotary cutter to get a clean cut.

Bonus Tip: If you’re using 3-ply cords, unravel each strand before moving on.
This makes brushing easier and creates a softer, more flexible fringe.
Unraveling adds texture and movement to your design, giving it a more polished and professional look.
Prepping your cords this way sets a strong foundation for neat, clean-cut fringe and saves you time later when brushing and shaping.

Tip #2: Use a Steamer to Straighten Fringe
If your fringe is curly or crimped, a steamer can help straighten it out.
Just apply steam to the fringe, and the heat will relax the fibers, making them easier to smooth.


Tip #3: Comb the Fringe Before Shaping
Before you start shaping, make sure the fringe is fully brushed out.
Use a durable comb and, with your macrame piece flat, start combing from the top of the fringe down to the ends.
Work gently through the cords to remove any tangles or knots.
Combing thoroughly helps you get an even, smooth fringe that’s ready to be shaped.
Take your time and make sure each strand is free from knots for the best results.

Tip #4: Use Tape as a Marker to Shape the Fringe
Shaping your fringe can be done in different ways.

One easy method is using tape as a guide for even shaping.
Place small pieces of tape along the edge where you want to trim, and then follow the tape line as you cut to create a neat, uniform fringe.
 This is especially helpful if you want straight or symmetrical edges.
Tip #5: Use Hair Spray or Fabric Stiffener to Hold the Shape
Once your fringe is shaped to your liking, it can sometimes tangle or lose its form.
To keep it looking polished, use hair spray or fabric stiffener to hold the fringe in place
Spray lightly from a distance, then brush or shape the fringe as it dries. pe.

This will help the fibers stay in position, preserving the look you’ve worked hard to create.
Repeat if needed until the fringe has just the right stiffness to hold its sha


Looking for Macrame Patterns and Projects?
I’ve got a fun variety of DIY macrame patterns for you to explore—whether you’re into creating unique wall hangings to spruce up your home or timeless plant hangers, there’s something for every skill level.
Each pattern is super easy to follow with step-by-step photos, clear instructions, and plenty of tips to help you along the way.
Ready to start creating?
Browse DIY macrame patterns on Etsy and dive into your next project.

Join the Bochiknot Macrame Community: Your Gateway to Exclusive Tutorials & Inspiration
Discover the art of macrame like never before! Join our exclusive community of passionate macrame enthusiasts and unlock a world of creativity.
Gain access to a treasure trove of unique patterns, expert guidance, and a supportive network of fellow artists.
Join today, access our library of macrame tutorials.


