How to Make a STYLISH Macrame Keychain for Beginners

Create Your Own Macrame Keychain: A Simple DIY That Adds a Personal Touch to Your Everyday
We all know that moment—you’re digging through your bag or patting down your pockets, feeling a slight wave of panic when your keys seem to vanish into the abyss.
But what if, instead of frantic searching, you had a stylish, handmade macrame keychain that’s easy to spot and doubles as a piece of art?
Even better, it’s something you crafted with your own hands. Sounds pretty amazing, right?
That’s precisely what we’ll teach you in this blog post, step-by-step.
And here’s the best part—it’s perfect for macrame beginners!
Why?
Because making a keychain allows you to start small while learning the basics, like foundational knots and simple techniques.
It’s a manageable project that doesn’t require a considerable commitment, yet by the end, you’ll have a functional and beautiful piece to show off.
And let’s not forget—it makes for the perfect gift or personal accessory to add a touch of personality to your everyday life.
Ready to dive in and create something both functional and beautiful? Let’s get started!
What You’ll Learn
This keychain project is about mastering four essential macrame knots:
- Overhand knot
- Crown knot
- Lark’s Head knot
- Gathering knot
These are the core building blocks of macrame, and once you’ve got them down, the sky’s the limit.
Think of it as laying the foundation for more advanced, intricate designs later.
With these knots, you’ll gain confidence in your knotting technique, improve hand coordination, and get a feel for pattern repetition.
Macrame Knots You Need to Know
Here’s a quick look at what each knot brings to the table:
- Overhand Knot: This is your go-to knot for securing the ends of your cords. It’s simple but essential—think of it as the trusty knot you’ll come back to again and again in future projects.
- Crown Knot: Ready to add some texture? The Crown Knot gives your macrame that braided, rounded look. It’s perfect for creating more decorative elements and giving your keychain some extra flair.
- Lark’s Head Knot: This knot is about attaching your cords to a base, like a keychain ring. It’s a must-know for any macrame project, helping you anchor your designs and build from there.
- Gathering Knot: The finishing touch! The Gathering Knot pulls everything together (literally), neatly securing multiple cords and giving your keychain a polished, professional look.
By the time you’re done, you’ll have these knots mastered and be well on your way to quickly creating more complex macrame pieces.
More Macrame Knots
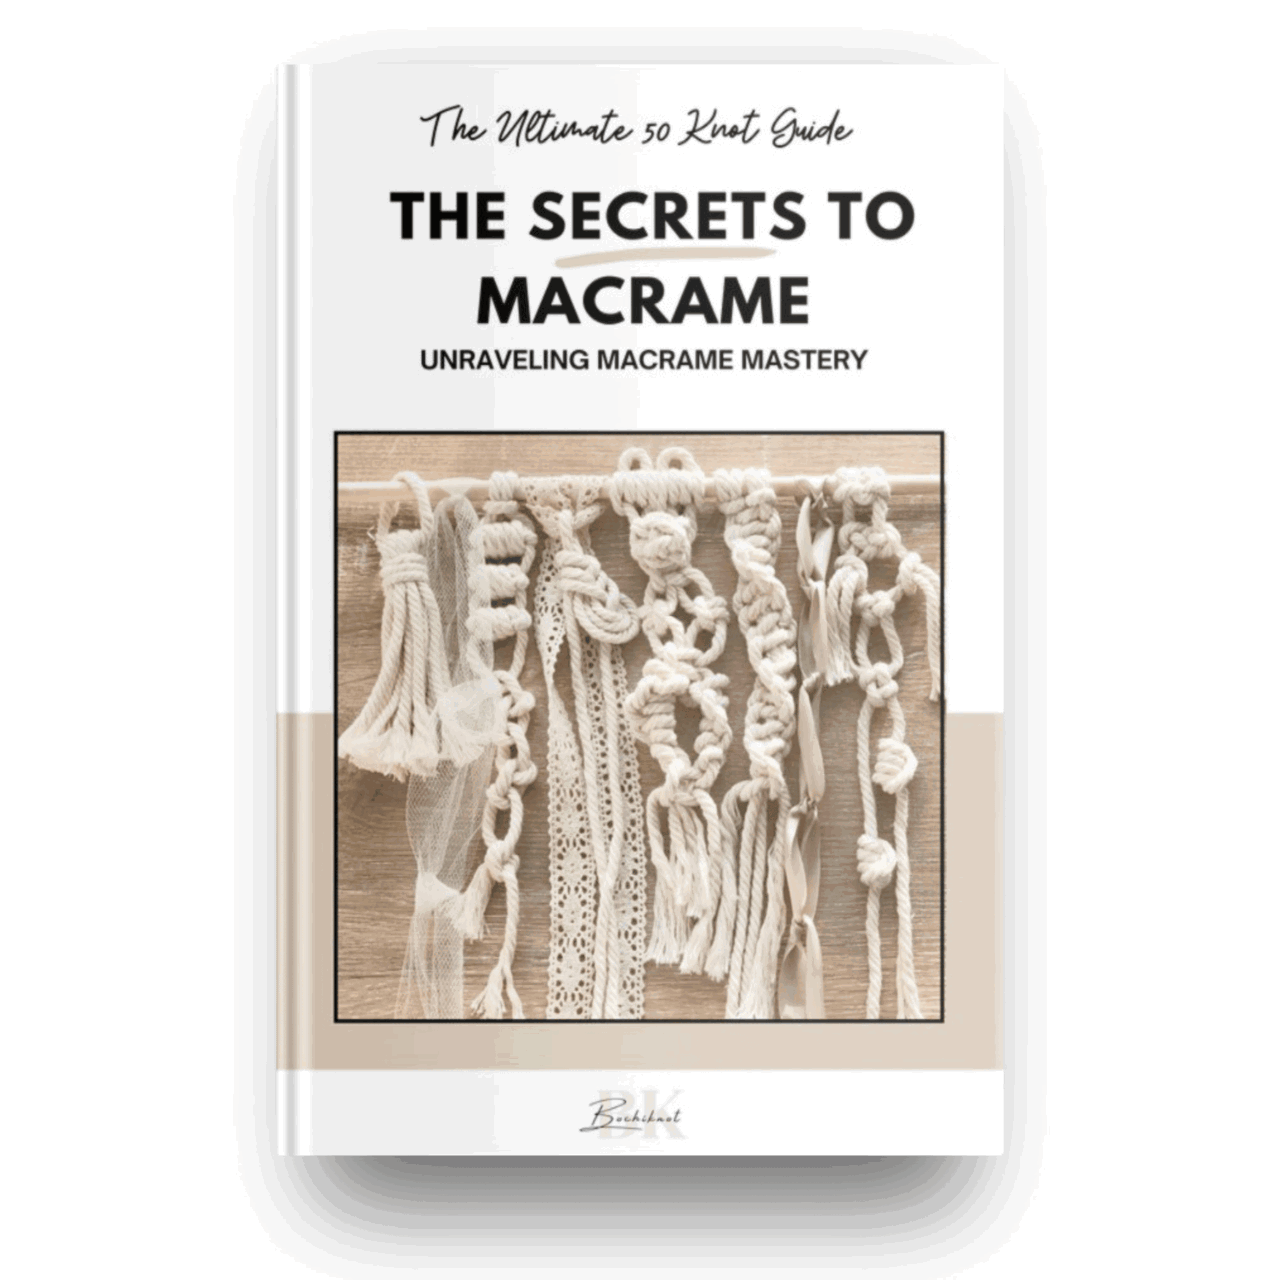
If you want to add more knots to your macrame designs, check out my free resource, "50 Macrame Knots & Sennit Guide."
It's packed with easy, step-by-step instructions to help you improve your skills and try new creative projects.
Access it here.
Important Macrame Terms for Beginners
Before we begin, we should review a few important terms used in macrame.
This will help you understand the techniques more quickly, follow patterns confidently, and set a strong foundation for your macrame journey.
- Knots: Macrame involves various knots, like the overhand knot and alternating overhand knot. Learning these basic knots is critical to building a solid foundation. Check the "Macrame Knots You Need to Know" section for the knots used in this pattern.
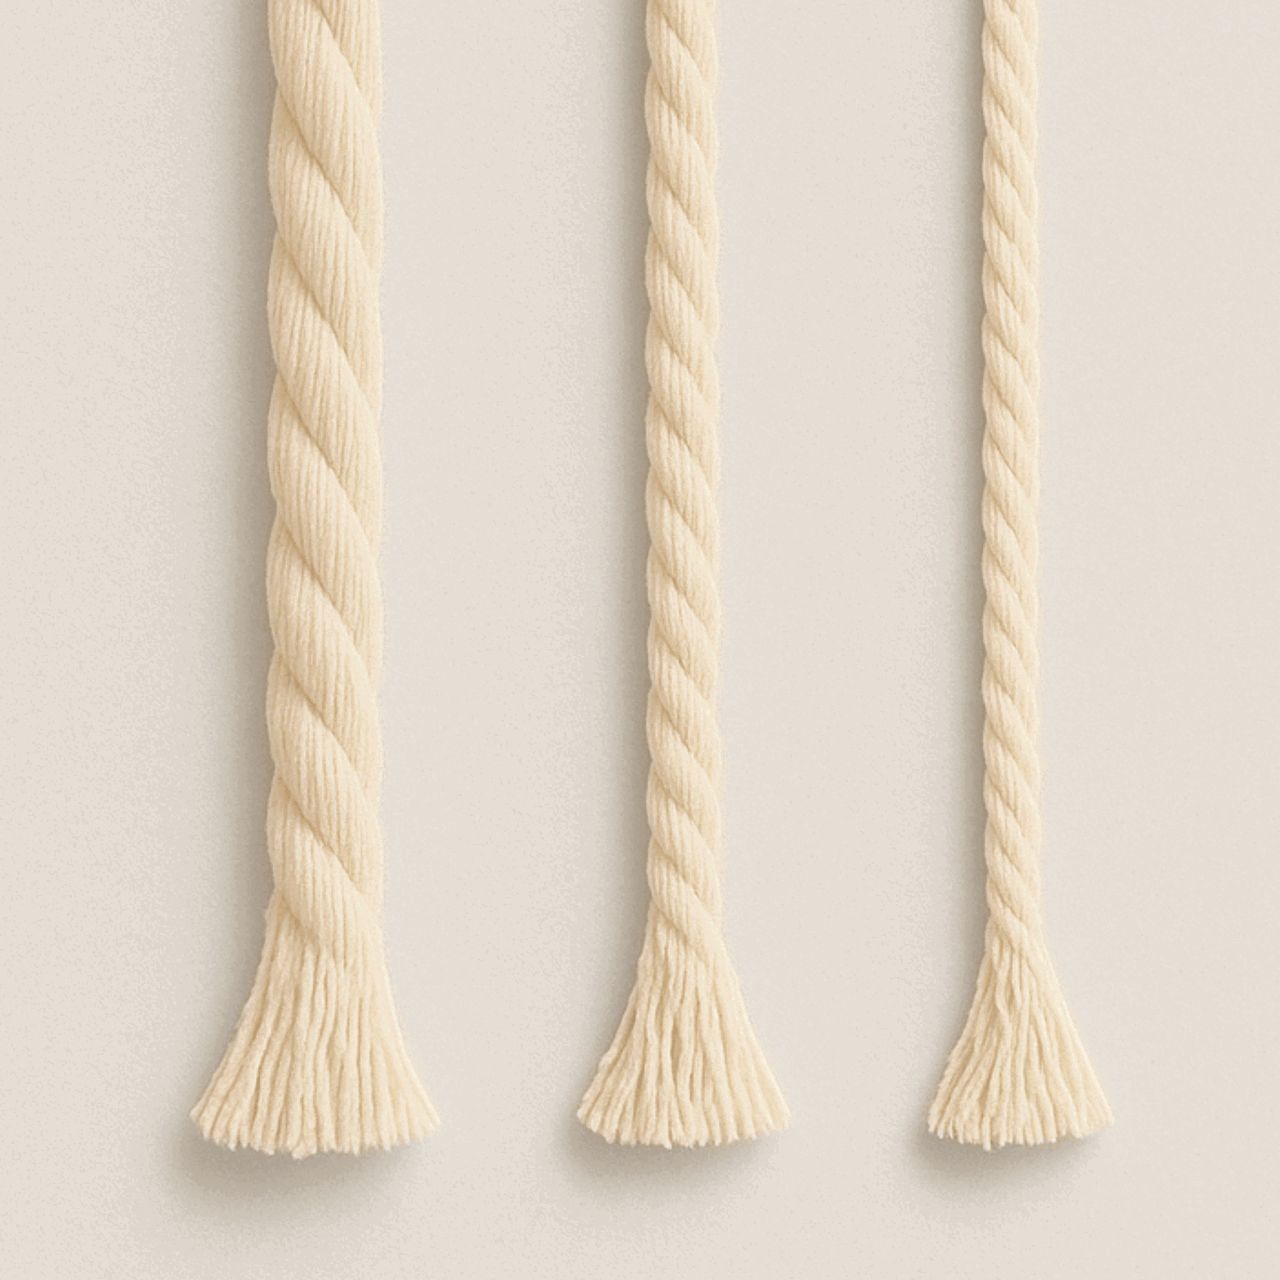
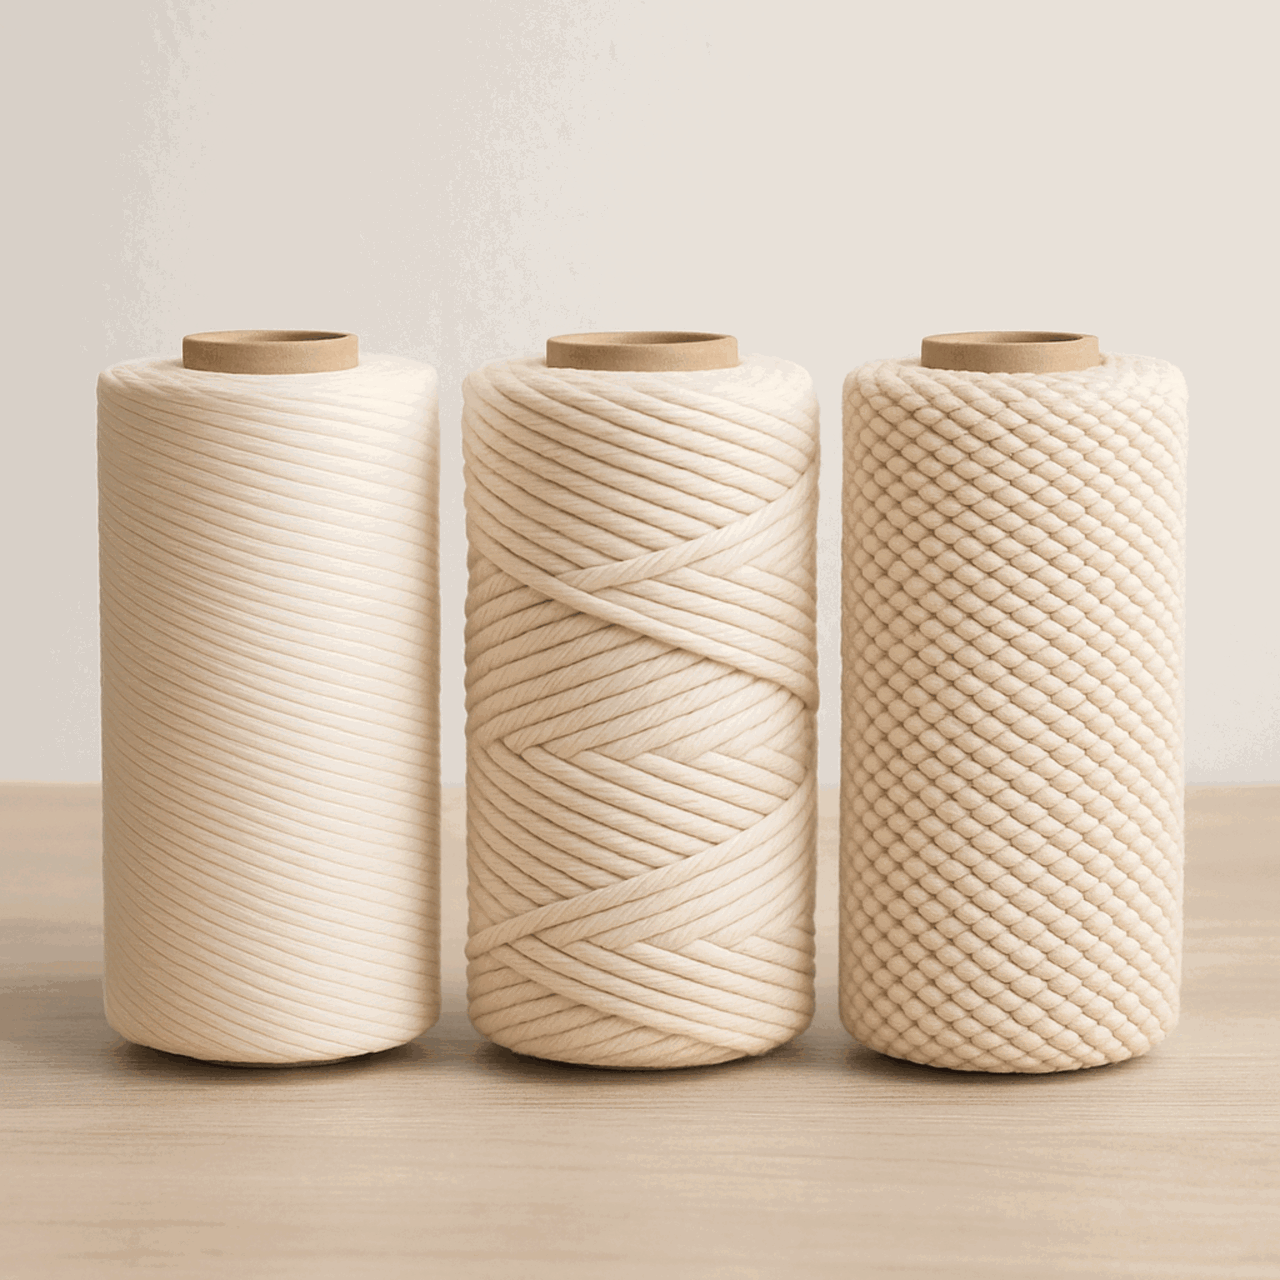
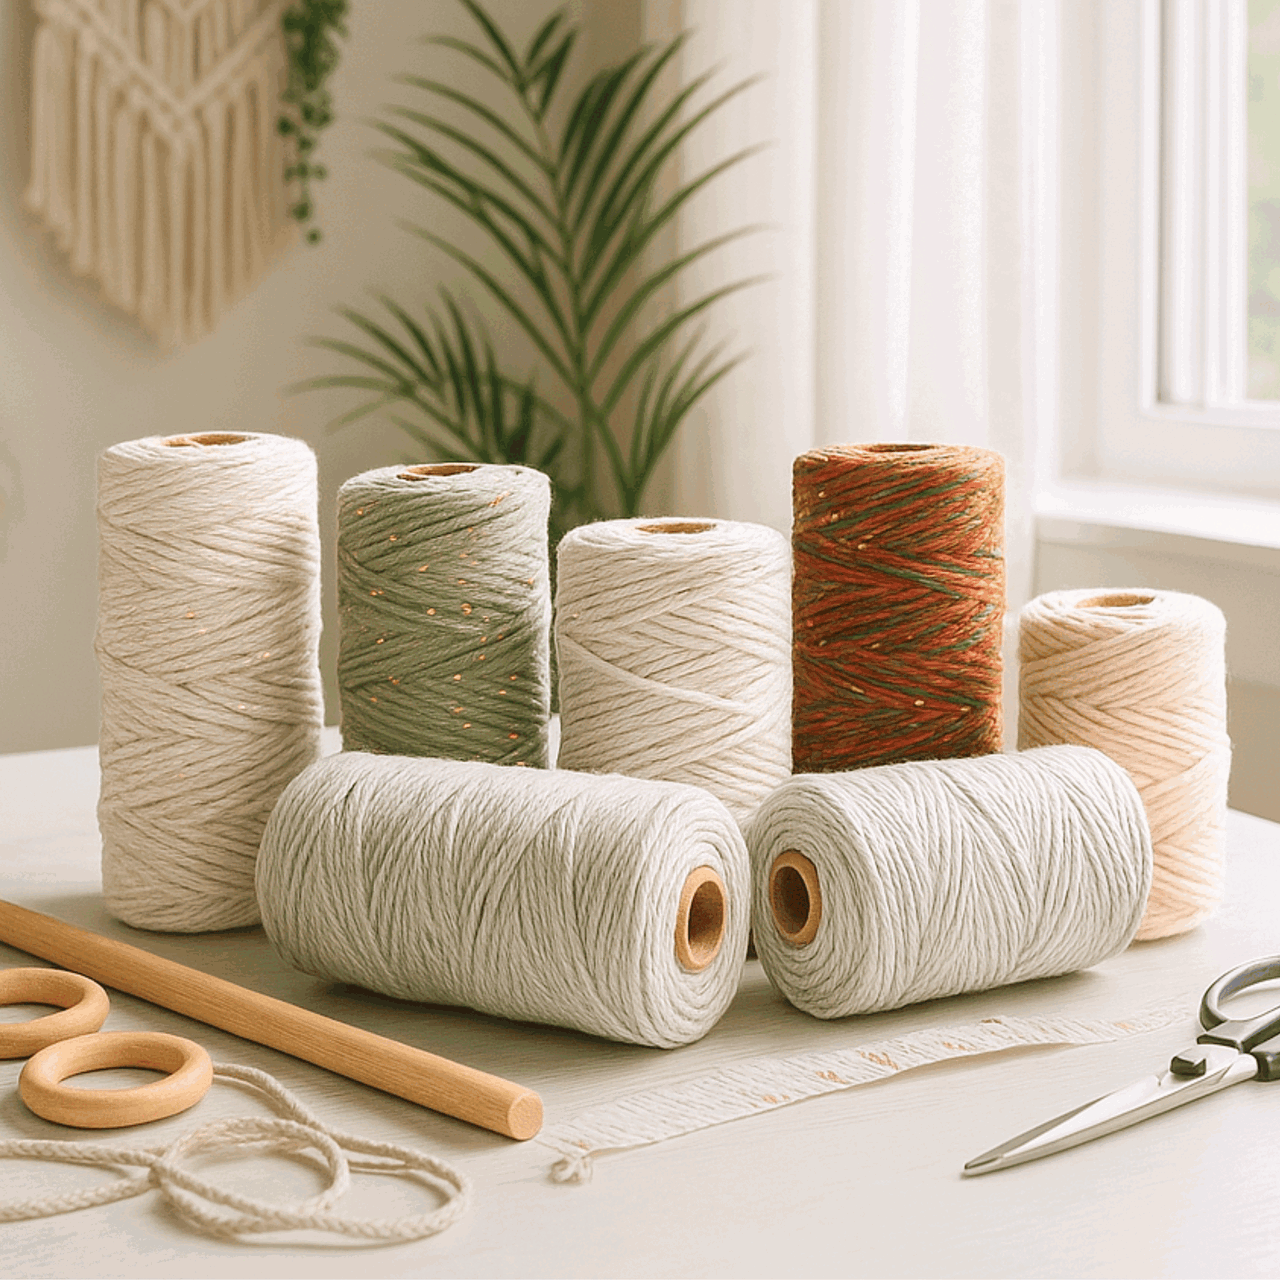
- Cords: The primary material in macrame is cords made from cotton, jute, nylon, or synthetic fibers. They come in different thicknesses and colors. You can learn more about macrame cord with our "Macrame ESSENTIALS: Everything You Need—Cord, Tools, & Materials" post.
- Loop: A loop is formed by crossing the cord over itself to create a ring-like shape. Loops are essential in many macrame designs.
- Fringe: The loose ends of cords that hang down, adding a decorative element. The fringe can be left as is or trimmed to your desired length.
- Anchor Cord: The fixed cord or structure to which other cords are attached. It provides stability and support for your design.
- Working Cord: The cord that is actively manipulated to create knots and patterns throughout the project.
- Sennit: A series of knots grouped together to form a pattern or part of your macrame project.
- Frays and Tassels: The loose ends of your cords are often used intentionally as decorative elements like frays or tassels in your design.
Cord, Supplies, & Tools to Make Macrame Keychain
Before diving into your macrame keychain project, let’s make sure you have all the essential supplies.
For this heart-shaped macrame keychain, you only need a few simple materials, making it a beginner-friendly and accessible DIY project.
Whether you’re just starting or you’re a seasoned macrame artist, having the right materials will make your keychain come together smoothly and look professional.
Here’s what you’ll need:
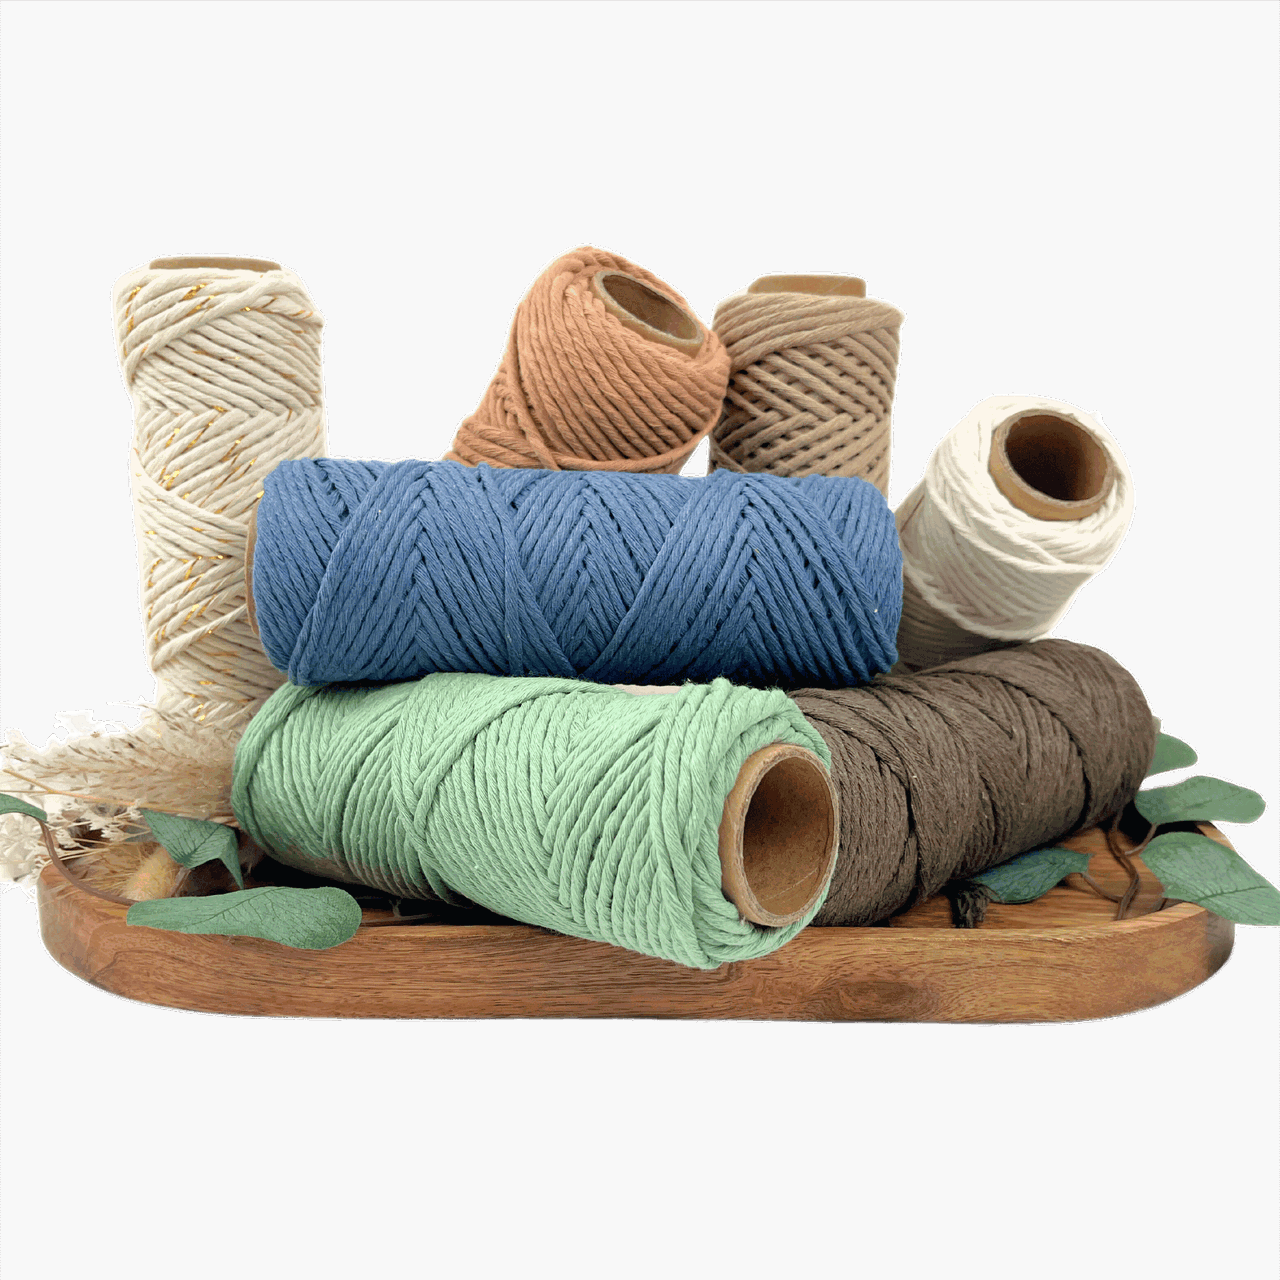
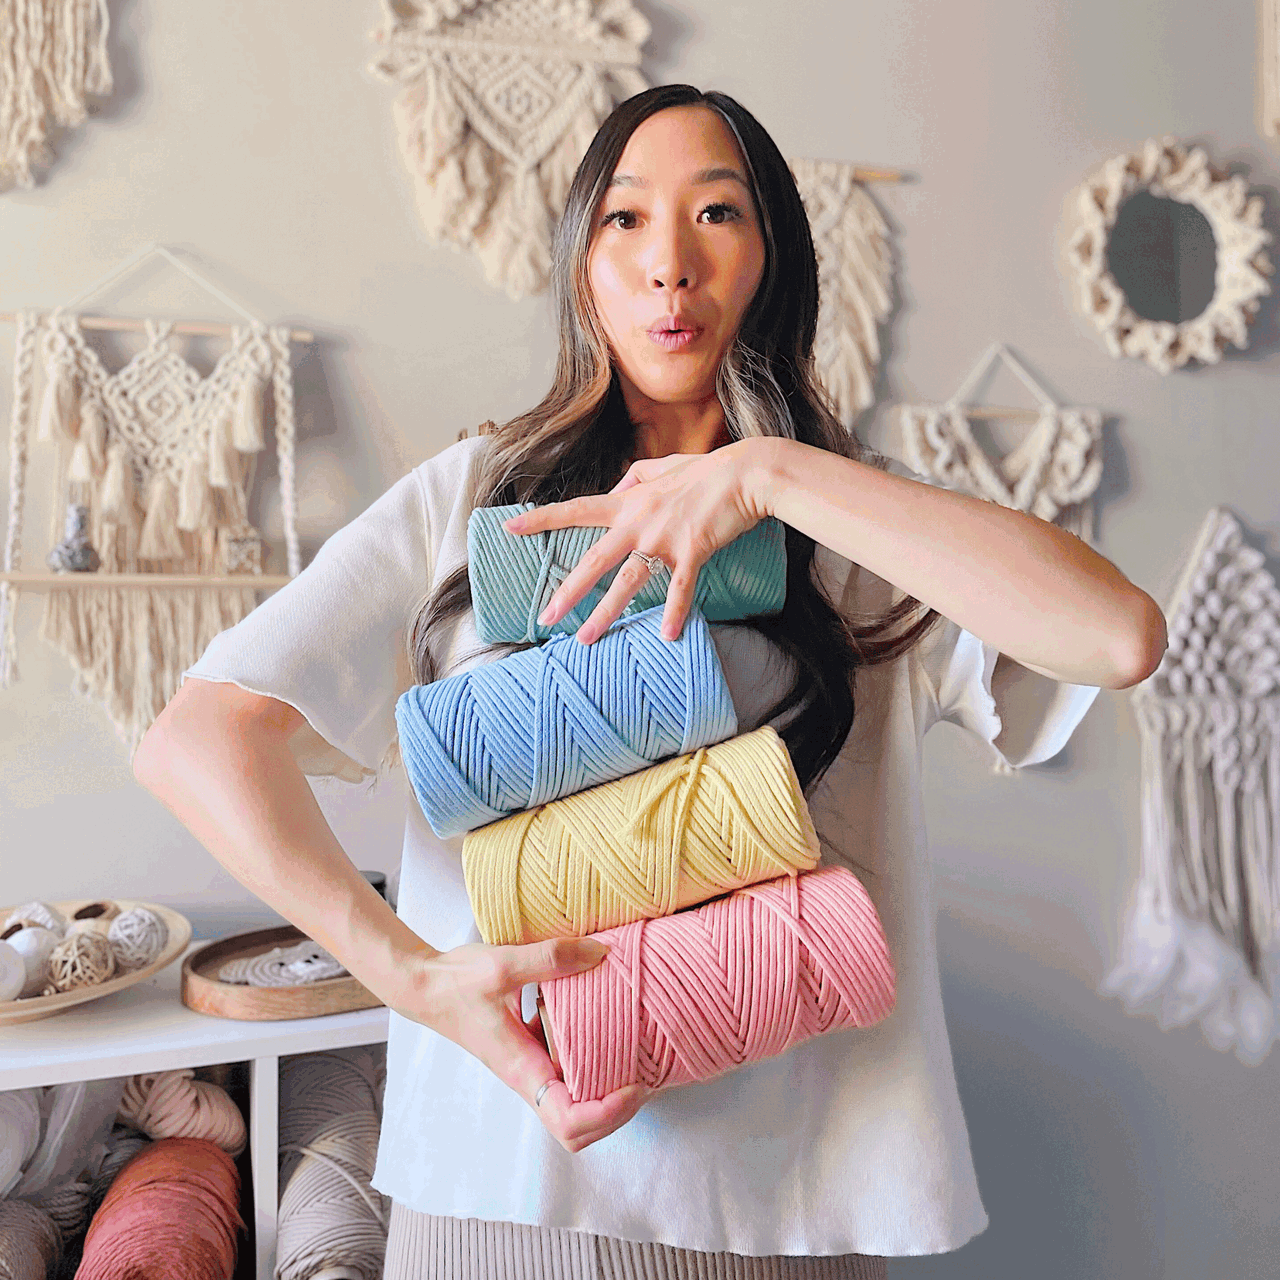
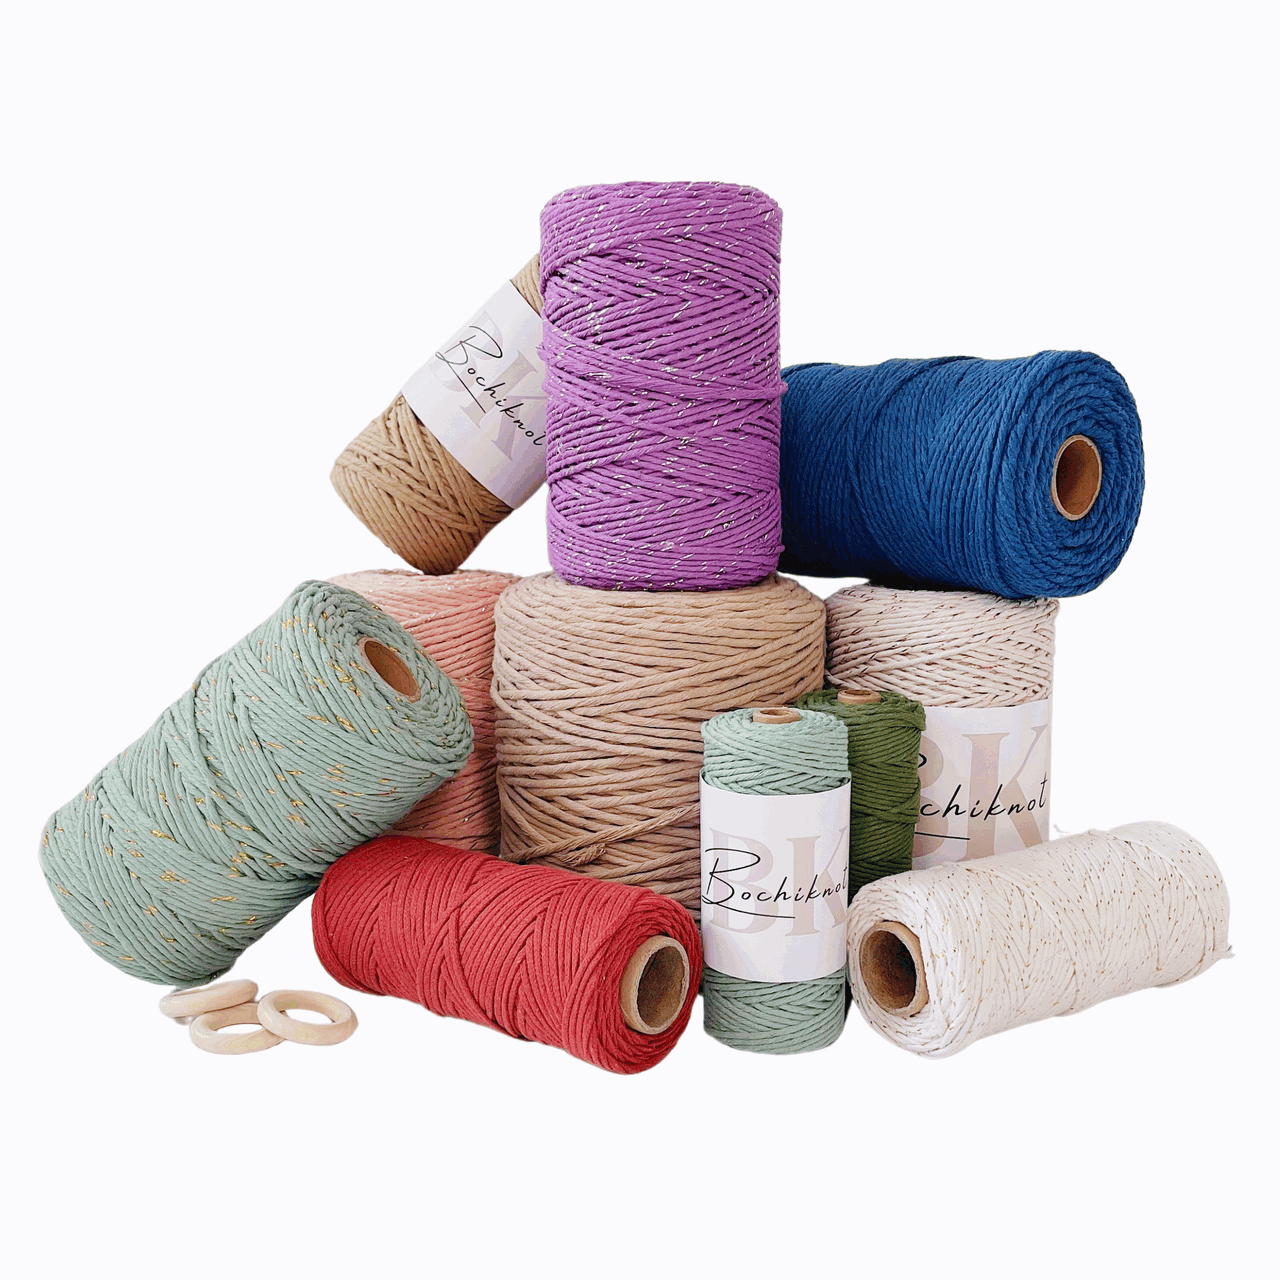
Macrame Cord
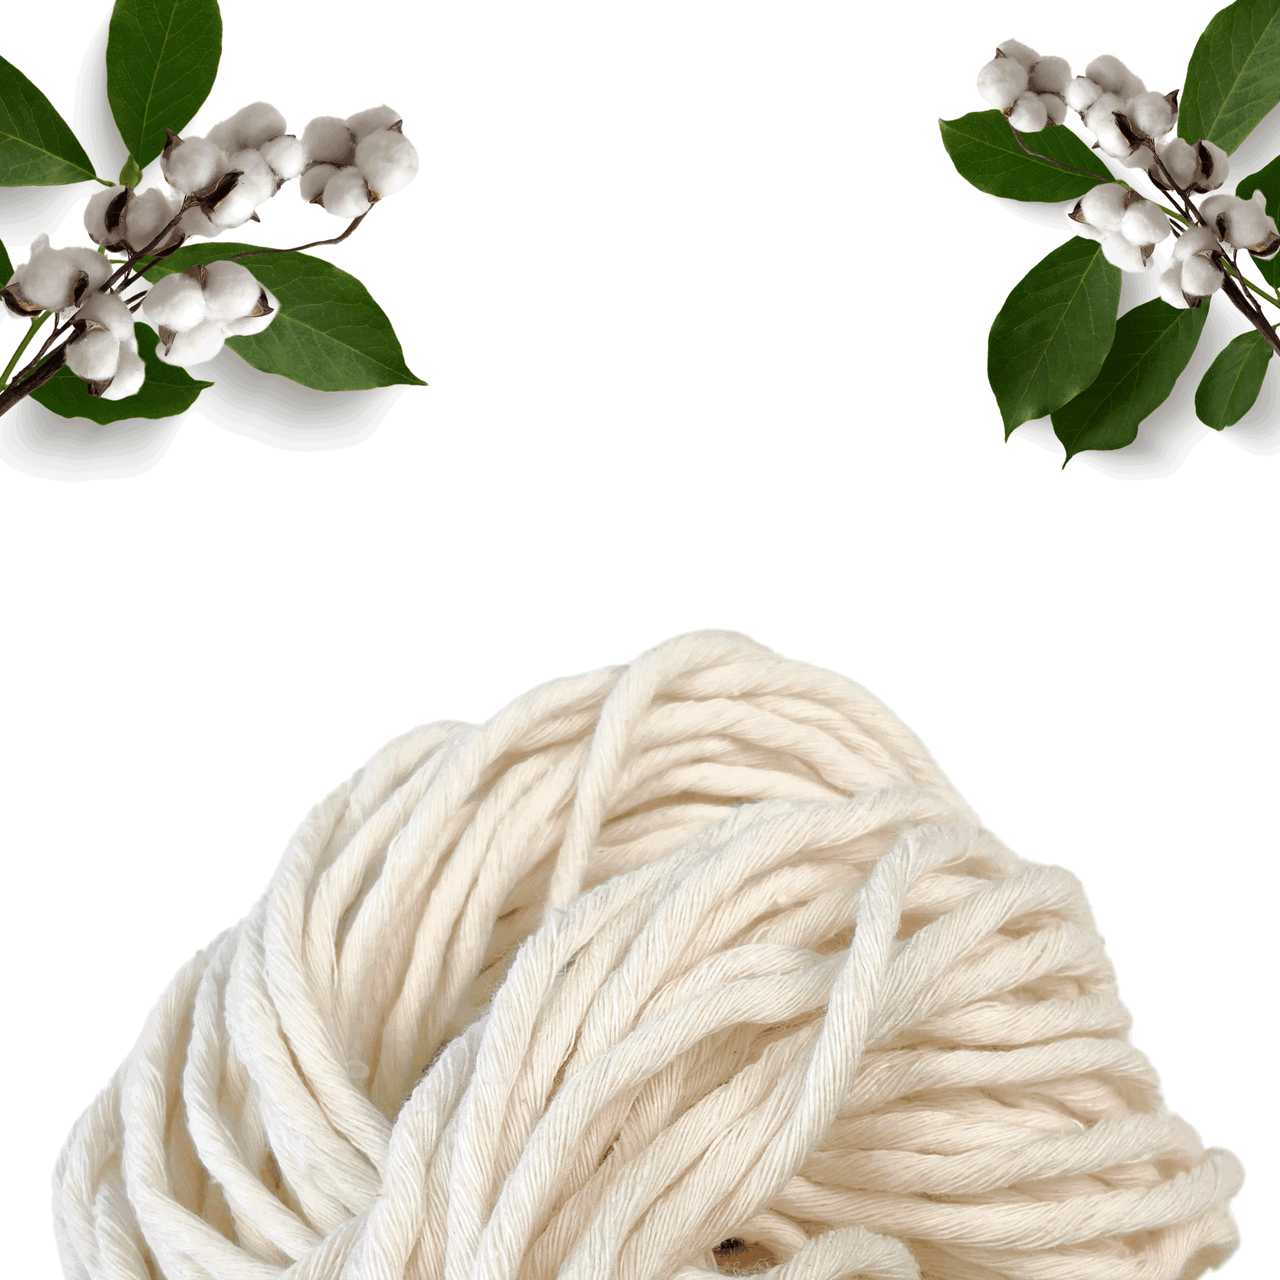
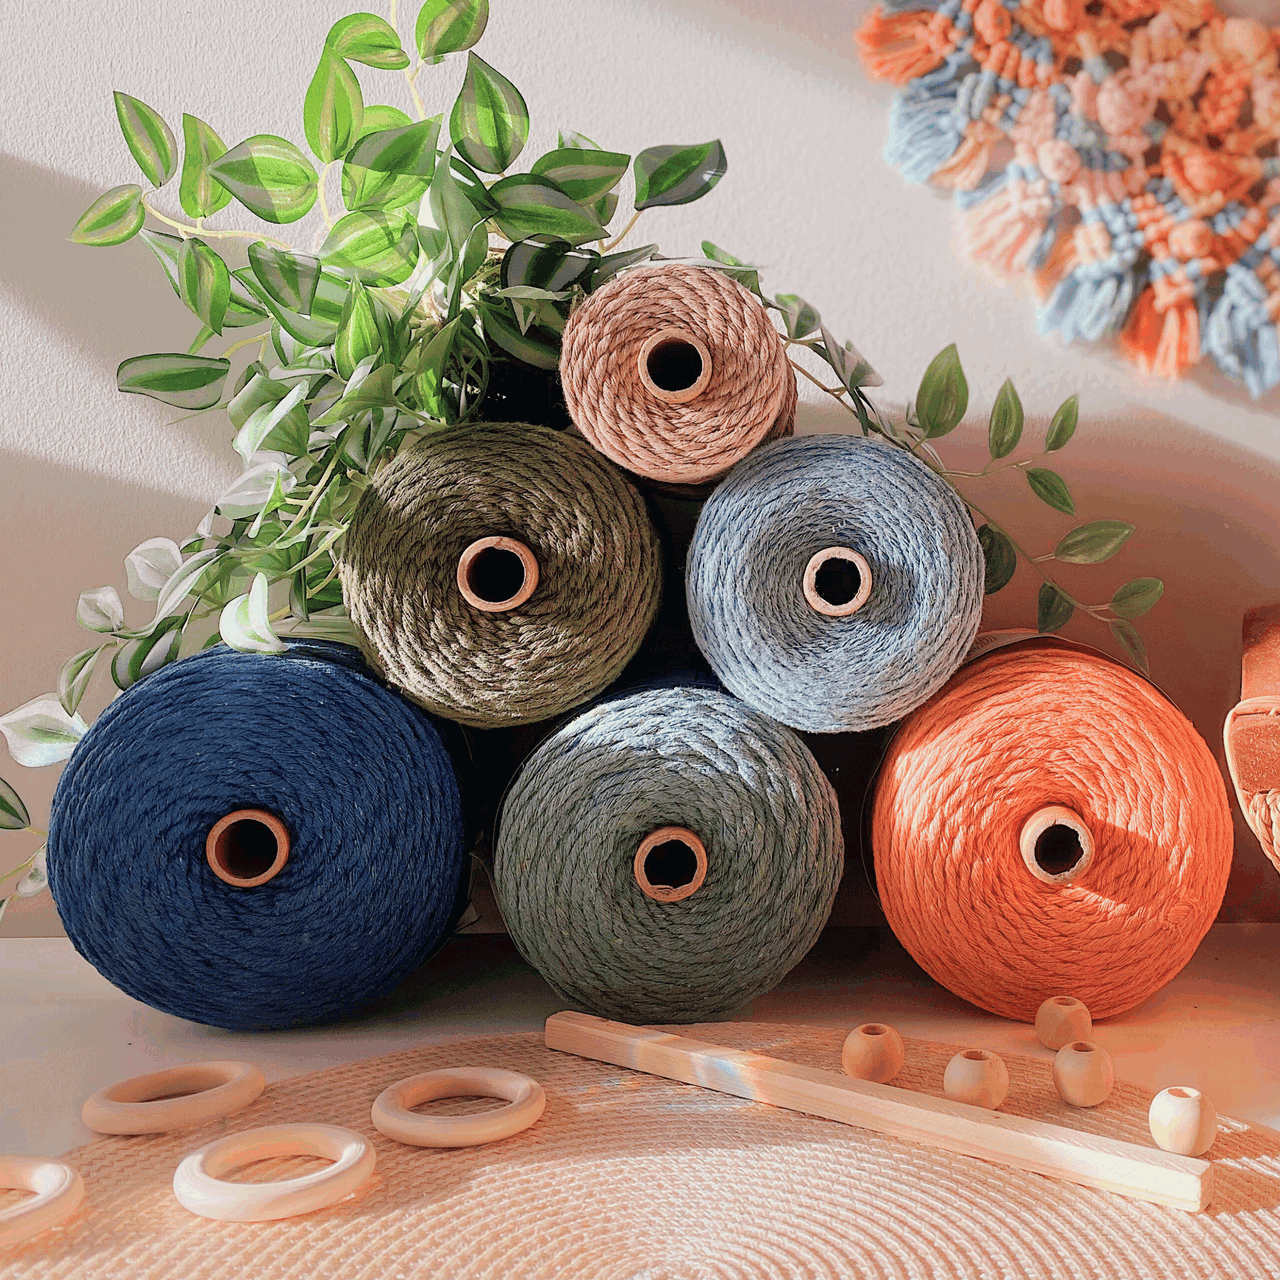
Cotton cord is the star of the show for this keychain.
I recommend using a 2mm macrame cord because it’s thin enough to work with on small projects but sturdy enough to hold its shape.
Cotton cord is also soft and easy to manipulate, making it ideal for tying clean, crisp knots. Plus, it gives that natural, classic macrame look.
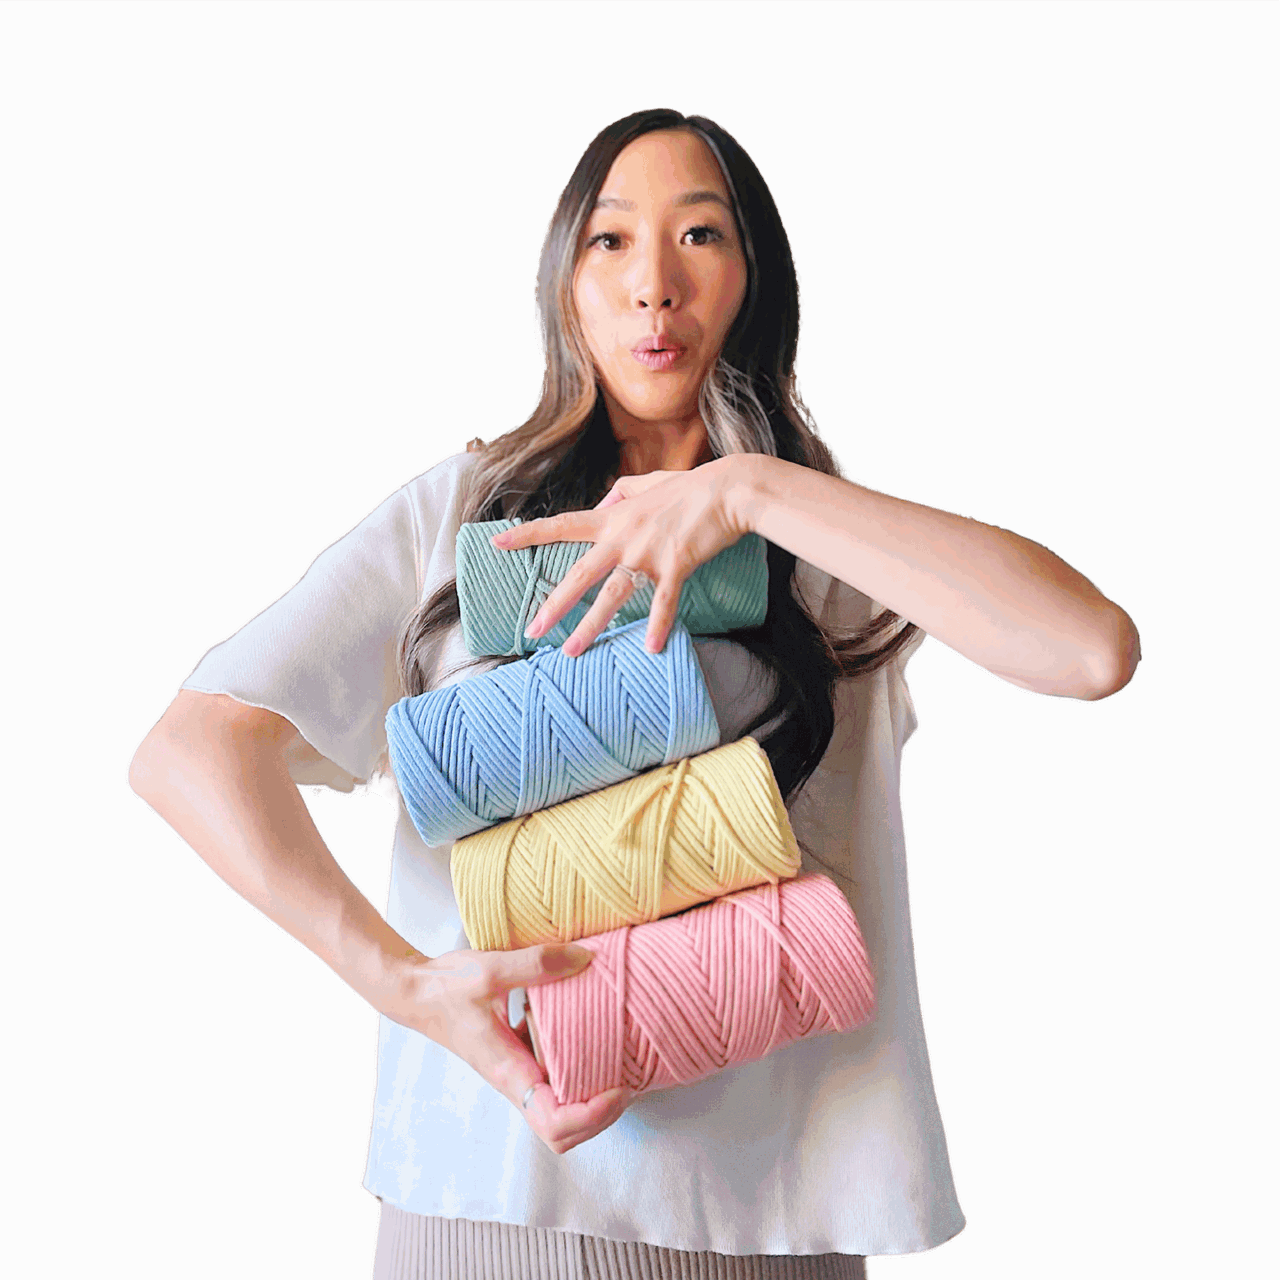
Tip: Feel free to choose a color that matches your personal style or go for something bold! Neutral tones are timeless, but bright colors can make your keychain pop.
Lobster Clasp
The lobster clasp is what transforms your macrame piece into a functional keychain.
It easily clips onto your keys, bag, or zipper, making your handmade keychain both stylish and practical.
You can find these in various finishes like silver, gold, or brass—pick one that complements your cord color for a cohesive look.
Tip: If you want to go for a more rustic or vintage vibe, opt for an antique brass clasp. For a sleek and modern feel, silver or matte black work beautifully.
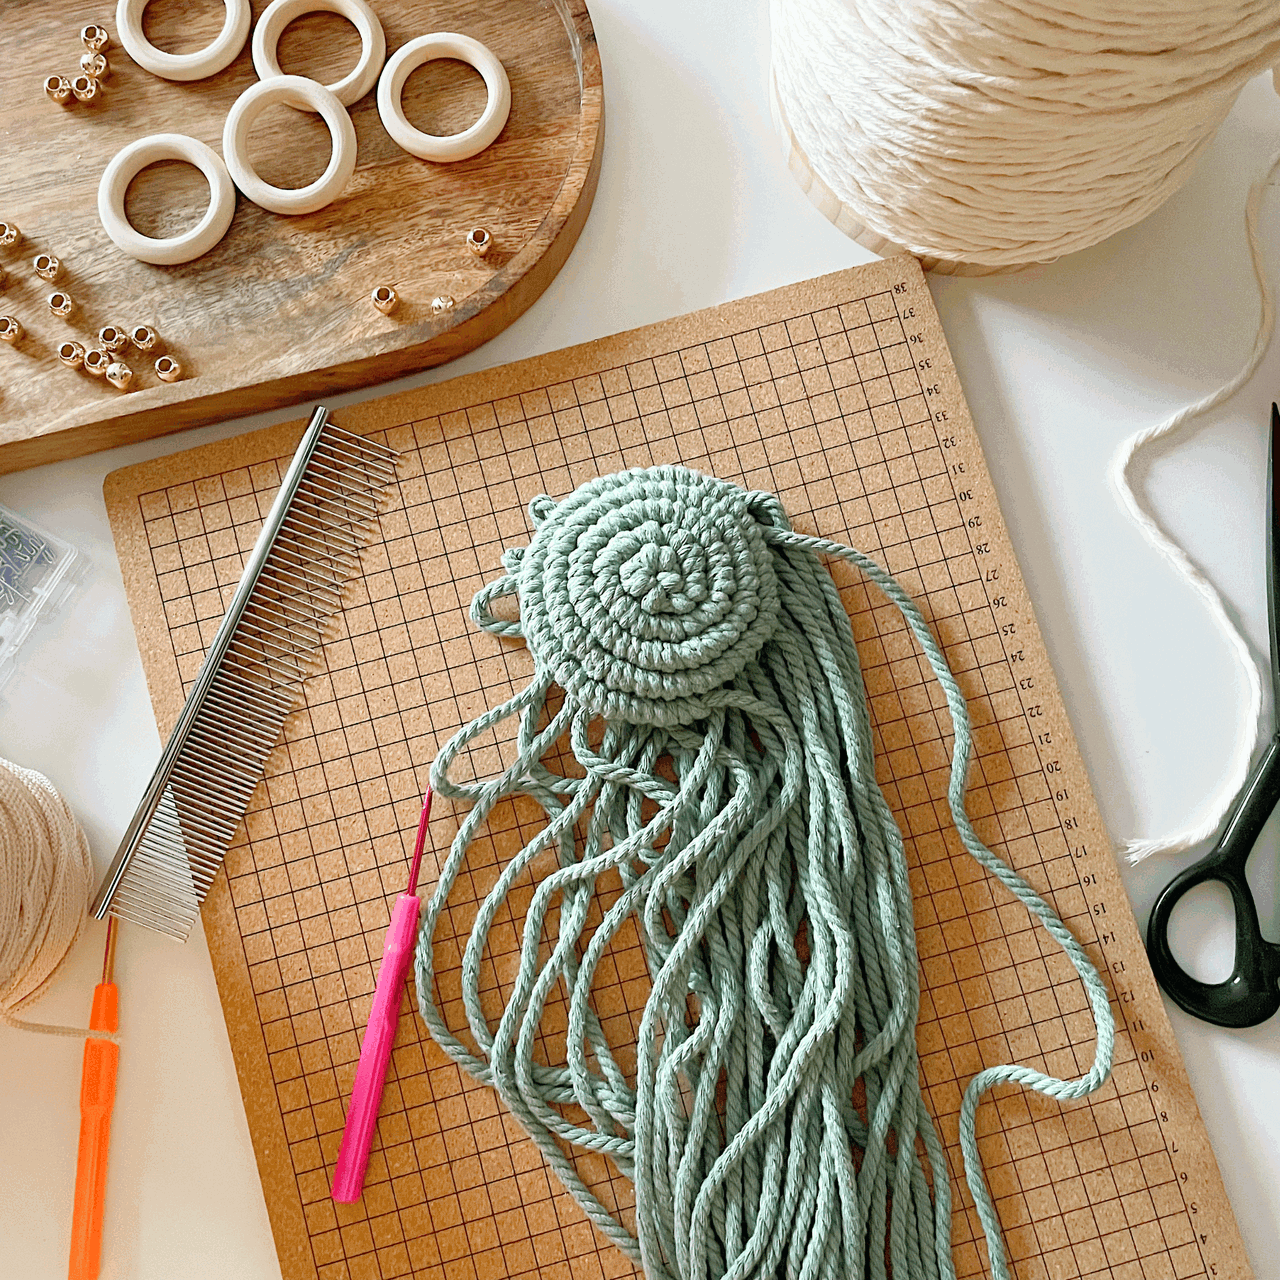
Crochet Hook (Optional)
While not a must-have, a crochet hook can be a helpful tool for pulling cords through tight knots or loops.
It’s especially useful if you’re working with thinner cord or making intricate patterns.
Think of it as a backup tool to make your knotting smoother and easier, especially if you need to finesse those last few details.
Tip: If you don’t have a crochet hook on hand, a blunt tapestry needle or even your fingers can work in a pinch!
Macrame Tools
You will also need some essential tools:
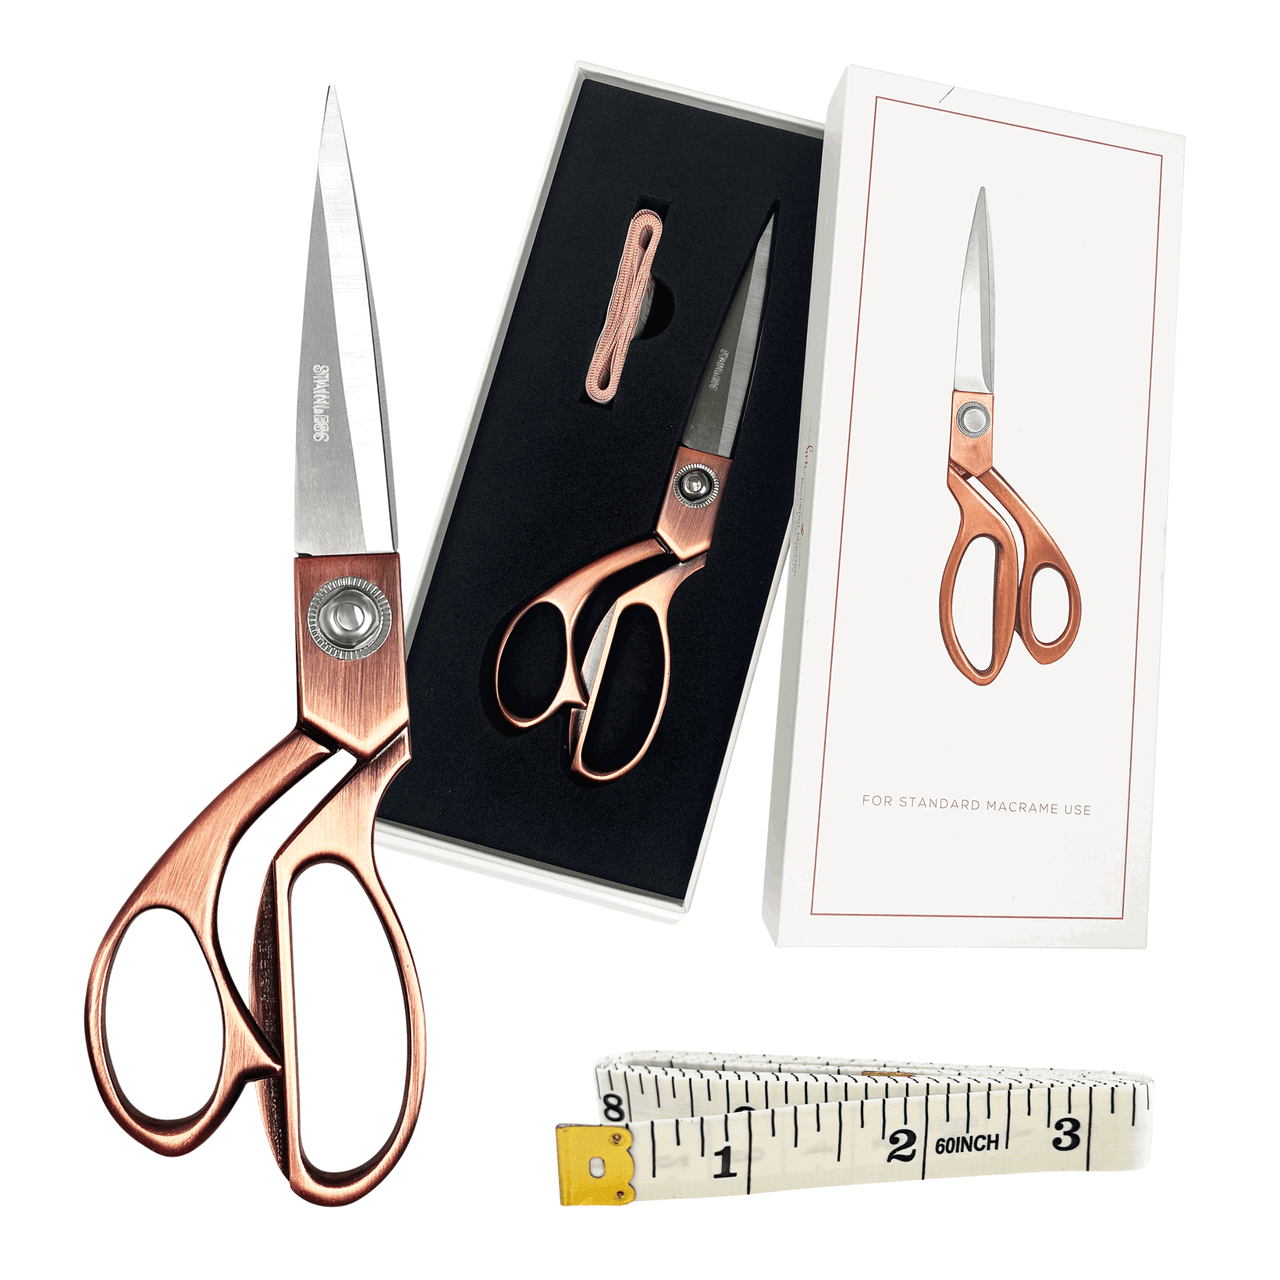
Scissors
Sharp scissors are crucial for cutting your macrame cord to the right lengths and trimming the ends for a clean finish.
Make sure they’re sharp enough to give you a neat cut without fraying the cord.
Tip: Keep a small pair of craft scissors on hand for easy trimming as you work!
Measuring Tape
You’ll want to measure your cord accurately to ensure you have the right lengths for each section of the project.
A measuring tape is an easy way to get precise lengths without any guesswork.
Tip: Always cut a little extra cord—better to have too much than too little when you’re mid-knot!
Macrame Keychain Heart-Shaped Pattern Details
Skill level:
- Beginner
Completed size:
- 3” length and 6” height
Completion time:
- 1 - 2 hours depending on skill level
Materials needed (for 1 unit):
- 1 x 2mm macrame cord
- 1 x Lobster clasp
Cord lengths:
- 4 x 175cm (69”)
To make this DIY macrame keychain, you’ll need 4 pieces of cord, each measuring 175cm (69") in length.
Altogether, you’ll need 700cm (276") of cord.
This length gives you plenty of material to work with for knotting and trimming as needed.
Having extra cord is important because it gives you the flexibility to create intricate designs and adjust the keychain to your desired length as you go.
How To Make A Macrame Keychain Heart Pattern | Video Tutorial
How To Make A Macrame Keychain Heart Pattern | Step-By-Step Guide
*Note: I recommend following the tutorial video for more detailed instructions and to achieve the best results. This will provide additional guidance and clarity as you work through each step.
Step 1: Prepare Your Cords
- Cut 4 cords, each 175cm (69") long.
- Measure 70cm on one end of each cord and tie them together with an Overhand knot.
- Take the rightmost cord, pass it over the other three cords from right to left, and pull through the loop created.
- Repeat this process from the left side, passing the cord over from left to right, and pull through the loop.
- Use the first and fourth cords to tighten the knot, keeping all cords evenly tensioned.
Step 2: Start Knotting the Crown Knots
- Using the longer ends of the cords, begin creating Crown knots until you have about 3 inches of knots.
- Secure the cords with tape to keep them in place.
- Take two cords of equal length and cross them to form an "X." Move the left cord to the right, making a loop.
- Pull the right cord over the left and under the loop, then pull tight to secure the knot.
Step 3: Continue Knotting
- To continue, bring the right cord over the left to create a loop on the right side.
- Pull the left cord through the loop from back to front. Tighten both cords to complete the Crown knot.

Step 4: Swap and Knot
- Swap one cord on each side to keep the pattern symmetrical, and begin Crown knotting again.
- Secure one side with tape and repeat the Crown knotting process on the other side.
Step 5: Repeat on the Other Side
- Repeat the process on the opposite side, making more Crown knots.

Step 6: Complete the Knot Pattern
- Continue alternating the Crown knots on both sides until you’ve created around 3.5" to 4" of knots.
Step 7: Insert Cord with Crochet Hook
- Use a crochet hook to thread a cord through the loop at the bottom of the pattern. Repeat for both sides.
Step 8: Create a Gathering Knot
- Utilize a 25 cm scrap cord to create a Gathering knot at the bottom. Begin by forming a small loop with one end of the leftmost cord to initiate the gathering knot.
- Start wrapping it around the other cords, then pass it through the loop. Repeat this process until a larger loop is formed. Tighten the knot by pulling both ends.
- When you achieve the desired tightness and size, you can release the knot.
Step 9: Attach the Lobster Clasp
- Using another 25cm scrap cord, create a Lark’s Head knot to attach the Lobster clasp to your keychain.
Step 10: Final Touch
-
Thread the cord ends through the top of the heart-shaped pattern and secure with a Double Overhand knot.
And that’s it—you’ve made your very own macrame keychain!
Attach it to your keys or bag, or give it as a thoughtful handmade gift to a friend or family member.
There’s something so satisfying about using something you crafted with your hands.
Happy knotting, and don’t forget to share your incredible work!

Looking for Macrame Patterns and Projects?
I’ve got a fun variety of DIY macrame patterns for you to explore—whether you’re into creating unique wall hangings to spruce up your home or timeless plant hangers, there’s something for every skill level.
Each pattern is super easy to follow with step-by-step photos, clear instructions, and plenty of tips to help you along the way.
Ready to start creating?
Browse DIY macrame patterns on Etsy and dive into your next project.

Join the Bochiknot Macrame Community: Your Gateway to Exclusive Tutorials & Inspiration
Discover the art of macrame like never before! Join our exclusive community of passionate macrame enthusiasts and unlock a world of creativity.
Gain access to a treasure trove of unique patterns, expert guidance, and a supportive network of fellow artists.







Leave a comment