2 MESMERIZING Wave Braid Knot Patterns For Your Macrame

Bring Elegance & Texture to Your Projects with our Easy-to-Follow Knot Guide
If you want to add a unique twist to your macrame projects, get ready to fall in love with the stunning Wave Braid Knot!
Drawing inspiration from the mesmerizing movement of ocean waves, this knot pattern truly steals the spotlight in any macrame design!
It’s the perfect way to add texture, movement, and a bit of magic to your designs.
In this post, we’ll guide you through everything you need to know to master the Wave Braid Knot—step by step—so you can start weaving your own beautiful creations with confidence.
And we’re going to take it up a notch: we’ll show you two variations of the Wave Braid Knot—one using three different colored cords and another with two colors.
Just wait until you see how each version transforms the look of your macrame.
What You’ll Learn
By learning the Wave Braid Knot, you’ll give your macrame projects a gorgeous, flowing texture that makes them pop.
This knot pattern will take your designs to the next level—adding movement, elegance, and that extra bit of magic that catches everyone's eye.
You’ll also get to sharpen your knotting skills, making it easier to create more intricate and detailed patterns down the line.
And let’s not forget about color—experimenting with different color combinations will help you add personality and style, making your creations unique.
Macrame Knots You Need to Know
- Lark's Head knot
- Weave Pattern
Important Macrame Terms for Beginners
Before we begin, we should review a few important terms used in macrame.
This will help you understand the techniques more quickly, follow patterns confidently, and set a strong foundation for your macrame journey.
- Knots: Macrame involves various knots, like the overhand knot and alternating overhand knot. Learning these basic knots is critical to building a solid foundation. Check the "Macrame Knots You Need to Know" section for the knots used in this pattern.
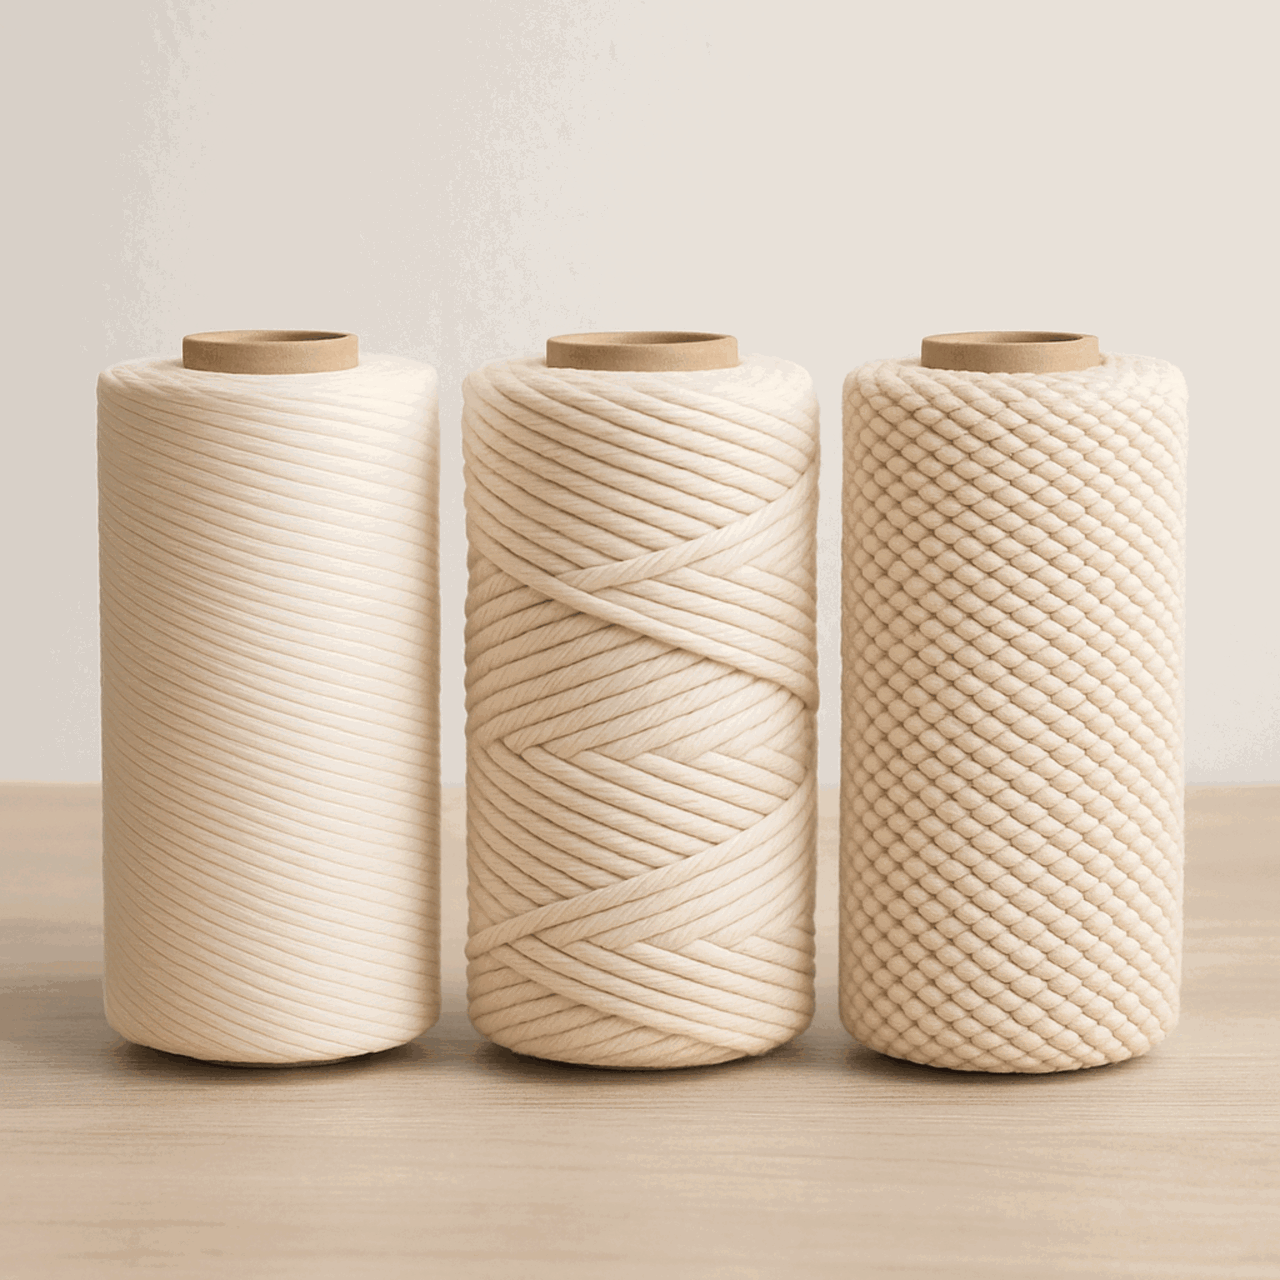
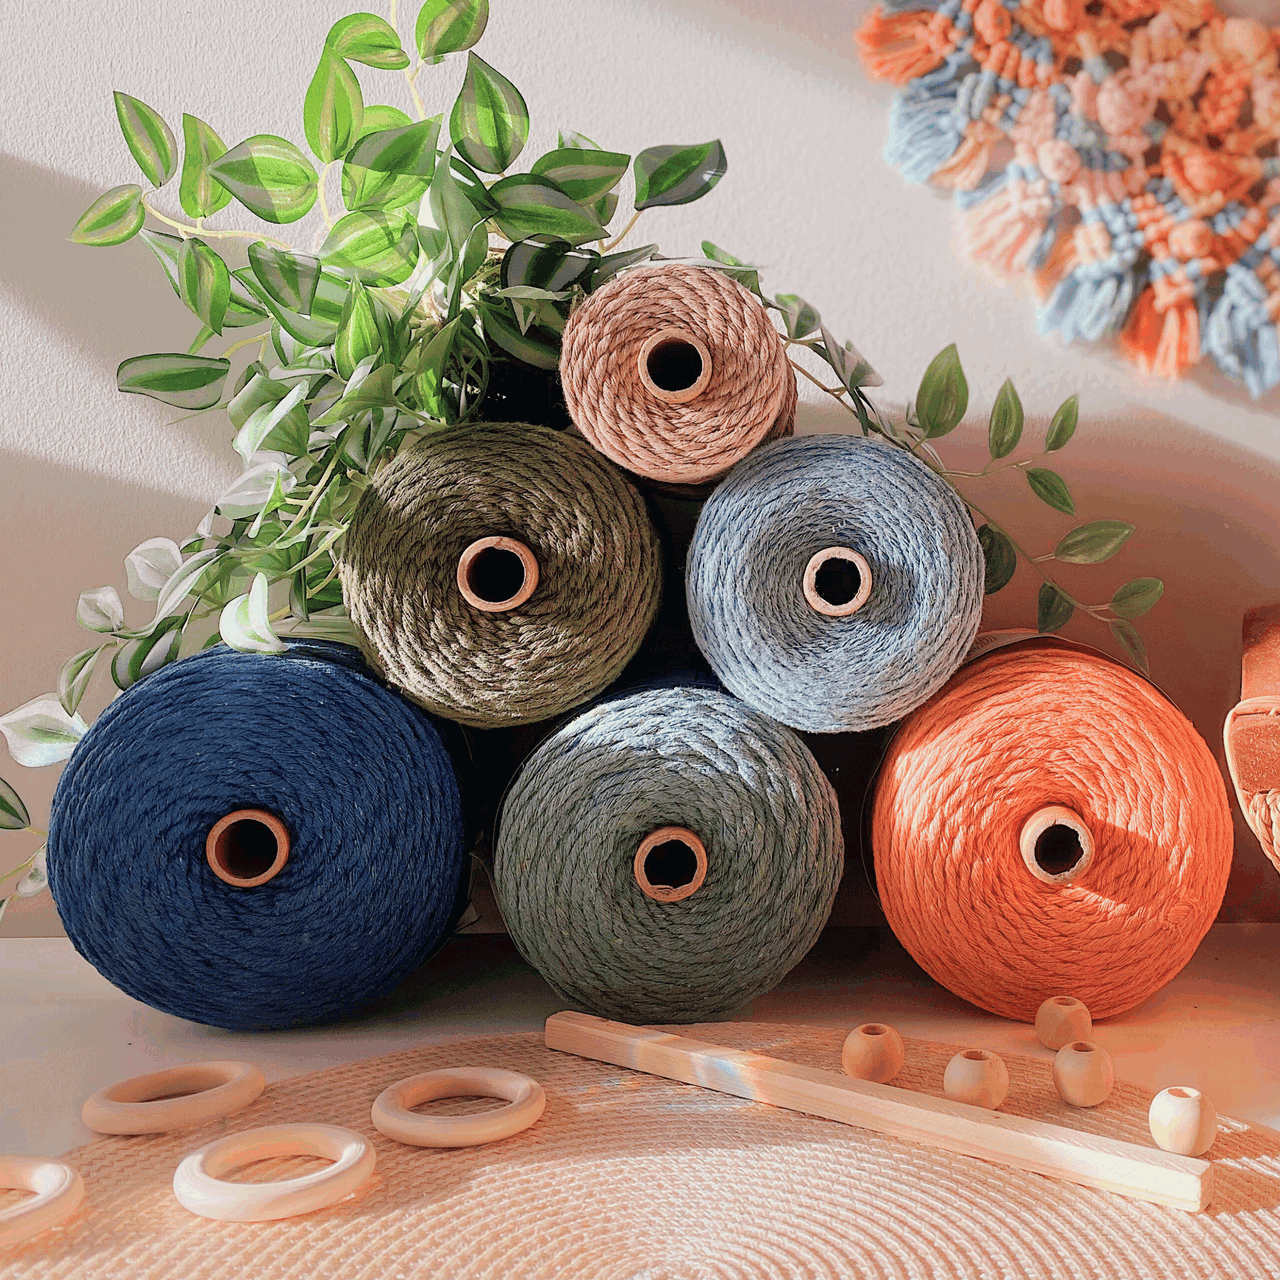
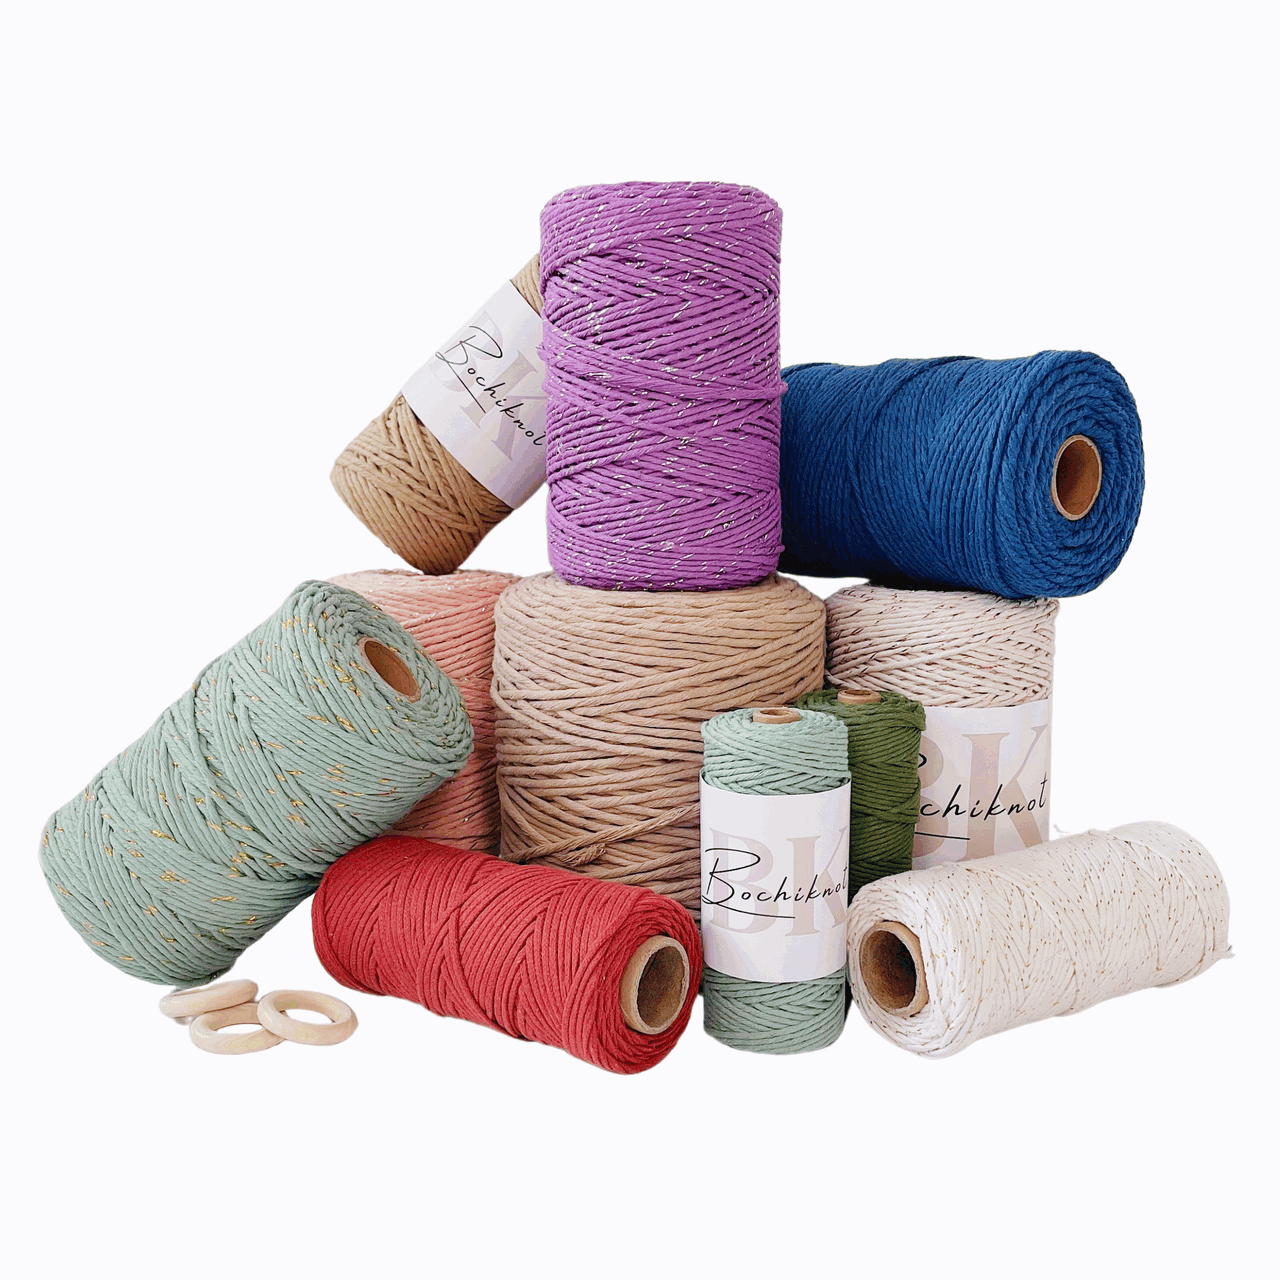
- Cords: The primary material in macrame is cords made from cotton, jute, nylon, or synthetic fibers. They come in different thicknesses and colors. You can learn more about macrame cord with our "Macrame ESSENTIALS: Everything You Need—Cord, Tools, & Materials" post.
- Loop: A loop is formed by crossing the cord over itself to create a ring-like shape. Loops are essential in many macrame designs.
- Fringe: The loose ends of cords that hang down, adding a decorative element. The fringe can be left as is or trimmed to your desired length.
- Anchor Cord: The fixed cord or structure to which other cords are attached. It provides stability and support for your design.
- Working Cord: The cord that is actively manipulated to create knots and patterns throughout the project.
- Sennit: A series of knots grouped together to form a pattern or part of your macrame project.
- Frays and Tassels: The loose ends of your cords are often used intentionally as decorative elements like frays or tassels in your design.
Cord, Supplies, & Tools to Make a Wave Braid Knot Pattern
 You'll need a few essential items to create the perfect Wave Braid Knot Pattern.
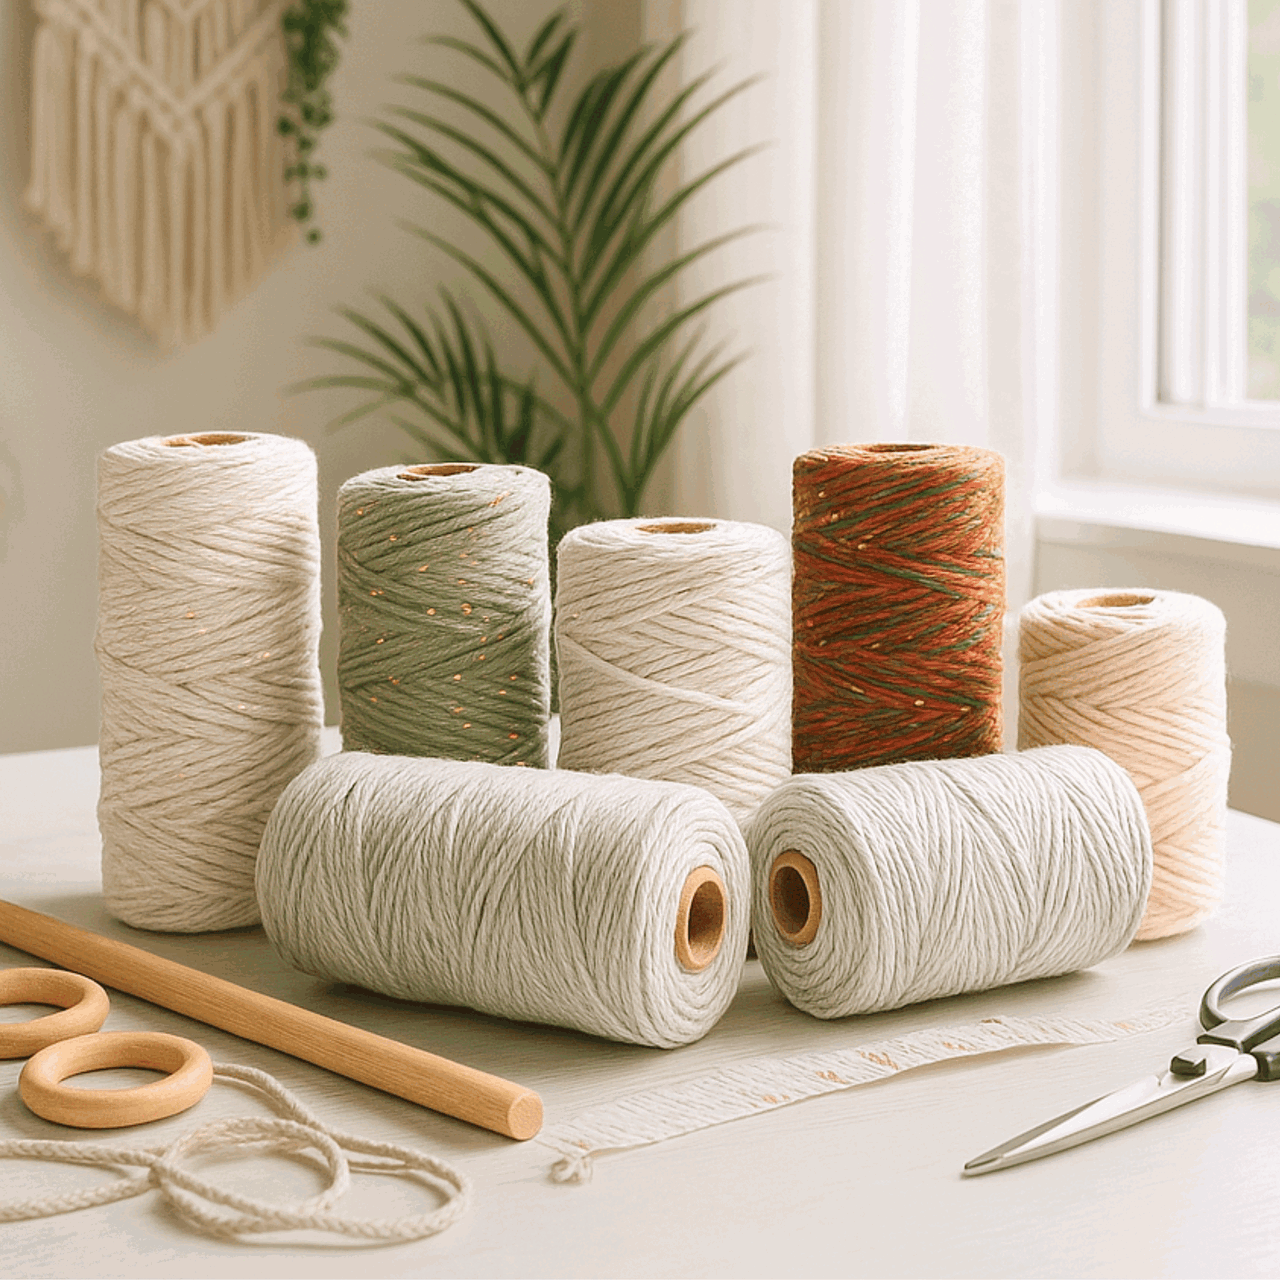
Here’s a quick guide to the cords, supplies, and tools that will make your knotting experience enjoyable and successful:
Macrame Cord
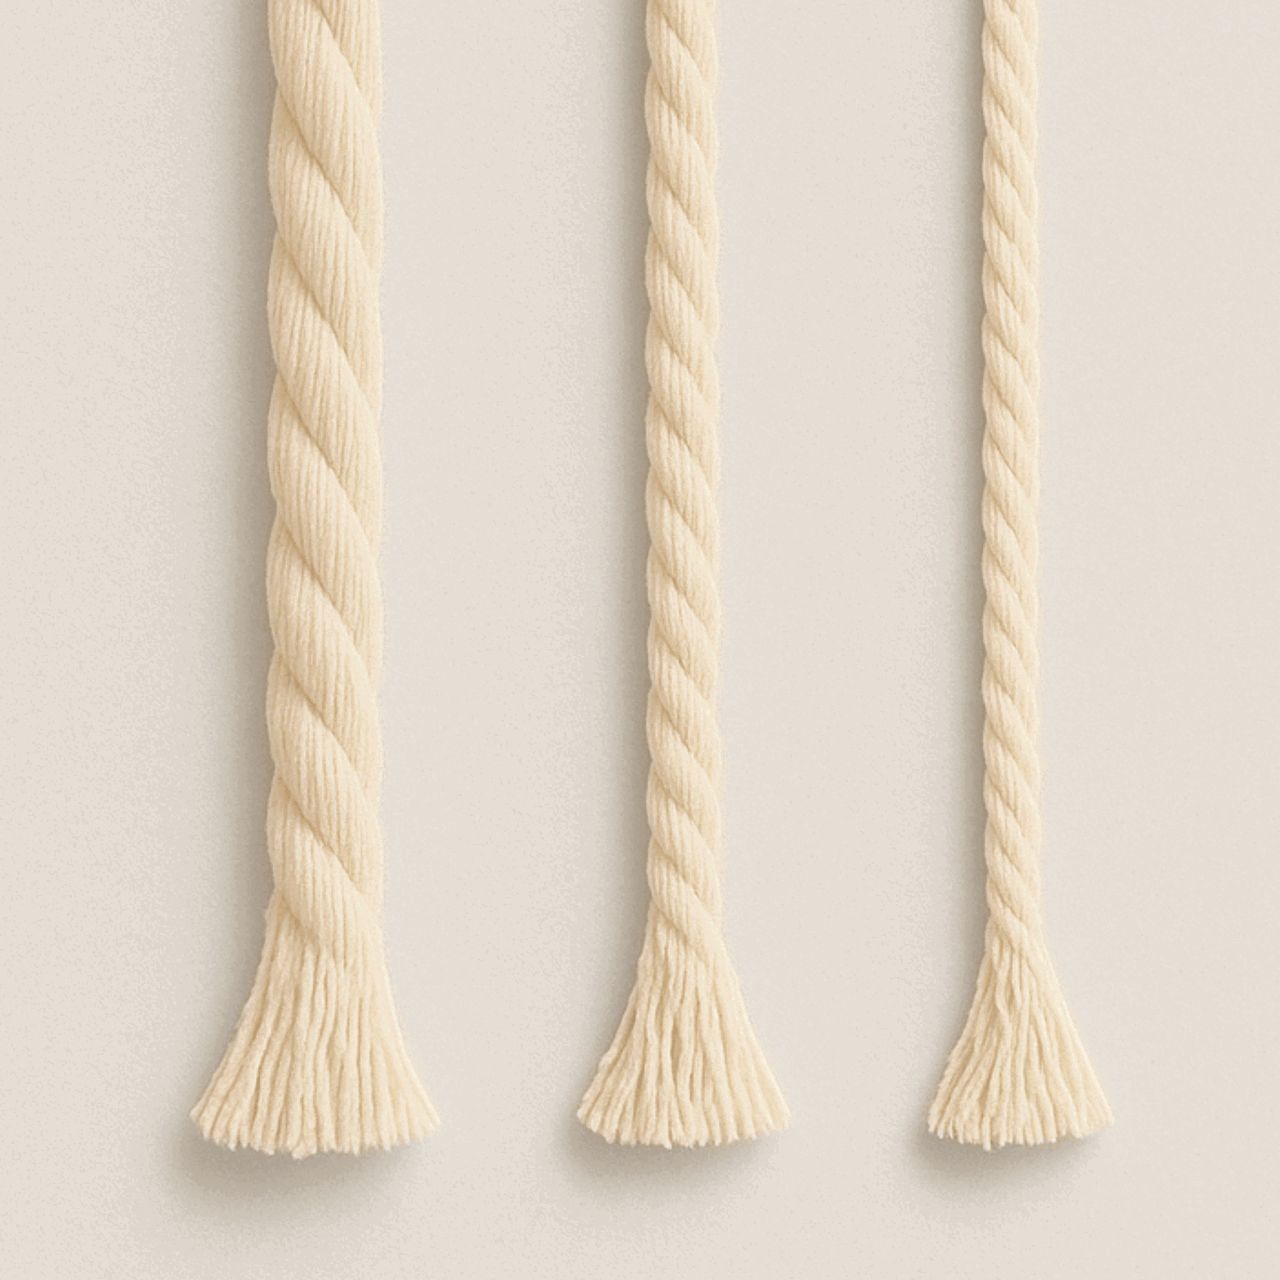
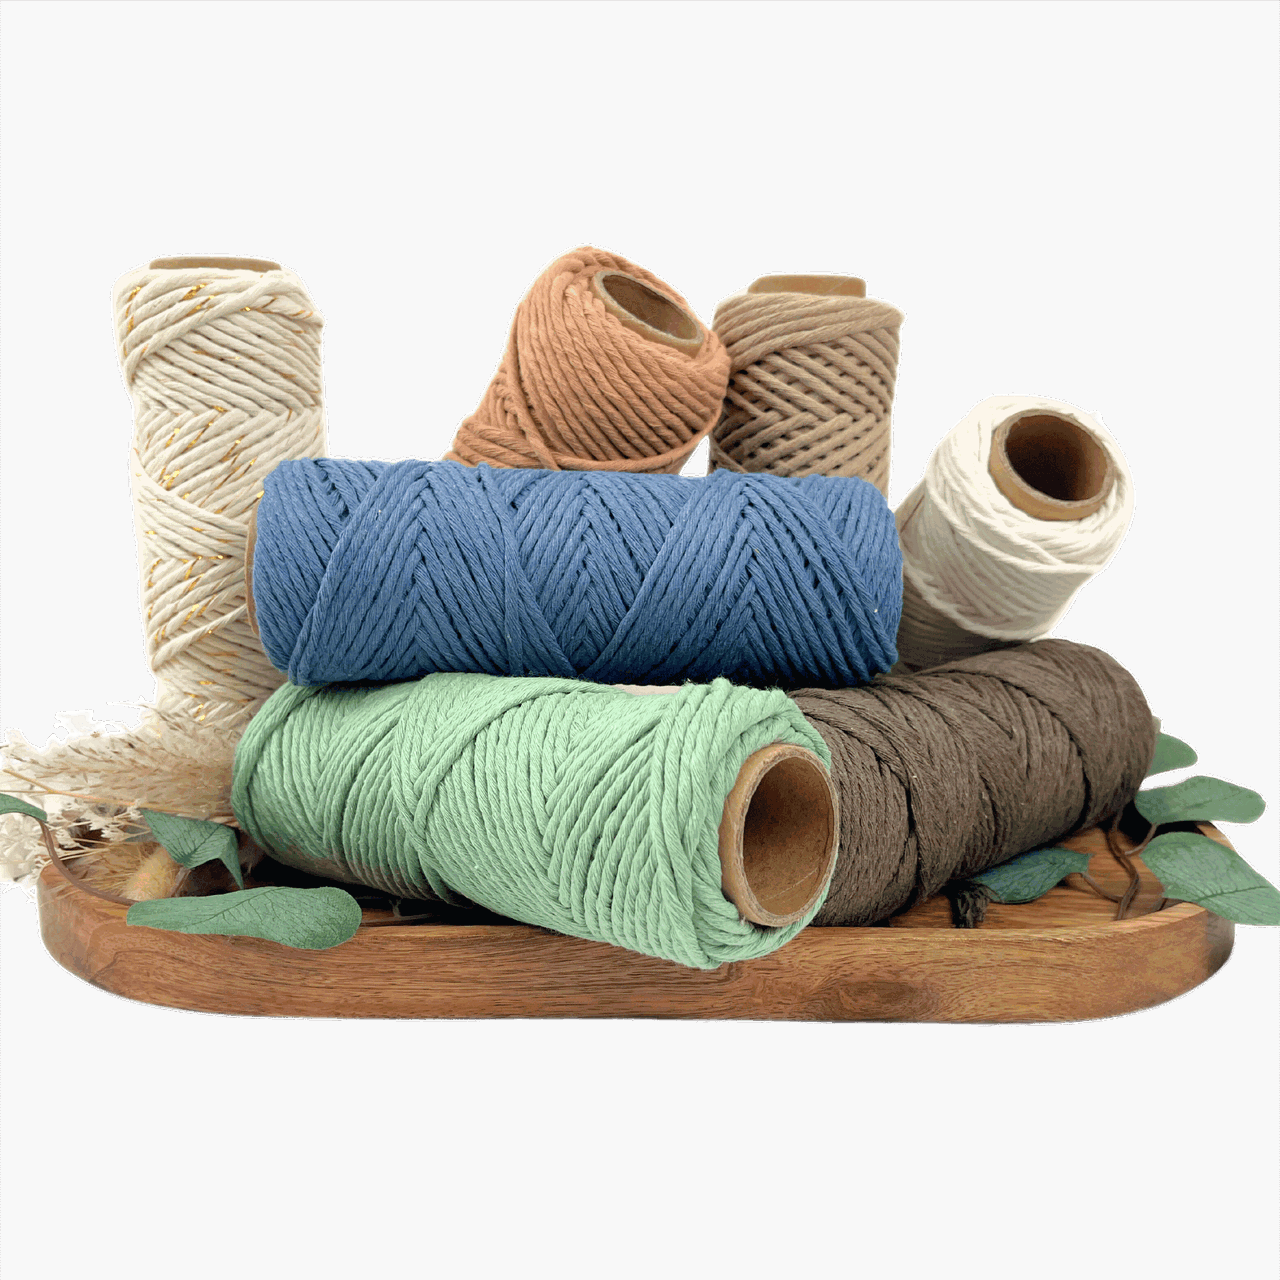
Use a 3mm or 5mm macrame cord. A 3mm cord gives a delicate look, while 5mm creates a bold texture.
Cotton is great for softness, but try synthetic or braided cords for variety.
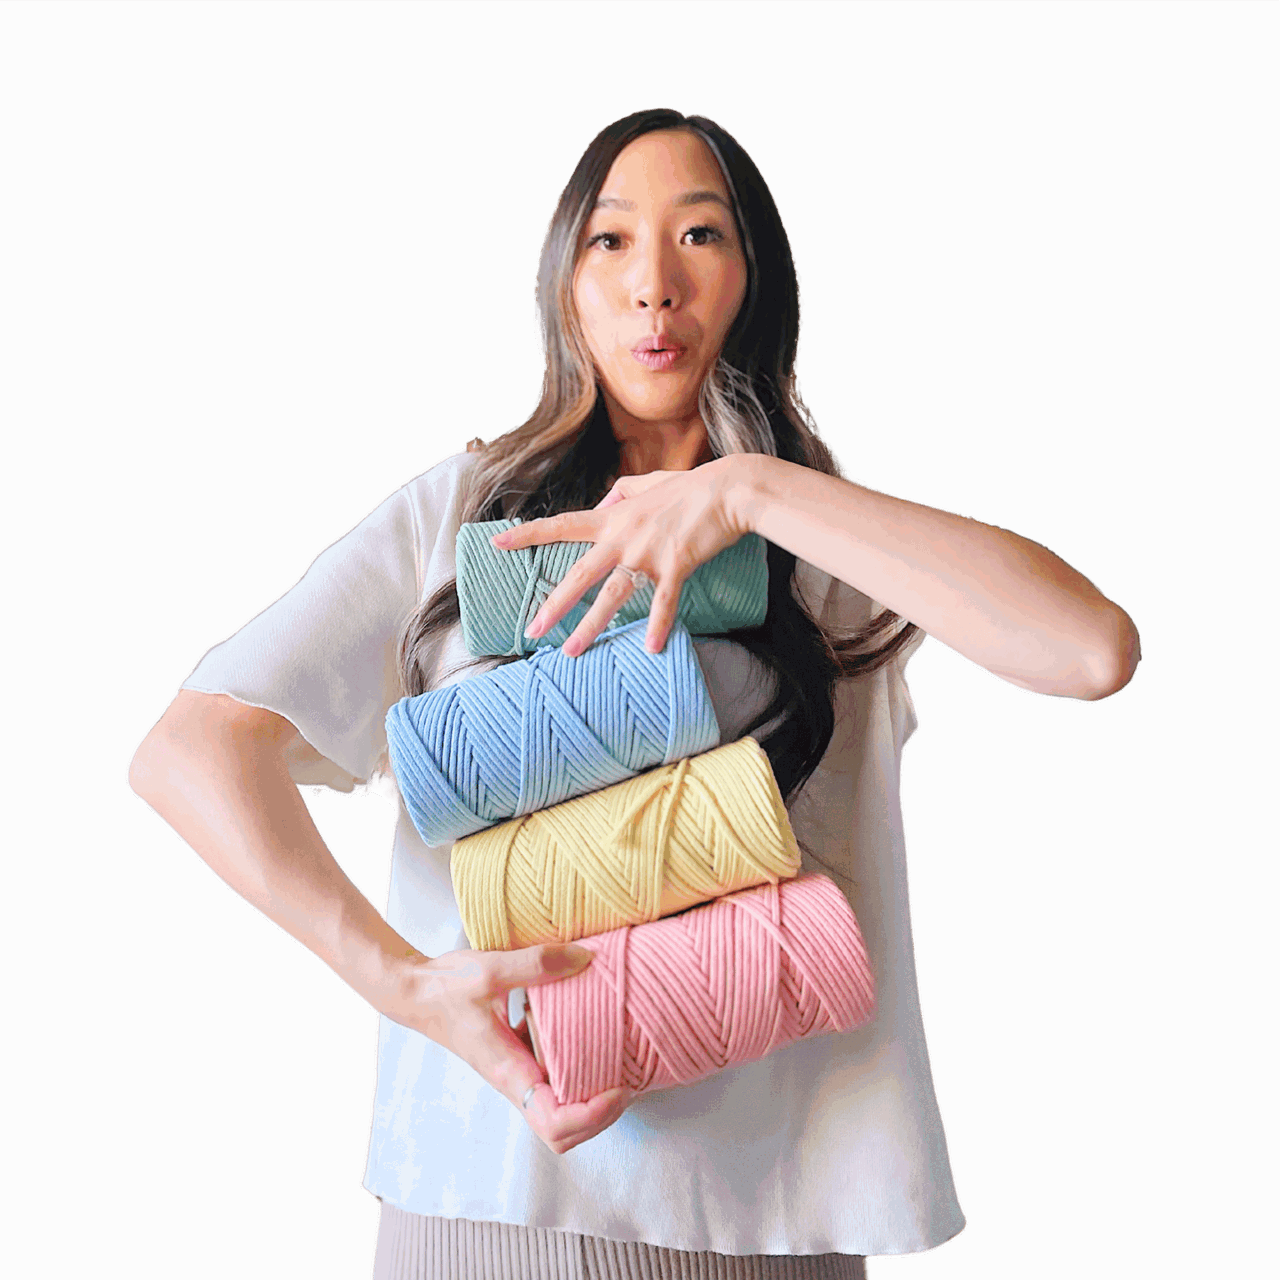
Play with colors! Use two or three different colors to make the braid pop and add depth to your design.
Macrame Tools
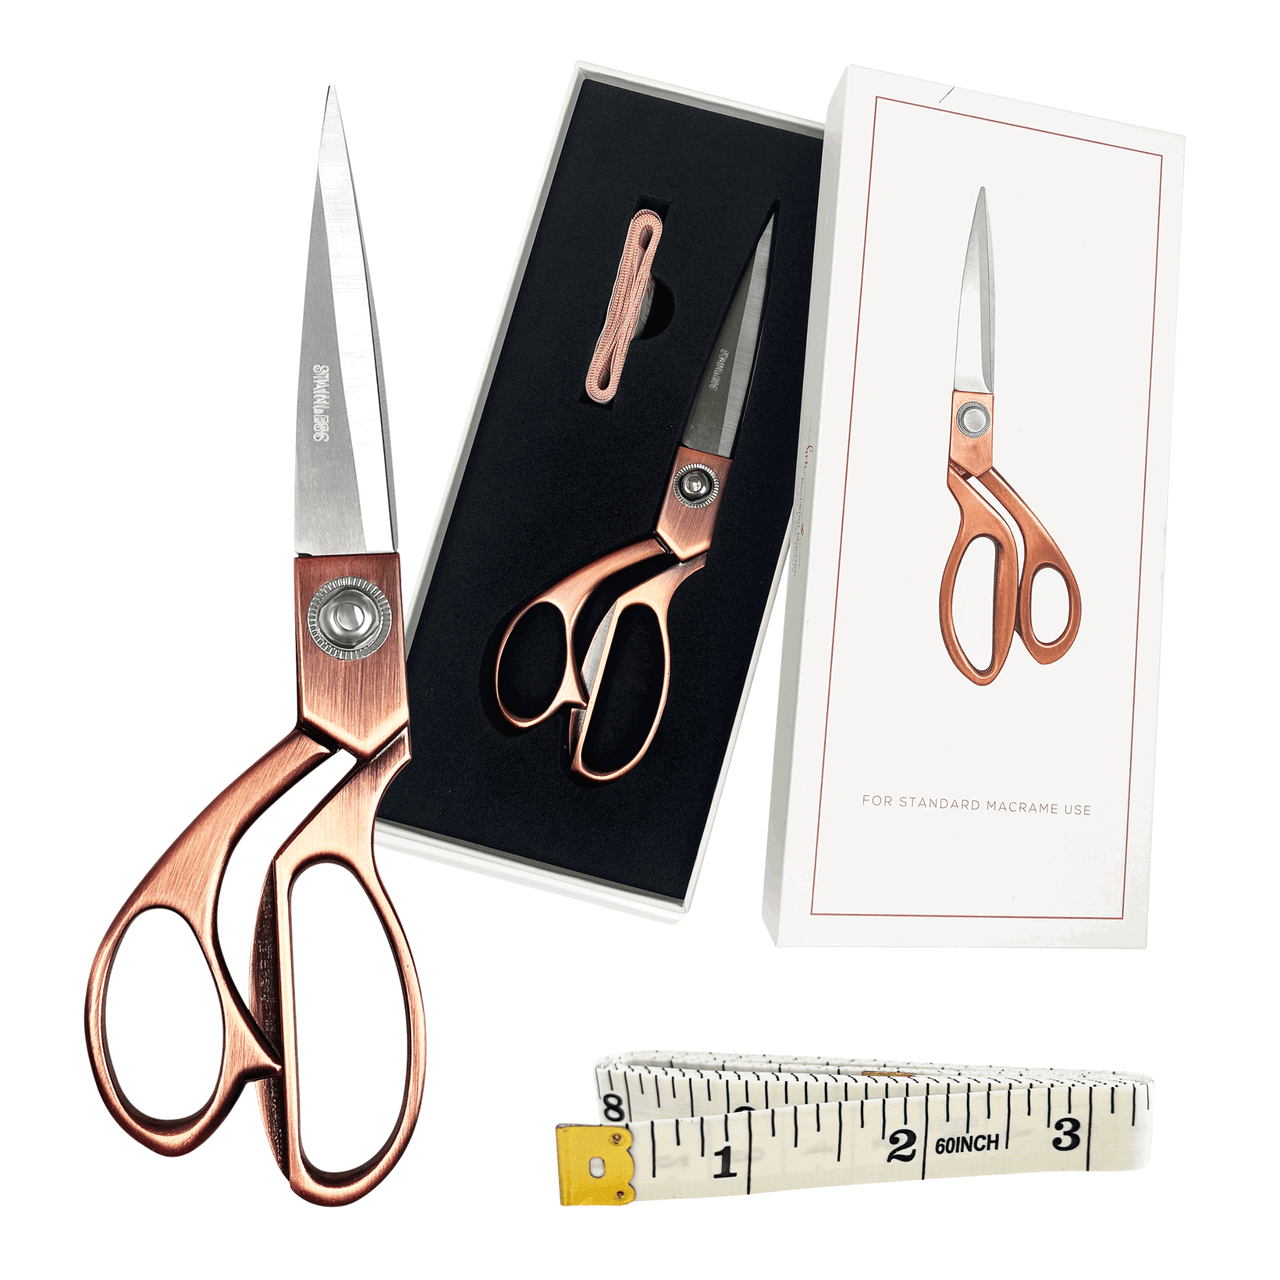
Scissors
Sharp scissors are a must for clean cuts—dull scissors can fray your cords.
Measuring Tape
Measure your cords to the right length before starting to avoid running short.
Dowel or Ring
Use a dowel, stick, or metal ring to anchor your cords, depending on what you're making.
Optional Supplies
A macrame board or tape can help secure your work, especially with longer cords.
Tip: You can find all these supplies on our website! Be sure to check out our latest deals for some great discounts on macrame essentials.
Macrame Wave Braid Knot Pattern Details
Skill level:
- Beginner
Completed size:
- 70” length
Completion time:
- 1 hours depending on skill level
Materials needed (for 1 unit):
- 1 x 3mm macrame cord (optional 3 different colors)
- 1 x wooden dowel
Cord lengths:
- 3 x 150cm (59”)
How To Make A MESMERIZING Wave Braid Knot Pattern for Your Macrame | Video Tutorial
How To Make A MESMERIZING Wave Braid Knot Pattern for Your Macrame | Step-by-Step Guide
*Note: I recommend following the tutorial video for more detailed instructions and to achieve the best results. This will provide additional guidance and clarity as you work through each step.
Part 1 - Creating the 3-Color Wave Braid Pattern
Step 1: Attach the Cords
- Attach all your cords to a dowel using Lark’s Head knots.
- Place the first two cords next to each other, then attach the third cord with its loop ends on the outside.
- Before tightening the third knot, weave the middle four cords through the loop.


Step 2: Group the Cords
- Separate the cords into three groups: three cords on the left, two in the middle, and one on the right.

Step 3: Start the Weave
- Take the left group of cords and make a loop over to the right. Pass the right cord underneath and through the loop on the left, then tighten it.
- Repeat this step to the left side.
- Keep alternating sides until your braid is as long as you want it to be.


- Repeat this process as many times as you want.

And just like that, you have a gorgeous three-color wave braid to use in your projects!
Part 2 - Creating the 2-Color Wave Braid Pattern
Step 1: Attach the Cords
- Attach all your cords to a dowel using Lark’s Head knots.
- Place the two cords of the same color on the left, and the second color cords on the right.

Step 2: Group the Cords
- Just like the 3-color braid, separate the cords into three groups: three cords on the left, two in the middle, and one on the right.

Step 3: Weave the Pattern
- Take the group of three cords and weave them underneath the middle group to the left. Then, take the single cord on the right and weave it through to the left.
- Tighten the weave.
- Repeat this process to the left and right until your braid reaches the desired length.


Tips for Perfecting Your Wave Braid Knot
- Practice Makes Perfect: This knot is all about finding your rhythm. The more you practice, the more fluid and natural your braid will look.
- Experiment with Colors: Want to make your wave really pop? Use different colored cords for a fun, striking effect that highlights the braid.
- Get Creative: Incorporate this knot in wall hangings, keychains, or as a stunning accent in larger projects. The possibilities are endless!
I hope you loved this knot pattern tutorial! Happy knotting, friends!
May your macrame journey always be full of creativity, joy, and endless inspiration.
For more macrame projects check out our other macrame tutorials. And don't forget to tag us in your photos on Instagram using #Bochiknot so we can see your beautiful creations!

Looking for Macrame Patterns and Projects?
I’ve got a fun variety of DIY macrame patterns for you to explore—whether you’re into creating unique wall hangings to spruce up your home or timeless plant hangers, there’s something for every skill level.
Each pattern is super easy to follow with step-by-step photos, clear instructions, and plenty of tips to help you along the way.
Ready to start creating?
Browse DIY macrame patterns on Etsy and dive into your next project.

Join the Bochiknot Macrame Community: Your Gateway to Exclusive Tutorials & Inspiration
Discover the art of macrame like never before! Join our exclusive community of passionate macrame enthusiasts and unlock a world of creativity.
Gain access to a treasure trove of unique patterns, expert guidance, and a supportive network of fellow artists.










Leave a comment