16 Steps to Make a Macrame Christmas Tree Ornament (+Video Tutorial)
Hi Macramé lovers and knotters! Christmas is upon us and what better way to celebrate this special occasion than a fun, beginner friendly craft?
It can even be kid-friendly too! If you are looking for a thoughtful Christmas gift handmade with love, then this Christmas tree ornament may be right for you.
The best part is, it doesn’t take too much time to make since it’s fairly small and it will make the perfect Boho-style accessory for any Christmas tree.
I incorporated pearl beads into the design as little ornaments on the tree, but you can replace this with wooden beads or any other type of bead you like.
If you’re not into beads, you could leave them out altogether. Considering the size of this project, we’ve incorporated quite a few different knots, so this is also a great way to learn and get comfortable with new types of knots.
In this project, you’ll find the lark’s head knot, vertical lark’s head knot, double half-hitch knot, berry knot (which is made up of a few square knots), reverse lark’s head plus half hitch, and the gathering knot. If you are new to macramé, we recommend learning with a macramé starter kit, like our Kami Wall Hanging kit
It comes with all the necessary materials and a wall hanging pattern teaching you the six basic macramé knots.
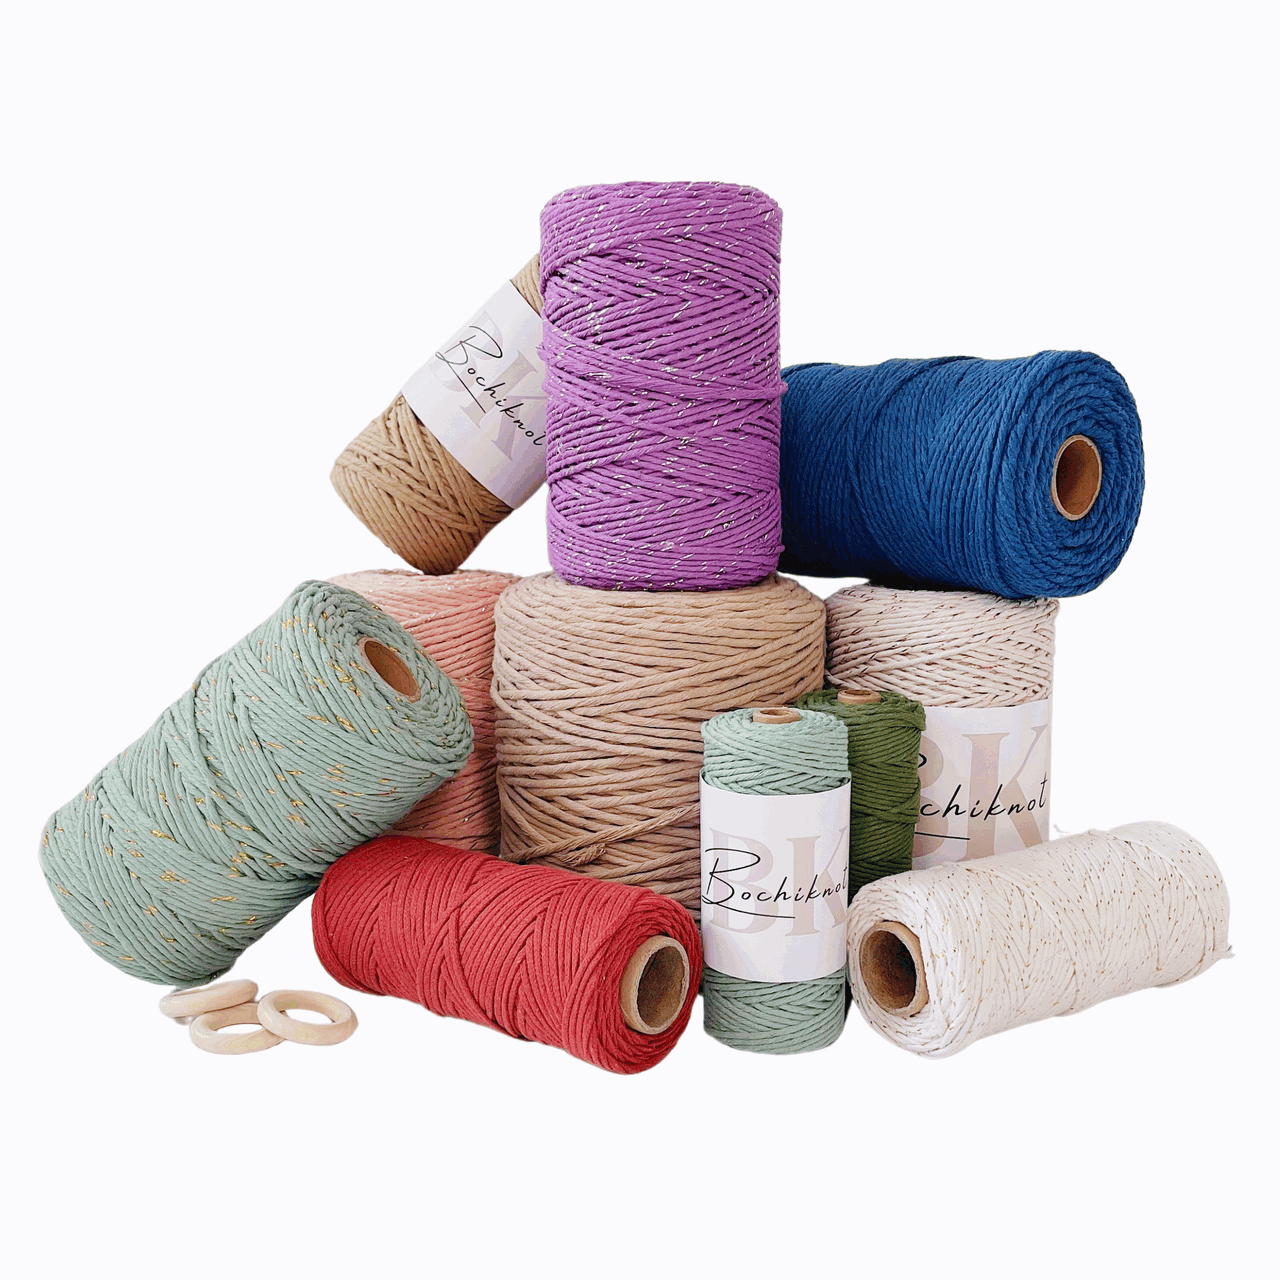
If instead you want to get the right cord to practice off online tutorials like this Christmas tree ornament, check out the two-for-one cord deal on our shop for new subscribers
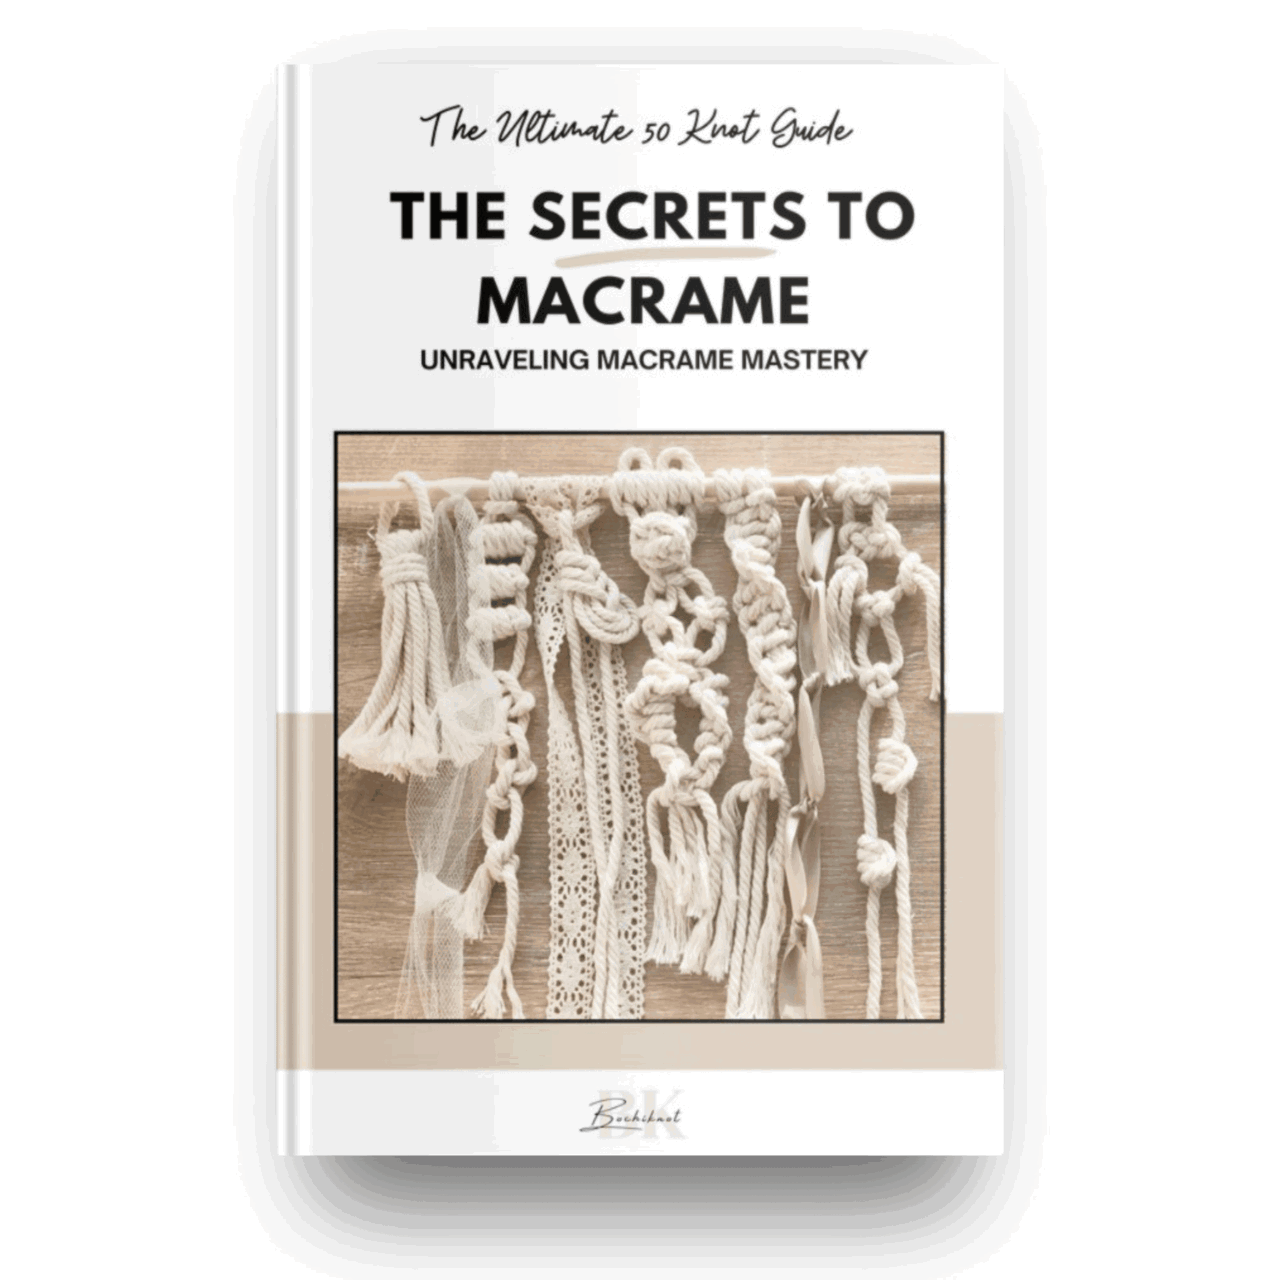
To learn more about macramé basics and the knots you’ll use in this tutorial, we recommend the Ultimate 50 Macrame Knots and Sennits e-book (https://bochiknot.com/), available for free on our website.
Or you could take your skillset to the next level by joining our Patreon community at where we release themed macrame lessons aimed at improving your knotting techniques.
Cord & Supplies
To create this pattern, you will need:
Materials
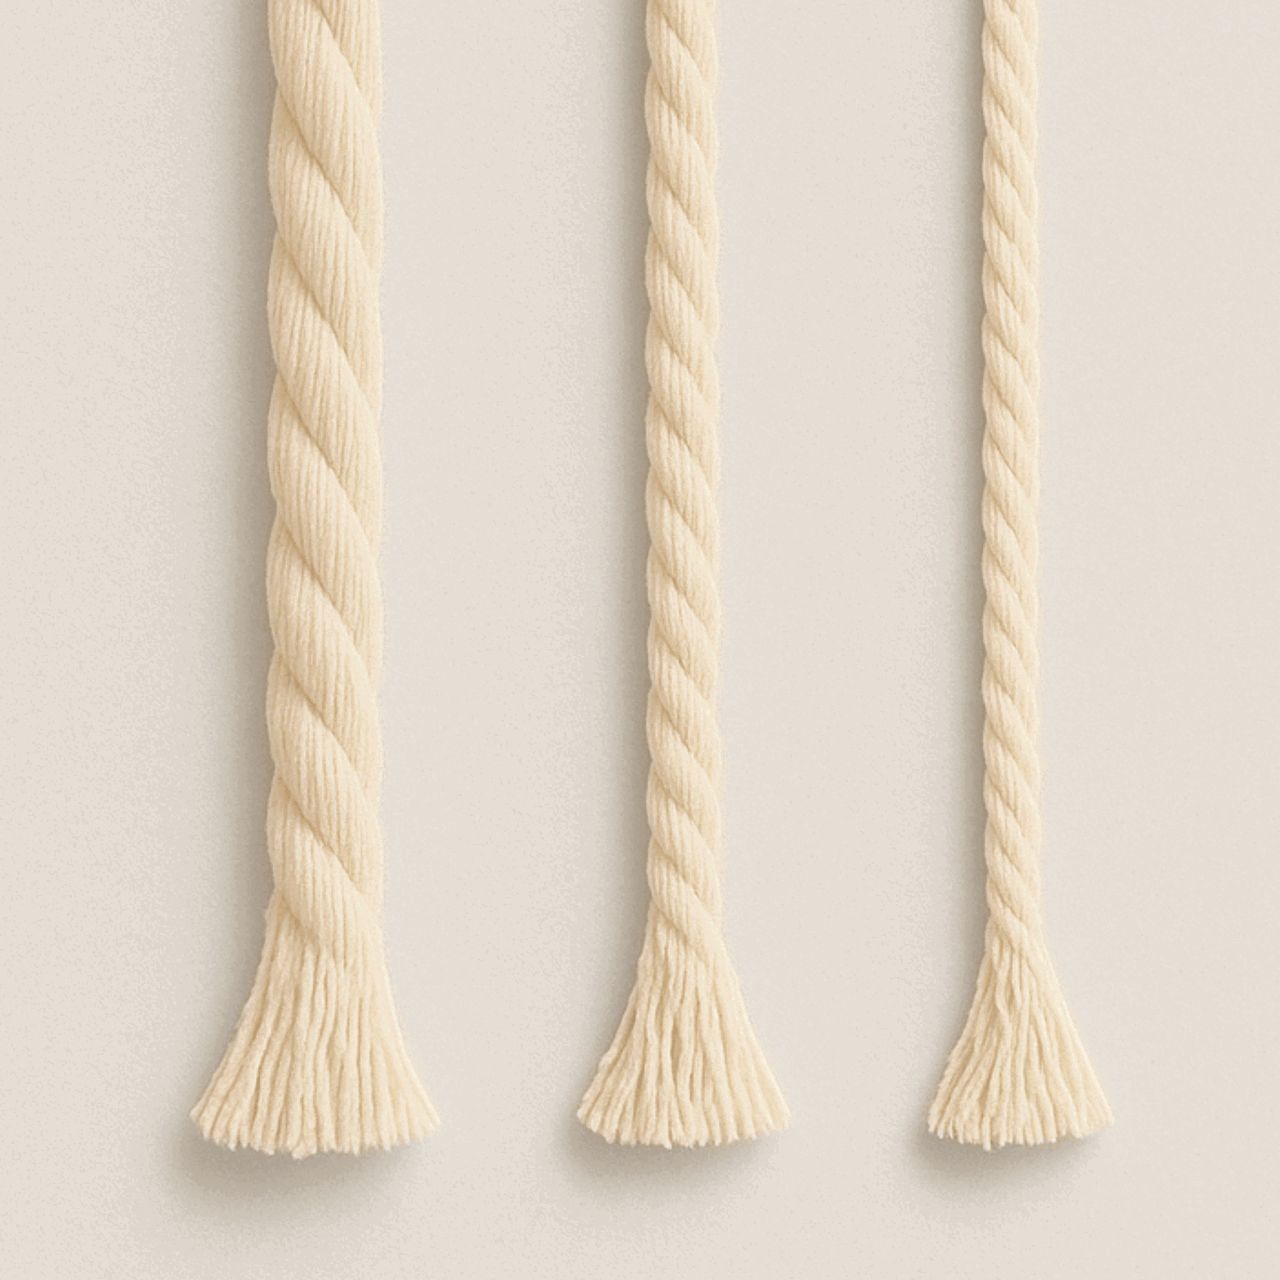
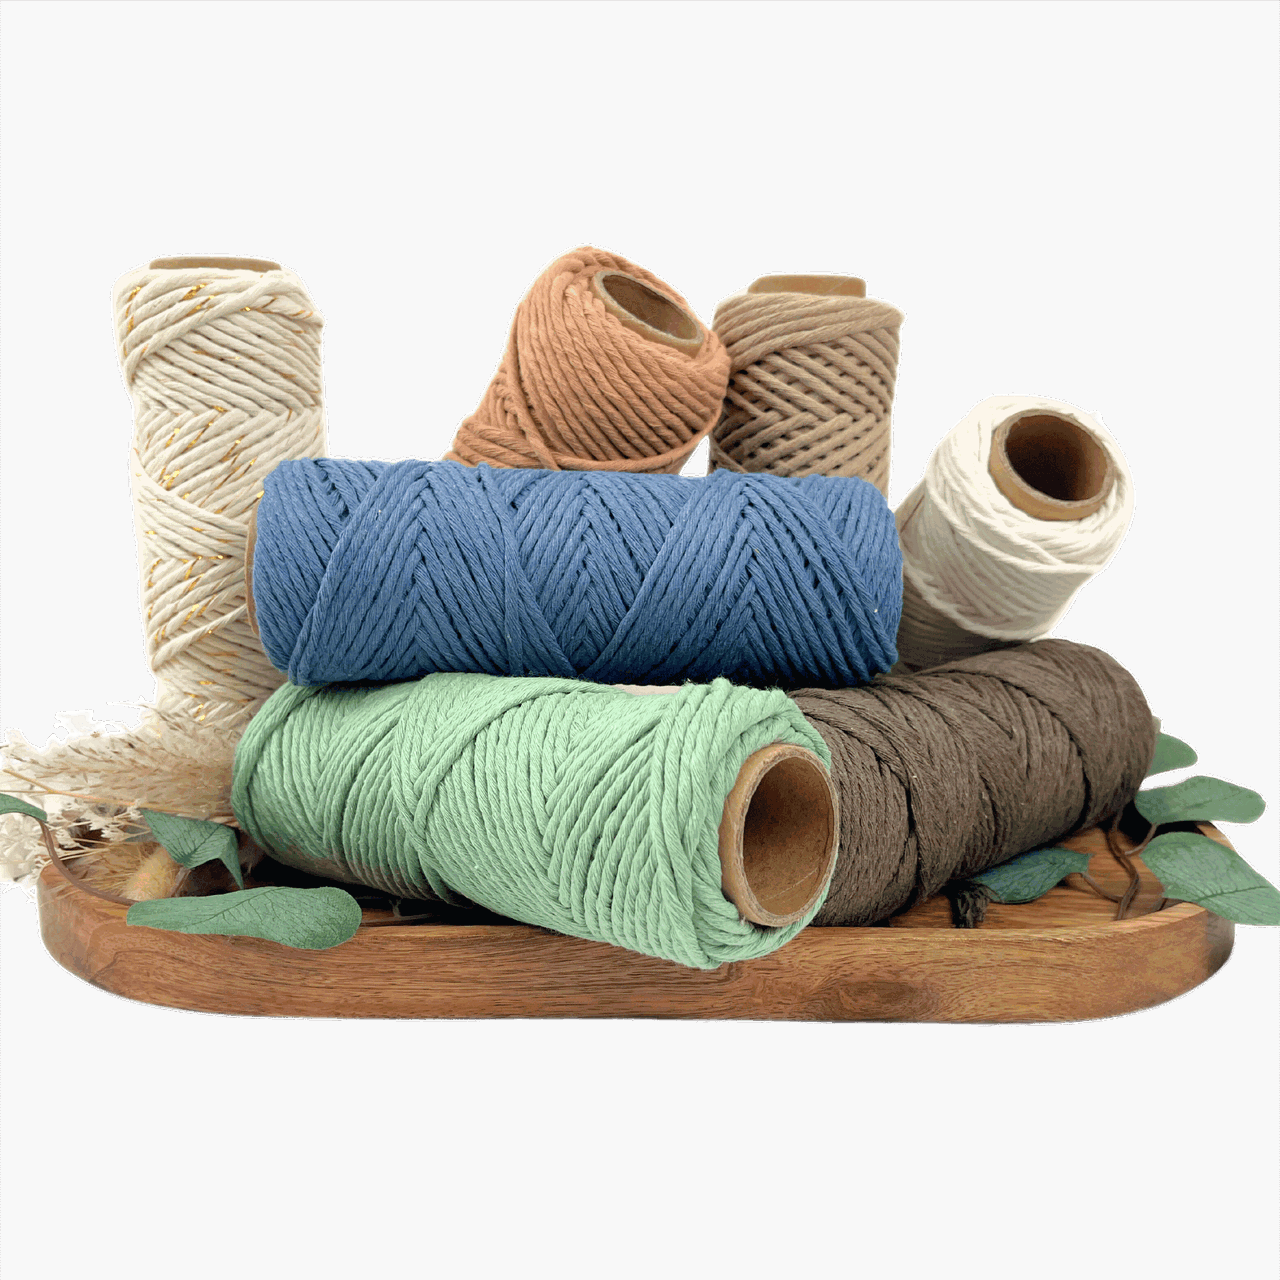
- 3mm Cotton Cord
- 6 Large Hole Beads (at least 3mm hole)
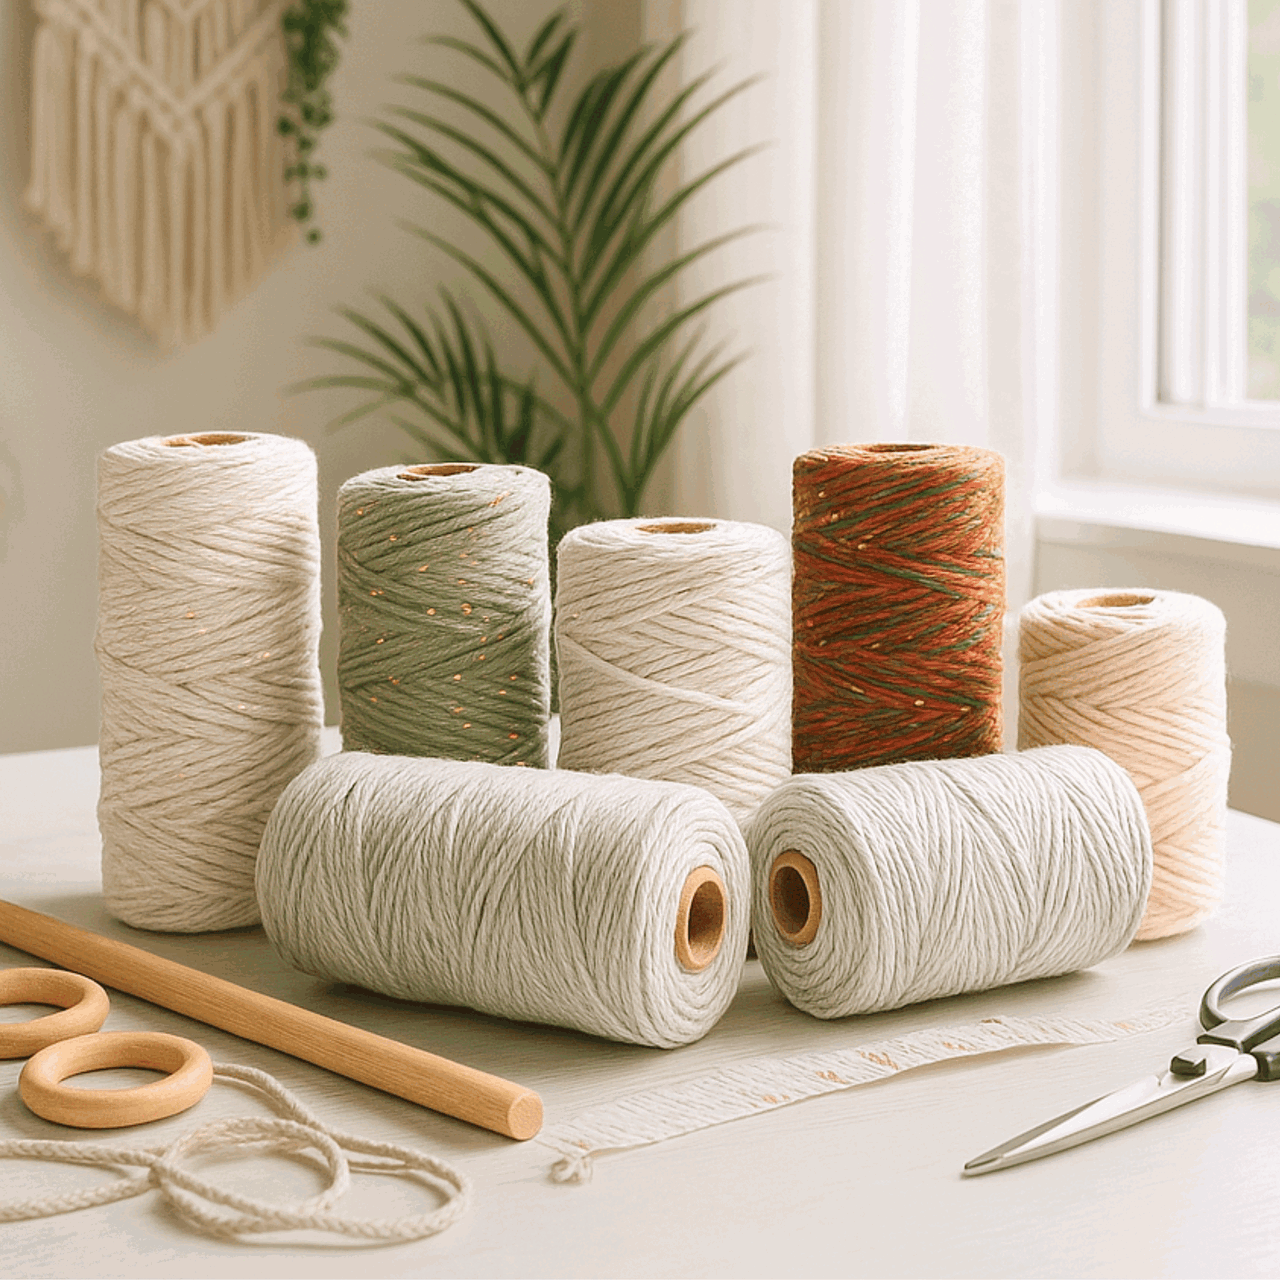
I used the Natural & Gold Shimmer single strand cotton cord from our Rainbow line for this tutorial. When working with cord spun with metallics, the metallics do come apart quite easily.
I recommend making a knot at the end of your cord strands to prevent the ends from fraying while knotting.
Cord Lengths
- 5 x 160cm (63”)
- 2 x 120cm (47”)
- 2 x 80cm (31”)
- 2 x 60cm (24”)
- 1 x 50cm (20”)
Creating The Christmas Tree Ornament
Step 1: Take a strand of cord at 160 cm long folded in half and make an Overhand knot on the loop end. Leave about 2" of space from the top of the loop. Pin or tape down the top loop part.

Step 2: Attach two strands of 160cm cords onto the right-side and two strands on the left-side with Lark's Head knots.


Step 3: Make two rows of Alternating Square knots. Start with the middle four cords.

Make alternating square knots below the first one, using the far left and far right sets of four cords.

Step 4: Take the second cord from the right and make a Vertical Lark's Head knot onto the far-right cord. Repeat the same on the left-side.

Step 5: With the middle four cords, make a Berry knot with two consecutive Square knots. With the first square knot, leave about 1cm space the square knot – this is for weaving the middle two anchor cords through.

Weave the middle two anchor cords through the hole.

Take the same four working cords and create one more square knot underneath.

Step 6: Take the third cord from the right as an anchor cord for a Double Half Hitch (DHH) knot to the right.

Weave a bead through the far-right cord.

Take the same anchor cord as before and make another DHH knot.

Step 7: Repeat the same pattern onto the left-side.

Step 8: Attach a strand of 120 cm cord onto the far-right cord with a Reverse Lark's Head Plus Half hitch (RLHPHH).

Repeat this on the left.

Step 9: Make two rows of Alternating Square knots underneath your pattern.

Add two Berry knots in the center.

Step 10: Repeat the same side pattern as above, starting with the third cord from the right. Start with one DHH knot, thread through a bead, and close with one more DHH knot. Repeat on the left.

Step 11: Attach a strand of 80 cm cord onto each of the far-right and far-left cords with an RLHPHH.

Step 12: Make two rows of alternating Square knots and then three Berry knots after that.


Step 13: Repeat the same side patterns above and add on a 60 cm cord on both sides with an RLHPHH.

Add two more rows of Square knots underneath.

Step 14: Take the far-left cord as an anchor cord for eight DHH knots to the right. After each DHH knot, include the working cord with the anchor cord group for the next DHH.

Repeat on the right-side.

Step 15: Take a strand of 50 cm cord as the working cord for a Gathering knot at the bottom.


Pull on the gathered cords to make sure there are no scrunched-up cords in the knot.
Step 16: Cut off excess cords and trim fringe.


And there you have it! This gorgeous ornament is bound to bring festive cheer to your home. I like the texture the berry knots brought to this design.
What was your favorite part of the design?
Let me know in the comments.
VIDEO TUTUORIAL
Until next time, have fun knotting!
Much love,

****************************************************************
★☆★ START HERE ★☆★

****************************************************************
★☆★ KITS / TOOLS & SUPPLIES ★☆★
****************************************************************














Leave a comment