









How to Make a Fringeless Macrame Star Ornament

FREE CHRISTMAS MACRAME PATTERN · BY NICOLE WOO
Want a handmade Christmas ornament with a neat finish and no fringe to brush? This six-pointed macrame star gets its shape from the knotwork itself, with an open center and a subtle metallic sparkle.
In this free tutorial, I’ll guide you through shaping the points with double half hitch knots, joining the sections, and securing the ends for a fringeless finish. You won’t need a star frame—just cord, a hanging string, and the finishing supplies listed below.
This project is best for confident beginners who have practiced the double half hitch. Follow the photo steps and pause the video whenever you need a closer look at a turn.
A great place to start is our free 50 Macrame Knots & Sennits PDF. Keep it beside you when you need a quick knot refresher.
To make this fringeless macrame star ornament, cut three 110cm lengths of 3mm cord and one 25cm hanging string. Shape the star with double half hitch knots, then close and secure the ends with glue as demonstrated. No star frame or brushed fringe is needed.
The Project at a Glance
Estimated finished size: about 3 in (7.5cm) across, excluding the hanging loop. This is an estimate from the demonstration photos, not a measured sample. Small changes in cord construction and knot tension affect the finished size. Make one sample before planning a matching set, and leave time for your chosen glue to cure.
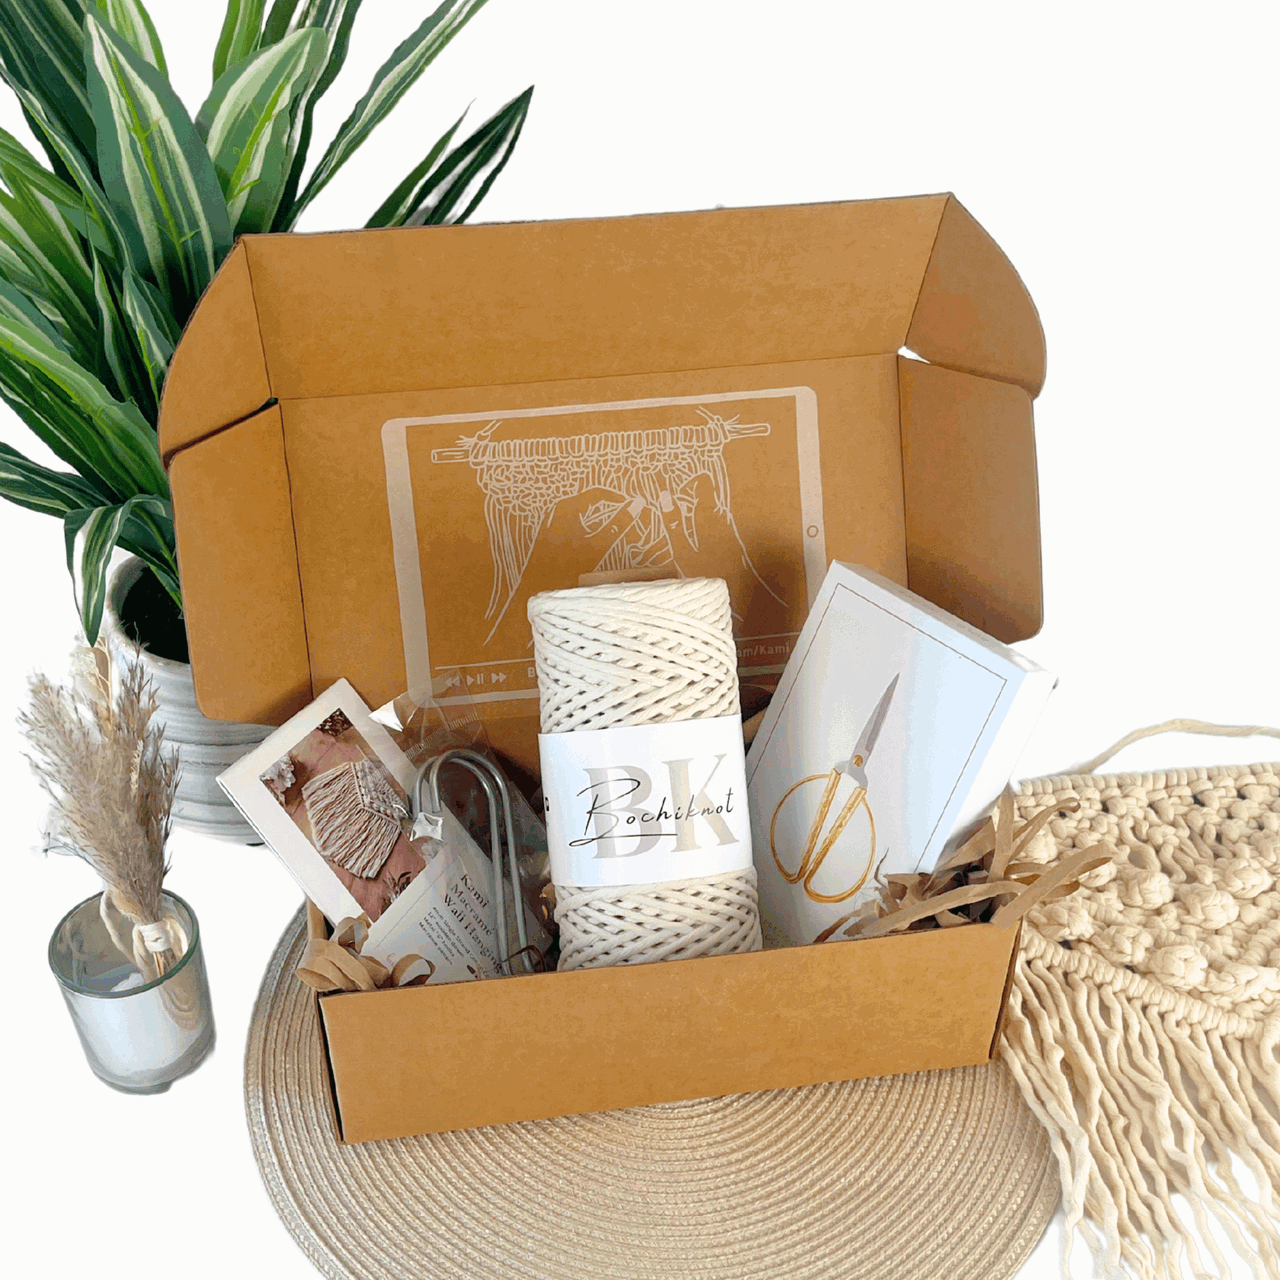
Choose Your Cord and Materials
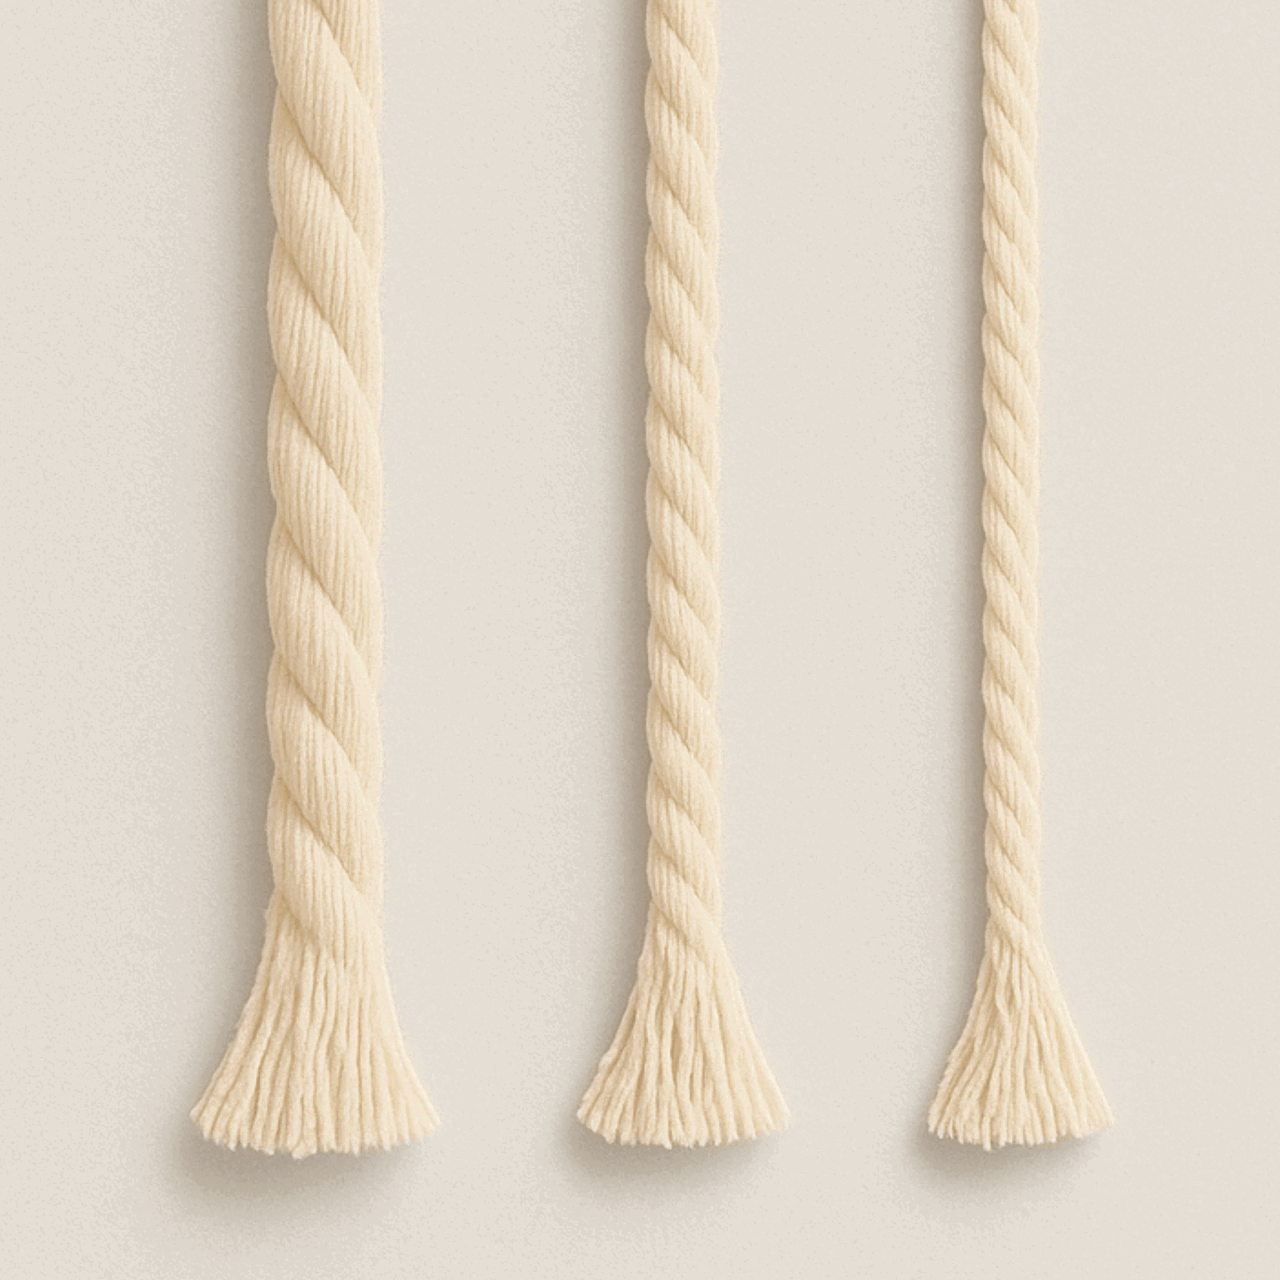
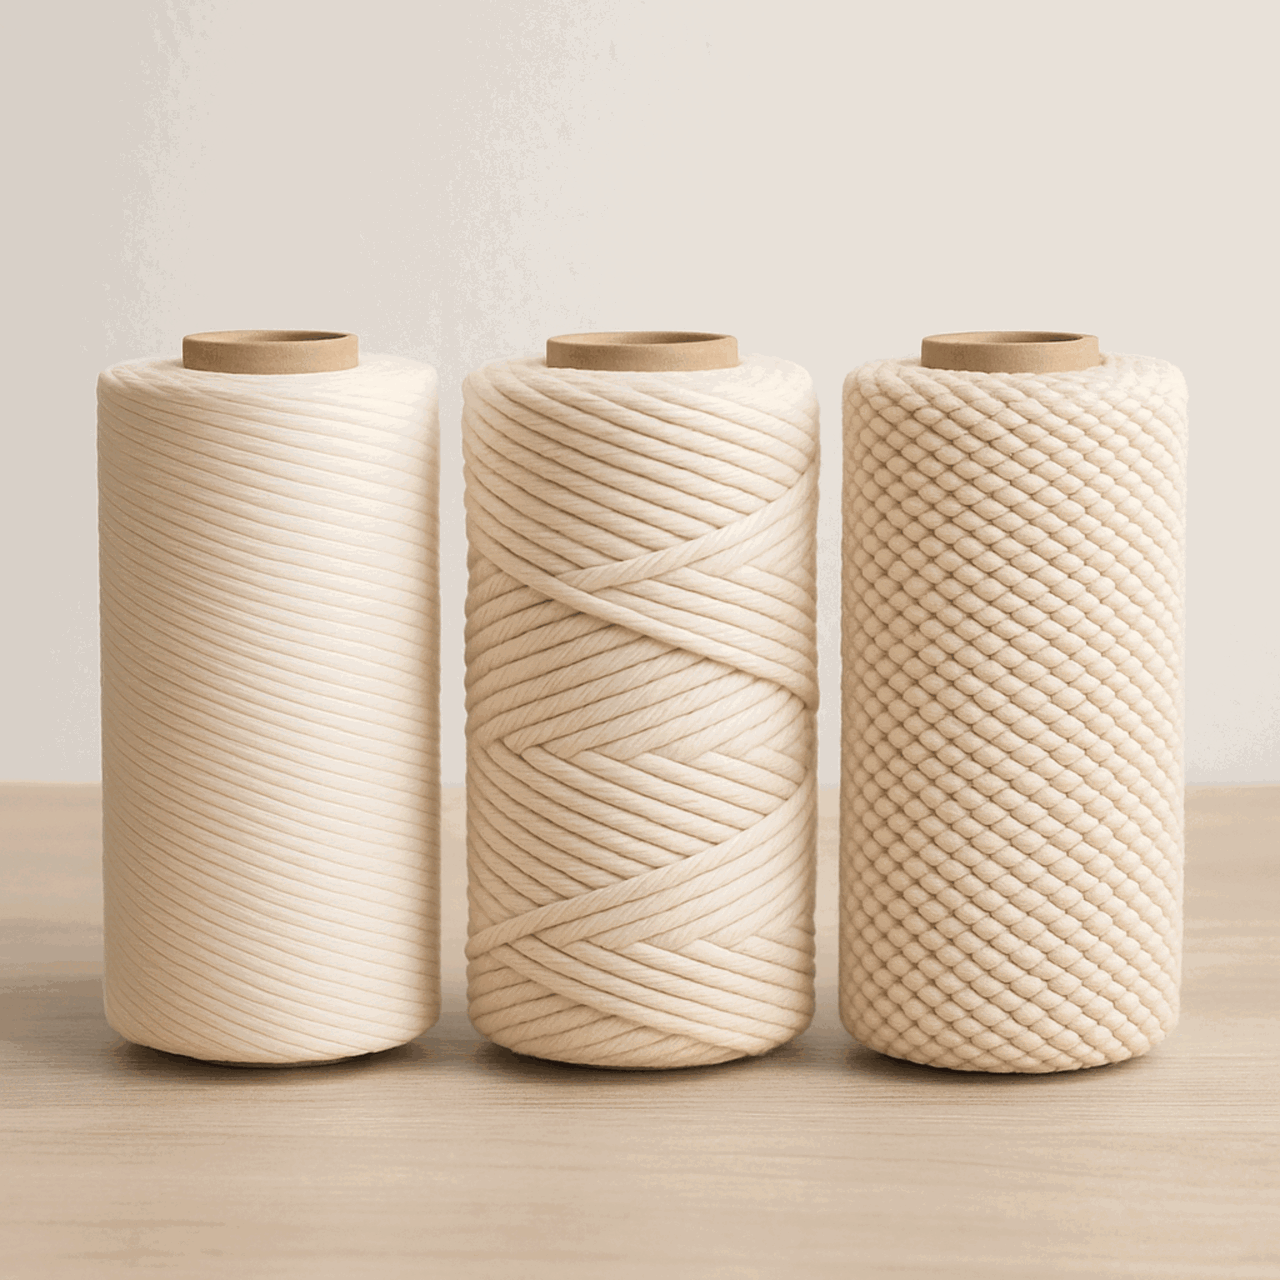
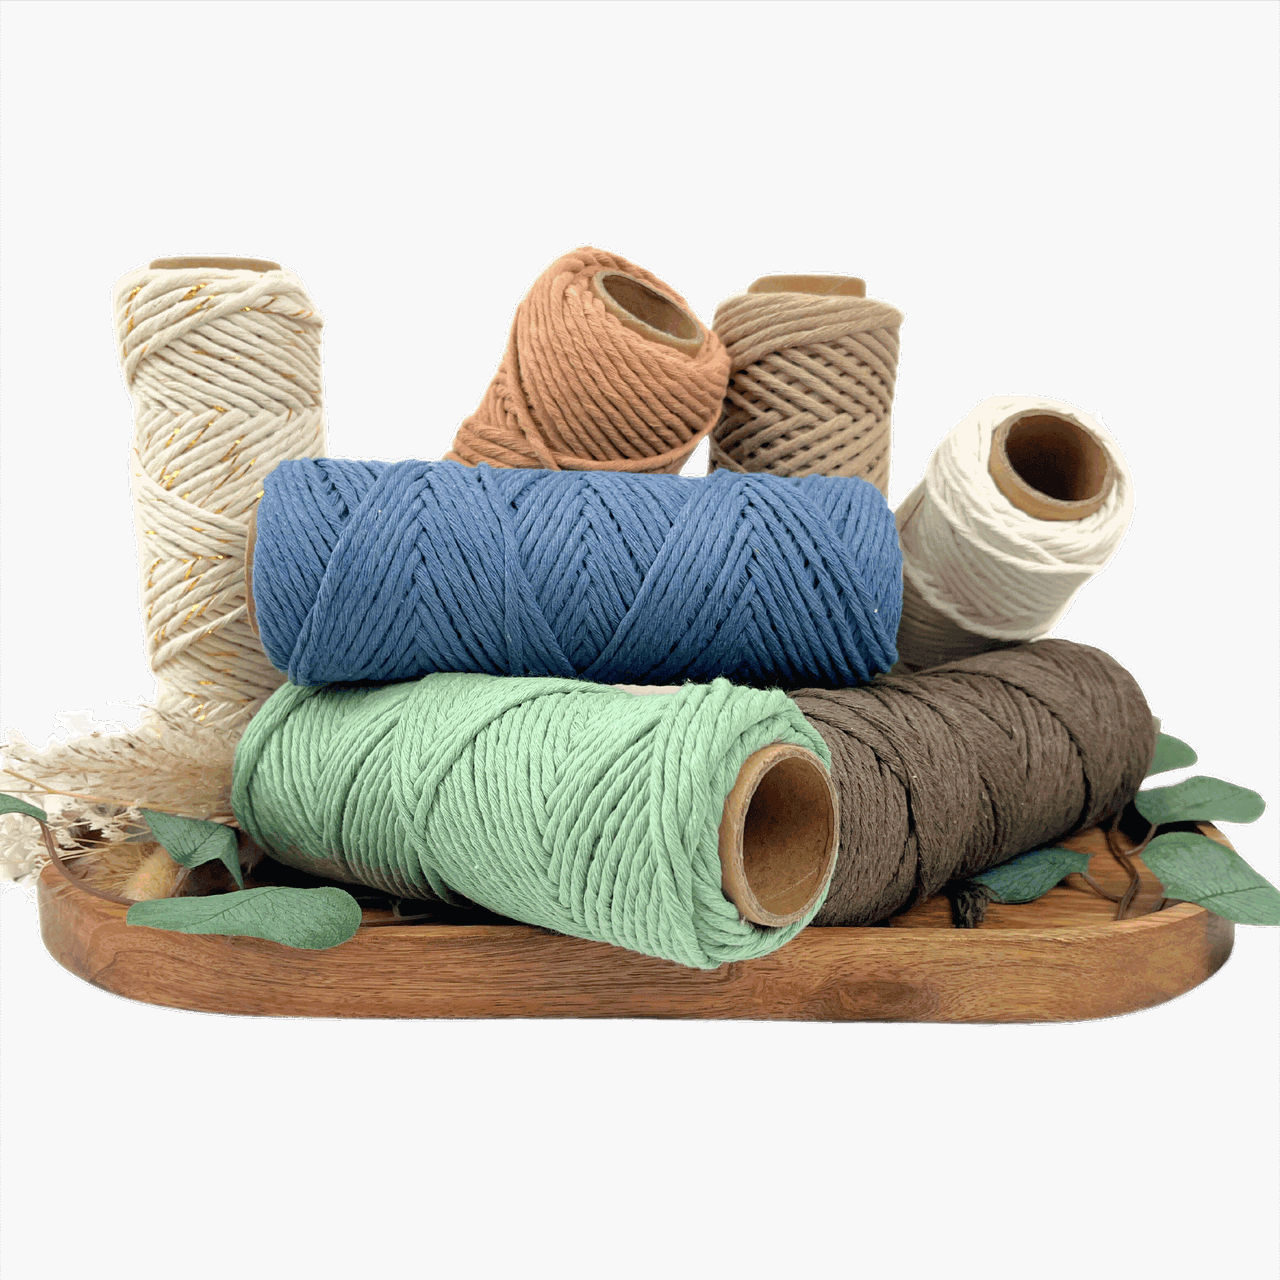
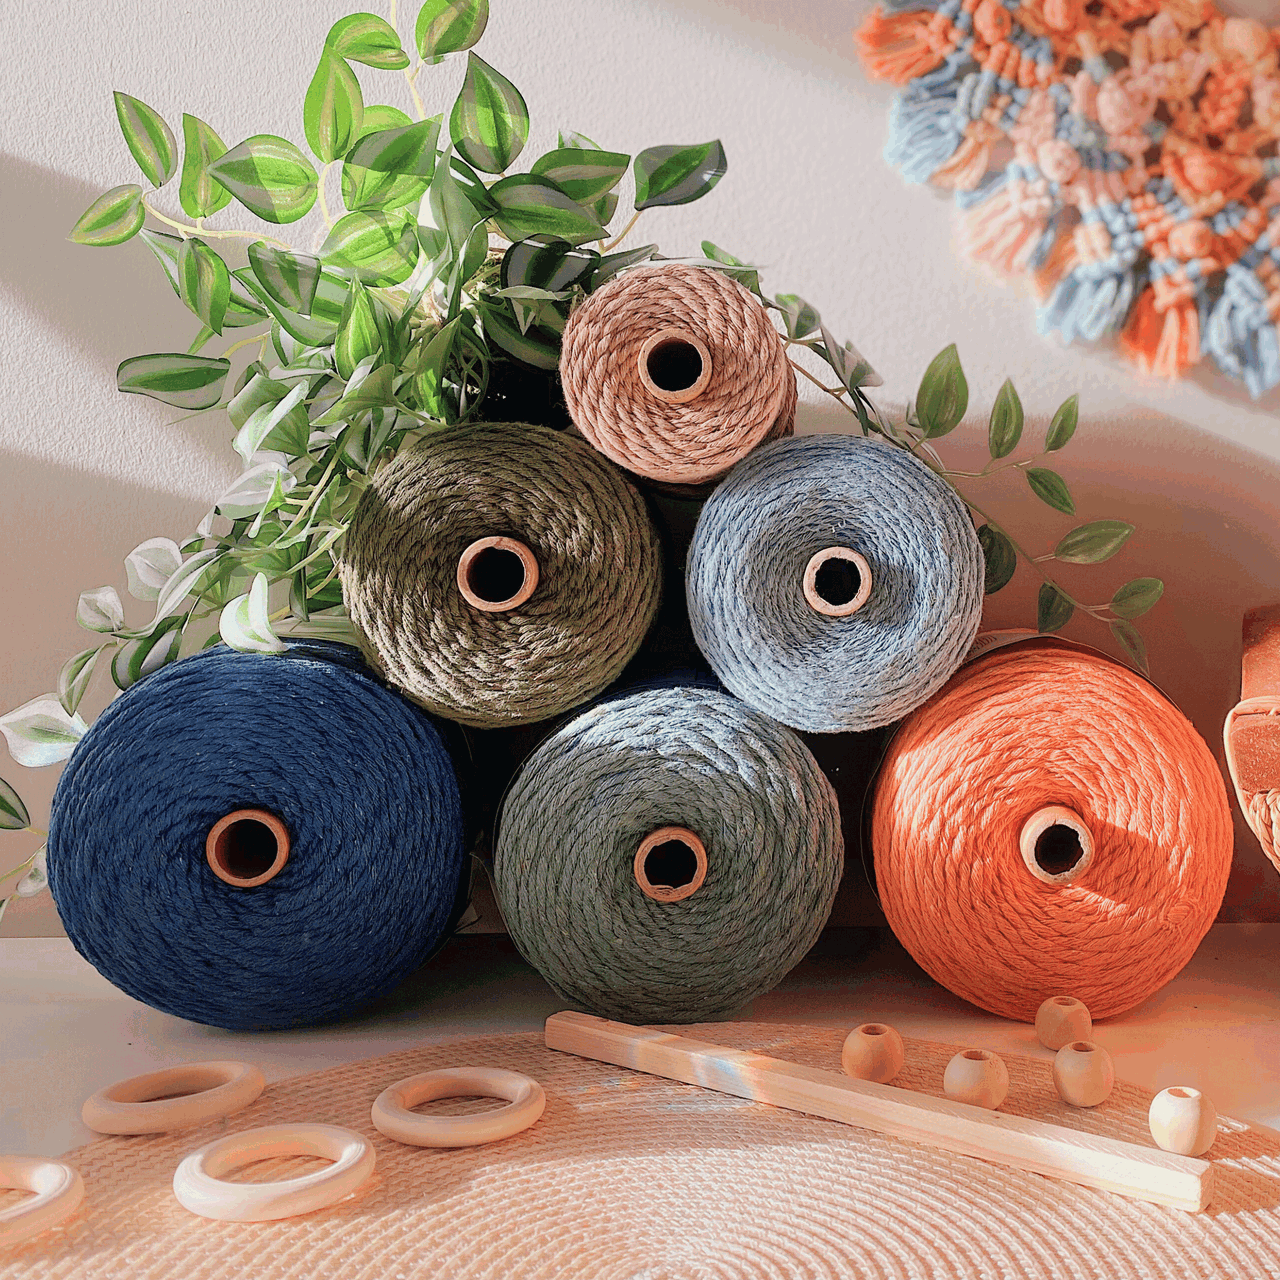
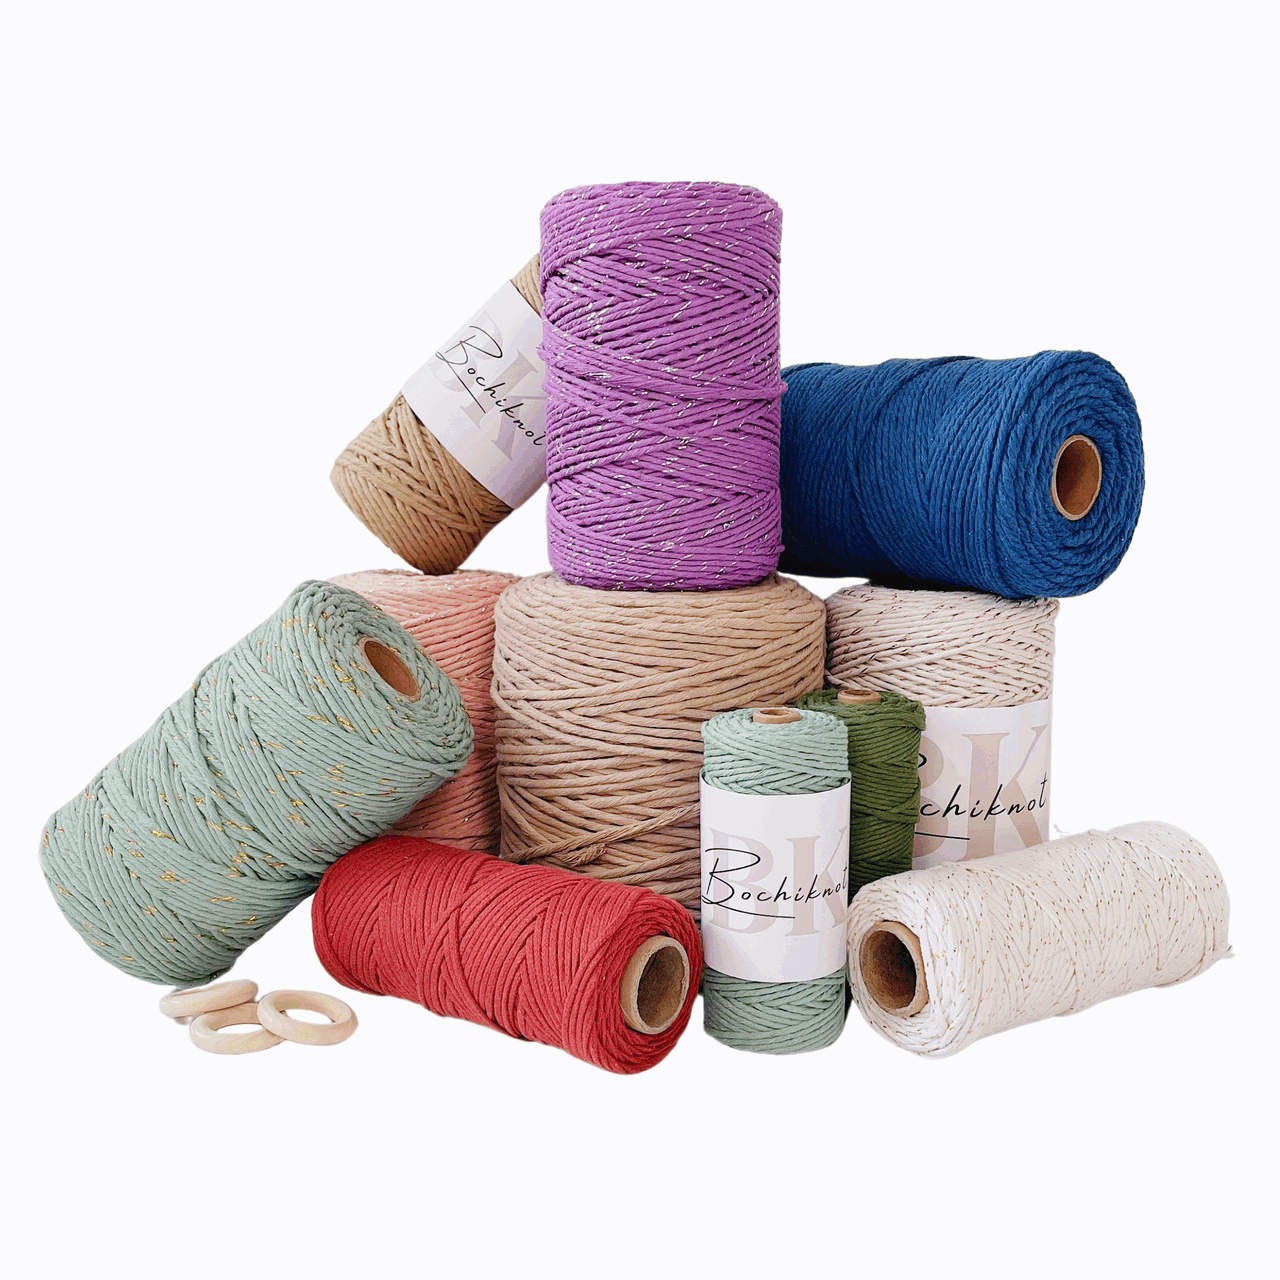
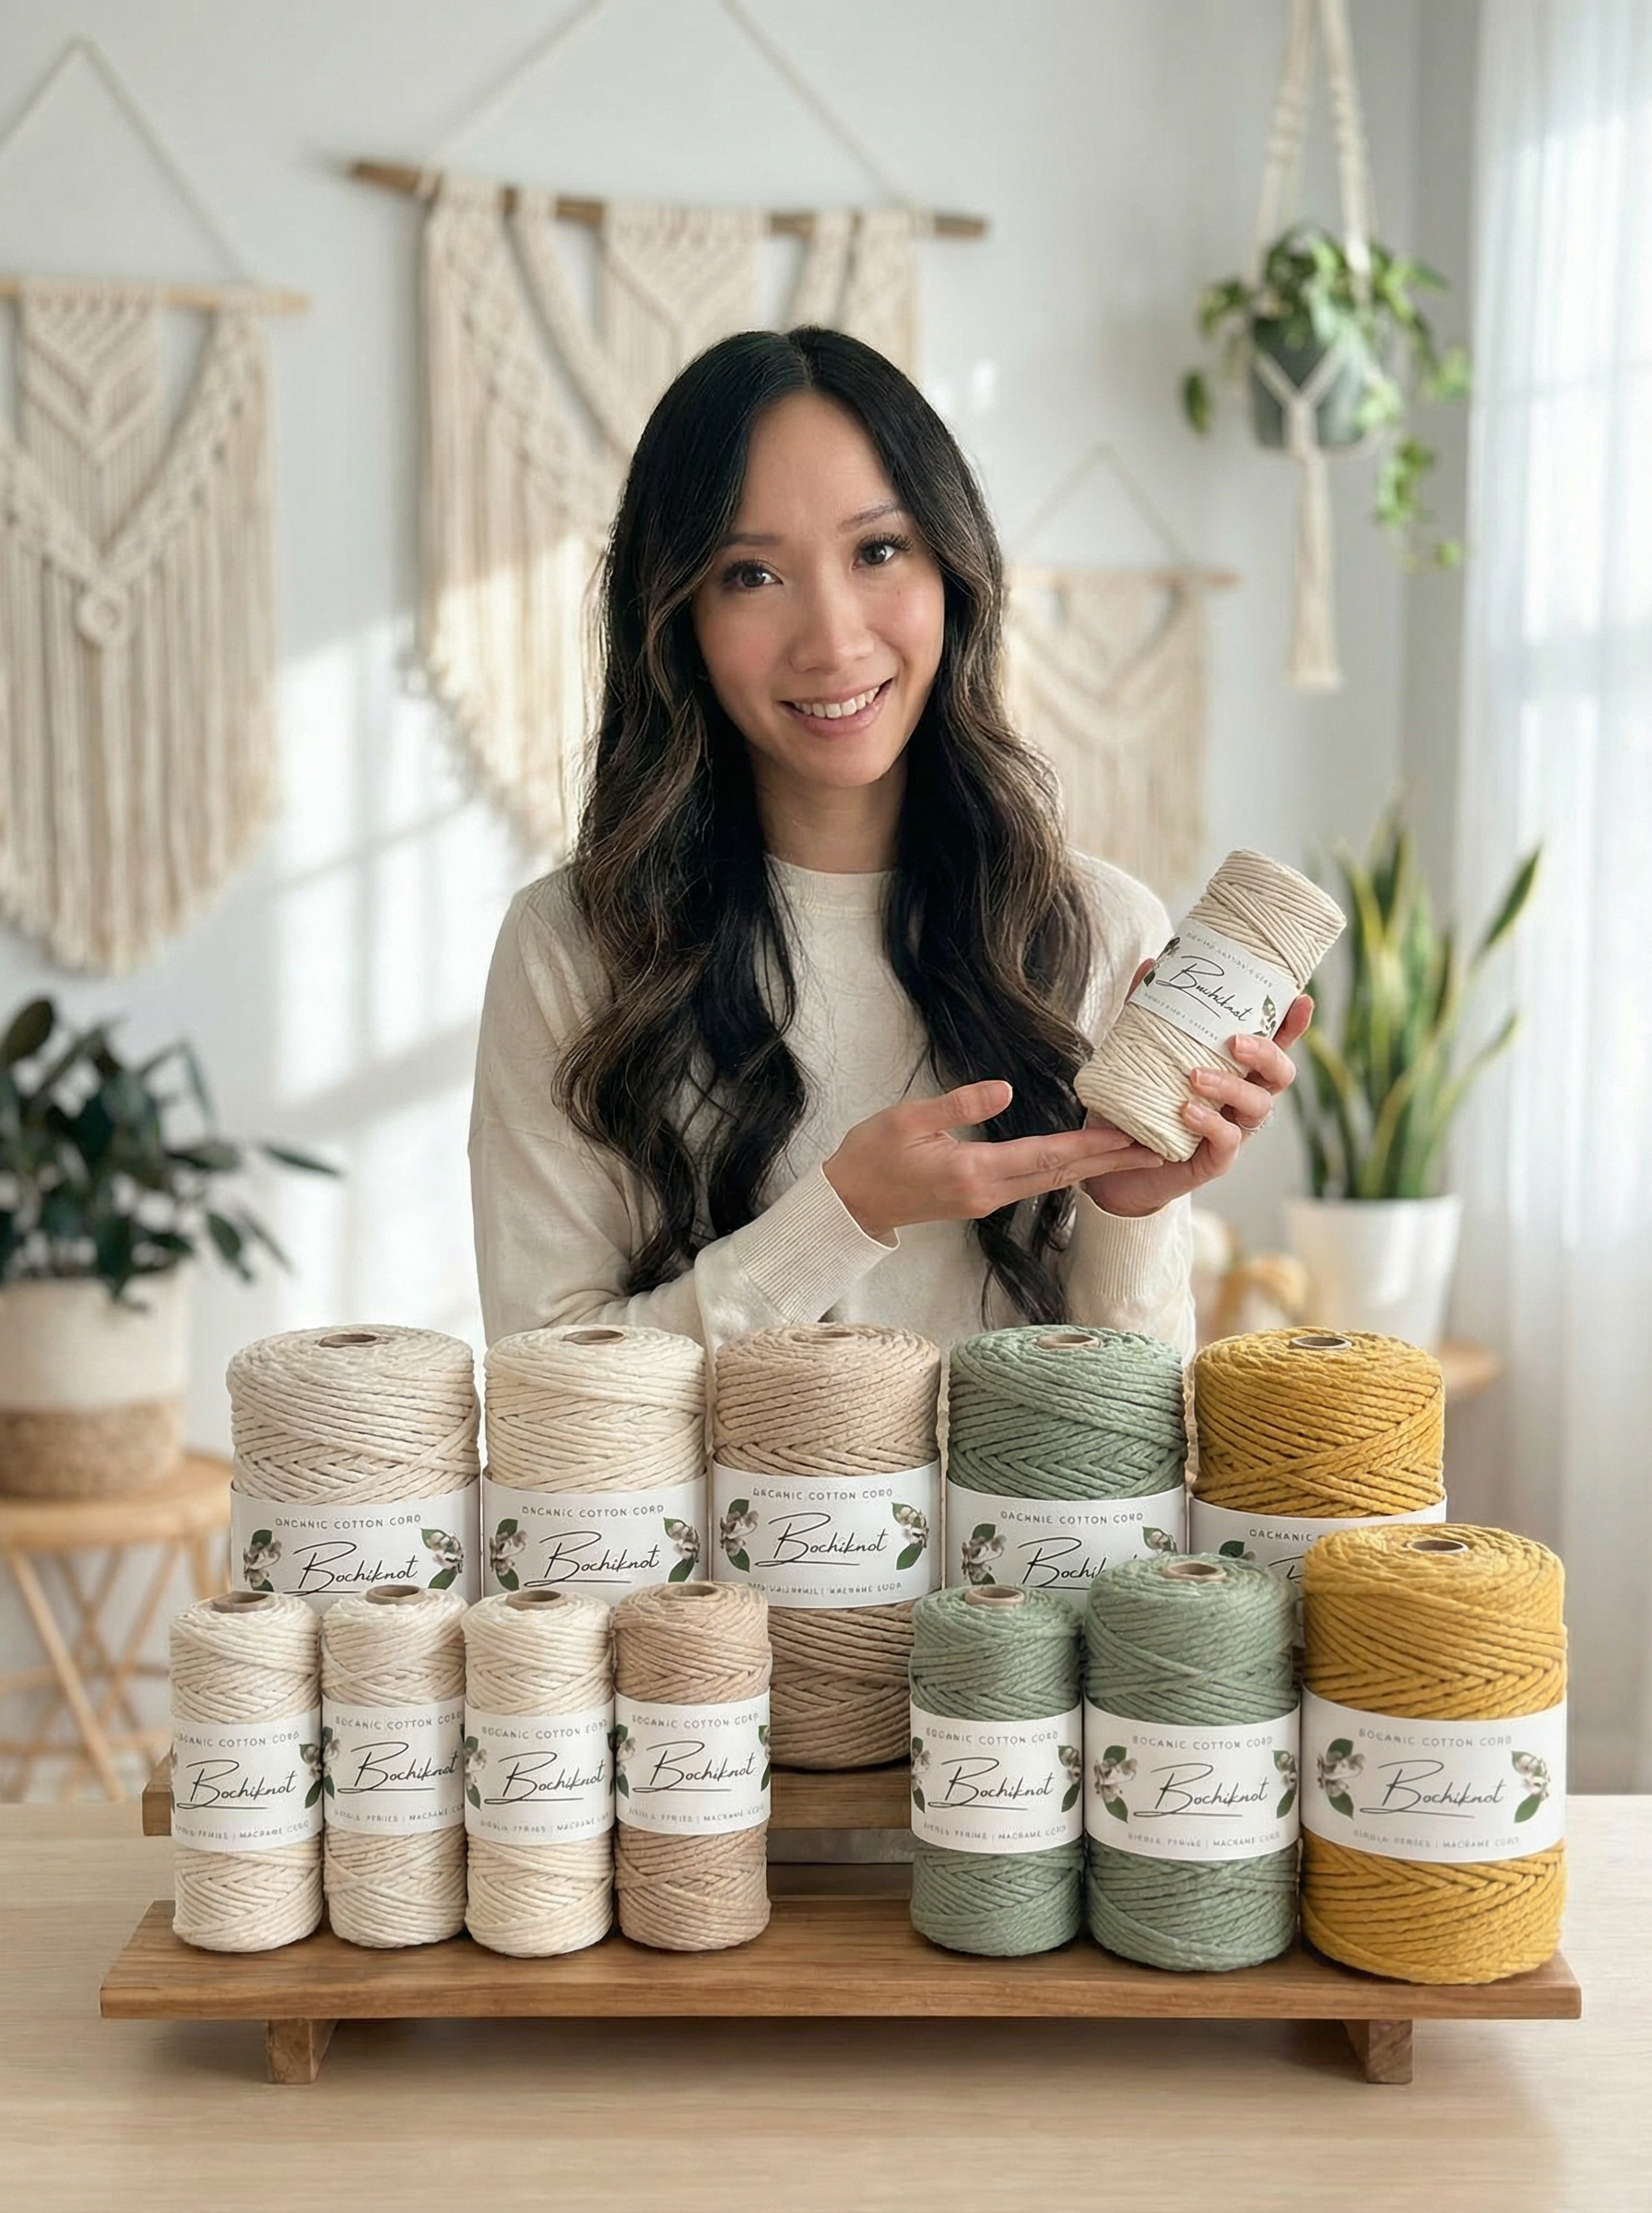
Choose a 3mm cord to stay close to the tutorial. Metallic mix adds a subtle sparkle; plain cotton gives the same idea a quieter look. A thicker or stiffer cord can change the points and the amount you need. Select the size on the product page before ordering.

3mm Metallic Mix Cord
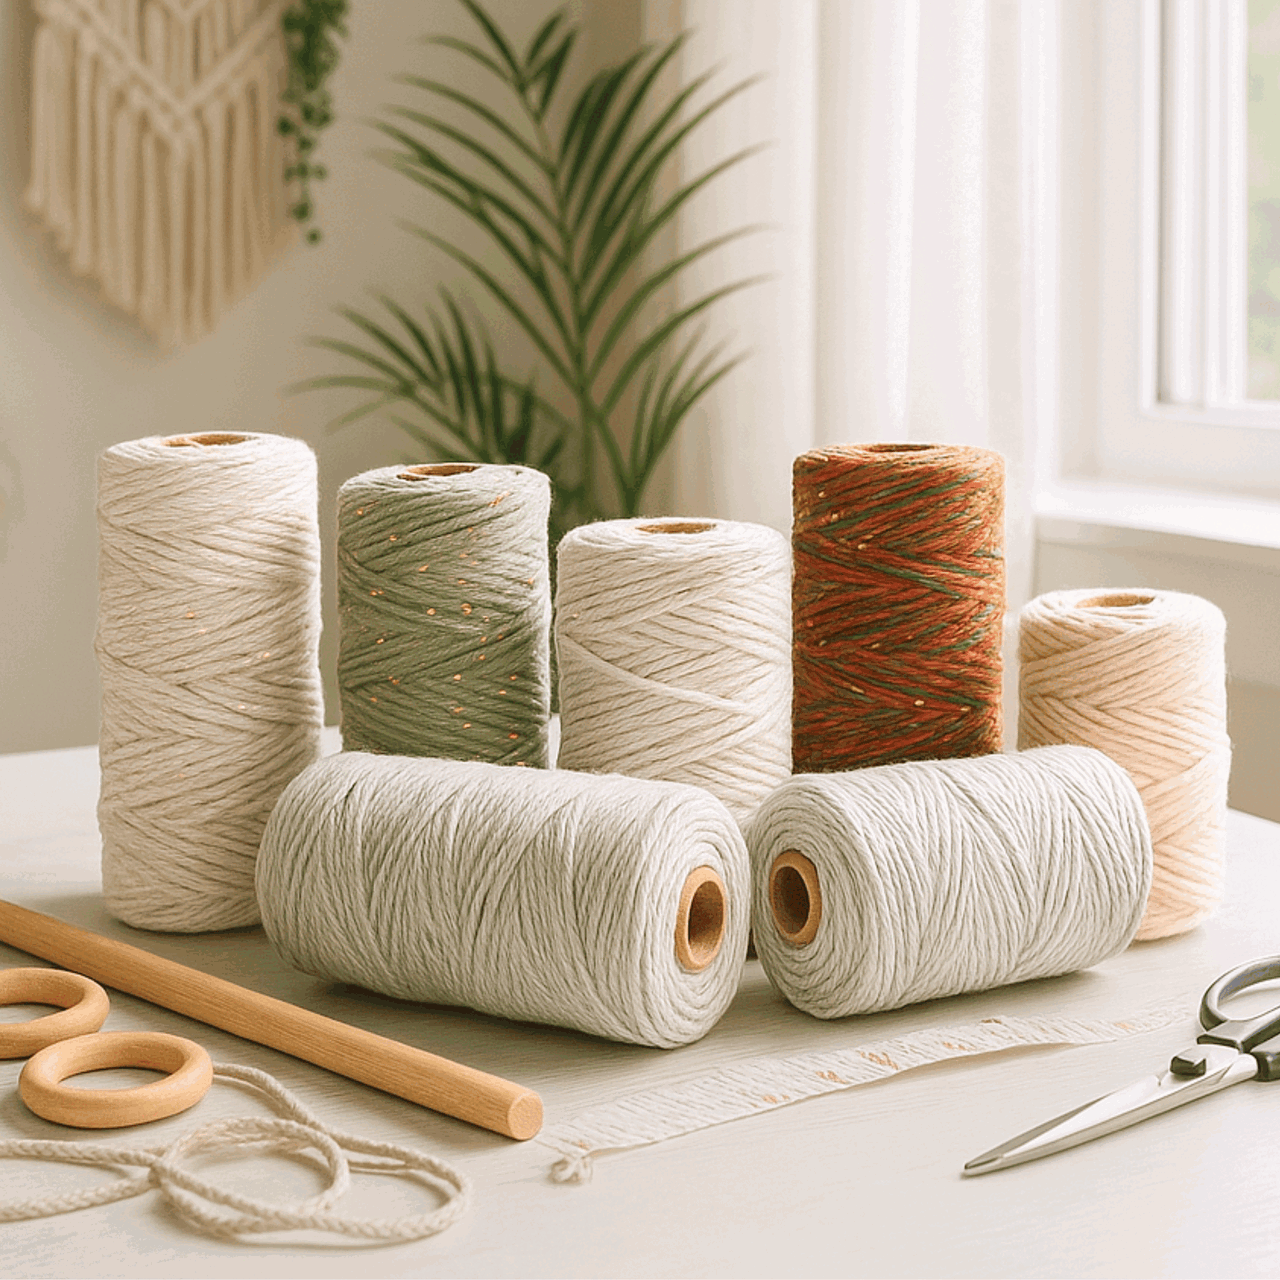
Cut three 110cm lengths for the star. Choose a 3mm option; a collection photo may show several colors.
Shop Metallic Cord →
Fine Hanging String
Use one 25cm length of 1–2mm string for the hanging loop. Choose a color that complements your star.
Shop Macrame String →
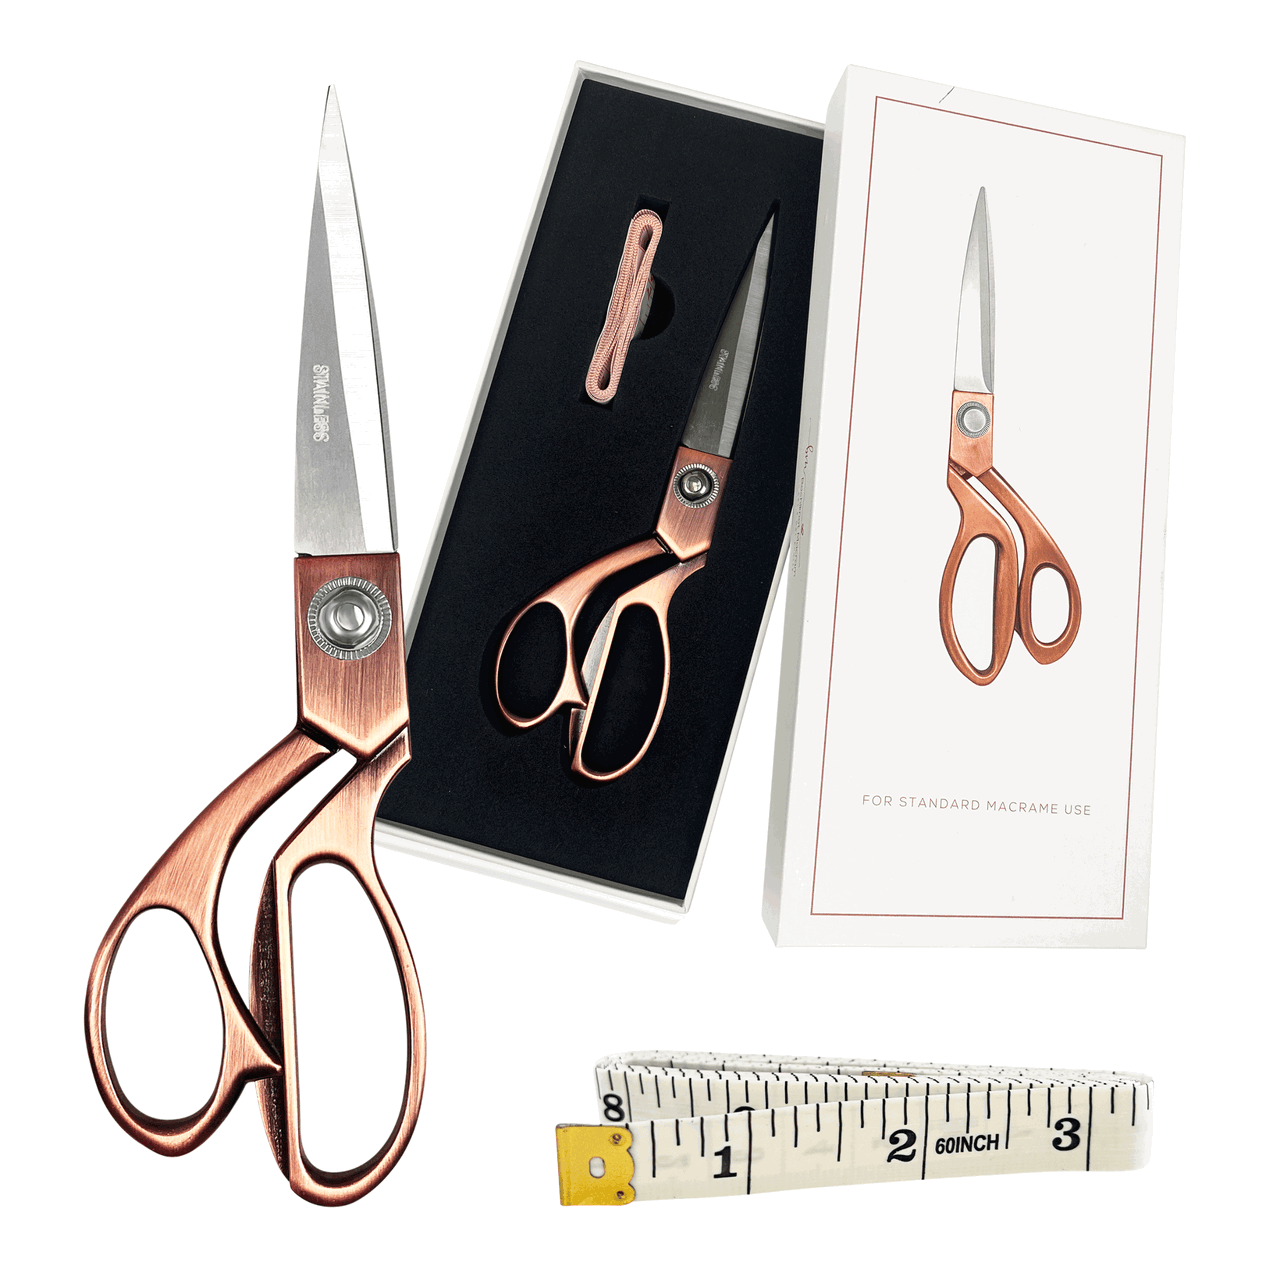
Gold Precision Scissors
Make controlled finishing cuts once the shape and the joining points are checked.
Shop Detailing Scissors →Also Have These Nearby
You’ll also need a measuring tape, a hot-glue gun and glue suitable for your cord, plus a protected work surface. Nicole uses a hot-glue gun in the original demonstration. Test on an offcut first, keep fingers clear of the nozzle and hot adhesive, and let each join cool and set before handling. Follow your adhesive’s directions.
For other craft essentials, you can also browse our Bochiknot Amazon US storefront.
As an Amazon Associate, Bochiknot earns from qualifying purchases, at no extra cost to you.
Cutting List: Measure Before You Knot
| Use | Cut Length | Inches | Notes |
|---|---|---|---|
| Star body | 3 × 110cm | About 43 in each | 3.3m total main cord |
| Hanging loop | 1 × 25cm | About 10 in | 1–2mm string; separate from the main cord |
Understand the Knots Before You Combine Them

Double Half Hitch
Two half hitches around an anchor cord. Hold the anchor at the angle you want the row to follow.
See The Knot Tutorial →
Lark’s Head & Reverse Lark’s Head
Attach a folded cord to a support. Check which face of the attachment your pattern calls for.
See The Knot Tutorial →In a double half hitch (DHH), one working strand makes two half hitches around the anchor cord. Hold the anchor in the direction you want the row to travel. The anchor sets the direction; the working cord wraps around it. Their roles can change at the next turn. In each step, “left” and “right” refer to the work as oriented in that step’s photo. Rotate the whole piece flat on the table to match the photo before choosing a strand.
Watch Nicole Make It
Watch the whole pattern first, or jump straight to the timestamp beside each step. The photos below show the original demonstration.
How to Make a Fringeless Macrame Star
1. Start the center with two cords
Lay one 110cm cord horizontally. Attach the second 110cm cord at its middle with a double half hitch, following the orientation in the photos. Keep the long ends untangled so you can see which strand is the anchor.


Check that you have two complete half hitches before moving on.
2. Attach the hanging string
Fold the 25cm string and attach it to the far-right horizontal cord with a reverse lark’s head knot. Keep this fine string separate from the thicker working cords.


This attachment becomes the hanging loop; don’t accidentally knot it into the star body.
3. Turn the right cord to the left
Fold the right cord across toward the left and make the DHH shown. Bring the knot into place with a small adjustment rather than pulling the whole piece out of shape.


The direction of the anchor creates the turn.
4. Add the next left-facing hitch
Bring the far-right cord over to the left and make another DHH. Compare the developing angle with the close-up before tightening.


Look at the cord path, not just the finished bump of the knot.
5. Repeat on the other side
Rotate the work a half-turn on the table so the hanging string points to the left, as in these photos. Repeat the two DHH shaping moves from Steps 3–4 on the opposite side, using the new orientation to identify the cords. Keep the fine hanging string out of the knotwork.


The two sides should start to balance without stretching either one.
6. Add the third main cord
Attach the remaining 110cm cord onto the two horizontal cords with DHH knots, as shown. This introduces the strands needed for the next star sections.


All three 110cm cords are now in the pattern.
7. Guide two knots to the left
Bring the anchor cord to the left and make two DHH knots along it. Keep the anchor angle steady as the working strands wrap around it.


Seat neighboring knots together without bunching them.
8. Make the next small turn
Take the second cord from the left across to the left and make a DHH. This is a short shaping step, so compare the close-up rather than adding extra knots.


If the point looks blunt, check the anchor direction before tightening harder.
9. Turn back toward the right
Bring the anchor to the right for a DHH. Then bring the left cord to the right and make two DHH knots. These direction changes build the outline of the point.


Count the two half hitches in each DHH, not each half hitch as a separate knot.
10. Repeat the star section below
Repeat the shaping sequence from Steps 7–9 once beneath the section you just completed: two DHH knots along the left-facing anchor, the short left turn, then the right-facing knots. Keep the existing section intact; you are adding the next point, not restarting the center. Use the same tension and compare the new point with the previous one.


Hold the work flat to compare the sections before continuing.
11. Build two sections on the right
Rotate the piece flat on the table so the unworked cords on the other side are accessible, matching the first photo below. Repeat the point-building sequence from Steps 7–9 twice on this side. Reidentify the anchor at every change of direction. Return the hanging loop to the top to check the outline: the lower opening is still unjoined at this stage.


Compare the spacing around the open center as well as the outer points.
12. Complete the lower half-sections
With the hanging loop at the top, work the remaining lower sections toward one another, as shown below. These are the two halves that meet to complete the bottom point; do not add another full point on each side. Lay the work flat and bring the lower edges together. Check that the outline forms six points around an open center, with matching edges that meet without stretching. Keep the loose tails until you are ready to finish the join.


The lower edges should meet without forcing or twisting the star.
13. Close, secure and trim
This pattern uses a glued closure to achieve its fringeless edge. Complete the knotting and check the six-point outline before making any finishing cuts.
- Align the lower join. Lay the star flat with the hanging loop at the top. Bring the two lower half-sections together and keep the center open.
- Trim the excess at the joining area. Compare the tails with the first original photo below and the linked finishing demonstration before cutting. Trim the loose excess being finished, not the loops that form the knots or the hanging string.
- Glue the meeting edges. Nicole uses a hot-glue gun, shown in the second photo. Apply glue carefully at the joining surfaces, starting at the bottom, and keep the points aligned while the adhesive sets. Keep fingers away from hot glue.
- Finish the remaining tails at the back. Secure the remaining group of cord ends behind the knotwork as demonstrated, keeping the join concealed from the front. Work in small areas rather than gluing the whole back.
- Let the join set, then inspect. Follow the glue manufacturer’s setting instructions. Check both faces for loose tails, keep the hanging loop free, and confirm that the secured ends hold before displaying the ornament.


Check the front, back and hanging loop before displaying your finished ornament.
Six points are visible, the center stays open, the join sits neatly at the back, and the hanging loop is free. Let the glue cool and set fully according to its instructions before checking that the secured ends hold.

Make It Your Own

Hang one from a tree branch, use it as a gift topper, or make a small set for a simple holiday display. A plain cotton version emphasizes the shape; a fine metallic accent catches light without adding more decoration.
Share your finished piece and tag @bochiknot on Instagram—we’d love to see your version.
Questions Before You Continue?
Is this macrame star suitable for a complete beginner?
The knot vocabulary is short, but turning the anchor and mirroring the sections take concentration. Practice the double half hitch first. If you can control a short diagonal row, use the photos and pause the video for the shaping steps.
Does it need a wooden star frame or a ring?
No. This version builds its shape from the cord and the repeated knot sections. The finishing method shown uses glue to close and secure the ends.
Why is my star curling or uneven?
Check whether matching sections have the same knot count and anchor direction. Very tight sections beside looser ones can distort the shape. Undo the newest uneven section and remake it before gluing; don’t try to pull a wrong knot into the right position.
Can I use 4mm cord?
You can experiment, but it will change the scale, the bend of each point and potentially the cord needed. The 110cm cutting list is for the demonstrated 3mm version. Make a test section and allow extra length when changing cord.
How can I make a matching set?
Use the same cord and measure each new star against your first finished sample. Work in small batches, but complete and inspect each shape before applying glue. Vary the hanging string or color rather than the knot count for an easy coordinated set.
Your Next Step With Macrame
Build on what you’ve practiced with these related Bochiknot tutorials.

The Macrame Christmas Star Ornament You’ll Hang Every Year
Explore the full guide with Nicole and choose a technique to practice next.
Explore The Tutorial →
Macrame Star Snowflake Ornament: Free Step-by-Step Pattern
Explore the full guide with Nicole and choose a technique to practice next.
Explore The Tutorial →
The Little Macrame Wreath That Makes A Gift Feel Personal
Explore the full guide with Nicole and choose a technique to practice next.
Explore The Tutorial →For a broader learning path, visit the Macrame Journey and choose the stage that fits your experience.
KEEP A KNOT REFERENCE NEARBY
A Little Help Between Tutorial Pauses
Revisit a knot before repeating it across your project. Our free 50 Macrame Knots & Sennits guide gives you a reference to return to as you learn.
Get The Free Knot Guide →A LITTLE SUPPORT FOR YOUR NEXT PROJECT
Keep Learning With The Bochiknot Patreon Community
If you would like a regular reason to pick up your cord, explore the Bochiknot community on Patreon. Choose the level of guidance that fits the projects you want to make.

TIER 1
Mini-Macrame Creations
Explore smaller projects with patterns and video guidance.

TIER 2
Mastering Macrame Skills
Build your technique through guided projects, lessons, and creative challenges.

TIER 3
Macrame Masterpiece
Explore a learning and materials-kit option. Compare the kit schedule and shipping details on Patreon.
Tier 3 also has Macrame Masterpiece Lite (S2) and Macrame Masterpiece Bundle (S1) options. See Patreon for the current inclusions, availability, and pricing.

NICOLE WOO · BOCHIKNOT
Take your time with the first point. Once you can see how the anchor turns, the rest of the star becomes much easier to read. Happy knotting!

A Little Inspiration Between Projects
Follow Bochiknot for tutorials, new ideas, and more ways to keep knotting.
Pattern and instruction: Nicole Woo, Bochiknot. Original demonstration photos are used for the instructional steps; the featured and lifestyle images are styled scenes.

Leave a comment