





Macrame Poncho Pattern: Make a Diamond-Fringe Beach Cover-Up

FREE MACRAME FASHION PATTERN · BY NICOLE WOO
Two simple knots, a little repetition—and suddenly you’re making something you can wear. That’s what I love about this poncho. The diamonds do the shaping around your shoulders, while the long fringe brings the movement. It looks more involved than its repeating pattern really is.
In this tutorial, we’ll make two matching diamond bands, join them into a neckline, and add the fringe. The most useful pause comes before the finishing: try the neckline on. A few minutes checking the fit now are much easier than undoing a finished cover-up later.
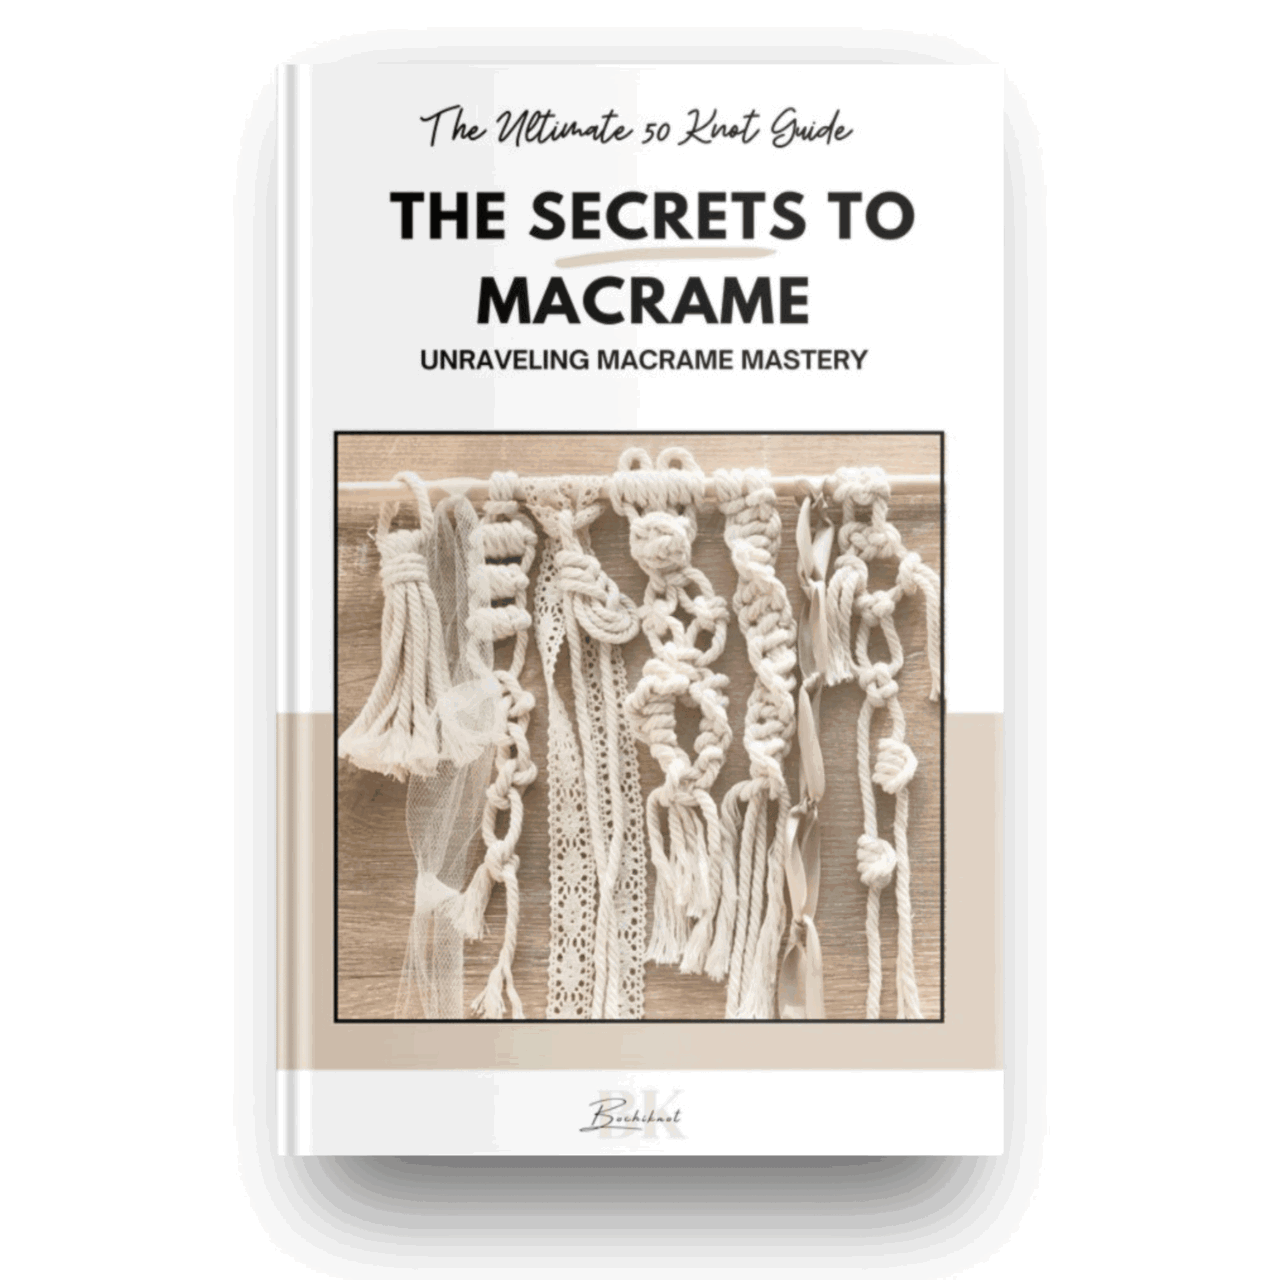
A great place to start is our free 50 Macrame Knots & Sennits PDF. Keep it beside you when you need a quick knot refresher.
This macrame poncho uses double half hitch knots for the diamond collar and reverse lark’s head knots to attach fringe. The sample starts with twelve 300cm cords for the two collar bands. Extra cord is required for the fringe; the 36m collar total is not a complete project allowance.
The Project at a Glance
The sample bands are approximately 40cm long before joining. This is a tutorial sample, not a graded garment pattern. Your cord, tension and body measurements determine the finished fit.
Choose Your Cord and Materials
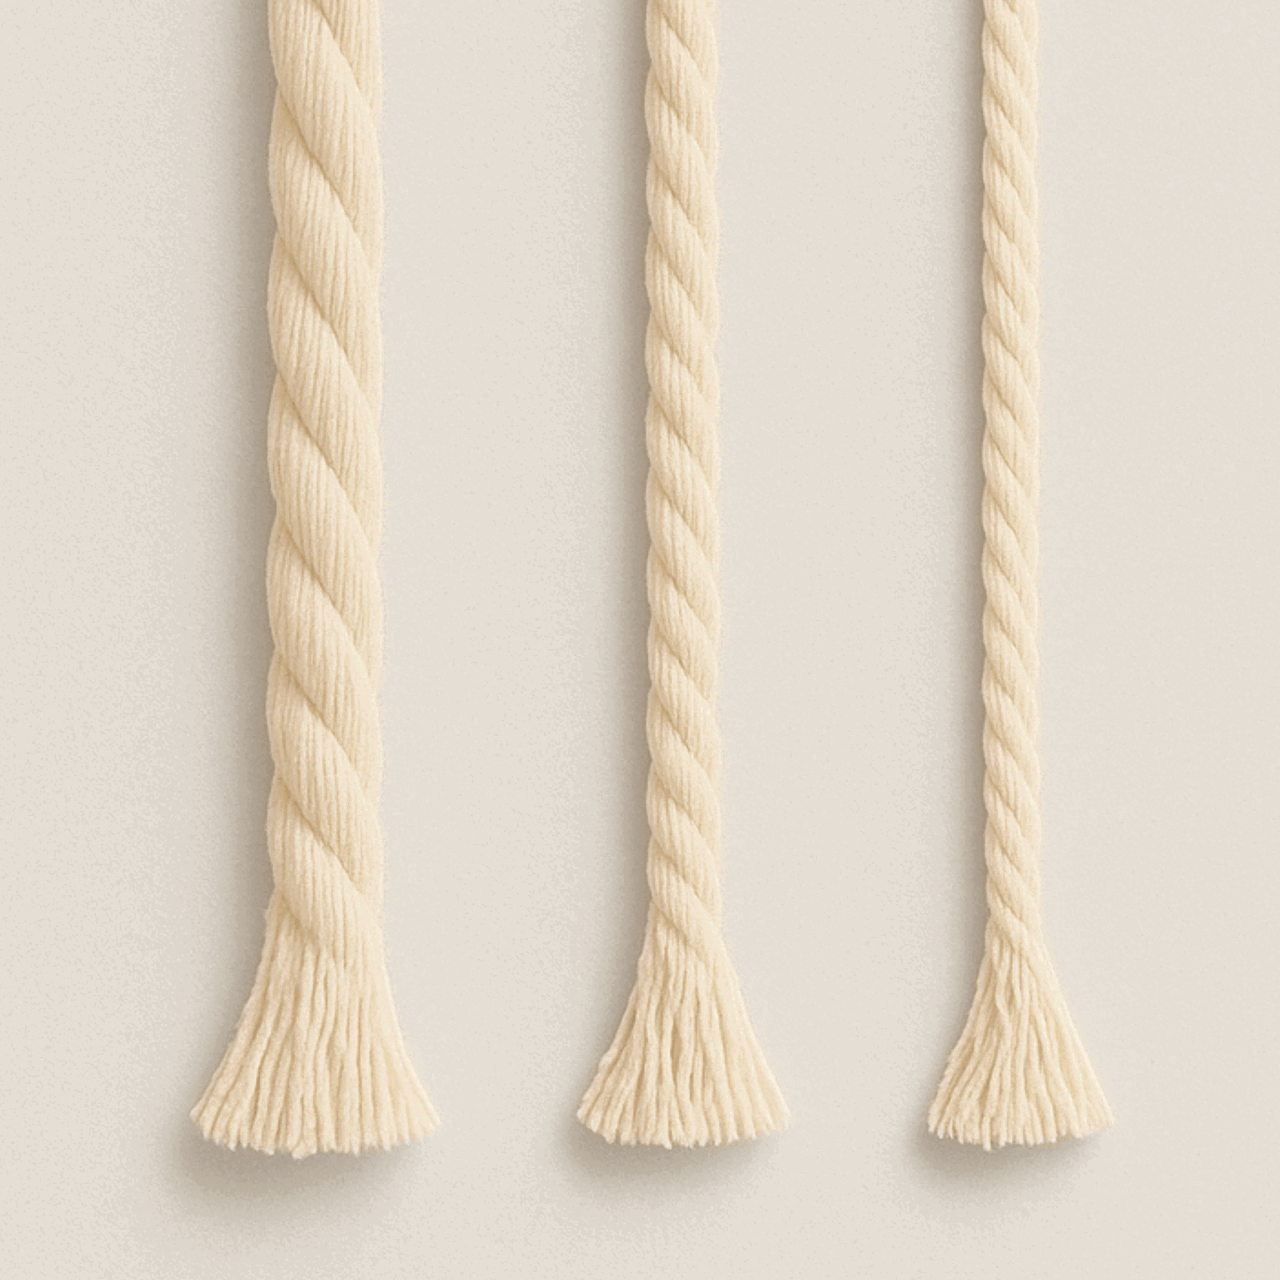
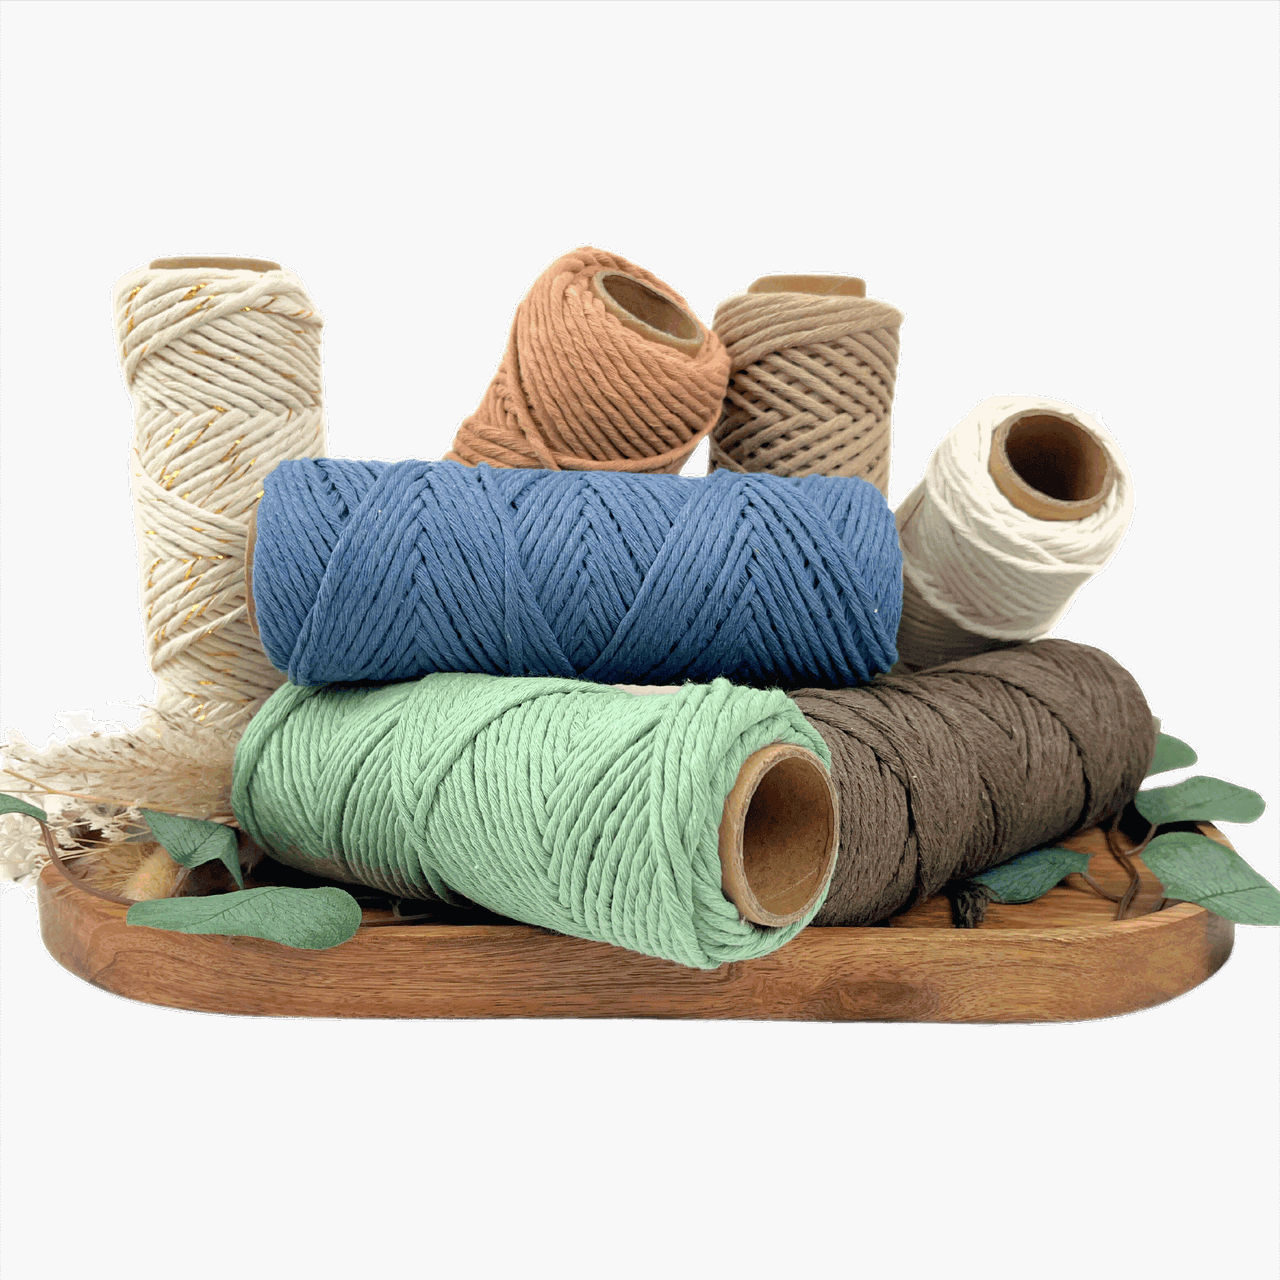
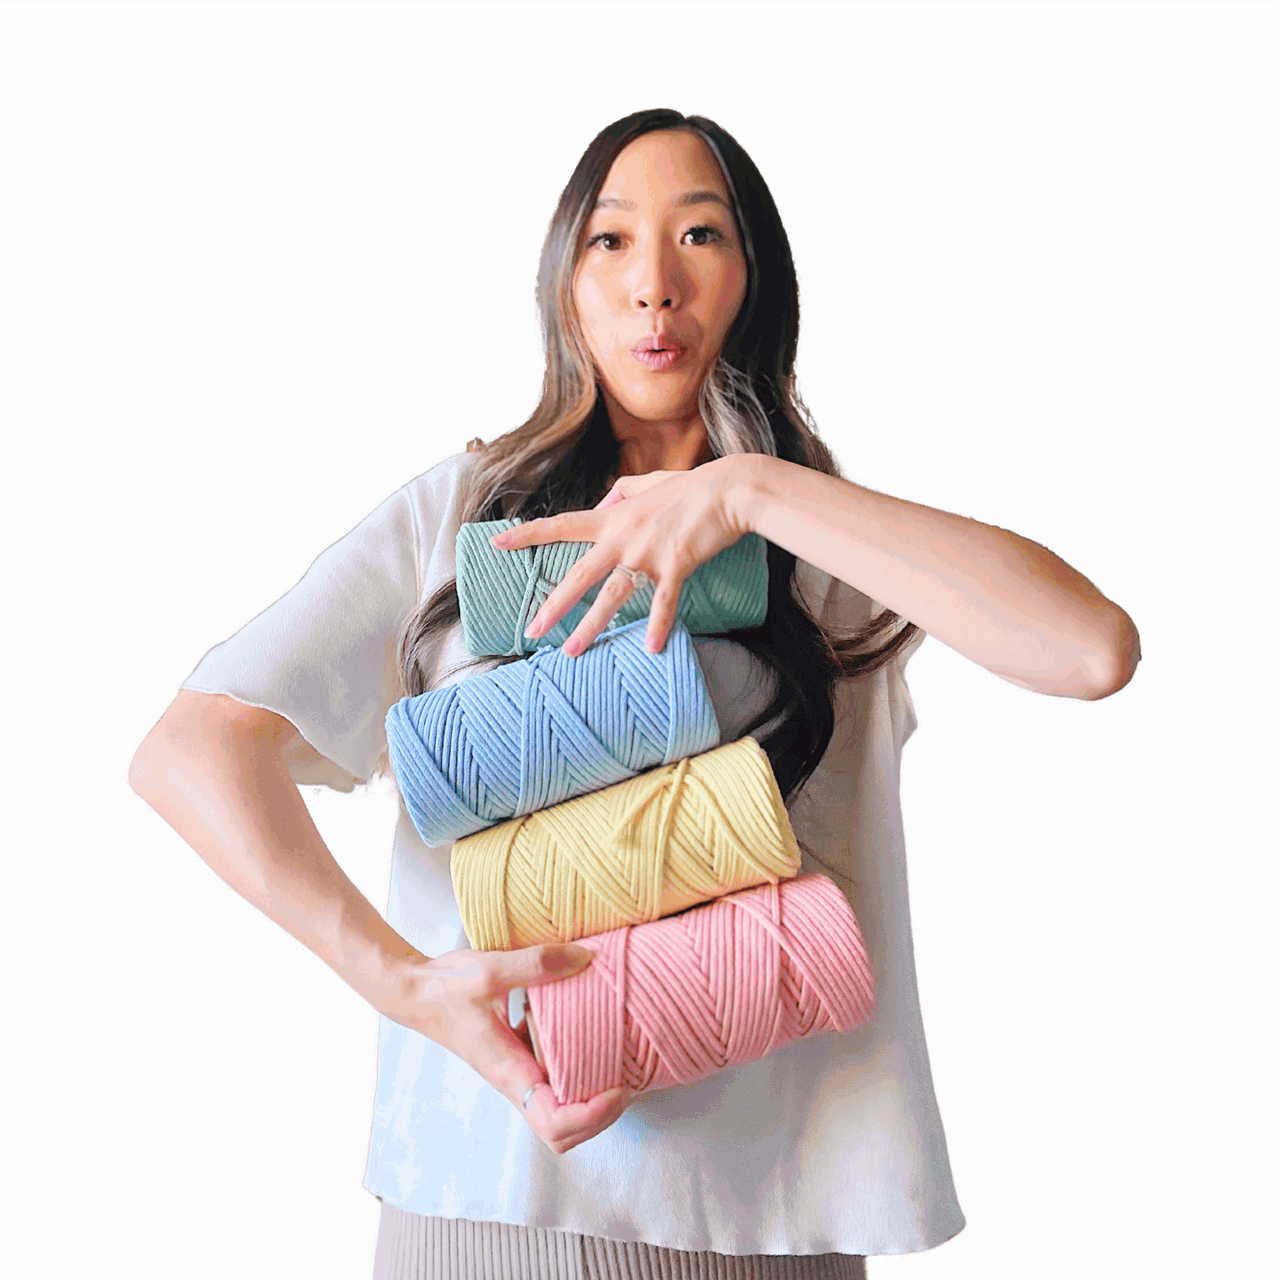
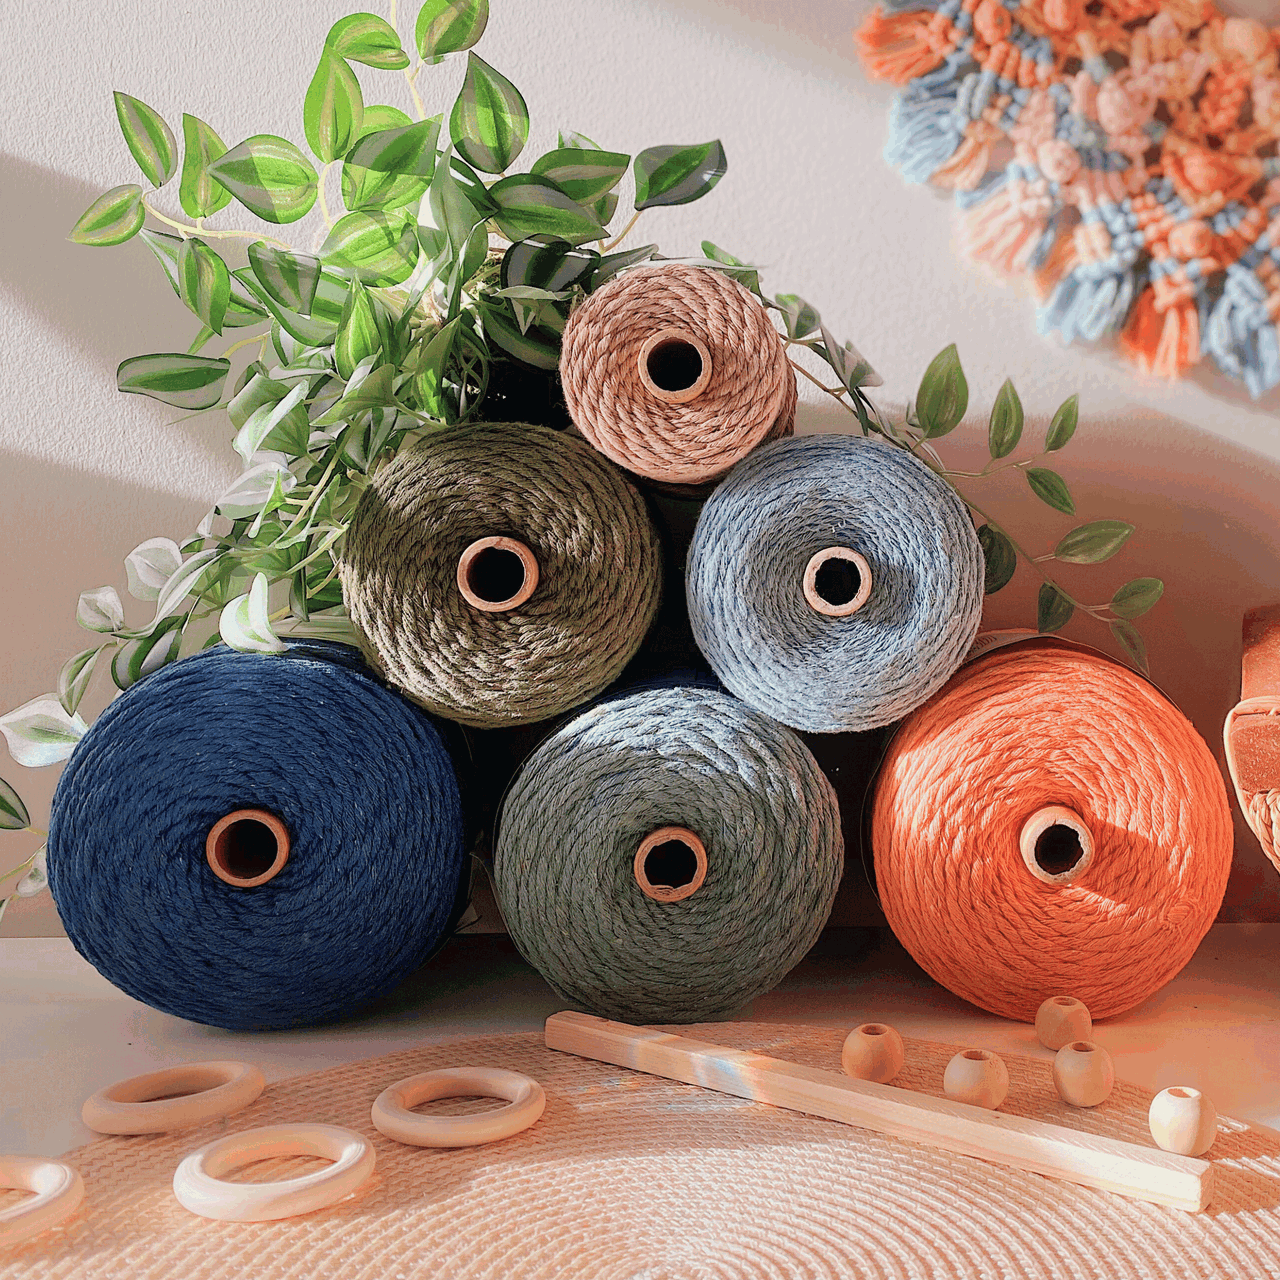
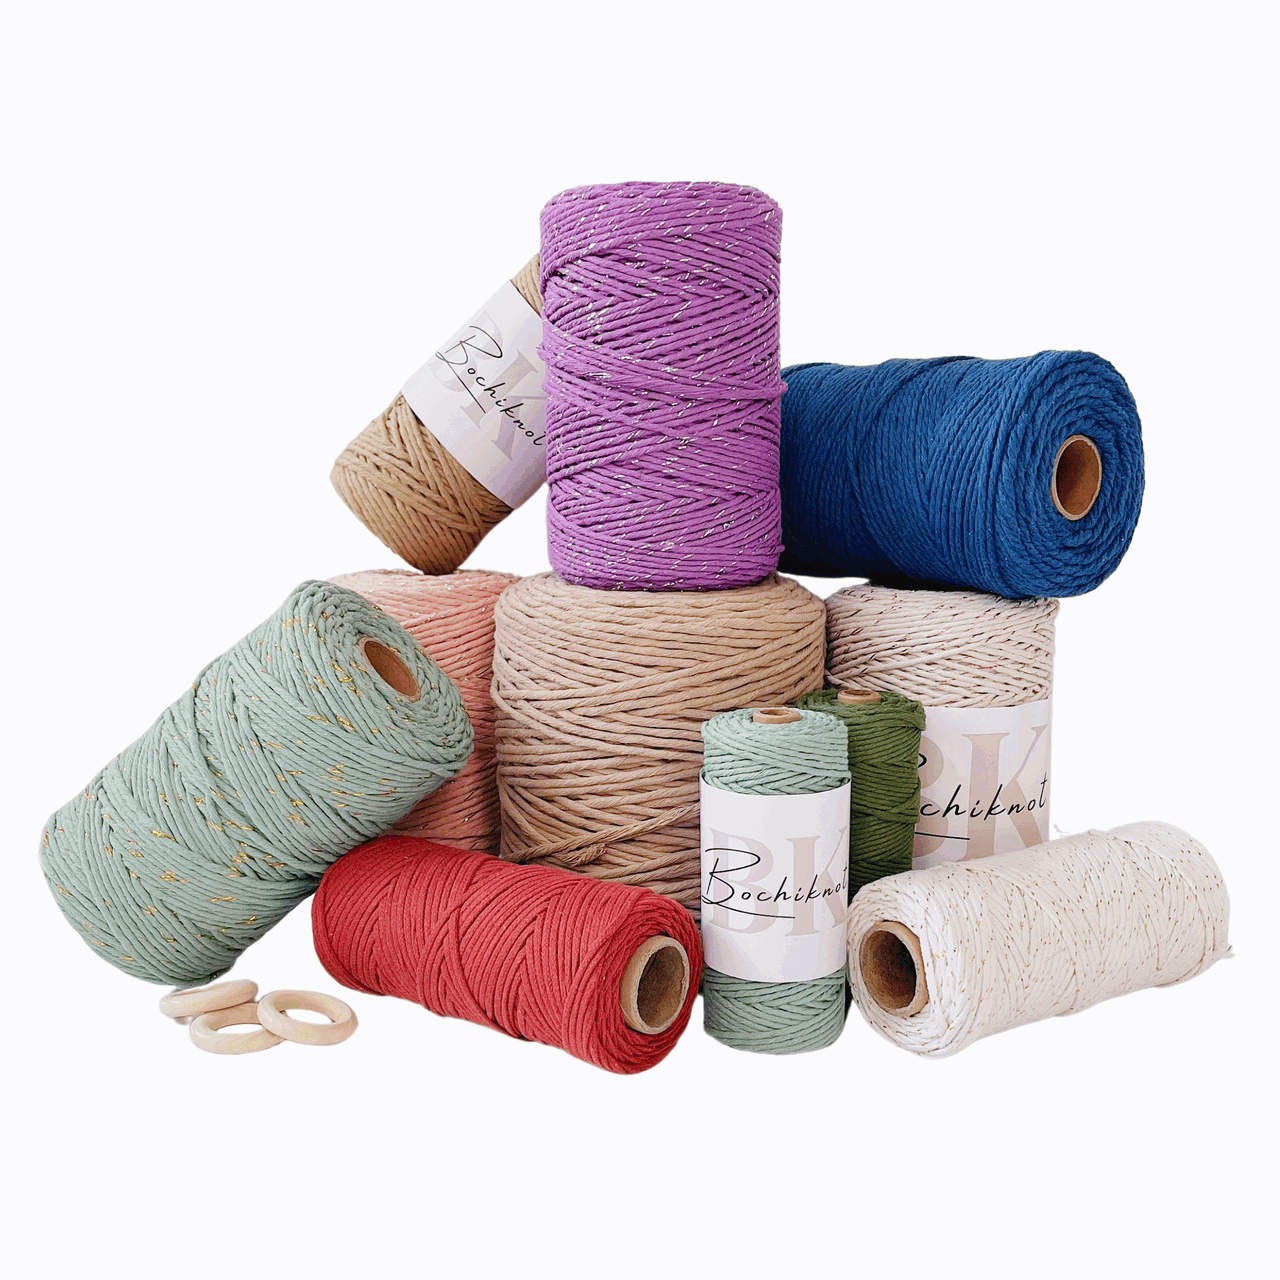
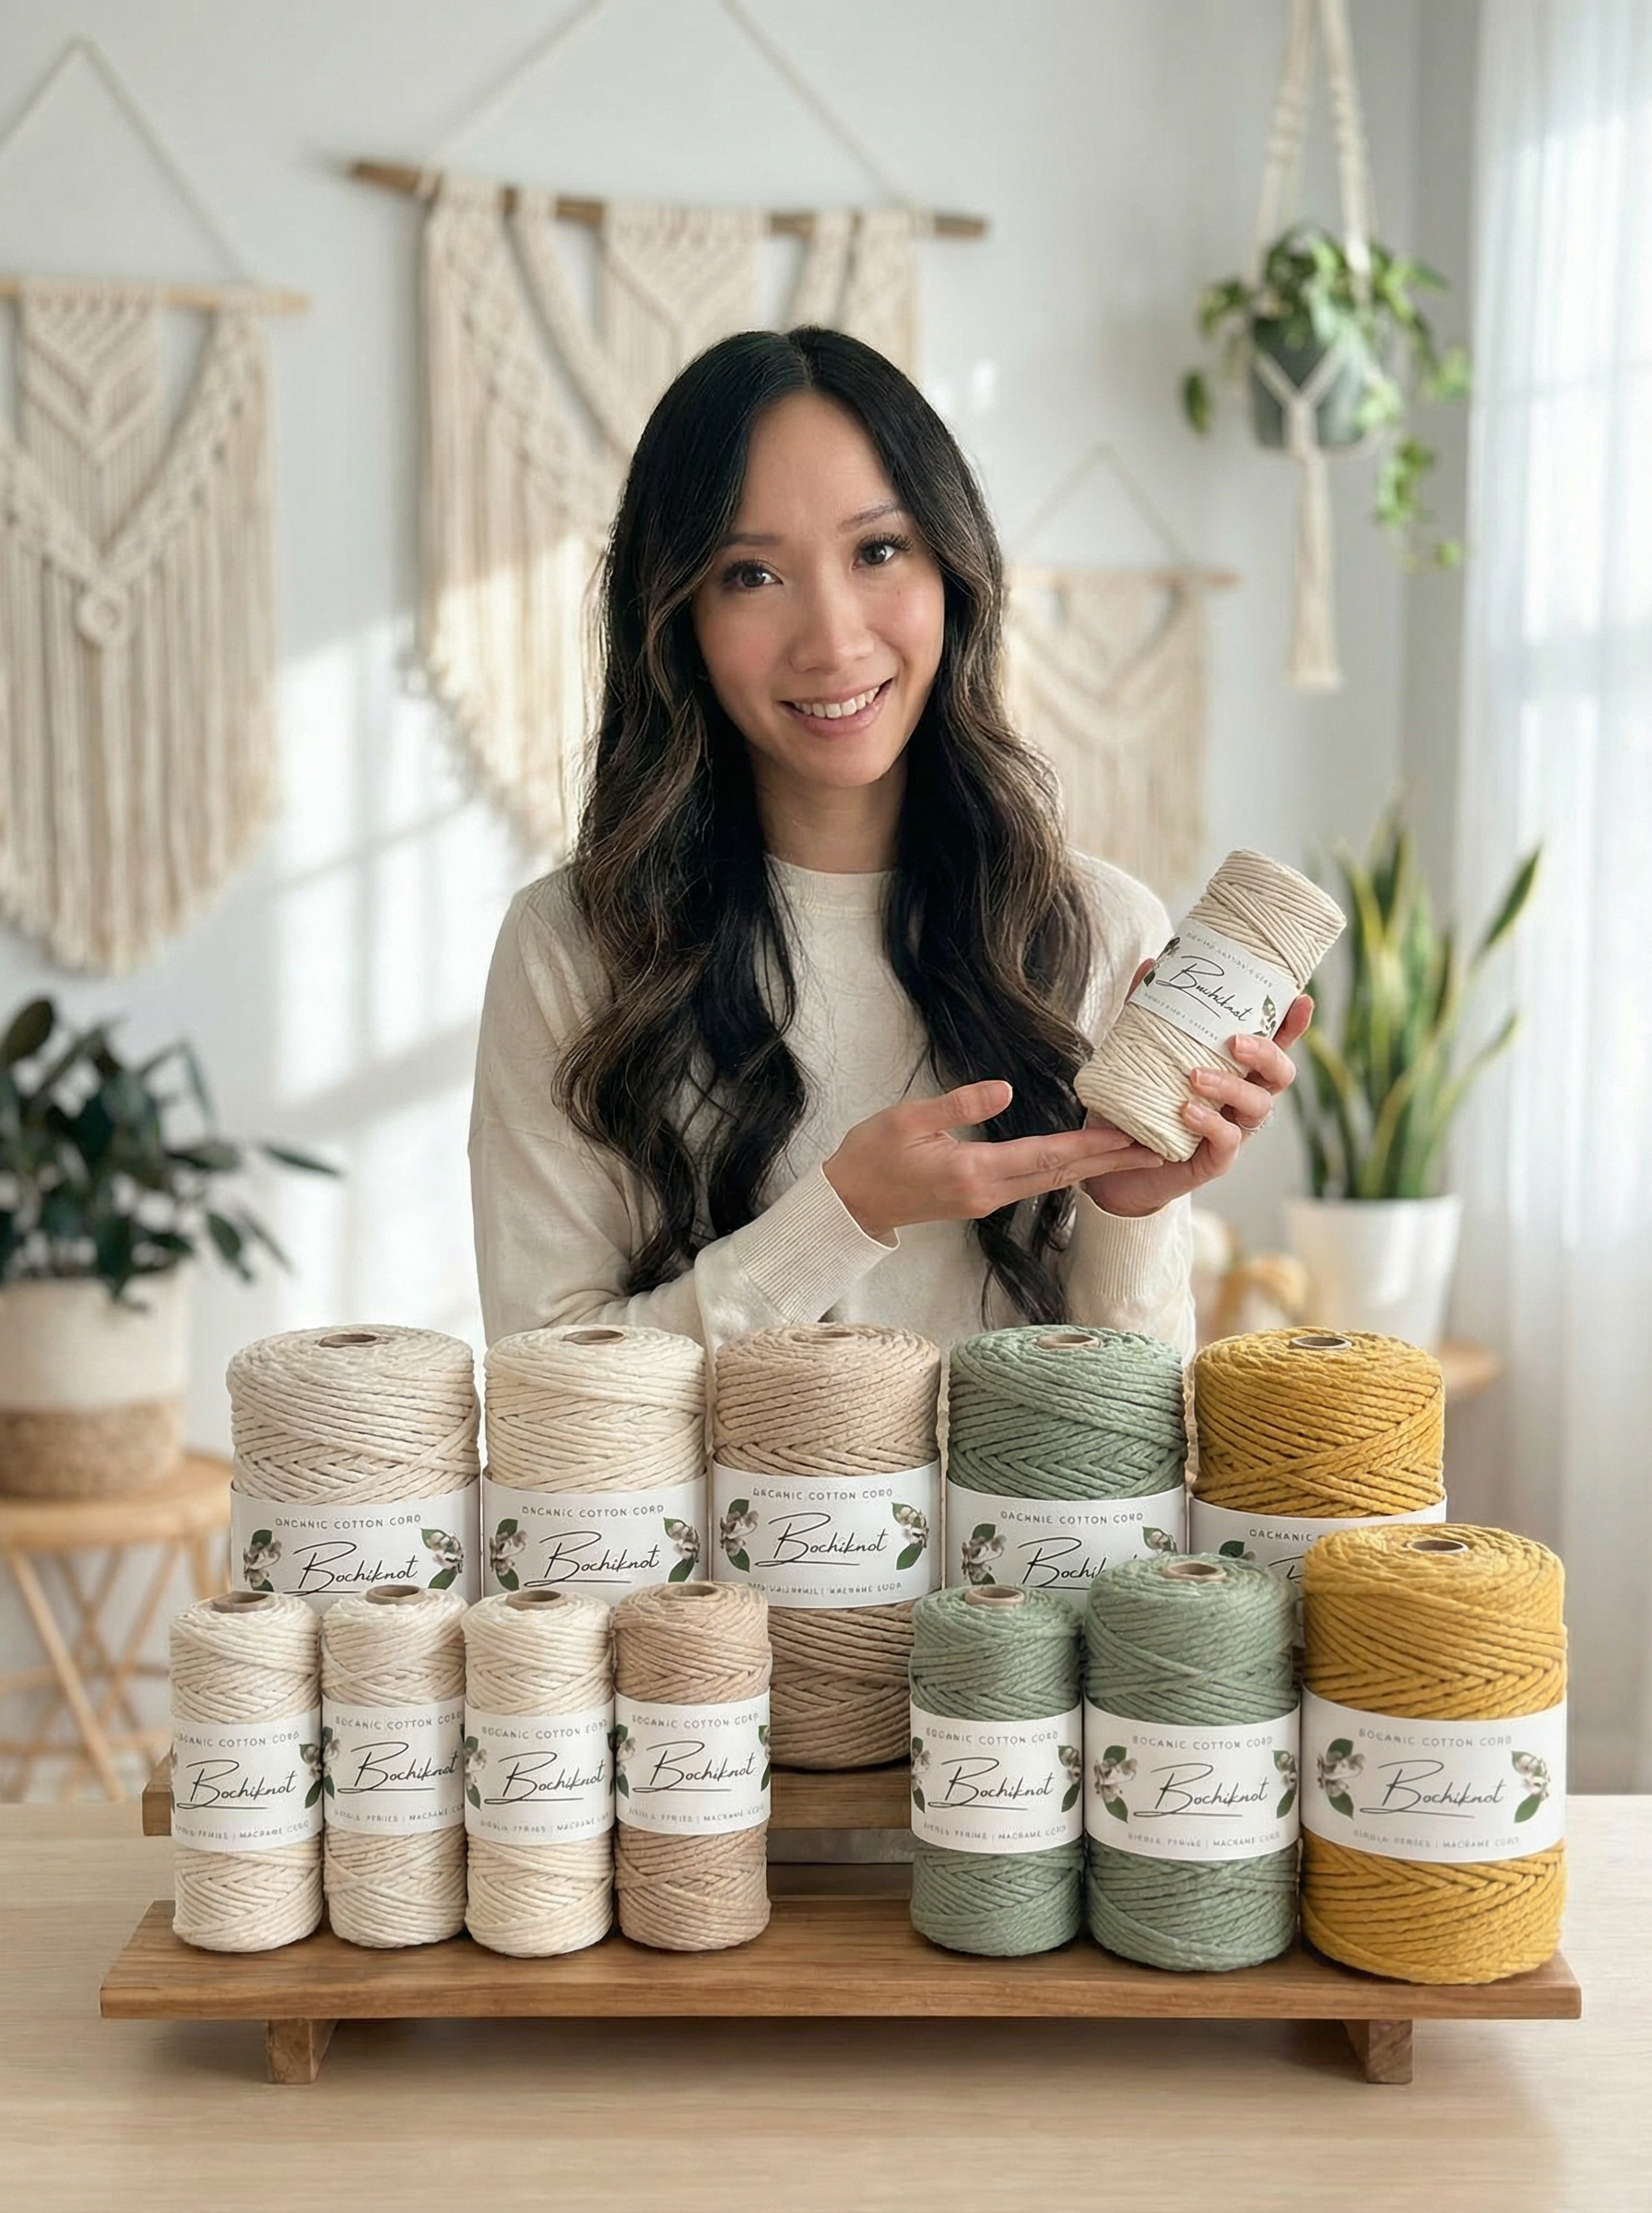
The original tutorial uses 3mm three-ply cotton cord in Pink Quartz. Look for a comparable 3mm cord and make a short sample before committing to the full collar. Softer single-strand cord gives a different look; thicker cord changes the weight, drape and diamond size.

3mm Three-Ply Cord
Choose the 3mm option for a textured collar and fringe. Allow extra cord beyond the 36m collar cutting list.
Shop Three-Ply Cord →
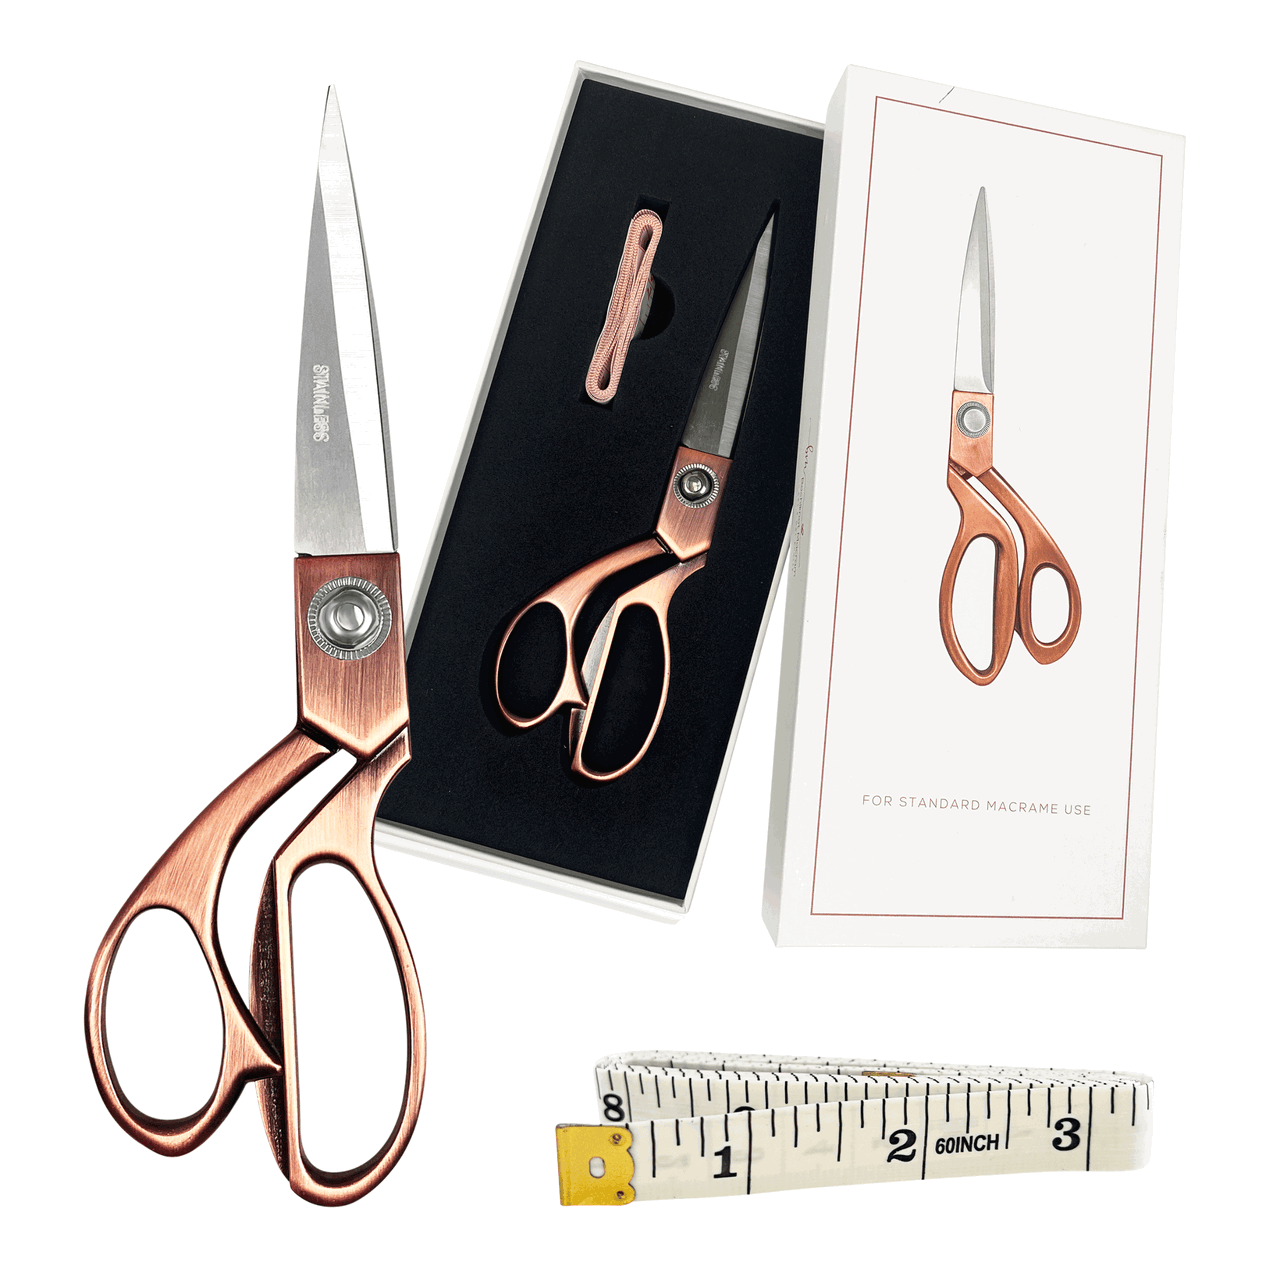
Measuring Tape
Measure the shoulder span and compare both bands before joining the neckline.
Shop Measuring Tape →
Rose Gold Scissors
Cut the collar cords accurately and trim the fringe only after checking how the poncho hangs.
Shop Macrame Scissors →Also Have These Nearby
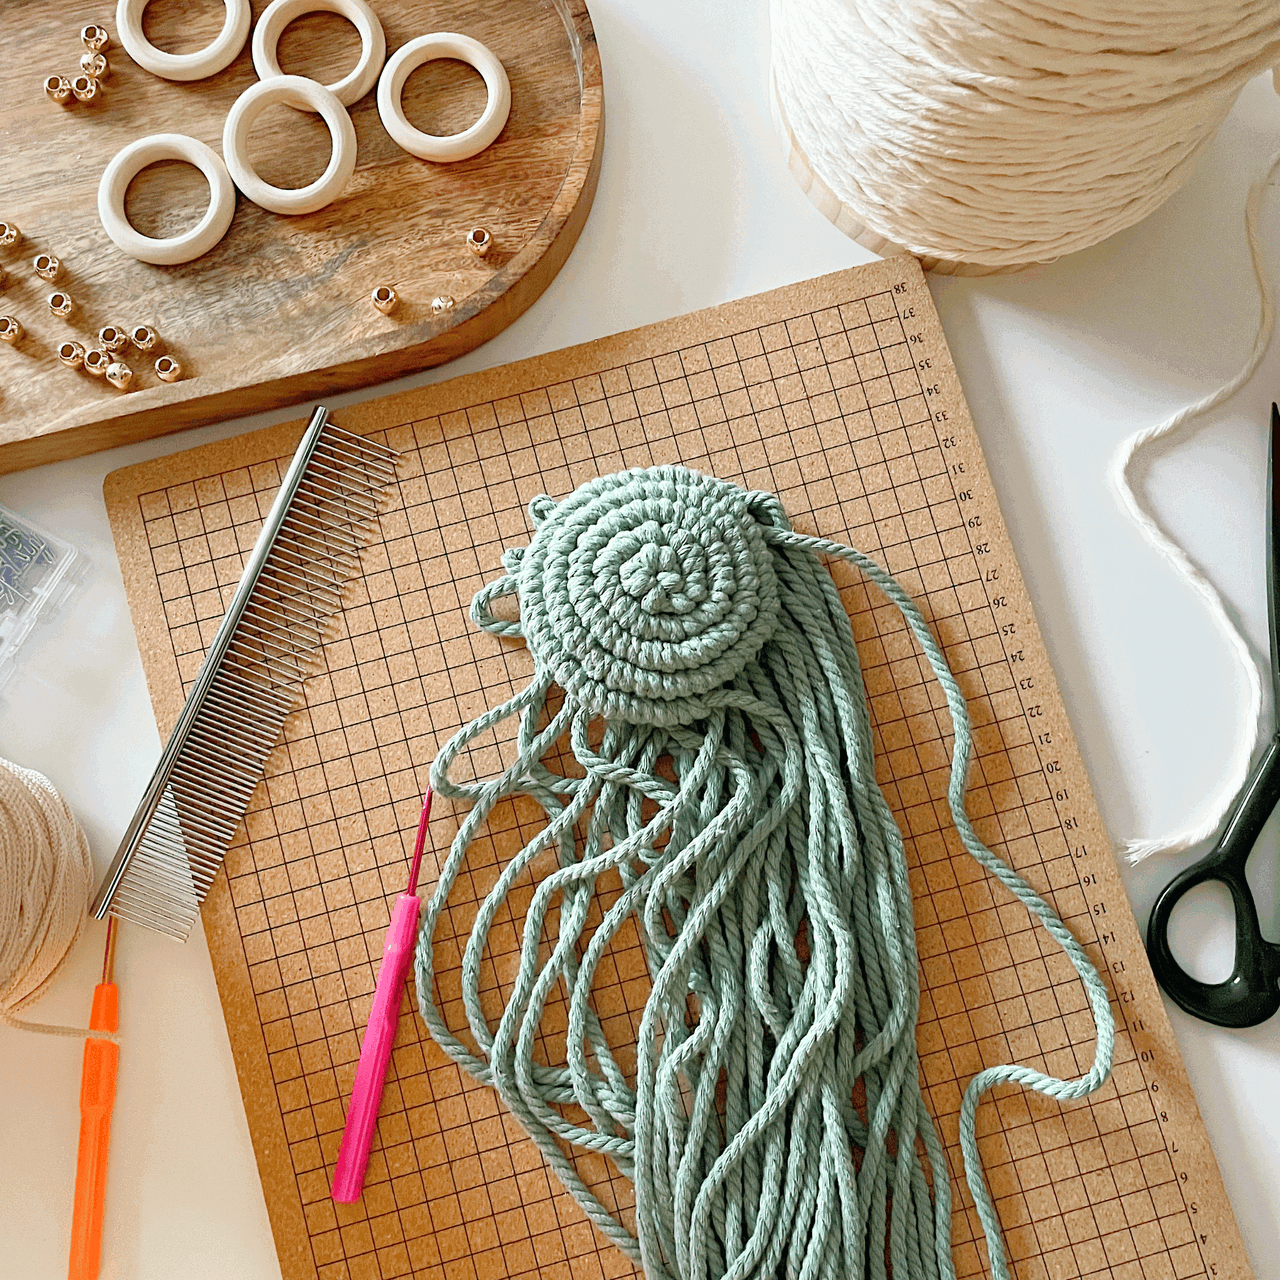
Use pins with a cork or macrame board, or tape the work to a stable surface. A dress form is helpful for checking the drape, but you can work flat and try the collar on instead. Keep a ruler or measuring tape beside you as you repeat the diamonds.
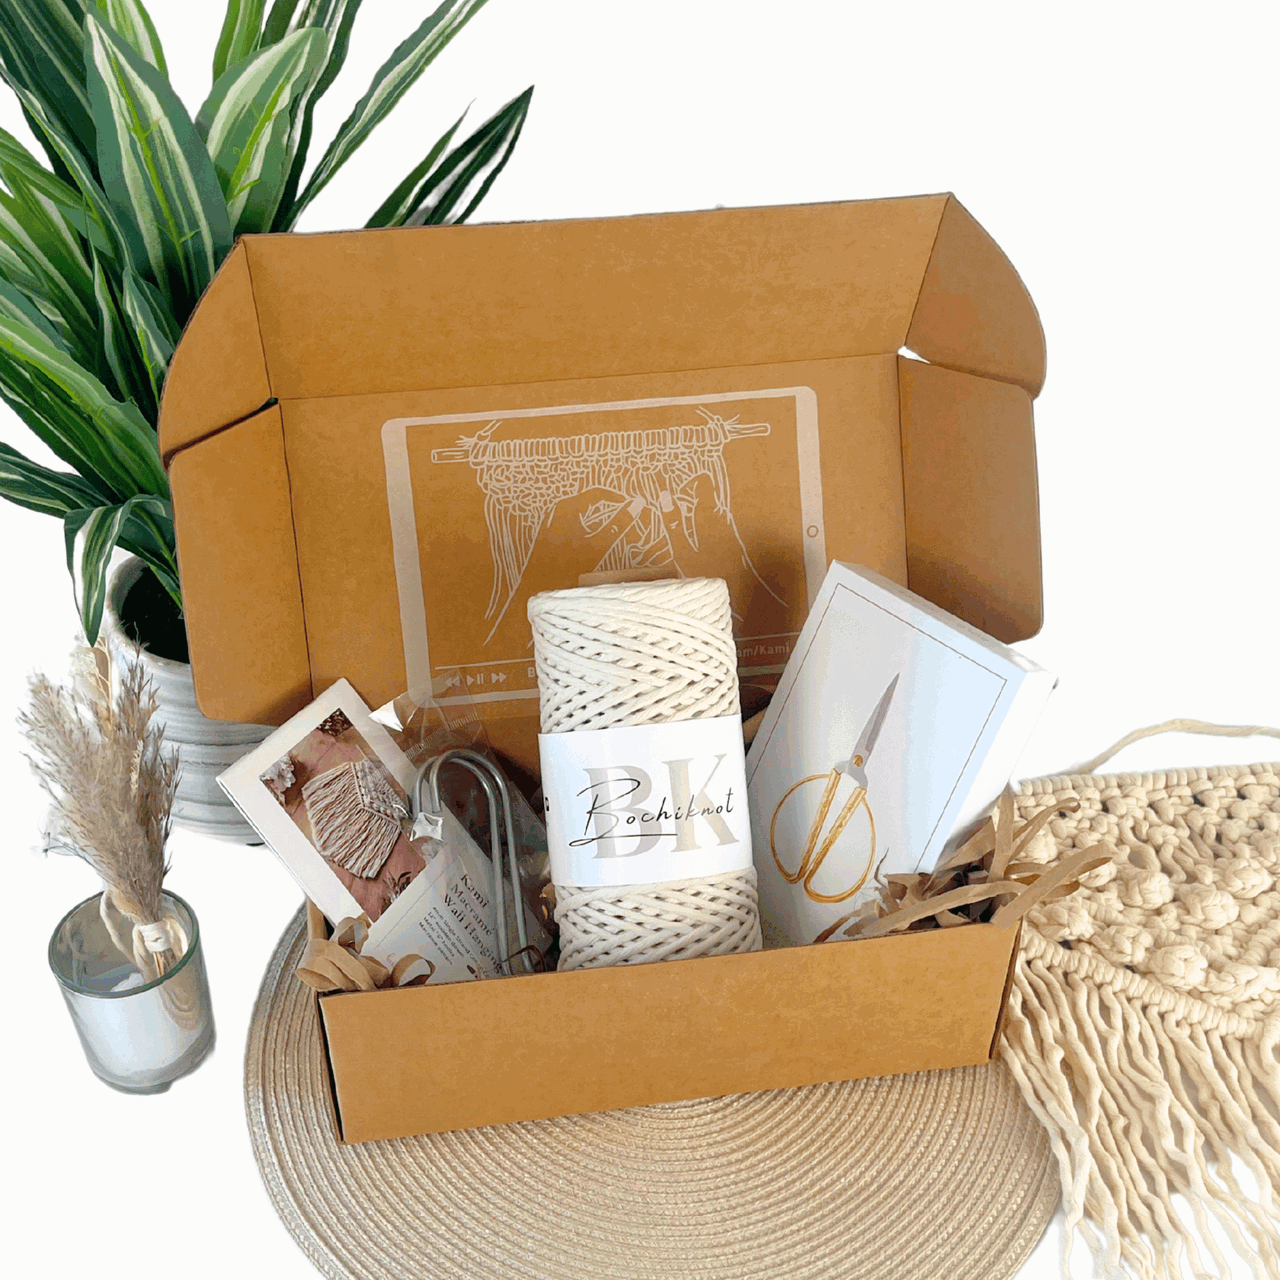
For other craft essentials, you can also browse our Bochiknot Amazon US storefront.
As an Amazon Associate, Bochiknot earns from qualifying purchases, at no extra cost to you.
Cutting List: Measure Before You Knot
| Use | Cut Length | Inches | Notes |
|---|---|---|---|
| First collar band | 6 × 300cm | About 118 in each | 18m total |
| Second collar band | 6 × 300cm | About 118 in each | 18m total |
| Initial fringe for the front center | 4 × 150cm | About 59 in each | Two cords per middle loop |
| Graduated fringe | Cut as you work outward | Shorten each next group by 10cm | Repeat the arrangement on the back |
| Side attachments | 4 suitable long offcuts | Two on each side | Reuse only if long enough for your chosen fringe |
Understand the Knots Before You Combine Them

Double Half Hitch
Two half hitches around an anchor cord. Hold the anchor at the angle you want the row to follow.
See The Knot Tutorial →
Lark’s Head & Reverse Lark’s Head
Attach a folded cord to a support. Check which face of the attachment your pattern calls for.
See The Knot Tutorial →Measure from the middle top of one shoulder to the middle top of the other as a starting reference for the bands. Make one diamond and measure it without stretching. Use that sample to estimate your repeats, then test the joined neckline over your head before trimming. Longer starting cords provide working length; they do not automatically create a larger size.
Watch Nicole Make It
Watch the whole pattern first, or jump straight to the timestamp beside each step. The photos below show the original demonstration.
How to Make Your Macrame Poncho
1. Secure the first six cords
Cut six 300cm cords. Measure 55cm from one end and tie a temporary overhand knot to hold that point. Secure it with the short ends facing up; work the diamond band with the longer ends.


Keep the shorter ends together so they don’t become mixed into the working group.
2. Start the first diagonal rows
Take the middle two cords and make a DHH diagonally to the left. Continue with two more DHH knots to the left, then two to the right, following the photo sequence.


Hold the anchor at a steady diagonal rather than pulling it vertically.
3. Add the inner diagonal
Make the additional diagonal DHH to the left in the middle of the pattern. Keep enough space to recognize the cords before tightening the knot into place.

Use the close-up to check which cord is wrapping and which is guiding the row.
4. Close the first diamond
Work the V-shaped DHH row on both sides to close the diamond. Bring the lower point together neatly, without pulling one side tighter than the other.


Stop here and measure your first complete diamond. It is your useful reference for the next repeats.
5. Repeat the diamond band
The tutorial repeats the motif twelve more times, giving thirteen diamonds in a band approximately 40cm long. Compare your band with your measurement and sample; adjust the number of complete repeats if needed.

Don’t force the band to reach a measurement by stretching it. Changing repeats may require longer starting cords.
6. Make a matching second band
Use the remaining six 300cm cords to repeat the same band. Lay both bands side by side with no tension and compare their length, diamond count and spacing.

Correct a noticeably tighter section now, before the two bands are joined.
7. Join the two bands into a neckline
At a join, take three cords from each band. With the middle two, make a diagonal DHH to the left; add two more to the left and two to the right. Work the middle DHH and close the V-shaped diamond as shown. Repeat at the other side.


Remove temporary securing knots as needed and check that the opening passes comfortably over your head. Try the collar on before proceeding.
8. Prepare the side fringe
Leave about 50cm on the existing fringe ends and trim excess only after checking your desired length. Save four suitably long offcuts and attach two on each side loop with reverse lark’s head knots, as demonstrated.


If your offcuts are too short for the look you want, cut fresh lengths rather than pulling the attachments tight to compensate.
9. Add the graduated front fringe
Begin with four 150cm cords: attach two to each of the middle two loops using reverse lark’s head knots. Continue outward in matching groups, shortening each successive group by 10cm. Mirror the arrangement from the center.


Make a note of the cuts and the loops you fill. This becomes your guide for matching the back.
10. Repeat on the back and refine the hem
Repeat the fringe arrangement on the back. Let the poncho hang naturally, check it on your body or dress form, and trim a little at a time to balance the drape.

Check the front and back from a distance before the final cut. You can always shorten fringe; you can’t restore a cut end.
The neckline slips on comfortably, both bands sit evenly, the joins feel secure, and the fringe falls as intended when worn. Check the fit with the layer or swimwear you plan to wear underneath.
Make It Your Own
Layer your finished poncho over swimwear, a fitted top or a simple dress. Try it with a shorter fringe for a lighter feel, or keep the long graduation for movement. Decide on the neckline and coverage before cutting the final hem.
Share your finished piece and tag @bochiknot on Instagram—we’d love to see your version.
Questions Before You Continue?
How much cord do I need for this macrame poncho?
The sample collar uses twelve 300cm cords: 36m in total. Fringe is additional and varies with the loop count, coverage and finished length. List every fringe cut for the front and back, add those lengths to the collar total, and allow extra for sampling and trimming.
How do I make a larger size?
Start with measurements and a diamond sample, then adjust the number of repeats and test the neckline. The earlier tutorial suggests 350cm starting lengths as an adaptation, but that is extra working cord—not a guaranteed M/L size. A larger band or longer fringe may need more than this. Make and check one band before cutting an entire adjusted set.
Is this suitable for my first macrame project?
It uses two main knot types, but many repeated DHH knots. Practice a small diamond first. When you can make two similar diamonds, the collar becomes a manageable repeat. Give yourself several sessions if you’re new to controlling tension.
Can I use 4mm or single-strand cord?
Yes as an experiment, but the original is 3mm three-ply. A change in thickness or construction changes the finished width, weight, drape and cord use. Make a sample and base your measurements on that cord rather than assuming the original cutting list will give the same fit.
Why are my two bands different lengths?
Compare the repeat count and the size of each diamond. Keep the support position and tension consistent. If one section is noticeably tight, remake that section rather than stretching the shorter band until it matches.
How should I care for a handmade macrame cover-up?
Follow the care guidance for your specific cord. Avoid unnecessary soaking or aggressive wringing, which can affect shape and fringe. For a small mark, spot-clean gently first, support the garment while wet and lay it flat to dry. Keep long fringe separated in storage.
Your Next Step With Macrame
Build on what you’ve practiced with these related Bochiknot tutorials.

Knot Your Way to Style: How to Make a Macrame Crossbody Bag
Explore the full guide with Nicole and choose a technique to practice next.
Explore The Tutorial →
Knot Your Own DIY BOHO-CHIC Macrame Bag You’ll ADORE
Explore the full guide with Nicole and choose a technique to practice next.
Explore The Tutorial →
3 Macrame Knot Patterns: Colourful Sennits, Step by Step
Explore the full guide with Nicole and choose a technique to practice next.
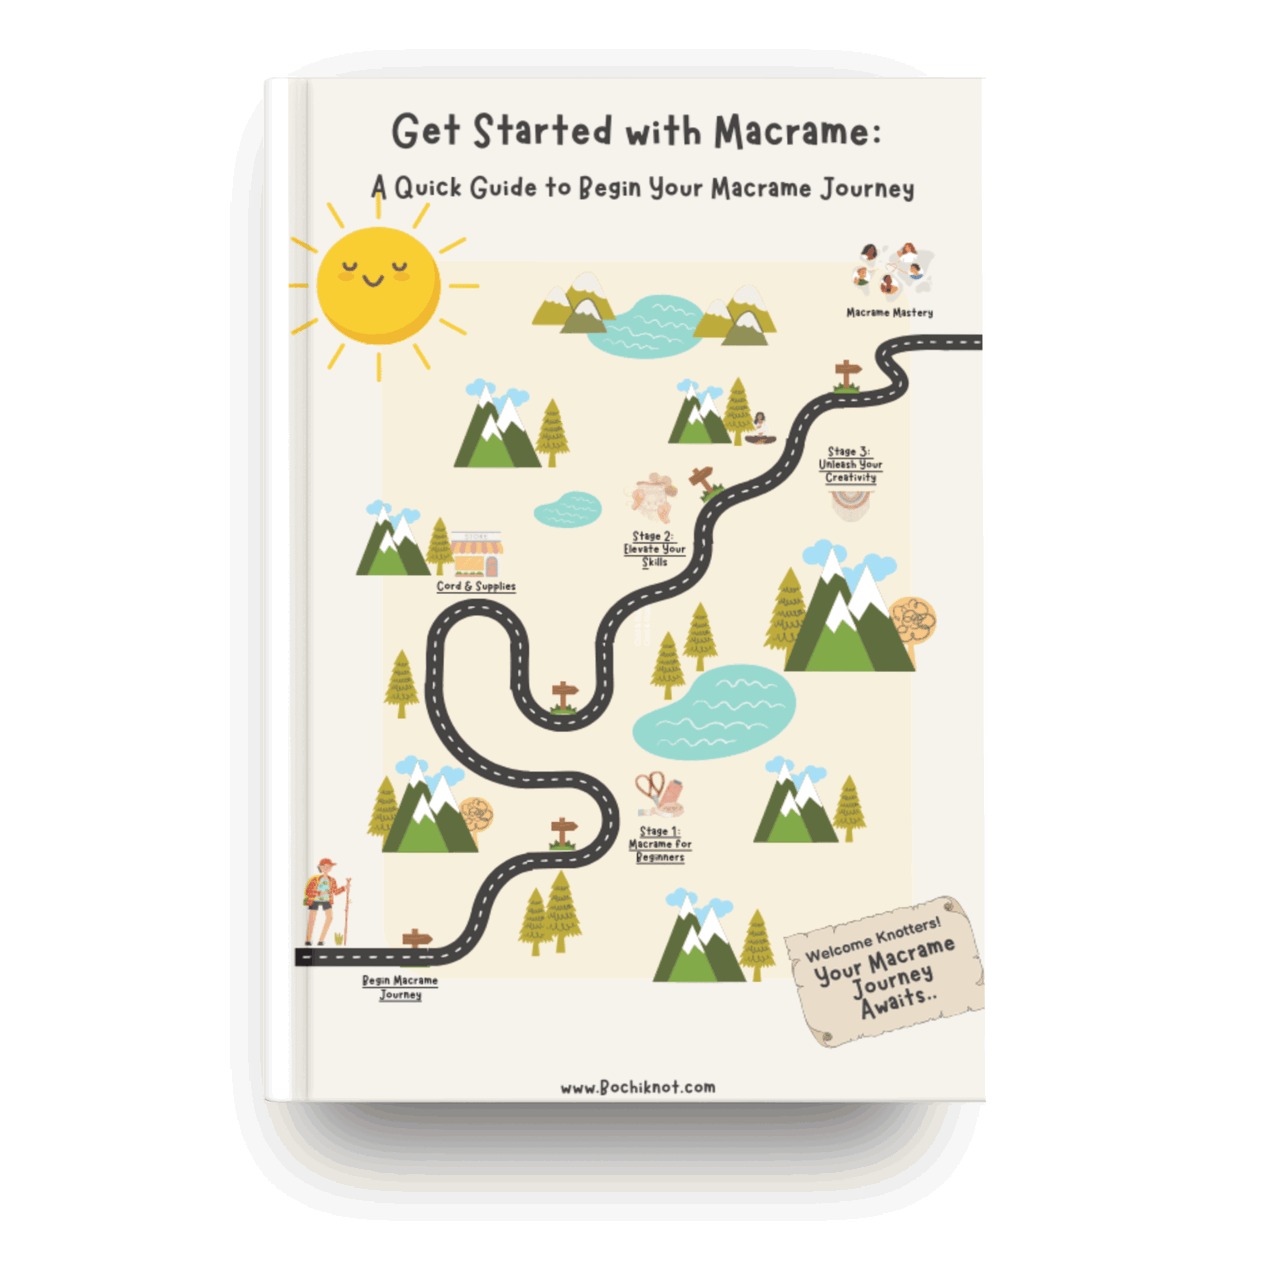
Explore The Tutorial →For a broader learning path, visit the Macrame Journey and choose the stage that fits your experience.
KEEP A KNOT REFERENCE NEARBY
A Little Help Between Tutorial Pauses
Revisit a knot before repeating it across your project. Our free 50 Macrame Knots & Sennits guide gives you a reference to return to as you learn.
Get The Free Knot Guide →A LITTLE SUPPORT FOR YOUR NEXT PROJECT
Keep Learning With The Bochiknot Patreon Community
If you would like a regular reason to pick up your cord, explore the Bochiknot community on Patreon. Choose the level of guidance that fits the projects you want to make.

TIER 1
Mini-Macrame Creations
Explore smaller projects with patterns and video guidance.

TIER 2
Mastering Macrame Skills
Build your technique through guided projects, lessons, and creative challenges.

TIER 3
Macrame Masterpiece
Explore a learning and materials-kit option. Compare the kit schedule and shipping details on Patreon.
Tier 3 also has Macrame Masterpiece Lite (S2) and Macrame Masterpiece Bundle (S1) options. See Patreon for the current inclusions, availability, and pricing.

NICOLE WOO · BOCHIKNOT
Wearable macrame starts with the same small knot you already know. Check the fit, let the fringe move, and enjoy making a piece that feels like you. Happy knotting!

A Little Inspiration Between Projects
Follow Bochiknot for tutorials, new ideas, and more ways to keep knotting.
Pattern and instruction: Nicole Woo, Bochiknot. Original demonstration photos are used for the instructional steps; the featured image is a styled scene.

Leave a comment