












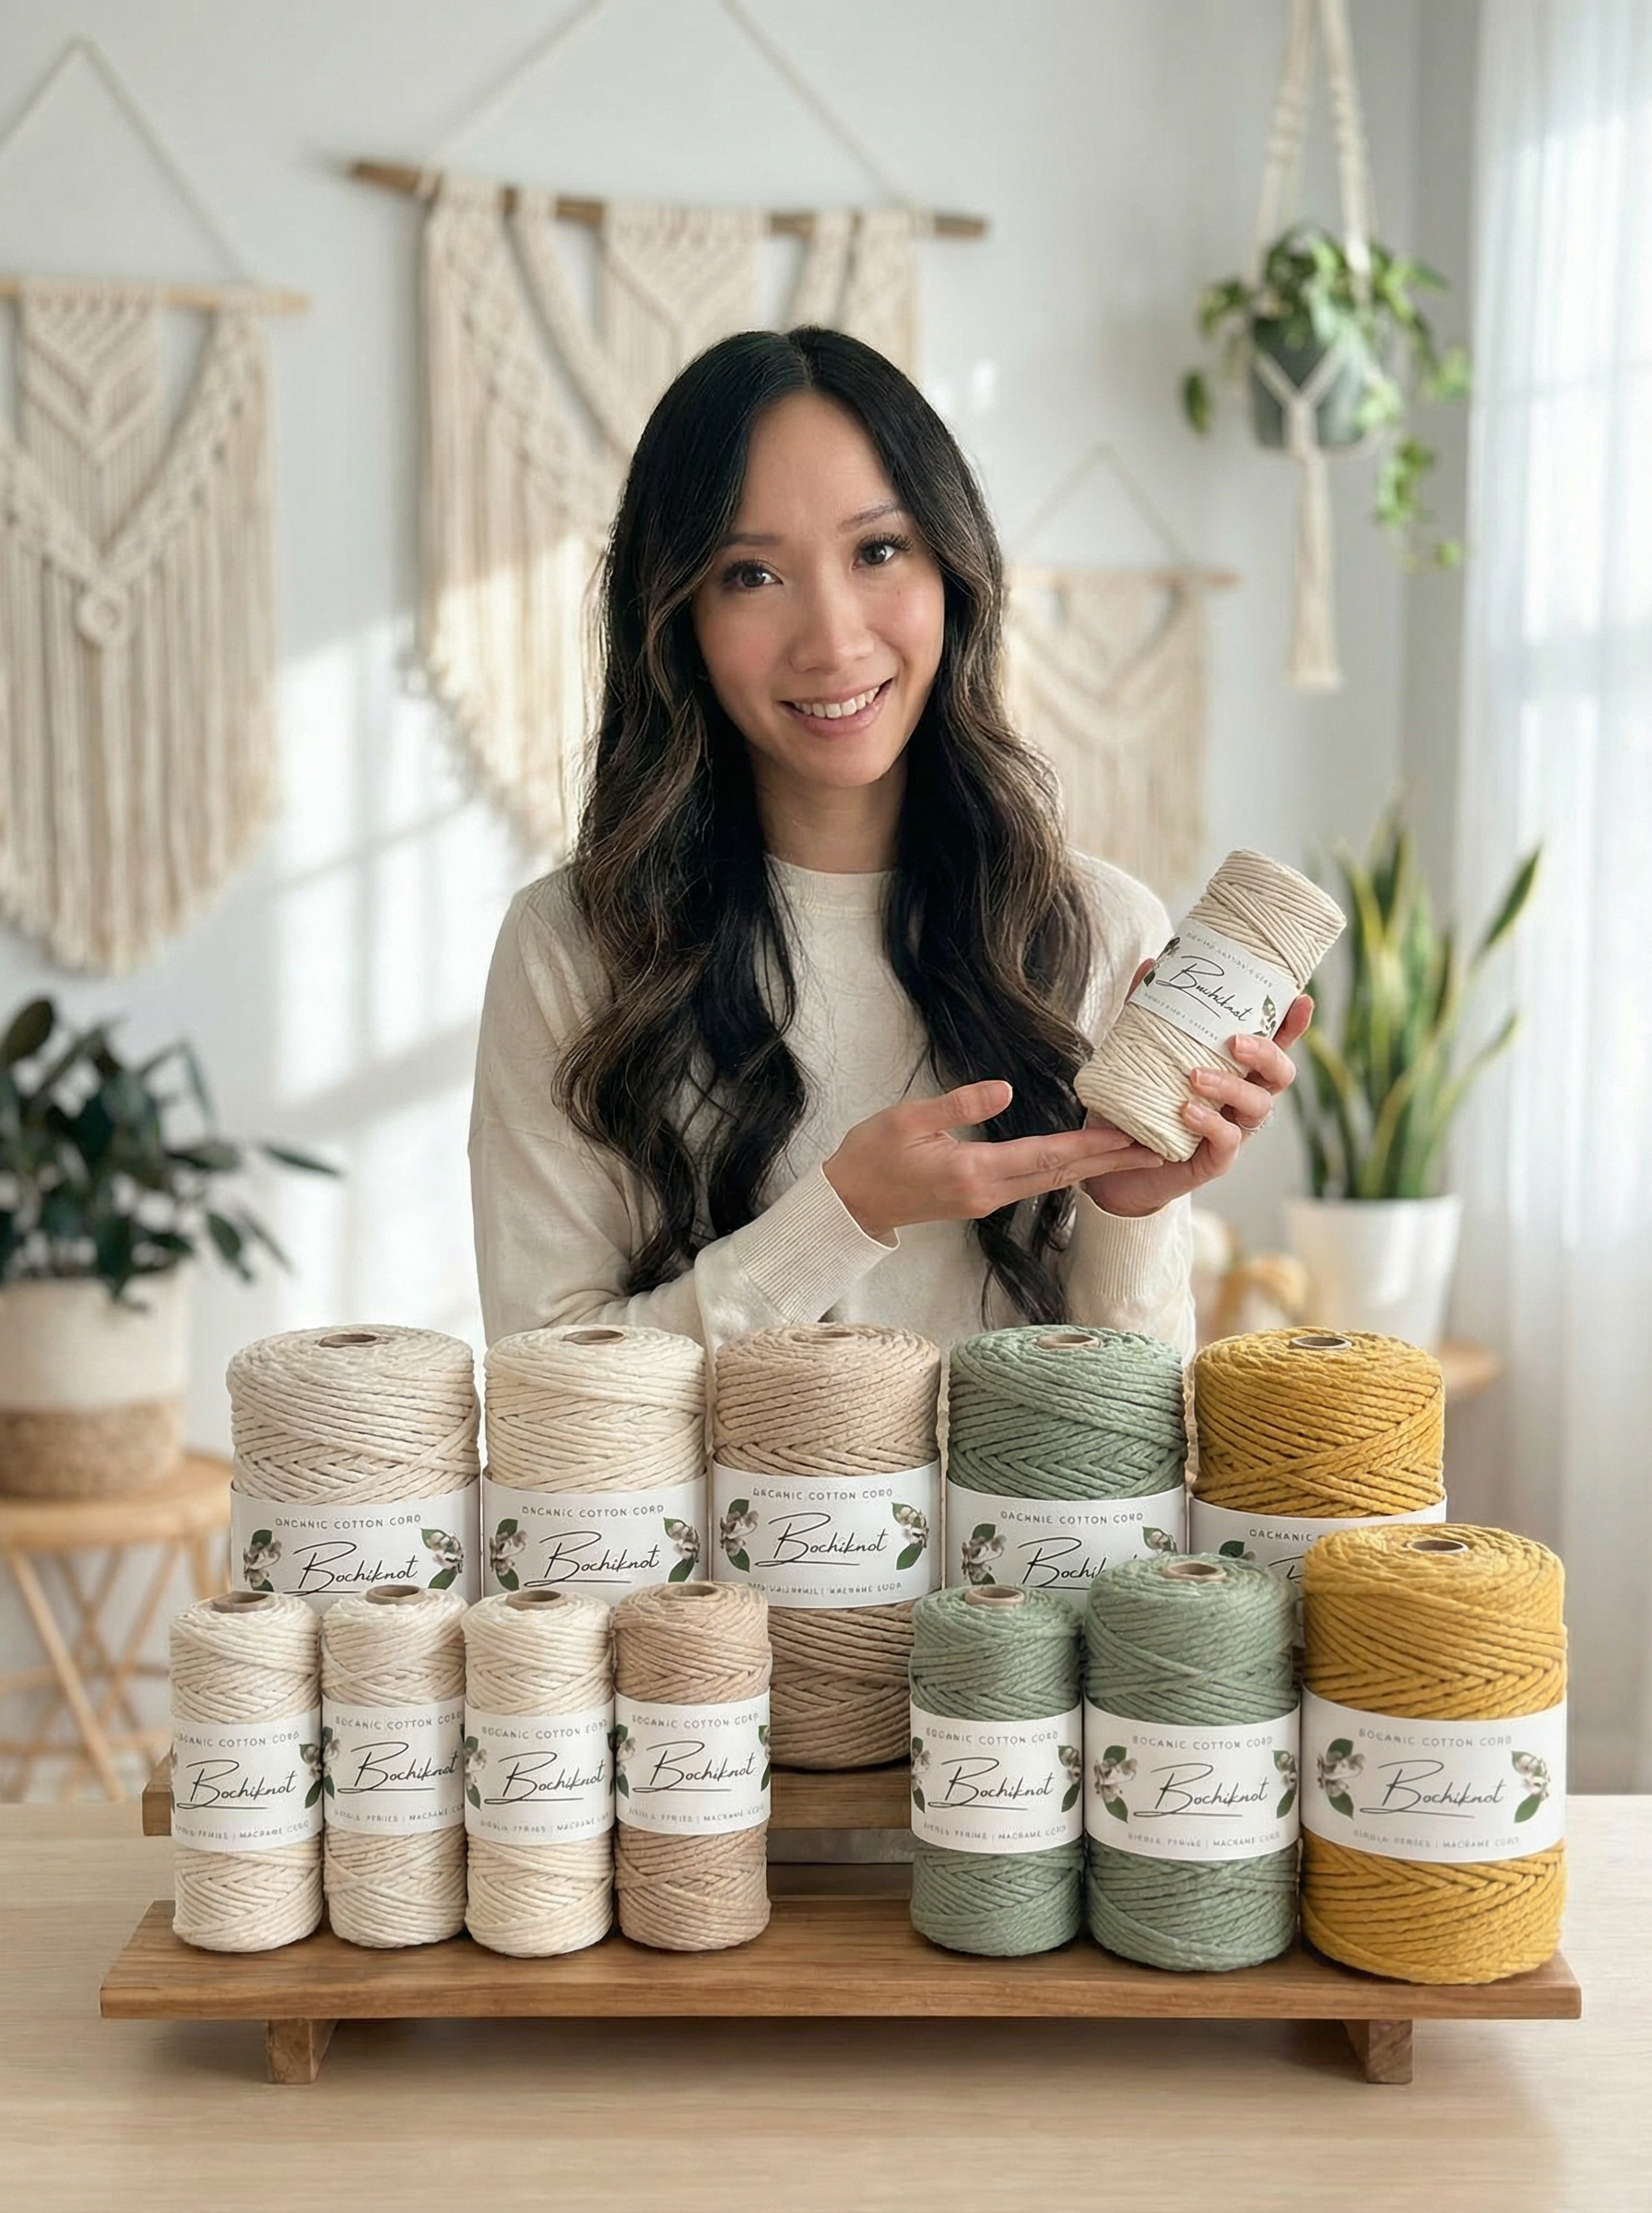
7 Macrame Troubleshooting Tips for Easier Knotting and Neater Finishes

MACRAME TECHNIQUE & TROUBLESHOOTING · BY NICOLE WOO
A bead that won’t thread. Cord lengths that don’t match. A row of knots that looks uneven, no matter how much you tighten it.
These little frustrations can interrupt an otherwise enjoyable macrame project—but they don’t always mean you need to start again.
In this guide, I’ll walk you through seven practical tips for preparing your cord, adjusting your knots, and finishing your work neatly. Some help you prevent a problem; others help you fix one already in front of you.
Find your issue below, follow the photo steps, and check your result before moving on. Often, one small adjustment is enough to get you knotting comfortably again.
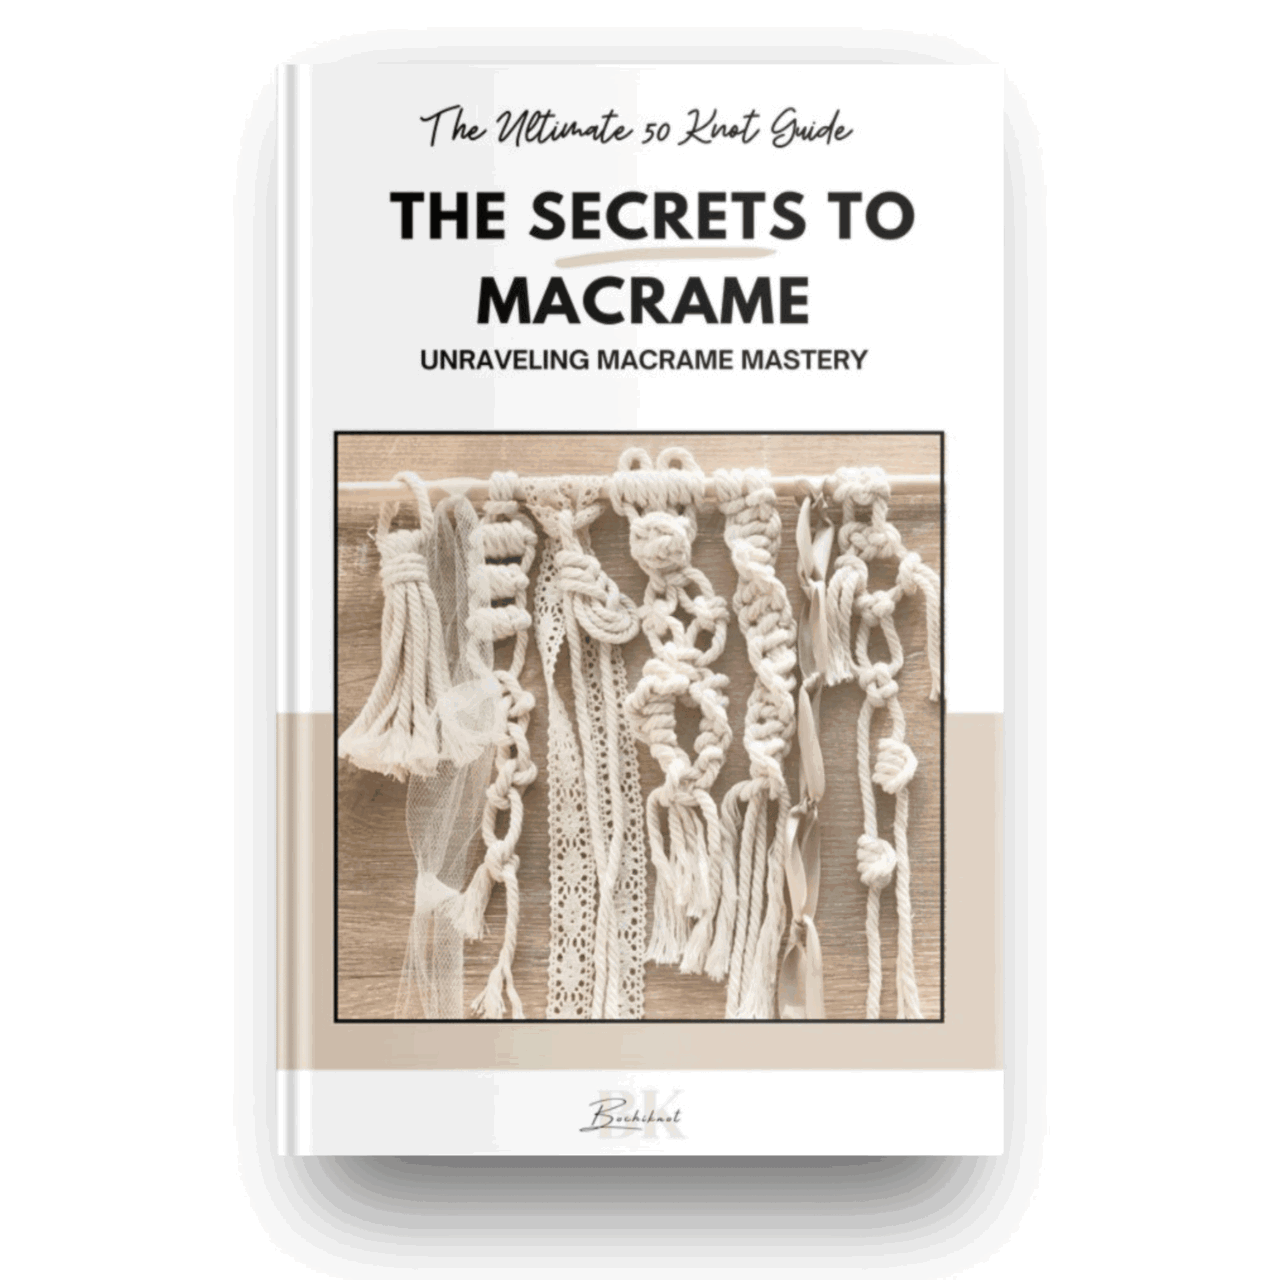
A great place to start is our free 50 Macrame Knots & Sennits PDF. Keep it beside you when you need a quick knot refresher.
For neater macrame, check the cord path before tightening, measure without stretching, and secure your ends before trimming. Use a threading loop for beads, steady anchor tension for DHH rows, and a crochet hook to weave suitable finishing tails into the back of the work.
How to Use This Guide
These are technique adjustments, not a replacement for your project’s finishing instructions. Test a change on a scrap or a small section before applying it to your finished piece.
What’s Going Wrong?
| The Problem | Try This First |
|---|---|
| The cord won’t pass through a bead | 1. Thread with a loop; check the hole fit → |
| The spool rolls away while measuring | 2. Stabilize the roll → |
| Equal cuts end up different lengths | 3. Use one measured reference → |
| A row looks uneven or bunches up | 4. Check the anchor and tension → |
| A gathering knot has loose loops | 5. Straighten the bundle before locking → |
| Loose tails spoil a fringe-free edge | 6. Weave tails before trimming → |
| Attaching many cords feels slow | 7. Preform attachments on an open dowel → |
Tools That Make the Fix Easier

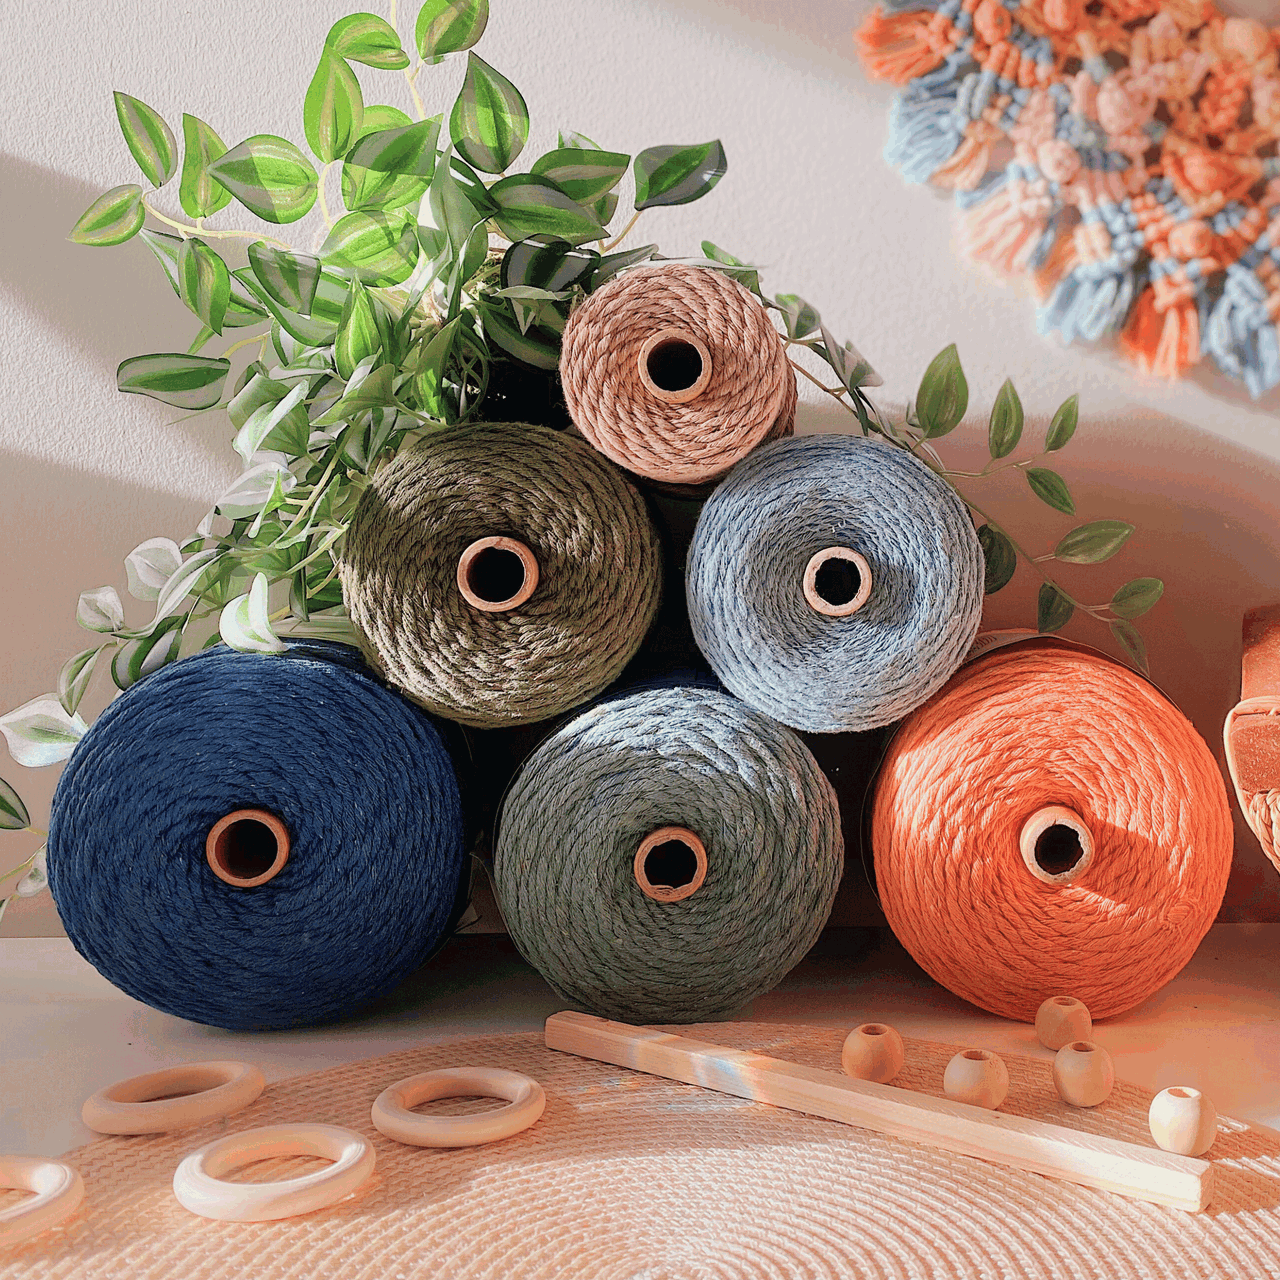
You do not need a new tool for every problem. Start with what you own, then choose the item that addresses the obstacle: a bead with a suitable hole, a tape measure that stays flat, or scissors that make a controlled cut.

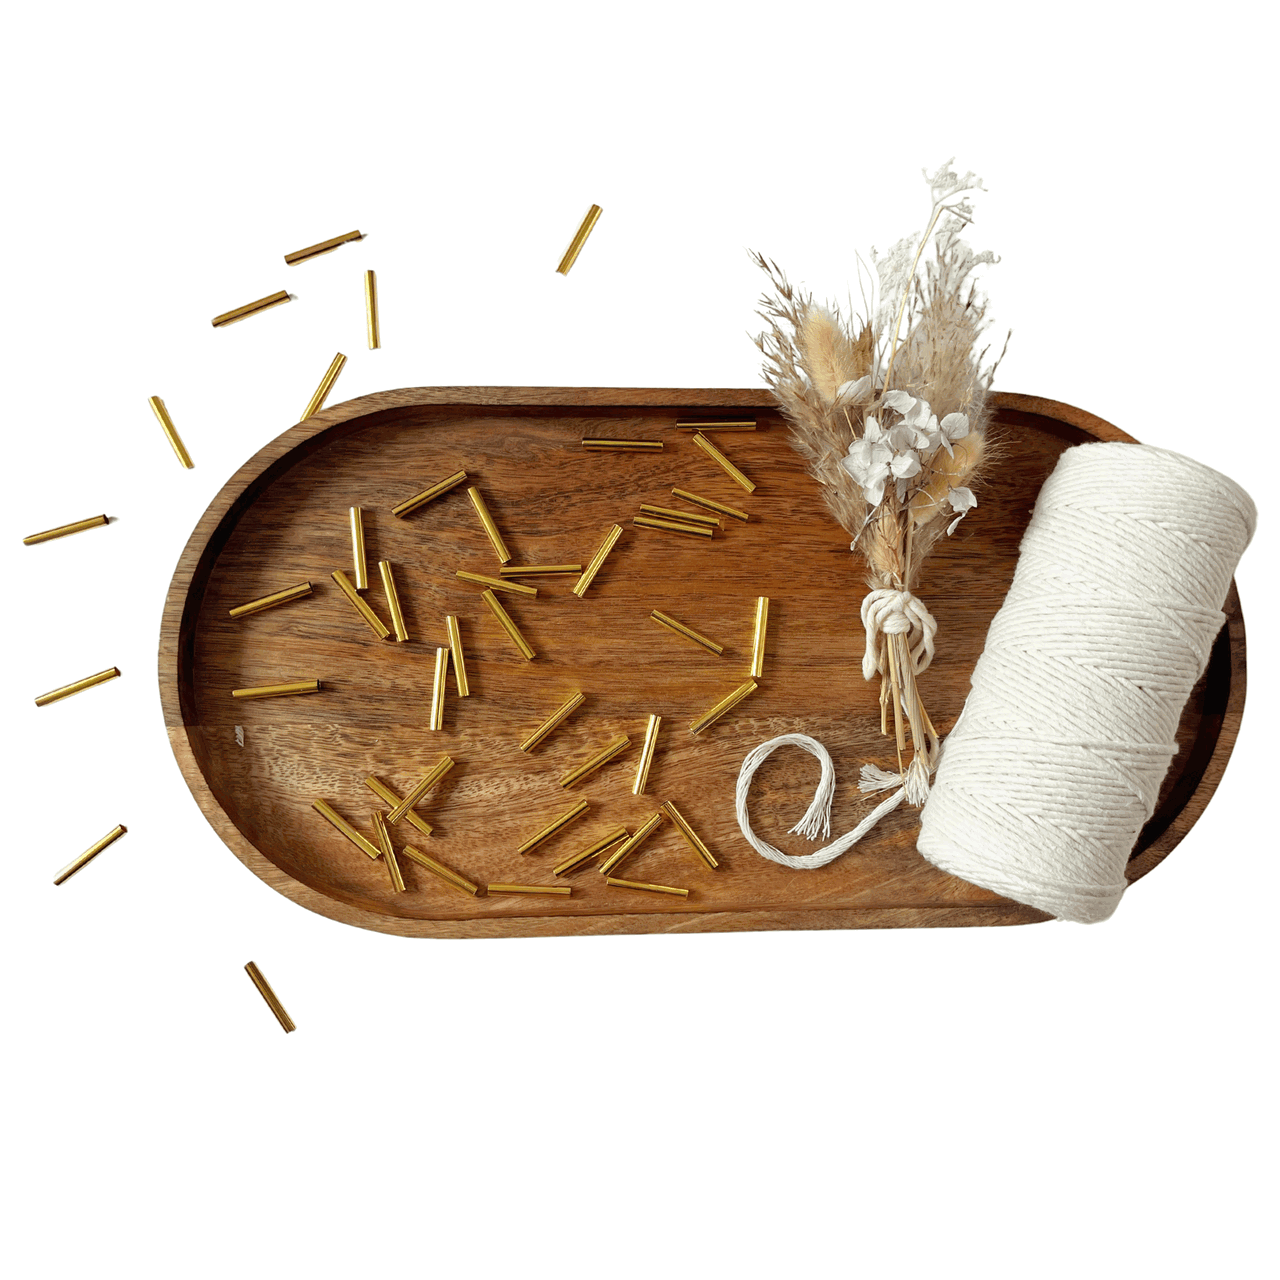
Large-Hole Wooden Beads
Match the hole to every strand that needs to pass through, including the folded section used for threading.
Shop Wooden Beads →
Macrame Measuring Tape
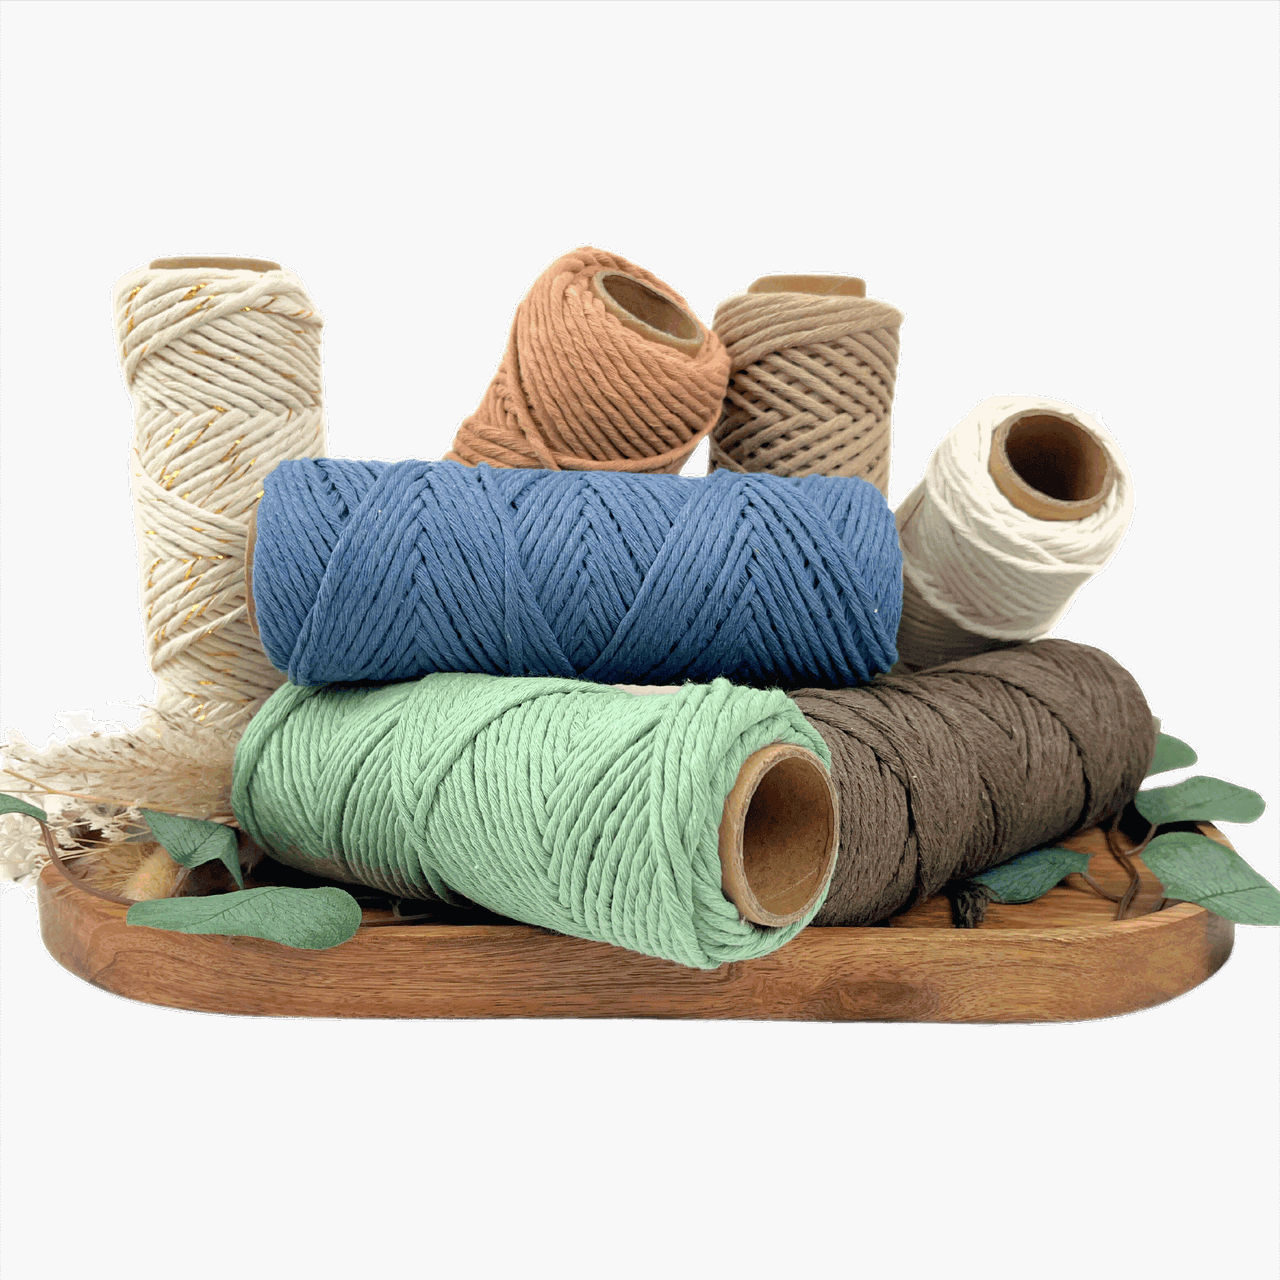
Keep an original measured cord as your reference instead of copying each new cut from the last one.
Shop Measuring Tape →
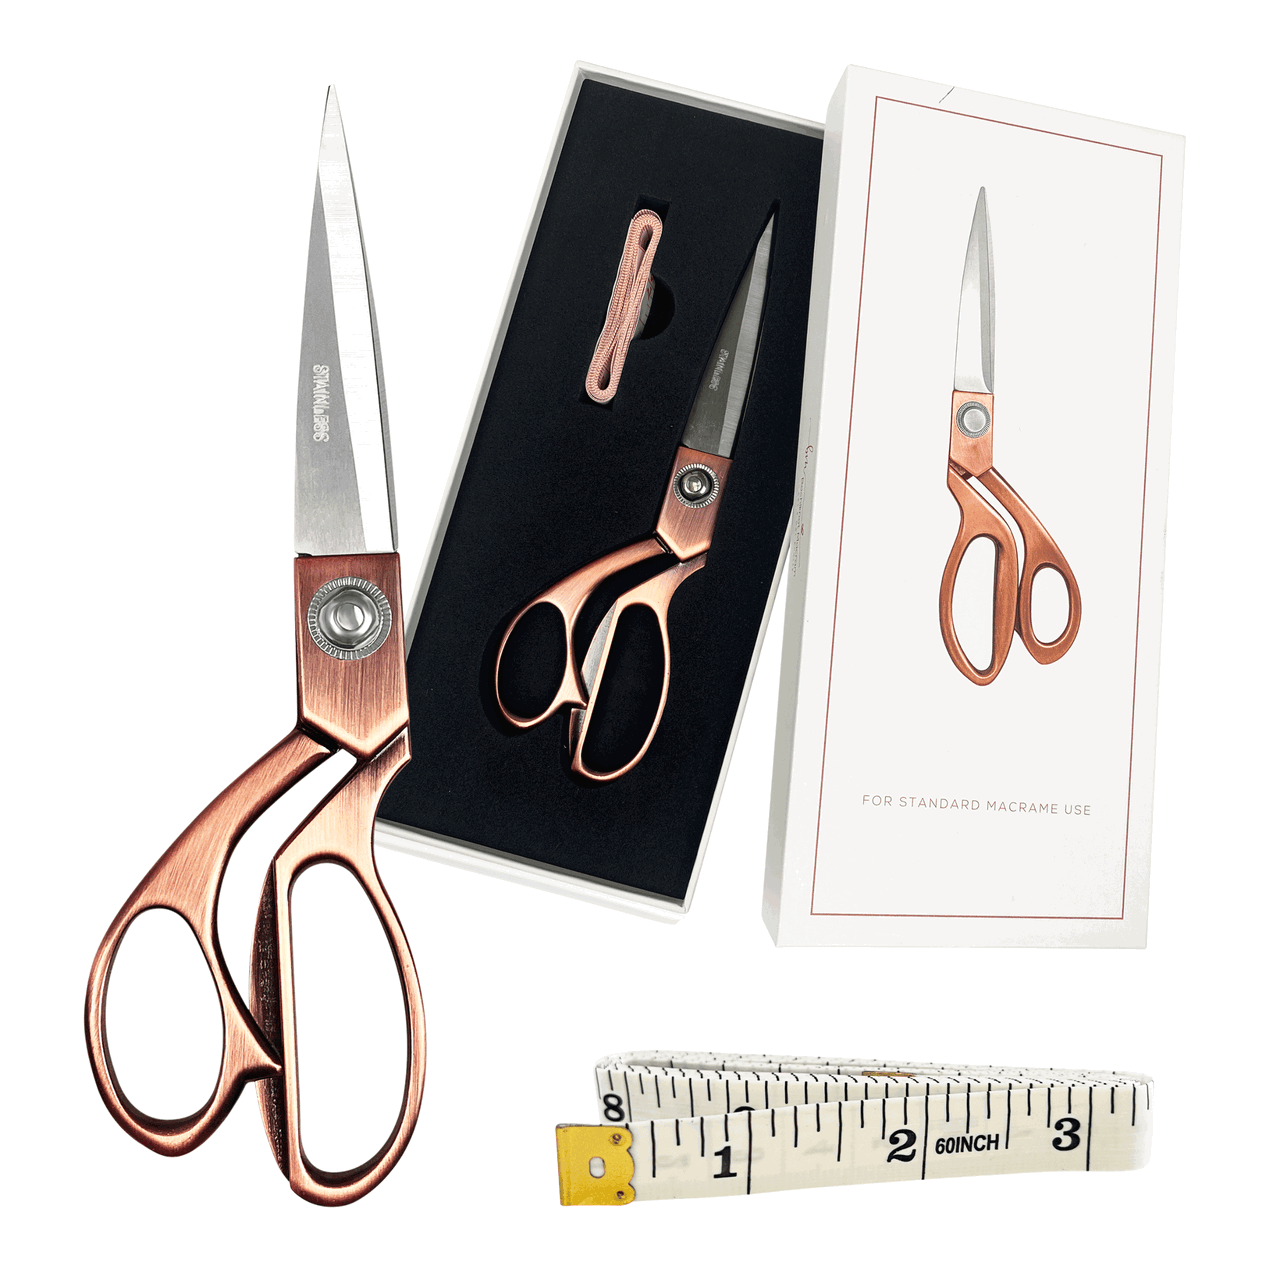
Precision Finishing Scissors
Trim close to the work only after the tail has been secured and checked.
Shop Detailing Scissors →Also Have These Nearby
A smooth loop of fishing line or a bead threader can help with beads. A crochet hook helps draw tails through the back of knotwork. Choose a hook that fits the spaces without forcing or splitting the cord. A stable roll holder is useful for large batches, but optional.
For other craft essentials, you can also browse our Bochiknot Amazon US storefront.
As an Amazon Associate, Bochiknot earns from qualifying purchases, at no extra cost to you.
Revisit the Knot Behind the Fix

Double Half Hitch
Two half hitches around an anchor cord. Hold the anchor at the angle you want the row to follow.
See The Knot Tutorial →
Gathering Knot
Wrap a cord bundle, then draw the finishing loop beneath the wraps to secure the end.
See The Knot Tutorial →
Lark’s Head & Reverse Lark’s Head
Attach a folded cord to a support. Check which face of the attachment your pattern calls for.
See The Knot Tutorial →1. Thread Beads With a Loop Instead of Fighting Frayed Ends
A fraying cord end can spread out before it reaches the bead hole. A smooth threading loop gathers it together so you can guide it through. This helps with handling; it cannot make an undersized hole fit an oversized bundle.
- Make a loop with fishing line or use a bead threader. Feed the loop through the bead hole.
- Place the cord end through the exposed loop, leaving enough length for it to stay captured.
- Pull the threading loop back through the bead gently, drawing the cord with it.
- Remove the threader and adjust the bead’s position. If it jams, stop and try a larger hole or fewer strands.


Check the folded cord and threader together against the hole. A bead that fits one straight strand may not fit the doubled section used to pull it through. Avoid forcing it or cutting fibers to make it fit.
2. Stop the Roll From Escaping While You Measure
If you’re tugging cord from a roll that slides off the table, measuring becomes frustrating—and inconsistent. Stabilizing the roll lets you focus on the length rather than chasing the supply.
- Place the roll in a stable holder or container so it can feed without falling or snagging.
- Draw out more cord than you need, then let it relax before measuring.
- Lay the tape and cord flat, mark the length, and cut without pulling the cord taut.

A holder is a convenience, not a requirement. If the cord catches, fix the feed instead of pulling harder; stretched cord can relax shorter after cutting.
3. Cut Matching Lengths From One Reliable Reference
A small error grows when each new cord becomes the guide for the next. Keep one accurately measured master length and compare the other cuts to that same reference.
- Measure the first cord carefully and set it aside as your reference.
- Lay the next length beside it with both ends aligned and the cord relaxed.
- For a small batch, lay successive lengths back and forth across that same measured distance.
- Check every turnaround before cutting the loops at both ends. Count and measure the finished pieces again.


For back-and-forth batching, the distance between the turnaround points equals one full cut length. Cutting the loops at both ends separates the lengths. Start with a small batch to confirm this before cutting a full roll.
4. Fix Uneven Knots by Checking Direction Before Tension
Neat knotwork comes from consistent tension, not the tightest possible knot. If a row looks wrong, first check the knot count and cord path. More pulling won’t correct a missing half hitch.
- Compare the uneven section with a neighboring repeat of the same knot.
- For a DHH row, identify the anchor and hold it at the intended angle.
- Seat each completed pair of half hitches alongside its neighbor with small adjustments.
- If the pattern still twists or the row changes direction unexpectedly, undo the newest incorrect knot and retie it.


Open spaces may be intentional. Compare like-for-like sections in the pattern; don’t close decorative gaps just because another row has no gaps. Review our double half hitch tutorial if the anchor role is unclear.
5. Smooth the Bundle Inside a Gathering Knot
A gathering knot can look tidy on the outside while the cords inside bunch into little loops. Straighten those inner cords while the wrapping is still adjustable.
- Check that the wrapping cord forms neat, adjacent turns around the bundle.
- Before fully locking the gathering knot, gently draw the vertical cords down one at a time to remove slack.
- Keep the bundle aligned while you pull the finishing loop under the wraps.
- Check the front and back, then trim only the ends specified in the pattern.


If the wrap is already too tight to adjust, loosen or remake it rather than yanking at individual cords. Follow the full gathering knot tutorial to check the locking sequence.
6. Hide Loose Ends for a Fringe-Free Finish
Cutting every cord flush below the last knot can weaken the finish. For a design suited to woven-in ends, take the tails through the back of existing knotwork before trimming.
- Turn the piece over and identify a path through several secure parts of the knotwork.
- Use a crochet hook to draw one tail through at a time, following the back of the pattern.
- Keep the tail concealed without pulling the front out of shape.
- Gently test that the tail stays in place. Leave enough length within the woven path before trimming the excess.


There is no single tail length that suits every cord and project. Slippery cords, wearable pieces and frequently handled items may need a different securing method. Use the pattern’s specified finish; woven-in tails alone are not a universal solution.
7. Preform Lark’s Head Attachments on an Open Dowel
Attaching many long cords can mean repeatedly pulling a lot of cord through a small loop. On a dowel with an accessible end, you can preform the attachment and slide it into position.
- Fold a cord at the point required by your pattern and form the lark’s head attachment as shown in the photos.
- Slide the prepared attachment over the open end of the dowel.
- Move it into position, check which side faces forward, and tighten evenly.
- Repeat, checking the spacing and tail lengths before starting the first row.


This shortcut is for an accessible dowel end; it does not slide onto a closed ring. Check whether the pattern calls for a standard or reverse attachment in our lark’s head knot guide.
When to Undo a Knot—and When to Leave It
Undo a knot when the cord path, knot count or direction is wrong. Adjust gently when the structure is correct but the spacing is inconsistent. Leave intentional gaps alone. Before cutting or gluing, step back and compare the section with the pattern.
For help choosing a first project and avoiding common setup mistakes, read our 12 macrame tips for beginners. This guide focuses on the specific fixes you can use once a project is underway.
Questions Before You Continue?
Why do my macrame knots look uneven even when I pull tightly?
Tightness alone does not make matching knots. Different anchor angles, a missed half hitch, inconsistent spacing or an uneven support can all change the appearance. Compare the cord path first, then adjust the tension in small amounts.
Can I use glue to stop any macrame knot from coming undone?
Glue is appropriate for some decorative finishes, including patterns that specify it. It is not a substitute for forming the knot correctly. Test it on an offcut for stiffness or discoloration and follow the product’s curing directions.
What should I do if I cut a cord too short?
Stop before trimming anything else. If the pattern provides a way to add a cord, follow that method. Otherwise, replacing the short cord or reworking the affected section may give a more reliable result than concealing an improvised join.
Do I need special tools to start?
Usually a measuring tape, scissors and a stable way to secure the work are enough for a simple pattern. Add tools such as a threading loop or crochet hook when a particular task calls for them. Don’t buy a complete tool collection just to fix one problem.
Where should I start if I still cannot follow a knot pattern?
Choose one basic knot, identify its working and anchor or filler cords, and repeat it in a small sample while watching the tutorial. Our beginner tips guide and free knot ebook provide a useful next step before a larger project.
Your Next Step With Macrame
Build on what you’ve practiced with these related Bochiknot tutorials.

12 Macrame Tips for Beginners: Avoid Common Mistakes
Explore the full guide with Nicole and choose a technique to practice next.
Explore The Tutorial →How to Tie a Double Half Hitch Knot in Macramé (Step-by-Step)
Explore the full guide with Nicole and choose a technique to practice next.
Explore The Tutorial →
3 Macrame Knot Patterns: Colourful Sennits, Step by Step
Explore the full guide with Nicole and choose a technique to practice next.
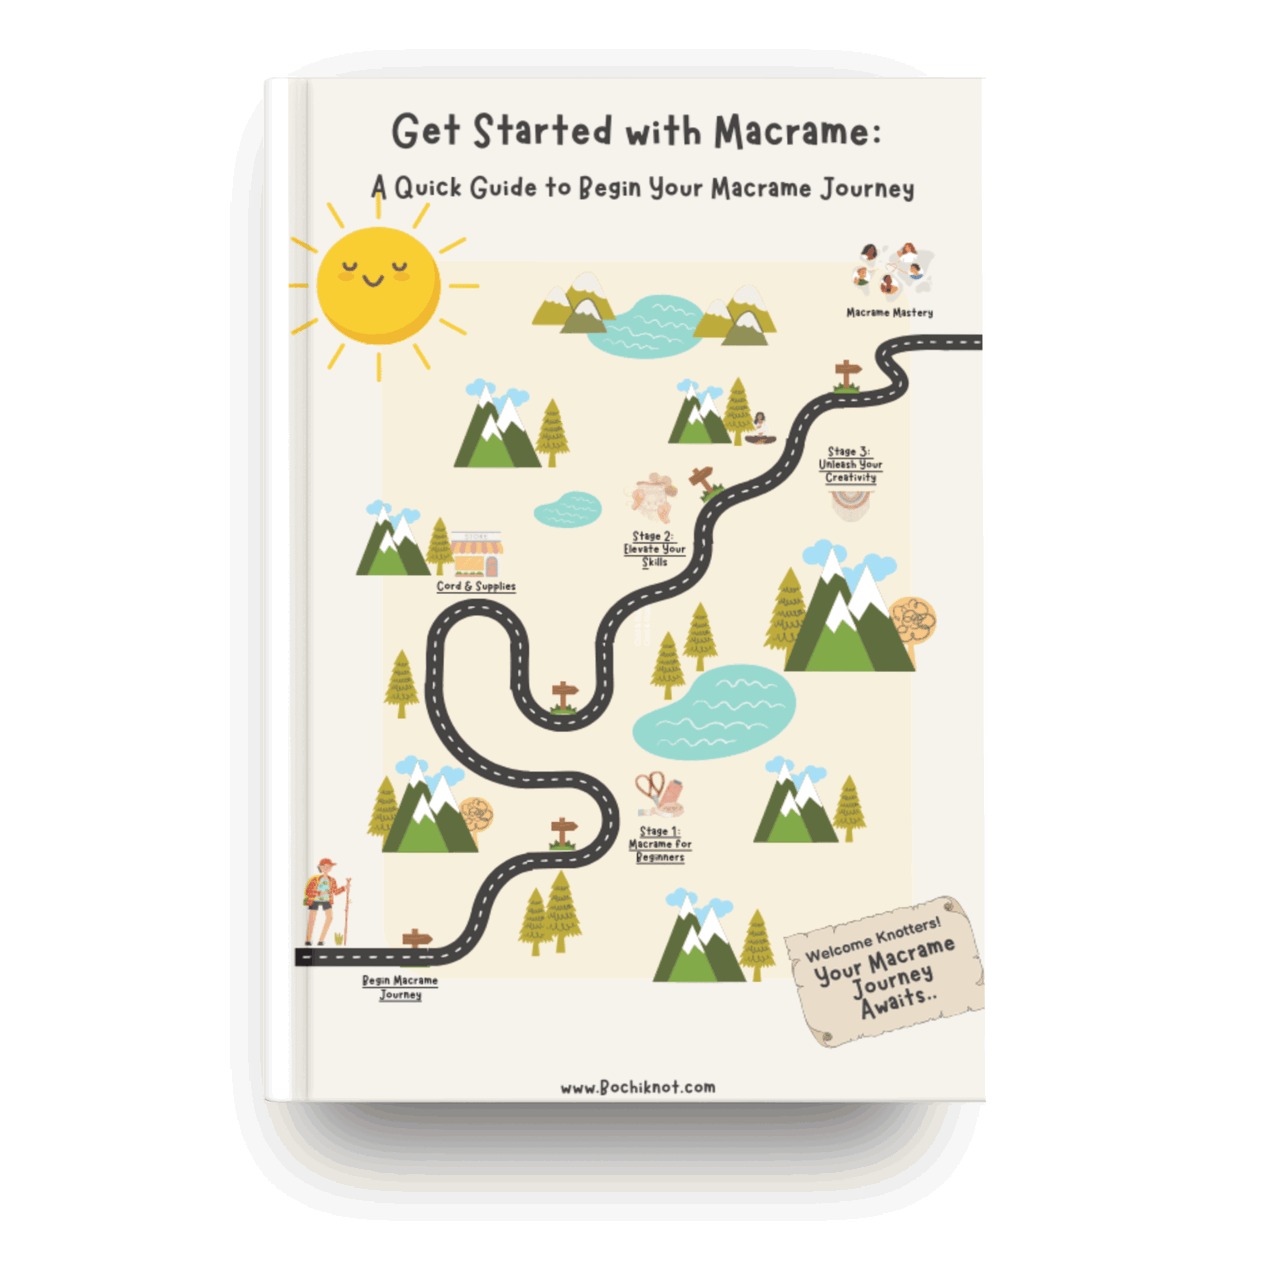
Explore The Tutorial →For a broader learning path, visit the Macrame Journey and choose the stage that fits your experience.
KEEP A KNOT REFERENCE NEARBY
A Little Help Between Tutorial Pauses
Revisit a knot before repeating it across your project. Our free 50 Macrame Knots & Sennits guide gives you a reference to return to as you learn.
Get The Free Knot Guide →A LITTLE SUPPORT FOR YOUR NEXT PROJECT
Keep Learning With The Bochiknot Patreon Community
If you would like a regular reason to pick up your cord, explore the Bochiknot community on Patreon. Choose the level of guidance that fits the projects you want to make.

TIER 1
Mini-Macrame Creations
Explore smaller projects with patterns and video guidance.

TIER 2
Mastering Macrame Skills
Build your technique through guided projects, lessons, and creative challenges.

TIER 3
Macrame Masterpiece
Explore a learning and materials-kit option. Compare the kit schedule and shipping details on Patreon.
Tier 3 also has Macrame Masterpiece Lite (S2) and Macrame Masterpiece Bundle (S1) options. See Patreon for the current inclusions, availability, and pricing.

NICOLE WOO · BOCHIKNOT
A stubborn knot doesn’t mean you’re bad at macrame. Pause, look at the cord path, and change one thing at a time. Small fixes make a real difference. Happy knotting!

A Little Inspiration Between Projects
Follow Bochiknot for tutorials, new ideas, and more ways to keep knotting.
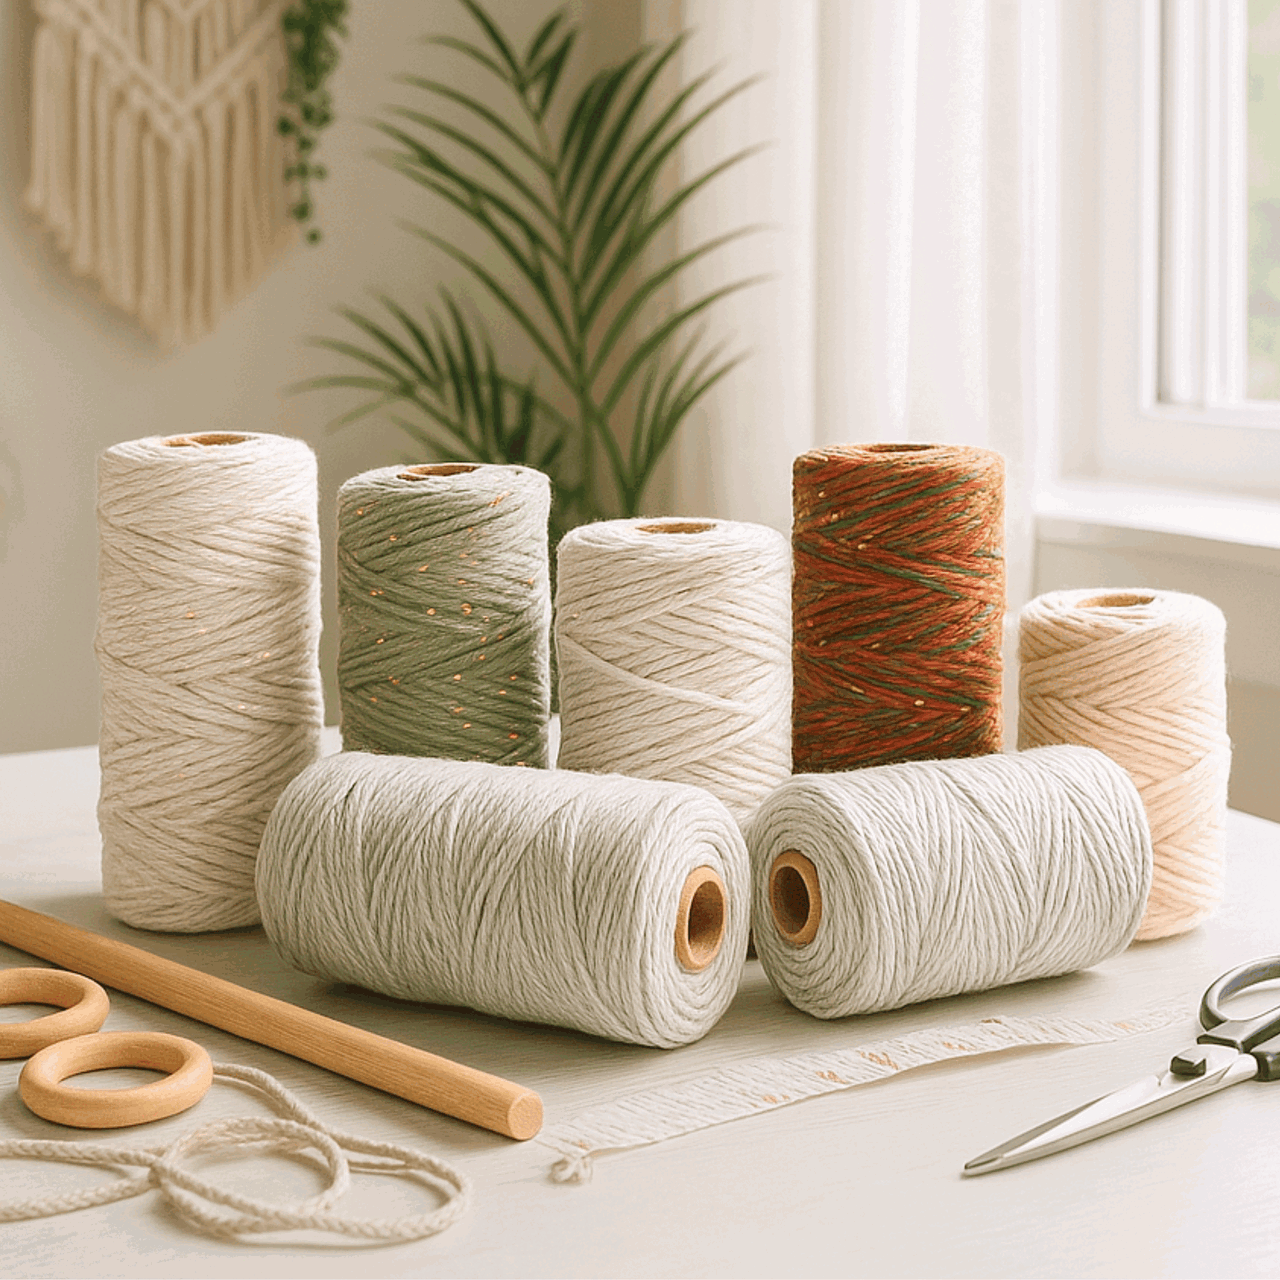
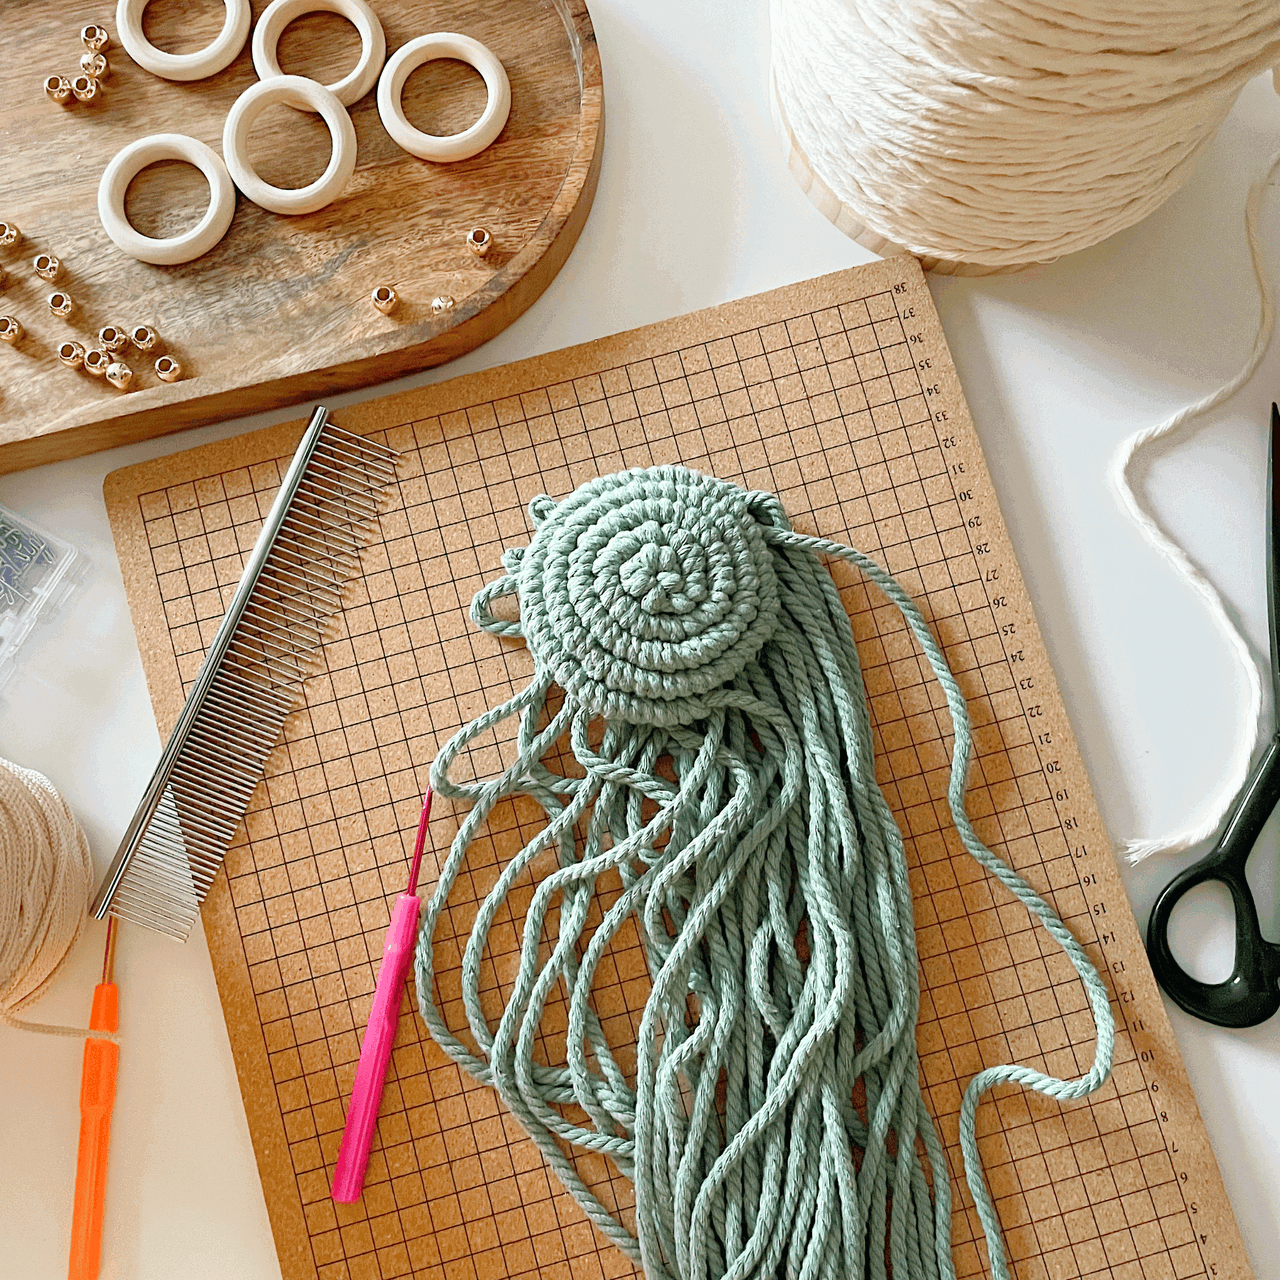
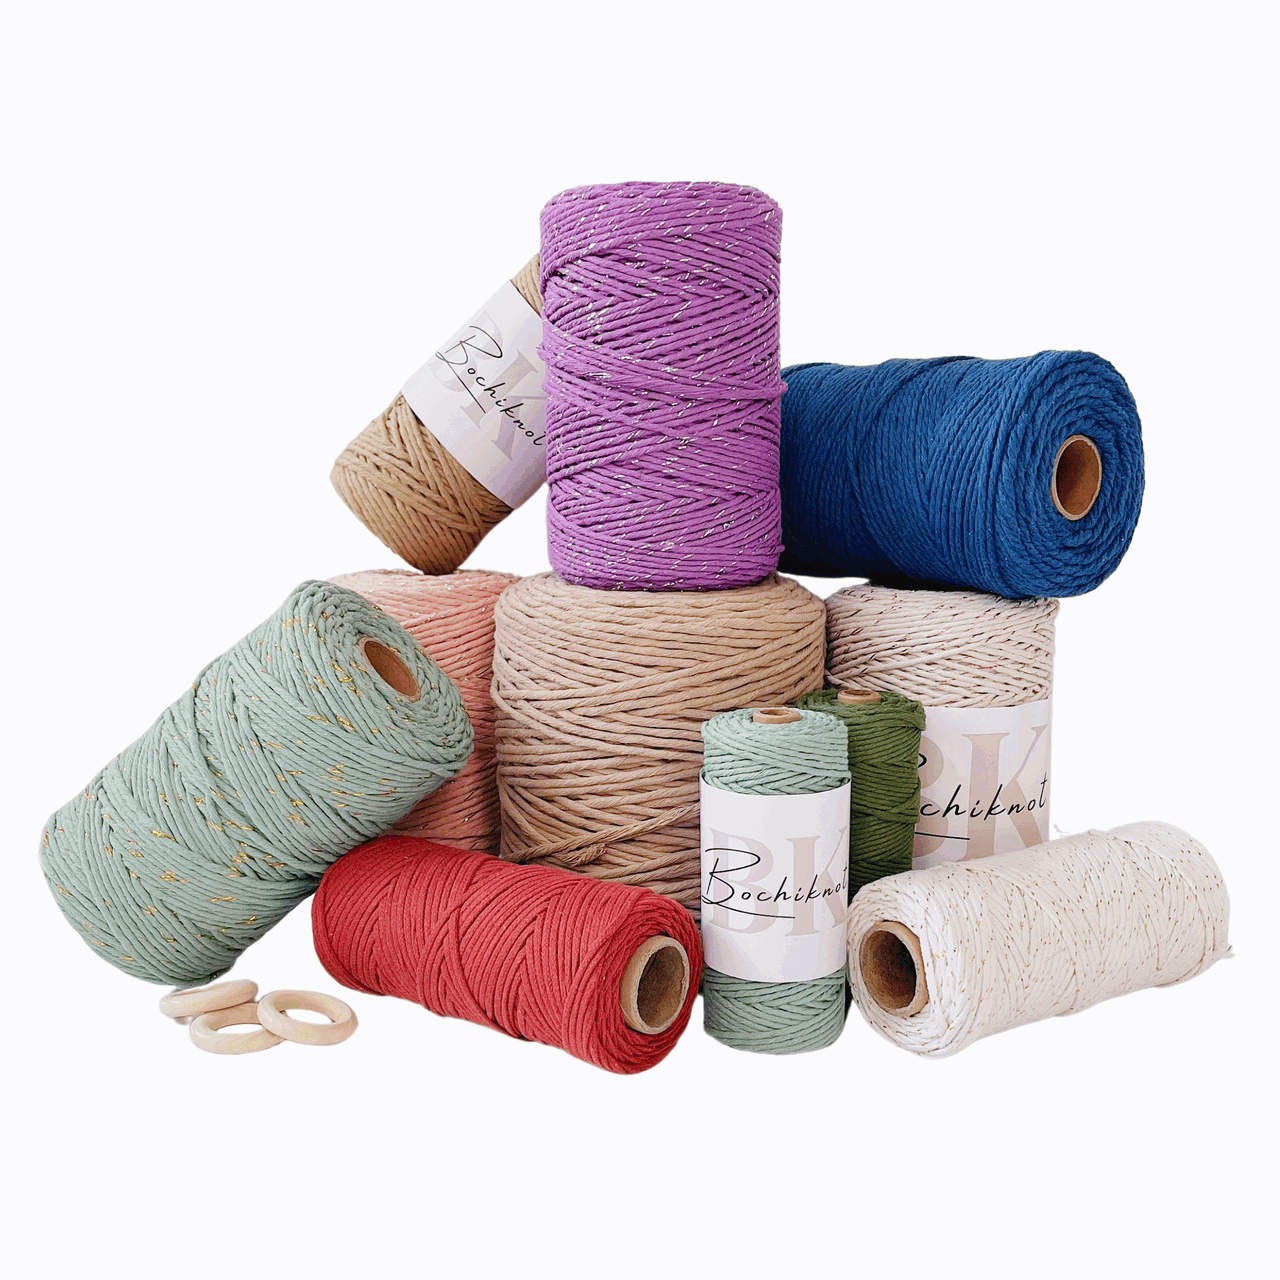
Pattern and instruction: Nicole Woo, Bochiknot. Original demonstration photos are used for the instructional steps; the featured image and tools flat lay are styled scenes.

Leave a comment