









Macrame Star Snowflake Ornament: Free Step-by-Step Pattern

FREE CHRISTMAS MACRAME PATTERN · BY NICOLE WOO
A star shape, a snowflake feel, and a little metallic shimmer: this macrame ornament builds six knotted points around a wooden ring. The open center keeps it light and decorative, while the finished edges give you an alternative to a fringe ornament.
This free macrame snowflake pattern teaches a small double half hitch motif that you repeat around the ring. Make one point carefully, then use it as your reference for the other five. The same anchor-direction practice will help when you move on to larger geometric macrame patterns.
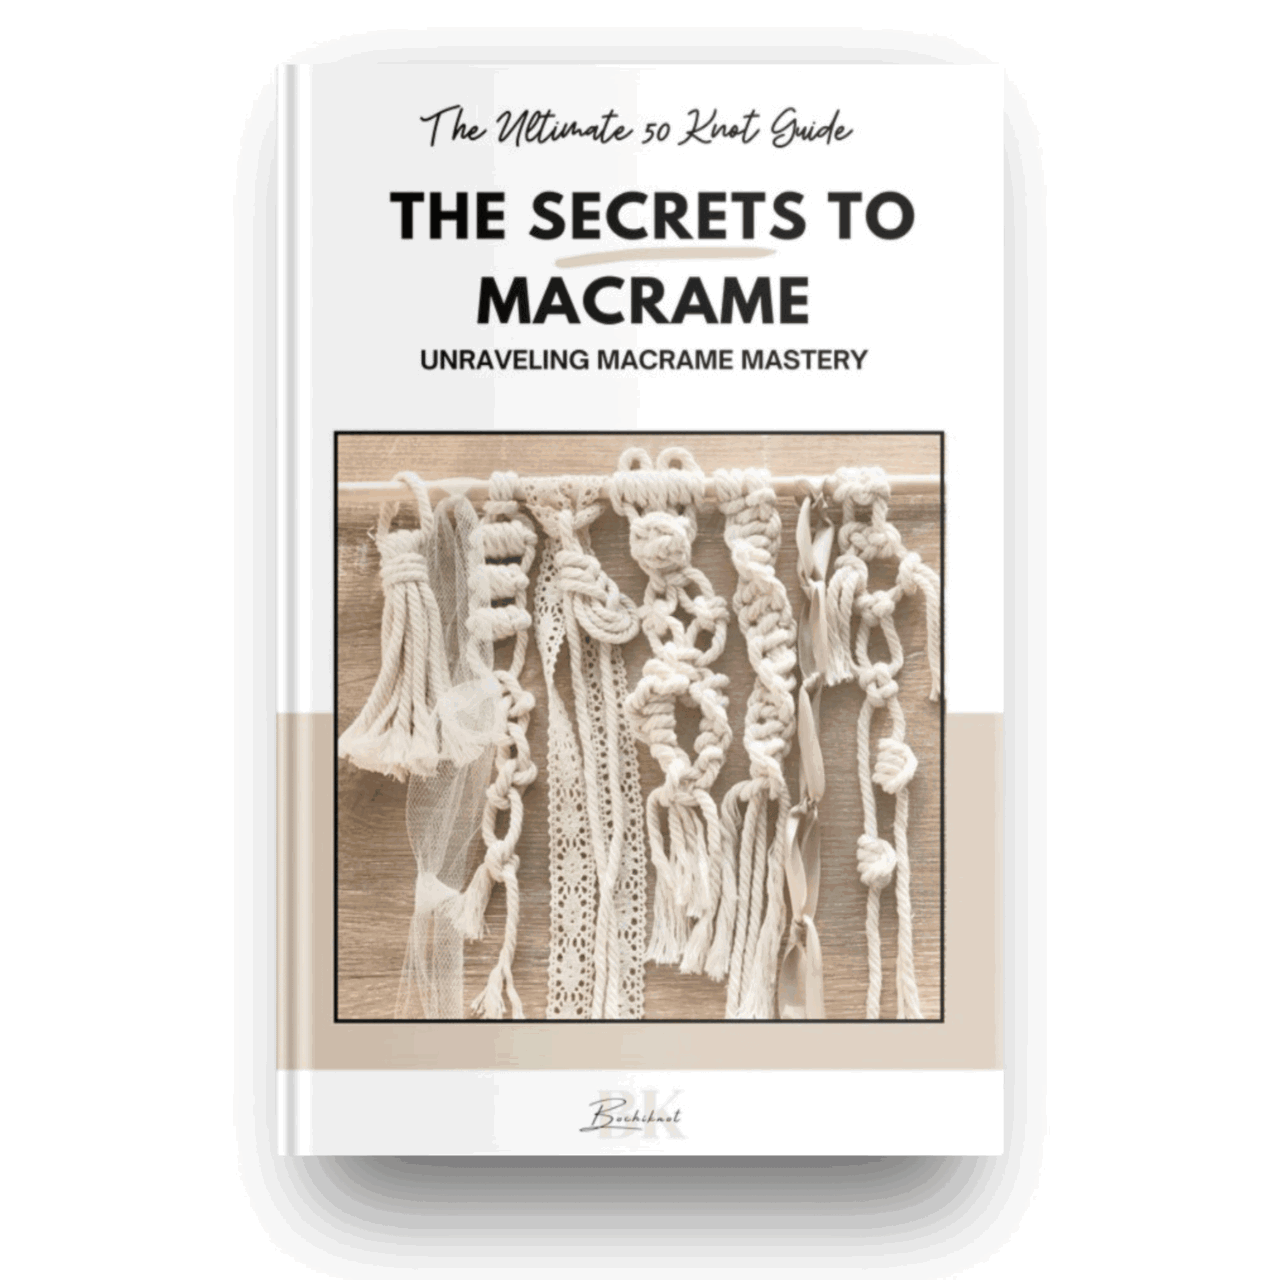
New to the knots? Keep our free 50 Macrame Knots & Sennits guide nearby while you follow the video.
The Project at a Glance
Nicole’s video specifies 3mm cord and a 4.5-inch width. The earlier article also showed 3–4mm options at roughly 5 inches across. Use 3mm to follow the video most closely; thicker cord changes the size and fit around the ring. Allow extra time if you are learning the knots.
Cord and Materials for Your Macrame Snowflake
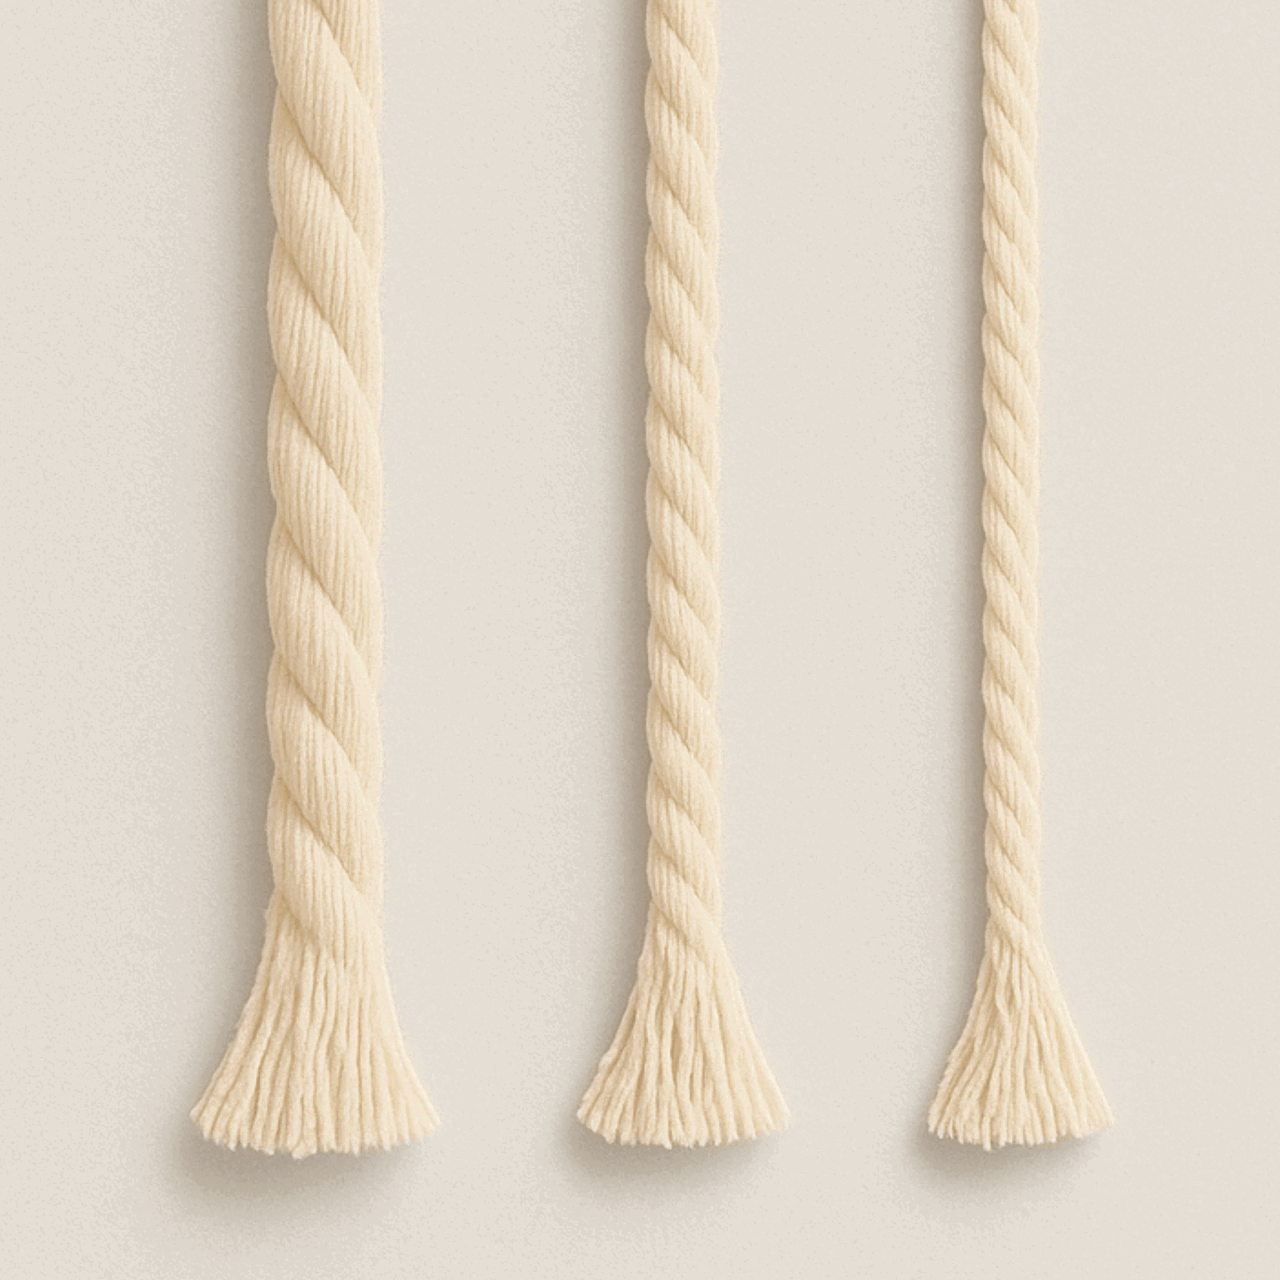
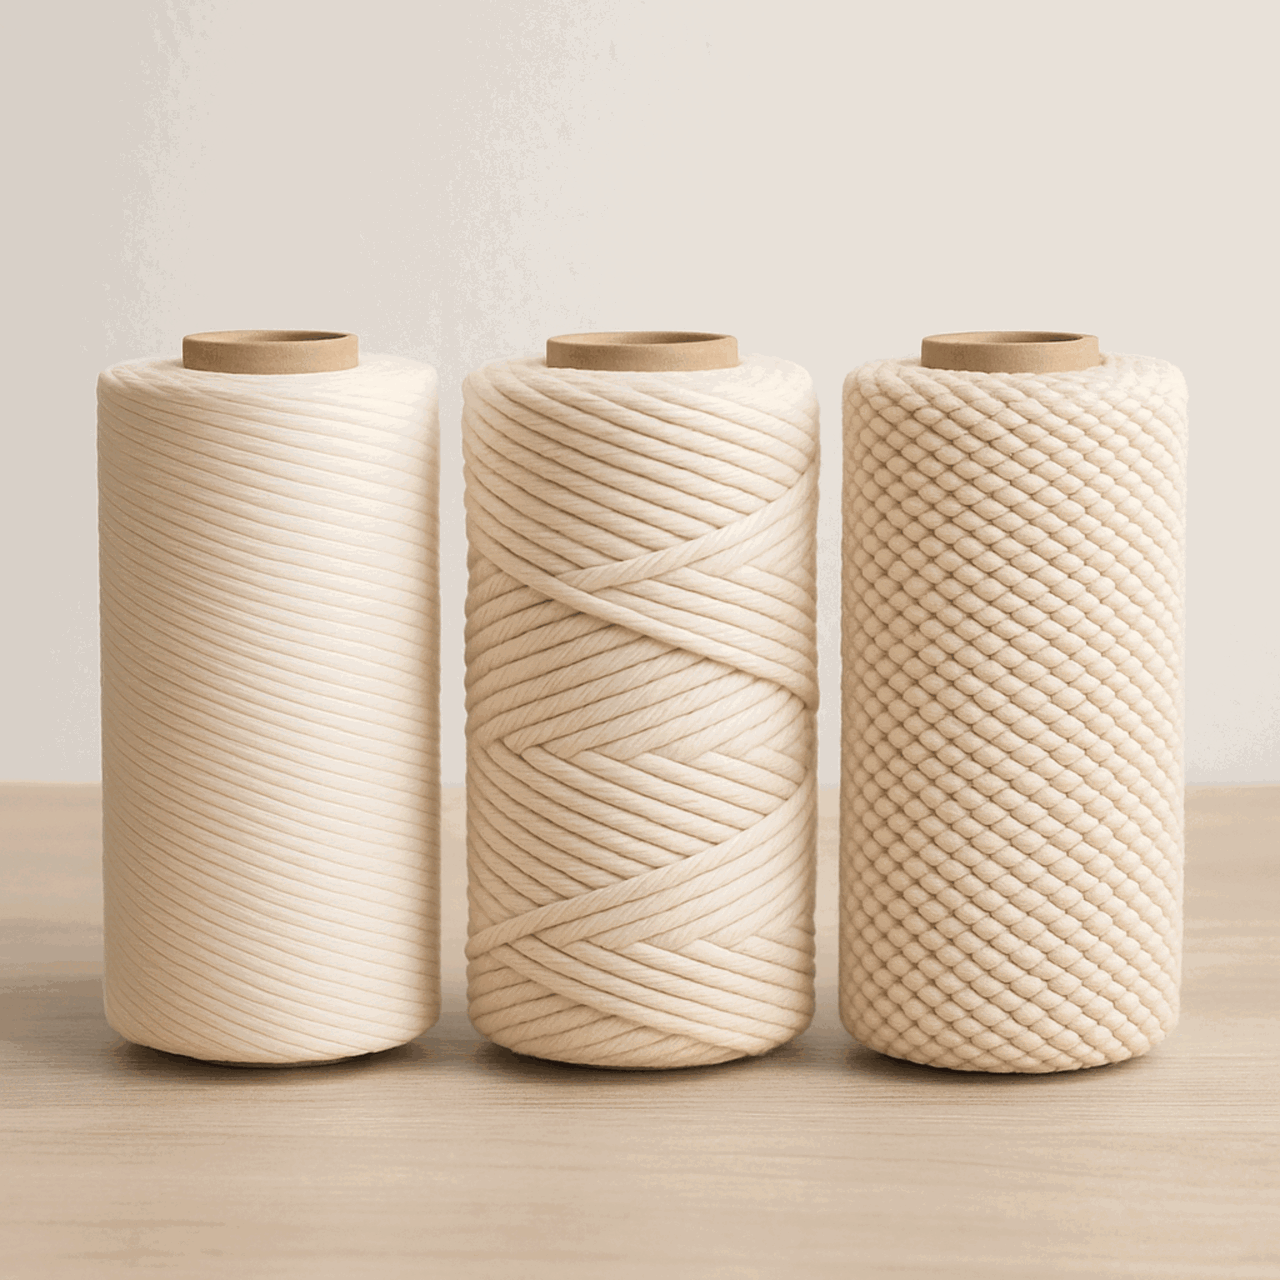
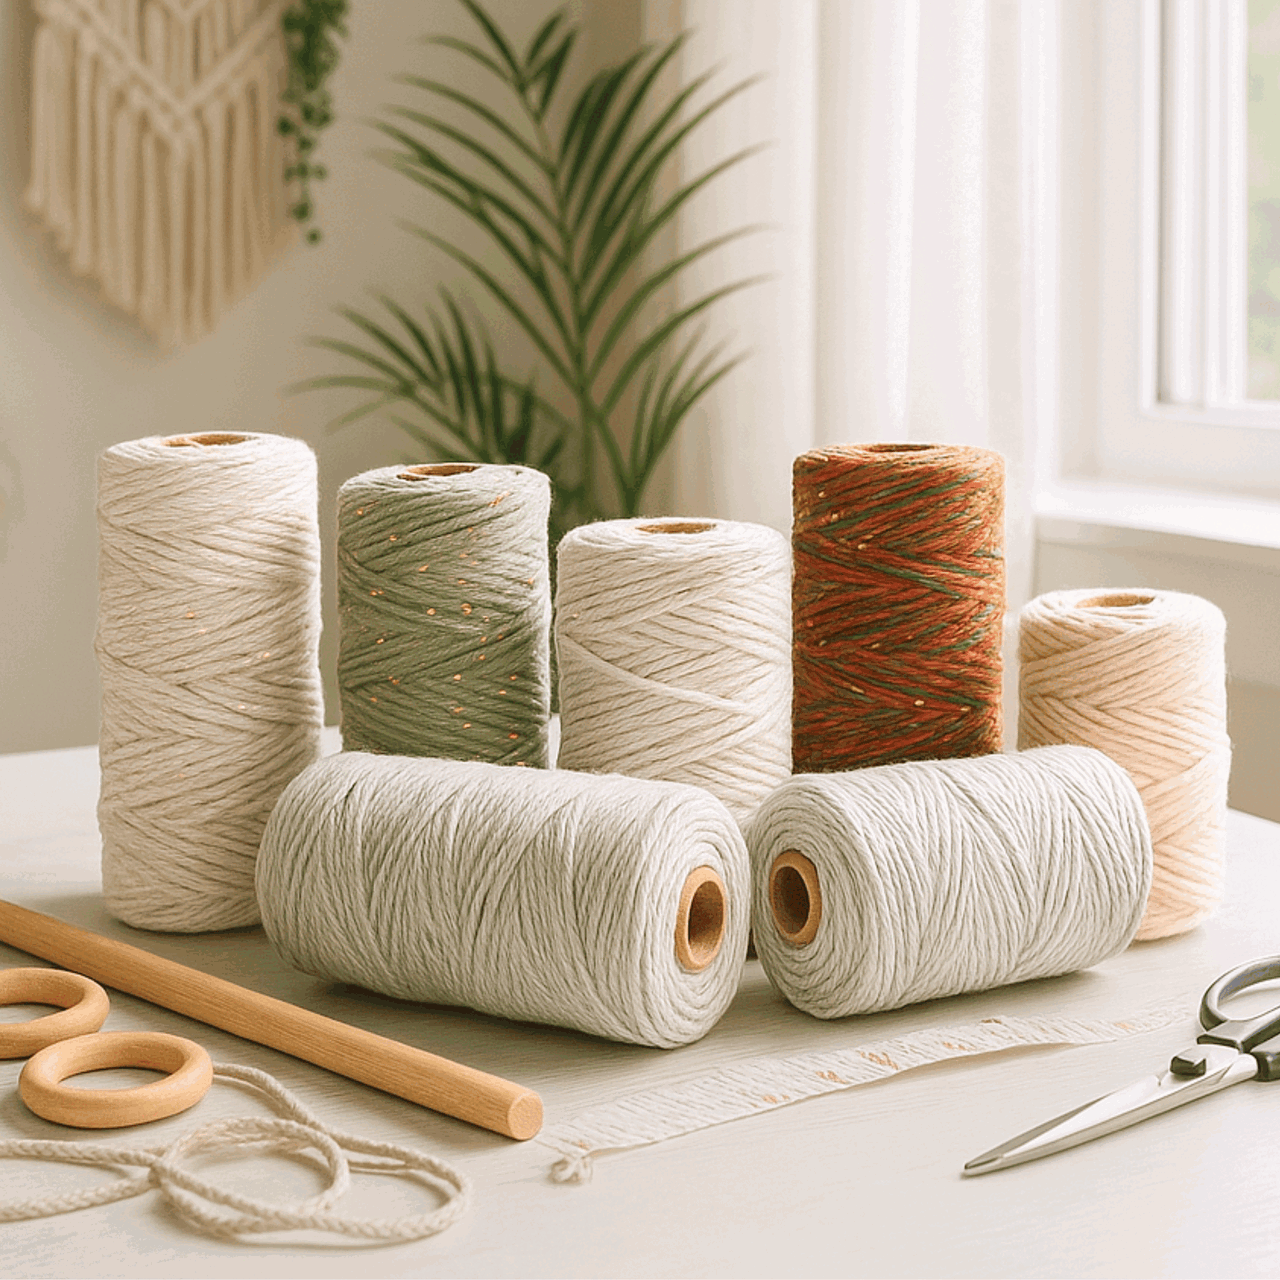
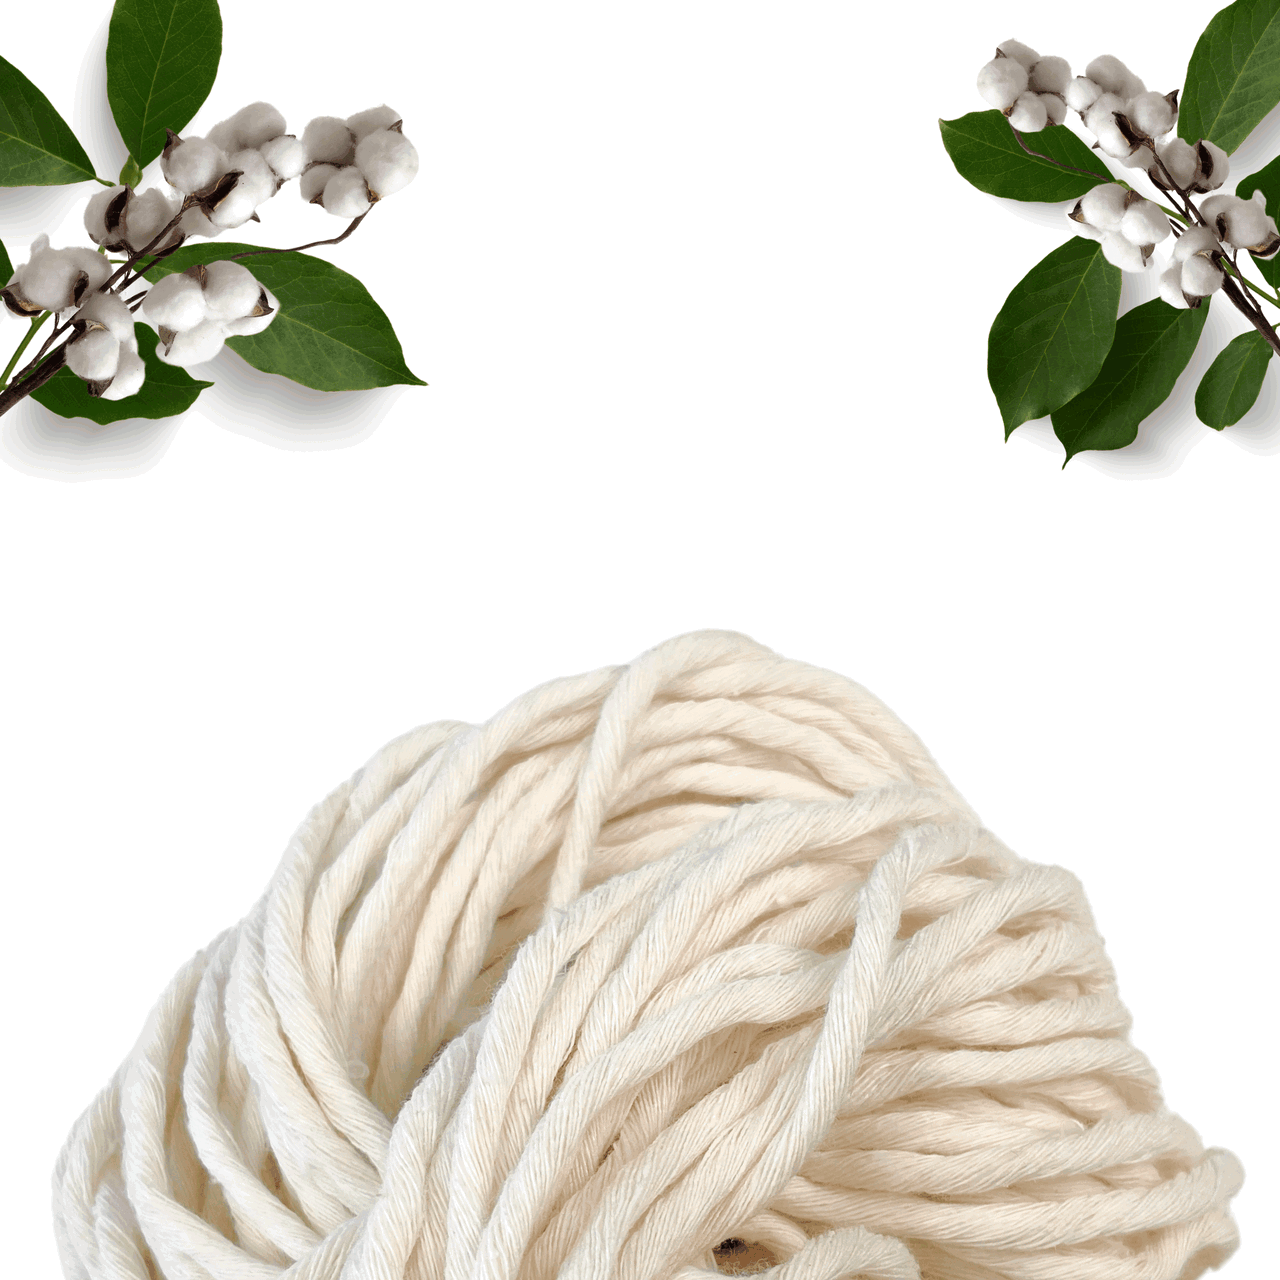
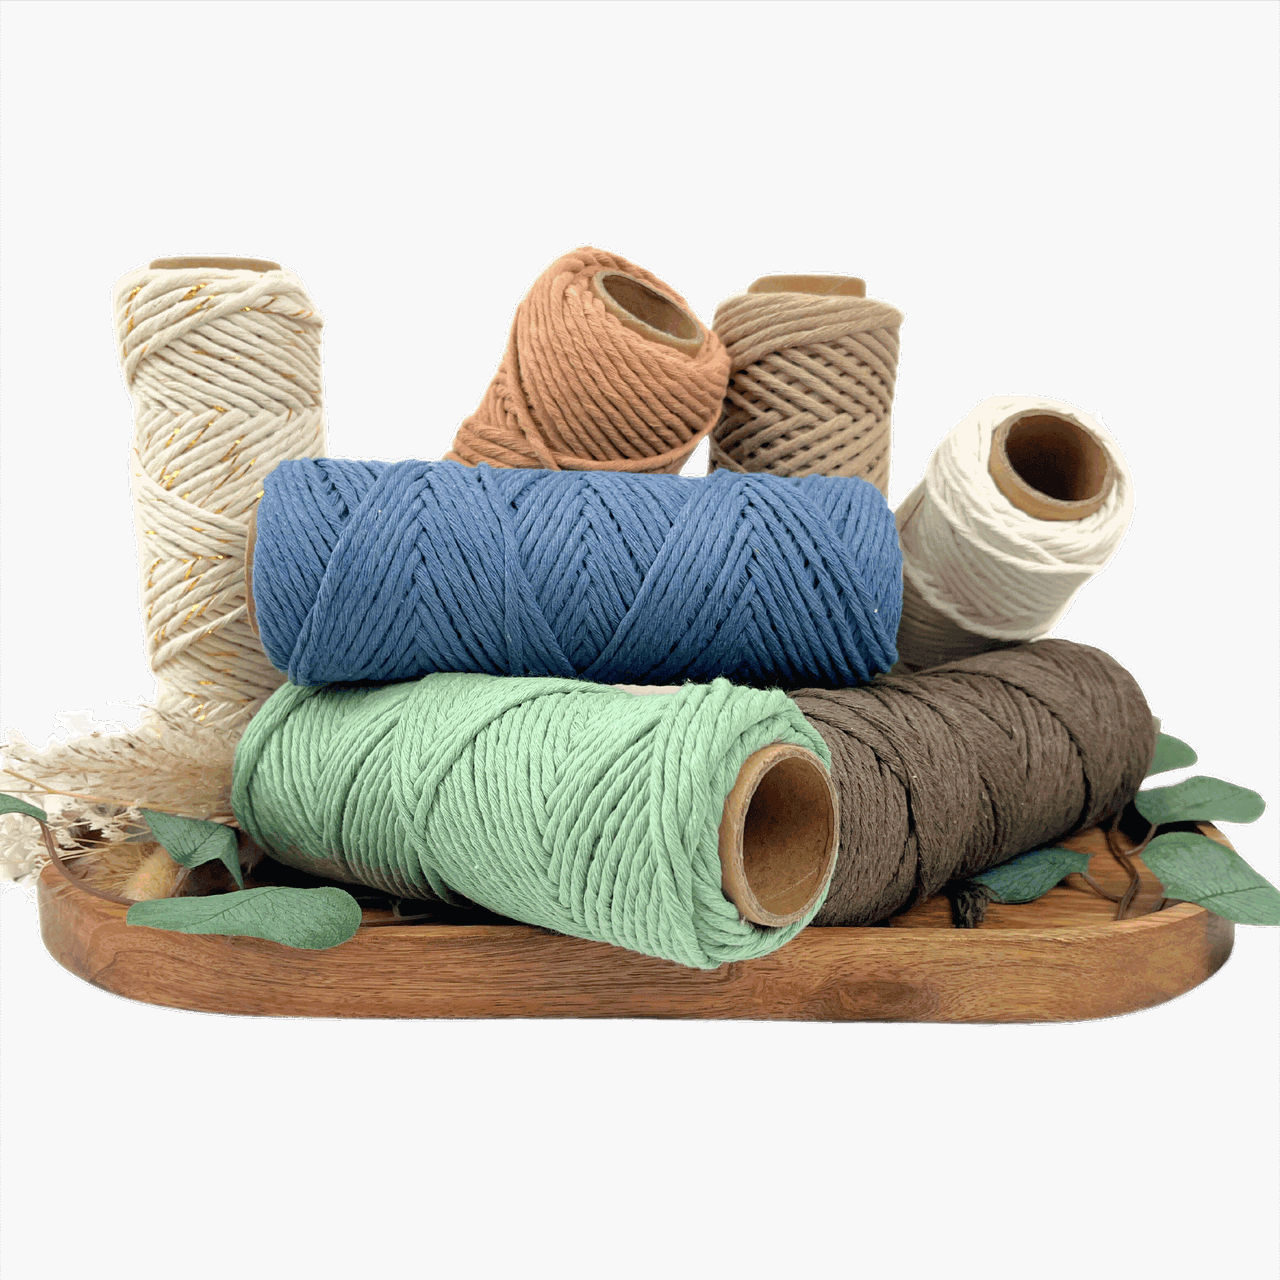
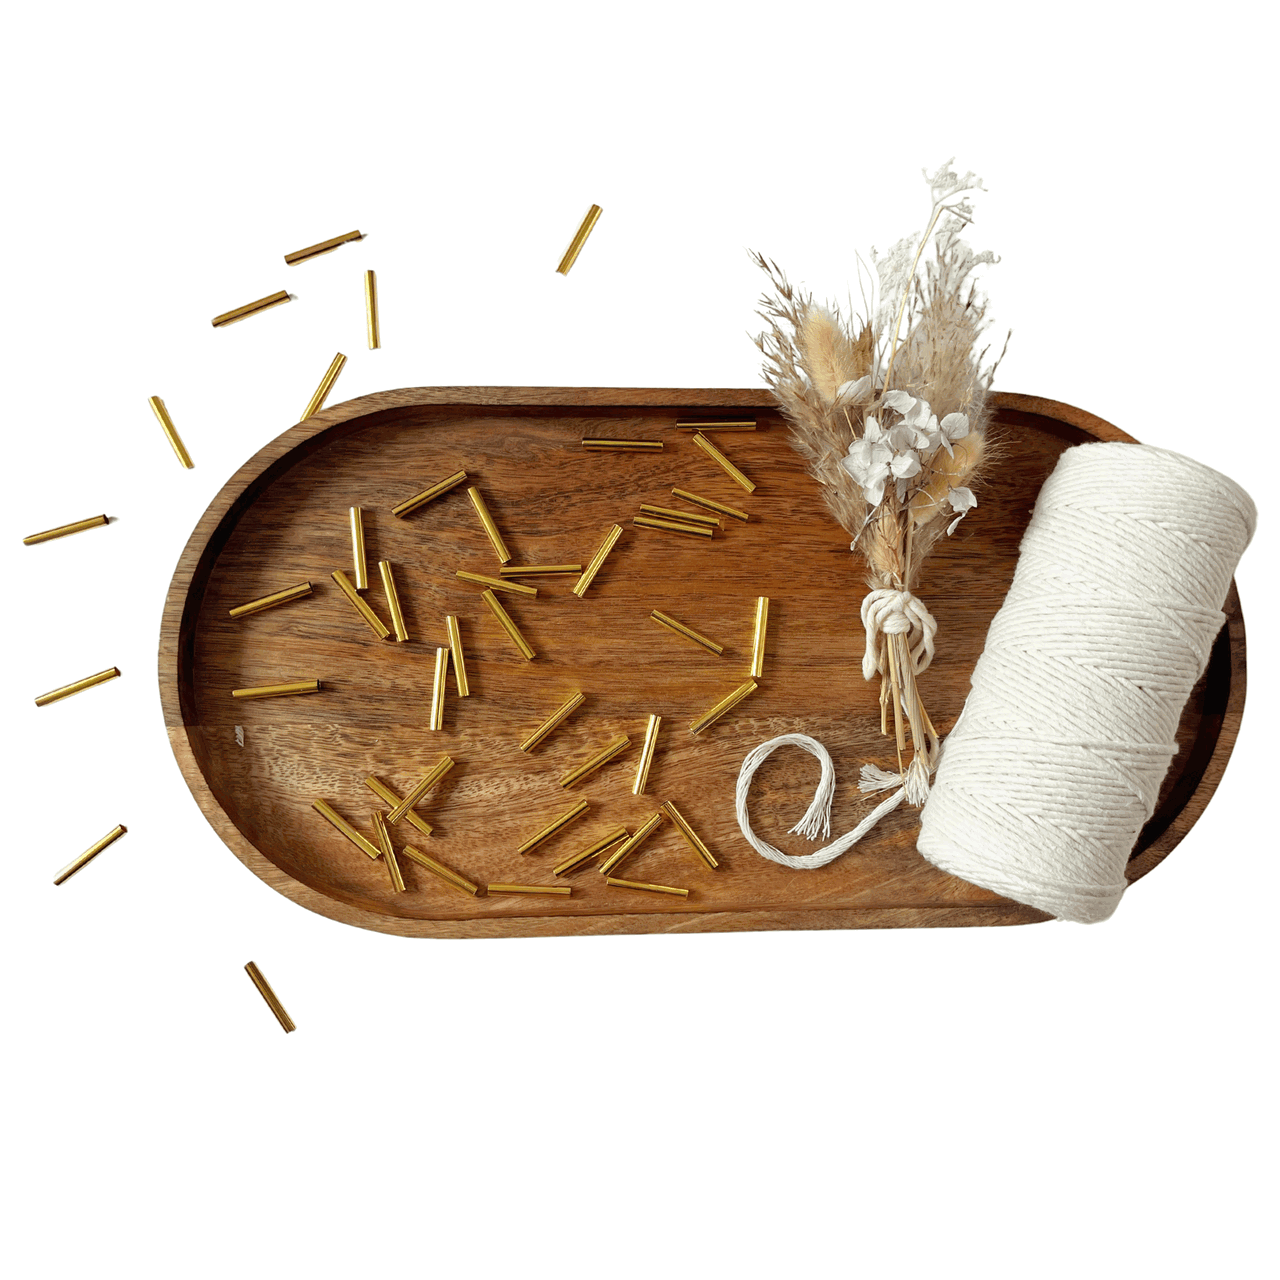
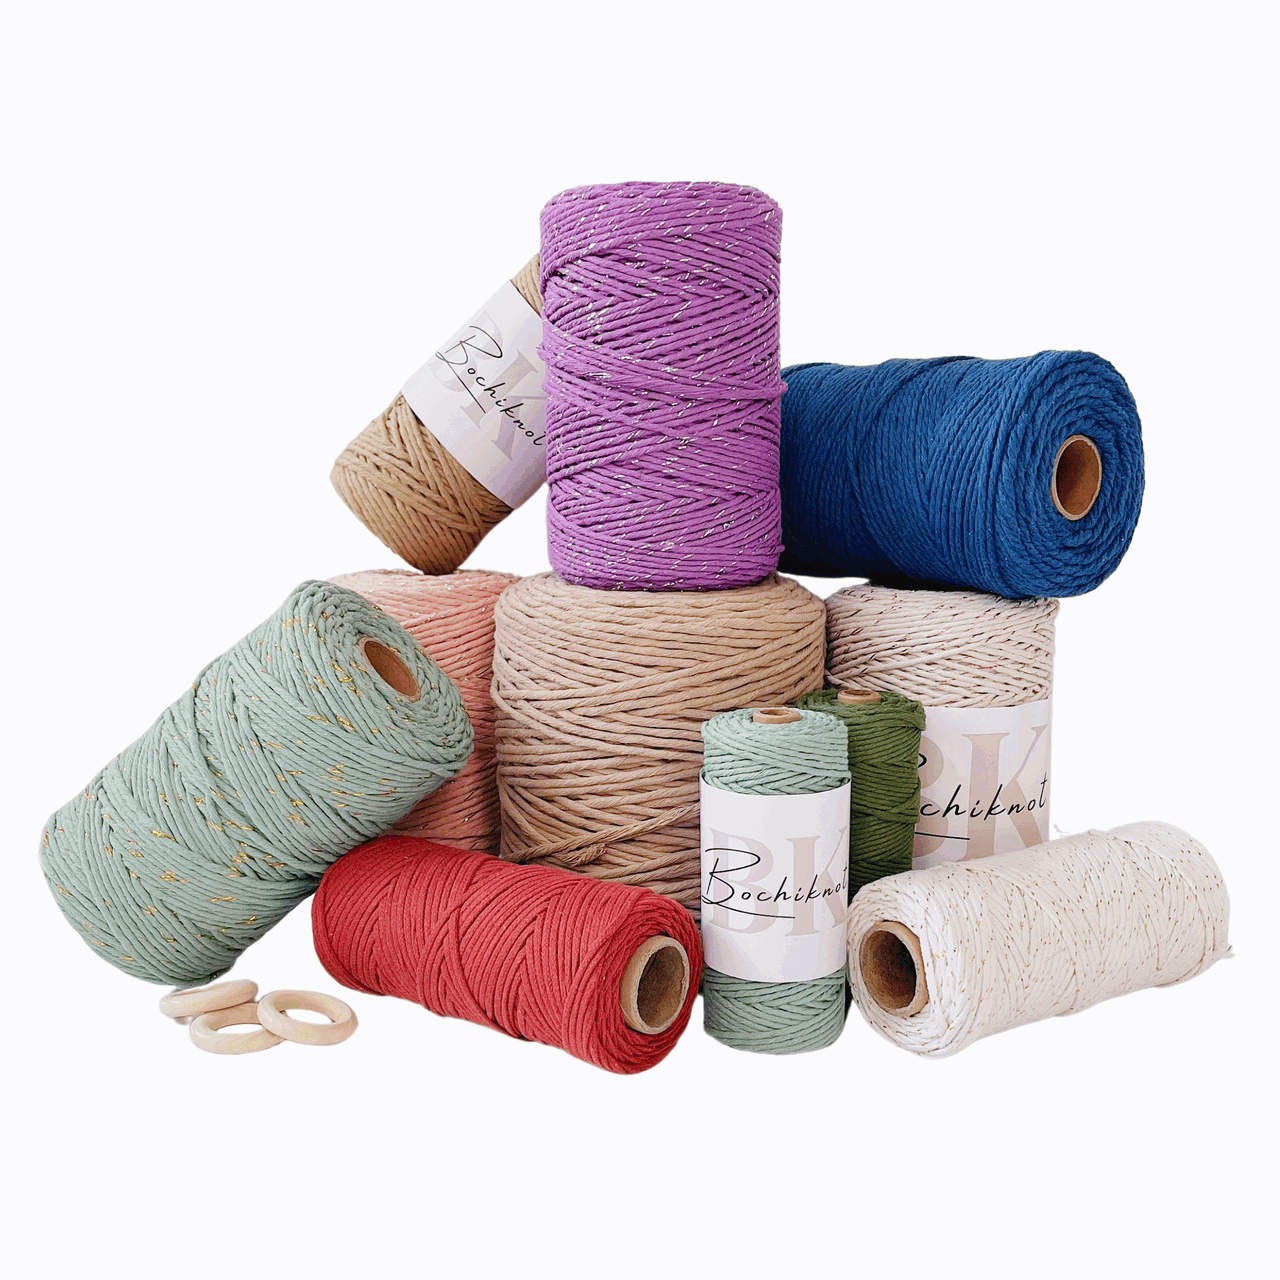
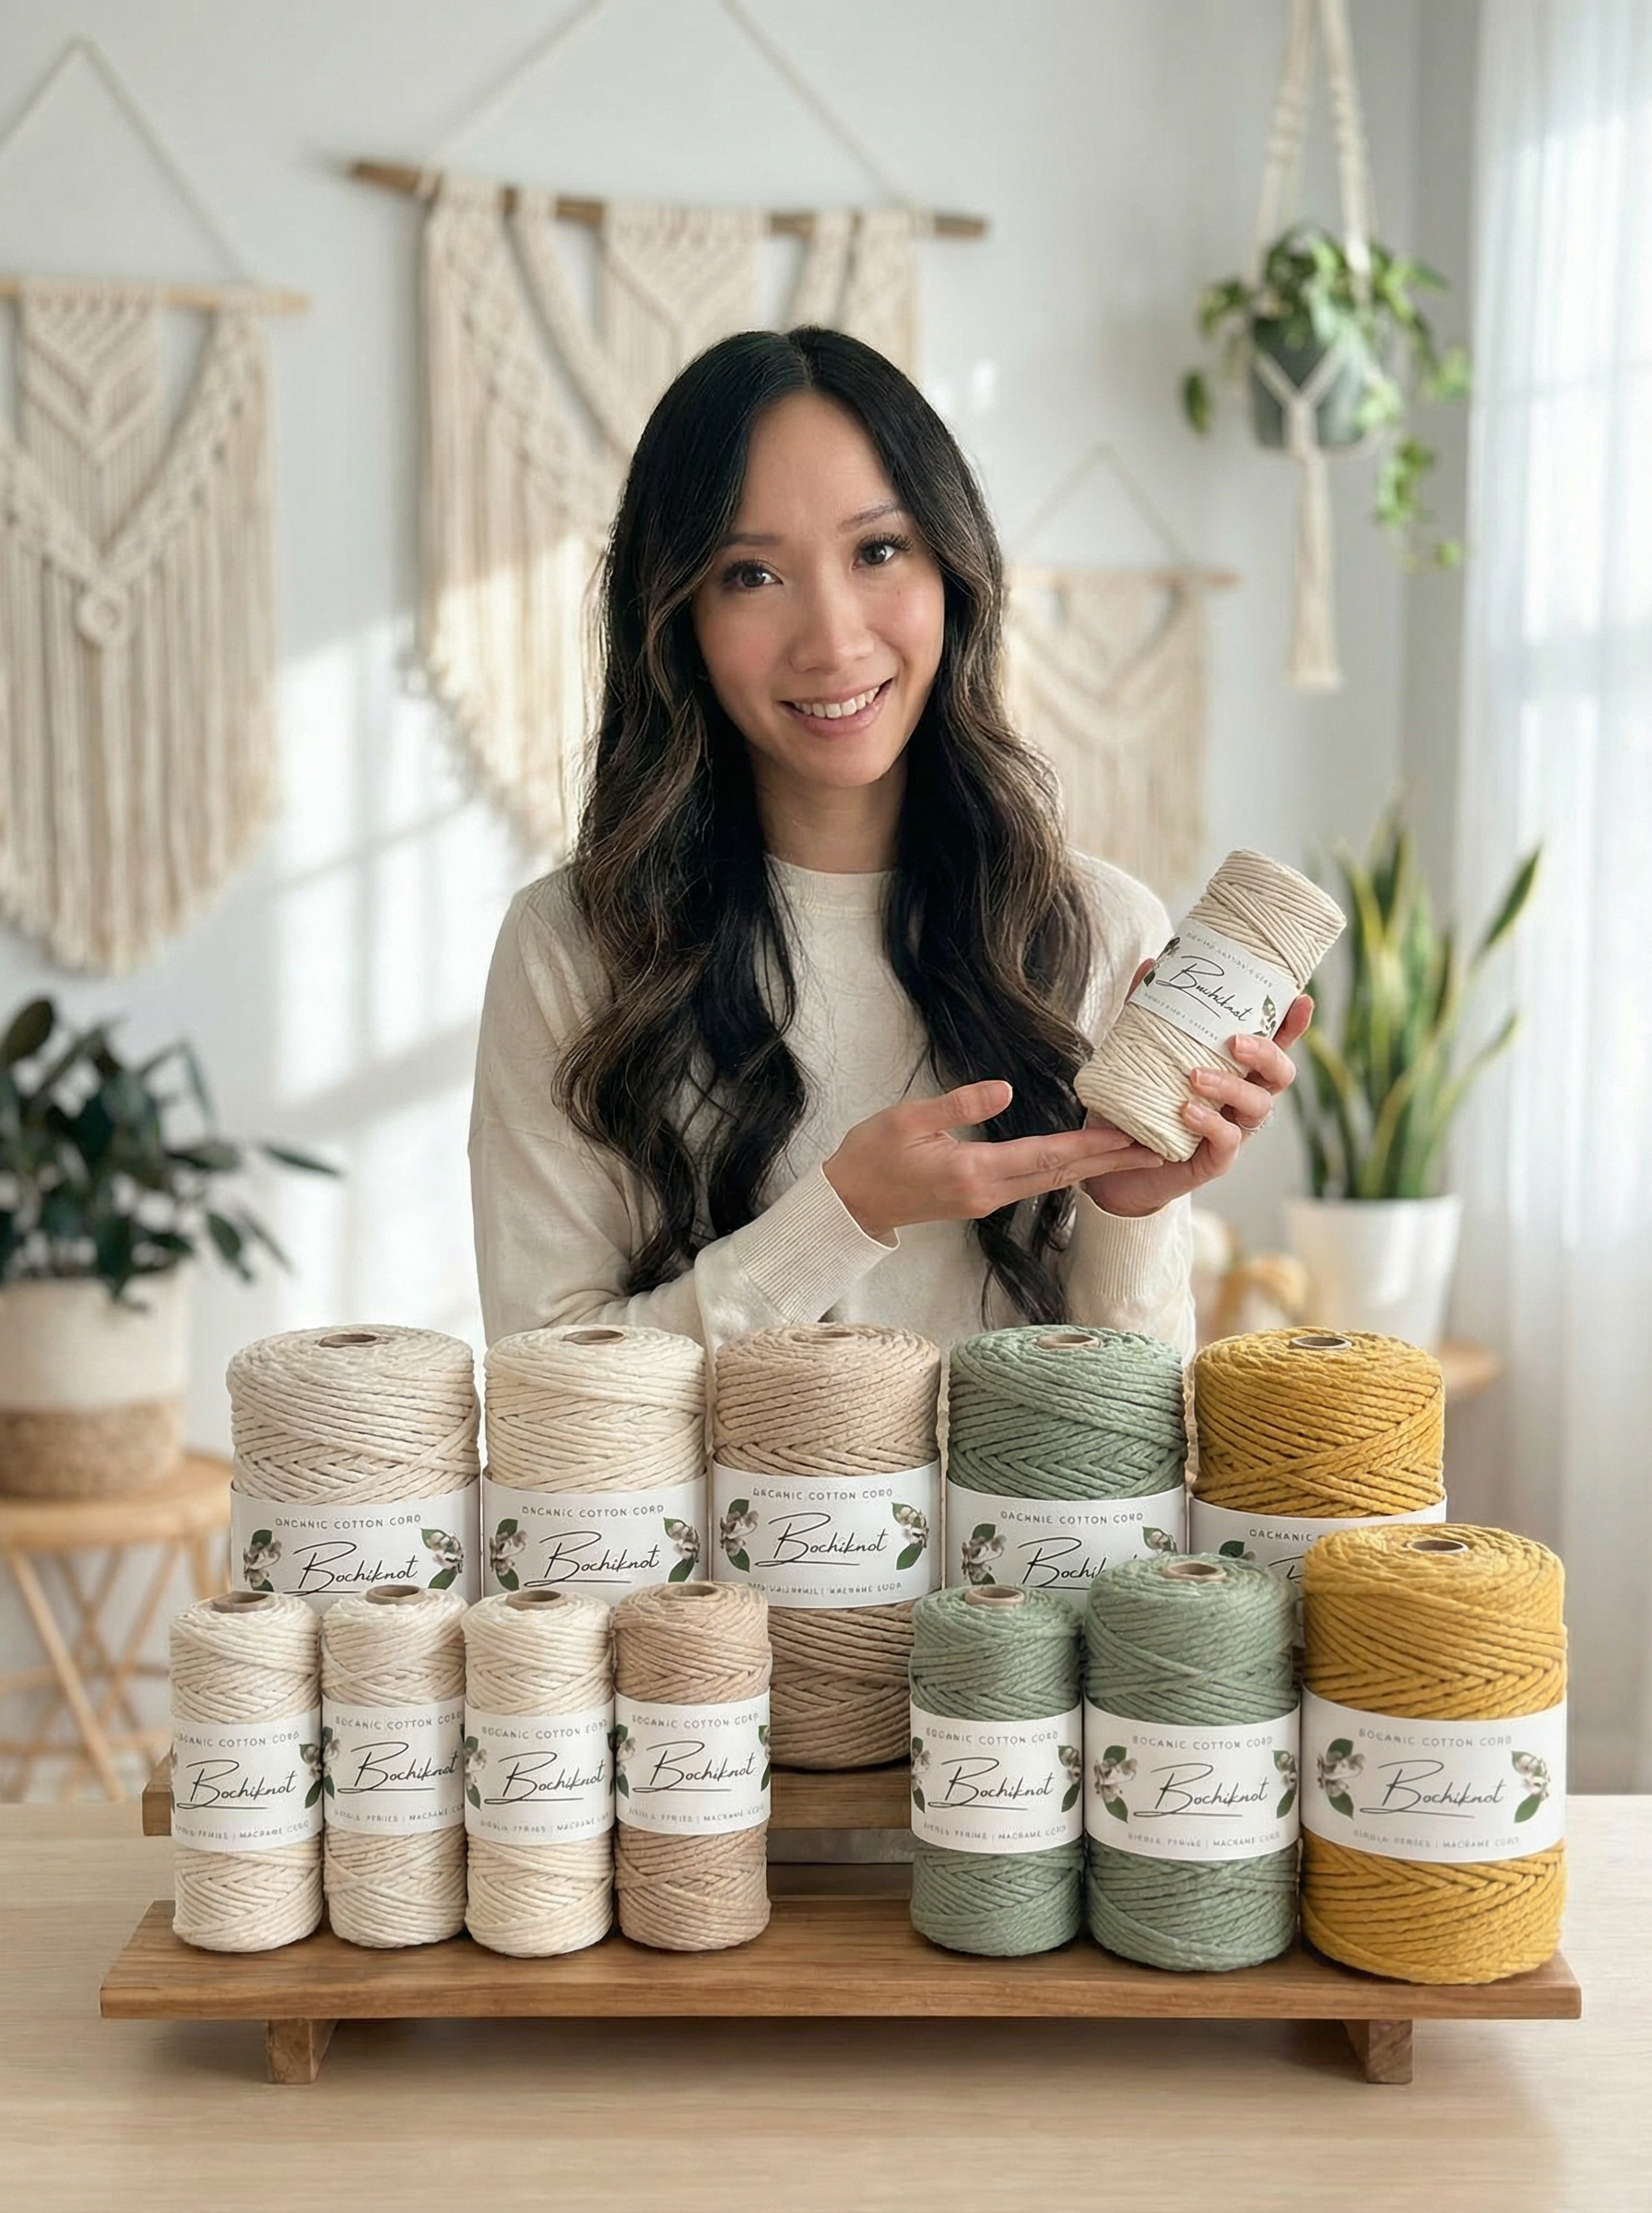
Use 3mm single-strand macrame cord and one 2-inch wooden ring to follow the video. The metallic thread is an accent within the cotton cord, not a separate thick metallic string. Natural silver gives a soft shimmer; natural rose gold is another option.
Some links are affiliate links. As an Amazon Associate, Bochiknot earns from qualifying purchases, at no extra cost to you.

3mm Metallic Mix Cord
Natural Silver single-strand cord matches the type used for the shimmering sample. Check current stock before choosing your color.
Shop Metallic Mix Cord →
2-Inch Wooden Ring
One ring supports all six points. Space the cord groups evenly around it before tightening the last section.
Shop Wooden Rings →
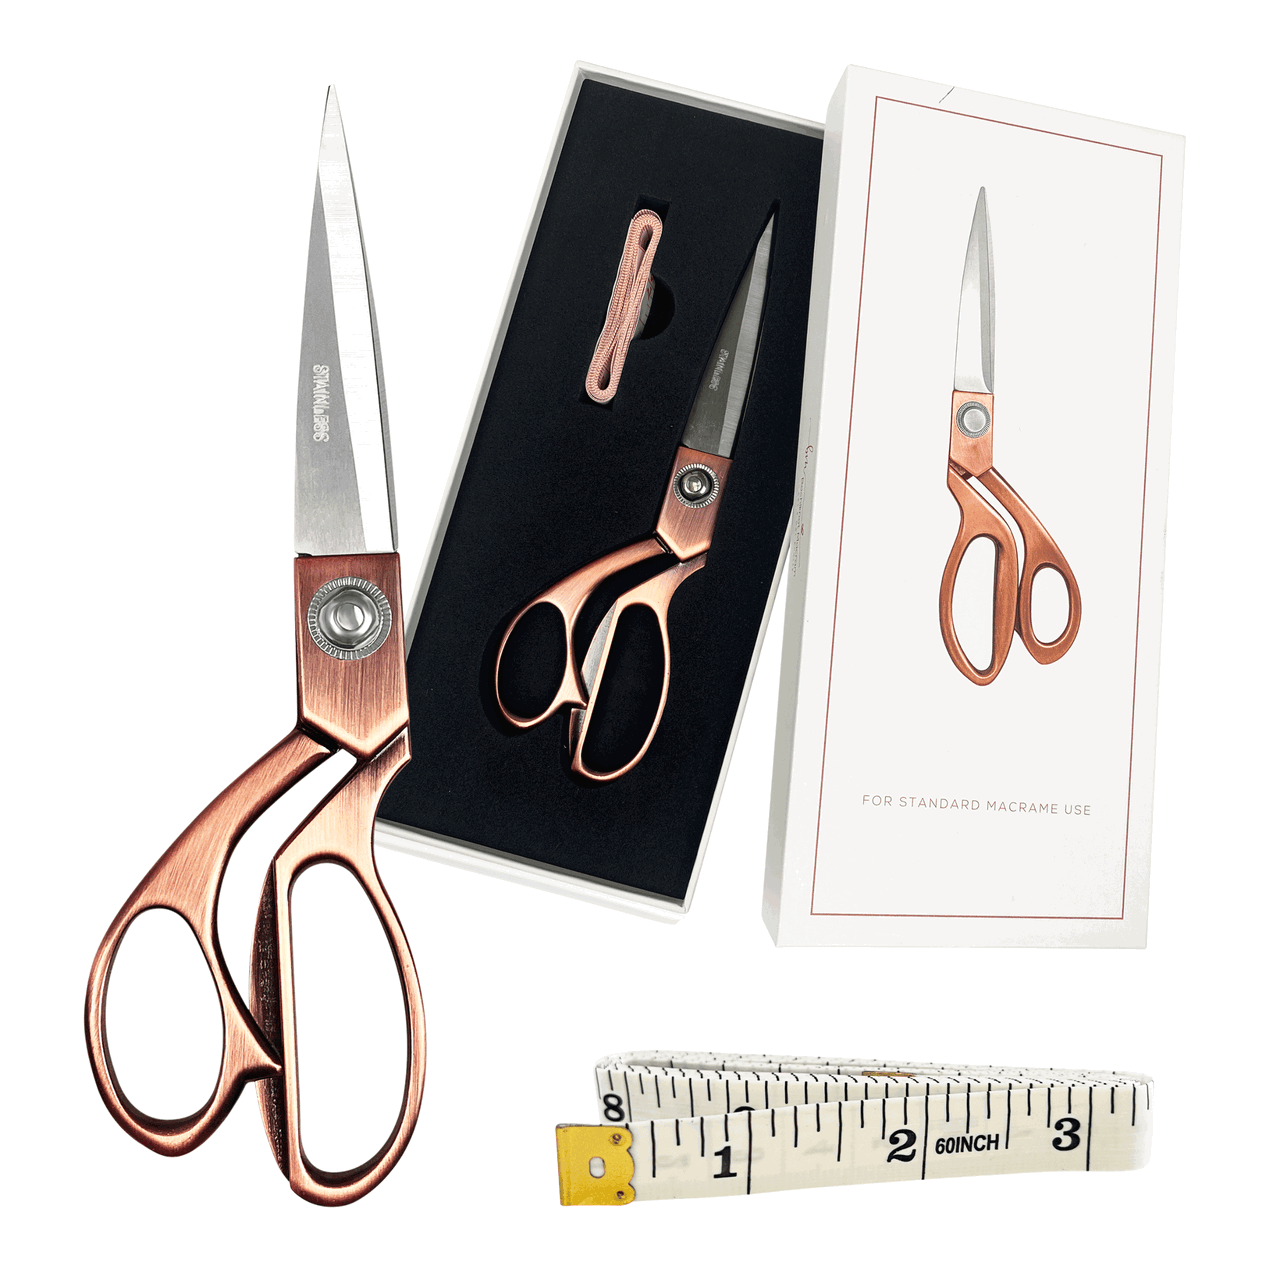
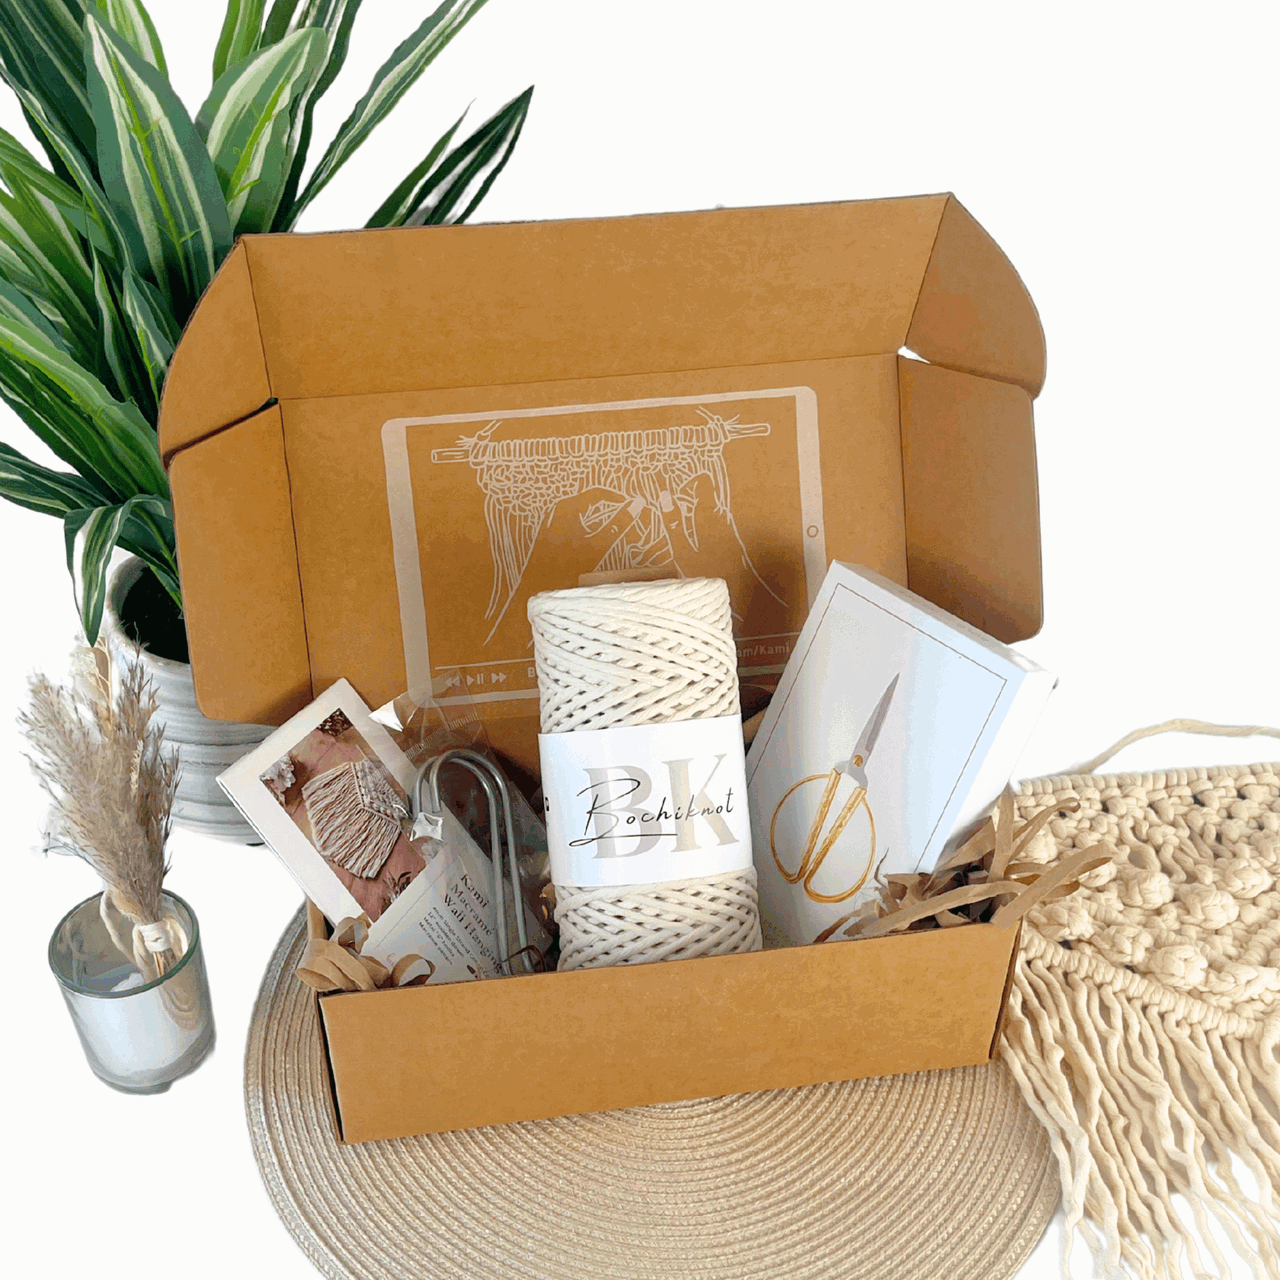
Gold Precision Scissors
Trim the hidden ends after weaving them through the back. Small blades help you work between finished knot sections.
Shop Precision Scissors →Your Remaining Tools
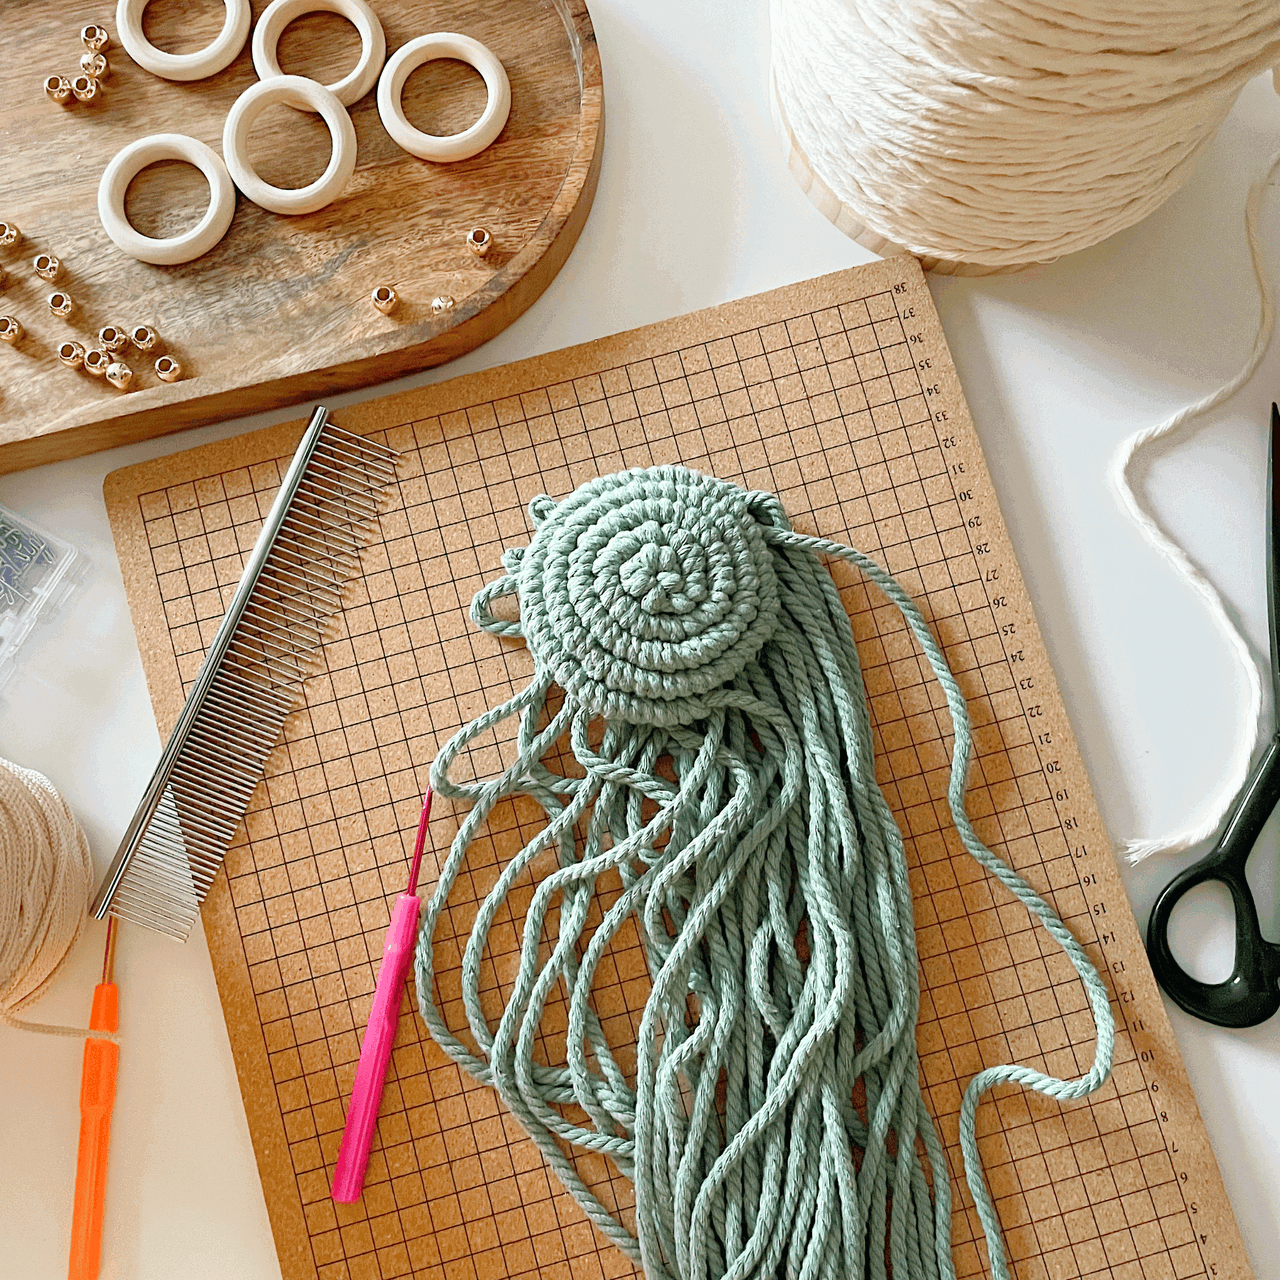
Also gather a measuring tape, a blunt weaving needle or crochet hook for hiding the ends, and a glue gun with compatible sticks. You only need small dabs on the hidden ends; keep glue away from the front of the knots. Prefer plain cotton? Choose the same 3mm size and practice one point before cutting the full set.
Use supplies you already own where possible. For other craft essentials, browse the Bochiknot Amazon US storefront.
Cut Your Cord Before You Start
| Use | Cut length | Approximate conversion | Notes |
|---|---|---|---|
| Five regular points | 15 × 45 cm | About 18 in each | 3 cords per point |
| Center cord of final point | 1 × 45 cm | About 18 in | Fold in half |
| Outer cords of final point / hanger | 2 × 55 cm | About 22 in each | Fold in half |
Corrected total: 16 × 45 cm + 2 × 55 cm = 8.30 m (about 9.1 yd), across 18 pieces. Five points use three short cords each; the sixth uses one short cord and two longer cords. The older list of 15 short cords did not include that final center cord. Keep extra cord for practice. Centimeters are the cutting reference; inches are rounded.
Understand the Knots Before You Combine Them

Reverse Lark’s Head
Attach a folded cord to a ring or frame. Check which side of the attachment should face you.
See The Knot Tutorial →
Double Half Hitch
Tie two half hitches with the working strand around an anchor. The anchor sets the direction.
See The Knot Tutorial →An overhand knot closes the hanging loop at the end. Notice the distinction between a whole cut cord and a strand: each folded cord gives you two hanging strands, so each three-cord point begins with six strands.
Set aside the two 55 cm cords and one 45 cm cord for the final point. For each regular point, the two outer cords have uneven tails: the shorter tails face outward. This leaves more length where the pattern needs it.

Watch Nicole Make It
Use the full video for an overview, or click the timestamp beside any step to jump directly to that demonstration.
Star Snowflake: Step-by-Step Pattern
Read the instruction, compare the original step photos, then use the linked video whenever you need to see the cord move. Clicking a step photo also opens that step in the video.
1. Fold the two outer cords off-center
Take two 45 cm cords. Measure 18 cm from one end of each and fold there, leaving a longer end of about 27 cm. Arrange them so their shorter ends will face the outside edges of the point.


2. Mount three cords on the ring
Attach the two off-center cords with reverse lark’s head knots. Fold a third 45 cm cord in half and attach it between them. You now have six hanging strands; check that the shorter outer tails face outward.


3. Start the mirrored double half hitches
Use the second strand from the left as an anchor and make a double half hitch toward the right. Repeat on the right side, mirroring the left. Hold each anchor at the angle shown in the photos.


4. Join the middle strands
Use the middle two strands to tie a diagonal double half hitch toward the left. This joins the two sides of the first part of the motif.

5. Build the larger V
Use the outer cords to make a larger V-shaped row of double half hitches underneath. Keep the left and right sides at matching angles.


6. Turn the left anchor
Use the second strand from the left as the working strand and tie a double half hitch onto the middle-left cord. Fold that anchor in the opposite direction and make another double half hitch as demonstrated.


7. Mirror the turn on the right
Repeat the same sequence on the right side. Compare both sides before tightening everything into place.


8. Close the point
With the middle two strands, make one more diagonal double half hitch toward the left. Check the outline of this first point; use it as your reference for the remaining sections.


9. Make four more regular points
Repeat Steps 1–8 four more times around the ring, using three 45 cm cords for each point. You now have five completed points. Leave room for the sixth section.


10. Mount the final point and hanger cords
Fold the remaining 45 cm cord in half and attach it to the ring. Fold each 55 cm cord in half and attach one on either side, all with reverse lark’s head knots.


11. Knot the sixth point
Repeat the same knotted motif as the other sections. Keep the longer ends available for the hanging loop, following Nicole’s strand choices in the video.


12. Tie the hanging loop
Use the two longer cords to tie an overhand knot at the top. Check the loop length and make sure the snowflake hangs with a point facing upward before trimming.


13. Hide and secure the ends
Turn the ornament over. Weave the side tails through the backs of the knots, then trim excess. Trim the remaining indicated ends and secure them with small dabs of glue. Let the glue set, then check the front and gently arrange the six points.


Count six finished points. The ring should sit evenly inside them, the hanging loop should hold securely, and the trimmed ends should be hidden on the back rather than visible between the points.
If Your Snowflake Looks Different
I don’t have enough cords for the sixth point
Use the corrected 18-piece list above: 16 short cords and two longer cords. Keep the final three cords separate so they do not accidentally go into a regular point.
My points are uneven
Check the off-center folds and anchor angles. Compare each finished point with the first one before moving around the ring; small tension differences become more noticeable when six motifs sit together.
The last point won’t fit around the ring
Gently redistribute the mounted groups before tightening the final point. A different ring diameter or thicker cord changes the available space. Do not force another group into a tightly packed gap.
The back looks bulky
Weave tails along the backs of existing knots rather than stacking them all in one place. Use only enough glue to secure the hidden ends, then let it set before handling.

Display It, Gift It, Make It Yours
Hang it against green branches to show the open center and metallic detail, or tie it onto a gift with its removable loop. Keep the six points visible rather than covering them with additional decorations.
Share your finished piece and tag @bochiknot on Instagram. Seeing how a familiar pattern looks in another maker’s colors is part of the fun.
Questions Before You Start?
How much cord do I need for this macrame snowflake?
For the six-point pattern, cut sixteen 45 cm cords and two 55 cm cords: 8.30 m total. Extra cord for practicing the first point is helpful.
What is the difference between the star and snowflake in this tutorial?
They are the same six-point ornament. The pointed outline reads as a star, while the repeated geometric knotwork and metallic cotton give it a snowflake appearance.
Can I use 4mm cord?
The earlier article included 3–4mm examples, but the video specifies 3mm. Four-millimeter cord will make a larger, fuller ornament and can crowd the ring or change the length needed. Test one point and the ring spacing before committing to a full set.
Do I need to brush out fringe?
No. This design finishes by weaving and trimming the ends on the back. Its definition comes from the knotted points rather than a brushed fringe border.
How should I store the ornament?
Let any glue dry completely, then store it flat with tissue between ornaments. Avoid packing heavy decorations on top of the points.
What Would You Like to Make Next?
Keep exploring with another free Christmas macrame tutorial. Choose a different construction to build on what you just practiced.

Mini 3D Macrame Christmas Tree Ornament: Free Leaf Pattern
Practice small leaf motifs and build them into a hanging 3D tree.
Try This Free Pattern →
3D Macrame Christmas Tree with Loops: Free Tabletop Pattern
Turn a continuous strip of open loops into a small tabletop tree.
Try This Free Pattern →
Daisy Knot Christmas Wreath
Try a wreath ornament with a different decorative knot pattern.
Make The Wreath →Browse all Christmas macrame tutorials, or follow the Macrame Journey to choose your next learning stage.
KEEP A KNOT REFERENCE NEARBY
A Little Help Between Tutorial Pauses
Revisit a knot before repeating it across your project. Our free 50 Macrame Knots & Sennits guide gives you a reference to return to as you learn.
Get The Free Knot Guide →A LITTLE SUPPORT FOR YOUR NEXT PROJECT
Keep Learning With The Bochiknot Patreon Community
If you would like a regular reason to pick up your cord, explore the Bochiknot community on Patreon. Choose the level of guidance that fits the projects you want to make.

TIER 1
Mini-Macrame Creations
Explore smaller projects with patterns and video guidance.

TIER 2
Mastering Macrame Skills
Build your technique through guided projects, lessons, and creative challenges.

TIER 3
Macrame Masterpiece
Explore a learning and materials-kit option. Compare the kit schedule and shipping details on Patreon.
Tier 3 also has Macrame Masterpiece Lite (S2) and Macrame Masterpiece Bundle (S1) options. See Patreon for the current inclusions, availability, and pricing.

NICOLE WOO · BOCHIKNOT
Give the first point a little extra attention. Once you understand those anchor turns, repeating the pattern becomes much more enjoyable. Happy knotting!

A Little Inspiration Between Projects
Follow Bochiknot for tutorials, new ideas, and more ways to keep knotting.
Pattern and instruction: Nicole Woo, Bochiknot. Original step photographs accompany the linked tutorial. Lifestyle scenes are styled illustrations of the finished project.

Leave a comment