Macrame Angel Ornament with Wings | Perfect Christmas Tree Decor

Create Lasting Holiday Memories: DIY Macrame Angel Ornament for Your Christmas Tree
There’s just something magical about the holiday season, isn’t there?
It’s the time of year when family traditions come alive, and everything feels a little warmer, cozier, and filled with love.
A few Christmases ago, I wanted to add a more personal touch to our decorations—something handmade that would bring the true spirit of Christmas into our home.
Instead of buying the usual store-bought ornaments, I decided to take on a small project: making my very first Macrame Christmas Angel Ornament.
As I tied each knot, it became more than just an ornament—a keepsake, a memory in the making.
Every year, when I hang that angel on our tree, it fills me with joy and reminds me of the holidays.
It’s not just the decoration but the love and care that goes into creating something from scratch.
And who knows, I hope to pass this tradition on to my kids one day, weaving a little more love into each Christmas season.
In this blog post, I want to share that experience with you.
Maybe, just maybe, this little project will become a new tradition in your family, too!
So, let’s dive in, and knot something beautiful for your tree this year.
Macrame Knots You Need to Know for the Macrame Angel Ornament with Wings
Before starting your macrame angel ornament, getting familiar with a few basic macrame knots is essential.
These simple knots will help you create a beautiful design with ease.
For this Christmas Angle Ornament, you’ll need to know the following knots:
- Reverse Lark’s Head Knot
- Double Half Hitch Knot
- Gathering Knot
- Overhand Knot
These knots are commonly used in many macrame projects, and knowing them will give you a solid foundation for future creations.
- The Reverse Lark’s Head Knot securely attaches your cords to a ring or dowel, providing a stable starting point for your design.
- The Double Half Hitch Knot is a versatile knot that helps create structured patterns and adds intricate details to your macrame.
- The Gathering Knot is a finishing knot that bundles all your cords together, usually at the bottom of a macrame project.
- The Overhand Knot is a simple everyday knot that ties cords together and prevents them from fraying.
By grasping these basic knots, you’ll be well on your way to creating your beautiful macrame angel ornament!
Interested in More Knots for You Future Macrame Projects?
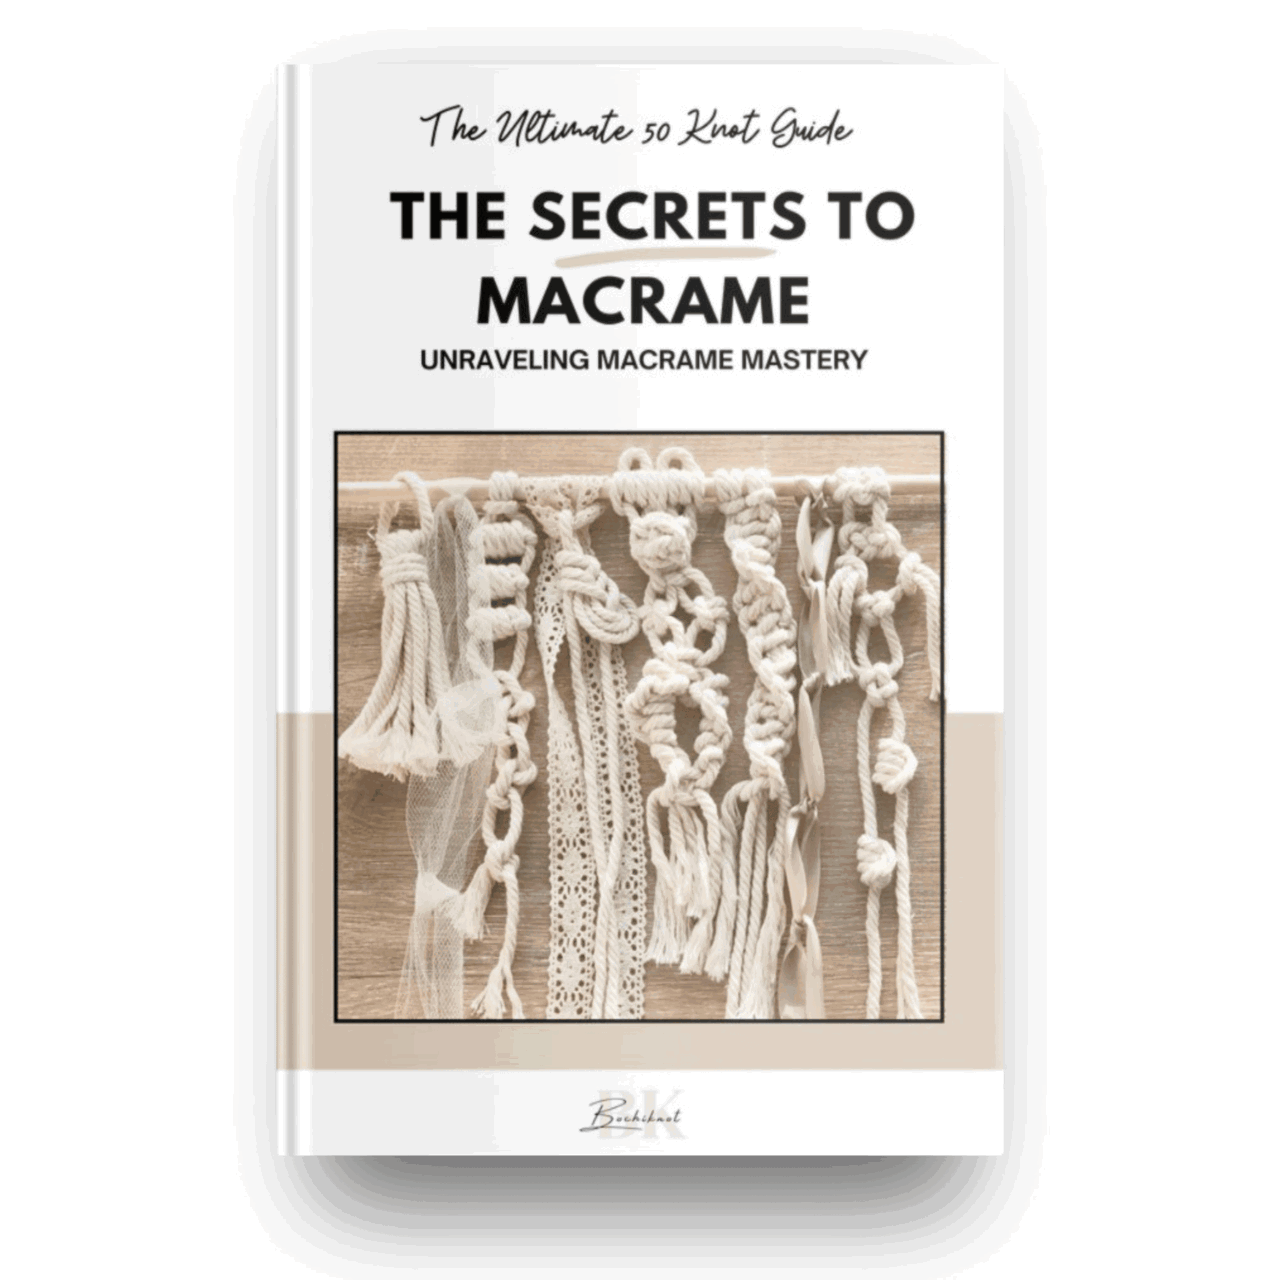
If you want to add more knots to your macrame designs, check out my free resource, "50 Macrame Knots & Sennit Guide."
It's packed with easy, step-by-step instructions to help you improve your skills and try new creative projects.
Access it here.
Important Macrame Terms for Beginners
Before we begin, it's probably best to go over a few important terms used in macrame.
This will help you understand the techniques more easily, follow patterns with confidence, and set a strong foundation for your macrame journey.
- Knots: Macrame involves various knots, like the overhand knot and alternating overhand knot. Learning these basic knots is key to building a strong foundation. Check the "Macrame Knots You Need to Know" section for the knots used in this pattern.
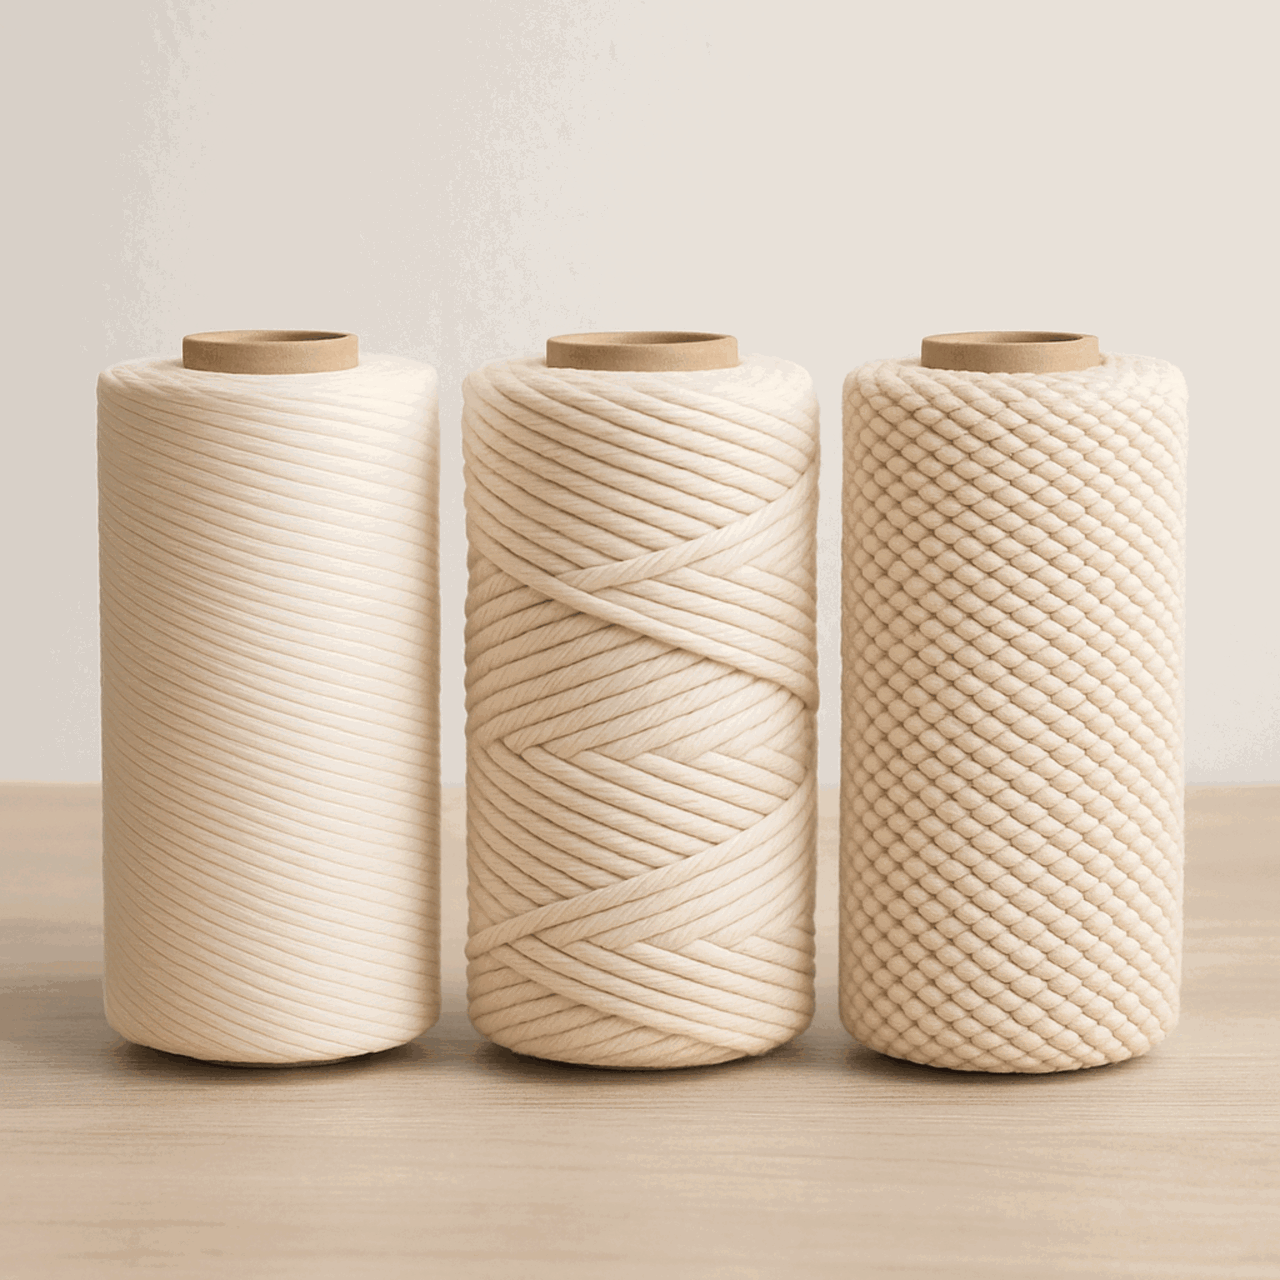
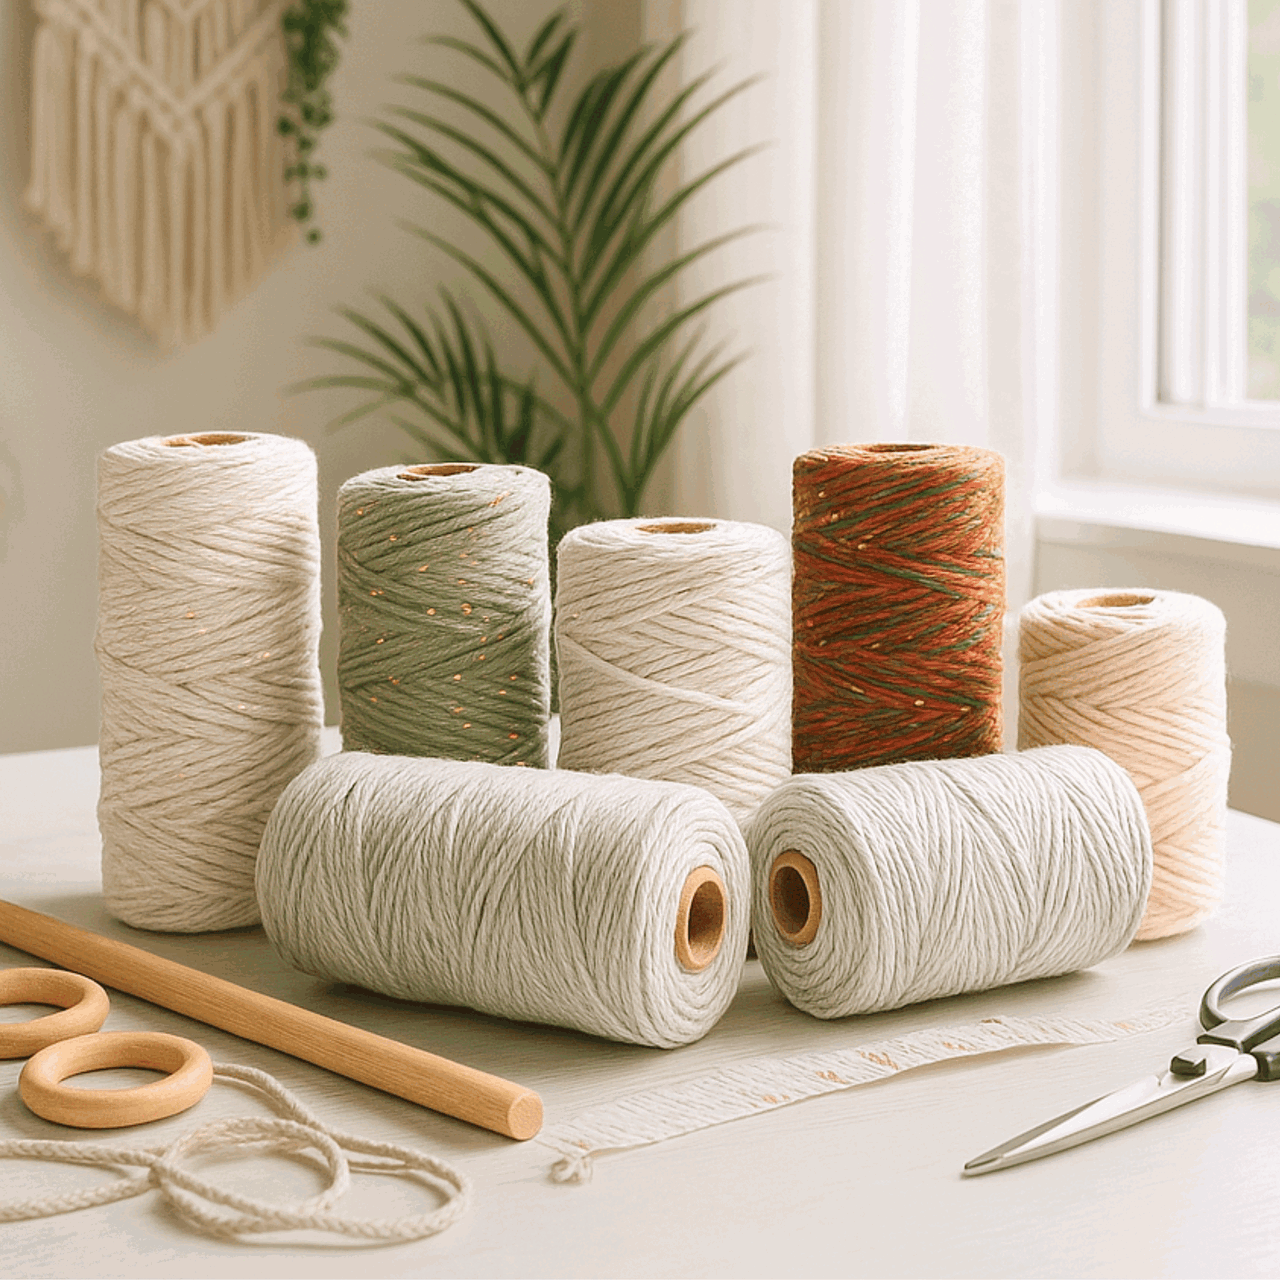
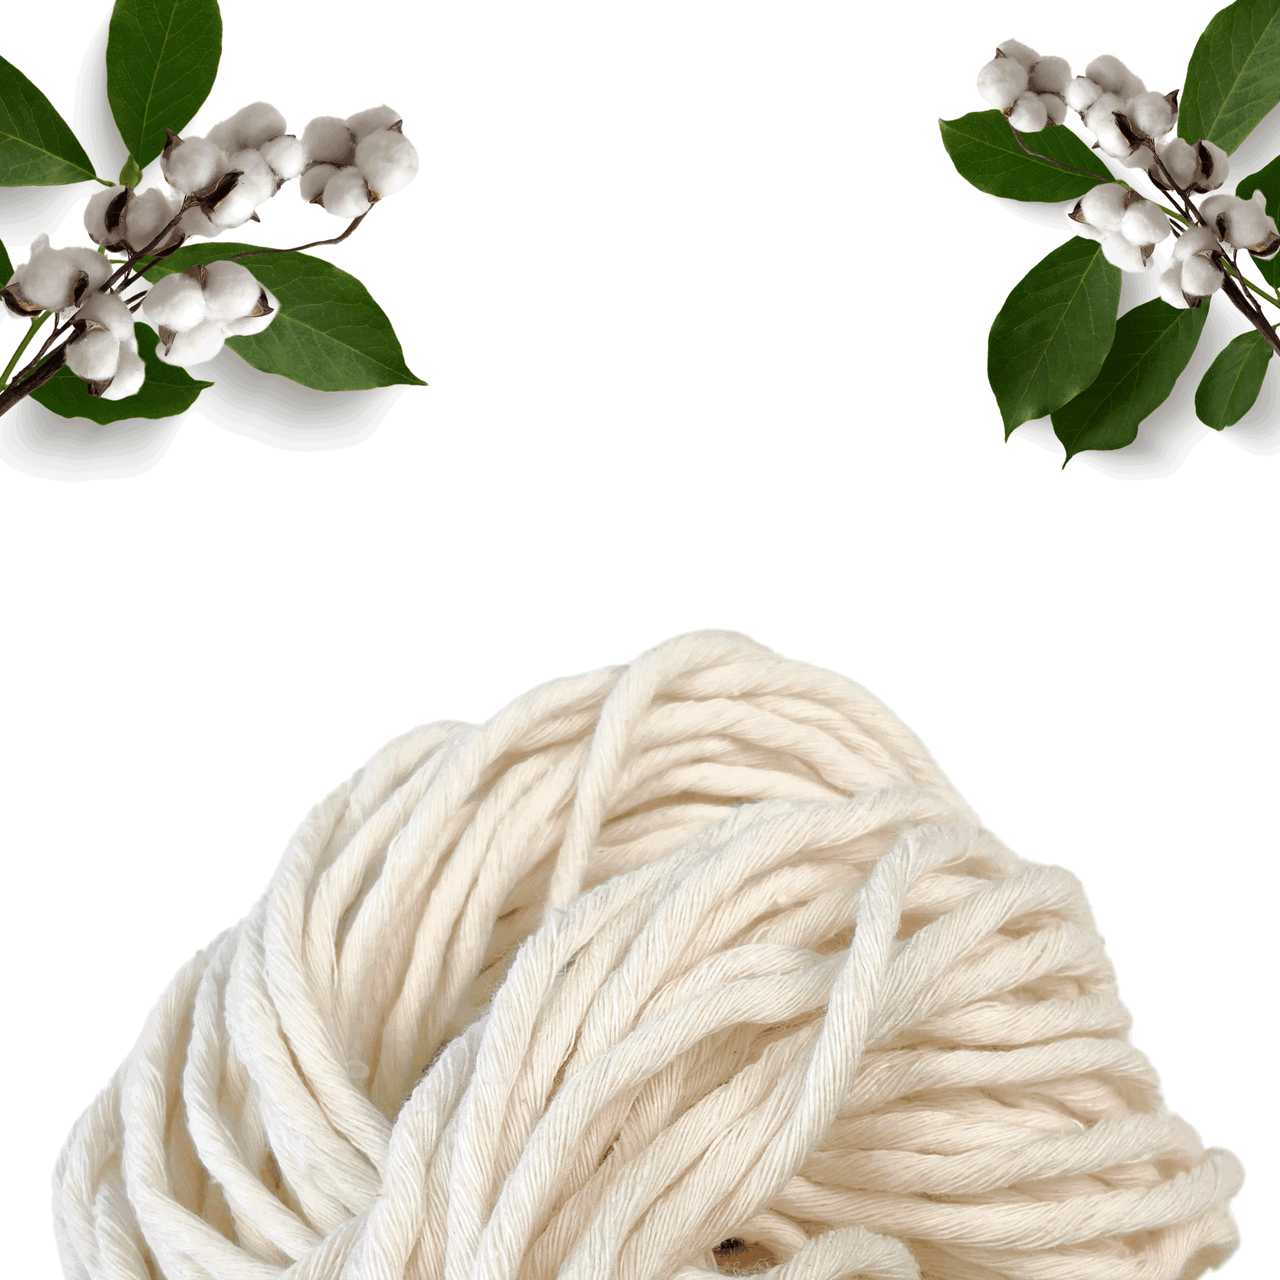
- Cords: The primary material in macrame is cords made from cotton, jute, nylon, or synthetic fibers. They come in different thicknesses and colors. You can learn more about macrame cord with our "Macrame ESSENTIALS: Everything You Need—Cord, Tools, & Materials" post.
- Loop: A loop is formed by crossing the cord over itself to create a ring-like shape. Loops are essential in many macrame designs.
- Fringe: The loose ends of cords that hang down, adding a decorative element. The fringe can be left as is or trimmed to your desired length. Want to learn more about fringe? here's "My Top 5 Secrets for Creating PERFECTLY Styled Fringe" post you might find helpful.
- Anchor Cord: The fixed cord or structure to which other cords are attached. It provides stability and support for your design.
- Working Cord: The cord that is actively manipulated to create knots and patterns throughout the project.
- Sennit: A series of knots grouped together to form a pattern or part of your macrame project.
- Frays and Tassels: The loose ends of your cords, often used intentionally as decorative elements like frays or tassels in your design.
Macrame Christmas Angel with Wings Ornament Cords and Materials

Macrame Angel Christmas Ornament: Cords and Materials
To create your Macrame Angel Christmas Ornament, you’ll need just a few essential materials:
-
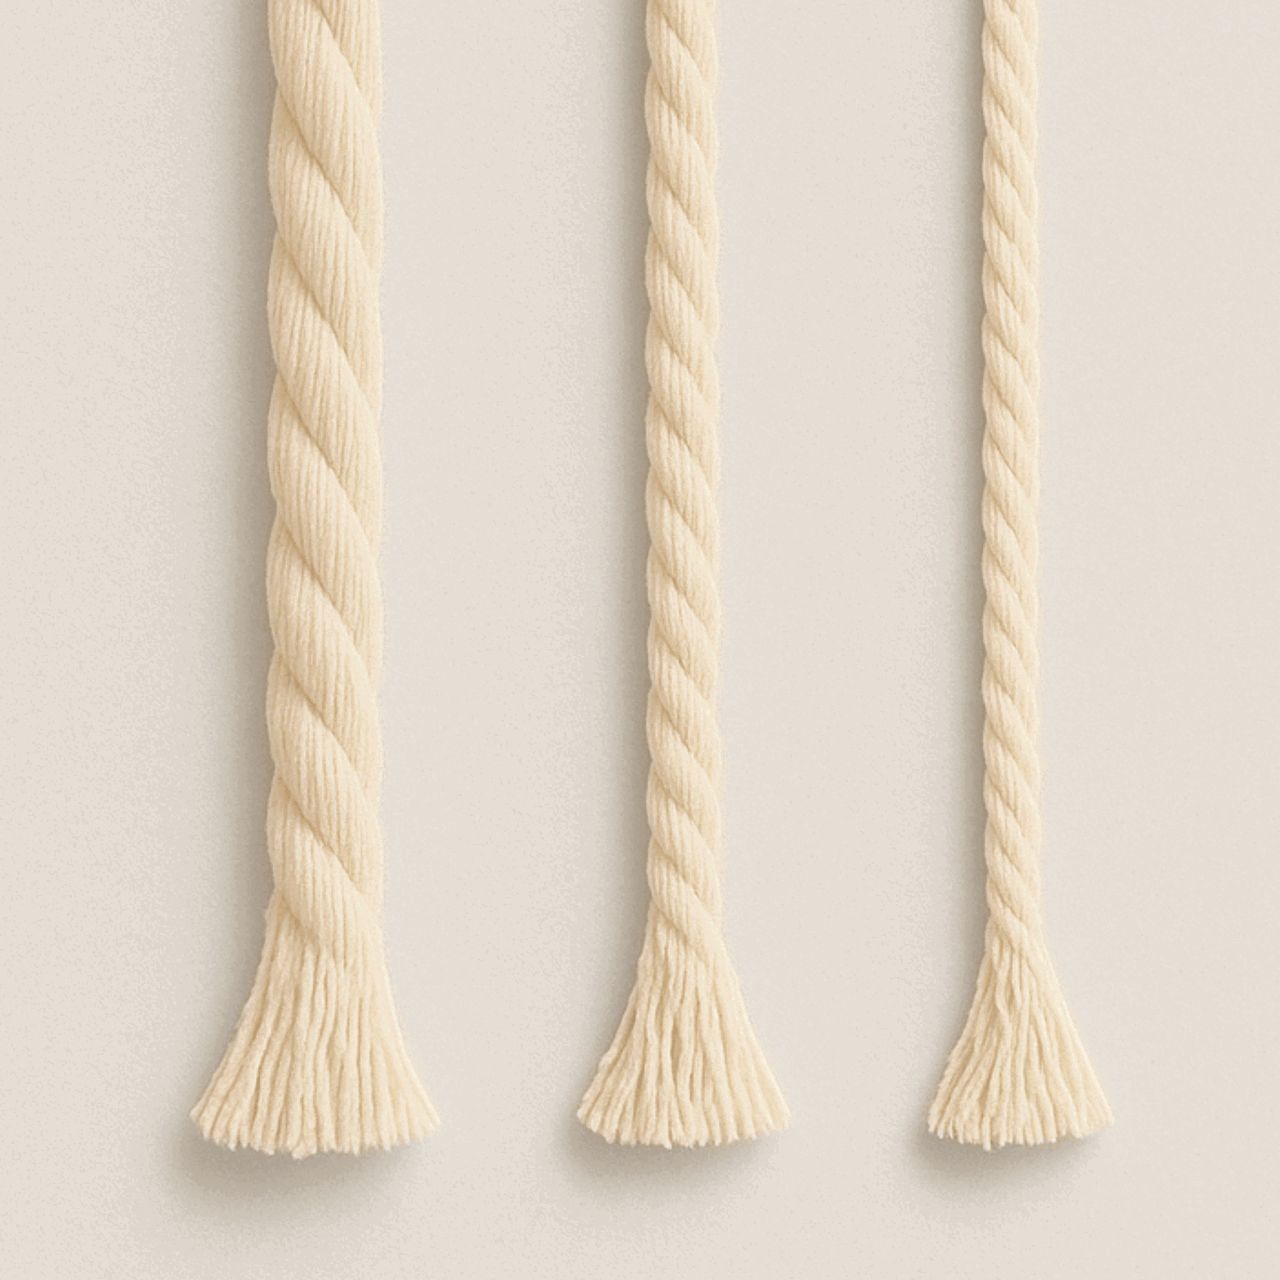
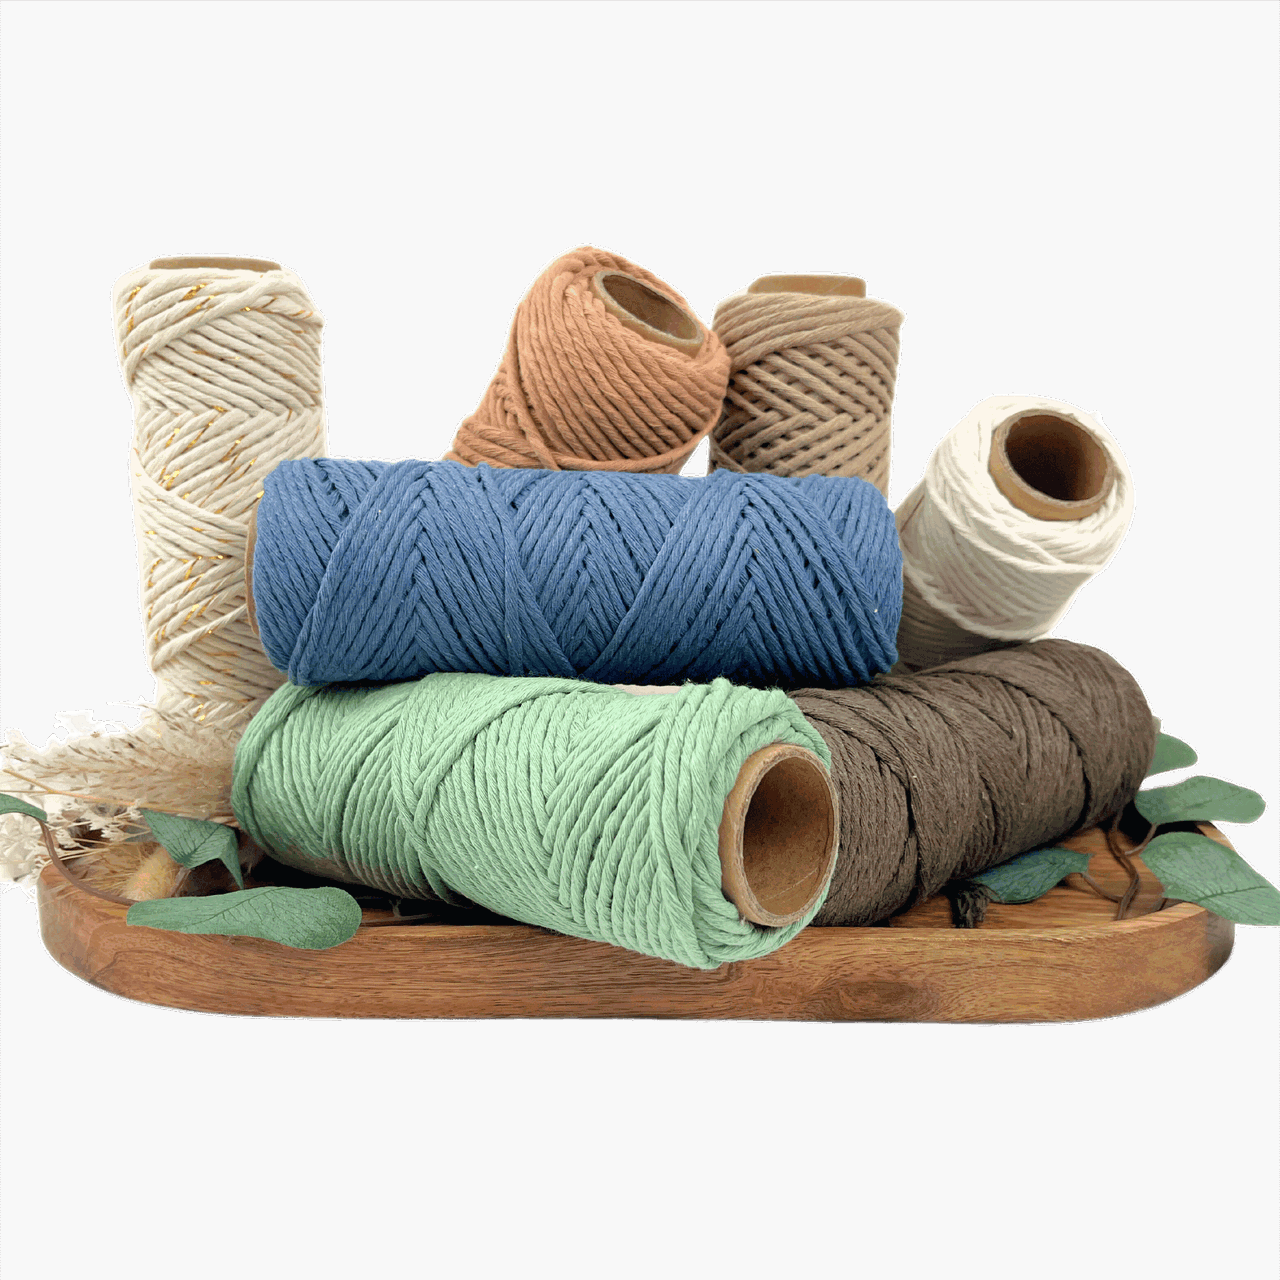
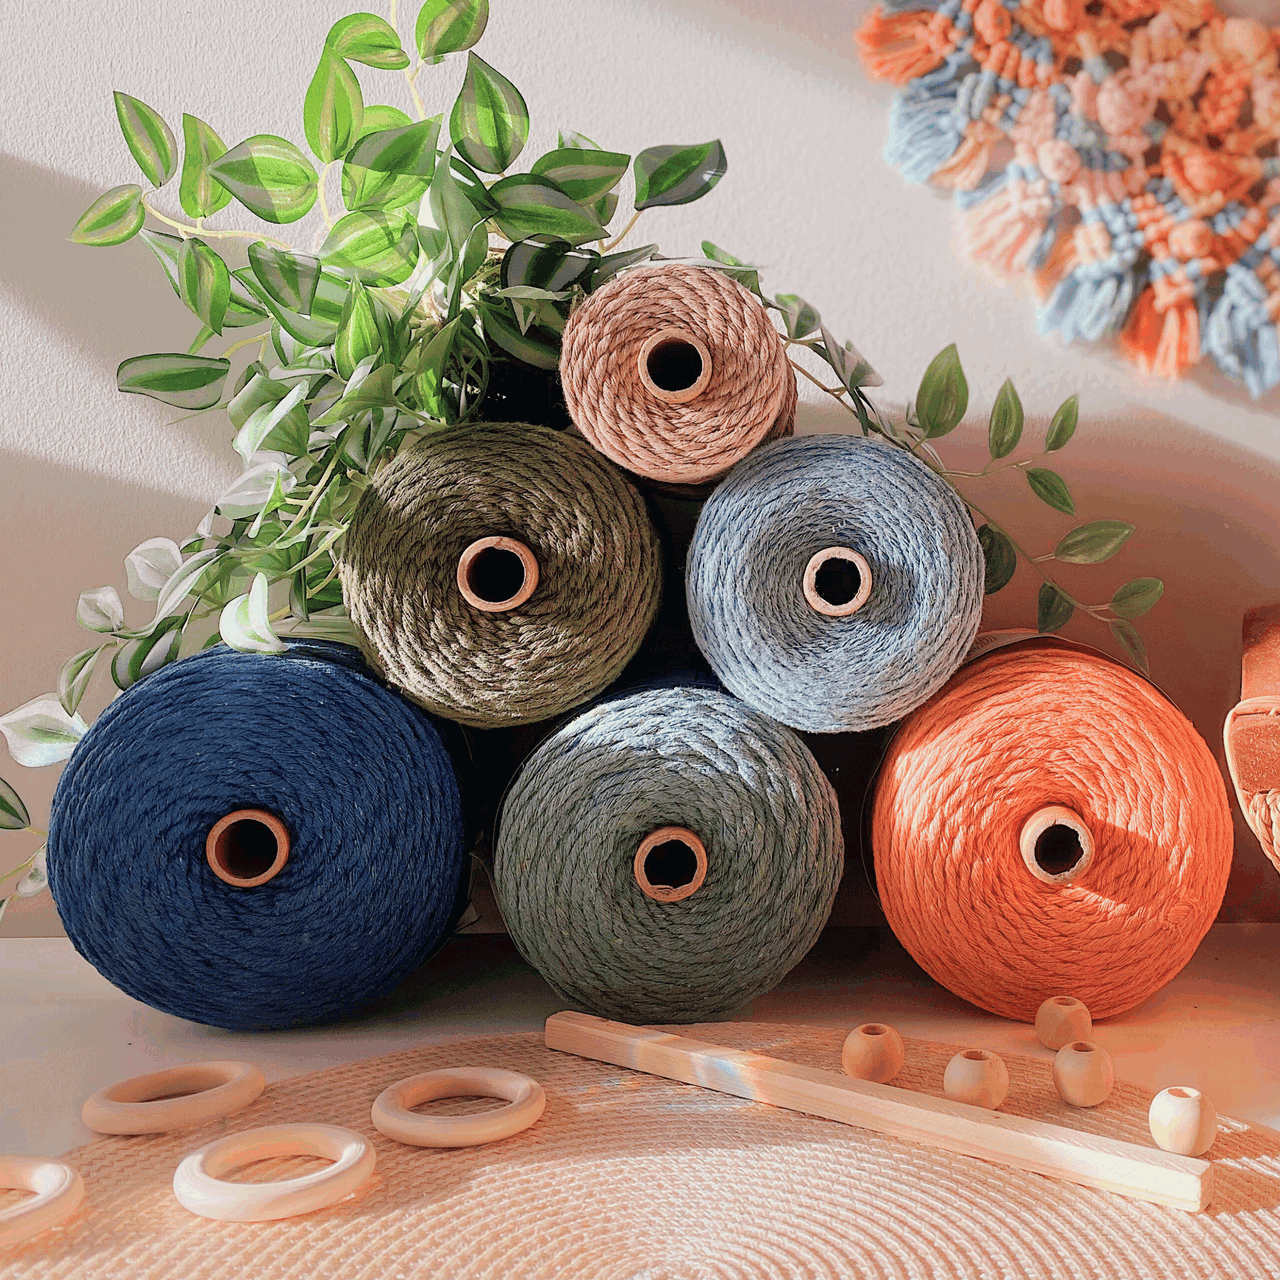
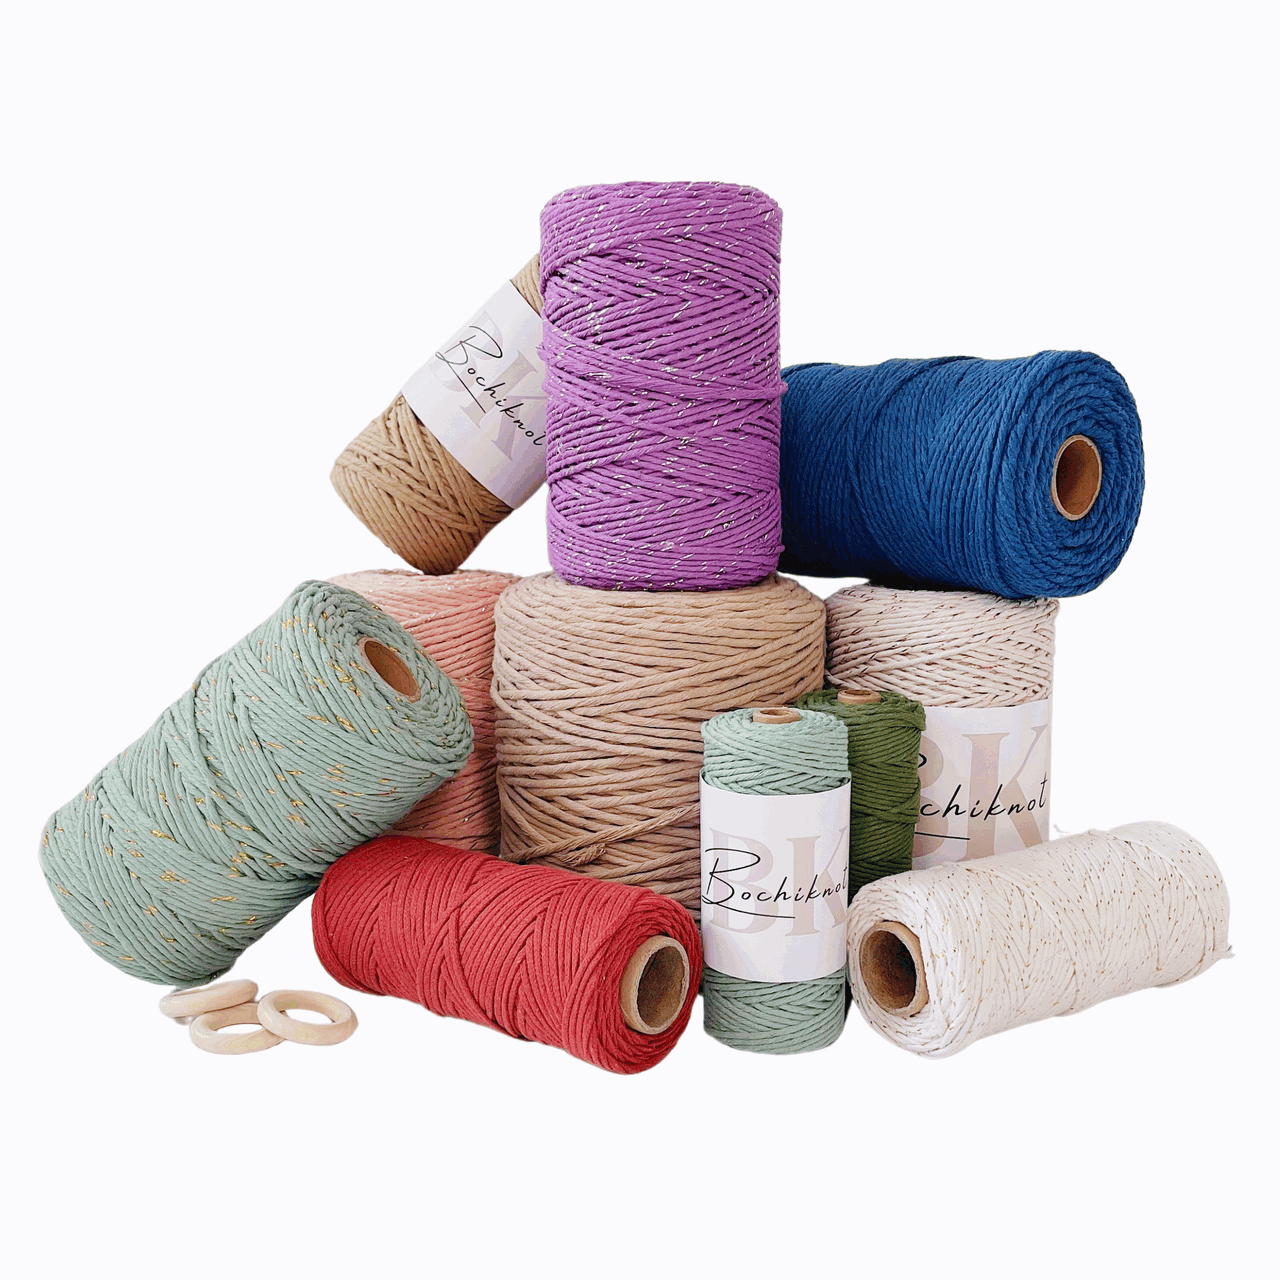
2mm Macrame Cord: I recommend using 2mm single-strand cotton cord for this project. It’s perfect for creating clean, easy-to-handle knots. Different cords may change the look and texture of the final piece, so for the best results, I suggest sticking with the cord and materials used in this tutorial.
-
Large Bead: This bead will serve as the angel’s head. The wooden bead offers a natural, classic look, but you can also choose something more decorative like a metallic or pearl bead for added sparkle.
-
Wooden Ring (2-3 inches): The wooden ring forms the base of the angel’s body. It provides structure for the design, and you can leave it plain or wrap it in cord for a more finished look.
With these simple materials, you’ll be ready to craft a beautiful macrame angel ornament that will add a personal, festive touch to your holiday decor.
Macrame Supplies & Tools
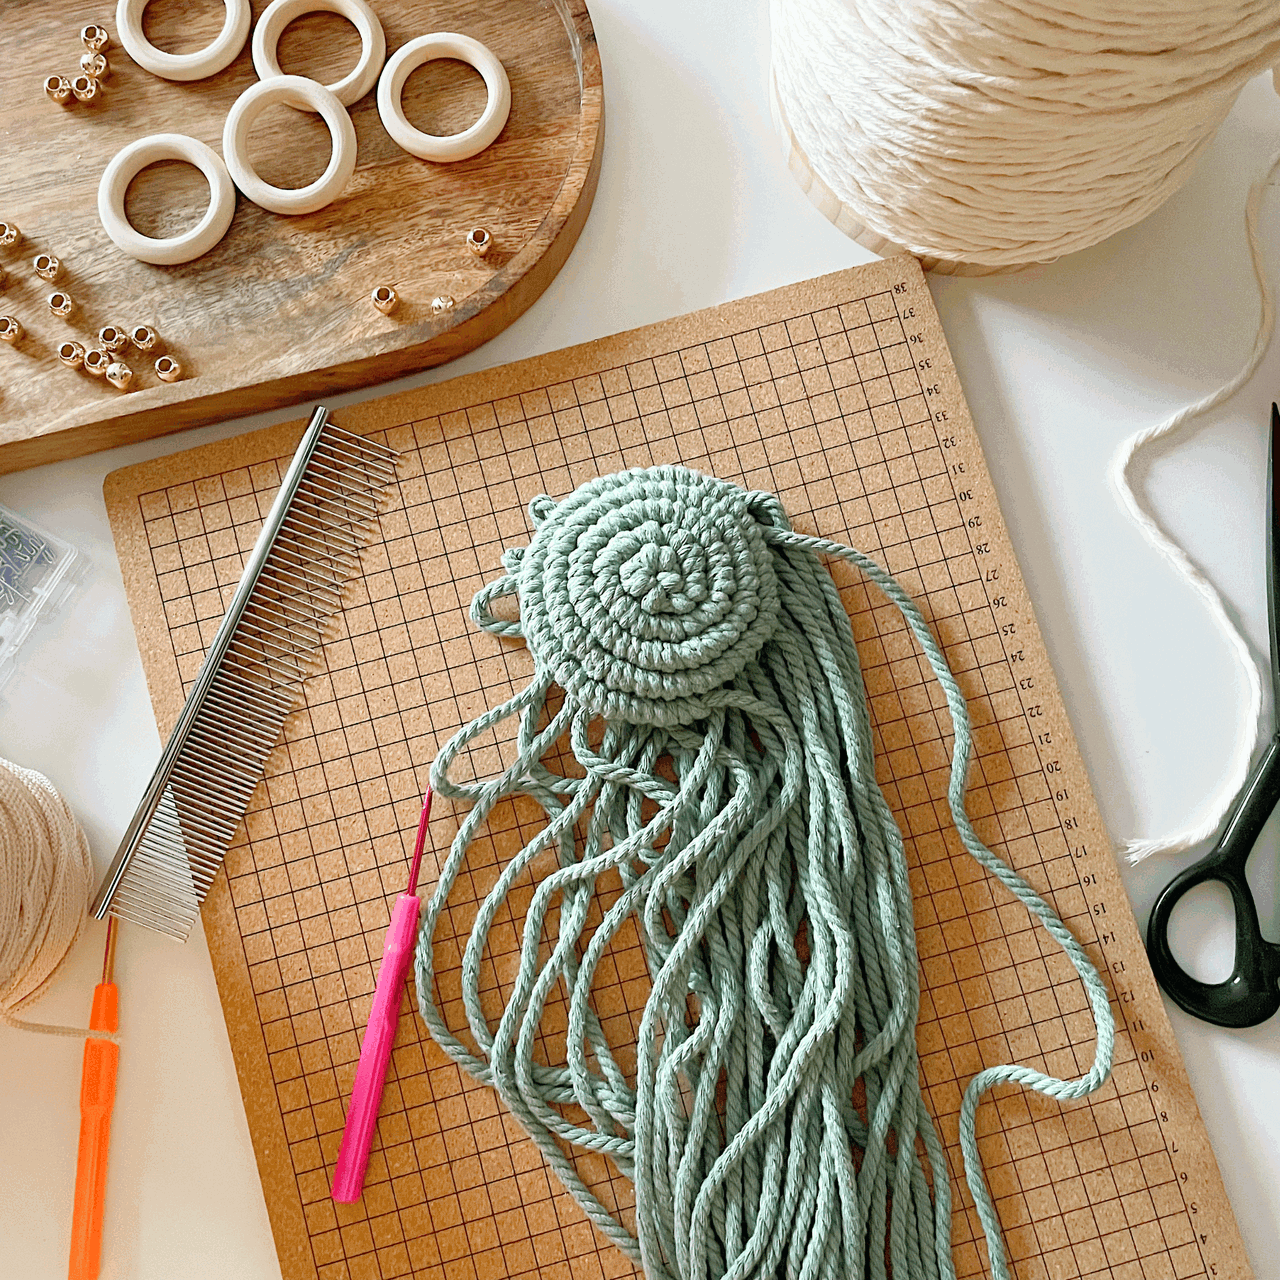
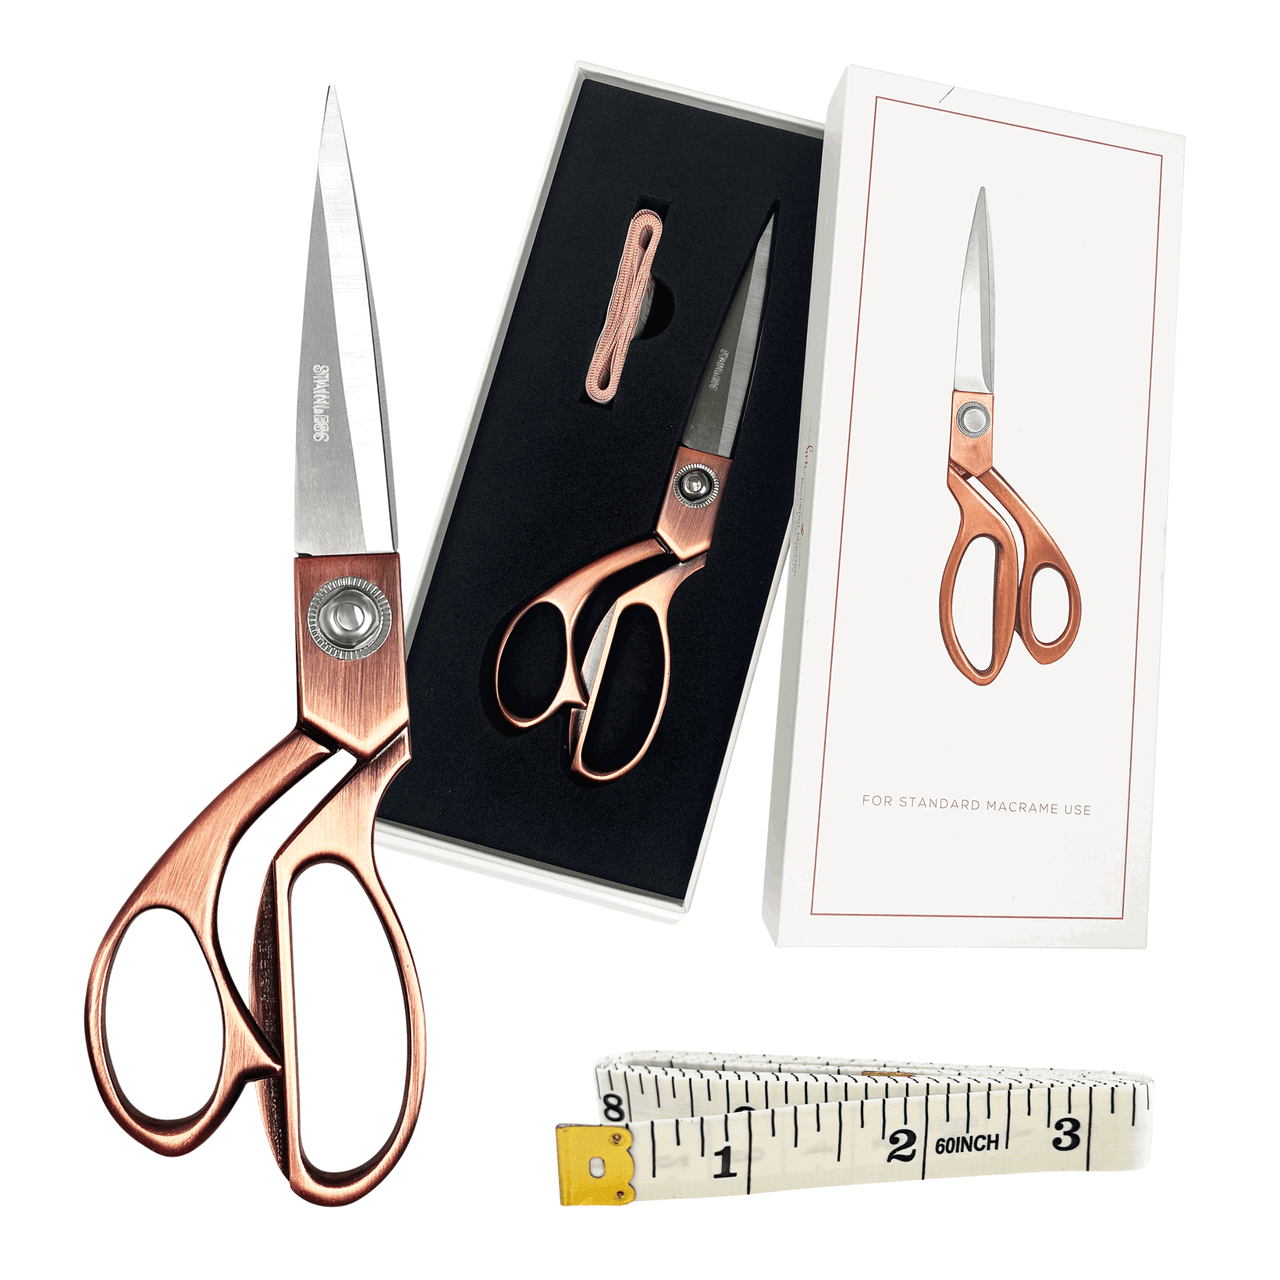
You will also need some essential tools:
Macrame Angel with Wings Christmas Ornament Details
Skill Level:
- Beginner
Completed Size:
- 4” (10 cm) x 5.5” (14cm)
Completion Time:
- 1 to 2 hours depending on skill level
Materials Needed (for 1 unit):
Cotton Lengths Needed:
- 1 x 50cm (20”)
- 12 x 75cm (30”)
- 1 x 40cm (16”)
* Note: The cord lengths suggested here are based on the pattern using 2mm macrame cotton cord.
Should you use a different size cord or cord from another brand, actual cord lengths may differ slightly and, therefore, should be adjusted accordingly.
Macrame Angel with Wings Christmas Ornament | Video Tutorial
Macrame Angel with Wings Christmas Ornament | Step-by-Step Guide
*Note: We recommend following the tutorial video for more detailed instructions and to achieve the best results.
This will provide additional guidance and clarity as you work through each step.
Step 1:
- Attach a 50 cm cord to the ring using a Reverse Lark's Head Knot, then thread both ends of the cord through the large hole bead.


Step 2:
- Pull the cord ends to the opposite side of the ring and secure them with two Double Half Hitch (DHH) knots.

Step 3:
-
Tie a large Overhand Knot at the end of the cord to keep it secure.


Step 4:
-
Attach two 75 cm cords to the right side of the ring using Reverse Lark's Head Knots.


Step 5:
-
Make two rows of DHH knots to the right, working across the cords.


Step 6:
- Use the second cord from the left as an anchor cord.
- Make two DHH knots to the right, then two DHH knots back to the left.

Step 7:
-
Create two rows of DHH knots to the left to balance the pattern.


Step 8:
-
Add two more leaf patterns on the right side using the same knotting technique.


Step 9:
-
On the left side, make three leaf patterns using the DHH knot technique.

Step 10:
-
Comb through all the vertical cords to straighten them.


Step 11:
- Take the bottom two tassels on each side and weave them through the back of the ring to the front.


Step 12:
- Gather both the front and back tassels together.
- Use a 40 cm cord to tie a Gathering Knot to hold them in place.


Step 13:
- Comb through the tassels and trim any excess cord to finish the ornament


And just like that, you’ve created your very own Macrame Angel Ornament with Wings!
From those first simple knots to this beautiful handmade piece, you’ve brought a little extra warmth and magic to your Christmas decor.
Just as I shared in the introduction, there’s something truly meaningful about crafting your own holiday decorations, and now you’ve added your personal touch to your tree.
But the joy of macrame doesn’t have to stop here.
Just like the angel ornament we made together, there are countless festive macrame projects waiting to become part of your holiday tradition.
If you’re ready to keep the holiday creativity flowing, head over to our Macrame Journey page, where you’ll find more fun Christmas projects—wreaths, garlands, and even more ornaments to explore.
This could be the beginning of a new tradition, filling your home with handmade love year after year.
Happy knotting, and may your holiday season be filled with joy and creativity! 🎄
Much love,

Looking for Macrame Patterns and Projects?
I’ve got a fun variety of DIY macrame patterns for you to explore—whether you’re into creating unique wall hangings to spruce up your home or timeless plant hangers, there’s something for every skill level.
Each pattern is super easy to follow with step-by-step photos, clear instructions, and plenty of tips to help you along the way.
Ready to start creating?
Browse DIY macrame patterns on Etsy and dive into your next project.

Join the Bochiknot Macrame Community: Your Gateway to Exclusive Tutorials & Inspiration
Discover the art of macrame like never before! Join our exclusive community of passionate macrame enthusiasts and unlock a world of creativity.
Gain access to a treasure trove of unique patterns, expert guidance, and a supportive network of fellow artists.
Get access to our library of macrame tutorials and best practices, here.













Leave a comment