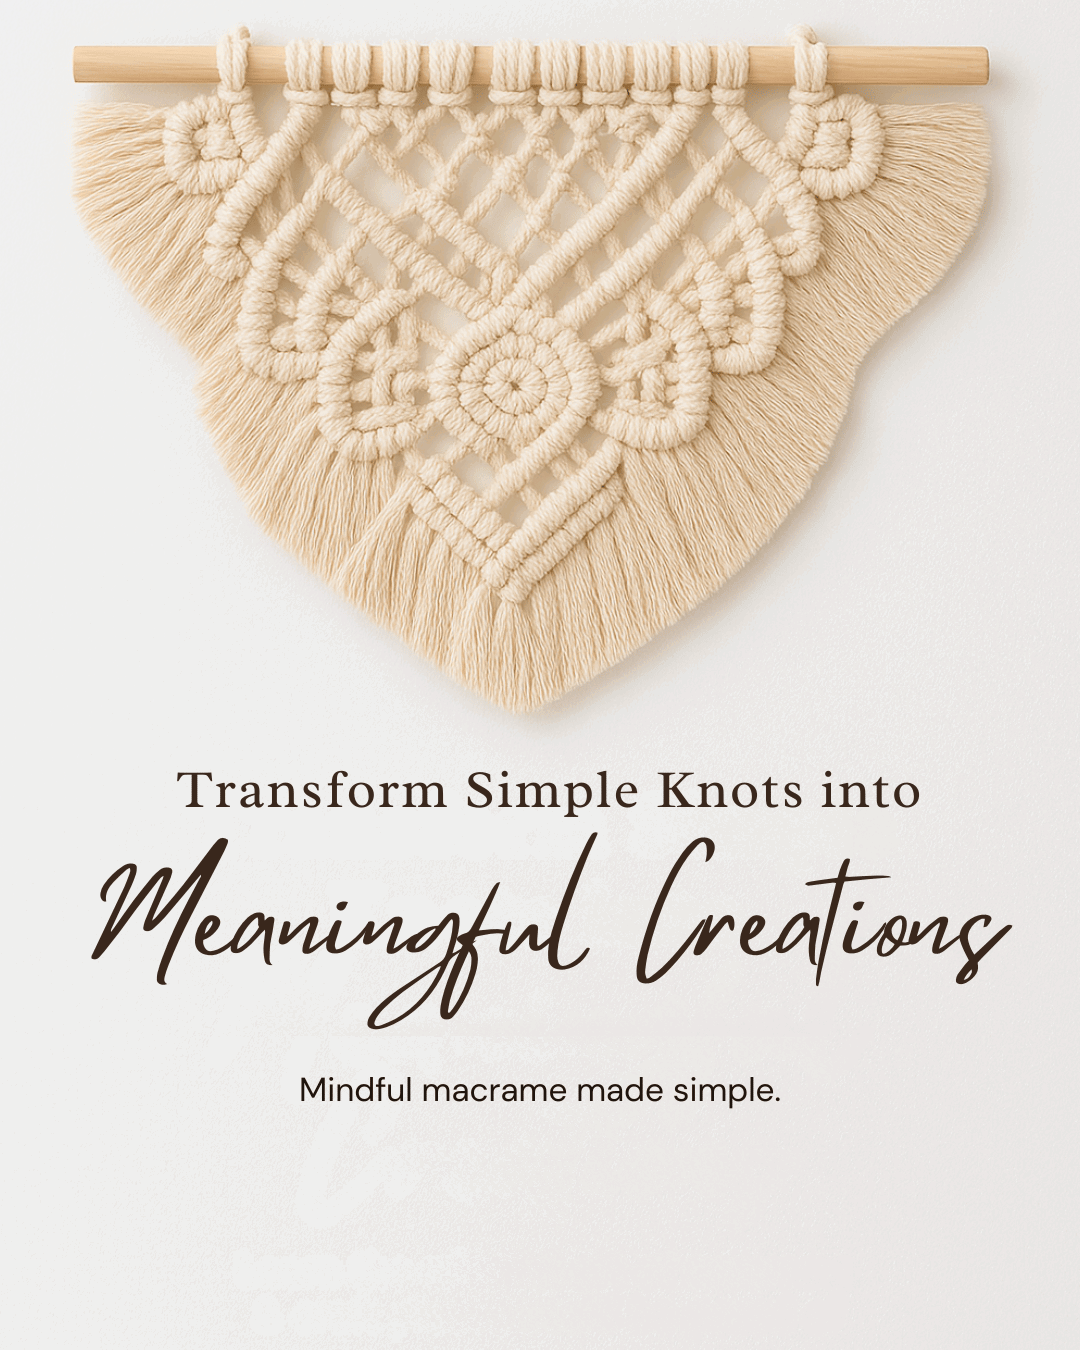
The Ultimate Guide: How to Make a Macrame Feather Wall Hanging

Want to add a vobe of boho charm to your space?
A macrame feather wall hanging is just what you need. It’s stylish, elegant, and—best of all—handmade by you!
If you’re new to macrame or have a few knots under your belt, this guide will help you create a stunning feather design that’s equal parts fun and rewarding.
So, why macrame feathers?
They’re lightweight, eye-catching, and oh-so-versatile.
Hang them as a bold statement piece, add them to a gallery wall, or even use them to jazz up a gift.
Plus, you can go wild with colors and sizes to make something totally you.
In this guide, I’m sharing all the details: how to pick the right materials, tie those essential knots, and shape your feathers like a pro.
Trust me, this project is not only super satisfying—it’ll have everyone asking, “Where did you buy that?” (Your secret’s safe with me!)
Macrame Knots You Need to Know
These three knots—Lark’s Head, Double Half Hitch, and Square Knot—are the building blocks of your macrame feather wall hanging.
They’ll allow you to anchor your cords, shape your feathers, and add the intricate details that make your project pop.
Spend a little time practicing them before starting, and you’ll feel like a macrame pro in no time!
Interested in More Macrame Knots?
If you want to add more knots to your macrame designs, check out my free resource, "50 Macrame Knots & Sennit Guide."
It's packed with easy, step-by-step instructions to help you improve your skills and try new creative projects.
Access it here.
Important Macrame Terms for Beginners
Before we begin, we should review a few important terms used in macrame.
This will help you understand the techniques more easily, follow patterns confidently, and set a strong foundation for your macrame journey.
- Knots: Macrame involves various knots, like the overhand knot and alternating overhand knot. Learning these basic knots is key to building a solid foundation. Check the "Macrame Knots You Need to Know" section for the knots used in this pattern.
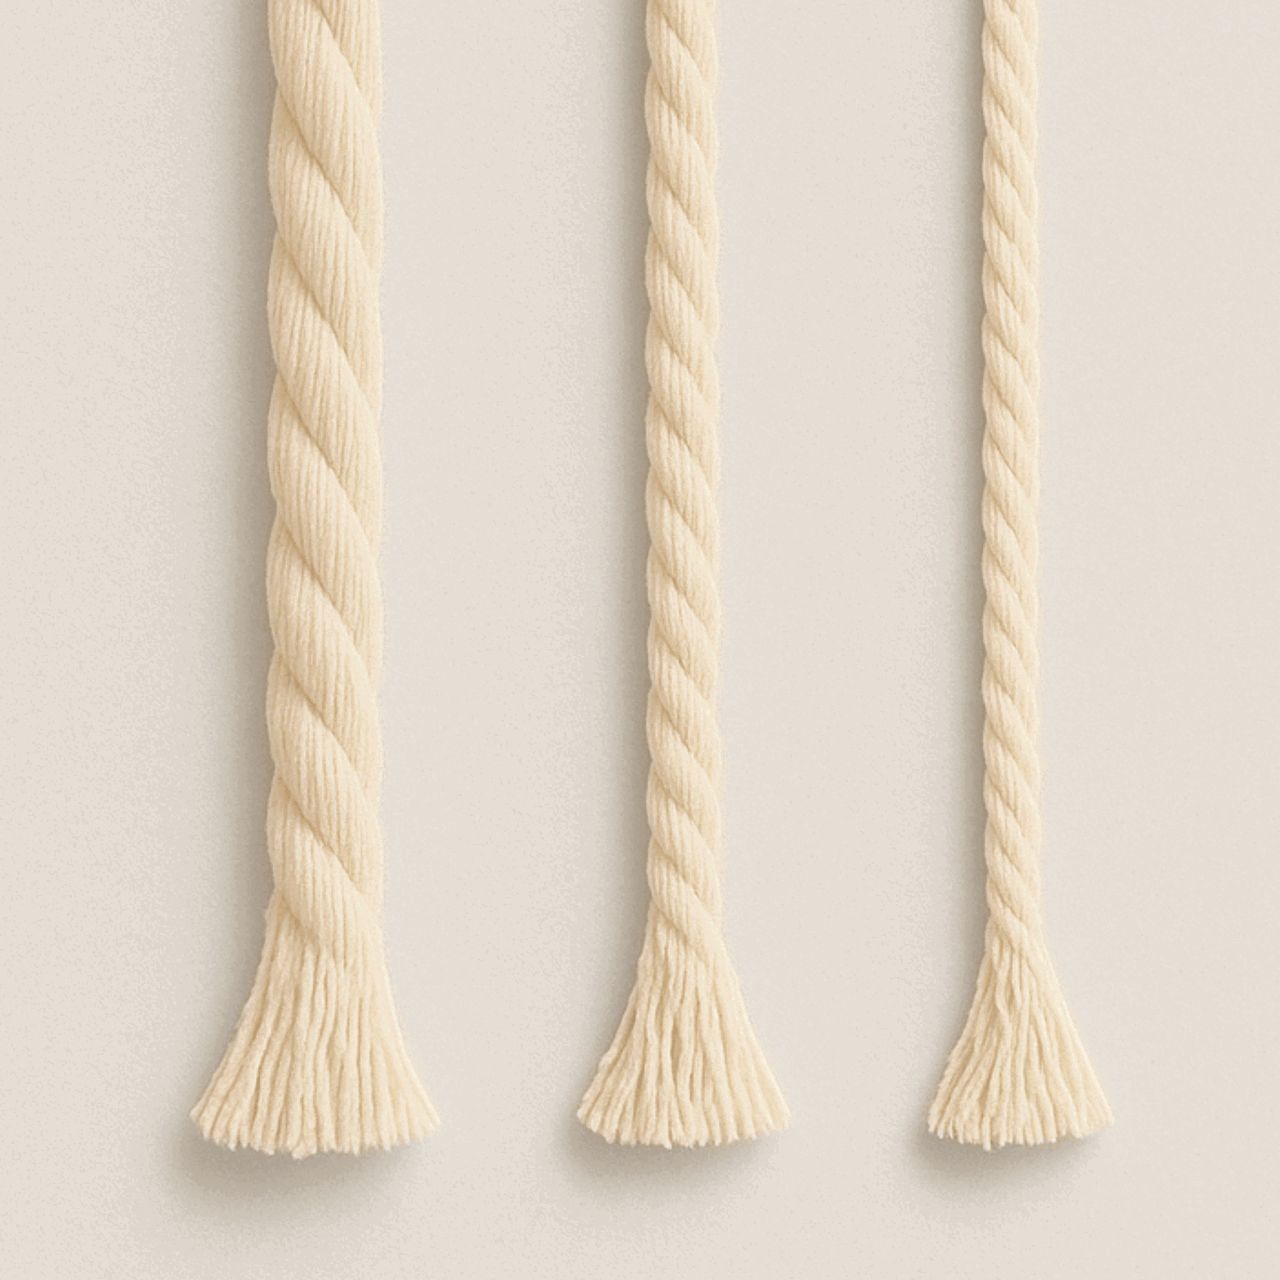
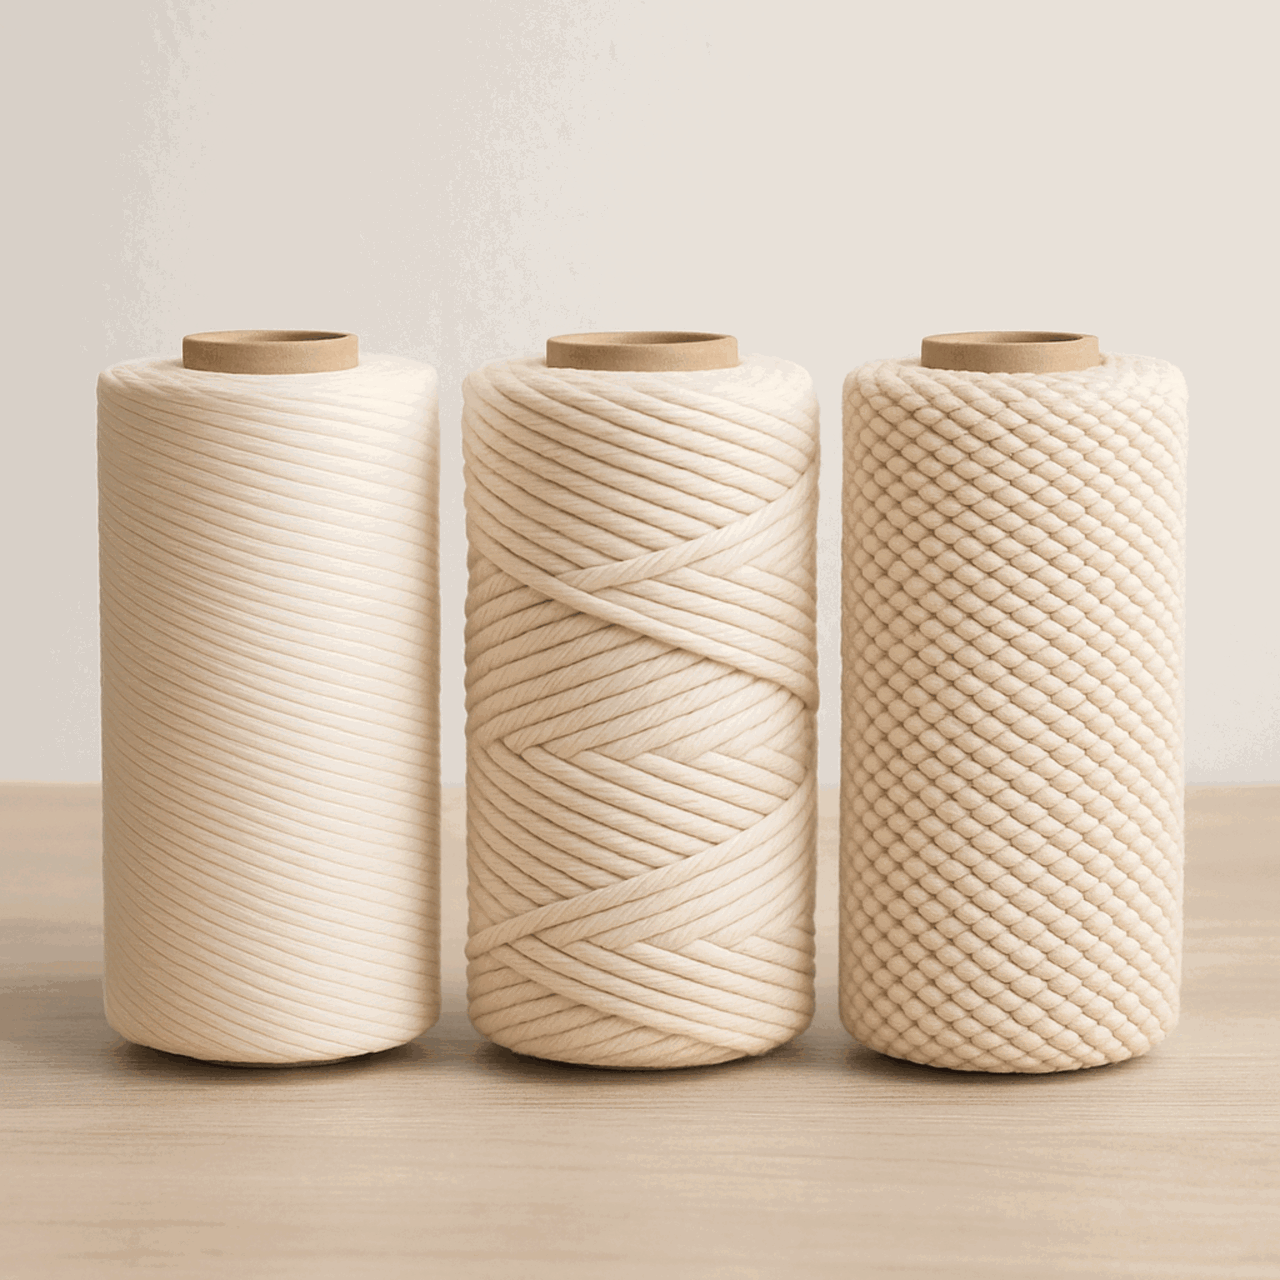
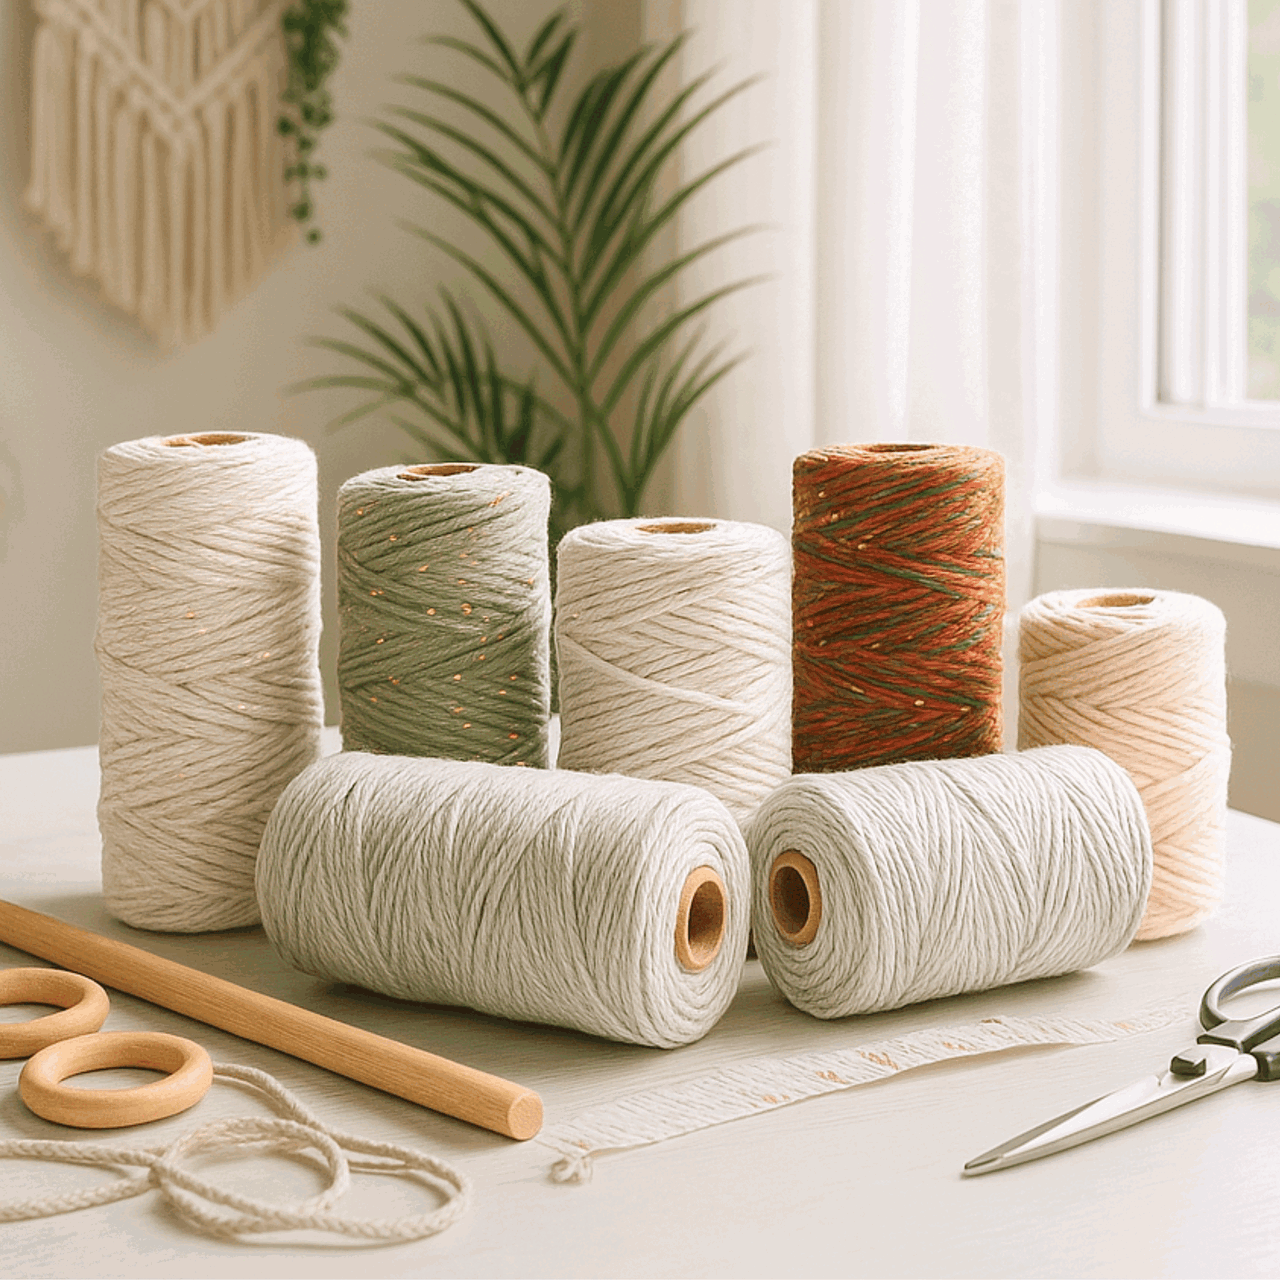
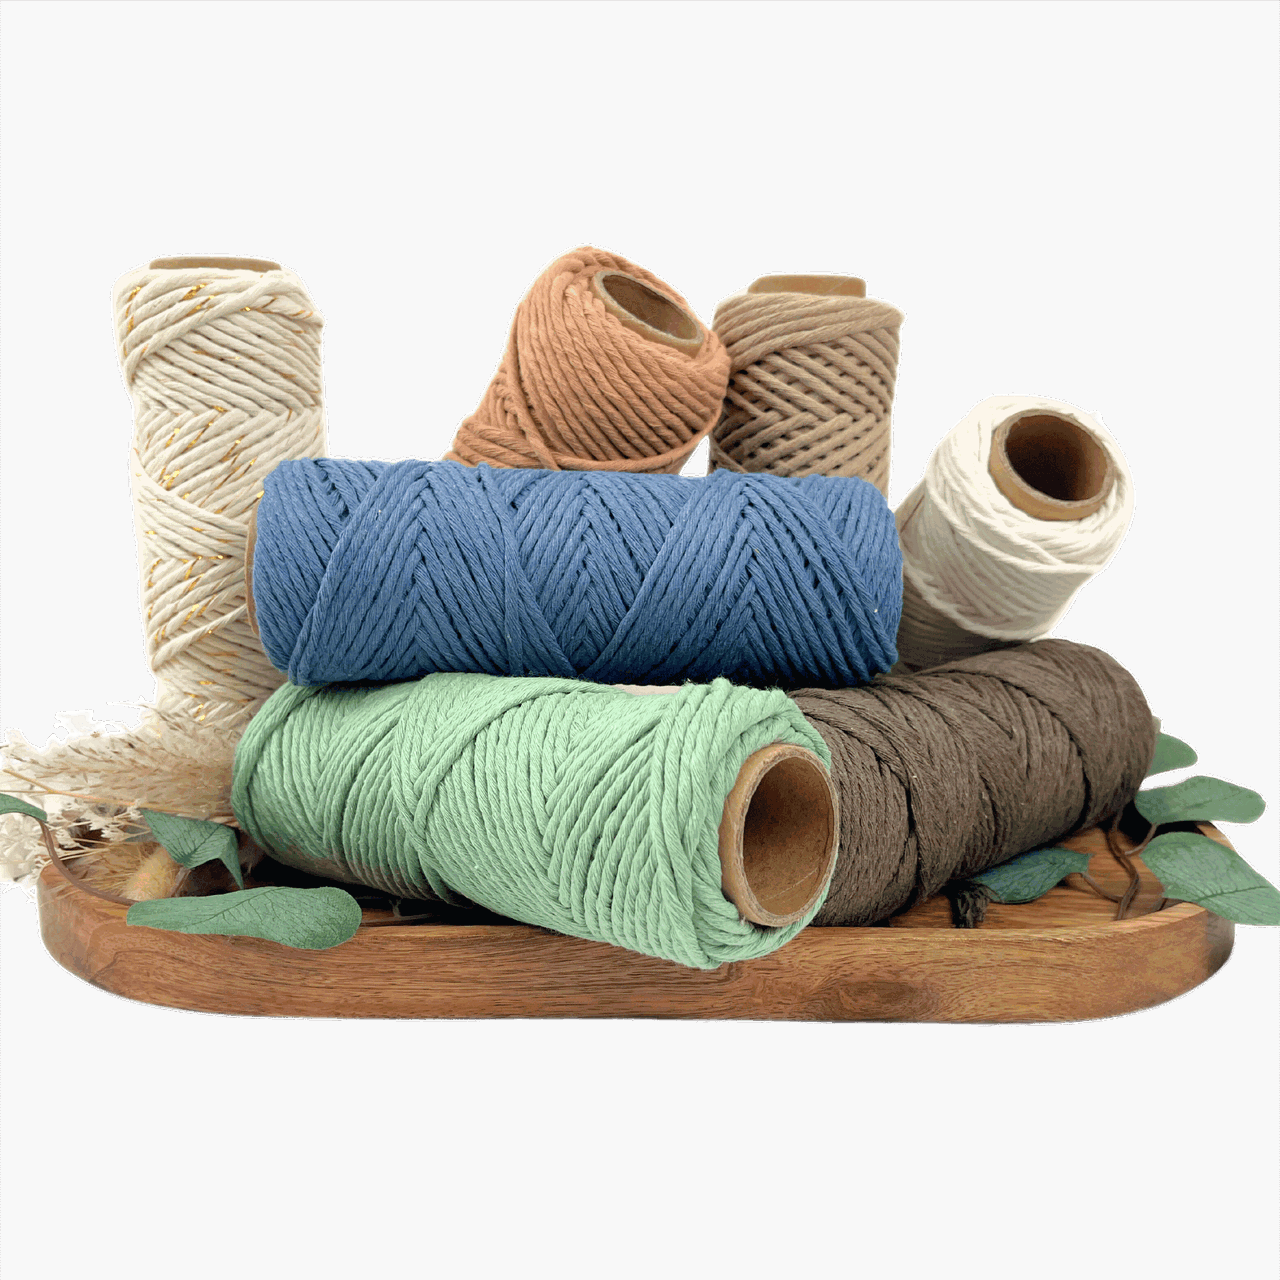
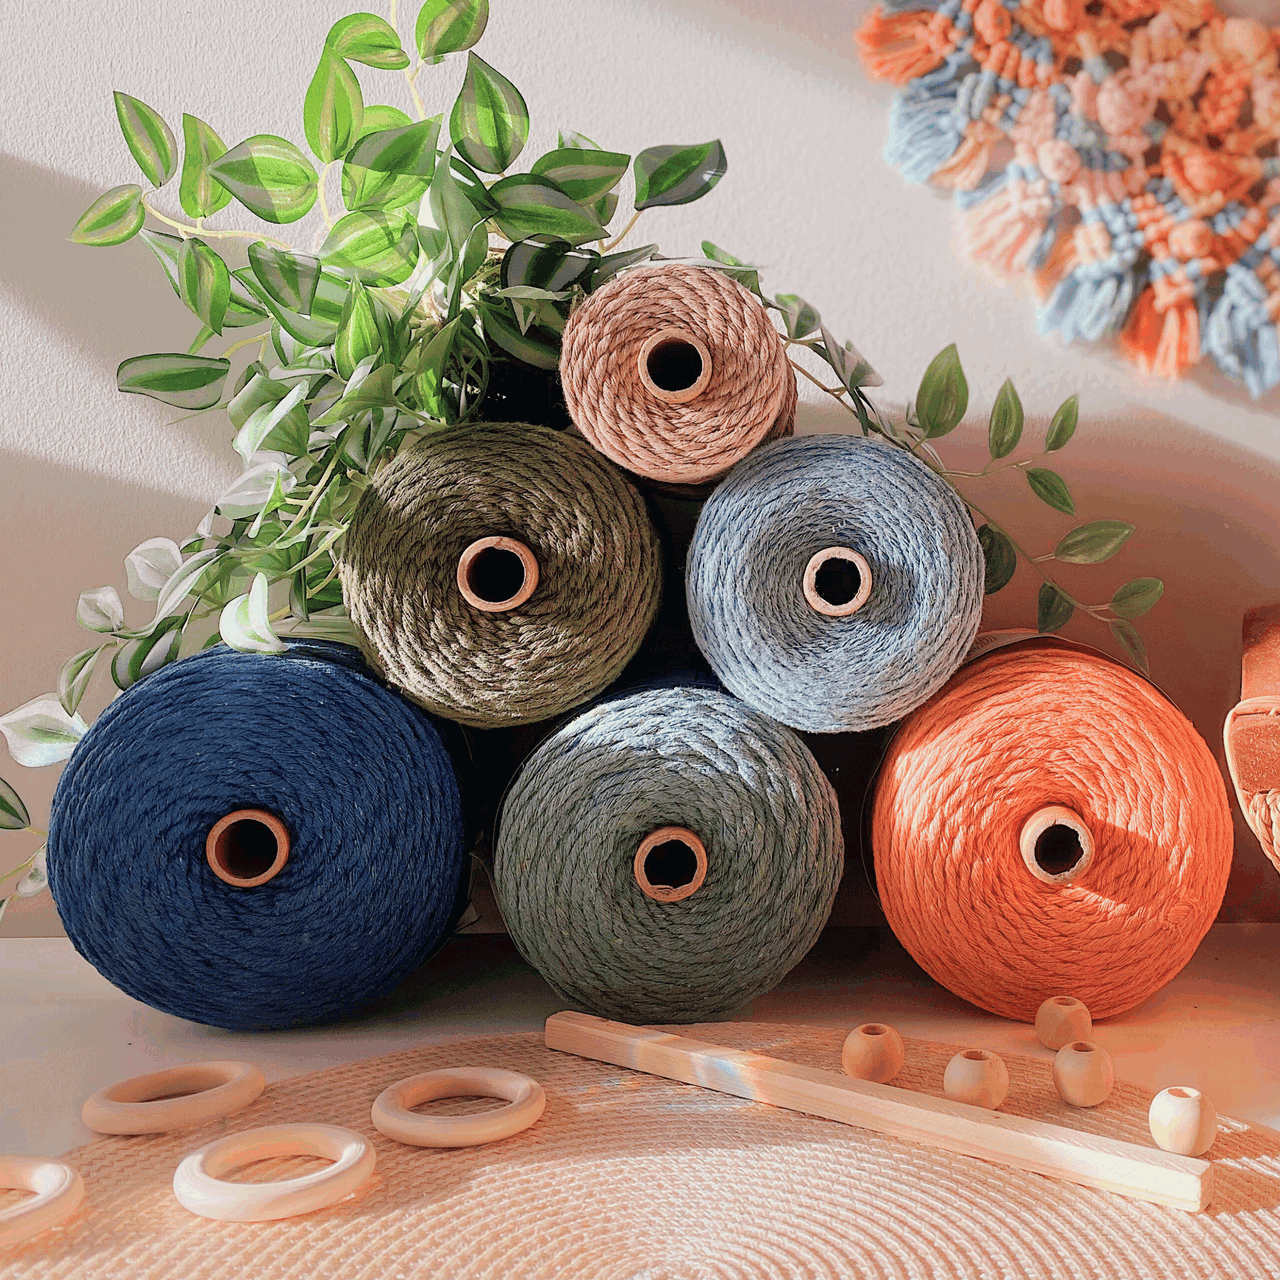
- Cords: The primary material in macrame is cords made from cotton, jute, nylon, or synthetic fibers. They come in different thicknesses and colors. You can learn more about macrame cords with our "Macrame ESSENTIALS: Everything You Need—Cord, Tools, & Materials" post.
- Loop: A loop is formed by crossing the cord over itself to create a ring-like shape. Loops are essential in many macrame designs.
- Fringe: The loose ends of cords that hang down, adding a decorative element. The fringe can be left as is or trimmed to your desired length. Want to learn more about fringe? Here's "My Top 5 Secrets for Creating PERFECTLY Styled Fringe" post you might find helpful.
- Anchor Cord: The fixed cord or structure to which other cords are attached. It provides stability and support for your design.
- Working Cord: The cord that is actively manipulated to create knots and patterns throughout the project.
- Sennit: A series of knots grouped together to form a pattern or part of your macrame project.
- Frays and Tassels: The loose ends of your cords are often used intentionally as decorative elements like frays or tassels in your design.
Macrame Feather Wall Hanging : Cords and Materials Needed

Let’s talk about what you’ll need to bring your macramé feather wall hanging to life!
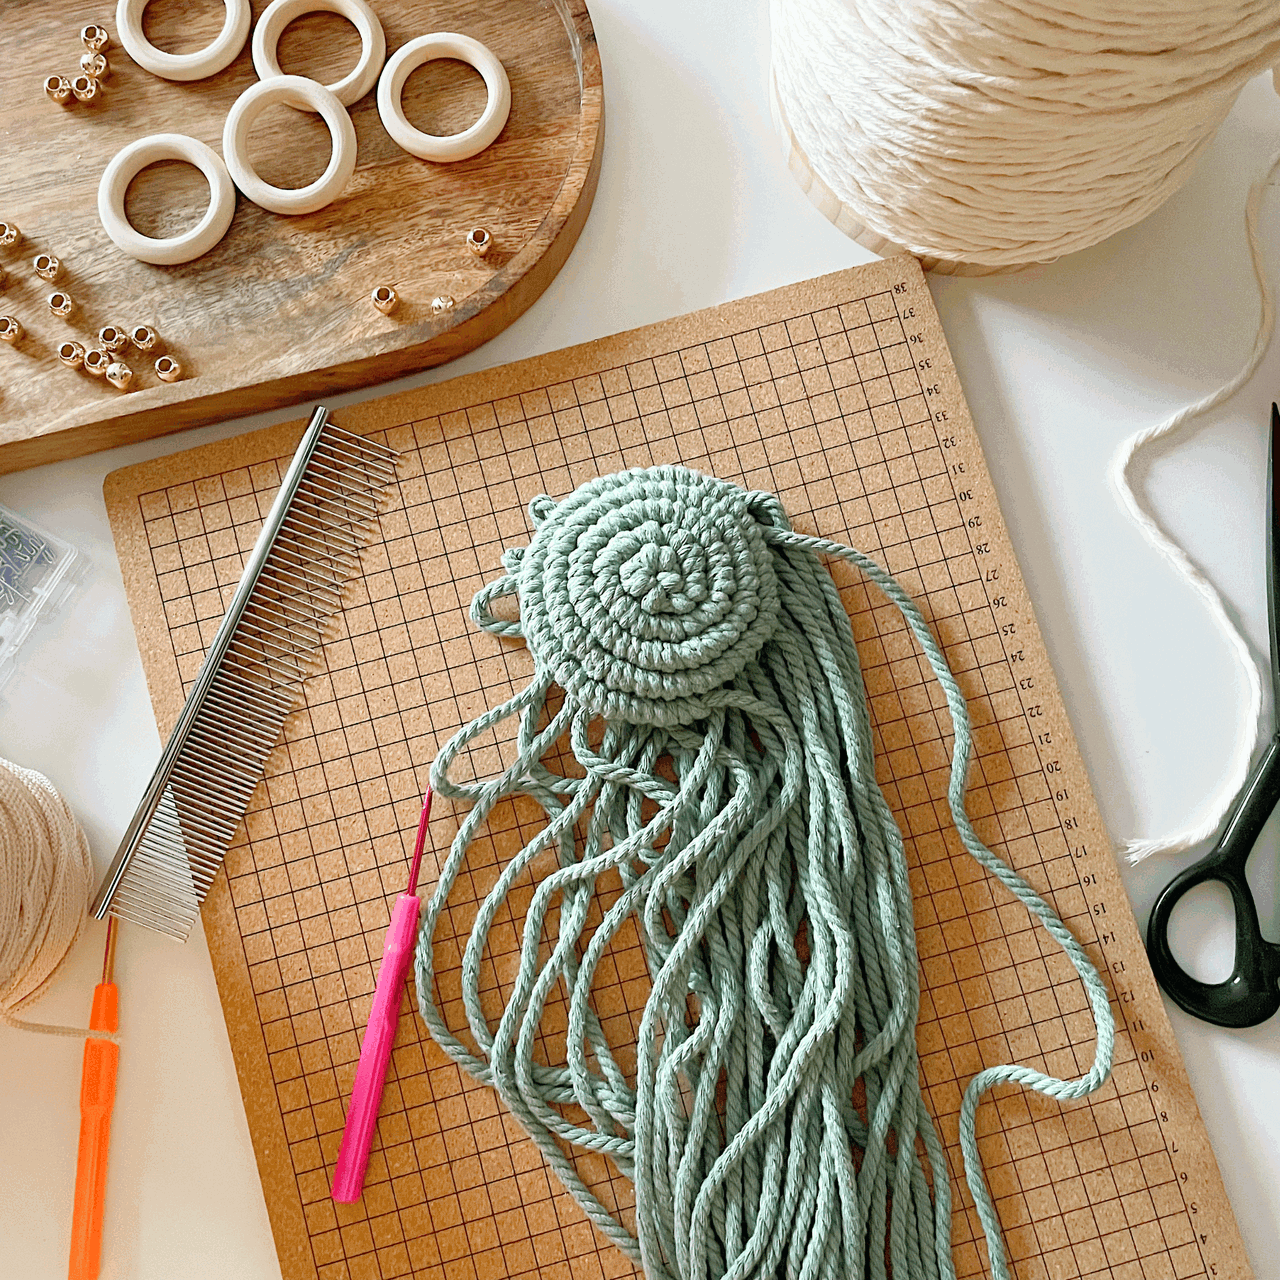
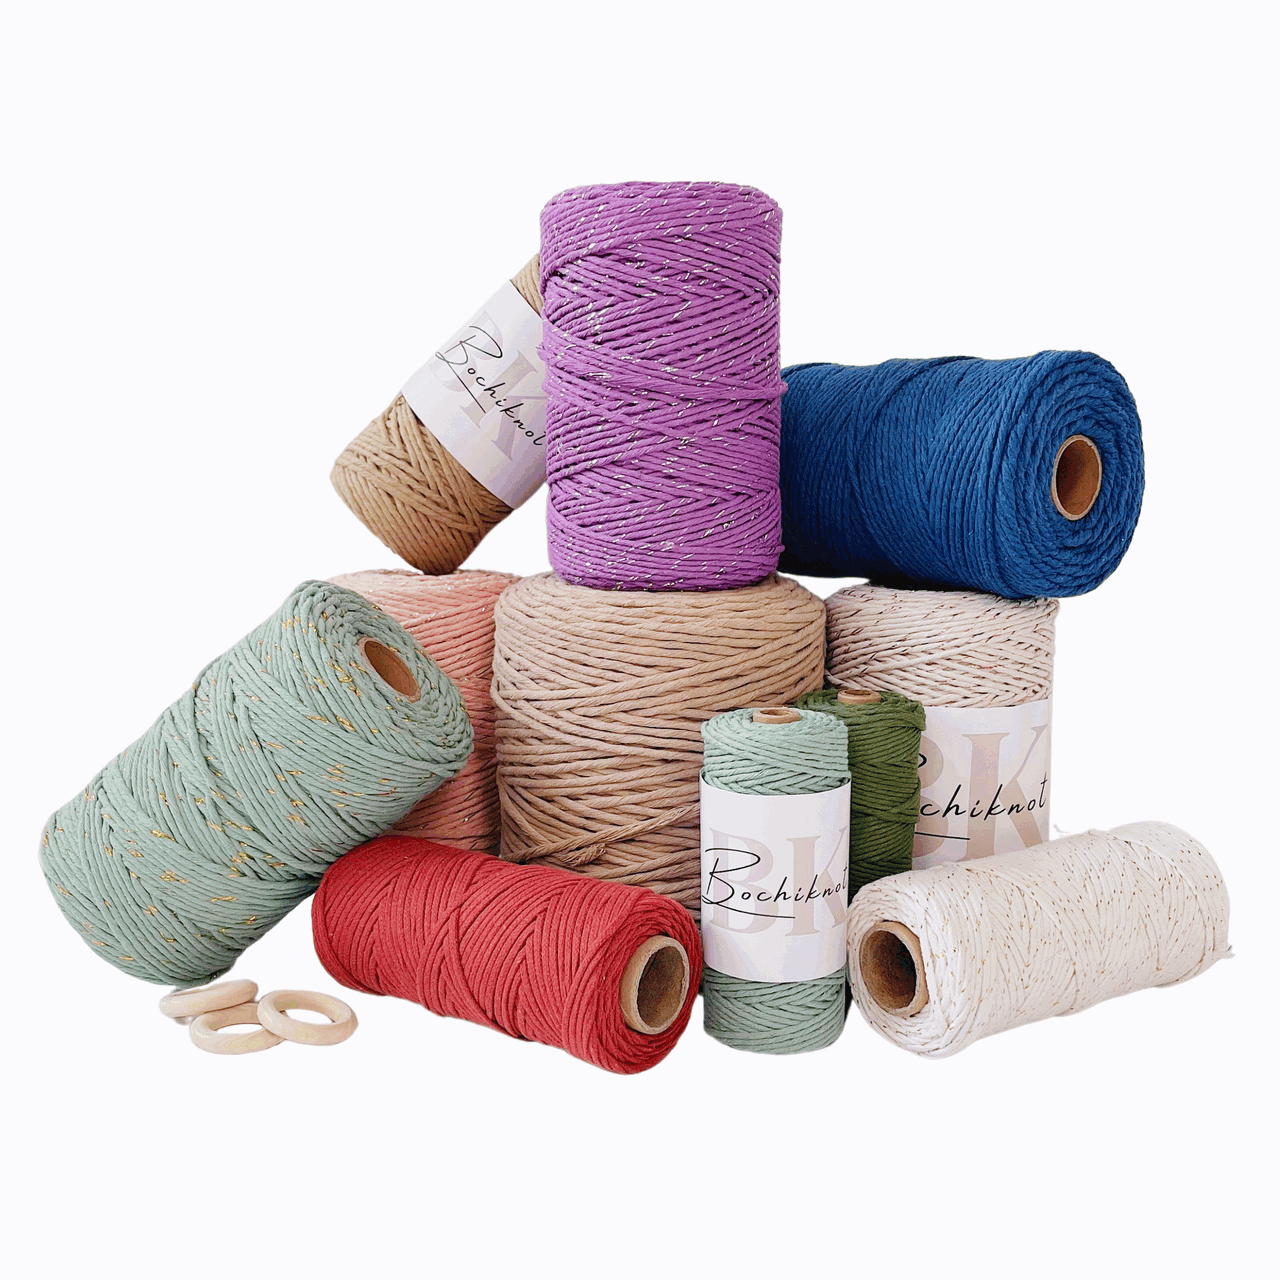
First and foremost, let’s focus on the star of this project: the cord. For my feather design, I used a 3mm single-strand cord in the natural gold metallic shade from the Rainbow Macrame Cord Collection.
This cord was the perfect choice for creating soft, flowing feathers with a clean, polished look.
Choosing the right cord is key to ensuring your design not only looks amazing but is also easy to work with.
You’ll want something soft enough to fray beautifully yet durable enough to maintain the shape and structure of your knots.
The quality of your materials can make or break a project, so starting with the right cord will set you up for success.
If you’d like your feather wall hanging to turn out just like the one in this tutorial, I recommend sticking to the same cord and materials I used.
However, if you decide to experiment with other cords, keep in mind that size, texture, and material differences will affect the final outcome.
Thicker cords may result in larger feathers, while rougher textures may not fray as smoothly.
Other Supplies You’ll Need
1. 1x 9-12” Dowel
The dowel is the foundation of your wall hanging, providing the base to attach your macrame cords.
- What to Choose: Look for a smooth wooden dowel between 9 and 12 inches in length, depending on how wide you want your wall hanging to be.
- Optional Alternatives: If you want a more rustic or natural look, consider using a driftwood piece, a tree branch, or a metal rod. These add character and can complement the boho aesthetic of your macrame feathers.
- Pro Tip: Make sure the dowel or alternative you choose is sturdy enough to support the weight of your design. Sand down rough edges if necessary to avoid fraying your macrame cords.
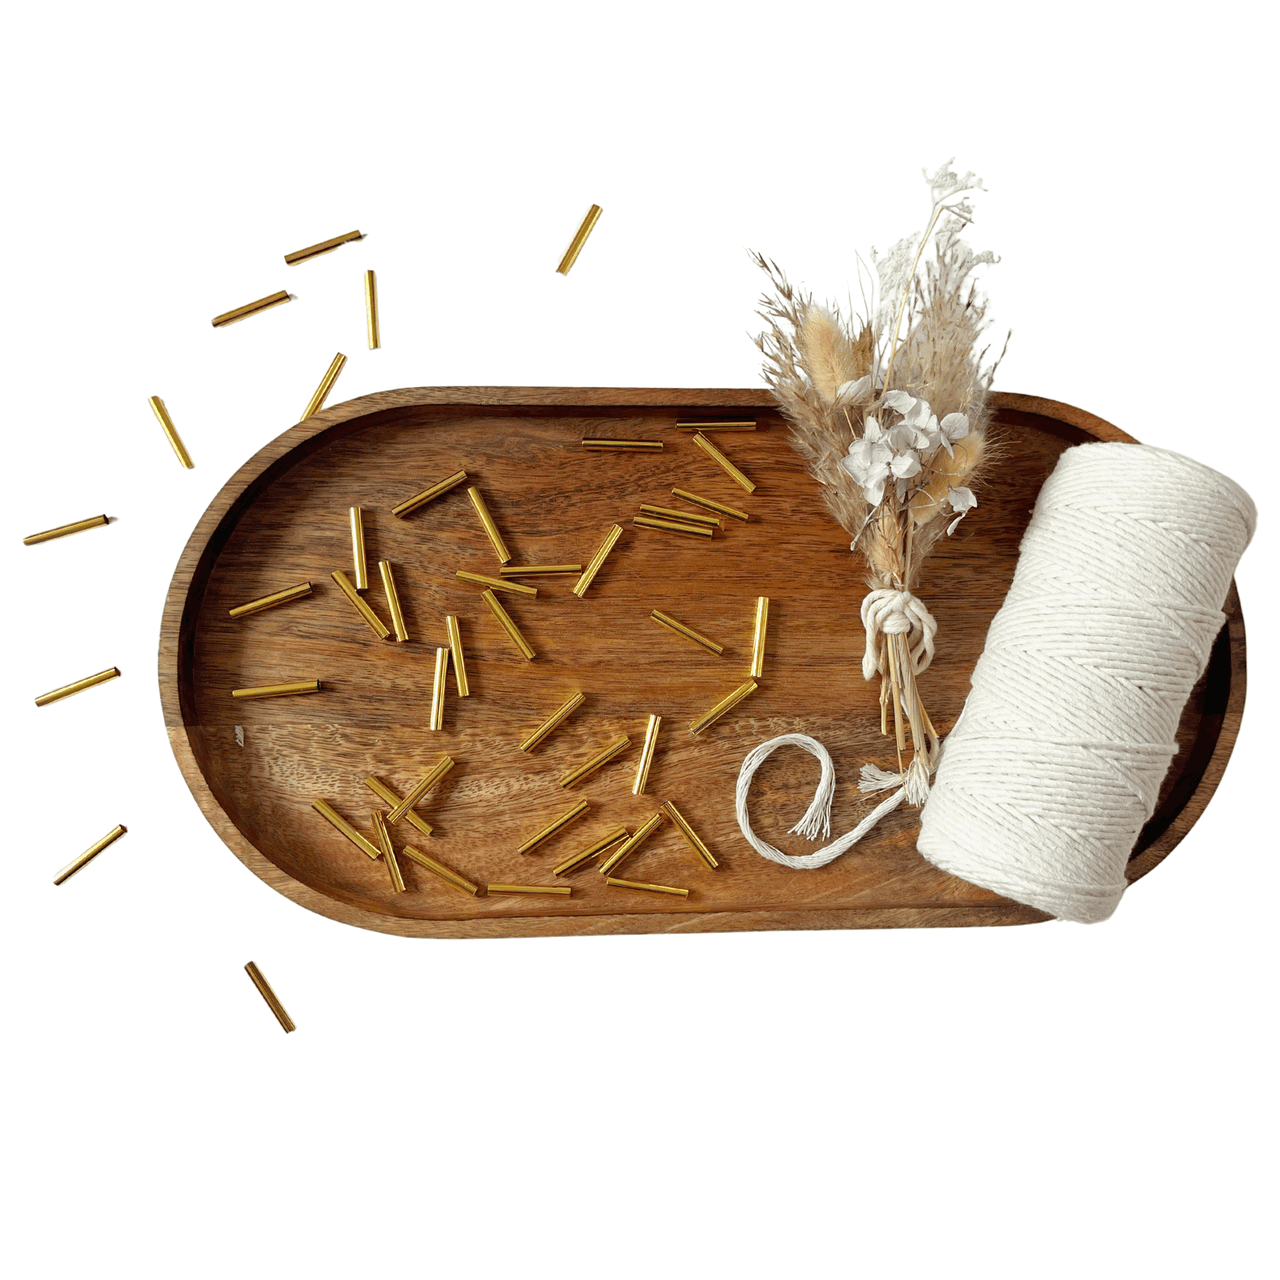
2. 4x Large-Hole Beads (Pearl or Wooden)
Beads are a fantastic way to add visual interest and detail to your wall hanging. For this project, you’ll need at least 4 large-hole beads with a minimum hole size of 6mm.
- Why Large Holes? Larger holes make it easier to thread the beads onto your macrame cords, especially if you’re working with thicker materials.
- Material Options: Wooden beads give a warm, earthy vibe that pairs beautifully with natural macrame cord, while pearl beads add an elegant and refined touch. Feel free to mix and match styles for a unique look.
- Customization Idea: Look for beads in various shapes, sizes, and colors to create a design that truly reflects your personal style. You can even paint or stain wooden beads to match your color scheme!
- Pro Tip: Use a small piece of tape on the end of your cord to stiffen it, making it easier to slide through the bead’s hole.
Essential Macrame Tools:
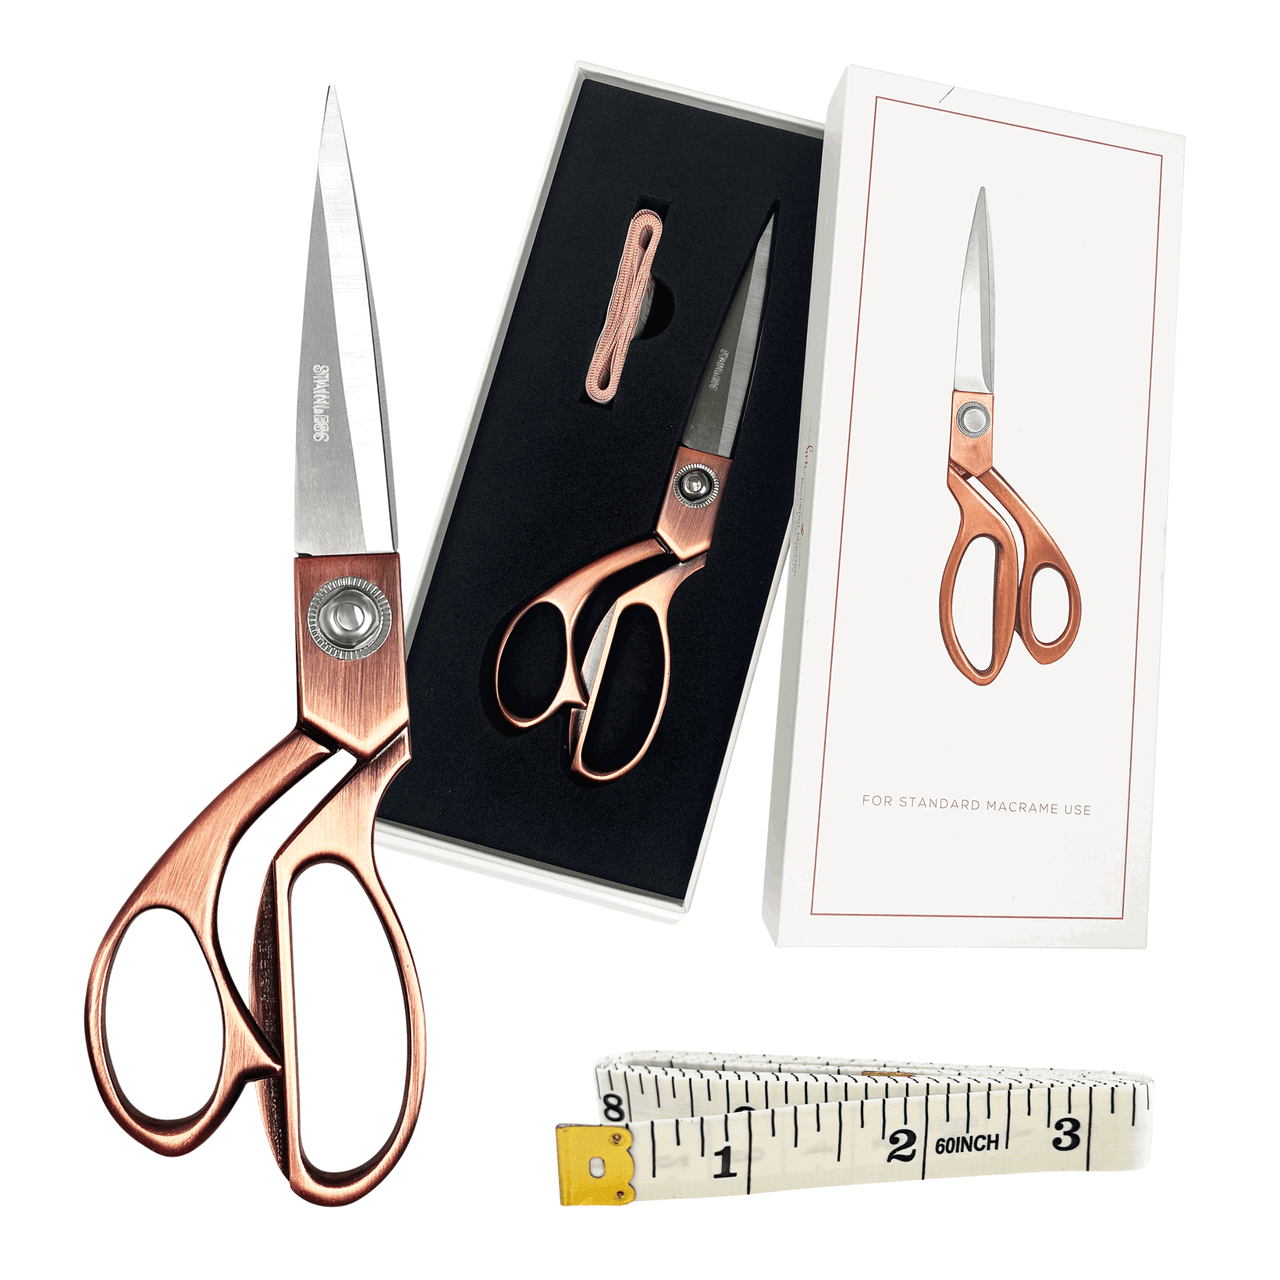
You Will Also Need Some Essential Tools:
Macrame Feather Wall Hanging Details
Skill Level:
- Beginners
Completed Size:
- Approximately 9” x 15"
Completion Time:
- 1-2 hours depending on skill level
Materials Needed (for 1 unit):
Cord Lengths Needed:
- 6 x 225cm (88")
- 8 x 35cm (14")
The total length of cord needed will be 640"
If you want to make a larger macrame feather, you will need more cordage. I would recommend buying at least 1 roll of cord to DIY macrame feathers.
The Ultimate Guide: How to Make a Macrame Feather Wall Hanging | Video Tutorial
The Ultimate Guide: How to Make a Macrame Feather Wall Hanging | Step-by-Step Guide
*Note: We recommend following the tutorial video for more detailed instructions and to achieve the best results.
This will provide additional guidance and clarity as you work through each step.
Step 1:
- Attach 6 x 225 cm strands of cord onto the dowel using Lark's Head knots. Pull cords tightly to secure it.

- Fold the cord in half, place the loop end at the back of the dowel, and pull the cord ends through the loop.

Step 2:
- Start your first Double Diamond pattern with two upside-down V-shaped Double Half Hitch ("DHH") knot rows.
- Starting with the middle two cording, make a diagonal DHH knot to the left side.

- Continue to the left, using the remaining cording to make a row of diagonal DHH knots.

- Use the top middle right cord as the anchor cord to repeat this to the right.

- Create another row of DHH knots underneath, excluding the far left and far right cords.


Step 3:
- Make a Square knot with the middle 4 cords.
- Use the middle two cords as anchor cords, weaving the two adjacent cords around them to make a Square knot.


- Thread a bead through the middle 2 cords.

- Repeat for a Square knot underneath.

Step 4:
- Close off the inner Diamond pattern with a V-shaped row of DHH knots.
- Use the left inner anchor cord to make a row of diagonal DHH knots to the right.

- Repeat on the right, mirroring what was done on the left.

- Close off the inner Diamond with one more DHH in the center.

Step 5:
- Take a strand of 35cm cord and attach one onto the far-right and far-left cords with a Reverse Lark's Head knot.


- Close the outer Diamond, repeating what you did to close the inner Diamond.


- That completes the first Double Diamond pattern to your DIY macrame feather.
Step 6:
- Separate out the far-left and far-right long piece of cords and make a Double Diamond pattern with the middle group of cords.
- Make the top half of the Double Diamond pattern.


- Thread a bead through the middle two cording.

- Close off the inner Diamond pattern and attach a 35cm cord to each side using a Lark's Head knot.

- Close off the outer Diamond pattern.

Step 7:
- Repeat 2 more Double Diamond patterns below with 2 fewer cords every time.


Step 8:
- Trim off the excess fringe.


Step 9:
- Attach scraps or new strands of cord at approximately 35cm long onto the side loops of the feather using Reverse Lark's Head knots (2 or 3 knots per loop).


- If you run out of scrap cords, cut more sections of the cord at 35cm long.

Step 10:
- Trim, comb & brush through the strands and shape the fringe in feather shape-like pattern.
- (Optional) You can use fabric stiffener or hair spray to keep the macrame feather shape intact.


If you kept things simple and minimalist or added beads for that extra touch of boho flair, your macrame feather wall hanging is a stunning reflection of your creativity and effort.
This project is a fantastic introduction to the world of macrame, and the best part? It’s just the beginning.
The versatility of this piece makes it truly special.
Hang it as a statement in your living room, mix it into a gallery wall, or even gift it to someone who’ll appreciate the love and time you poured into crafting it.
With endless color and bead combinations, no two feather wall hangings are ever the same—and that’s what makes this craft so magical.
If this project has sparked your interest in macrame, why stop here?
Head over to our Macrame Journey page for more tutorials, tips, and ideas to inspire your next creation.
From intricate patterns to beginner-friendly projects, there’s something for everyone to explore.
Happy knotting, and remember—each knot you tie is another step in your creative adventure.
Thank you for letting me be a part of your journey.
Let’s keep crafting and making something beautiful, one knot at a time!
Happy knotting!

Looking for Macrame Patterns and Projects?
I’ve got a fun variety of DIY macrame patterns for you to explore—whether you’re into creating unique wall hangings to spruce up your home or timeless plant hangers, there’s something for every skill level.
Each pattern is super easy to follow with step-by-step photos, clear instructions, and plenty of tips to help you along the way.
Ready to start creating?
Browse DIY macrame patterns on Etsy and dive into your next project.

Join the Bochiknot Macrame Community: Your Gateway to Exclusive Tutorials & Inspiration
Discover the art of macrame like never before! Join our exclusive community of passionate macrame enthusiasts and unlock a world of creativity.
Gain access to a treasure trove of unique patterns, expert guidance, and a supportive network of fellow artistcanvcavnas.


