DIY Macrame Keychain: Fluffy Heart Pattern for Valentine’s Day

Looking for the perfect Valentine’s Day craft that’s equal parts adorable and heartfelt?
This DIY macrame keychain with a fluffy heart-shaped pattern is just what you need!
Whether you’re making it as a gift for someone special or a little treat for yourself, this project is a fun and creative way to add a touch of love to your day.
The soft, fluffy texture of this heart-shaped keychain makes it a standout accessory, perfect for adding charm to your keys, bags, or even as a thoughtful keepsake.
Using simple macrame techniques and a few key materials, this project is beginner-friendly yet full of character.
So grab your favorite macrame cord, a cozy drink, and let’s knot our way to a Valentine’s craft you’ll adore. By the end, you’ll have a sweet, handmade keychain that’s bursting with love and perfect for spreading joy this season. Let’s get started!
Macrame Knots You’ll Need to Know for a Fluffy Heart Keychain
Getting familiar with macrame knots is essential for mastering the art of macrame. Before we dive into crafting your fluffy heart keychain, let’s talk about knots!
These simple techniques are the building blocks of macrame, and once you’ve mastered them, you’ll be able to create not just this adorable project, but so many more. For this keychain, you’ll only need to know three knots:
- Overhand Knot
- Lark’s Head Knot
- Double Half Hitch Knot
Why These Knots Matter
These knots are like the MVPs of macrame—they do all the heavy lifting while making your work look polished and professional. Master these, and you’ll have the confidence to tackle more intricate projects, like Christmas wreaths or other heart-shaped designs.
-
Overhand Knot: Think of this as the ultimate multitasker. It’s simple yet effective, perfect for tying off loose ends or keeping your cords neat and tidy. It’s also great for adding little decorative details to your projects.
-
Lark’s Head Knot: This is your starting point, used to attach cords securely to your base. Whether it’s a keyring or a dowel, this knot ensures everything stays in place while you work. Bonus: mastering this knot means you’re officially a macrame knotter!
-
Double Half Hitch Knot (DHHK): Ah, the star of the show! This knot is the secret to creating clean lines and stunning patterns. It’s versatile, sturdy, and you’ll use it to shape the heart design of your keychain.
Interested in More Macrame Knots?
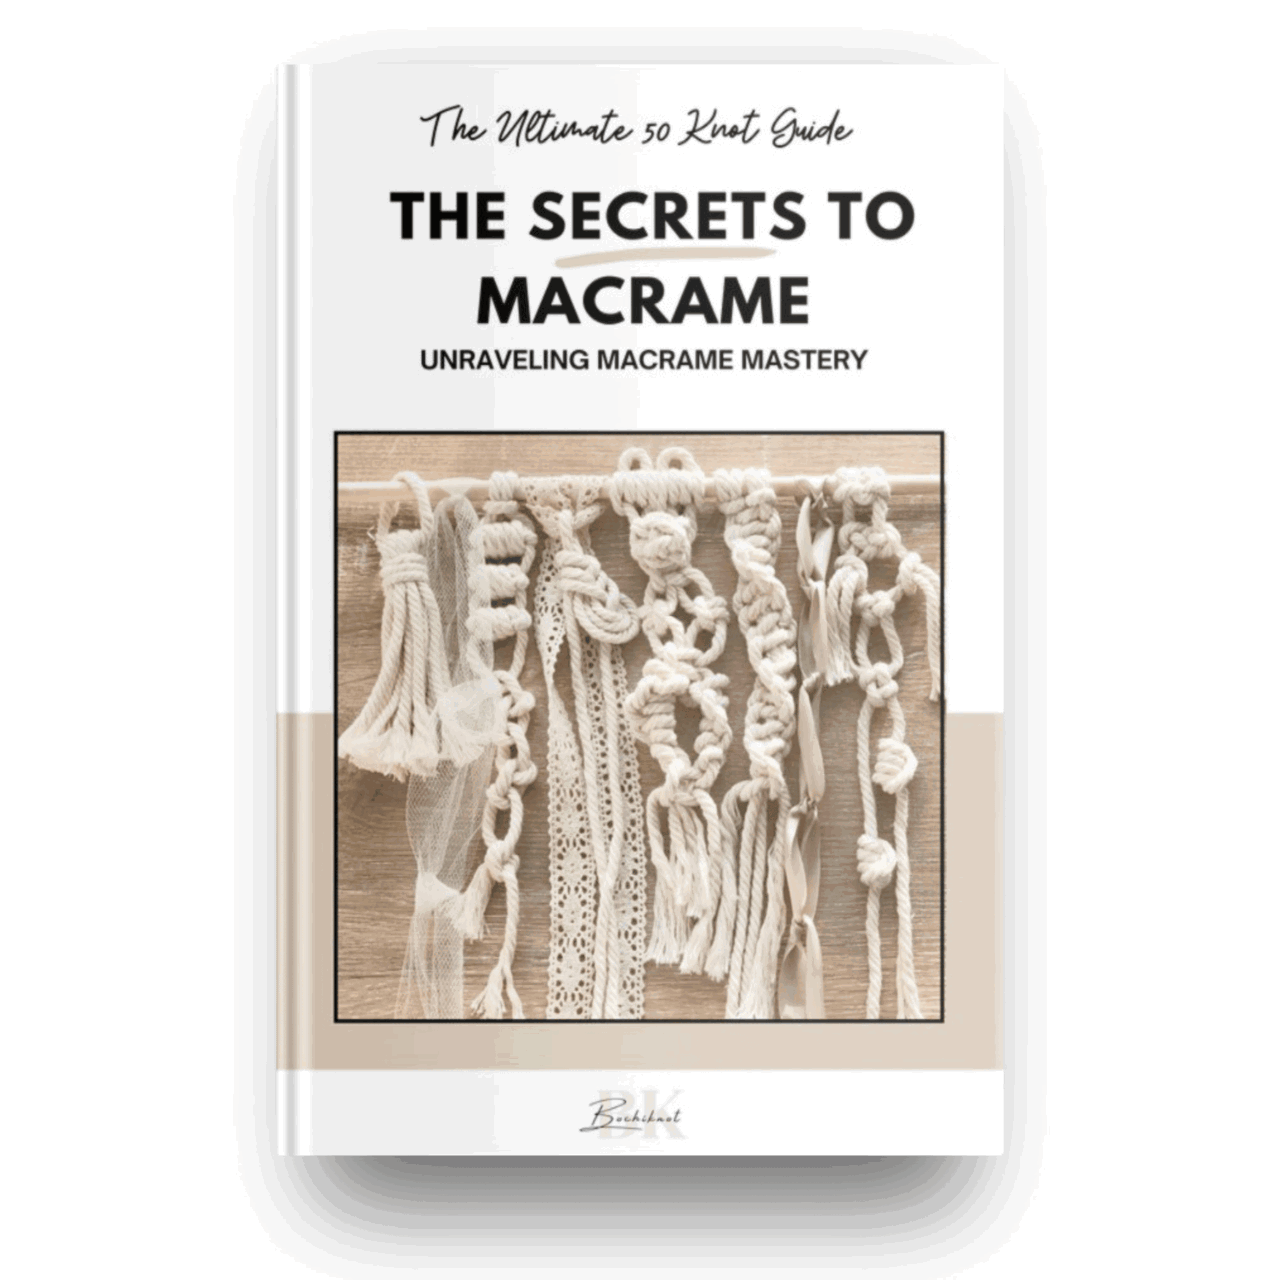
If you want to add more knots to your macrame designs, check out my free resource, "50 Macrame Knots & Sennit Guide."
It's packed with easy, step-by-step instructions to help you improve your skills and try new creative projects.
Access it here.
Important Macrame Terms for Beginners
Before we begin, we should review a few important terms used in macrame.
This will help you understand the techniques more easily, follow patterns confidently, and set a strong foundation for your macrame journey.
- Knots: Macrame involves various knots, like the overhand knot and alternating overhand knot. Learning these basic knots is key to building a solid foundation. Check the "Macrame Knots You Need to Know" section for the knots used in this pattern.
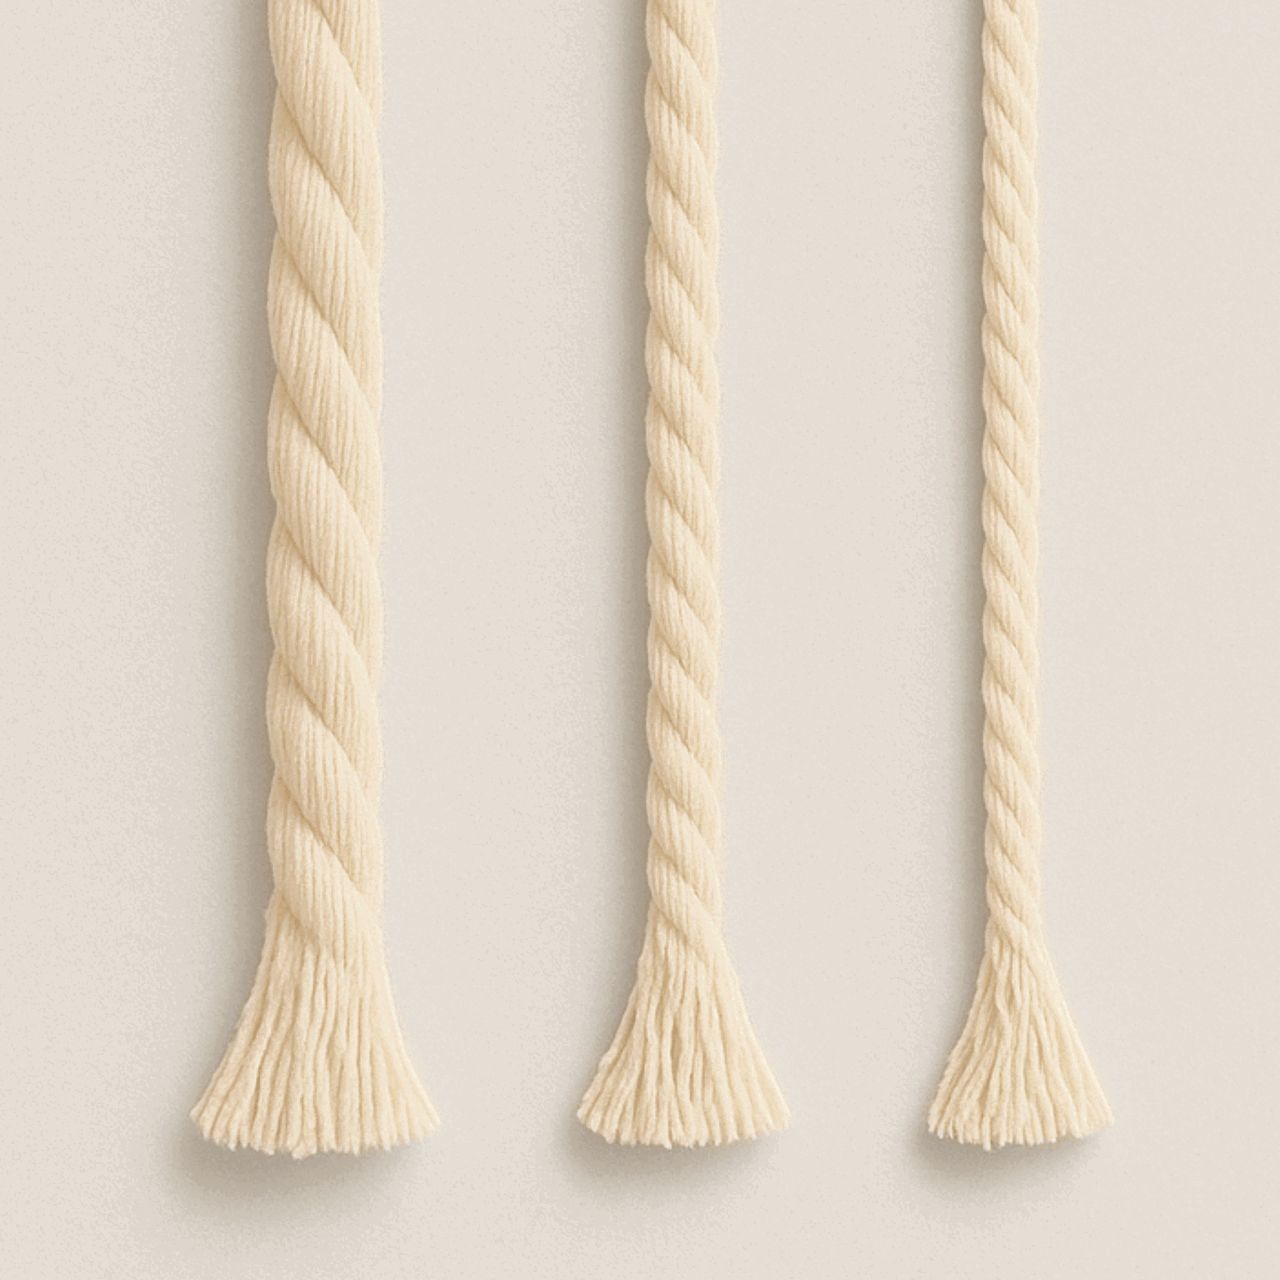
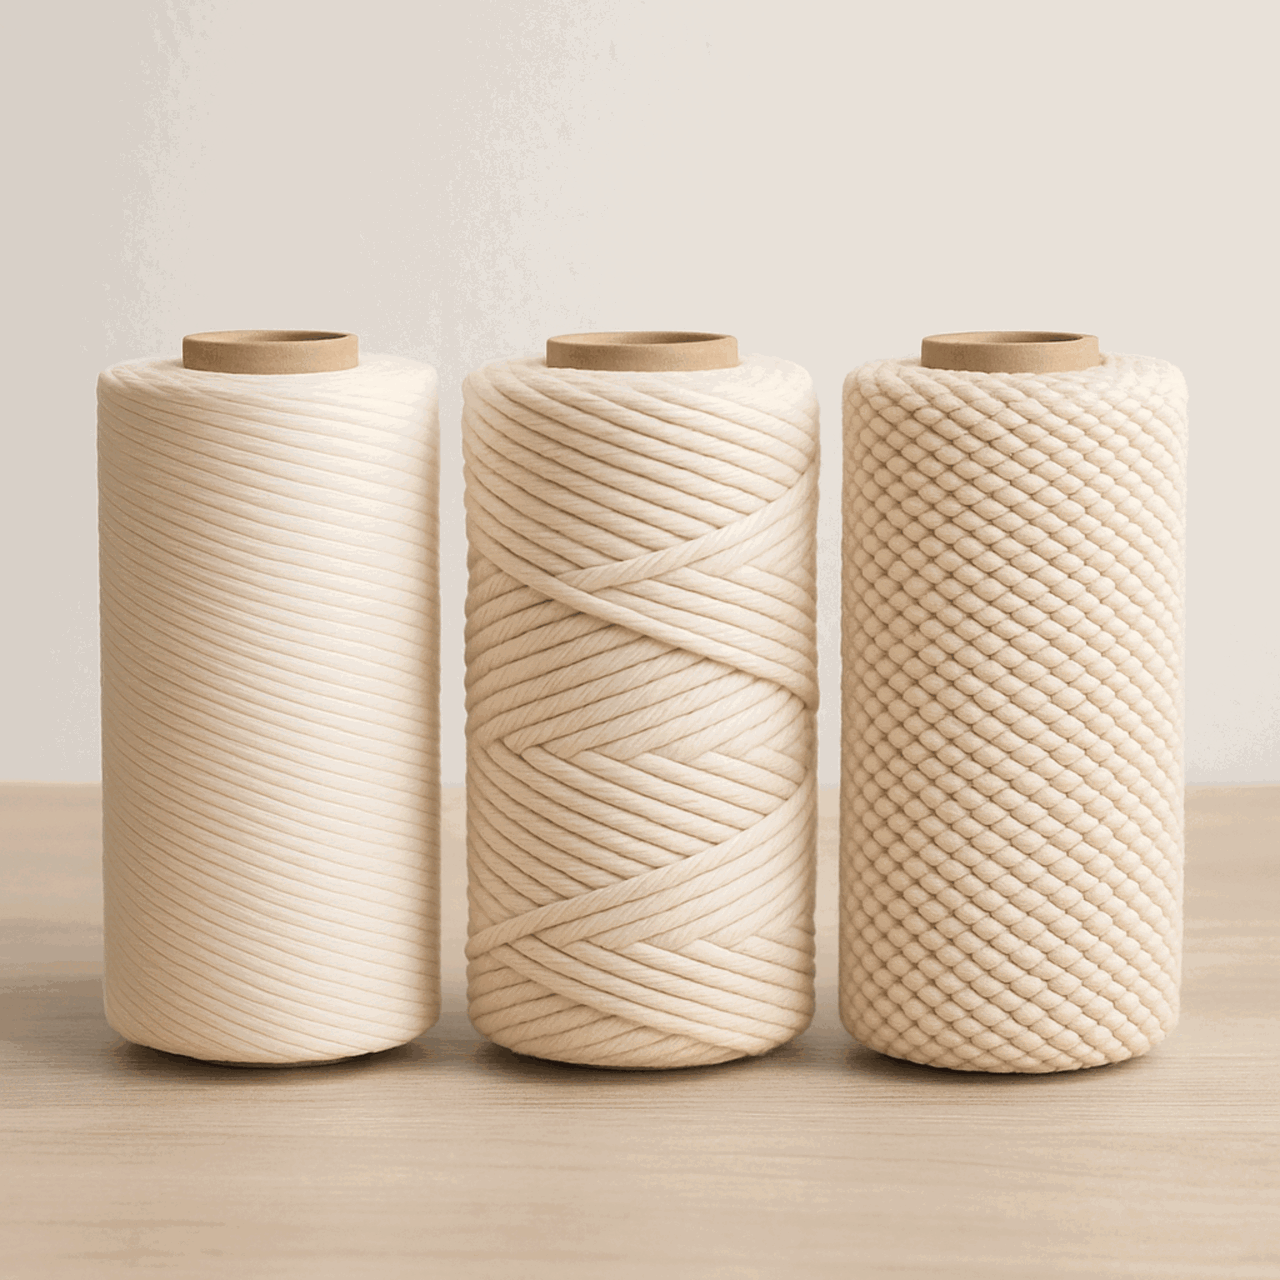
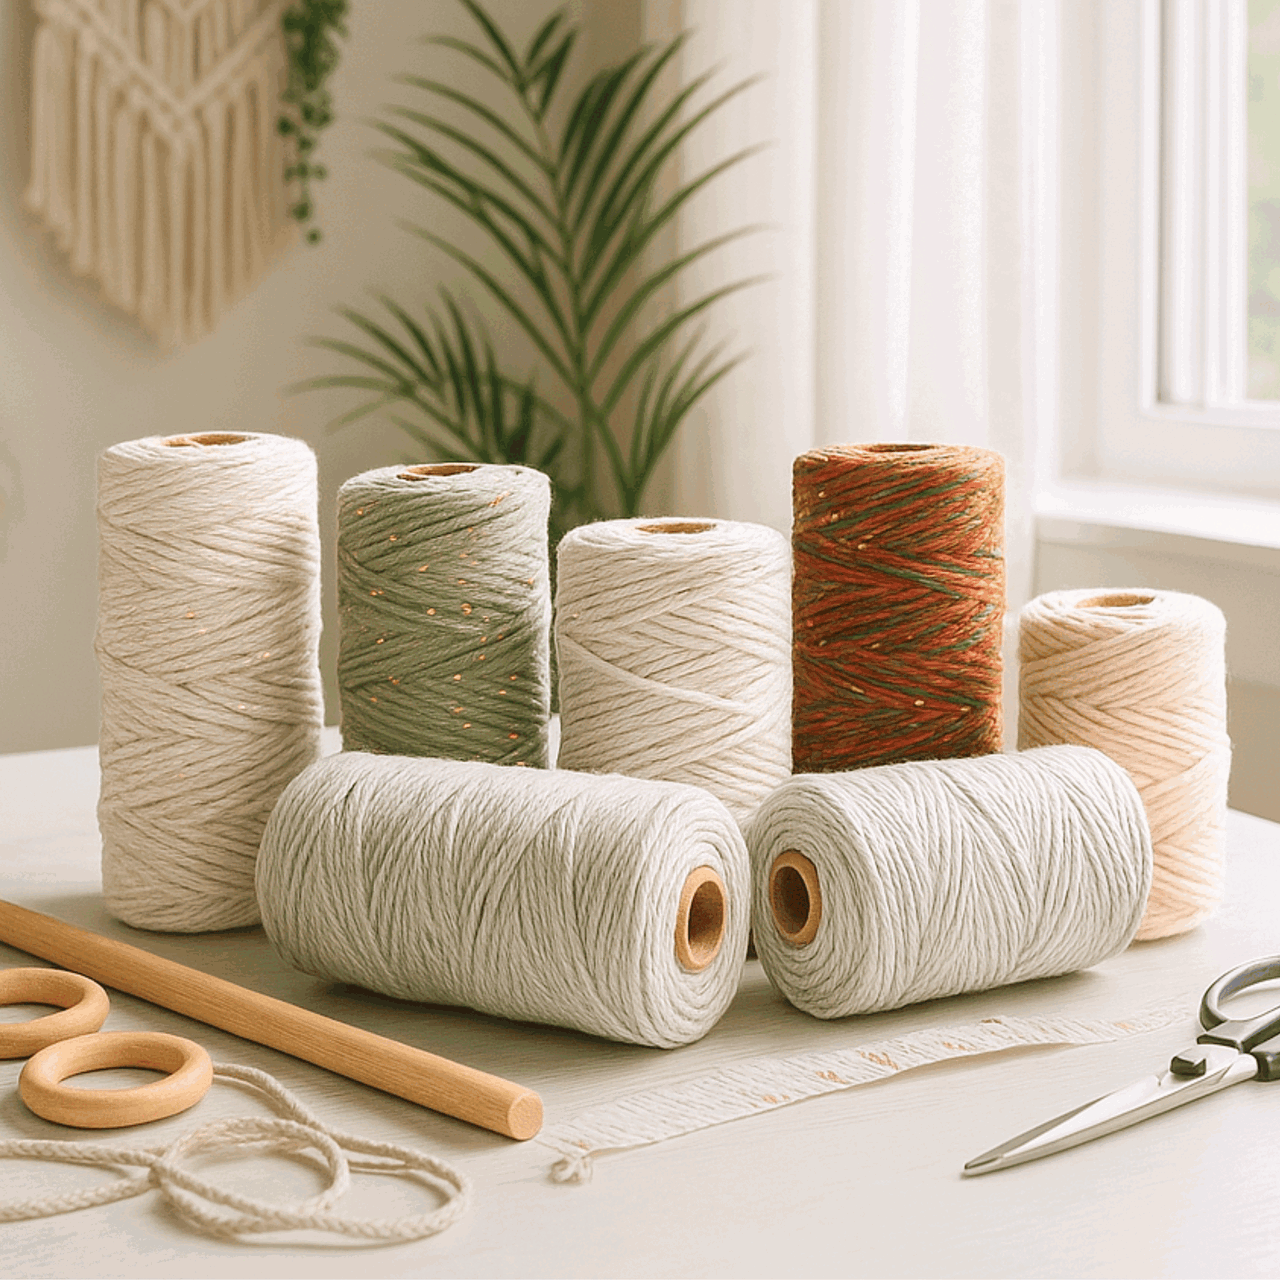
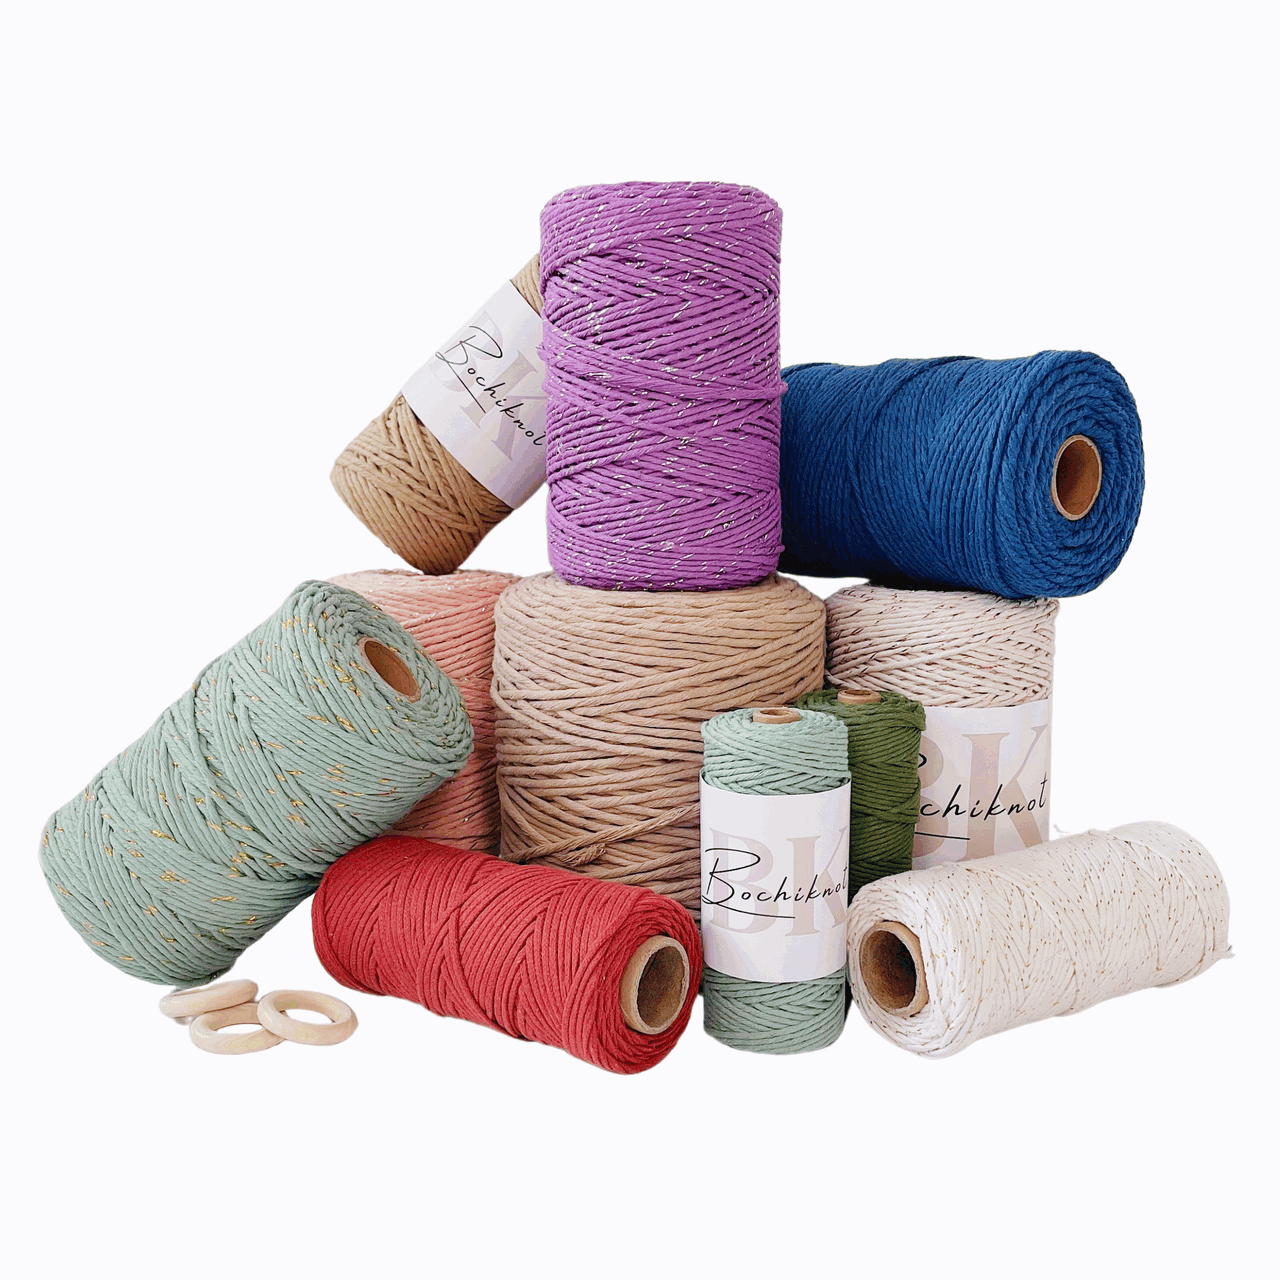
- Cords: The primary material in macrame is cords made from cotton, jute, nylon, or synthetic fibers. They come in different thicknesses and colors. You can learn more about macrame cords with our "Macrame ESSENTIALS: Everything You Need—Cord, Tools, & Materials" post.
- Loop: A loop is formed by crossing the cord over itself to create a ring-like shape. Loops are essential in many macrame designs.
- Fringe: The loose ends of cords that hang down, adding a decorative element. The fringe can be left as is or trimmed to your desired length. Want to learn more about fringe? Here's "My Top 5 Secrets for Creating PERFECTLY Styled Fringe" post you might find helpful.
- Anchor Cord: The fixed cord or structure to which other cords are attached. It provides stability and support for your design.
- Working Cord: The cord that is actively manipulated to create knots and patterns throughout the project.
- Sennit: A series of knots grouped together to form a pattern or part of your macrame project.
- Frays and Tassels: The loose ends of your cords are often used intentionally as decorative elements like frays or tassels in your design.
Fluffy Macrame Heart Keychain Cords and Materials
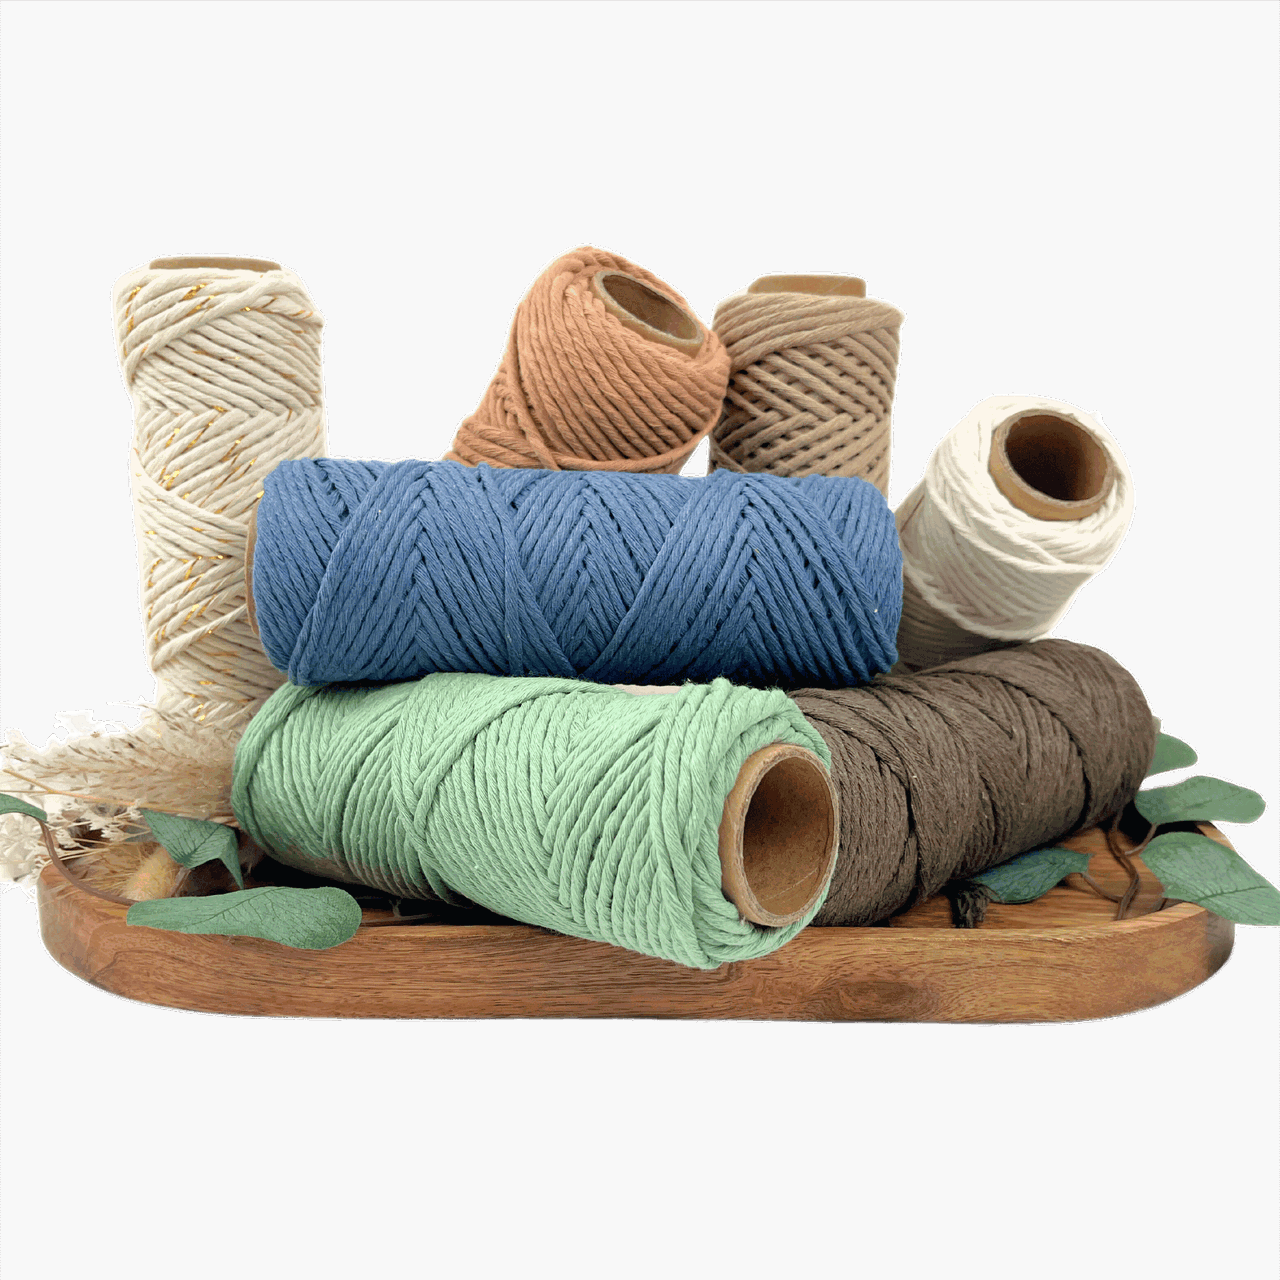
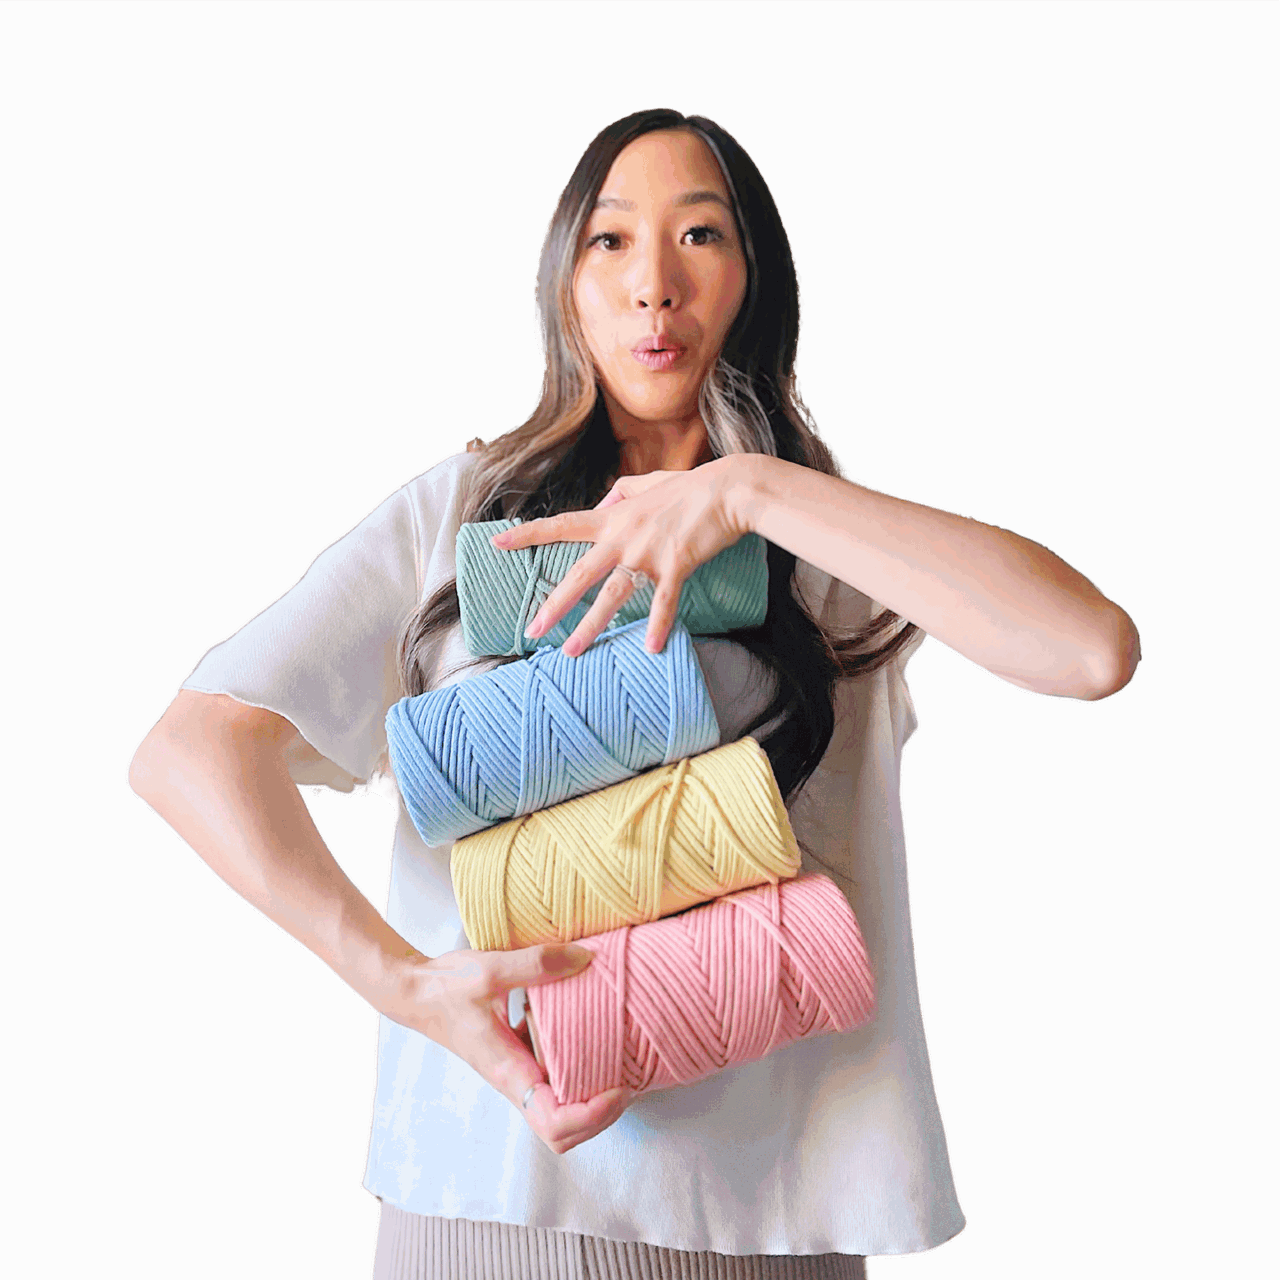
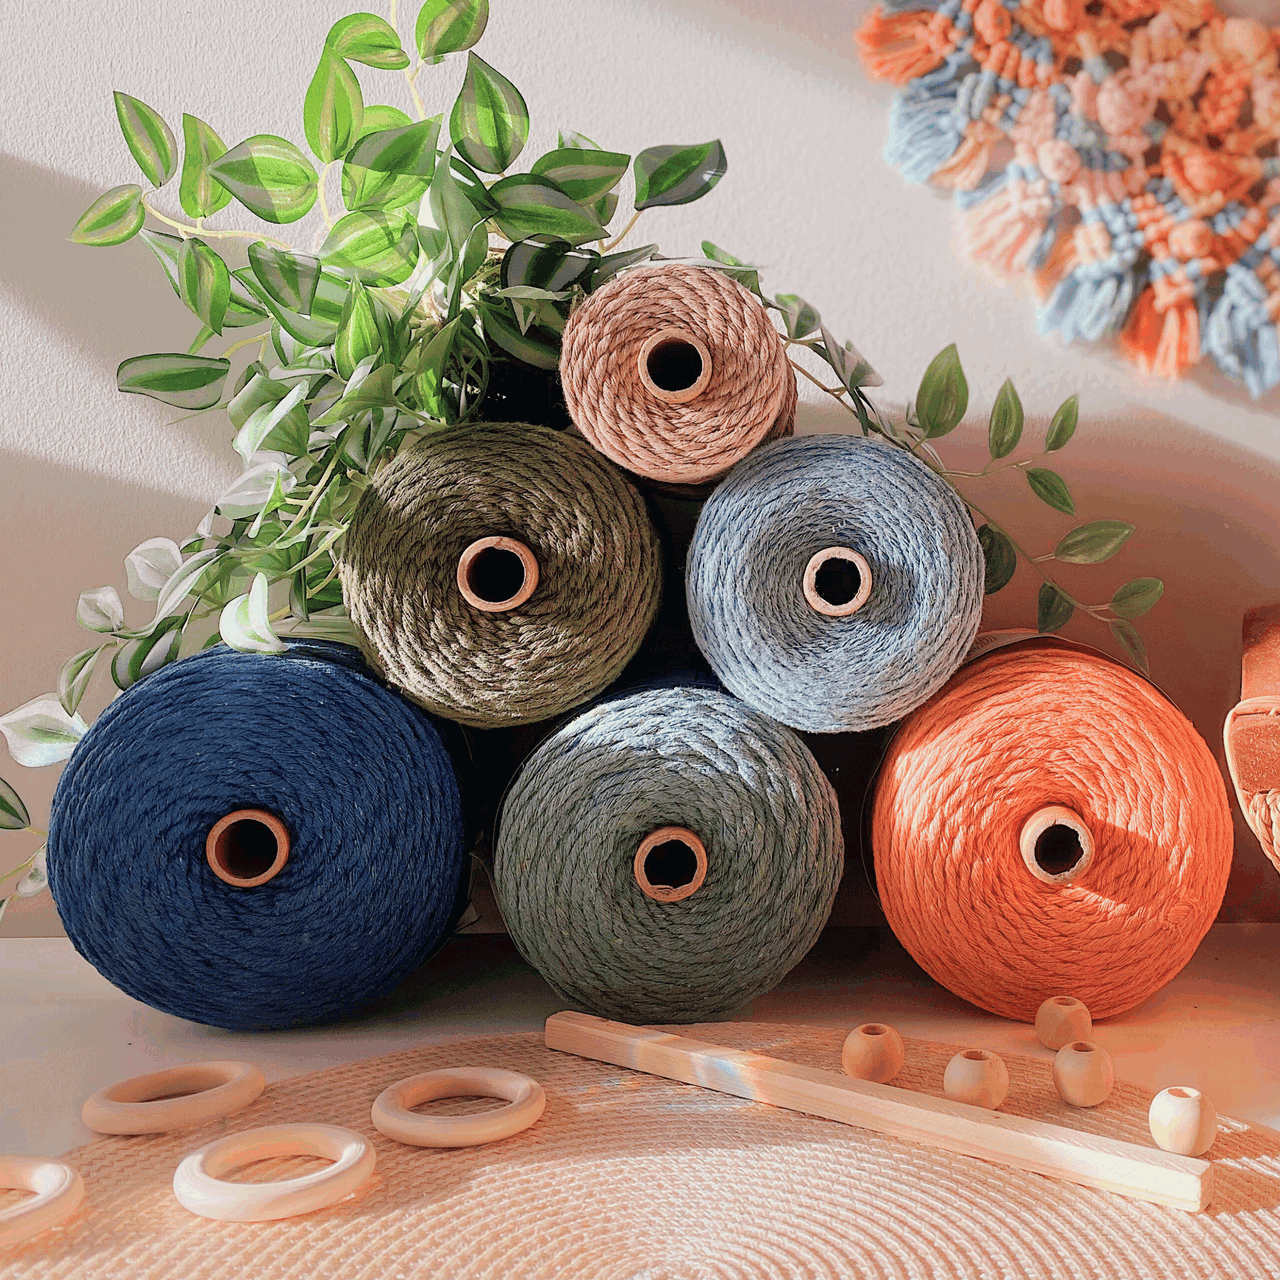
To create your fluffy macrame heart keychain, you’ll need 3mm macrame cord—the perfect size for achieving that soft, cozy look while still being sturdy enough for everyday use.

Choosing the Right Macrame Cord
For this project, we used:
- 3mm Single-Strand Twist Cord in Merlot from our Lush Bamboo Cord line. This cord is not only beautiful but also soft and eco-friendly, making it a joy to work with.
- 1.5–2mm String, which adds versatility and delicate detail to your heart keychain.
Both cords are great for all skill levels, whether you’re a beginner or a seasoned macrame artist.
Their softness makes knotting easier, while their durability ensures your keychain will last. Plus, the Merlot shade adds a rich, romantic touch that’s perfect for Valentine’s Day!
Ready to gather your materials? Let’s knot this fluffy heart keychain to life!
Other Macrame Tools & Supplies
You will need the following materials to make your Macrame Christmas Tree Ornament
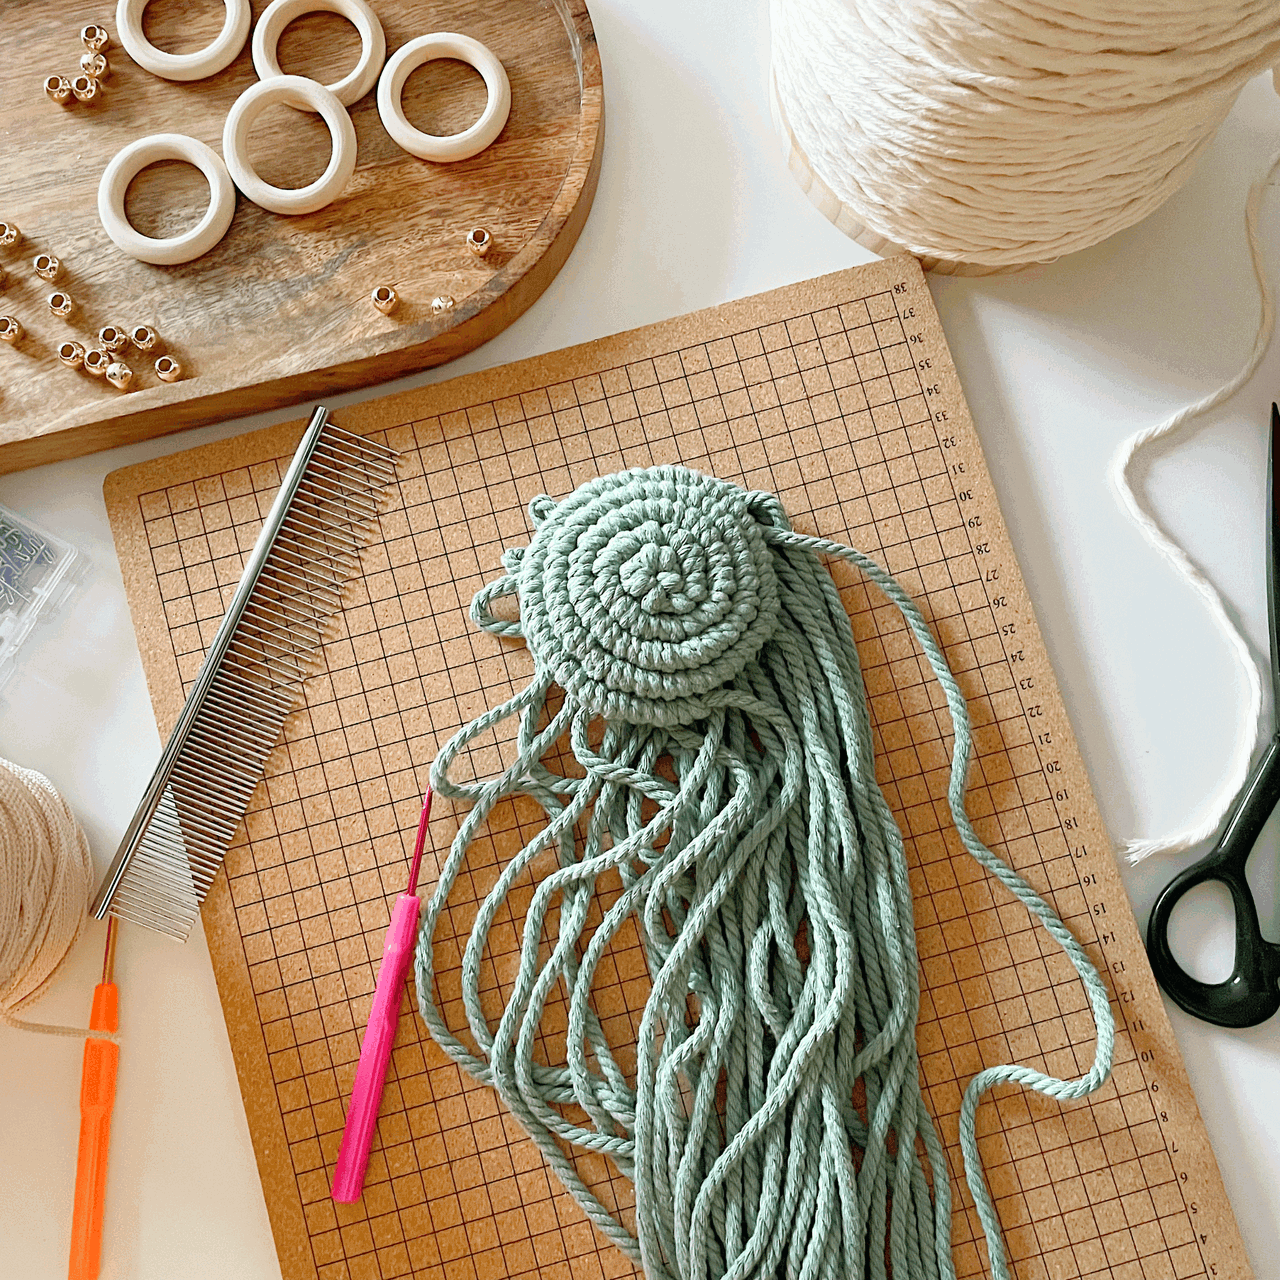
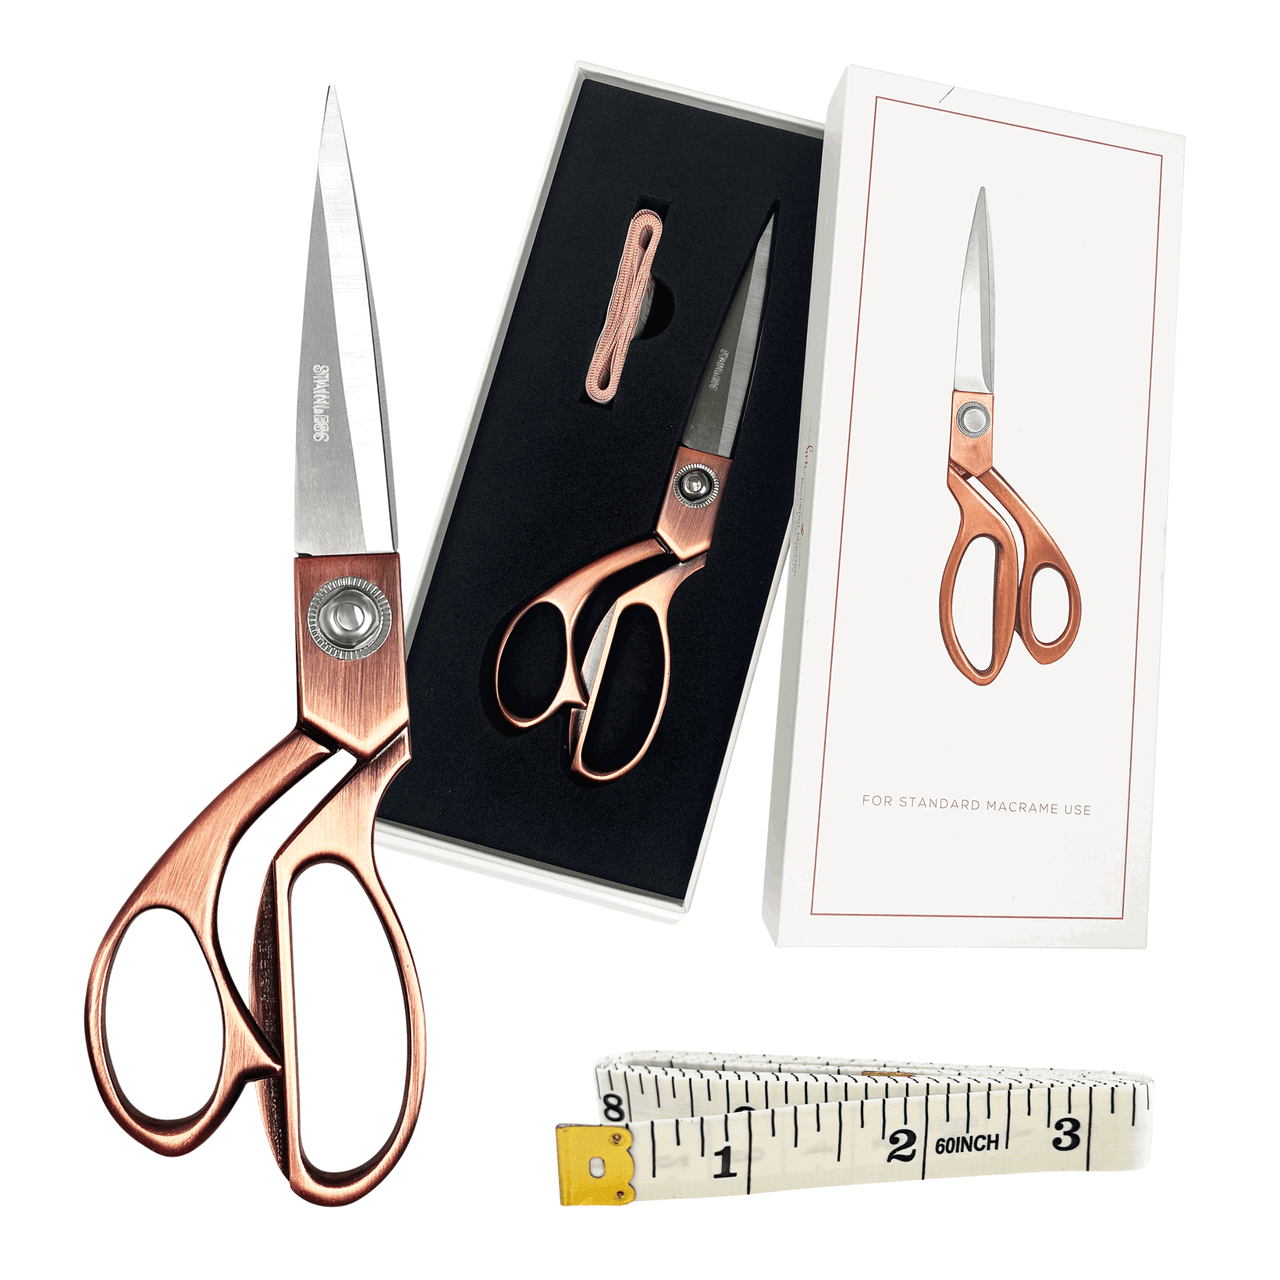
Essential macrame tools
You will also need some essential macrame tools:
Fluffy Macrame Heart Key Chain Details
Skill Level:
- Advanced Beginner
Completed Size:
- 3.5" wide x 3" length
Completion Time:
- 1 - 3 hours depending on skill level
Materials Needed (for 1 unit):
- 3mm Macrame Cord
- 1.5-2mm Macrame string
- Keychain Lobster Clasp
- Wooden Dowel / Stick (optional for mounting)
Cotton Lengths Needed:
- 12 x 50 cm (20”)
- 4 x 80cm (31”)
- 2 x 70 cm (28”)
- 2 x 40 cm (16")
- 2 x 30 cm (12")
- 8 x 40 cm (16")
DIY Macrame Keychain: Fluffy Heart Pattern for Valentine’s Day | Video Tutorial
DIY Macrame Keychain: Fluffy Heart Pattern for Valentine’s Day | Step-by-Step Guide
*Note: We recommend following the tutorial video for more detailed instructions and to achieve the best results.
This will provide additional guidance and clarity as you work through each step.
Step 1: Attach the Cords
- Take 6 cords, each 50cm long, and attach them to a dowel using Lark’s Head Knots.


Step 2: Start the First Row
- Using an 80cm cord, create a row of Double Half Hitch Knots (DHHK) from left to right, a few inches below the top cords.


Step 3: Add a Second Row
- Repeat the first row with another 80cm cord, placing it directly underneath the first.

Step 4: Narrow the Pattern
- Skip the far-left and far-right cords.
- Using a 70cm cord, create another row of DHHK from left to right.


Step 5: Continue Narrowing
- Skip the far-left and far-right cords again.
- Use a 60cm cord to make another row of DHHK in the middle.

Step 6: Create the Center Row
- Separate the 2 far-left cords and 2 far-right cords from the main pattern.
- Using a 40cm cord, create a row of DHHK in the center.


Step 7: Final Row in the Middle
- Skip the far-left and far-right cords again.
- Using a 30cm cord, make 2 vertical DHHK in the middle.

Step 8: Remove and Cut
- Slide the pattern off the dowel.
- Cut through the loops at the top of the cords to separate them.


Step 9: Prepare for the Heart Shape
- Turn the pattern around.
- Separate the 2 far-left cords, 2 far-right cords, and the 2 middle cords.
- Using 40cm cords, create 4 DHHK on both the left and right sides.


Step 10: Add Anchor Rows
- Use a 40cm cord as an anchor and create a row of DHHK along the left side of the pattern.
- Repeat the same on the right side.


Step 11: Create the Heart Tip
- Take the bottom 2 anchor cords and the upper 2 anchor cords and tie a diagonal DHHK to form the bottom point of the heart.


Step 12: Secure Loose Ends
- Weave the cord ends through the loops of the DHHK at the back of the pattern.


Step 13: Trim
- Trim off excess cord ends.

Step 14: Make the Second Heart
- Repeat the exact same steps for a second heart pattern.

Step 15: Connect the Hearts
- Use a 100cm cord to thread through the sides of both heart patterns, joining them together.


Step 16: Secure the Connection
- Tie a Double Overhand Knot and weave the ends through the middle of the pattern. Trim off the excess.


Step 17: Add a Lobster Clasp
- Take a 20cm cord, weave it through the top of the heart pattern and the Lobster Clasp.
- Secure with a Double Overhand Knot, then weave the ends through the DHHK loops.


Wrapping Up Your Macrame Heart Project
Congratulations on crafting your very own macrame heart! Whether you’re planning to gift it, use it as a keychain, or add it as a decorative touch to your space, this project is more than just knots and cords—it’s a handmade expression of love and creativity.
I hope this step-by-step guide inspired you to explore the endless possibilities macrame has to offer. From mastering foundational knots to shaping intricate designs, each step is a testament to your growing skills as a knotter.
If you’re looking for more macrame ideas, don’t forget to visit the Bochiknot Macrame Journey Page, where you’ll find a treasure trove of patterns and tutorials to keep your creativity flowing.
As always, I’d love to see your finished projects! Be sure to tag me on social media or share your work with the Bochiknot community—nothing makes me happier than seeing your beautiful creations.
Until next time, happy knotting, and may your cords always bring you joy! ❤️
Happy crafting!

Looking for Macrame Patterns and Projects?
I’ve got a fun variety of DIY macrame patterns for you to explore—whether you’re into creating unique wall hangings to spruce up your home or timeless plant hangers, there’s something for every skill level.
Each pattern is super easy to follow with step-by-step photos, clear instructions, and plenty of tips to help you along the way.
Ready to start creating?
Browse DIY macrame patterns on Etsy and dive into your next project.

Join the Bochiknot Macrame Community: Your Gateway to Exclusive Tutorials & Inspiration
Discover the art of macrame like never before! Join our exclusive community of passionate macrame enthusiasts and unlock a world of creativity.
Gain access to a treasure trove of unique patterns, expert guidance, and a supportive network of fellow artistcanvcavnas.







Leave a comment