How to Add LAYERS to Your Macrame Wall Hanging

How to Add Visual Interest to Your Macrame Wall Hanging with Layers and Texture
Have you ever walked into a room, looked at your walls, and felt something was missing?
Maybe that one blank space begs for something unique—something that adds warmth, texture, and a touch of your personal style.
My first macrame wall hanging was nice, but it felt a little flat like it needed something extra.
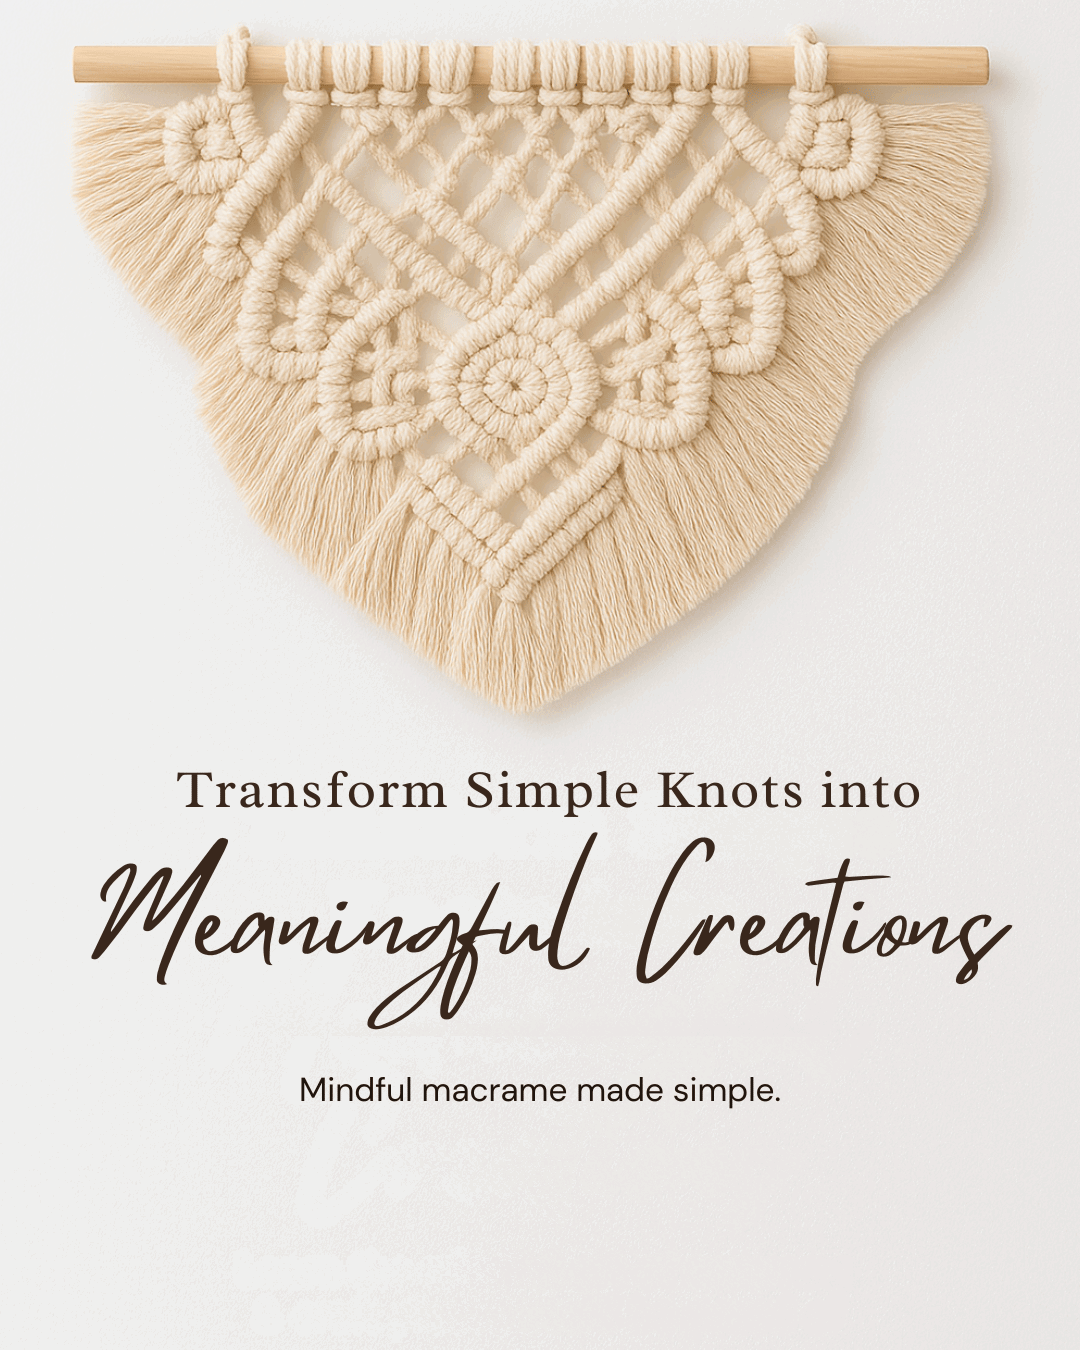
Then, I learned how to add layers, transforming my piece into a stunning, textured masterpiece.
If you’ve ever wondered if your macrame wall hanging could be more detailed, you’re in the right place!
This blog post will explore how adding layers can take your macrame designs from simple to stunning.
These knotting techniques will add a stunning and eye-catching element to your wall hanging, leaving everyone in awe.
Curious about how to do it?
Keep reading because I’m breaking down each step in a way that makes it fun, easy, and doable.
By the end, you’ll have a beautiful, layered macrame wall hanging that will catch everyone’s eye—and you’ll be so proud knowing you created it yourself.
Let’s get started!
What You’ll Learn
Before we dive in, let’s talk about what you will learn and why it matters.
We’ll be working with three of the most commonly used macrame knots:
- The Lark’s Head knot
- The Double Half-Hitch knot
- The Reverse Lark’s Head Plus Half-Hitch knot (RLH + HHK)
These knots might seem simple at first glance, but with a few creative techniques and a little macrame magic, we’ll transform them into a stunning, multi-layered wall hanging.
Why is layering so important?
Adding layers to your macrame project, especially to a wall hanging, does more than fill up space—it adds depth, texture, and dimension that instantly elevates your design.
Layering allows your work to have more visual impact, making it pop in a way that a flat, one-dimensional piece simply can’t.
You’ll see how even the most basic knots, combined with layering techniques, can create an eye-catching, sophisticated look.
By mastering these knots and layering techniques, you’ll unlock the secret to creating macrame pieces that feel rich and dynamic.
Macrame Knots You Need to Know
As we dive into creating this layered wall hanging, we’ll work with a few foundational macrame knots.
Don’t worry if these knots are new to you—I’ll guide you through each step as we go, so you’ll feel comfortable and confident in no time.
Having a basic understanding of these knots before we start helps everything flow a little smoother, and it makes the process more enjoyable as you get familiar with the movements.
This project uses three main knots: the Lark’s Head knot, the Double Half-Hitch knot, and the Reverse Lark’s Head Plus Half-Hitch knot.
These knots are the foundation of many macrame designs.
Once you master them, you’ll feel more confident working on this project and prepared for future macrame creations.
-
Lark’s Head Knot (LHK): This is one of the most basic macrame knots, and it’s often used to anchor your cords to the dowel or base of your project. The Lark's Head Knot is simple to tie and forms the foundation for many macrame patterns. Once you get the hang of this, you’ll find it’s the perfect starting point for many designs, providing both strength and structure.
-
Double Half-Hitch Knot (DHHK): The Double Half-Hitch is a versatile knot that allows you to create lines, curves, and intricate details in your macrame work. This knot is key to building the layers in your wall hanging. The repetitive, fluid motion of creating these knots will give your project that beautiful, cohesive look.
-
Reverse Lark’s Head Plus Half-Hitch Knot (RLH + HHK): This knot adds a unique twist (literally!) to your design. By combining the Reverse Lark’s Head with the Half-Hitch, you’ll introduce a bit of texture and depth to your work. It’s a great way to bring more visual interest to your piece and make certain sections stand out.
Learning these knots will help you feel more in control of the design process.
They’re like the "tools" in your macrame toolkit; once you’ve practiced them a few times, you can flow through the project confidently and efficiently.
These knots are also helpful for this project and will open up a world of possibilities for future macrame designs.
By mastering these basics, you'll be able to create more complex patterns and even start experimenting with your designs.
So don’t worry if you’re still getting used to these knots—take your time, enjoy the process, and know that each knot brings you one step closer to creating your stunning layered macrame wall hanging!
Important Macrame Terms You Should Know
Before we begin, we should review a few important terms used in macrame.
This will help you understand the techniques more quickly, follow patterns confidently, and set a strong foundation for your macrame journey.
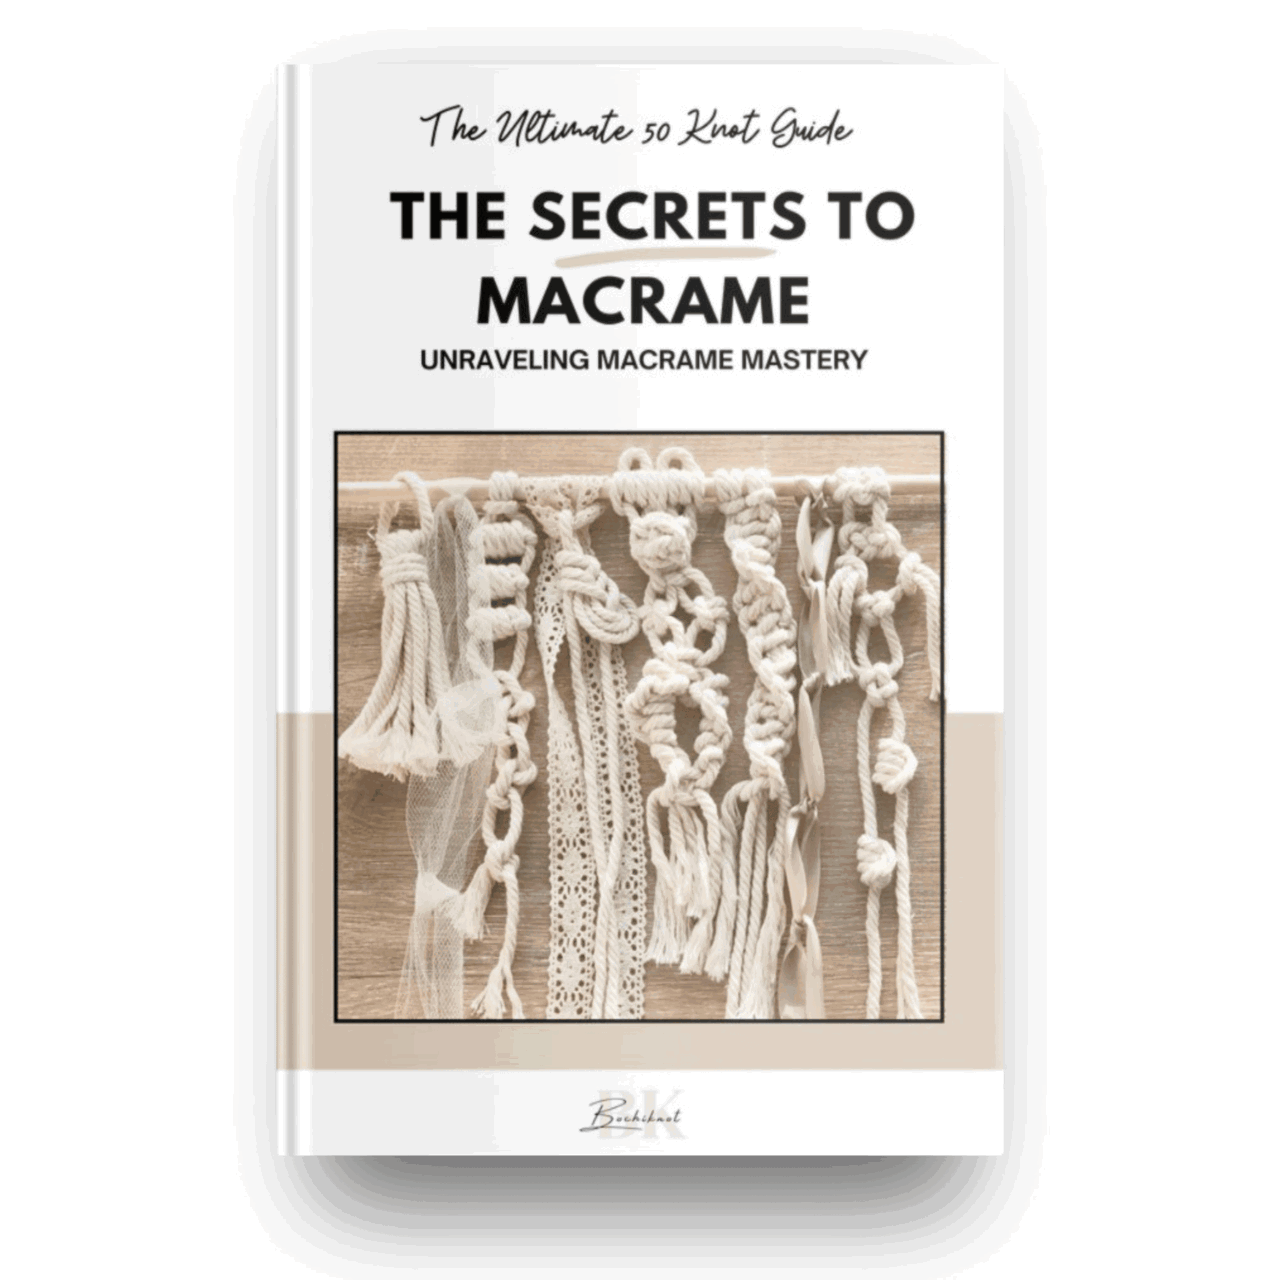
- Knots: Macrame involves various knots, like the overhand knot and alternating overhand knot. Learning these basic knots is critical to building a solid foundation. Check the "Macrame Knots You Need to Know" section for the knots used in this pattern.
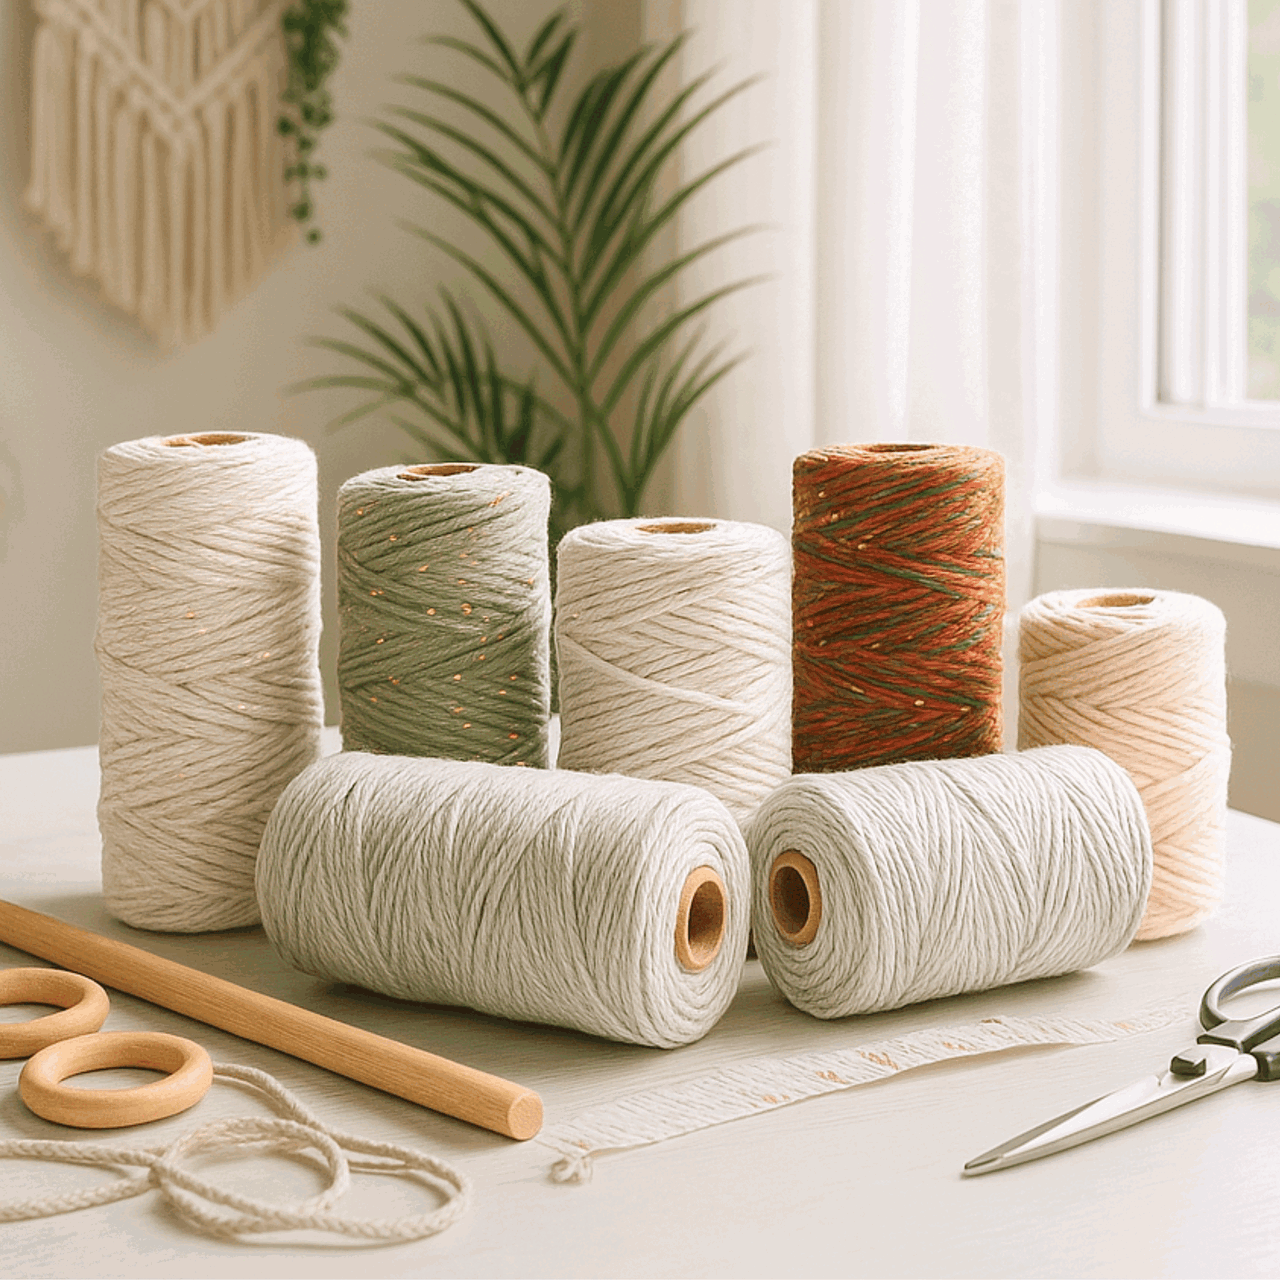
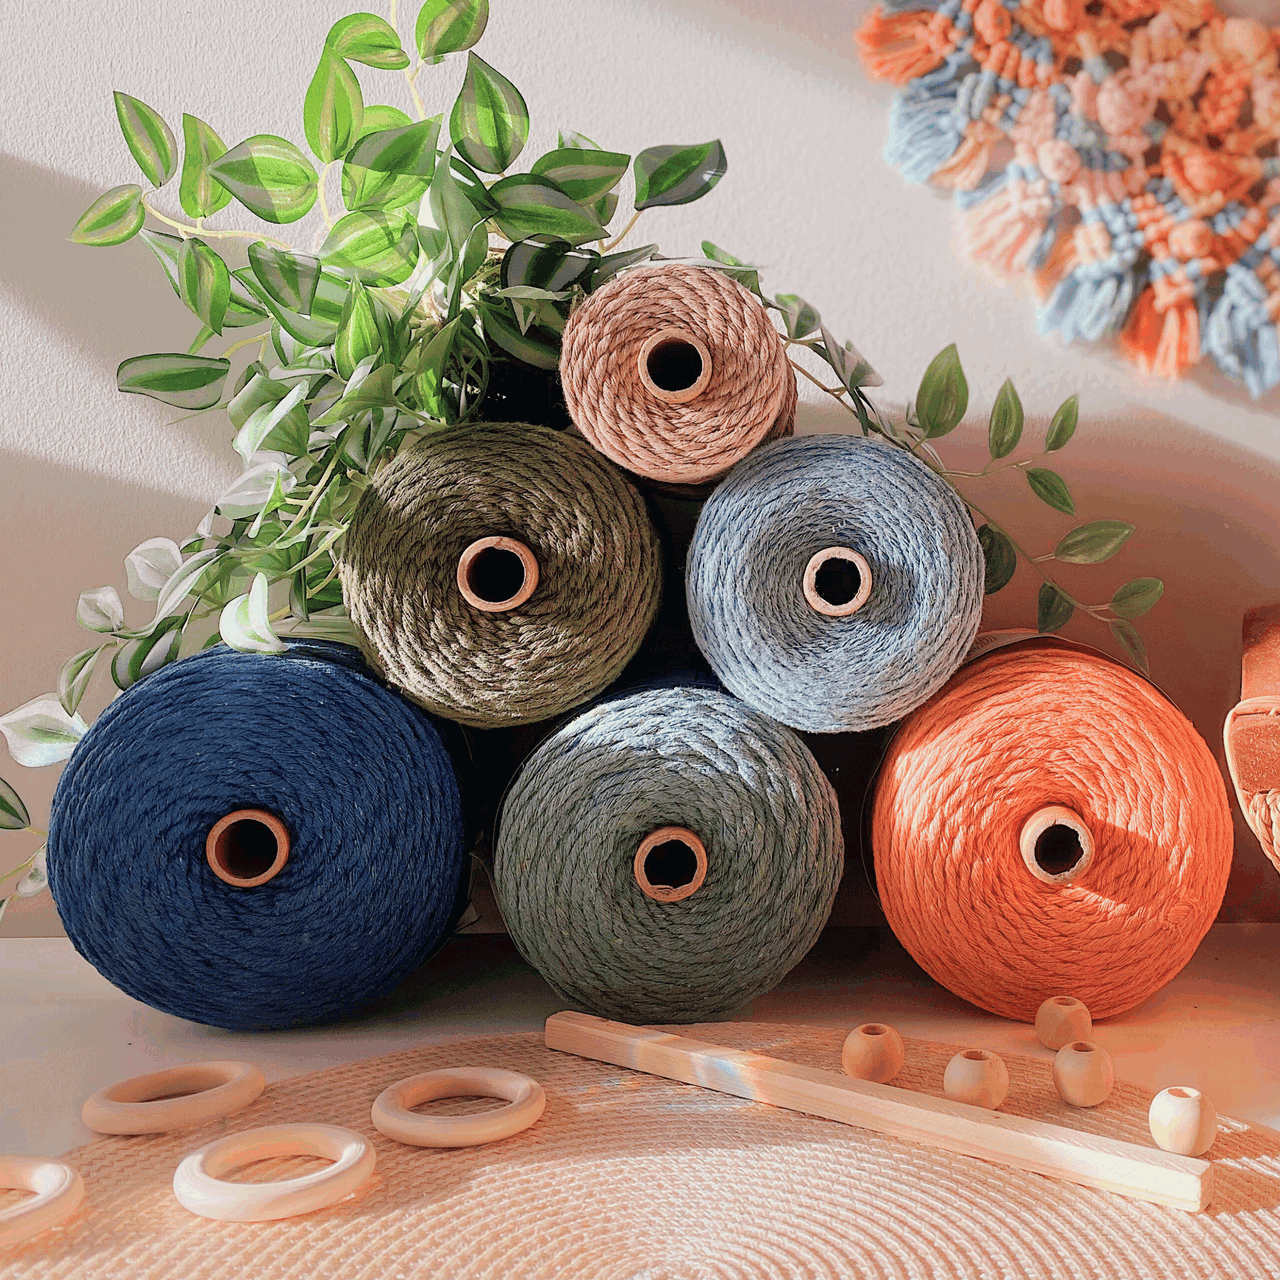
- Cords: The primary material in macrame is cords made from cotton, jute, nylon, or synthetic fibers. They come in different thicknesses and colors. You can learn more about macrame cord with our "Macrame ESSENTIALS: Everything You Need—Cord, Tools, & Materials" post.
- Loop: A loop is formed by crossing the cord over itself to create a ring-like shape. Loops are essential in many macrame designs.
- Fringe: The loose ends of cords that hang down, adding a decorative element. The fringe can be left as is or trimmed to your desired length.
- Anchor Cord: The fixed cord or structure to which other cords are attached. It provides stability and support for your design.
- Working Cord: The cord that is actively manipulated to create knots and patterns throughout the project.
- Sennit: A series of knots grouped together to form a pattern or part of your macrame project.
- Frays and Tassels: The loose ends of your cords are often used intentionally as decorative elements like frays or tassels in your design.
Cord, Supplies, & Tools to Make a Wave Braid Knot Pattern
Before we jump into creating your beautiful layered macrame wall hanging, it’s important to have all the necessary materials and tools on hand.
Having the right supplies will not only make the process smoother but will also ensure your wall hanging turns out sturdy, professional-looking, and visually stunning.
Here's everything you'll need to get started:
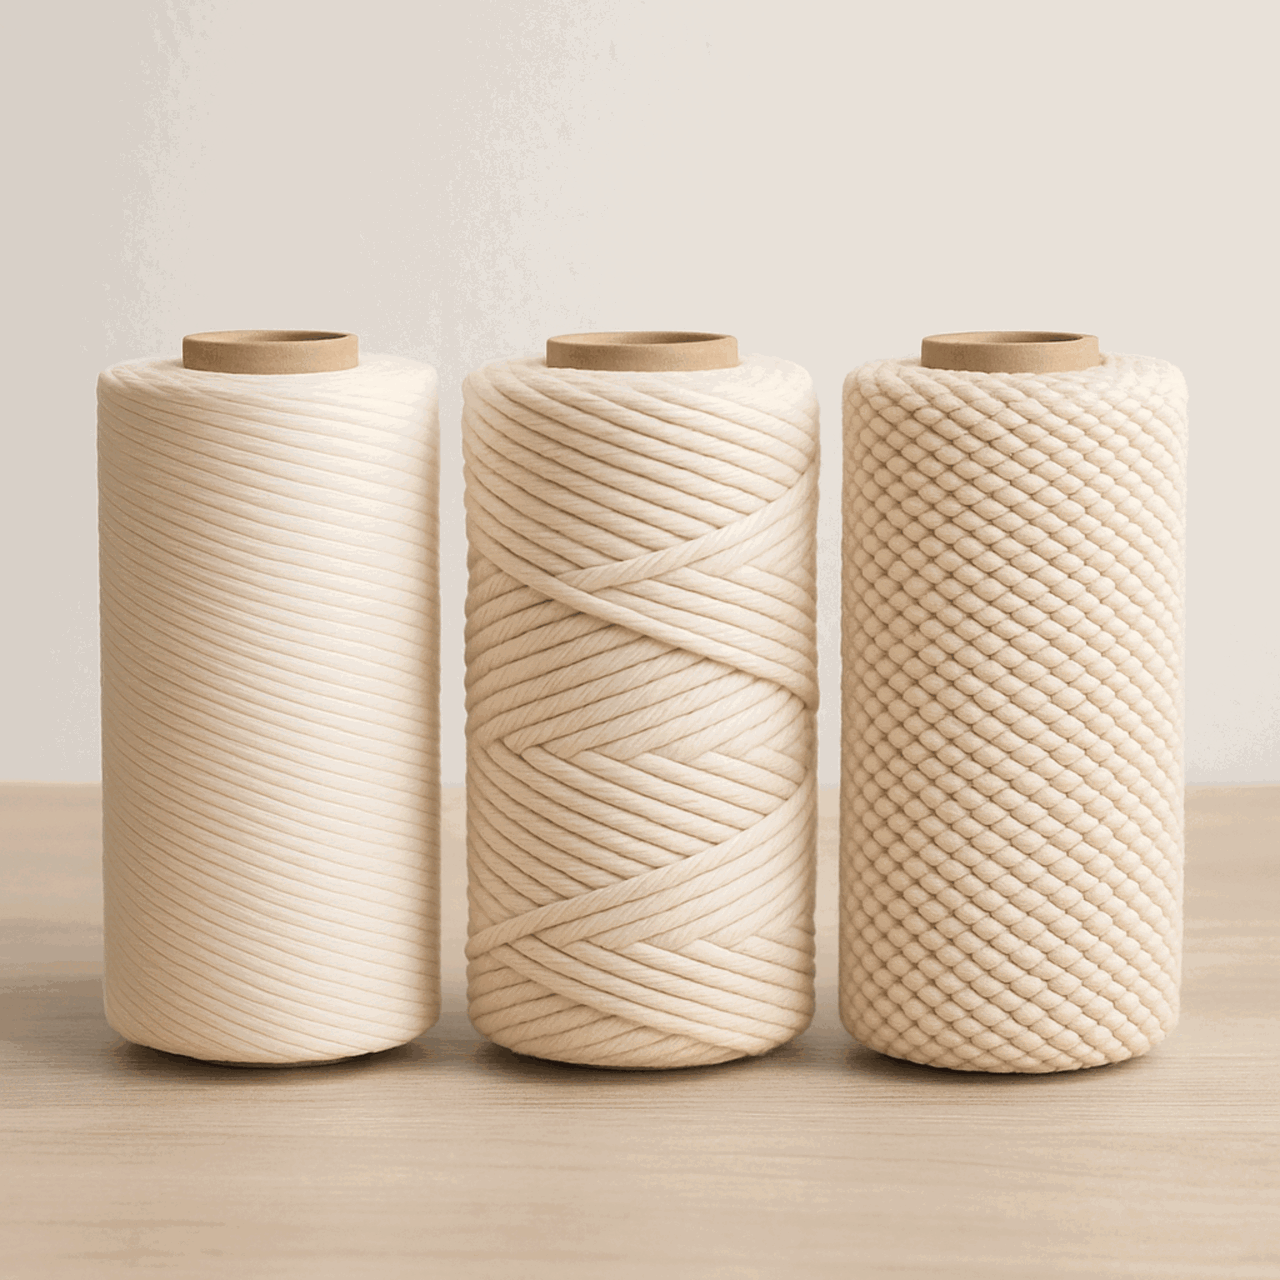
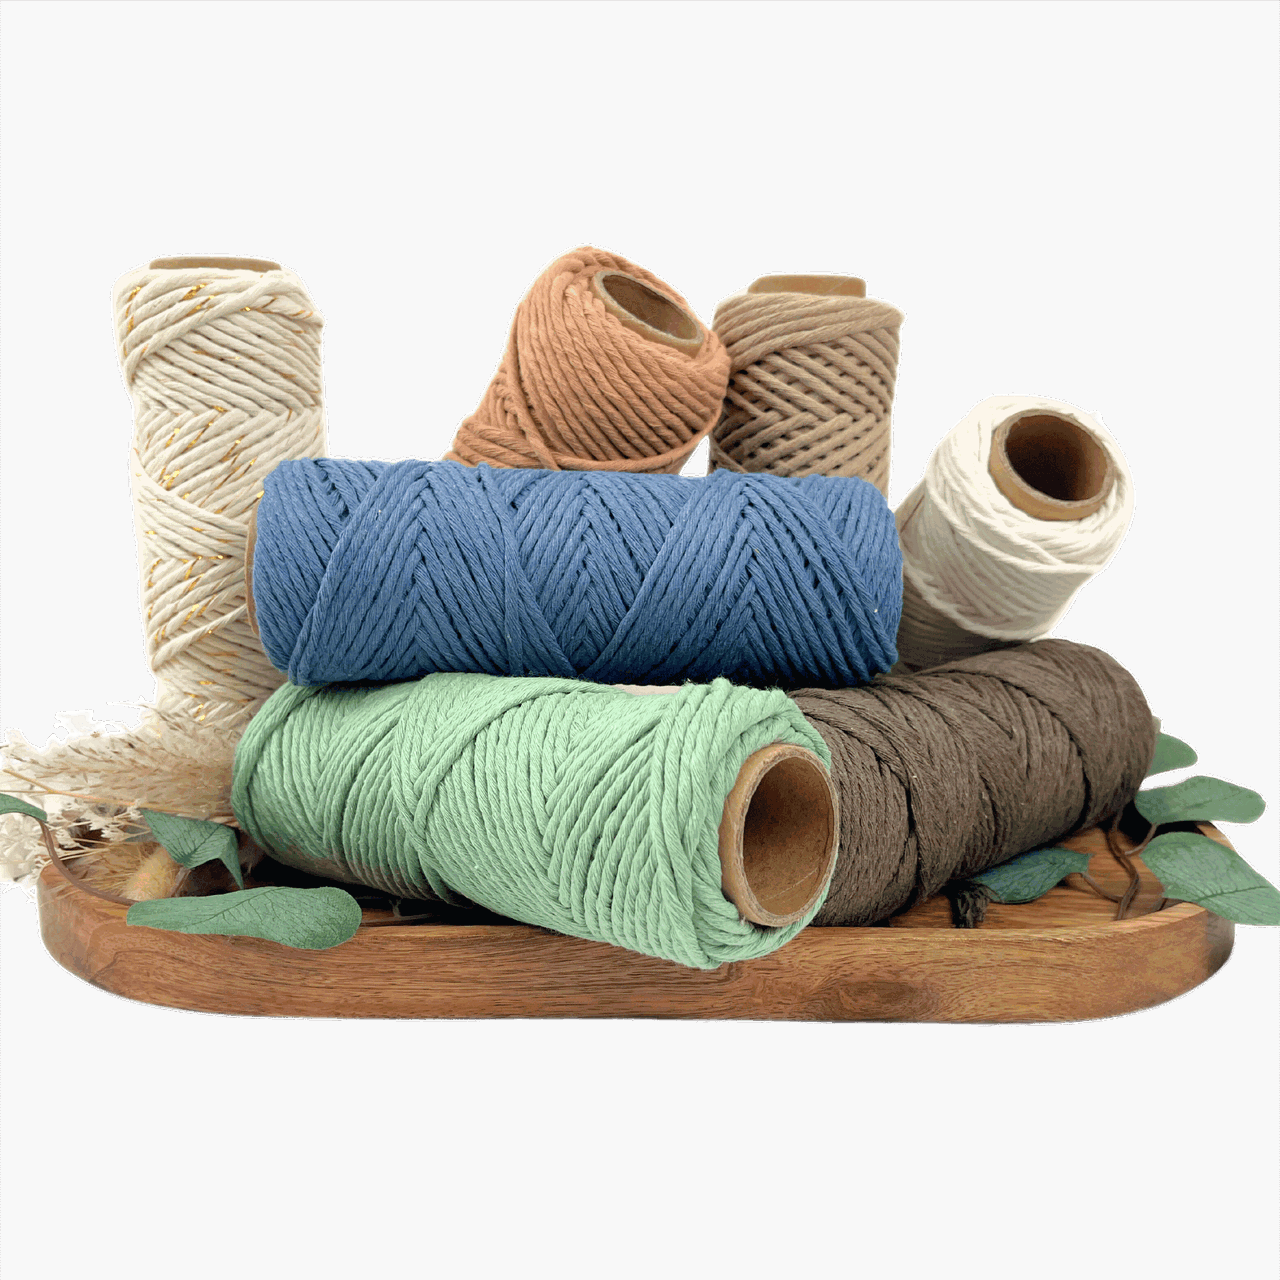
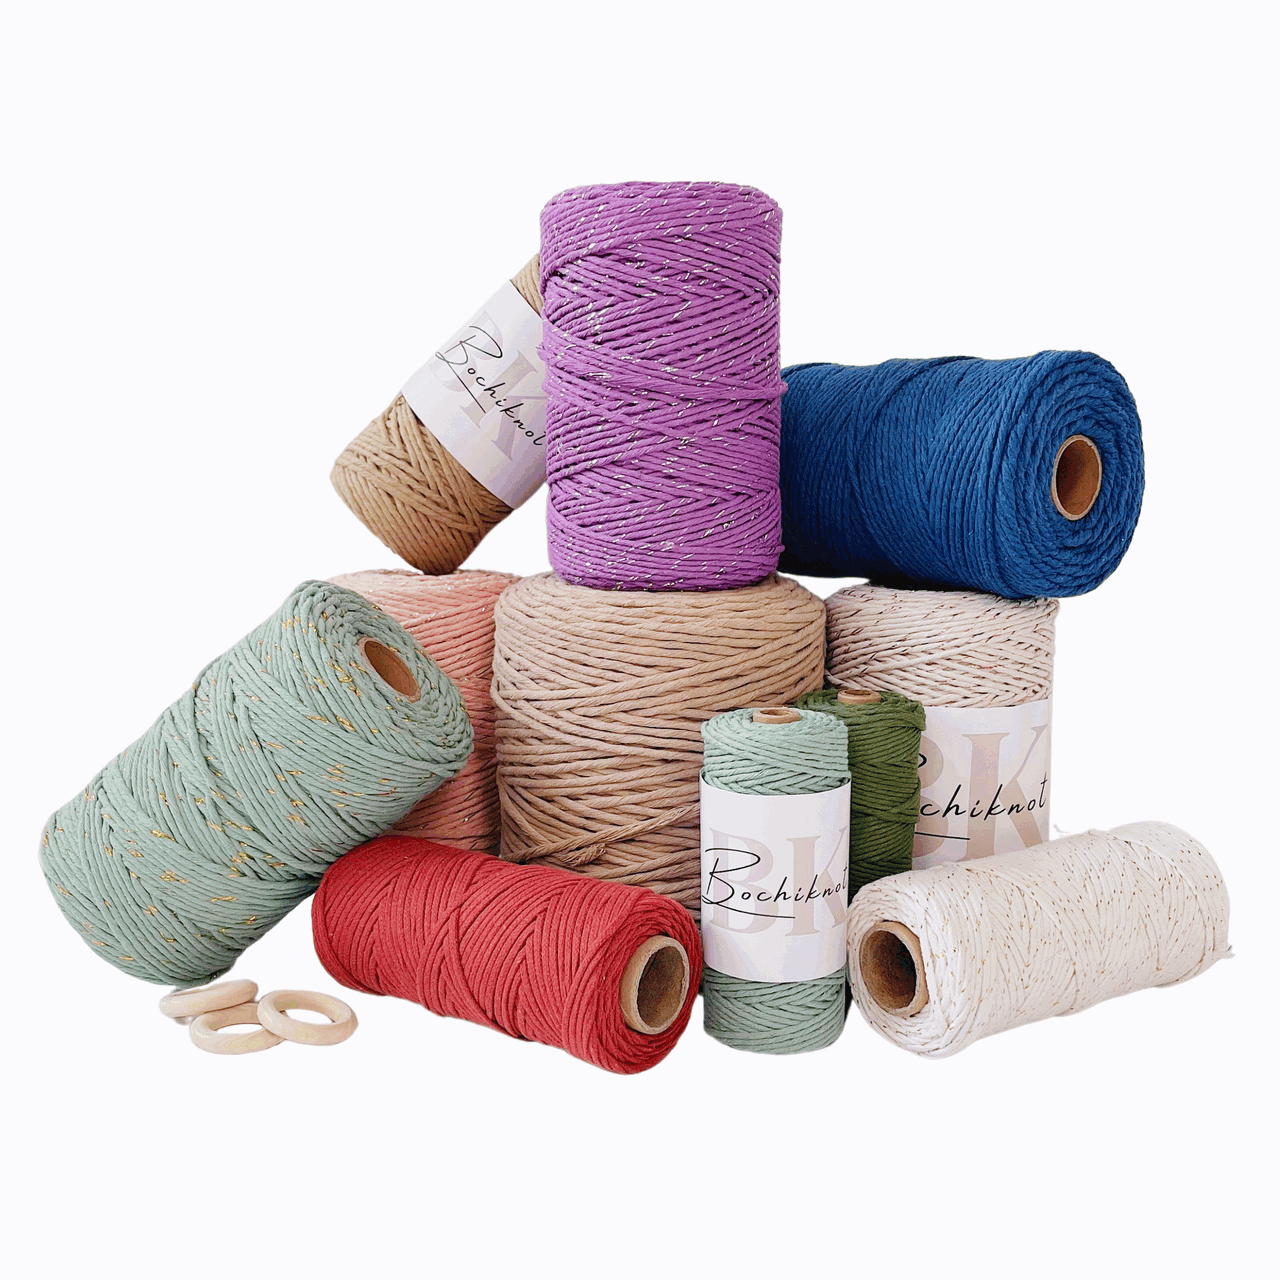
Macrame Cord
The type and thickness of the macrame cord you choose will play a huge role in the final look of your layered wall hanging.
I'll use a 100% natural organic cotton cord for this project in a 4mm single-strand macrame cord.
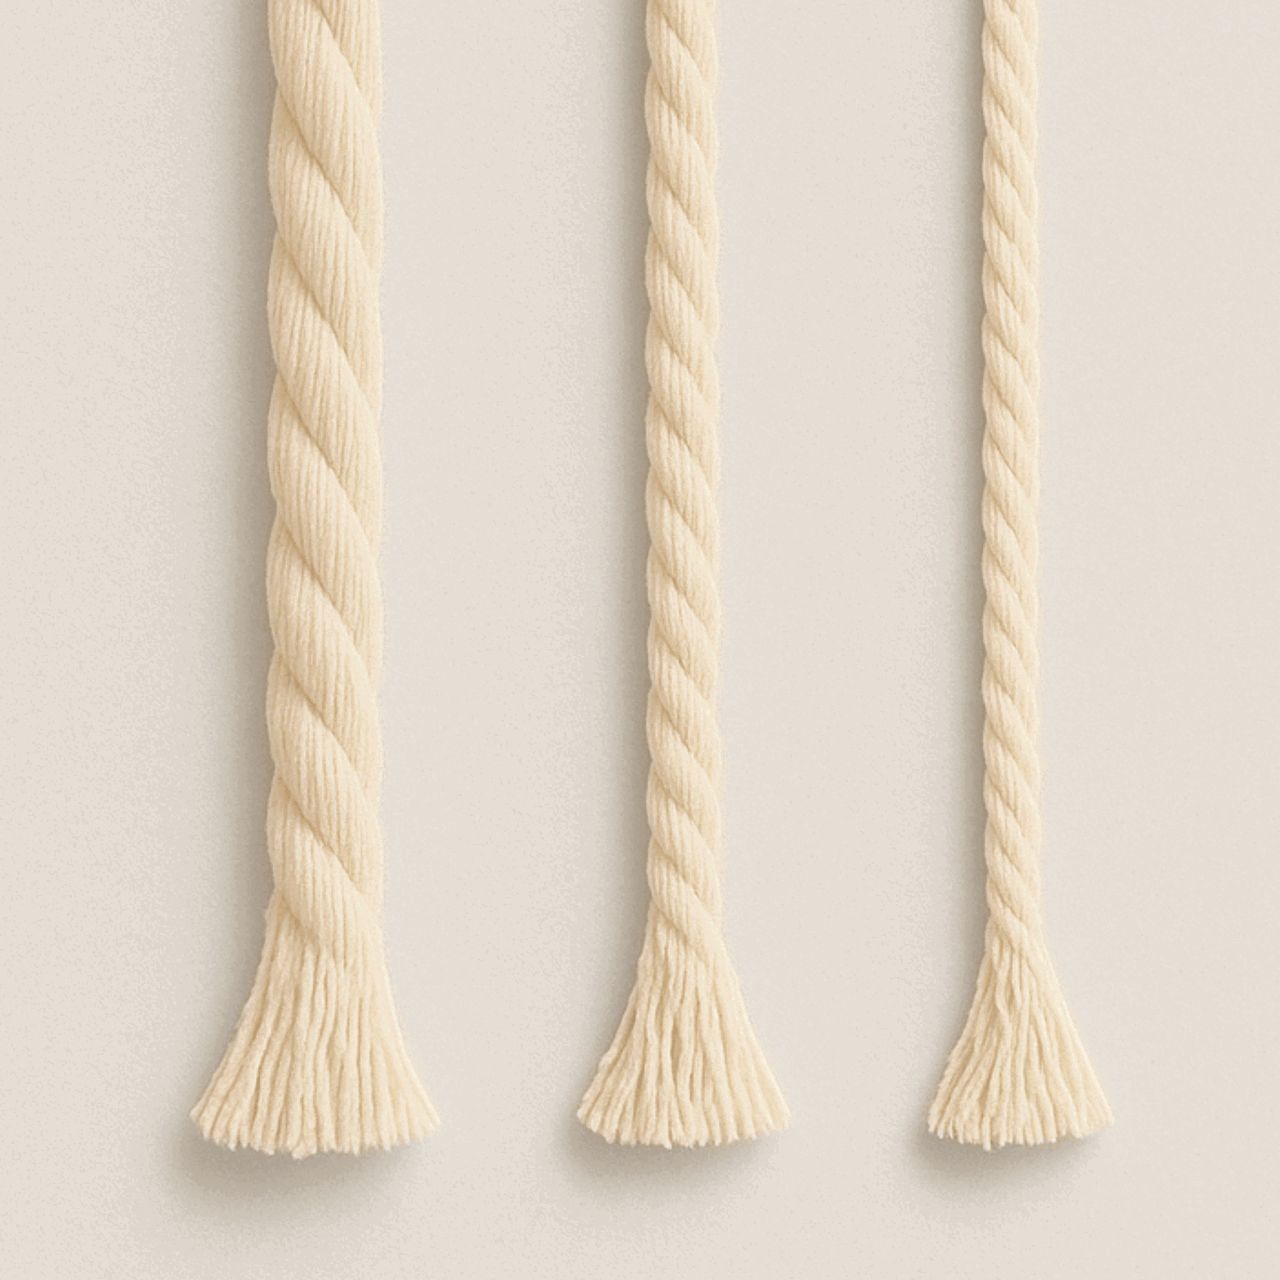
Thicker cords like 5mm will give your piece a bold, chunky texture, while thinner 3mm cords are great for more delicate details.
You can even mix and match cord thicknesses for extra depth and contrast between layers.
As for color, neutral shades like natural, beige, or ivory are classic, but feel free to experiment with colors that match your personal style or home decor.
Wooden Dowel or Driftwood
You’ll need something sturdy to serve as the base for your wall hanging.
A wooden dowel is a popular choice and gives a clean, modern look. I will be using a 12" wooden dowel for this wall hanging.
If you prefer something more rustic, you can use driftwood or a natural branch for a more organic, bohemian vibe.
Make sure whatever you choose is strong enough to support the weight of the cords and layers.
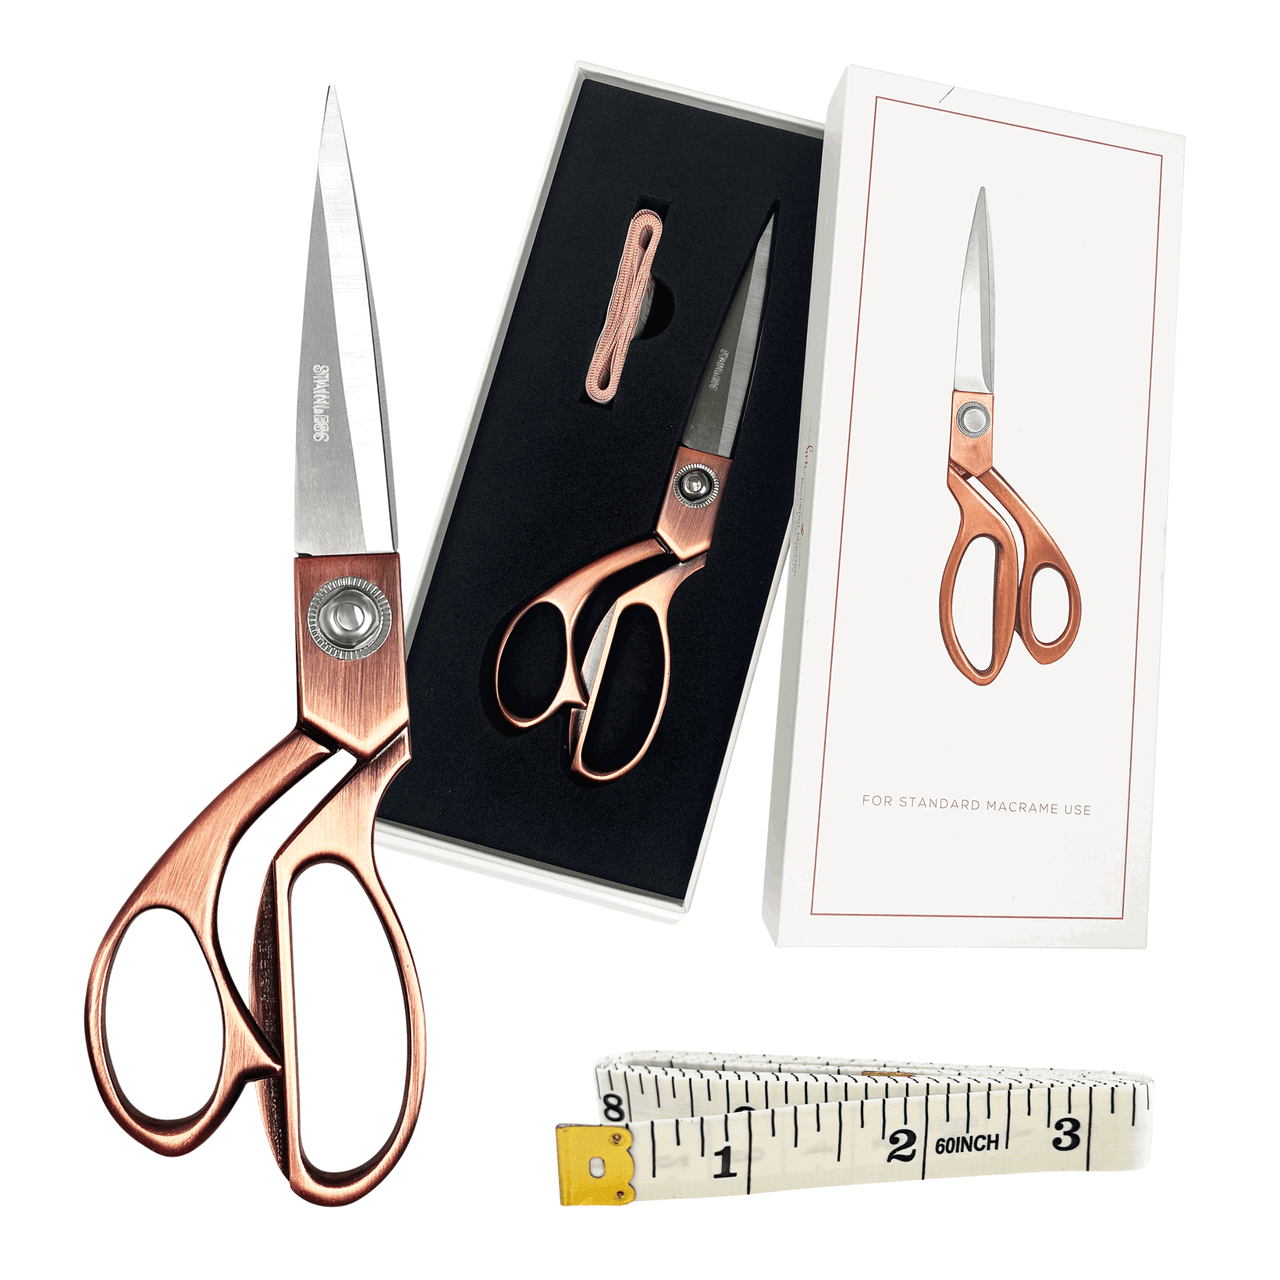
Scissors
Sharp scissors are essential for clean cuts. A sharp pair will ensure smooth, precise cuts and a professional-looking finish.
Measuring Tape
Measuring your cords accurately before you start is vital to a successful project.
With measuring tape, you can ensure that all your cords are the right length, helping you avoid running short mid-project.
Layered Macrame Wall Hanging Details
Skill level:
- Intermediate
Completed size:
- Approx. 12” length x 20" height
Completion time:
- 1-3 hours depending on skill level
Materials needed (for 1 unit):
- 1 x 4mm macrame cord
- 1 x wooden dowel
- 1 x Sharp scissors
- 1 x Measuring tape
Cord lengths:
- 6 x 250 cm (98”)
- 24 x 110 cm (43”)
- 6 x 200 cm (79”)
- 2 x 170 cm (67”)
- 8 x 80 cm (32”)
Tip: You can find all these supplies on our Bochiknot SHOP. Be sure to check out our latest deals for some great discounts on macrame essentials.
Once you’ve gathered all your cords and materials, you’re ready to begin the fun part—knotting!
Let’s get started!
How to Add Layers to Your Macrame Wall Hanging | Video Tutorial
How to Add Layers to Your Macrame Wall Hanging | Step-by-Step Guide
*Note: We recommend following the tutorial video for more detailed instructions and to achieve the best results.
This will provide additional guidance and clarity as you work through each step.
Step 1:
-
Attach 3 cords, each 250 cm long, to the dowel using Lark's Head knots.


Step 2:
-
Create a diamond pattern by making two diagonal Double Half Hitch (DHH) knots in the center.


Step 3:
-
Make 3 more diamond patterns below the first one.

Step 4:
- Repeat the same pattern on the right side, mirroring the left.


Step 5:
-
Create 2 rows of DHH knots going from top to bottom on both sides.


Step 6:
-
Bring the two panels together in the middle and use the middle 4 cords to create a mini diamond.


Step 7:
- Take the third cord from the left as the anchor cord and make 3 DHH knots to the right.
- Repeat this on the right side, mirroring the left.


Step 8:
- Finish with one more DHH knot in the center.

Step 9:
- For each leaf pattern, use 2 cords, each 110 cm long.
- Attach them with a Reverse Lark's Head knot onto a loop and make a DHH knot to the left.


Step 10:
- Attach the second cord to the top left cord with a Reverse Lark’s Head Plus Half Hitch (RLHPHH) knot.


Step 11:
- With the second cord from the right, make 2 DHH knots to the left, then 2 DHH knots back to the right.
- Make a row of 3 DHH knots from left to right underneath.


Step 12:
- Repeat the leaf pattern 3 more times in the loops above.
- Then add 1 more in the bottom left middle gap.


Step 13:
-
Repeat the leaf patterns on the right side of the panel.

Step 14:
-
Create a mini diamond in the center.


Step 15:
- Make a leaf pattern in the loops above the mini diamond on both sides.
- Pull the anchor cords through the same loop when done.


Step 16:
- Bring the tucked-in anchor cords from the back to the front and use them to make a row of 2 DHH knots on both sides.


Step 17:
-
Create another row of DHH knots toward the center on both sides.


Step 18:
- Take the second cord from each side as anchor cords and make 1 DHH knot toward the center.
- Finish with a final DHH knot in the middle below.


Step 19:
- Flip the front panel to the top and attach two 200 cm cords to the middle of the dowel with Lark's Head knots.
- Make a mini diamond pattern.


Step 20:
- Attach a 170 cm cord to the top right cord with a RLHPHH knot.
- Finish the mini diamond on the right side.


Step 21:
- Repeat the pattern on the left side, mirroring the right.

Step 22:
- Attach 3 more consecutive mini Diamonds on both sides.

Step 23:
- Attach two 200 cm cords on the right side and make 5 mini diamonds toward the center.
- Repeat this on the left side.


Step 24:
-
Connect the left, right, and middle panels with a mini diamond on both sides.

Step 25:
- Attach an 80 cm cord to each of the middle loops.


Step 26:
-
Trim the fringe to your desired length.

And there you have it—a beautifully layered macrame wall hanging that’s bound to turn heads!
Adding layers is a fantastic way to put your touch on your macrame creations, bringing in-depth texture that makes your work pop.
Whether you’re just starting out and want to experiment with something new or a seasoned macrame pro looking to sharpen your skills, layering is the perfect technique to take your designs to the next level.
Don’t forget to check out our YouTube video for a step-by-step guide. When you’re done, we’d love to see your masterpiece.
Tag us @Bochiknot on social media!

Looking for Macrame Patterns and Projects?
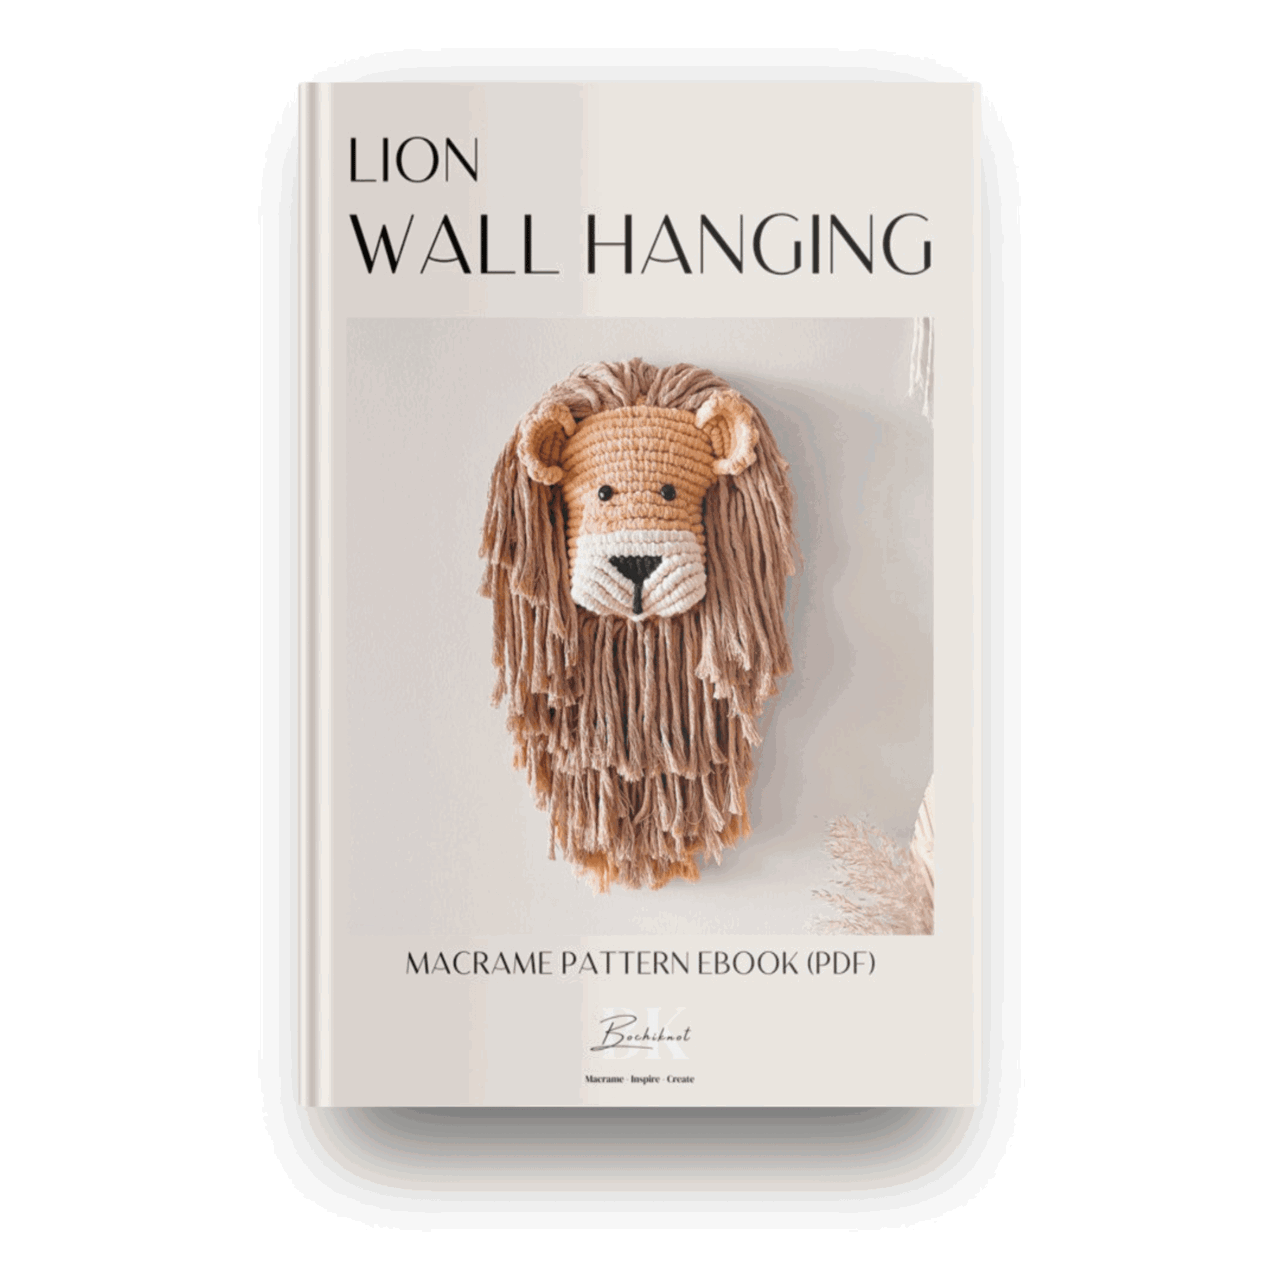
I’ve got a fun variety of DIY macrame patterns for you to explore—whether you’re into creating unique wall hangings to spruce up your home or timeless plant hangers, there’s something for every skill level.
Each pattern is super easy to follow with step-by-step photos, clear instructions, and plenty of tips to help you along the way.
Ready to start knotting?
Browse DIY macrame patterns on Etsy and dive into your next project.

Join the Bochiknot Macrame Community: Your Gateway to Exclusive Tutorials & Inspiration
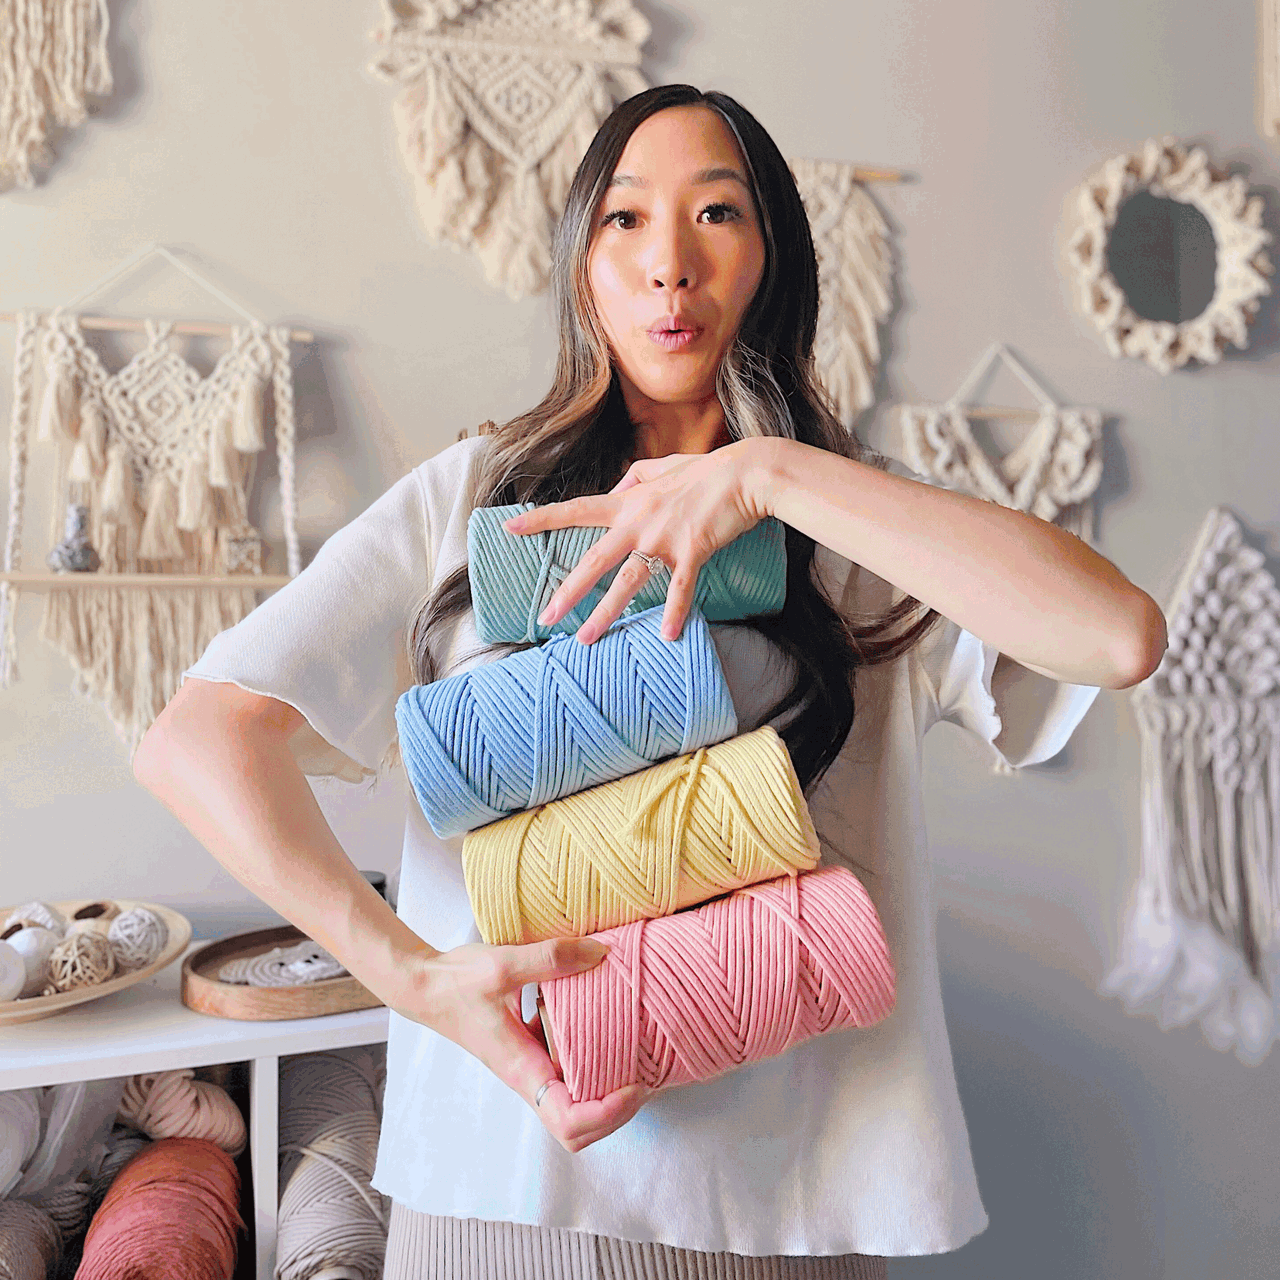
Discover the art of macrame like never before! Join our exclusive community of passionate macrame enthusiasts and unlock a world of creativity.
Gain access to a treasure trove of unique patterns, expert guidance, and a supportive network of fellow artists.












Leave a comment