DIY Macrame Feather Wall Hanging: A Beginner-Friendly Guide

Knot a Stunning Macrame Feather Design in Just a Few Steps
There’s something so satisfying about creating something beautiful with your own hands, isn’t there?
This DIY macrame feather wall hanging is one of my favorite beginner-friendly projects—it’s soft, flowing, and has that perfect boho vibe to bring a touch of personality to any space.
And trust me, it’s much easier to make than it looks!
I’ll be guiding you step-by-step through the process, using just a few simple materials and beginner macrame knots.
This project is not only fun but also incredibly relaxing—it’s the kind of craft that lets you get lost in the moment.
By the time you’re done, you’ll have a stunning handmade feather wall hanging, perfect for your wall or as a heartfelt gift.
Macrame Knots You Need to Know
Knots are the heart of macrame, and for this feather wall hanging, you’ll only need two essentials: the Double Half Hitch Knot and the Lark’s Head Knot.
The Double Half Hitch Knot is your go-to for creating clean lines and patterns. It’s versatile, easy to learn, and a staple for many macrame designs.
The Lark’s Head Knot is where it all begins—it’s perfect for securing your cords to a dowel or ring, forming the sturdy foundation of your piece.
If these knots are new to you, don’t worry—I’ll guide you through them step by step. Practice a few times, and before you know it, you’ll feel confident and ready to tackle more intricate designs!
Interested in More Macrame Knots?
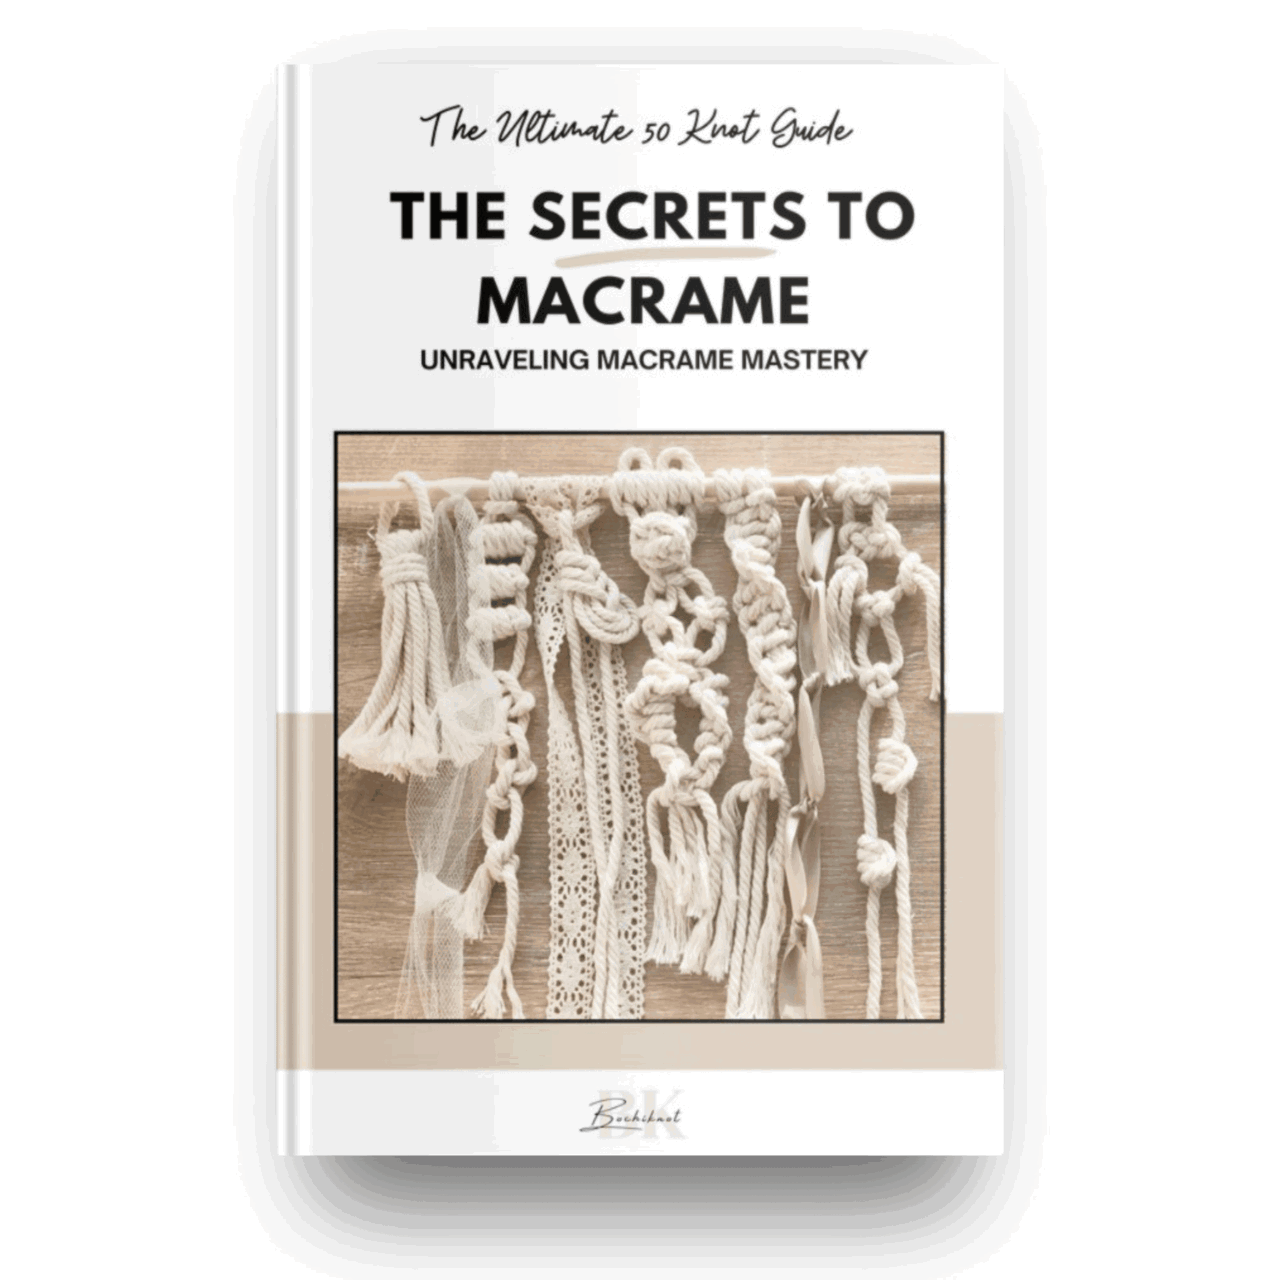
If you want to add more knots to your macrame designs, check out my free resource, "50 Macrame Knots & Sennit Guide."
It's packed with easy, step-by-step instructions to help you improve your skills and try new creative projects.
Access it here.
Important Macrame Terms for Beginners
Before we begin, we should review a few important terms used in macrame.
This will help you understand the techniques more easily, follow patterns confidently, and set a strong foundation for your macrame journey.
- Knots: Macrame involves various knots, like the overhand knot and alternating overhand knot. Learning these basic knots is key to building a solid foundation. Check the "Macrame Knots You Need to Know" section for the knots used in this pattern.
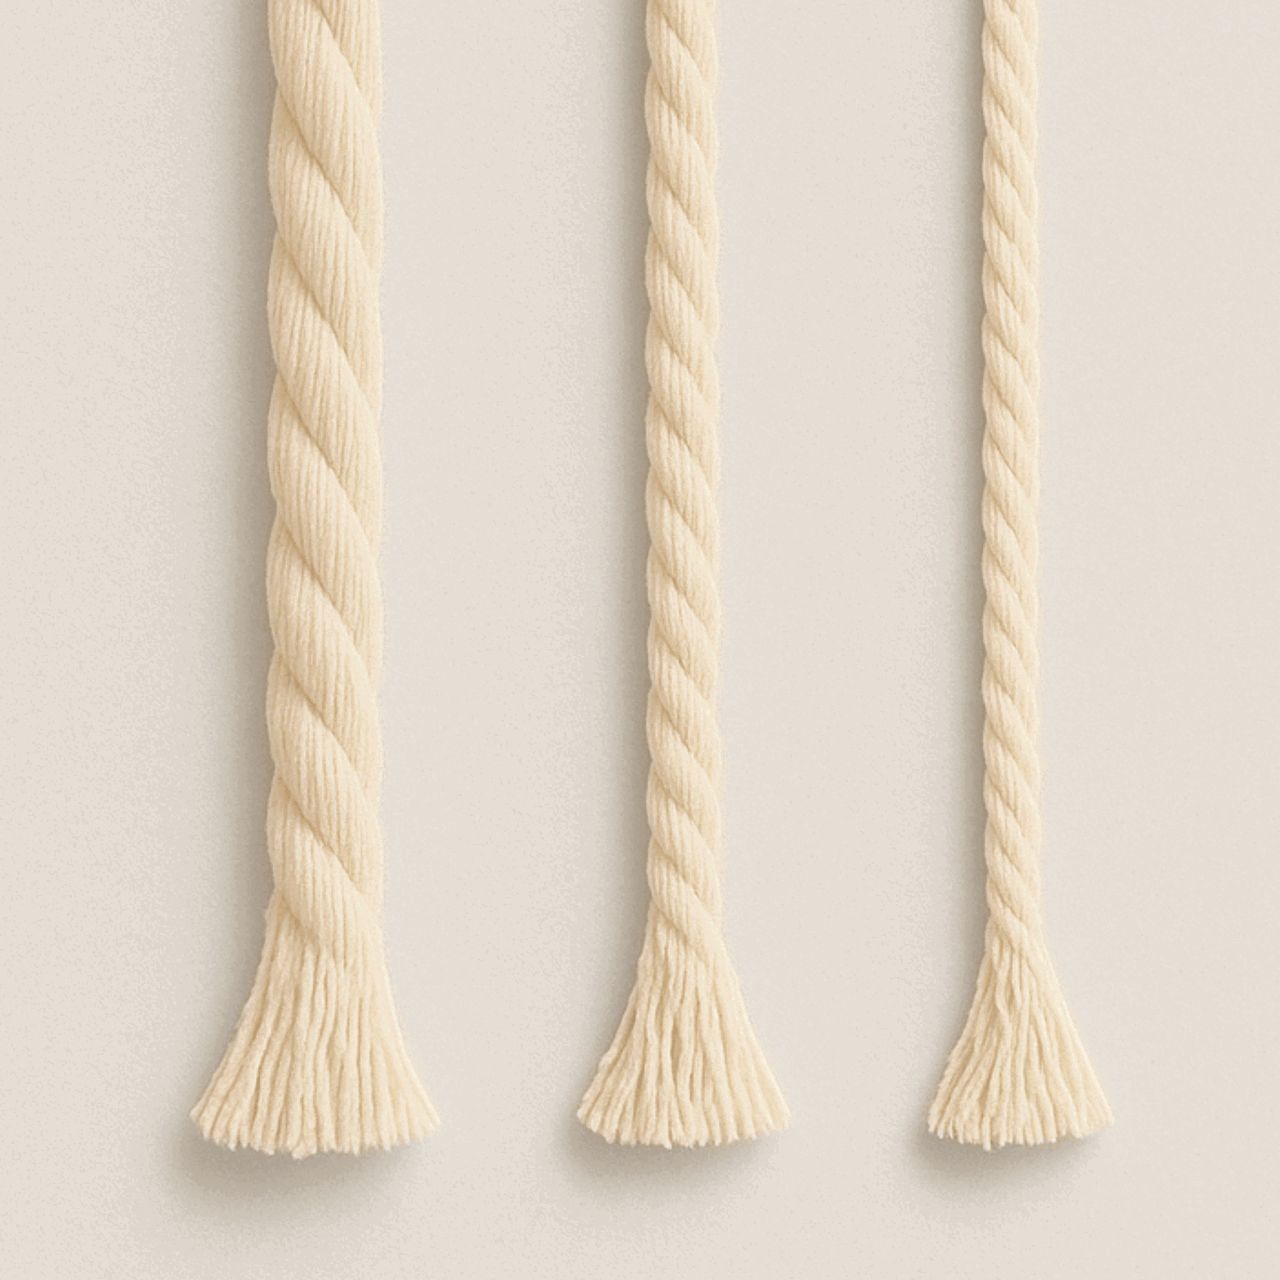
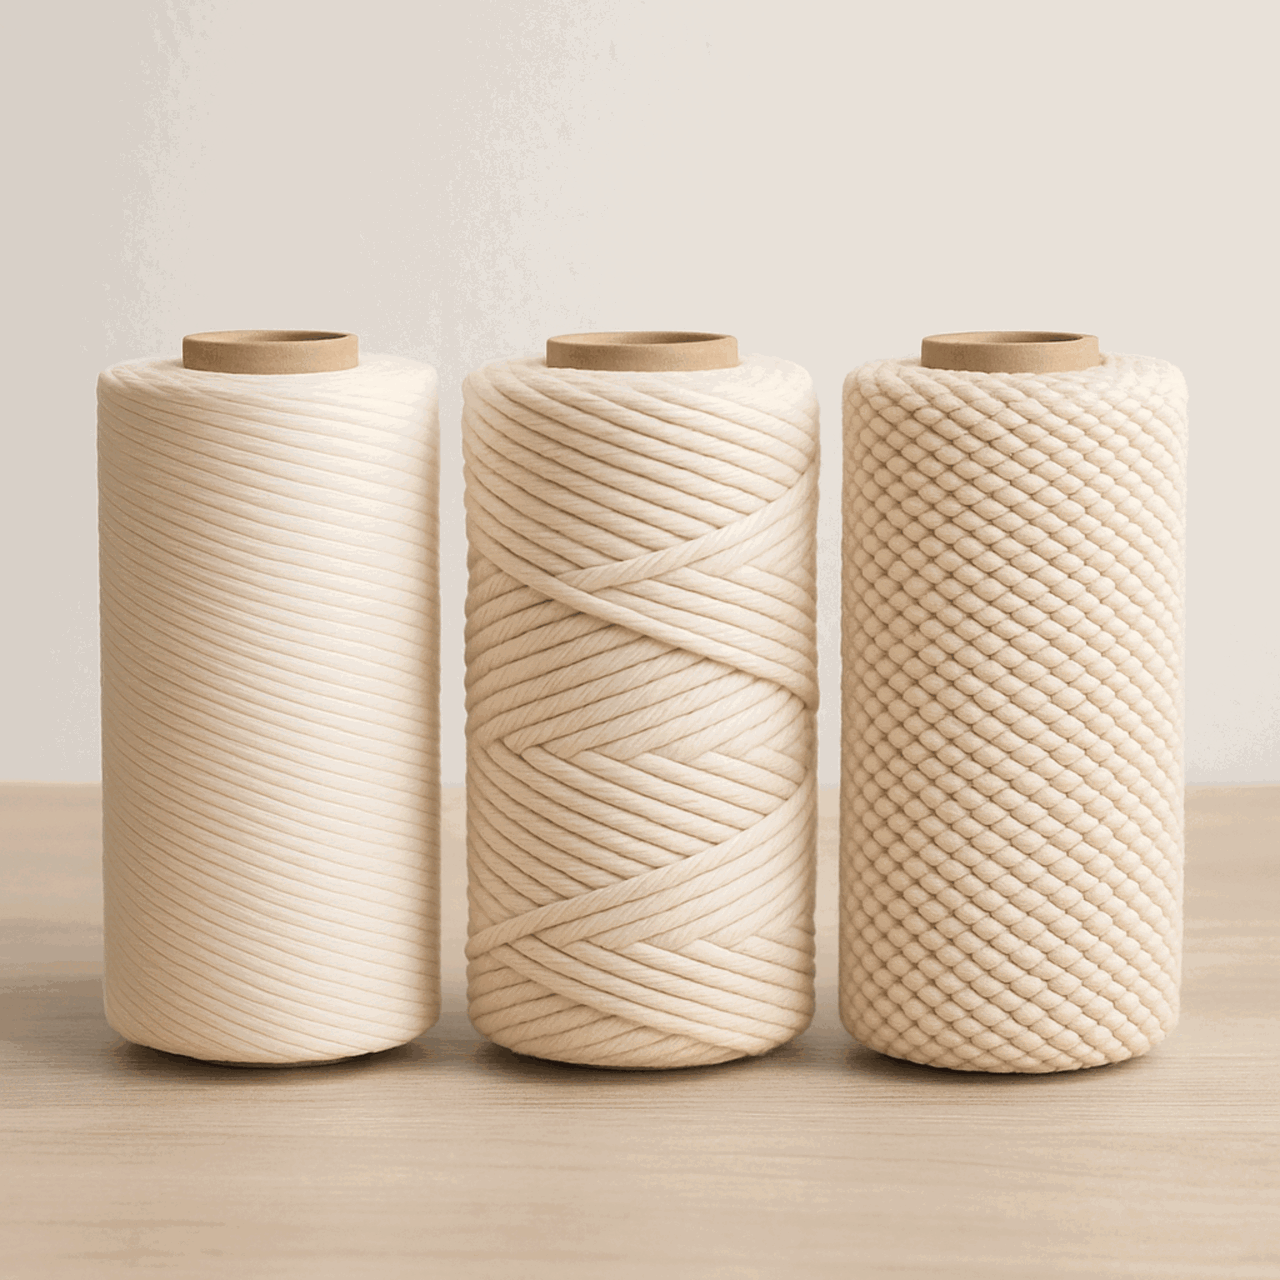
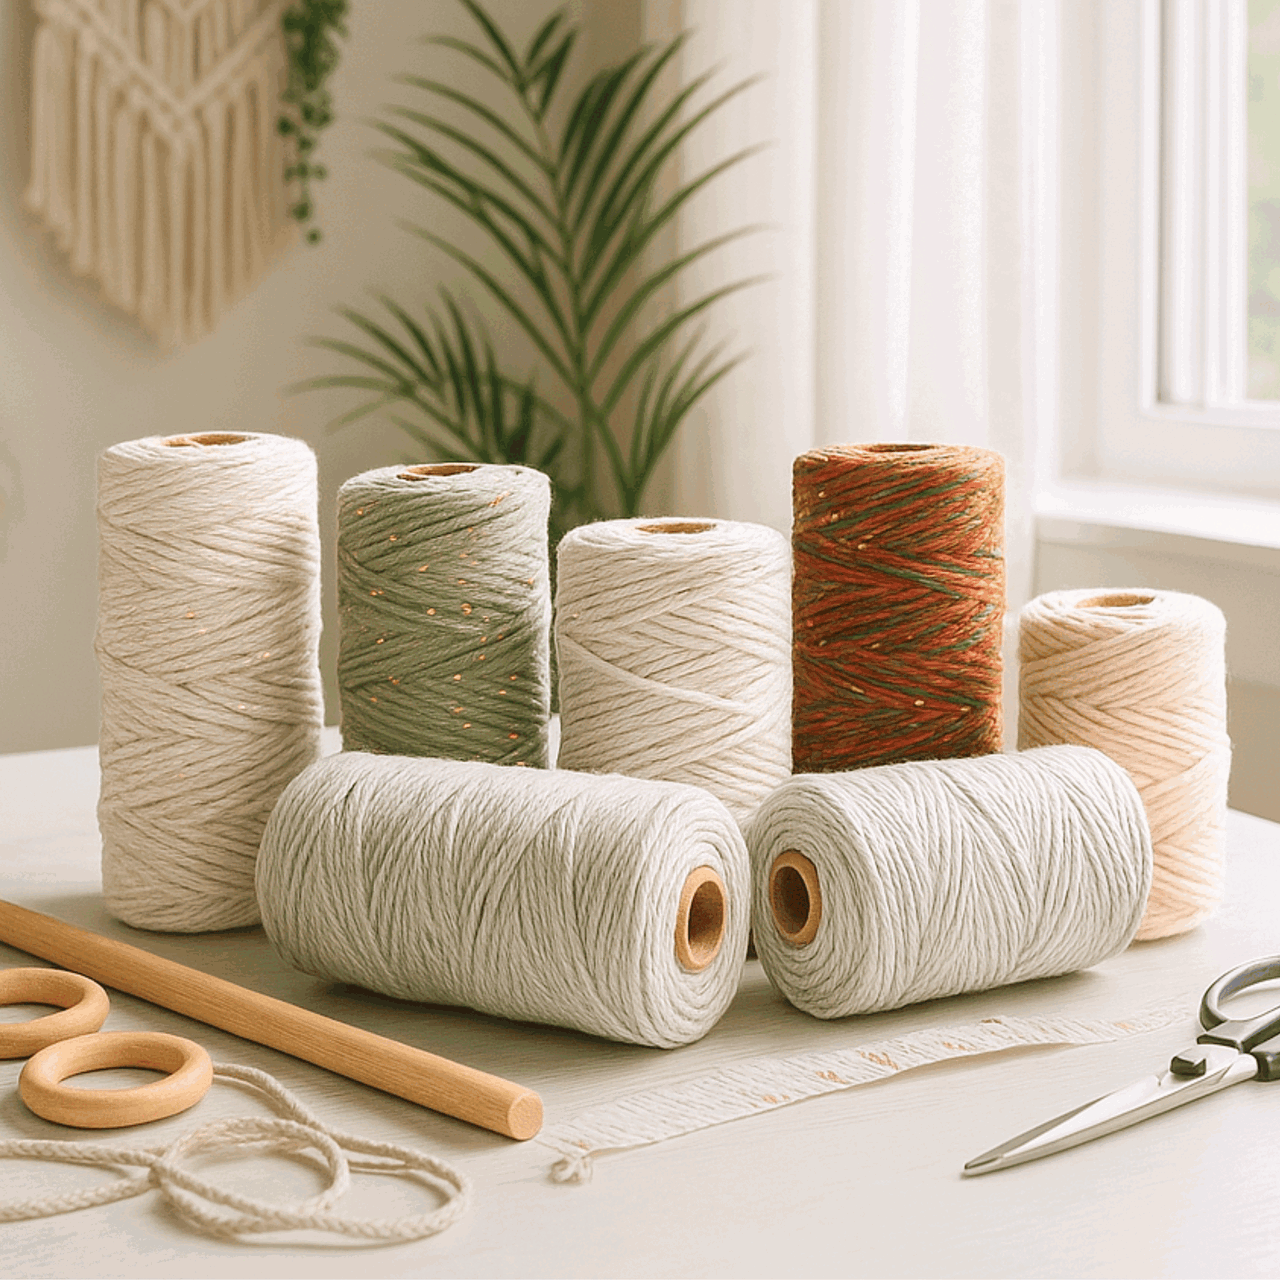
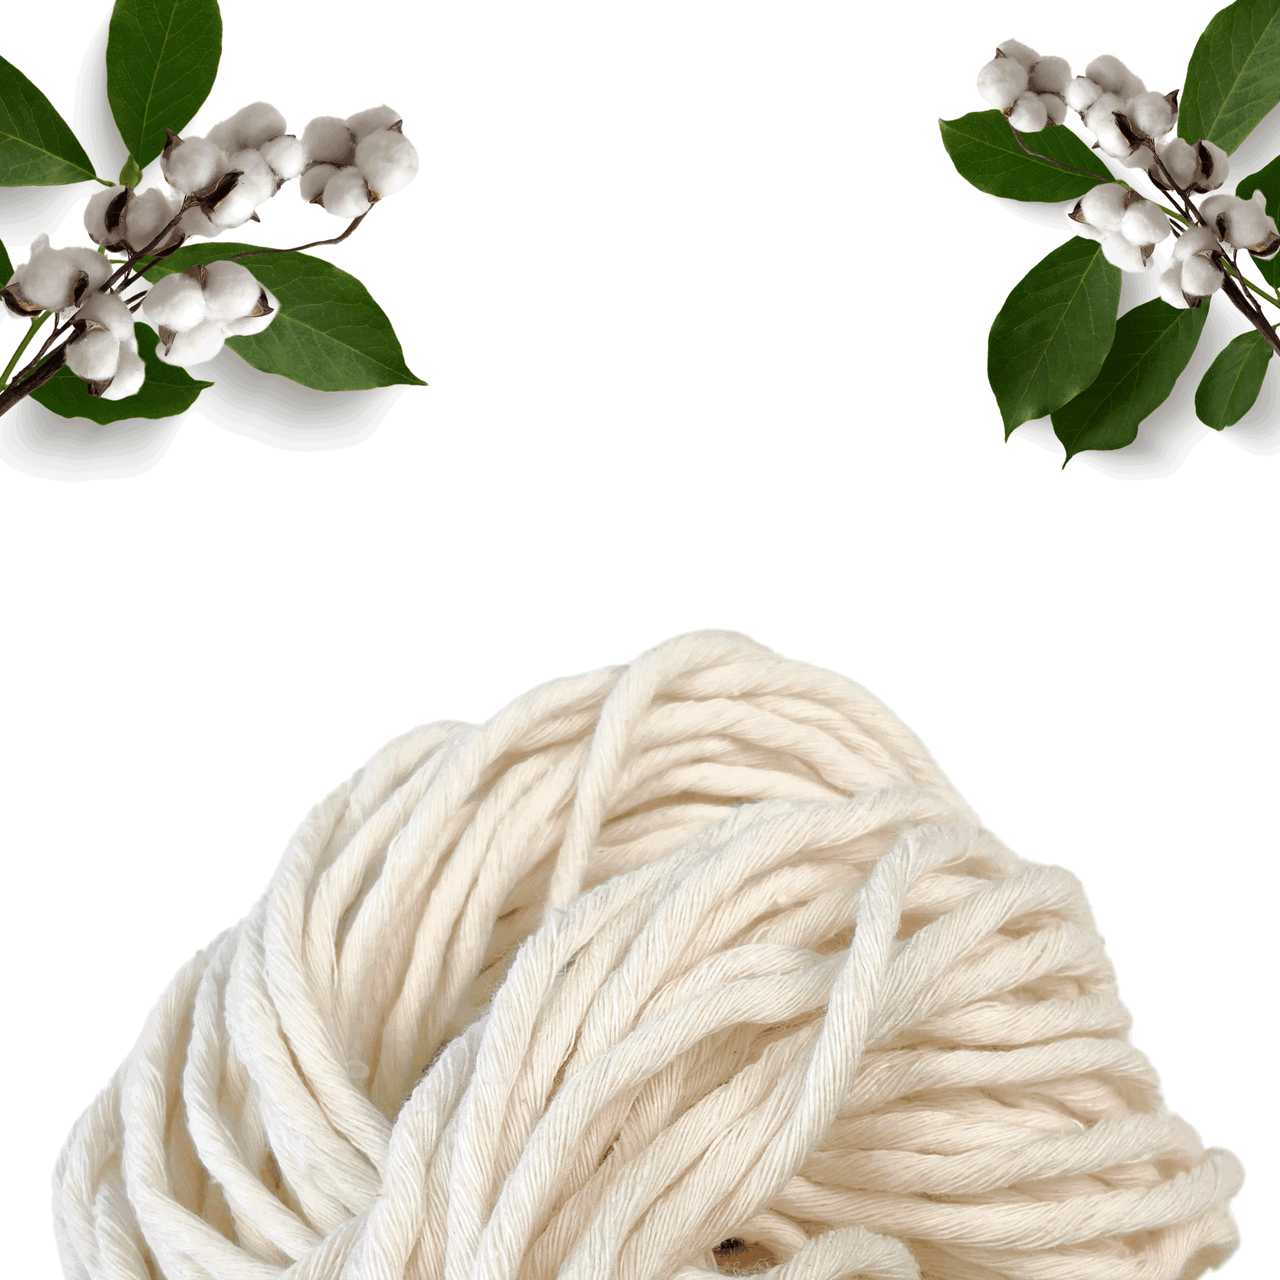
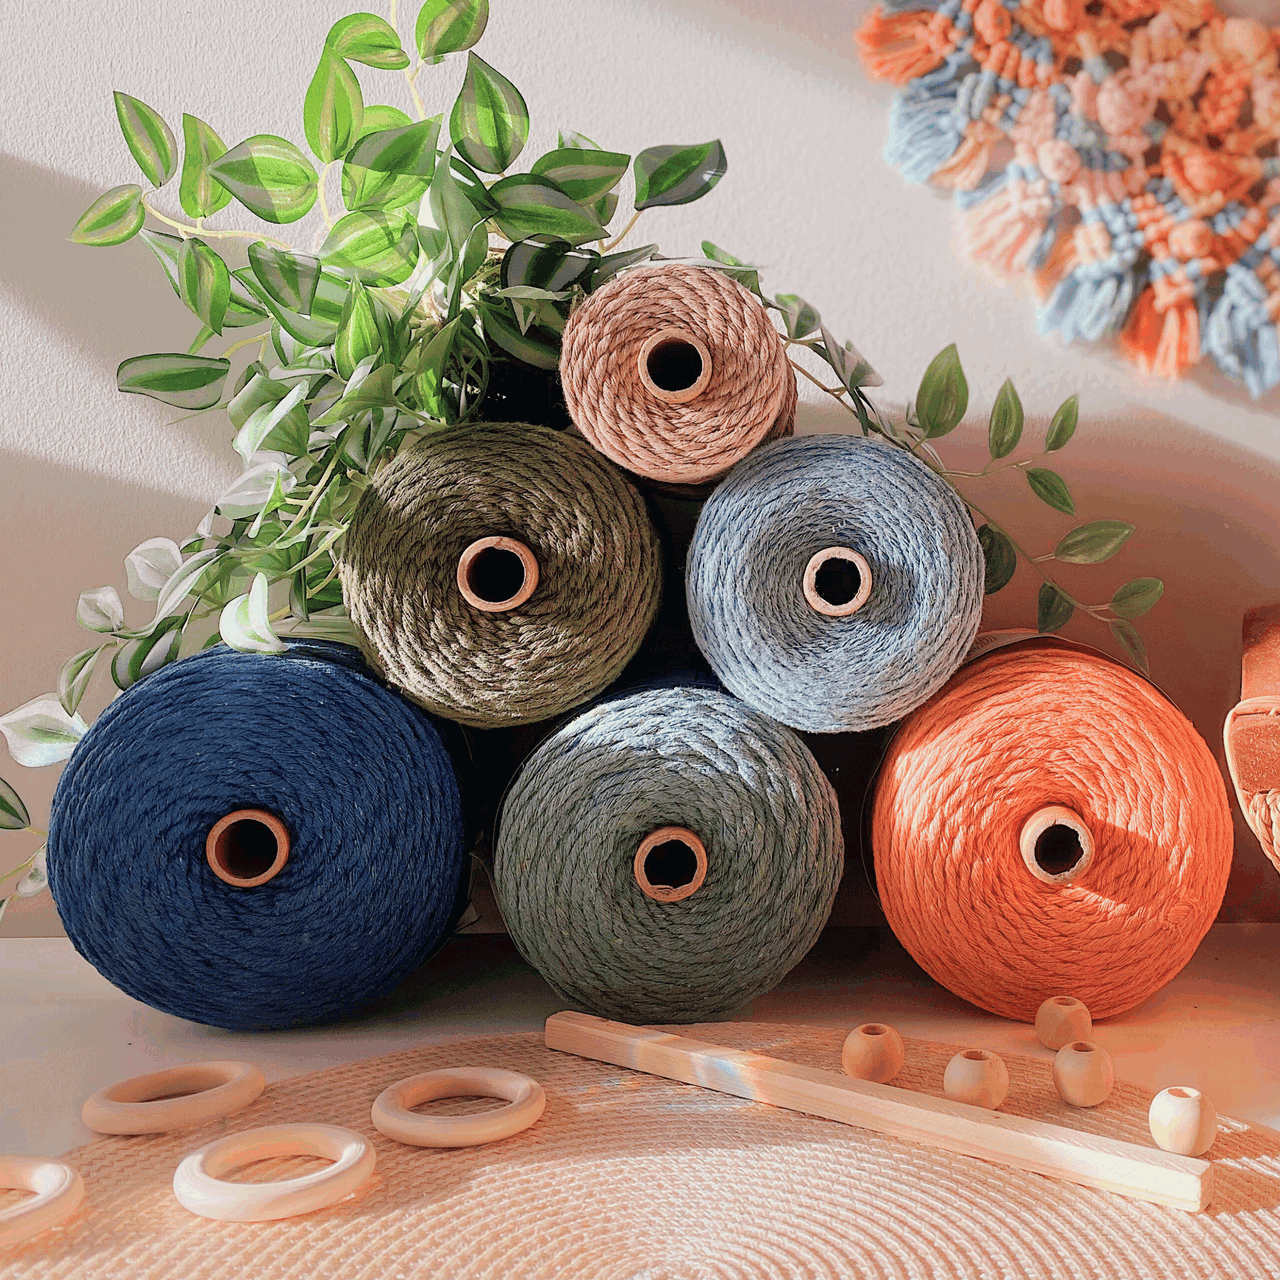
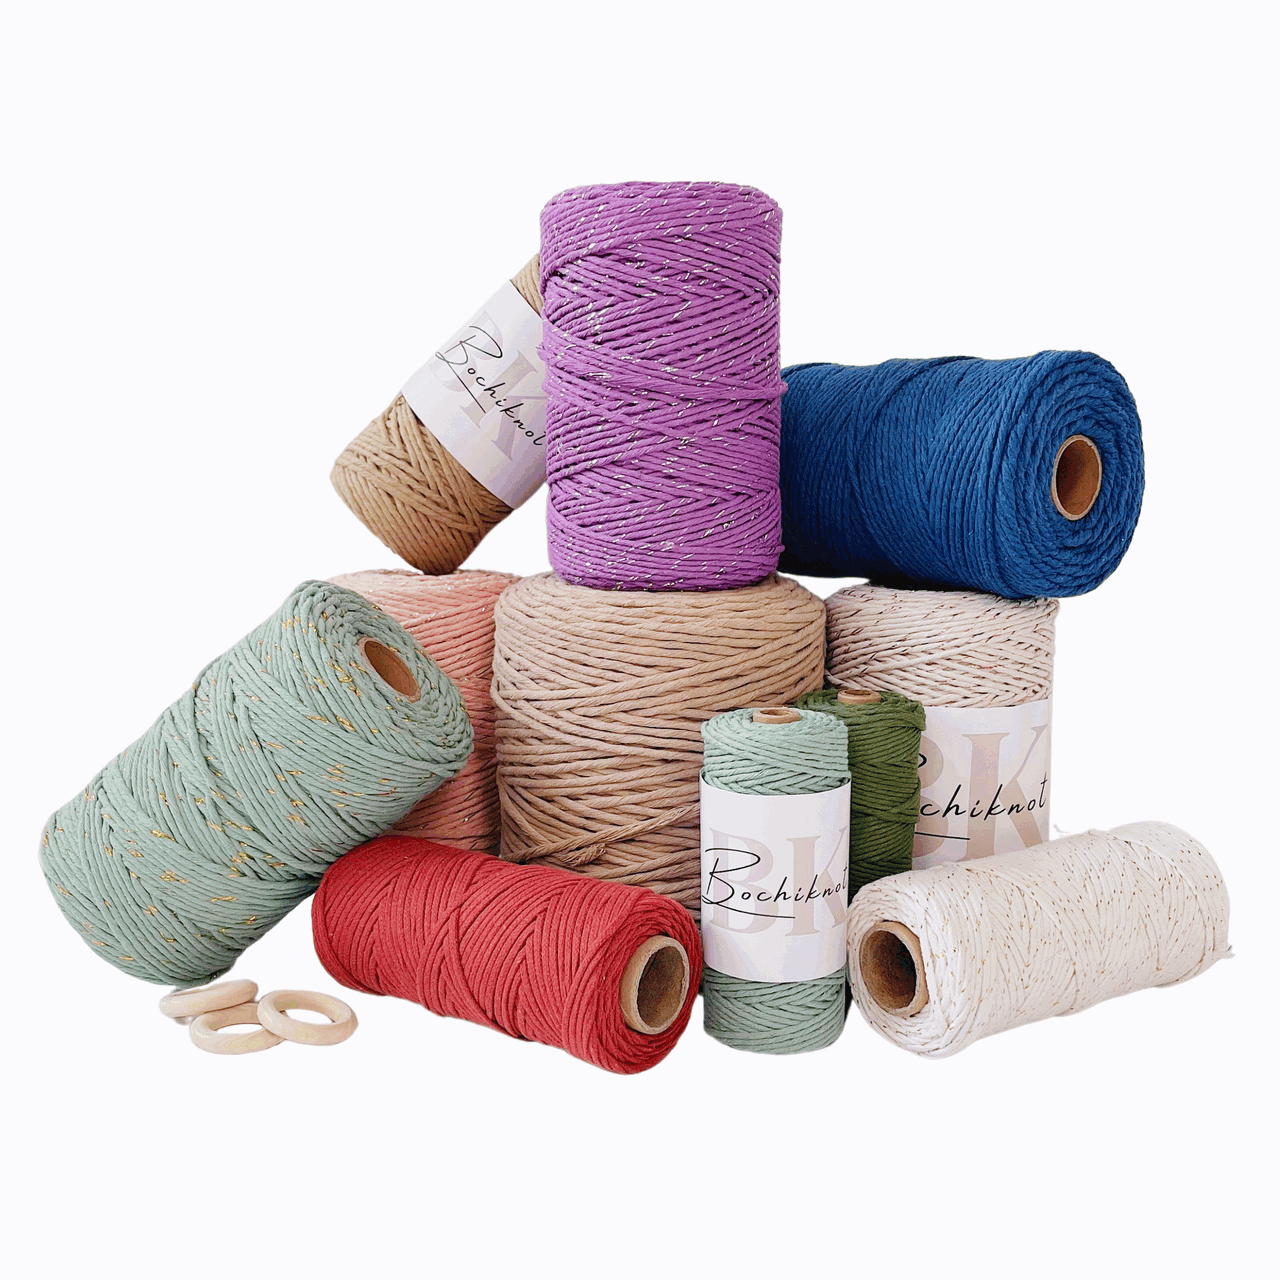
- Cords: The primary material in macrame is cords made from cotton, jute, nylon, or synthetic fibers. They come in different thicknesses and colors. You can learn more about macrame cords with our "Macrame ESSENTIALS: Everything You Need—Cord, Tools, & Materials" post.
- Loop: A loop is formed by crossing the cord over itself to create a ring-like shape. Loops are essential in many macrame designs.
- Fringe: The loose ends of cords that hang down, adding a decorative element. The fringe can be left as is or trimmed to your desired length. Want to learn more about fringe? Here's "My Top 5 Secrets for Creating PERFECTLY Styled Fringe" post you might find helpful.
- Anchor Cord: The fixed cord or structure to which other cords are attached. It provides stability and support for your design.
- Working Cord: The cord that is actively manipulated to create knots and patterns throughout the project.
- Sennit: A series of knots grouped together to form a pattern or part of your macrame project.
- Frays and Tassels: The loose ends of your cords are often used intentionally as decorative elements like frays or tassels in your design.
Macrame Feather Wall Hanging : Cords and Materials Needed

Let’s talk about what you’ll need to bring your macramé feather wall hanging to life!
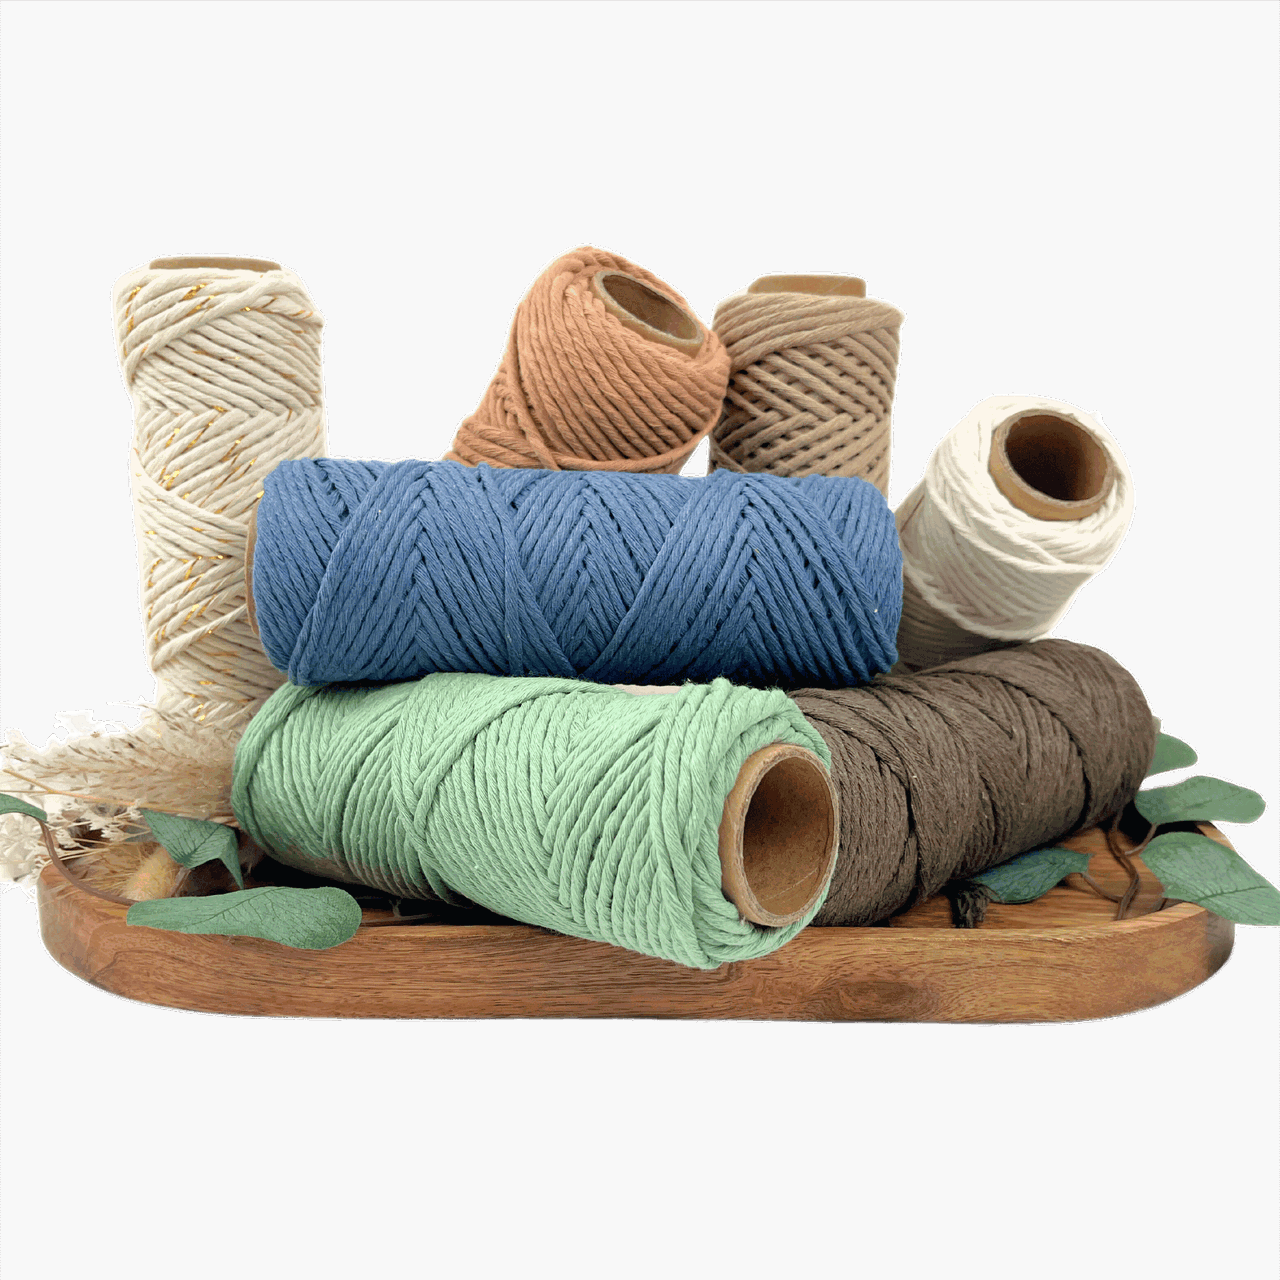
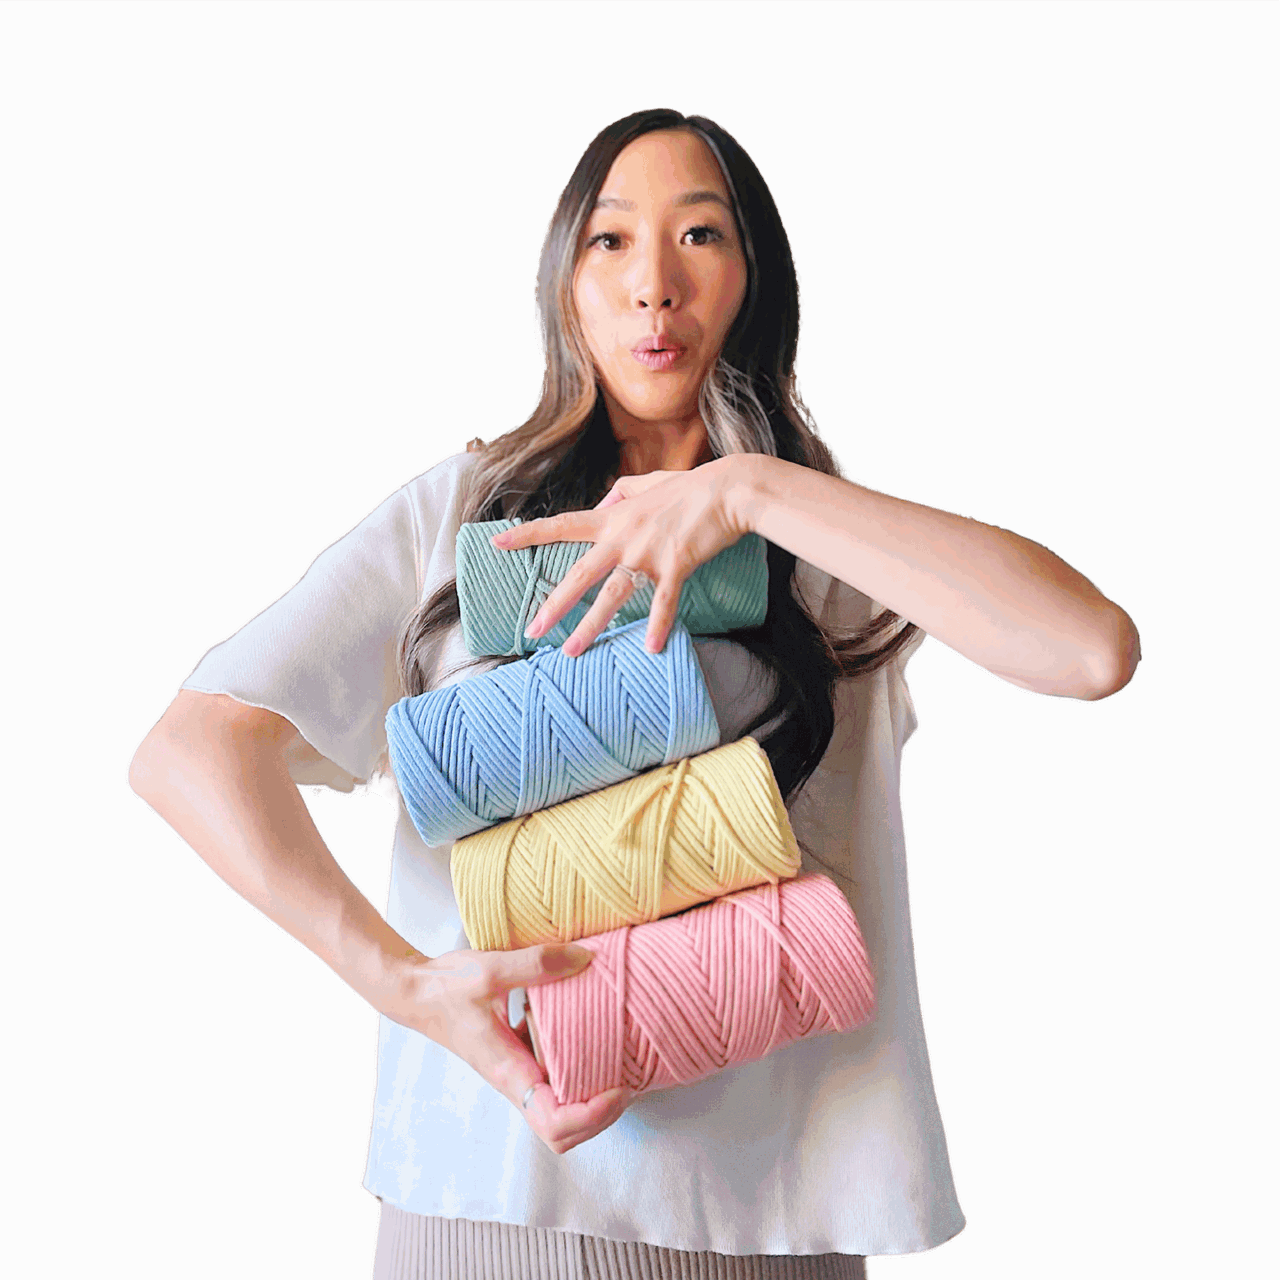
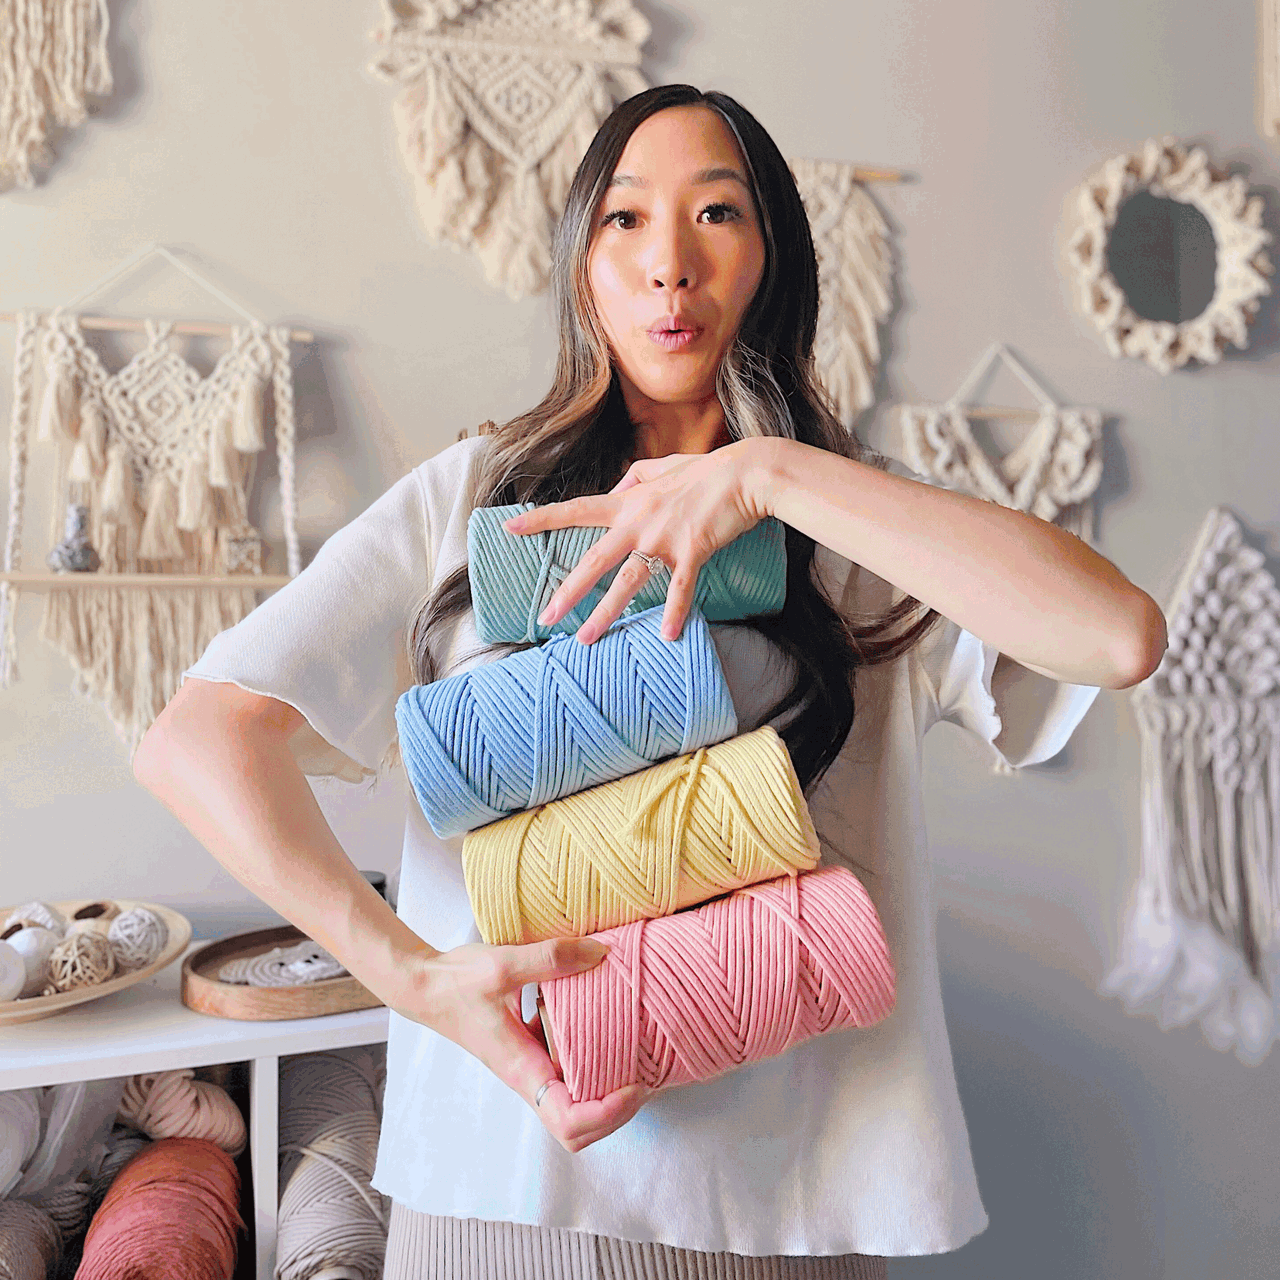
First and foremost, let’s focus on the star of this project: the cord. For my feather design, I used a 3mm single-strand cord in the dreamy Buttercream shade from the Rainbow Macrame Cord Collection.
This cord was the perfect choice for creating soft, flowing feathers with a clean, polished look.
Choosing the right cord is key to ensuring your design not only looks amazing but is also easy to work with.
You’ll want something soft enough to fray beautifully yet durable enough to maintain the shape and structure of your knots.
The quality of your materials can make or break a project, so starting with the right cord will set you up for success.
If you’d like your feather wall hanging to turn out just like the one in this tutorial, I recommend sticking to the same cord and materials I used.
However, if you decide to experiment with other cords, keep in mind that size, texture, and material differences will affect the final outcome.
Thicker cords may result in larger feathers, while rougher textures may not fray as smoothly.
Other Supplies You’ll Need
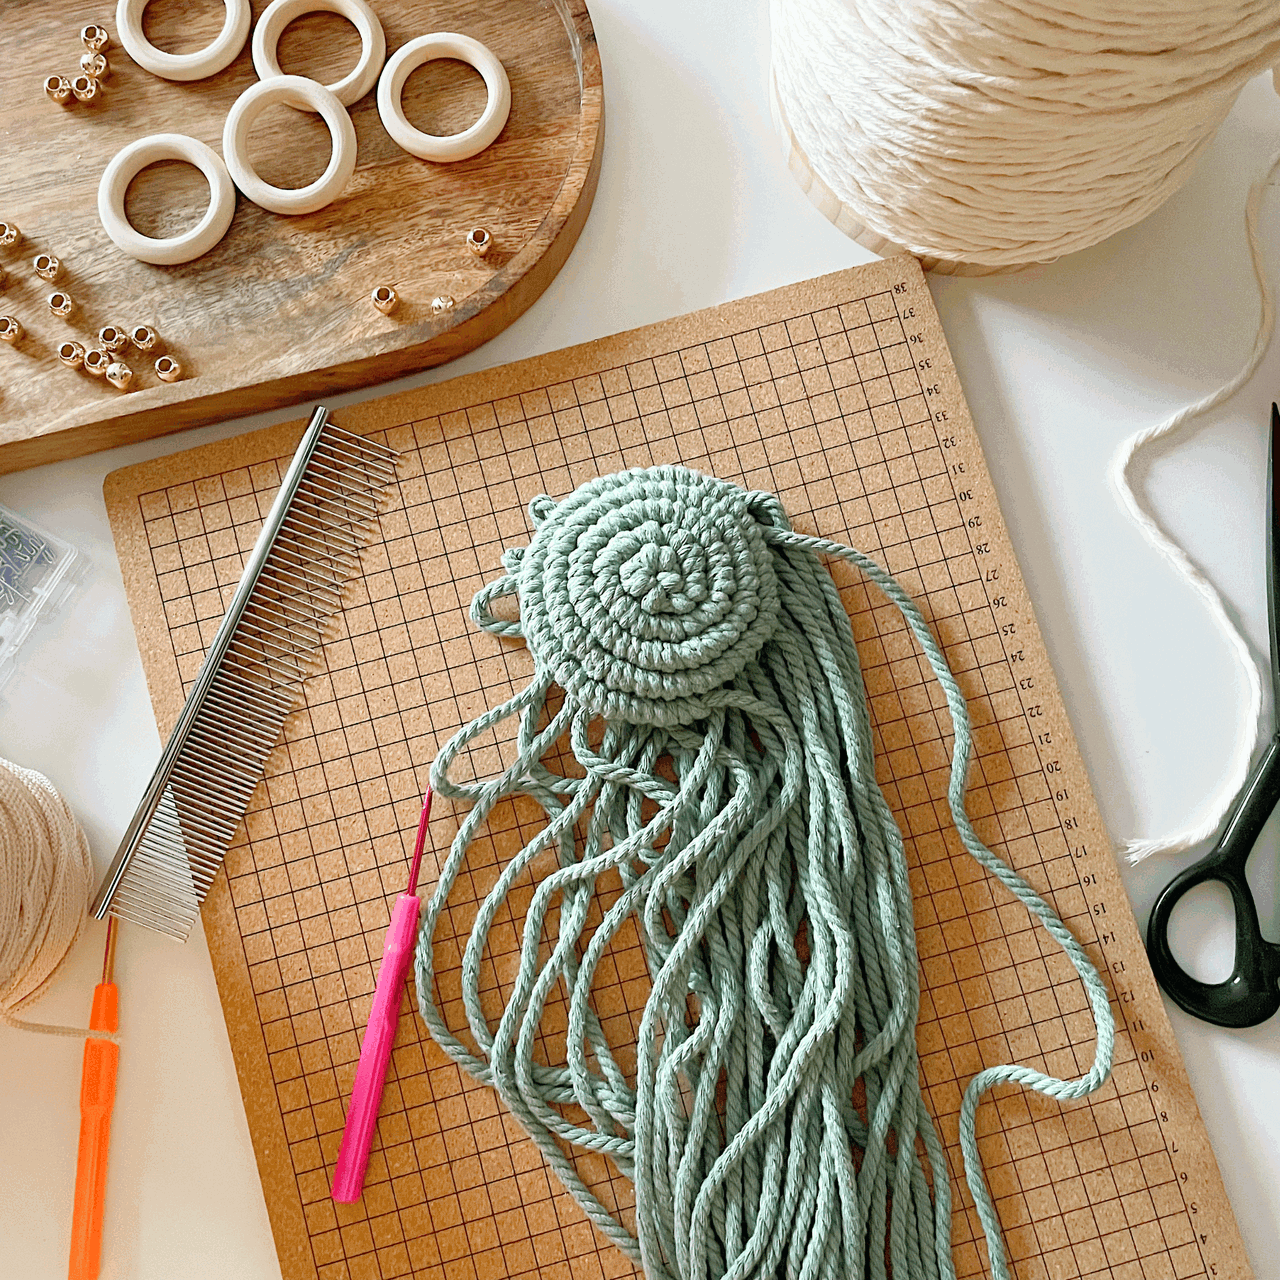
To give the macrame feather wall hanging a little extra personality, I included 4 large-hole beads (at least 6mm holes) and one 2" ring.
The beads add a lovely texture and that signature boho vibe that makes the piece stand out. The ring not only helps anchor the design but also adds a polished touch to the overall look.
But here’s the best part: the beads are completely optional! If you don’t have any on hand or prefer a simpler design, feel free to skip them.
Your wall hanging will still look stunning without them.
This project is all about creativity and making it your own, so don’t feel pressured to include every element.
Remember, macrame is as much about the process as the result.
If you go all-in with beads or keep it minimal, your feather wall hanging will reflect your unique style and touch.
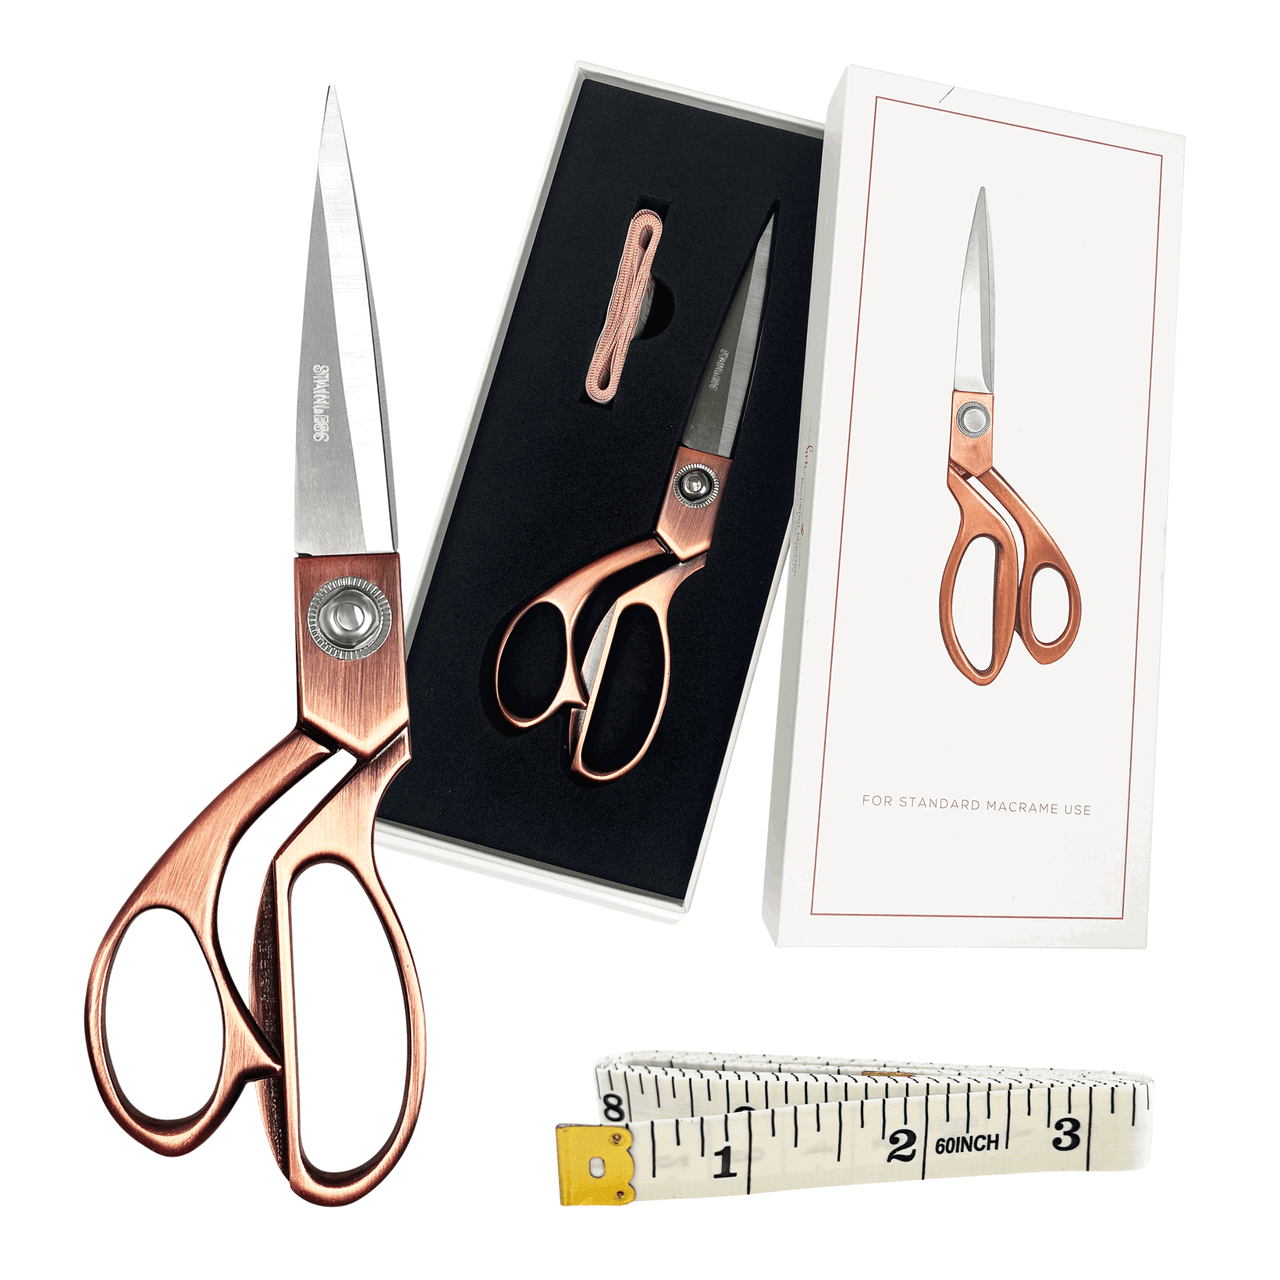
Essential Macrame Tools:
You will also need some essential tools:
Macrame Feather Wall Hanging Details
Skill Level:
- Beginners
Completed Size:
- Approximately 6” x 13"
Completion Time:
- 1-2 hours depending on skill level
Materials Needed (for 1 unit):
Cord Lengths Needed:
- 1 x 90cm (35”)
- 1 x 70cm (28”)
DIY Macrame Feather Wall Hanging Tutorial for Beginners | Video Tutorial
DIY Macrame Feather Wall Hanging Tutorial for Beginners | Step-by-Step Guide
*Note: We recommend following the tutorial video for more detailed instructions and to achieve the best results.
This will provide additional guidance and clarity as you work through each step.
Step1:
- Attach 1x 90 cm (35") cord onto the ring with a Lark's Head knot.


Step 2:
- Weave 3 large hole beads through the 2 vertical cords.


Step 3:
- Using 19 cm (7") to 23 cm (9") strands of cords, attach them one by one onto the 2 vertical anchor cords with Double Half Hitch ("DHH") knots.


Step 4:
-
Repeat until a total of 26 DHH knots are made.


Step 5:
-
Attach 1 x 70 cm (28") cord onto the ring with a Lark's Head knot.

- Then thread 1 bead through the 2 cord ends.

Step 6:
-
Use the short scrap cords to make DHH knots onto the 2 vertical cords stopping halfway down the large feather.


Step 7:
- Comb through and trim/shape the fringe on the feathers.


- Trim off the anchor chords.

- Comb through the anchor cords.

- Trim diagonally on both sides.

And there you have it – your very own macrame feather wall hanging! If you’ve gone for a minimalist look or added beads for that extra boho flair, this project is a wonderful way to dip your toes into the world of macrame.
The best part about this piece is its versatility.
I’d love to see how your feather wall hanging turns out! Share your creations with me on social media using #Bochiknot, and let’s celebrate your macrame journey together.
If you’d like more inspiration, tips, or to deepen your macramé skills, be sure to check out our Macramé Journey page for more tutorials and ideas.
Happy knotting!

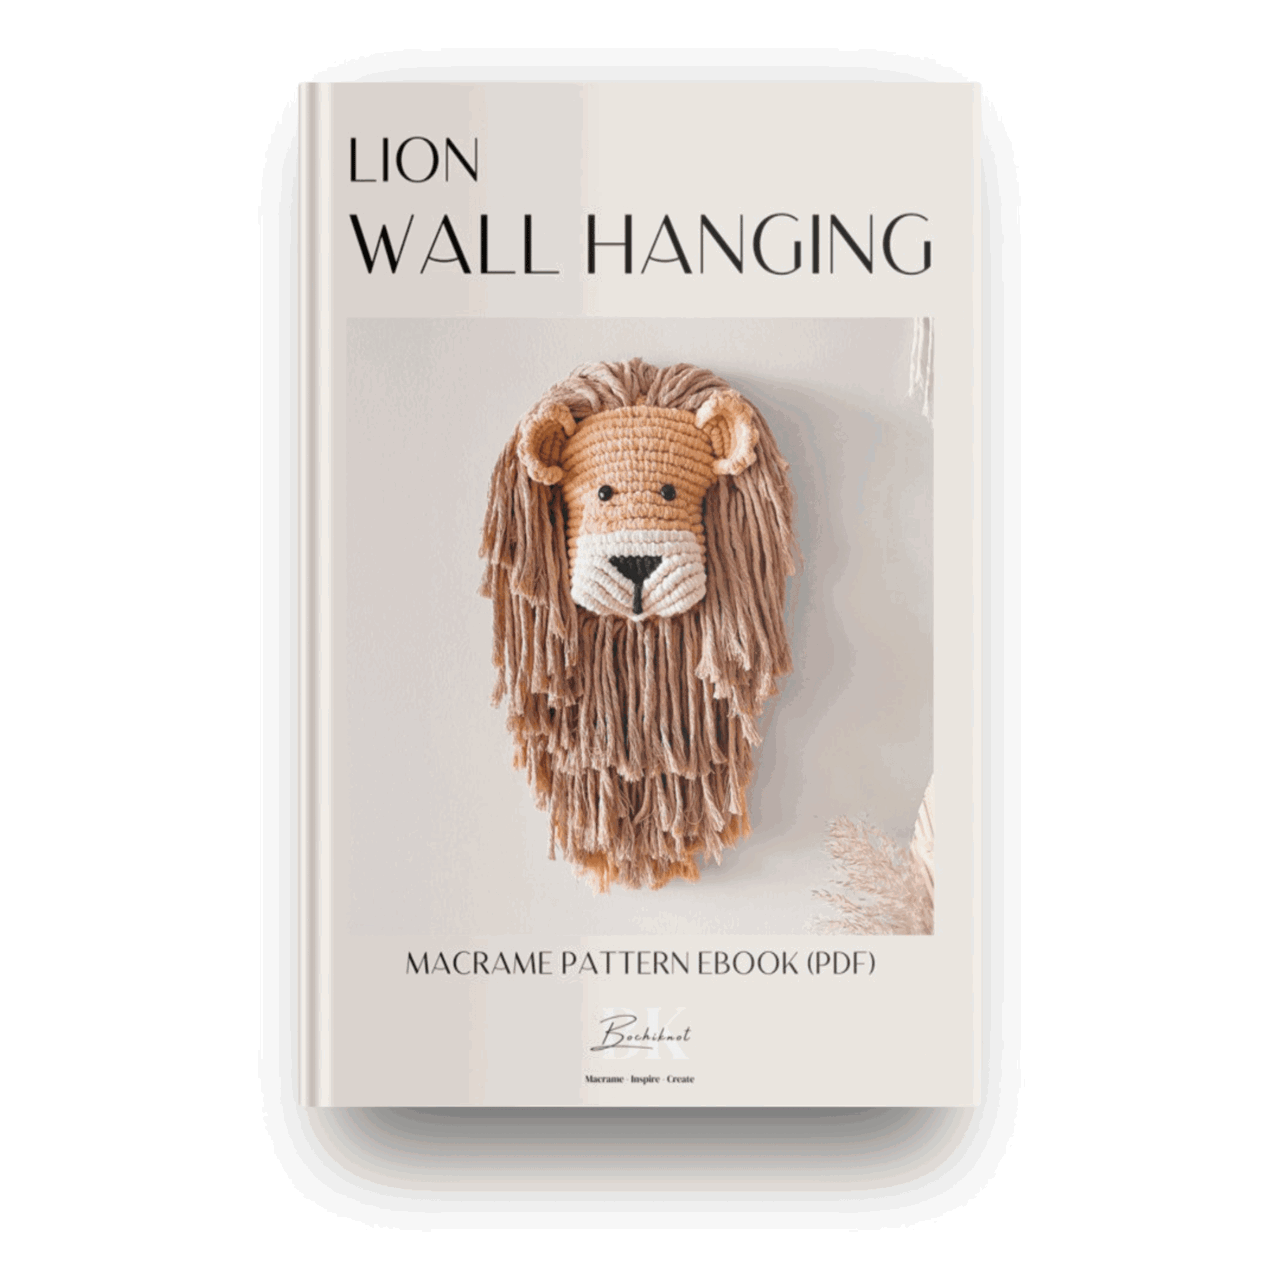
Looking for Macrame Patterns and Projects?
I’ve got a fun variety of DIY macrame patterns for you to explore—whether you’re into creating unique wall hangings to spruce up your home or timeless plant hangers, there’s something for every skill level.
Each pattern is super easy to follow with step-by-step photos, clear instructions, and plenty of tips to help you along the way.
Ready to start creating?
Browse DIY macrame patterns on Etsy and dive into your next project.

Join the Bochiknot Macrame Community: Your Gateway to Exclusive Tutorials & Inspiration
Discover the art of macrame like never before! Join our exclusive community of passionate macrame enthusiasts and unlock a world of creativity.
Gain access to a treasure trove of unique patterns, expert guidance, and a supportive network of fellow artistcanvcavnas.









Leave a comment