How To Make A Macrame Unicorn Dreamcatcher

Beginner’s Guide to Making a Macrame Unicorn Dreamcatcher: Quick & Simple Steps
Have you ever looked at a piece of macrame and thought, “How do they make it look so magical?”
Let me tell you—a whimsical design like a macrame unicorn dreamcatcher is much easier to create than it seems.
I remember the first time I tried to make one. I was a little nervous, staring at the unicorn-shaped frame and wondering if I could pull it off.
But once I got started, I realized how fun and beginner-friendly it actually was!
The best part?
You can personalize it by adding colorful cords, rose knots, and your own creative touches.
This project is perfect for anyone—whether you’re a beginner just learning the ropes of macrame or an experienced crafter looking for a fun, creative challenge.
So, if you’re ready to make your own magical unicorn dreamcatcher, grab your cord and frame, and let’s get started!
Macrame Knots Used to Make a Macrame Unicorn Dreamcatcher
Here are the key macrame knots you'll need to know for this project:
-
Double Half Hitch (DHH): This knot is great for creating tight, structured lines in your design. You’ll use it often in patterns like leaves or for outlining shapes.
-
Overhand Knot: A simple knot used to secure the ends of your cords. It's easy to tie and helps keep everything in place.
-
Lark’s Head Knot: This knot is used to attach your cords to the frame. It’s the first knot you’ll use to start your project and keeps your cords secure.
-
Berry Knot: A decorative knot that adds a 3D effect. You’ll use this to add texture and make certain parts of the dreamcatcher stand out, like the horn or other accents.
-
Square Knot: One of the most basic and versatile knots in macrame. It’s used to create the core patterns and structure of your design.
-
Rose Knot: This knot creates a beautiful flower-like effect, perfect for adding decorative touches to your unicorn dreamcatcher.
-
Gathering Knot: This knot helps bundle cords together neatly, often used at the end of a project to give it a clean, finished look.
Once you have these knots down, you’ll be all set to bring your rainbow unicorn reindeer to life!
More Macrame Knots
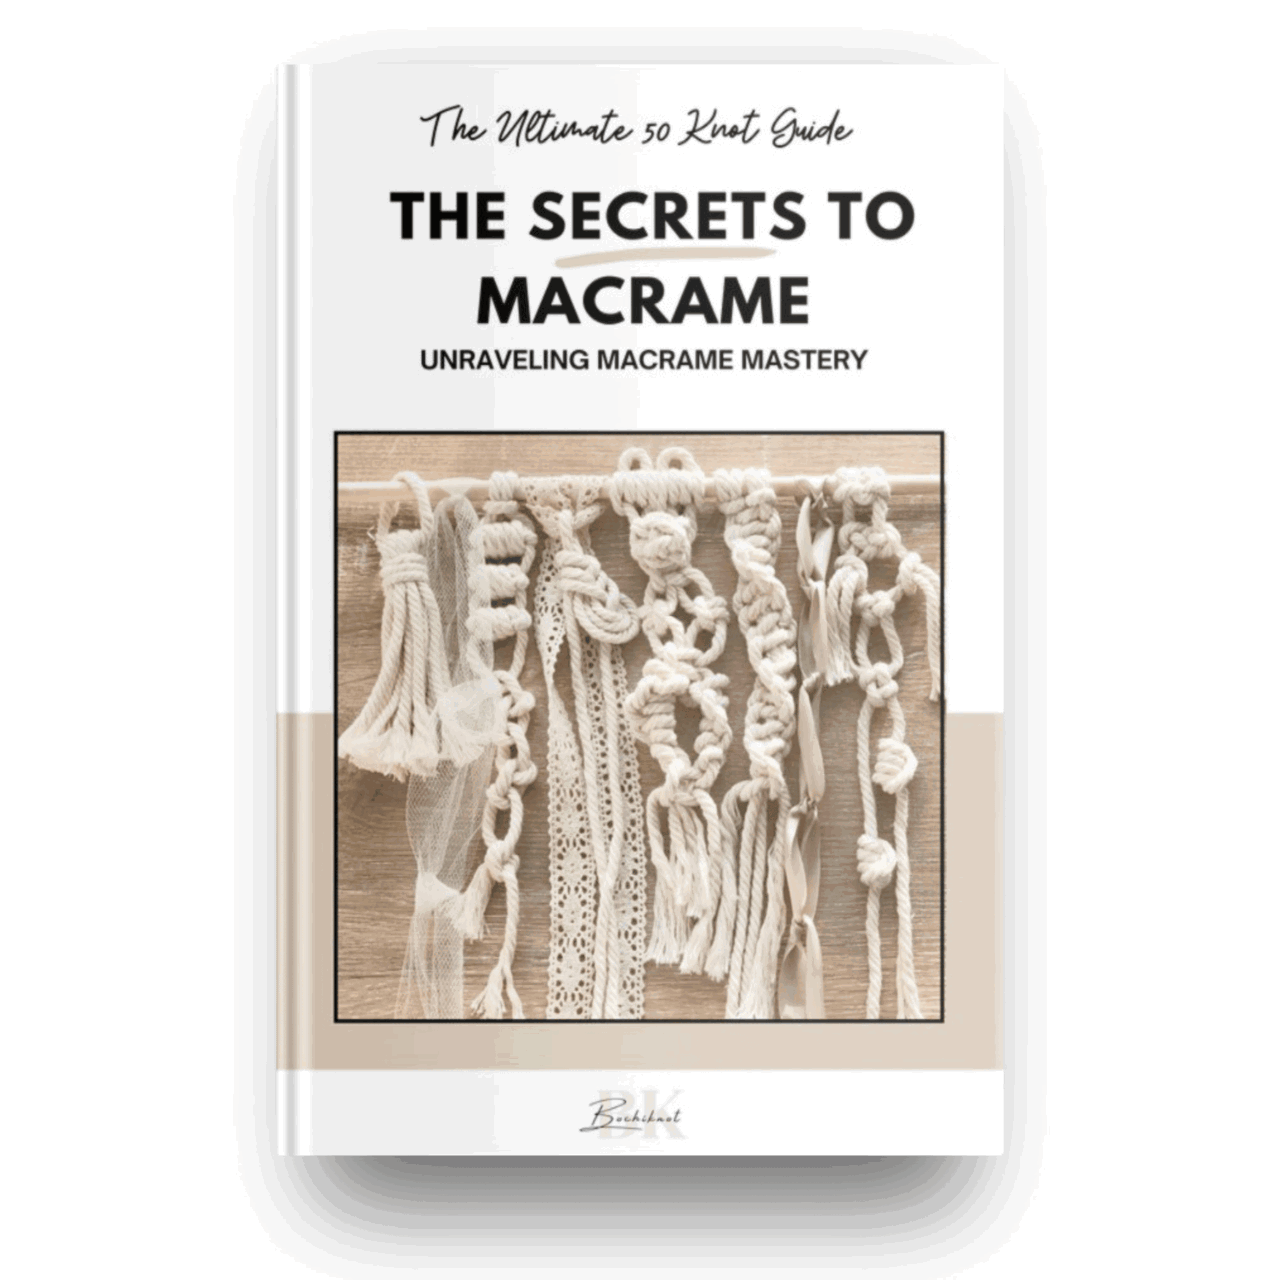
If you want to add more knots to your macrame designs, check out my free resource, "50 Macrame Knots & Sennit Guide."
It's packed with easy, step-by-step instructions to help you improve your skills and try new creative projects.
Access it here.
Important Macrame Terms for Beginners
Before we begin, it's probably best to go over a few important terms used in macrame.
This will help you understand the techniques more easily, follow patterns with confidence, and set a strong foundation for your macrame journey.
- Knots: Macrame involves various knots, like the overhand knot and alternating overhand knot. Learning these basic knots is key to building a strong foundation.Check the "Macrame Knots You Need to Know" section for the knots used in this pattern.
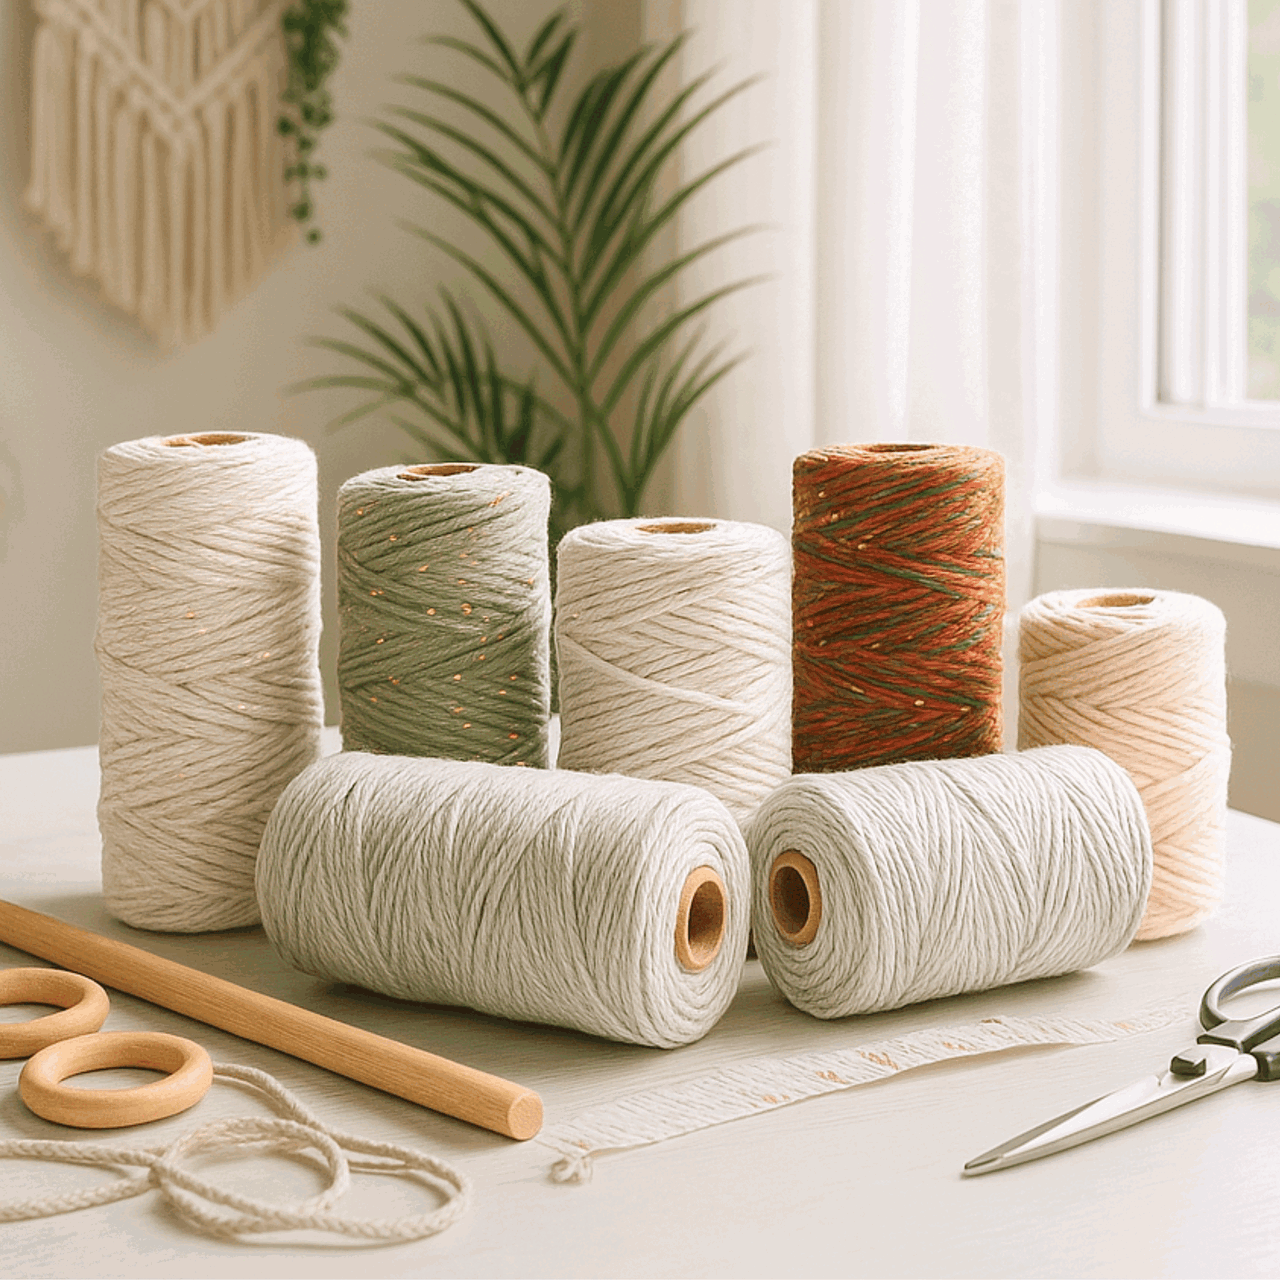
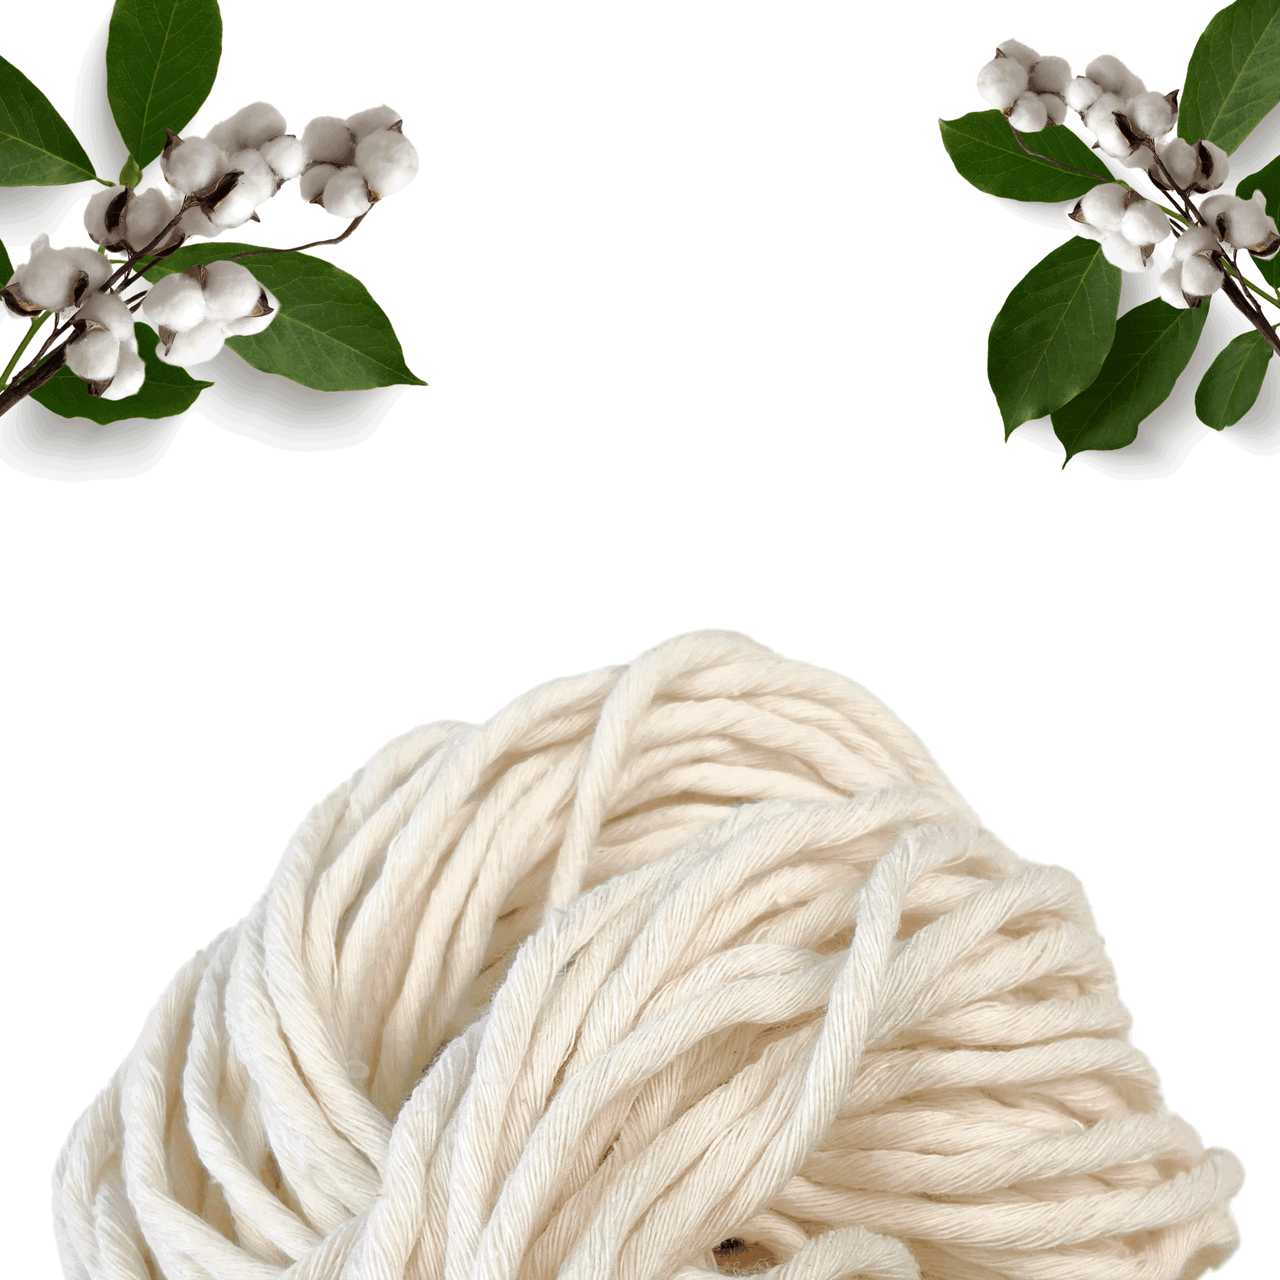
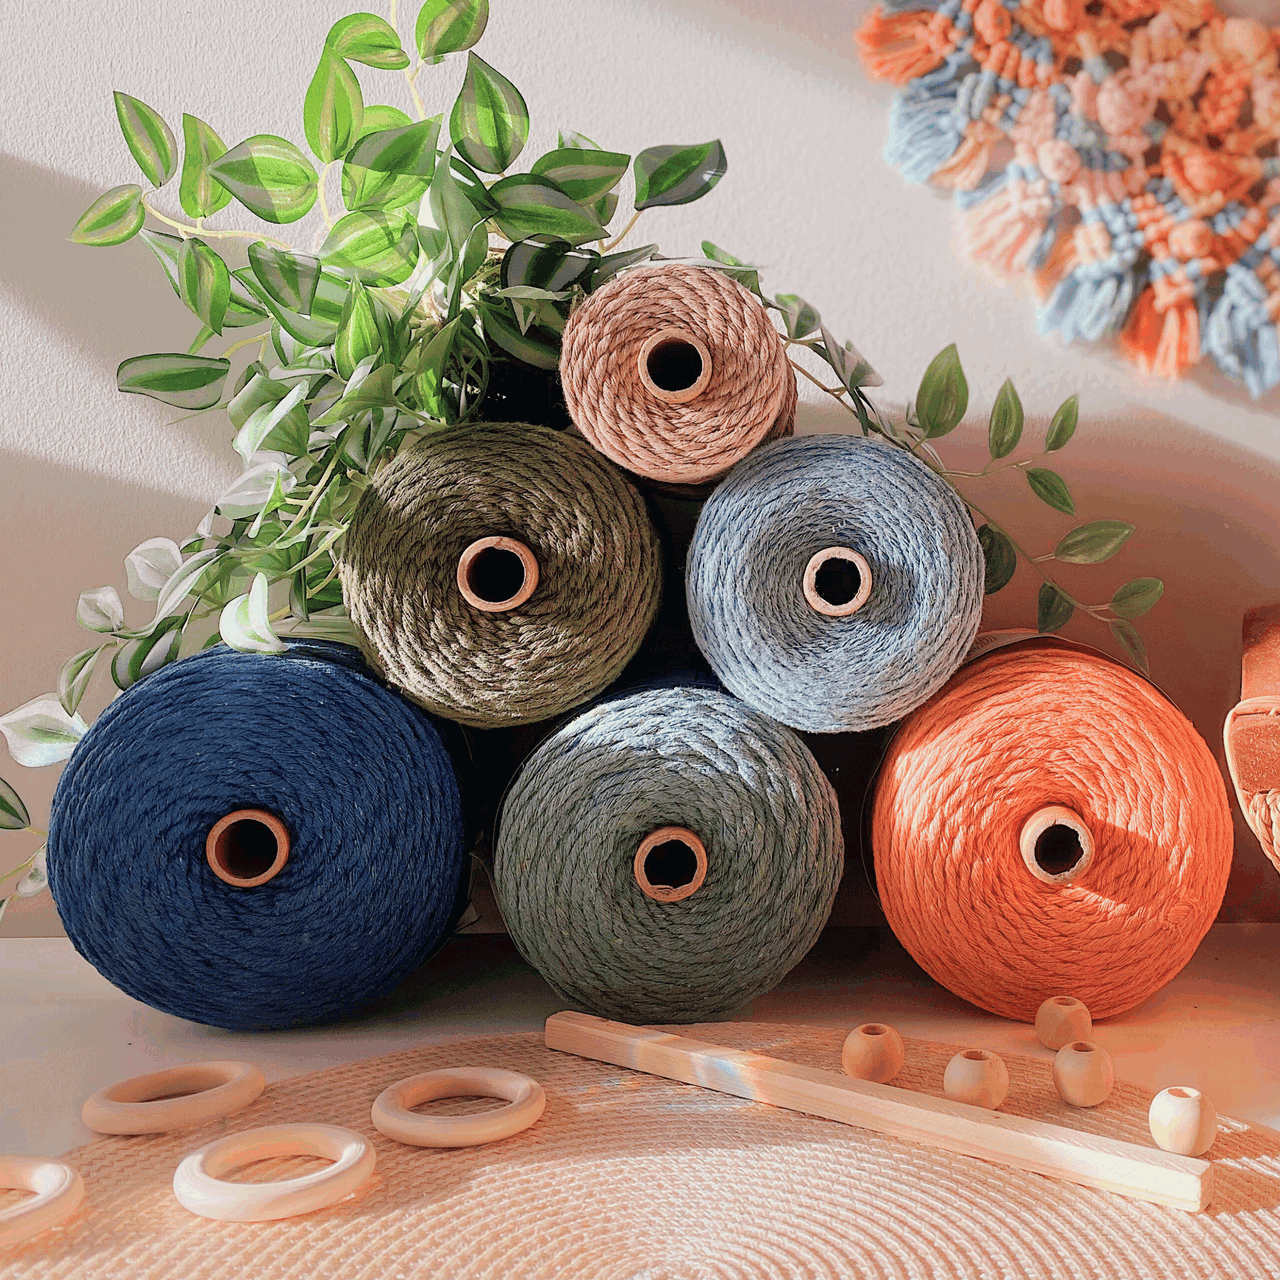
- Cords: The primary material used in macrame, cords can be made from cotton, jute, nylon, or synthetic fibers. They come in different thicknesses and colors.
- Loop: A loop is formed by crossing the cord over itself to create a ring-like shape. Loops are essential in many macrame designs.
- Fringe: The loose ends of cords that hang down, adding a decorative element. The fringe can be left as is or trimmed to your desired length.
- Anchor Cord: The fixed cord or structure to which other cords are attached. It provides stability and support for your design.
- Working Cord: The cord that is actively manipulated to create knots and patterns throughout the project.
- Sennit: A series of knots grouped together to form a pattern or part of your macrame project.
- Frays and Tassels: The loose ends of your cords, often used intentionally as decorative elements like frays or tassels in your design.
Cord, Supplies, & Tools to Make A Macrame Unicorn Dreamcatcher
Before we start creating your magical macrame unicorn dreamcatcher, let’s gather all the materials and tools you'll need.
From the macrame cord to the right-sized unicorn frame, having everything ready will make this project smooth and enjoyable.
Here’s a quick rundown of the supplies you’ll need to bring your dreamcatcher to life!
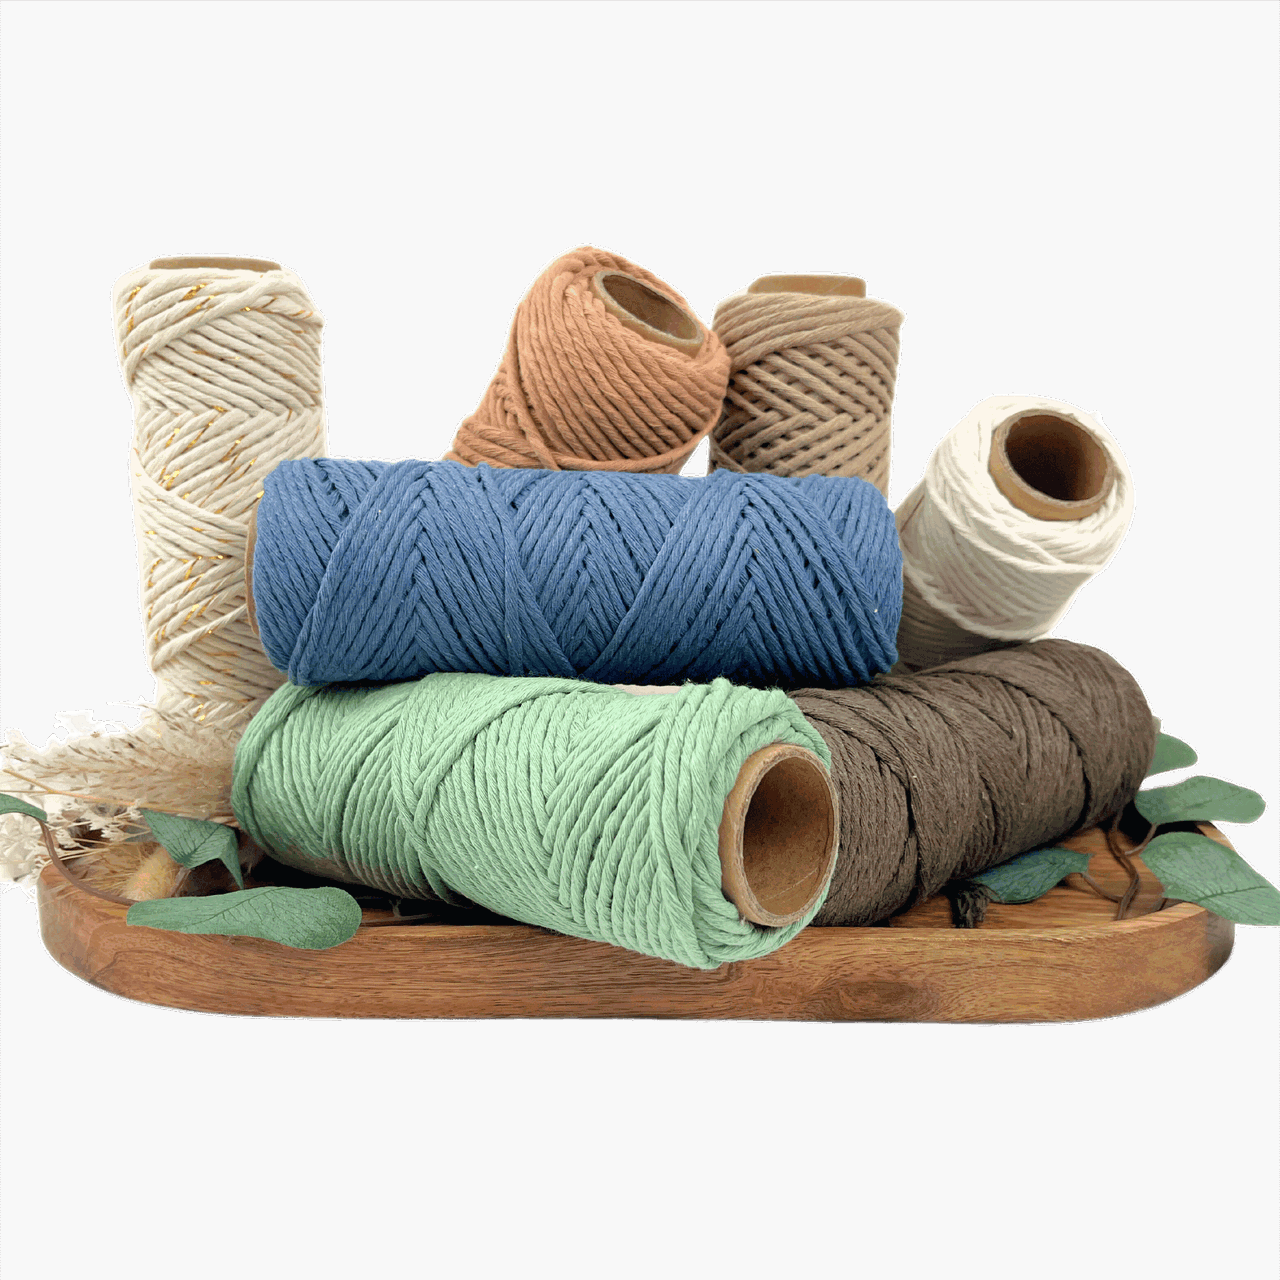
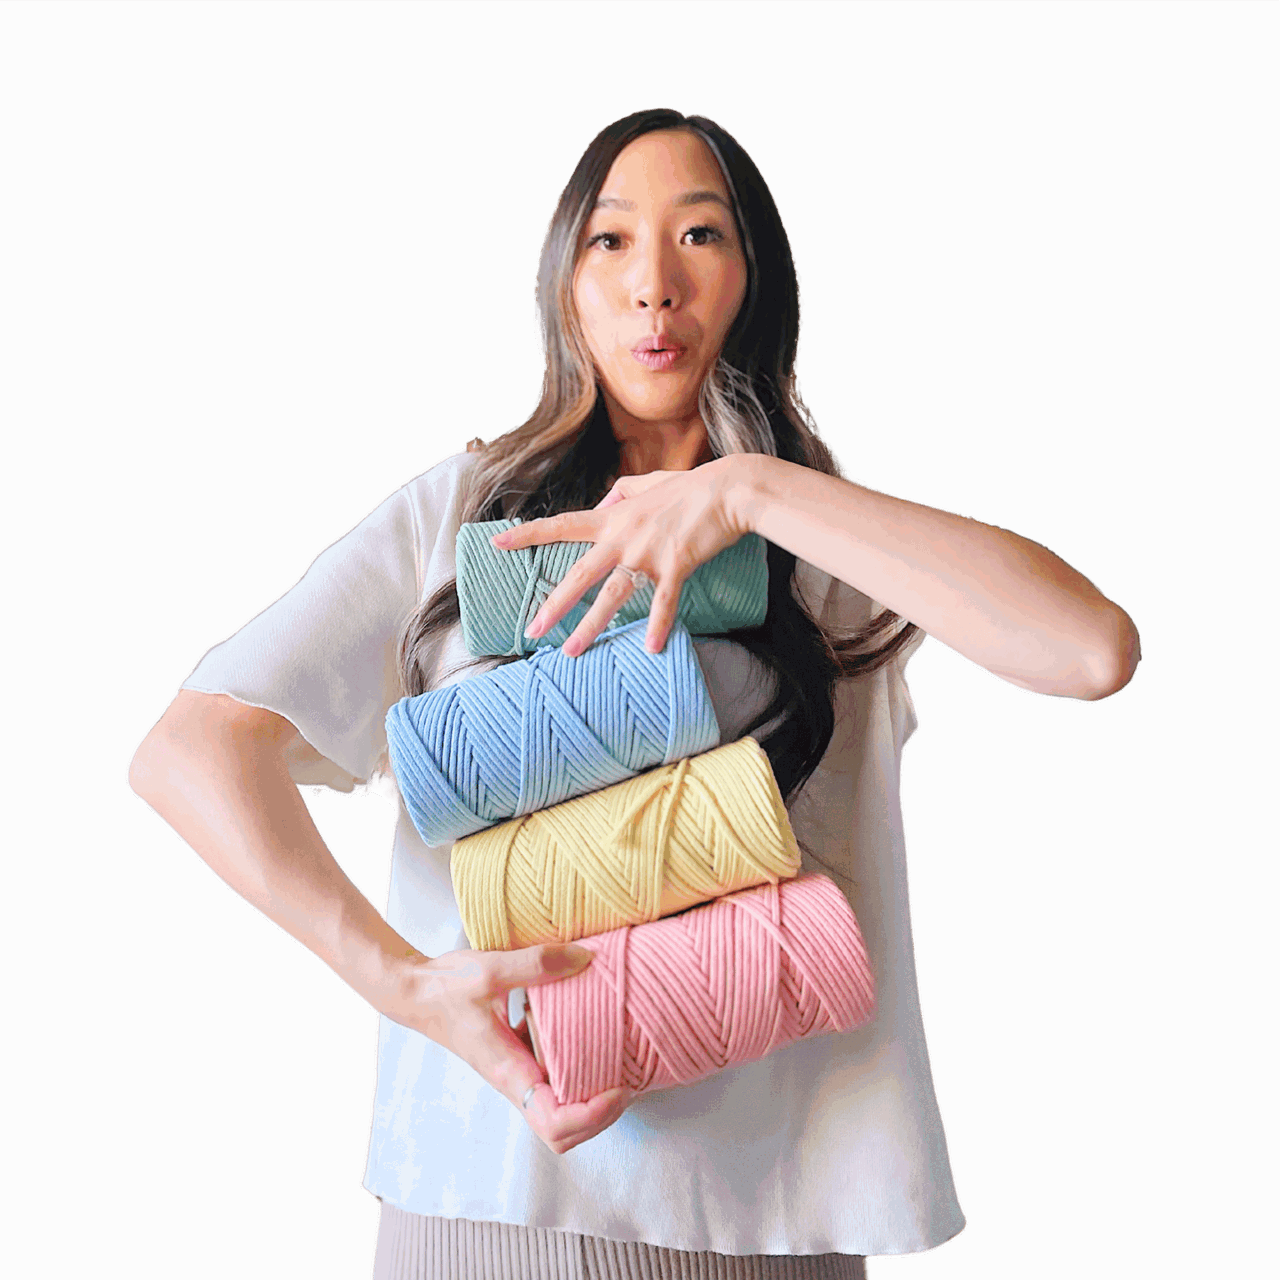
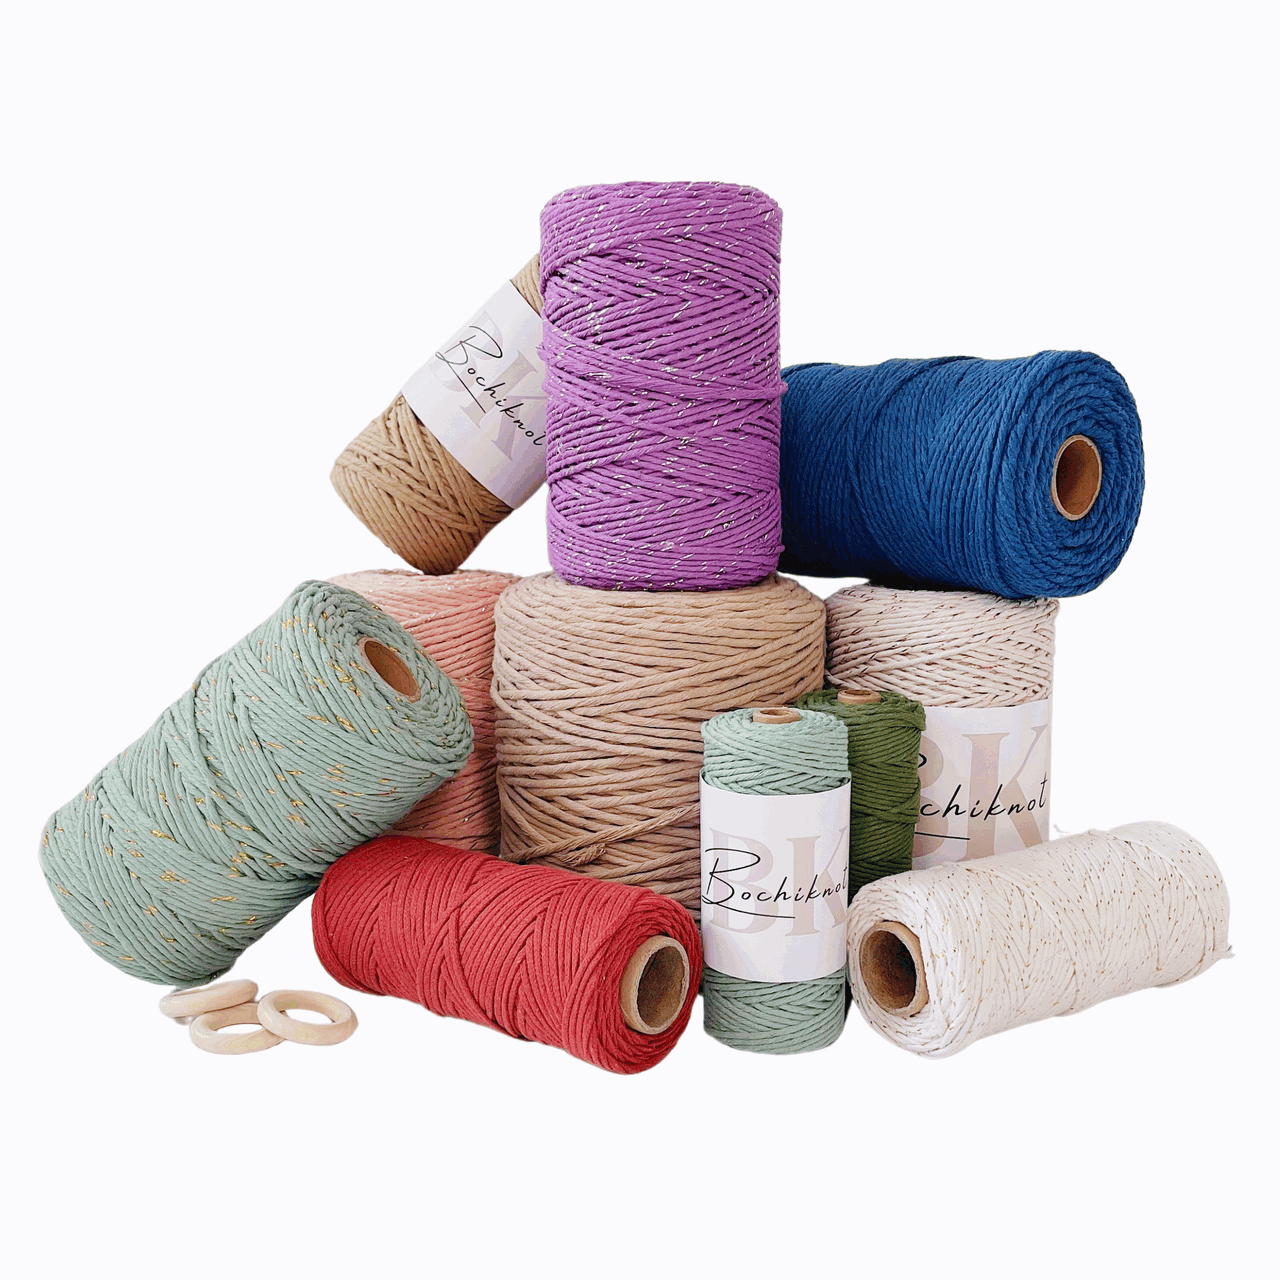
Macrame Cord
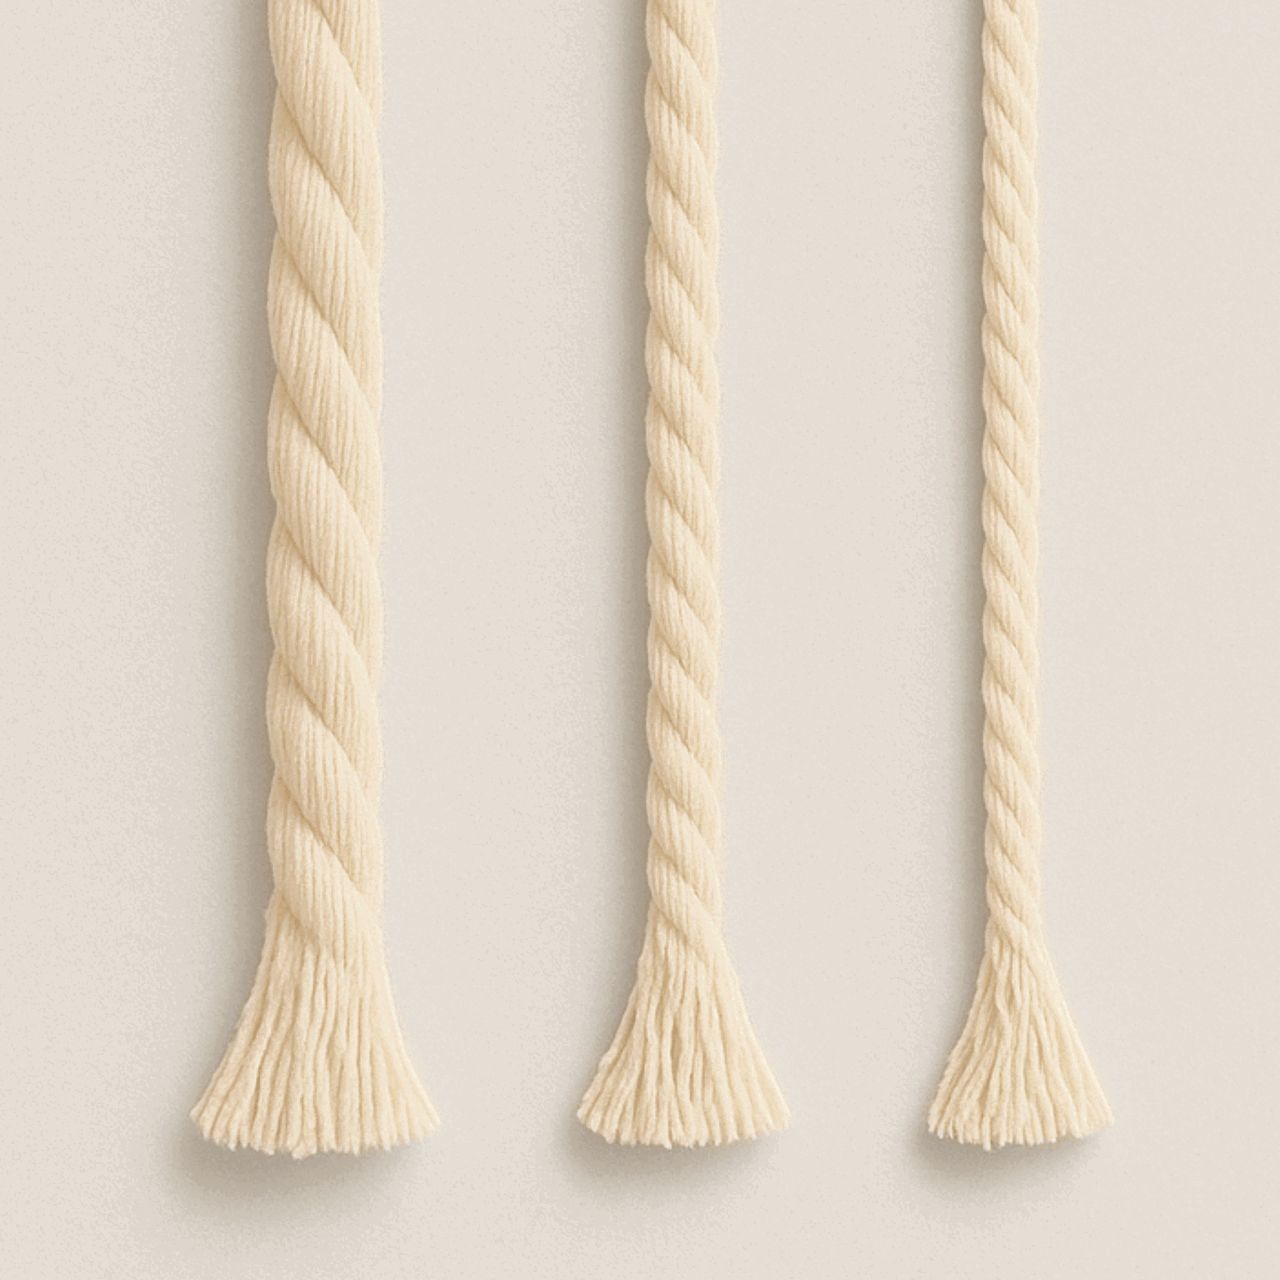
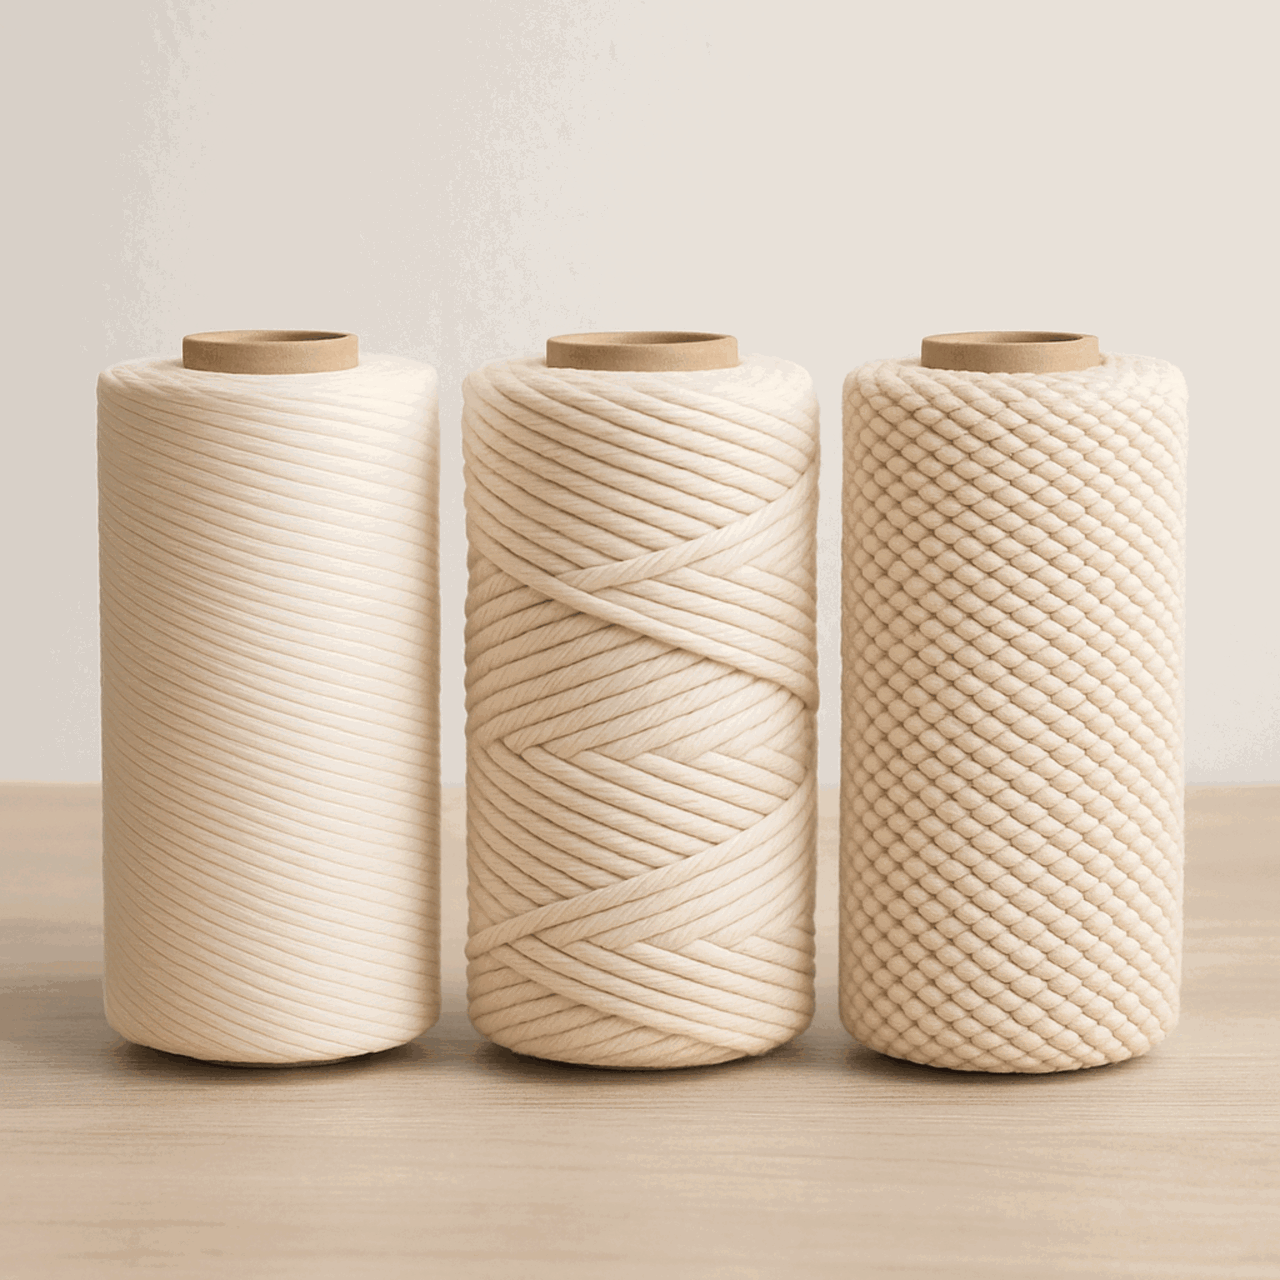
For this unicorn dreamcatcher project, we’ll be using a combination of 3mm, 4mm, and 5mm single-strand cotton cord.
These sizes are ideal for creating smooth, clean knots that give your dreamcatcher a polished, soft look.
The single-strand cotton cord is easy to work with, especially for beginners, and it holds its shape well, making it perfect for intricate designs like the unicorn's horn, body, and decorative knots.
Additionally, we’ll use 2mm string for finer details, such as weaving smaller sections or adding delicate accents to the dreamcatcher.
This thinner string adds a subtle touch to your design without overpowering the main features, allowing you to create layers of texture in your project.
These different cord sizes give you the flexibility to play with texture, thickness, and visual contrast, making your macrame unicorn dreamcatcher stand out
Macrame Supplies
For the base of your Unicorn Dreamcatcher, we’ll use a unicorn-shaped metal frame.
This frame provides a sturdy foundation to shape your project and keep the structure intact.
It’s easy to work with and helps guide your knots around the unicorn, making the process simpler and giving you a clear outline as you bring your design to life.
Macrame Tools
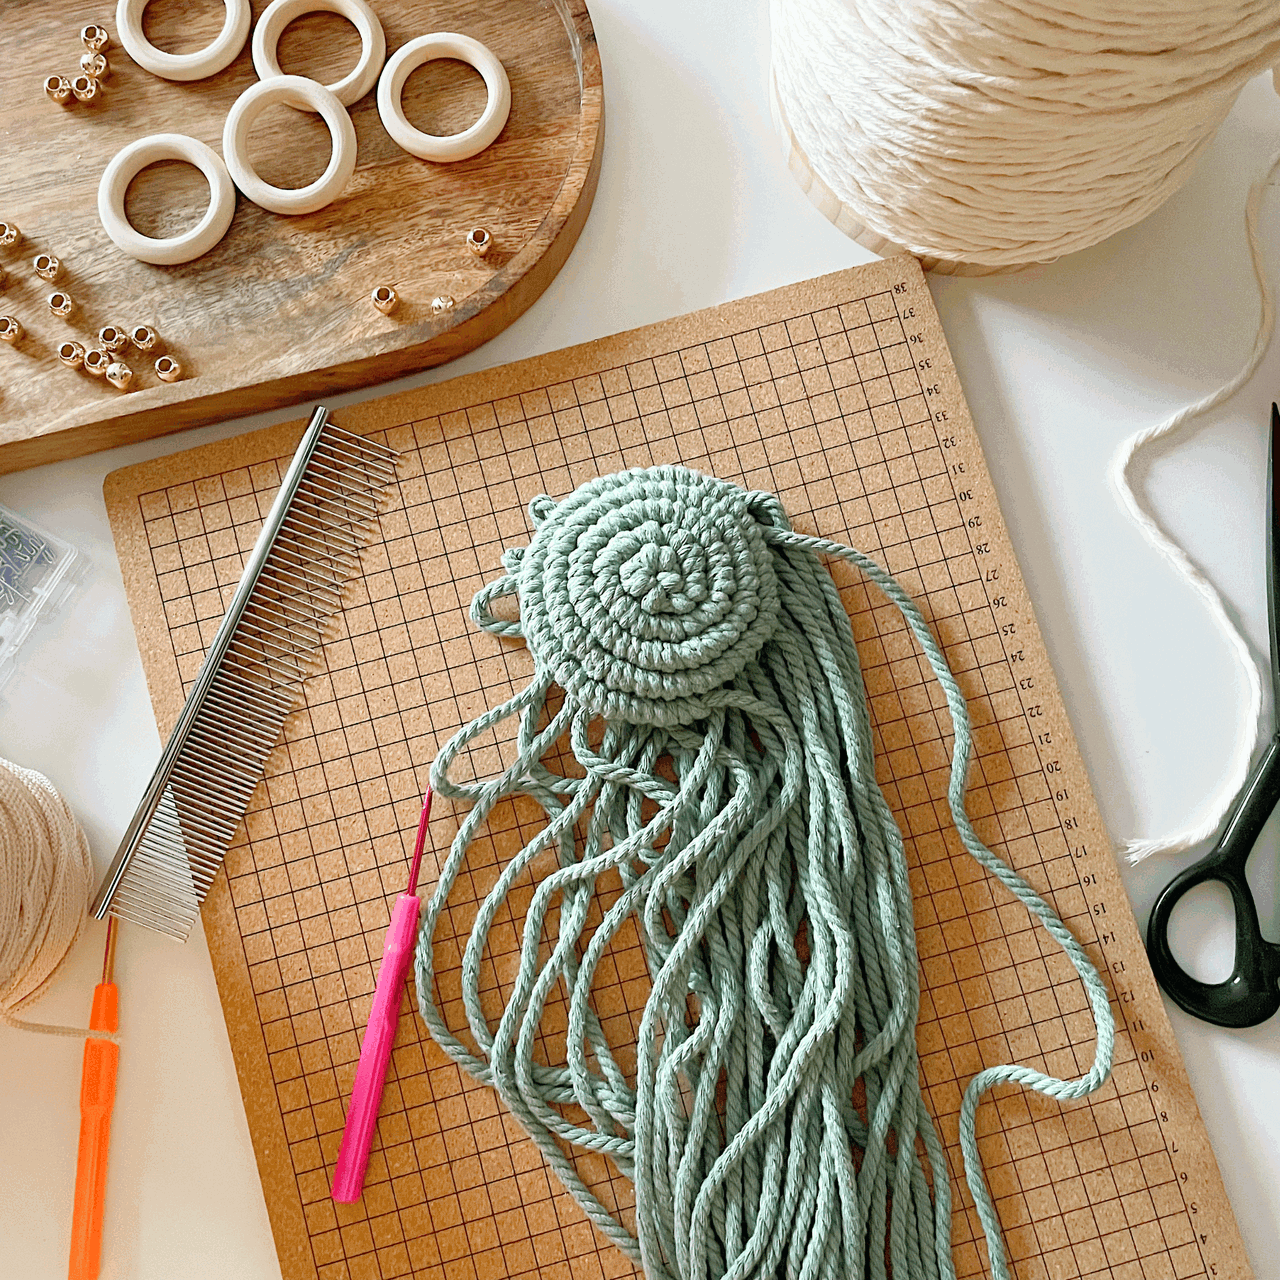
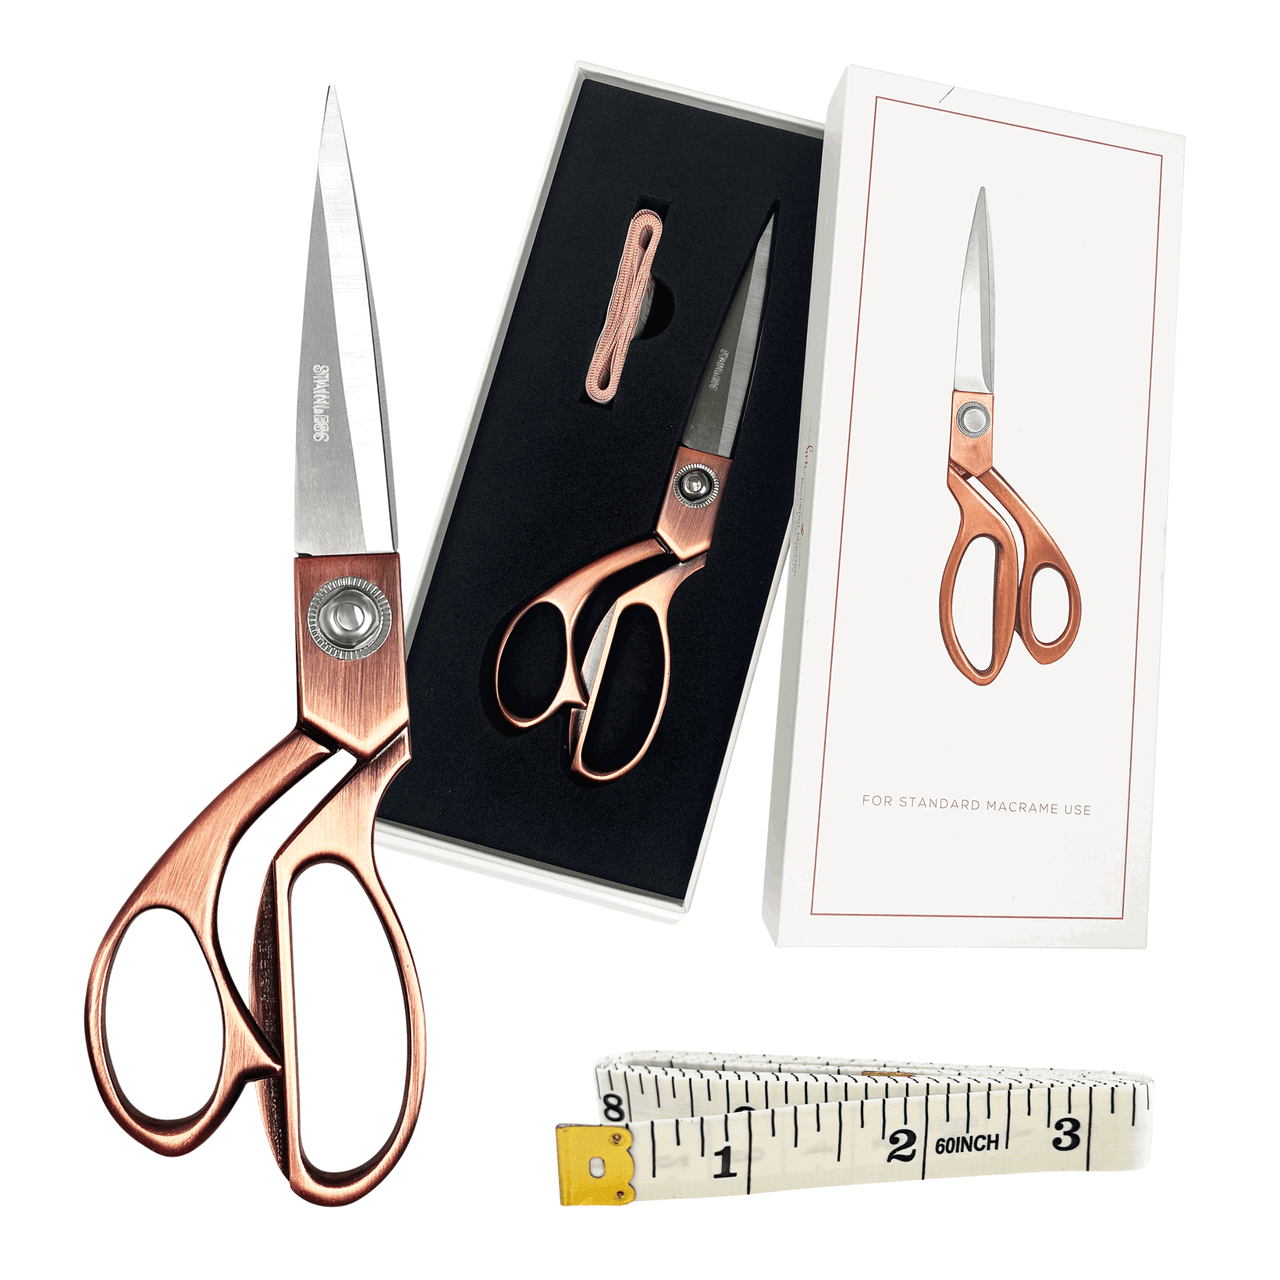
You will also need some essential tools:
- Scissors
- Measuring Tape
- Fringe comb
- Crochet hook (optional)
Unicorn Dreamcatcher Pattern Details
Skill level:
- Beginner - Intermediate
Completed size:
- 12” length and 12” height
Completion time:
- 1 - 2 hours depending on skill level
Materials needed (for 1 unit):
Cord lengths:
- Wrapping/weaving cords: 200cm each
- Horn: 100cm
- Rose knots: 70cm or 90cm per knot
- Leaf: 2 cords of 140cm each
- Berry knot: 2 cords of 100cm each
- Fringe: 70cm
How To Make A Macrame Unicorn Dreamcatcher | Video Tutorial
How to Macrame a Christmas Reindeer Wall Hanging | Step-by-Step Guide
*Note: We recommend following the tutorial video for more detailed instructions and to achieve the best results.
This will provide additional guidance and clarity as you work through each step.
Step #1
- Take a 200 cm cord and make a Double Half Hitch knot at one end, then wrap the long end around the frame.


Step #2
- Secure the cord by making a Half Hitch knot and then tie an Overhand knot at the back.


Step #3
-
Take another 200 cm strand and weave it back and forth across the frame.


Step #4
- Secure the weave at the back with a Double Overhand knot and trim any excess string.


- Cut off the excess string.
Step #5
- Use a 100 cm cord to wrap around the unicorn horn, tucking the ends inside once you're done.

- Tuck the cord ends inside the horn when wrapping is complete.


Step #6
- To create a berry leaf pattern at the bottom of the frame, attach 2 x 100 cm cords at the center bottom using Lark's Head knots.
- Before tightening, weave the cord ends from the unicorn wrap through these knots.


- Flip the pattern and tie the two ends with a Double Overhand knot, then trim the excess.

Step #7
- Create a Berry knot by tying 2 consecutive Square knots, leaving a 1 cm gap between the Lark’s Head knots and the first Square knot.


Step #8
-
Attach 4 strands of 70 cm cords on both the right and left sides of the frame.

Step #9
- Attach a 140 cm cord to the left of the Berry knot using a Reverse Lark's Head plus Half Hitch (RLHPHH) knot.


Step #10
-
Make 2 rows of Double Half Hitch (DHH) knots to the left, then repeat again.


Step #11
-
Create 2 rows of DHH knots from left to right.


Step #12
- In the final row of DHH knots, include the previous working cord in the anchor cord group for each DHH knot.


Step #13
- Pull one cord through the top to the back and tie a Double Overhand knot with the last working cord.


Step #14
- Mirror the leaf pattern on the right side by attaching one cord to the right of the Berry knot using a Lark’s Head knot.

- Attach another cord with a RLHPHH knot.

- Make two rows of DHH knots to the right.


- In the last row, add the previous working cord to the anchor group.

- Take one cord from the last DHH knot to the back of the pattern, making a double Overhand knot.

- This concludes the Berry Leaf pattern.

Step #15
- For Rose knot #1, attach 2 x 80 cm cords onto the ring using a Lark’s Head knot.

- Make a Berry knot (refer to Step 7).

- Wrap the cords around the Berry knot.


- Tie 2 Double Overhand knots at the back.

- Repeat this for another Berry knot next to the first one.


- Tie the Rose knot to the frame using an overhand knot at the position where one of the webs meets the frame.

Step #16
- For Rose knot #2, use a 70 cm cord folded in half and twist the loop end around a finger.

- Pull the loop bottom up through the center.

- Mount the knot onto the pattern with a Double Overhand knot.


Step #17
-
Repeat the Berry knots along the left side of the frame.

Step #18
- Trim the fringe to your desired shape and length.

That’s a Wrap!
And just like that, you’ve made a beautiful unicorn dreamcatcher!
This project is such a fun way to combine different macrame techniques, like creating a wrapped frame, weaving a web, and making rose knots and leaf patterns.
The result is a unique and magical piece that’s perfect for any room.
I hope you had as much fun making this as I did!
If you’re looking for more macrame tutorials, head over to our YouTube channel for more creative projects.
And let me know in the comments which patterns you’d like to see next!
Happy knotting! 🦄

Looking for Macrame Patterns and Projects?
I’ve got a fun variety of DIY macrame patterns for you to explore—whether you’re into creating unique wall hangings to spruce up your home or timeless plant hangers, there’s something for every skill level.
Each pattern is super easy to follow with step-by-step photos, clear instructions, and plenty of tips to help you along the way.
Ready to start creating?
Browse DIY macrame patterns on Etsy and dive into your next project.

Join the Bochiknot Macrame Community: Your Gateway to Exclusive Tutorials & Inspiration
Discover the art of macrame like never before! Join our exclusive community of passionate macrame enthusiasts and unlock a world of creativity.
Gain access to a treasure trove of unique patterns, expert guidance, and a supportive network of fellow artists.







Leave a comment