





Mini Macrame Wreath Ornament: Free Pattern Without a Ring

FREE CHRISTMAS MACRAME PATTERN · BY NICOLE WOO
Lay out three lengths of cord and a little ribbon. By the end of this tutorial, they’ll be a miniature wreath with a scalloped edge and a bow at the top. The clever part of this mini macrame wreath ornament is how the circle forms: we’ll make a knotted strip first, then curve it around to meet itself.
That final turn is the little reveal. As you bring the ends together, the repeating small and large curves become the wreath’s outline. A touch of glue secures the join, and the ribbon bow finishes it—no wooden or metal ring needed.
I’ll help you get comfortable with the first repeat before we continue around the wreath. Keep the video close for the changes in cord direction, take your time with the join, and think about where your finished ornament will go: on your tree, or on a gift for someone who appreciates handmade things.
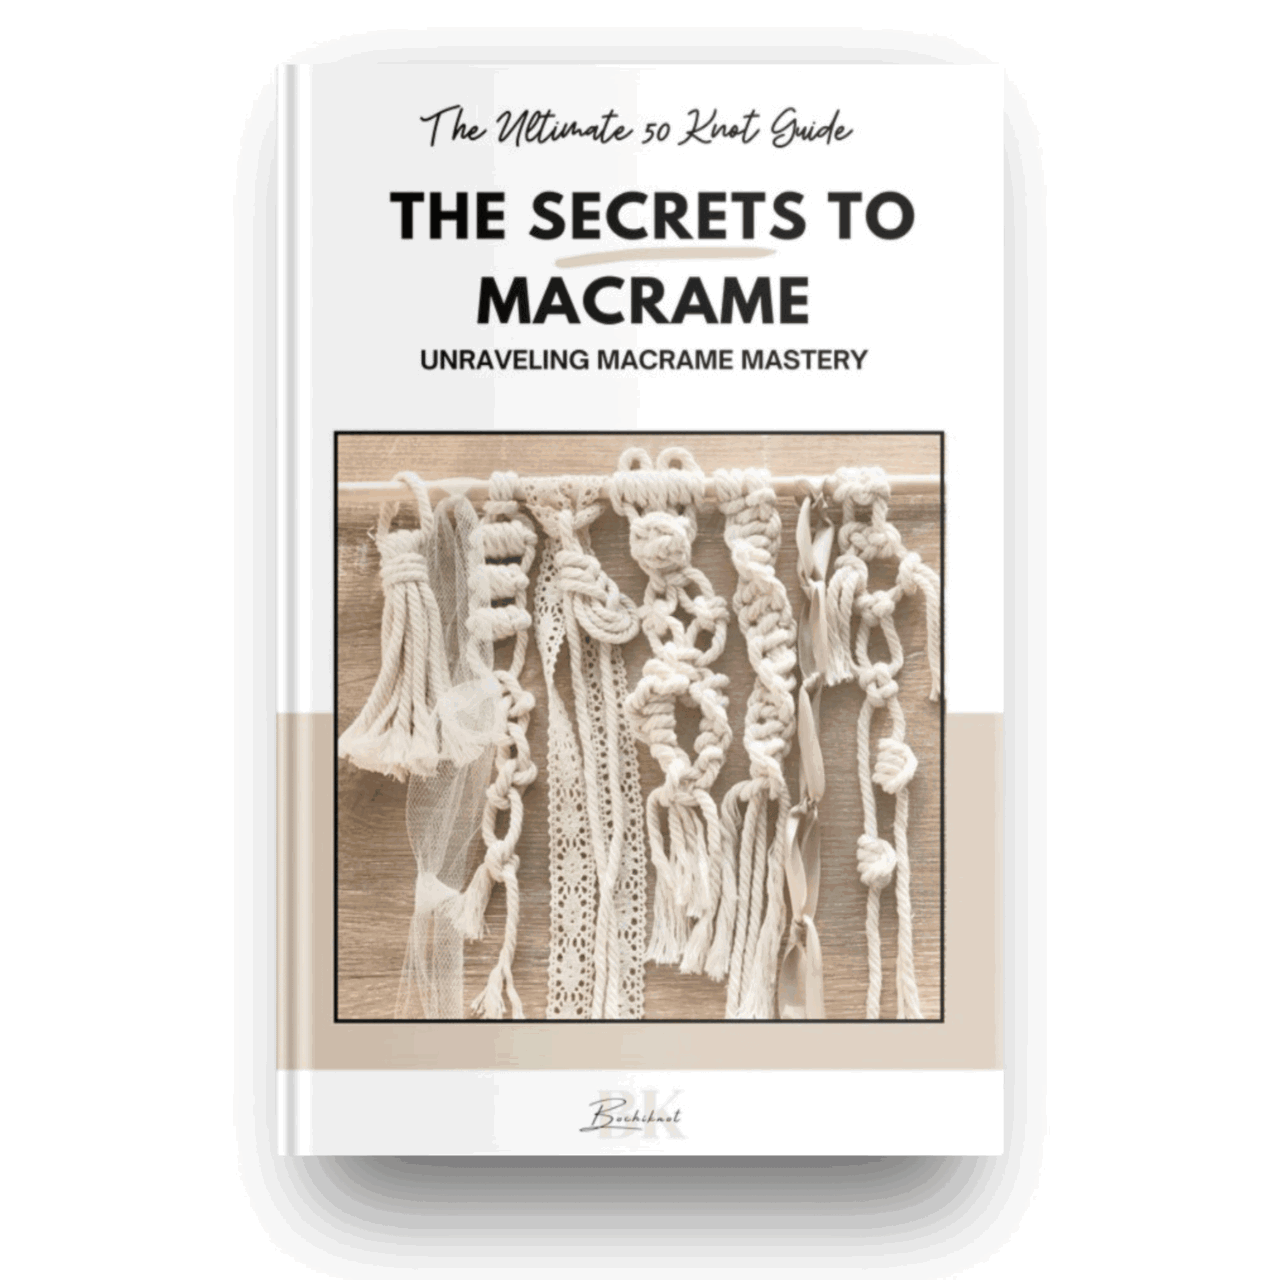
New to the knots? Keep our free 50 Macrame Knots & Sennits guide nearby while you follow the video.
The Project at a Glance
Finished measurements are approximate and depend on cord and tension. Allow extra time if you are learning the knots.
Cord and Materials for Your No-Ring Mini Wreath
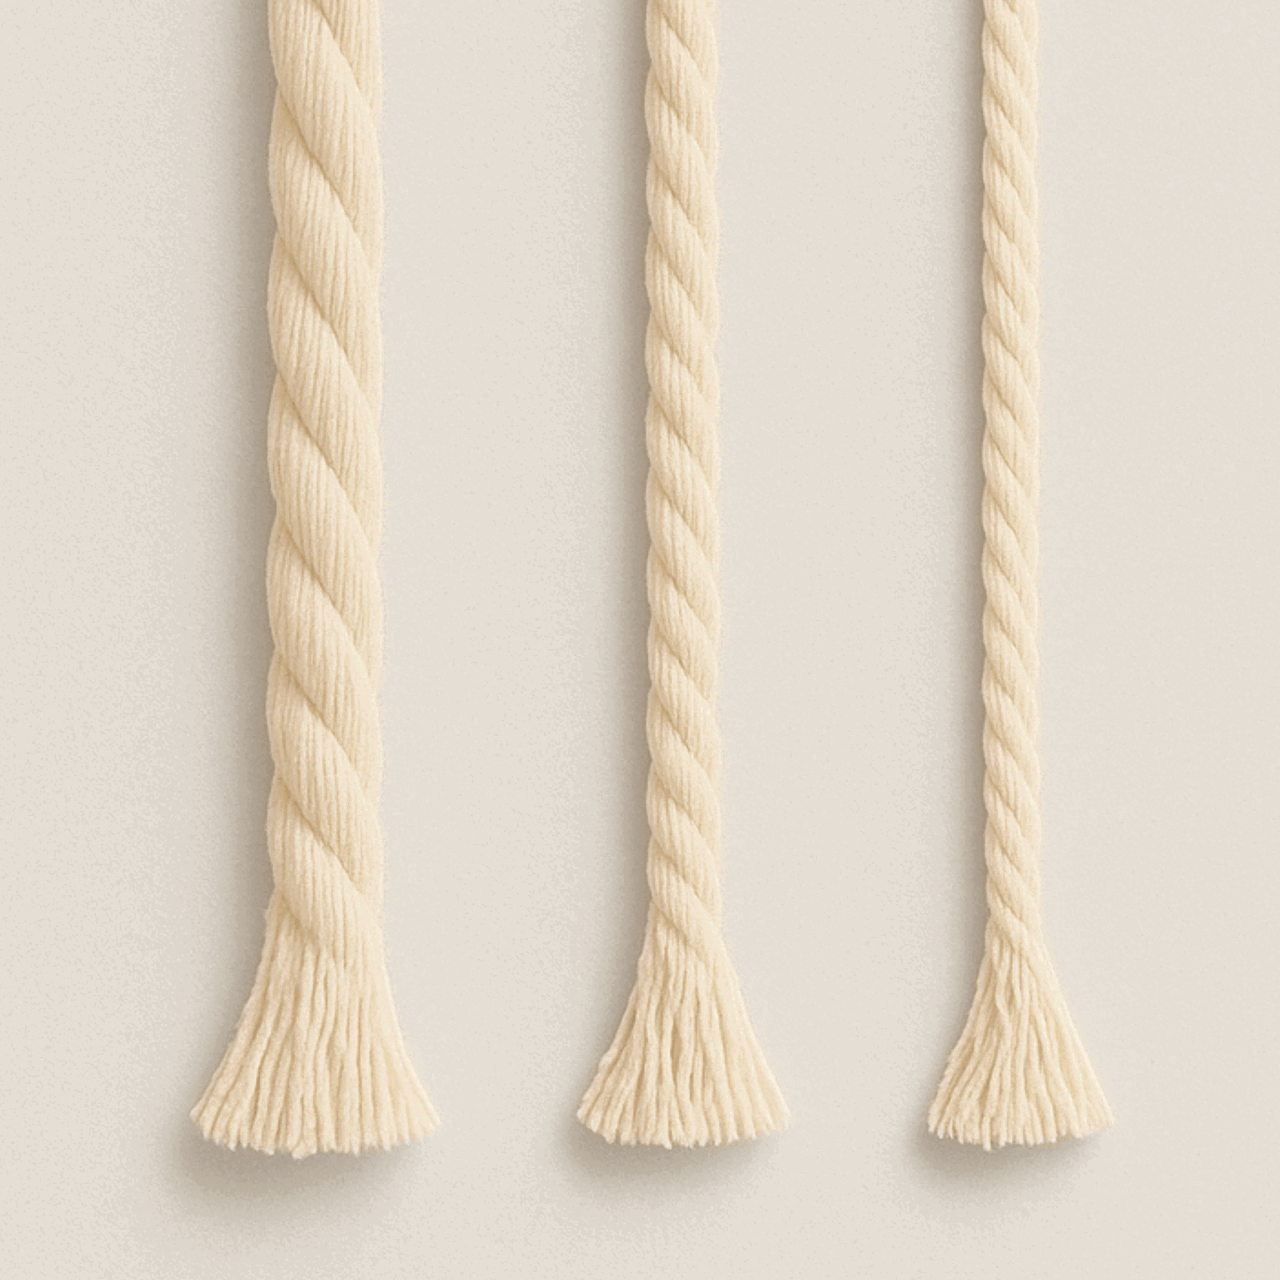
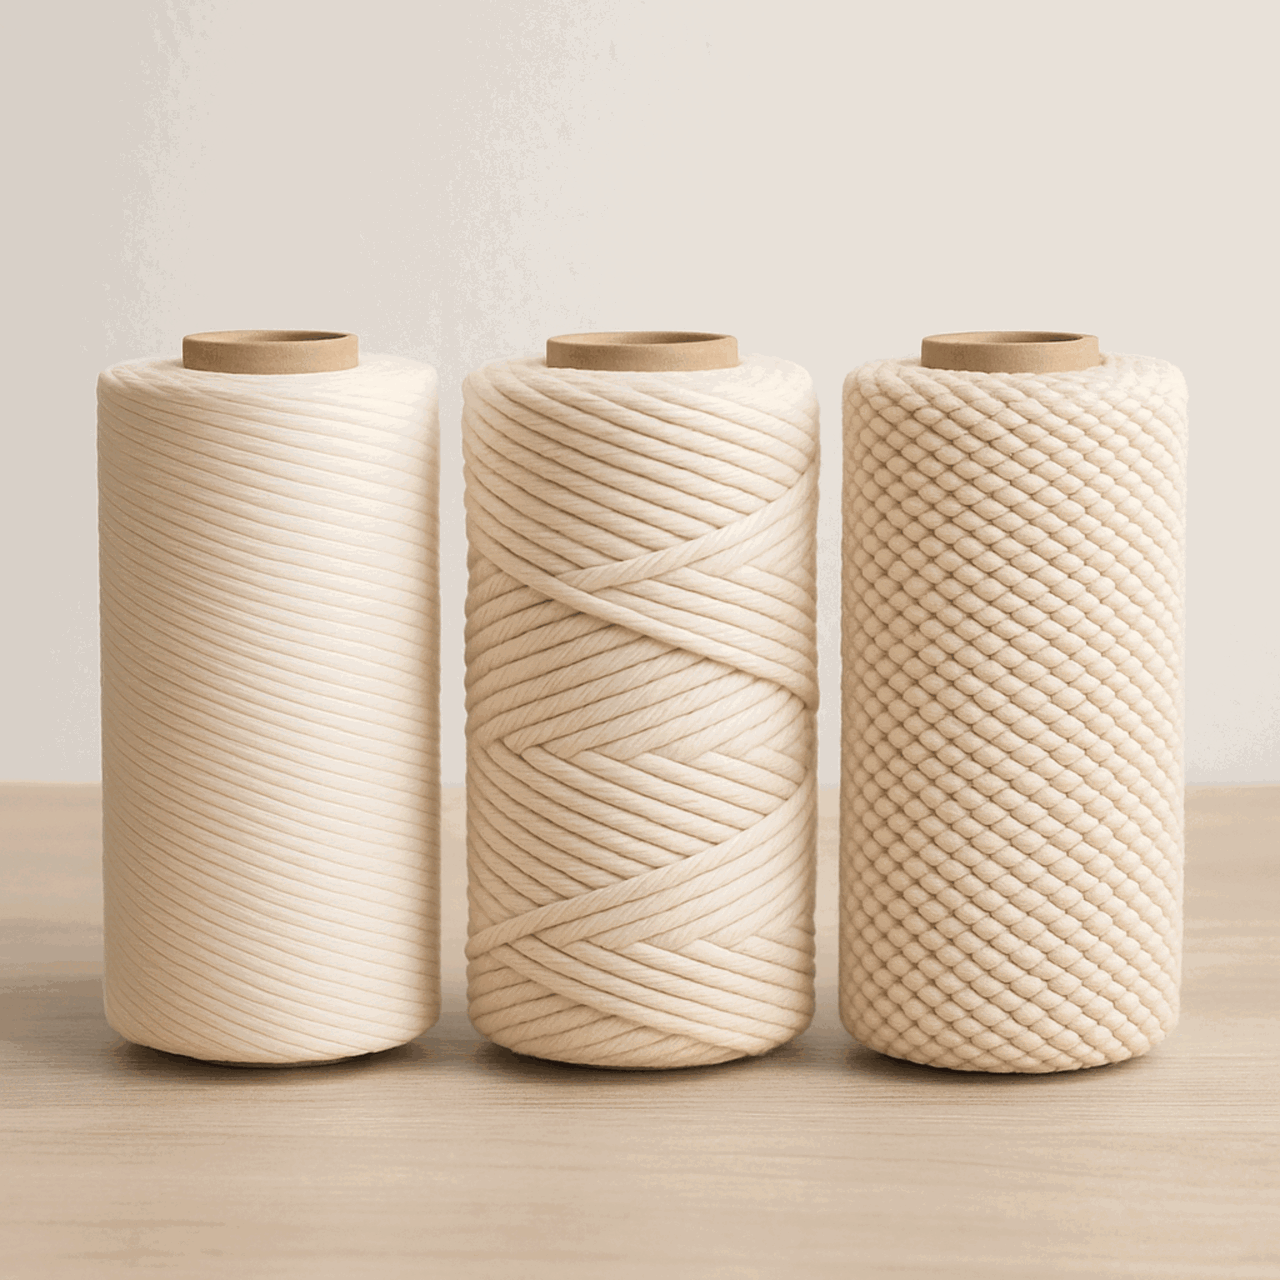
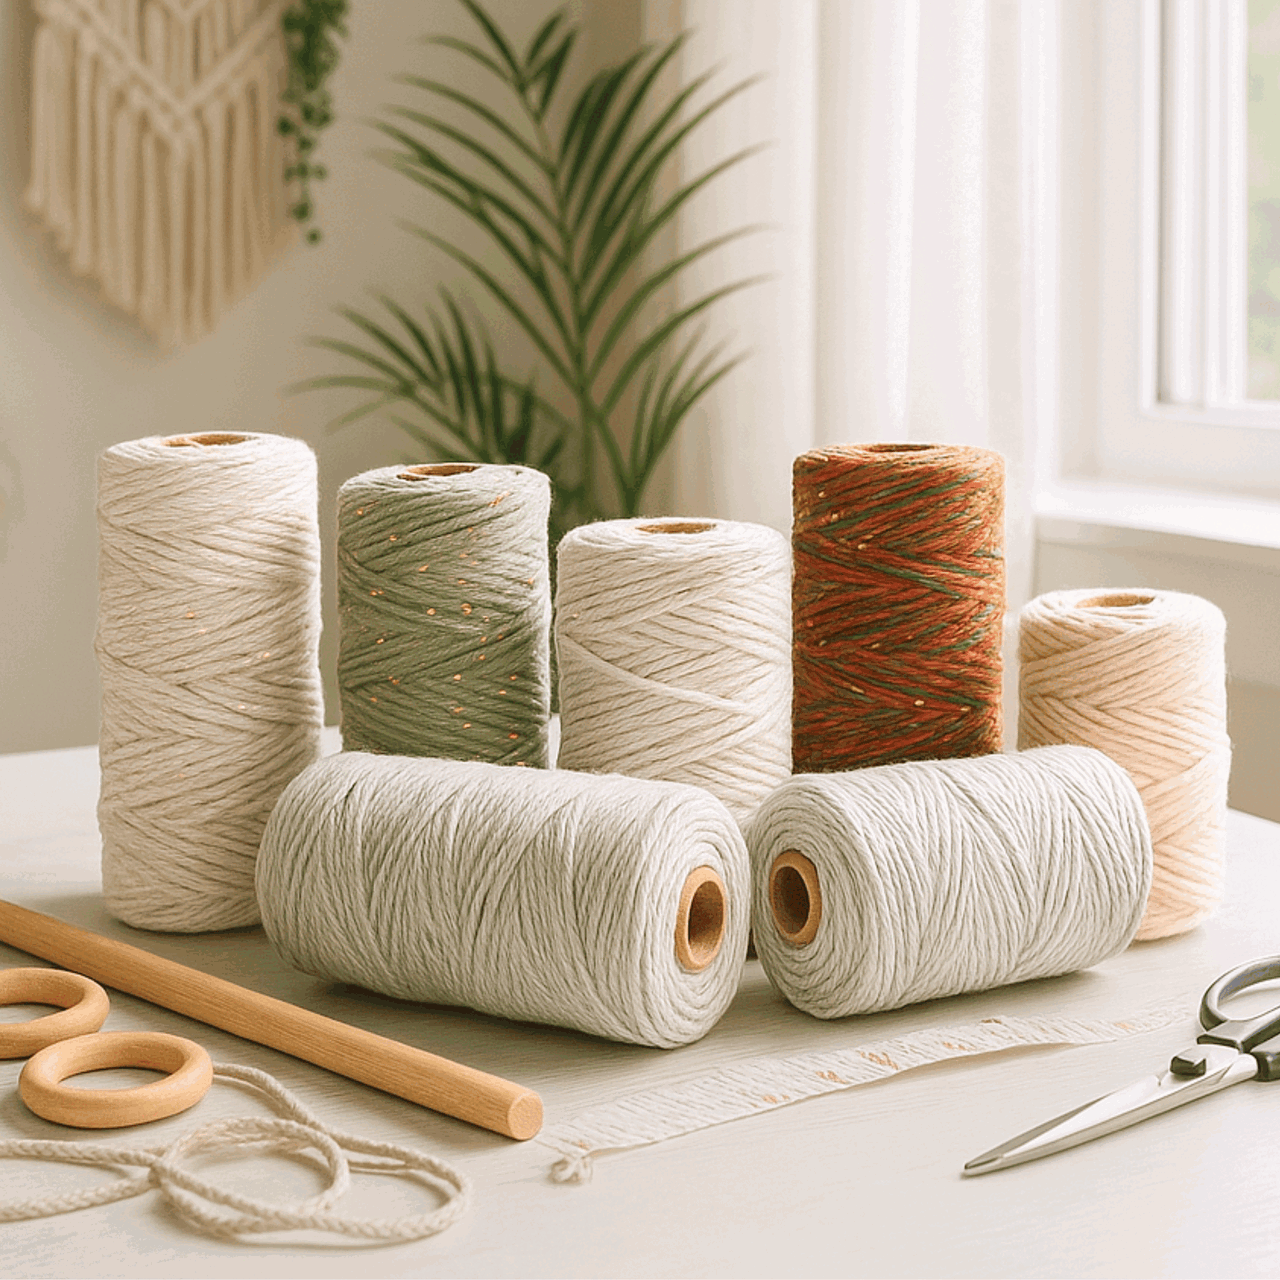
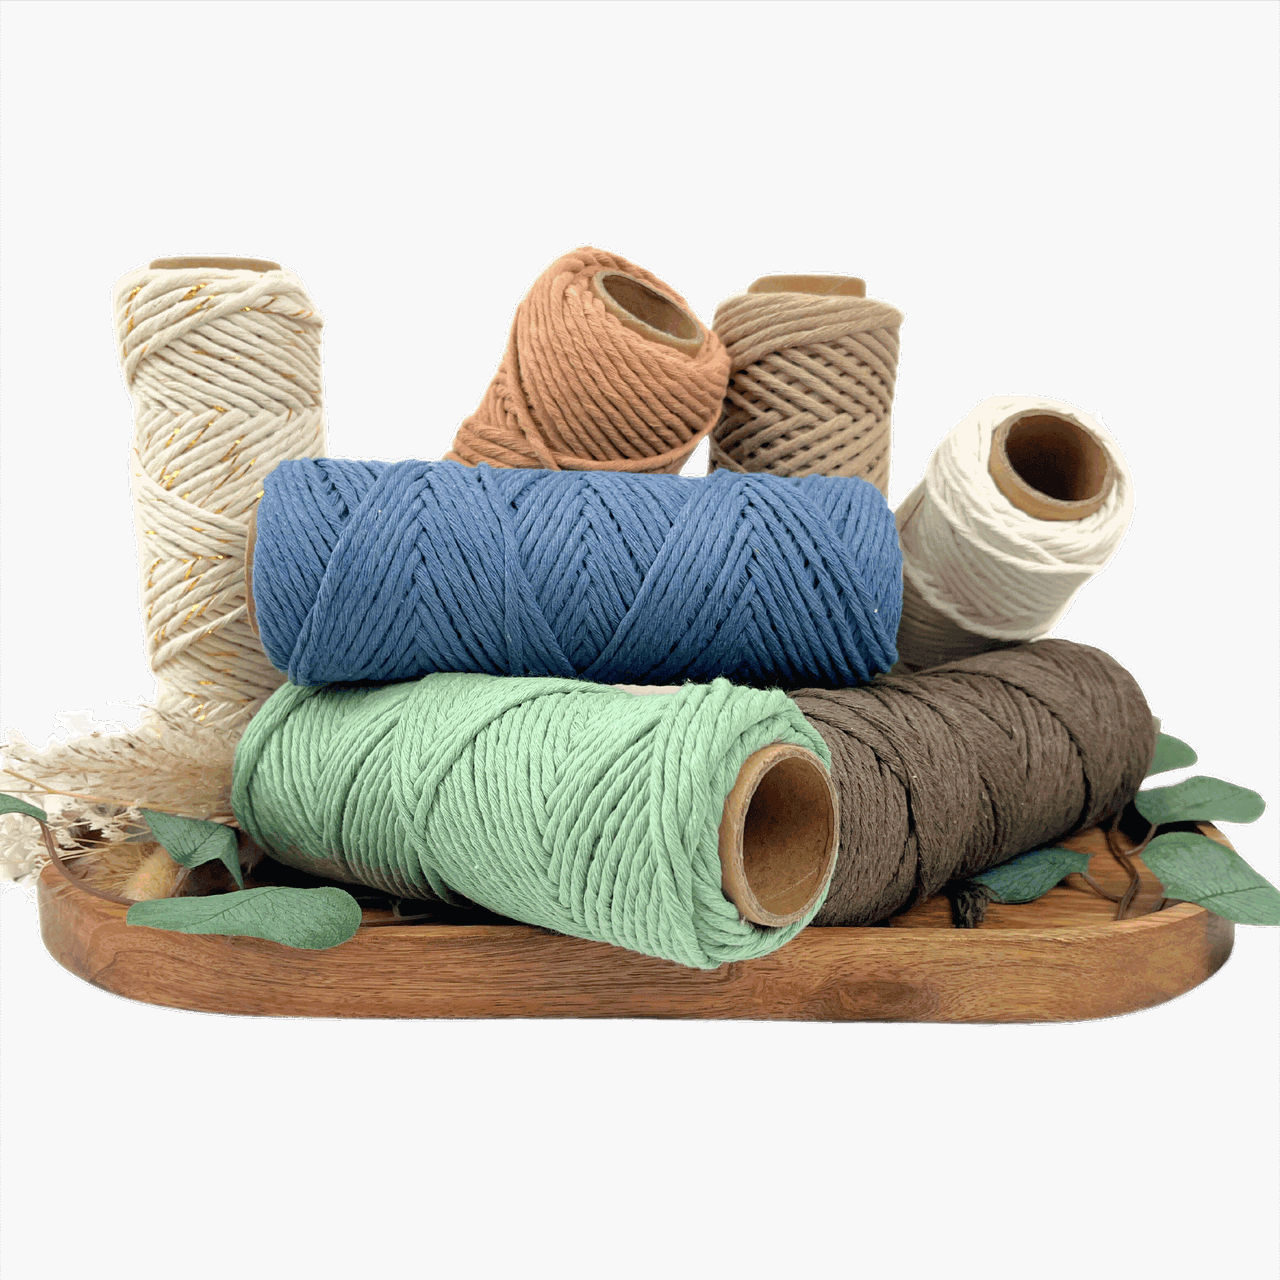
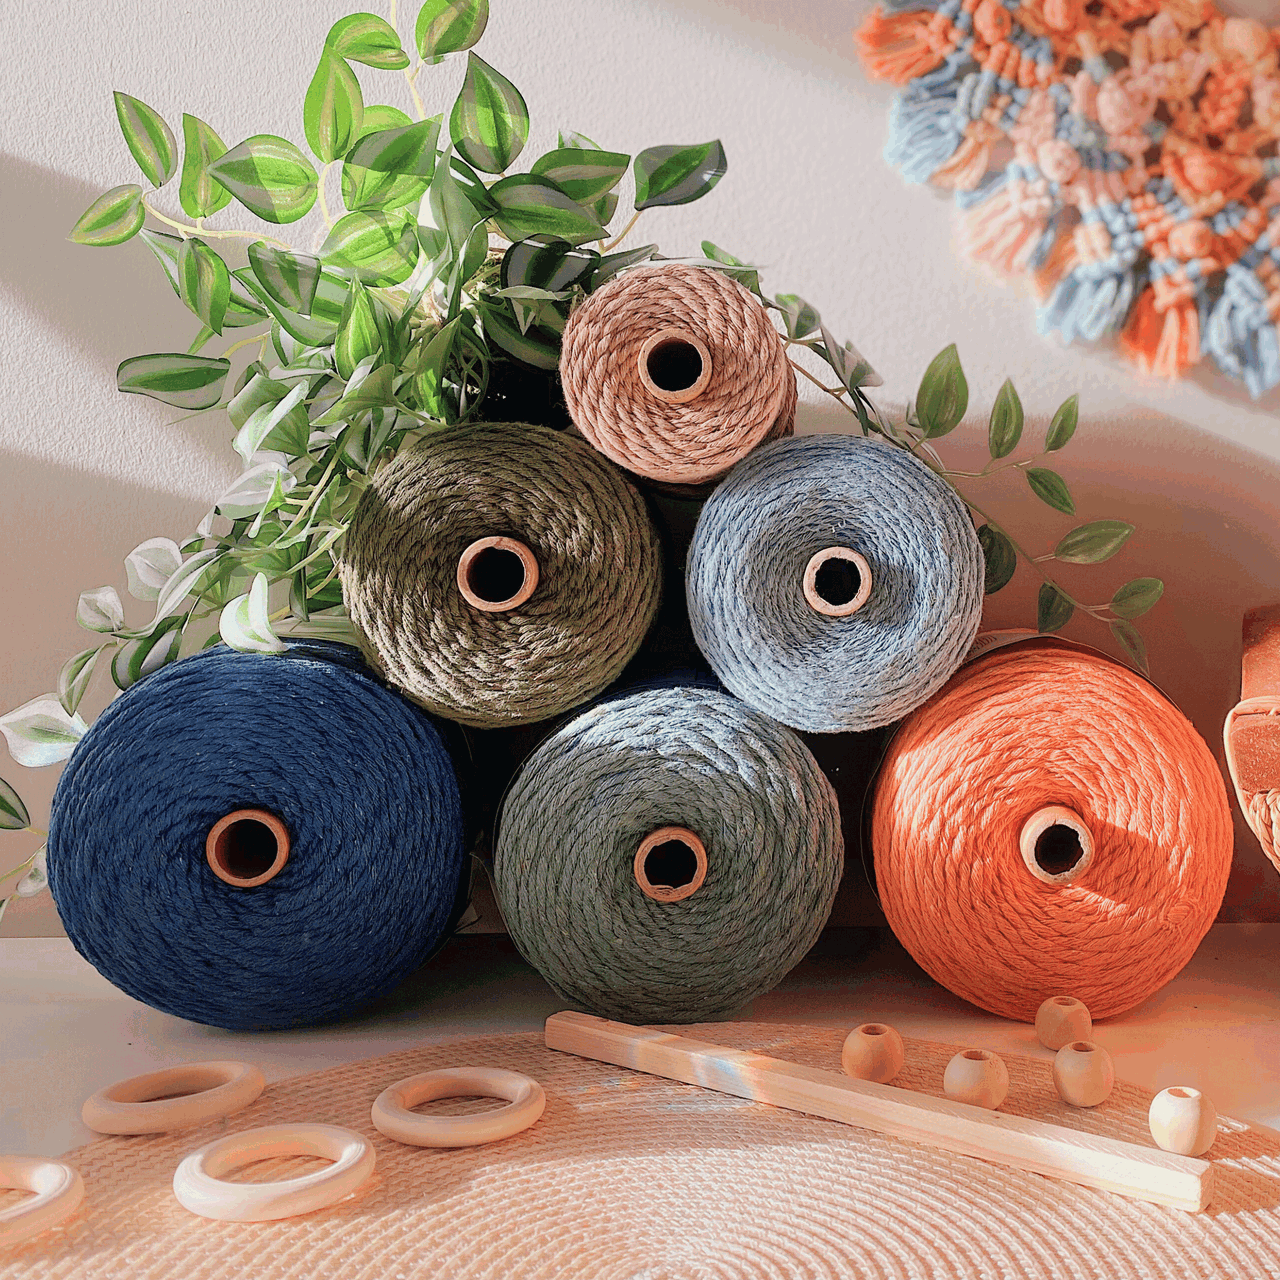
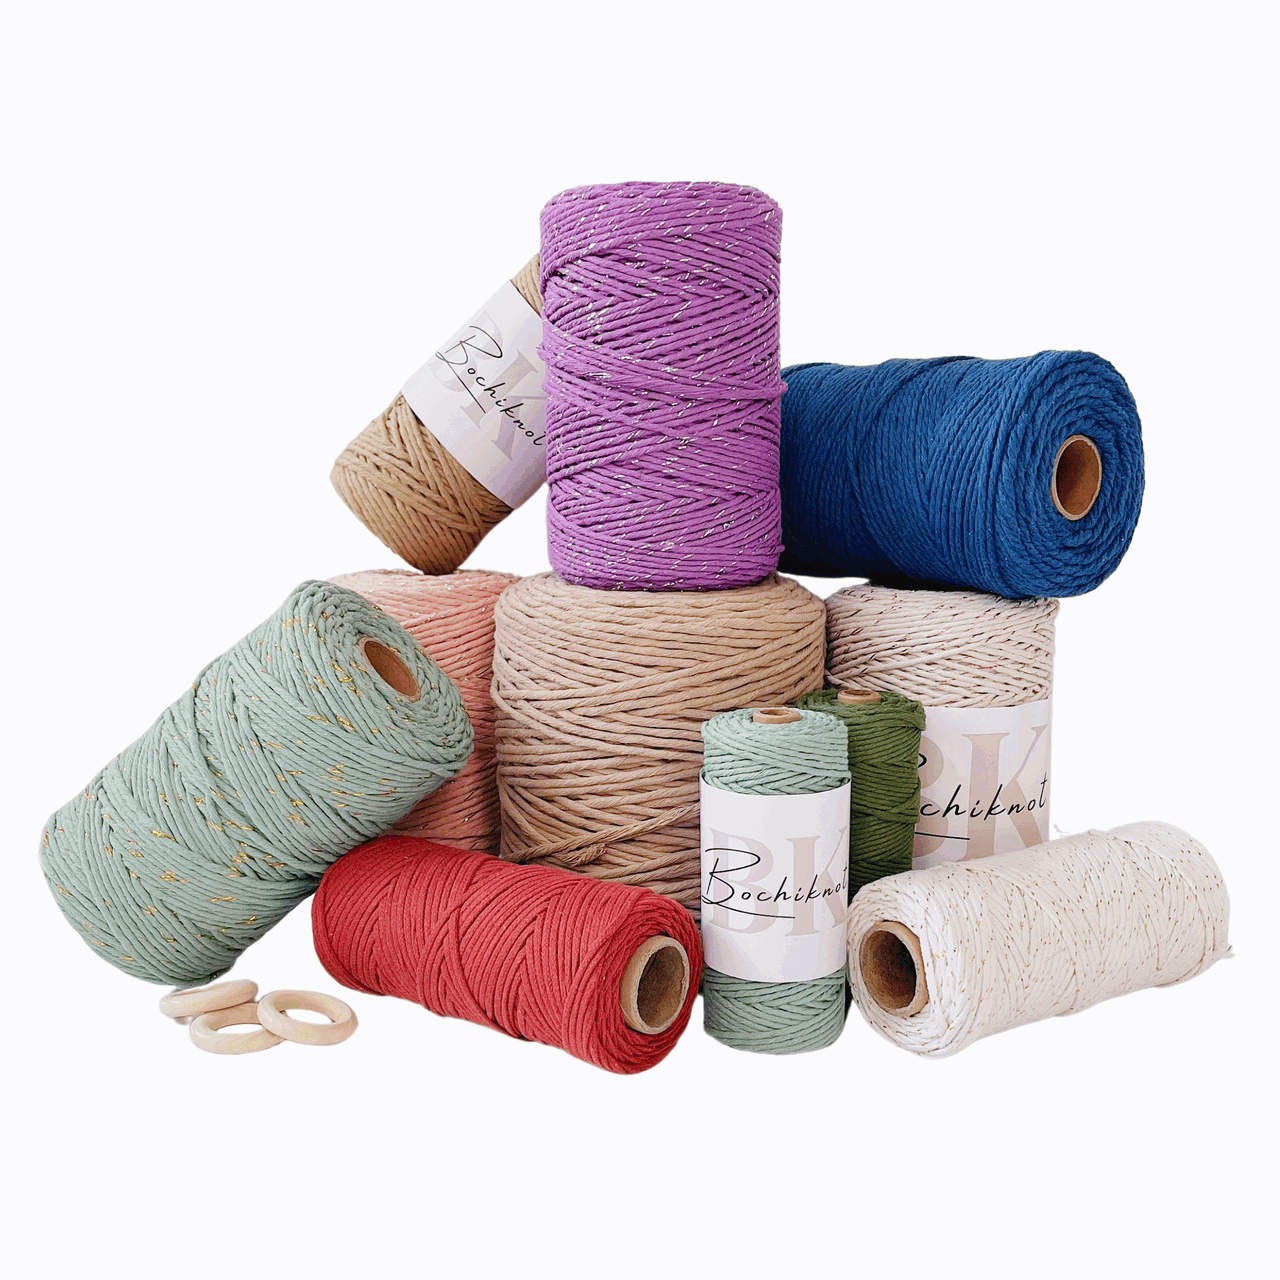
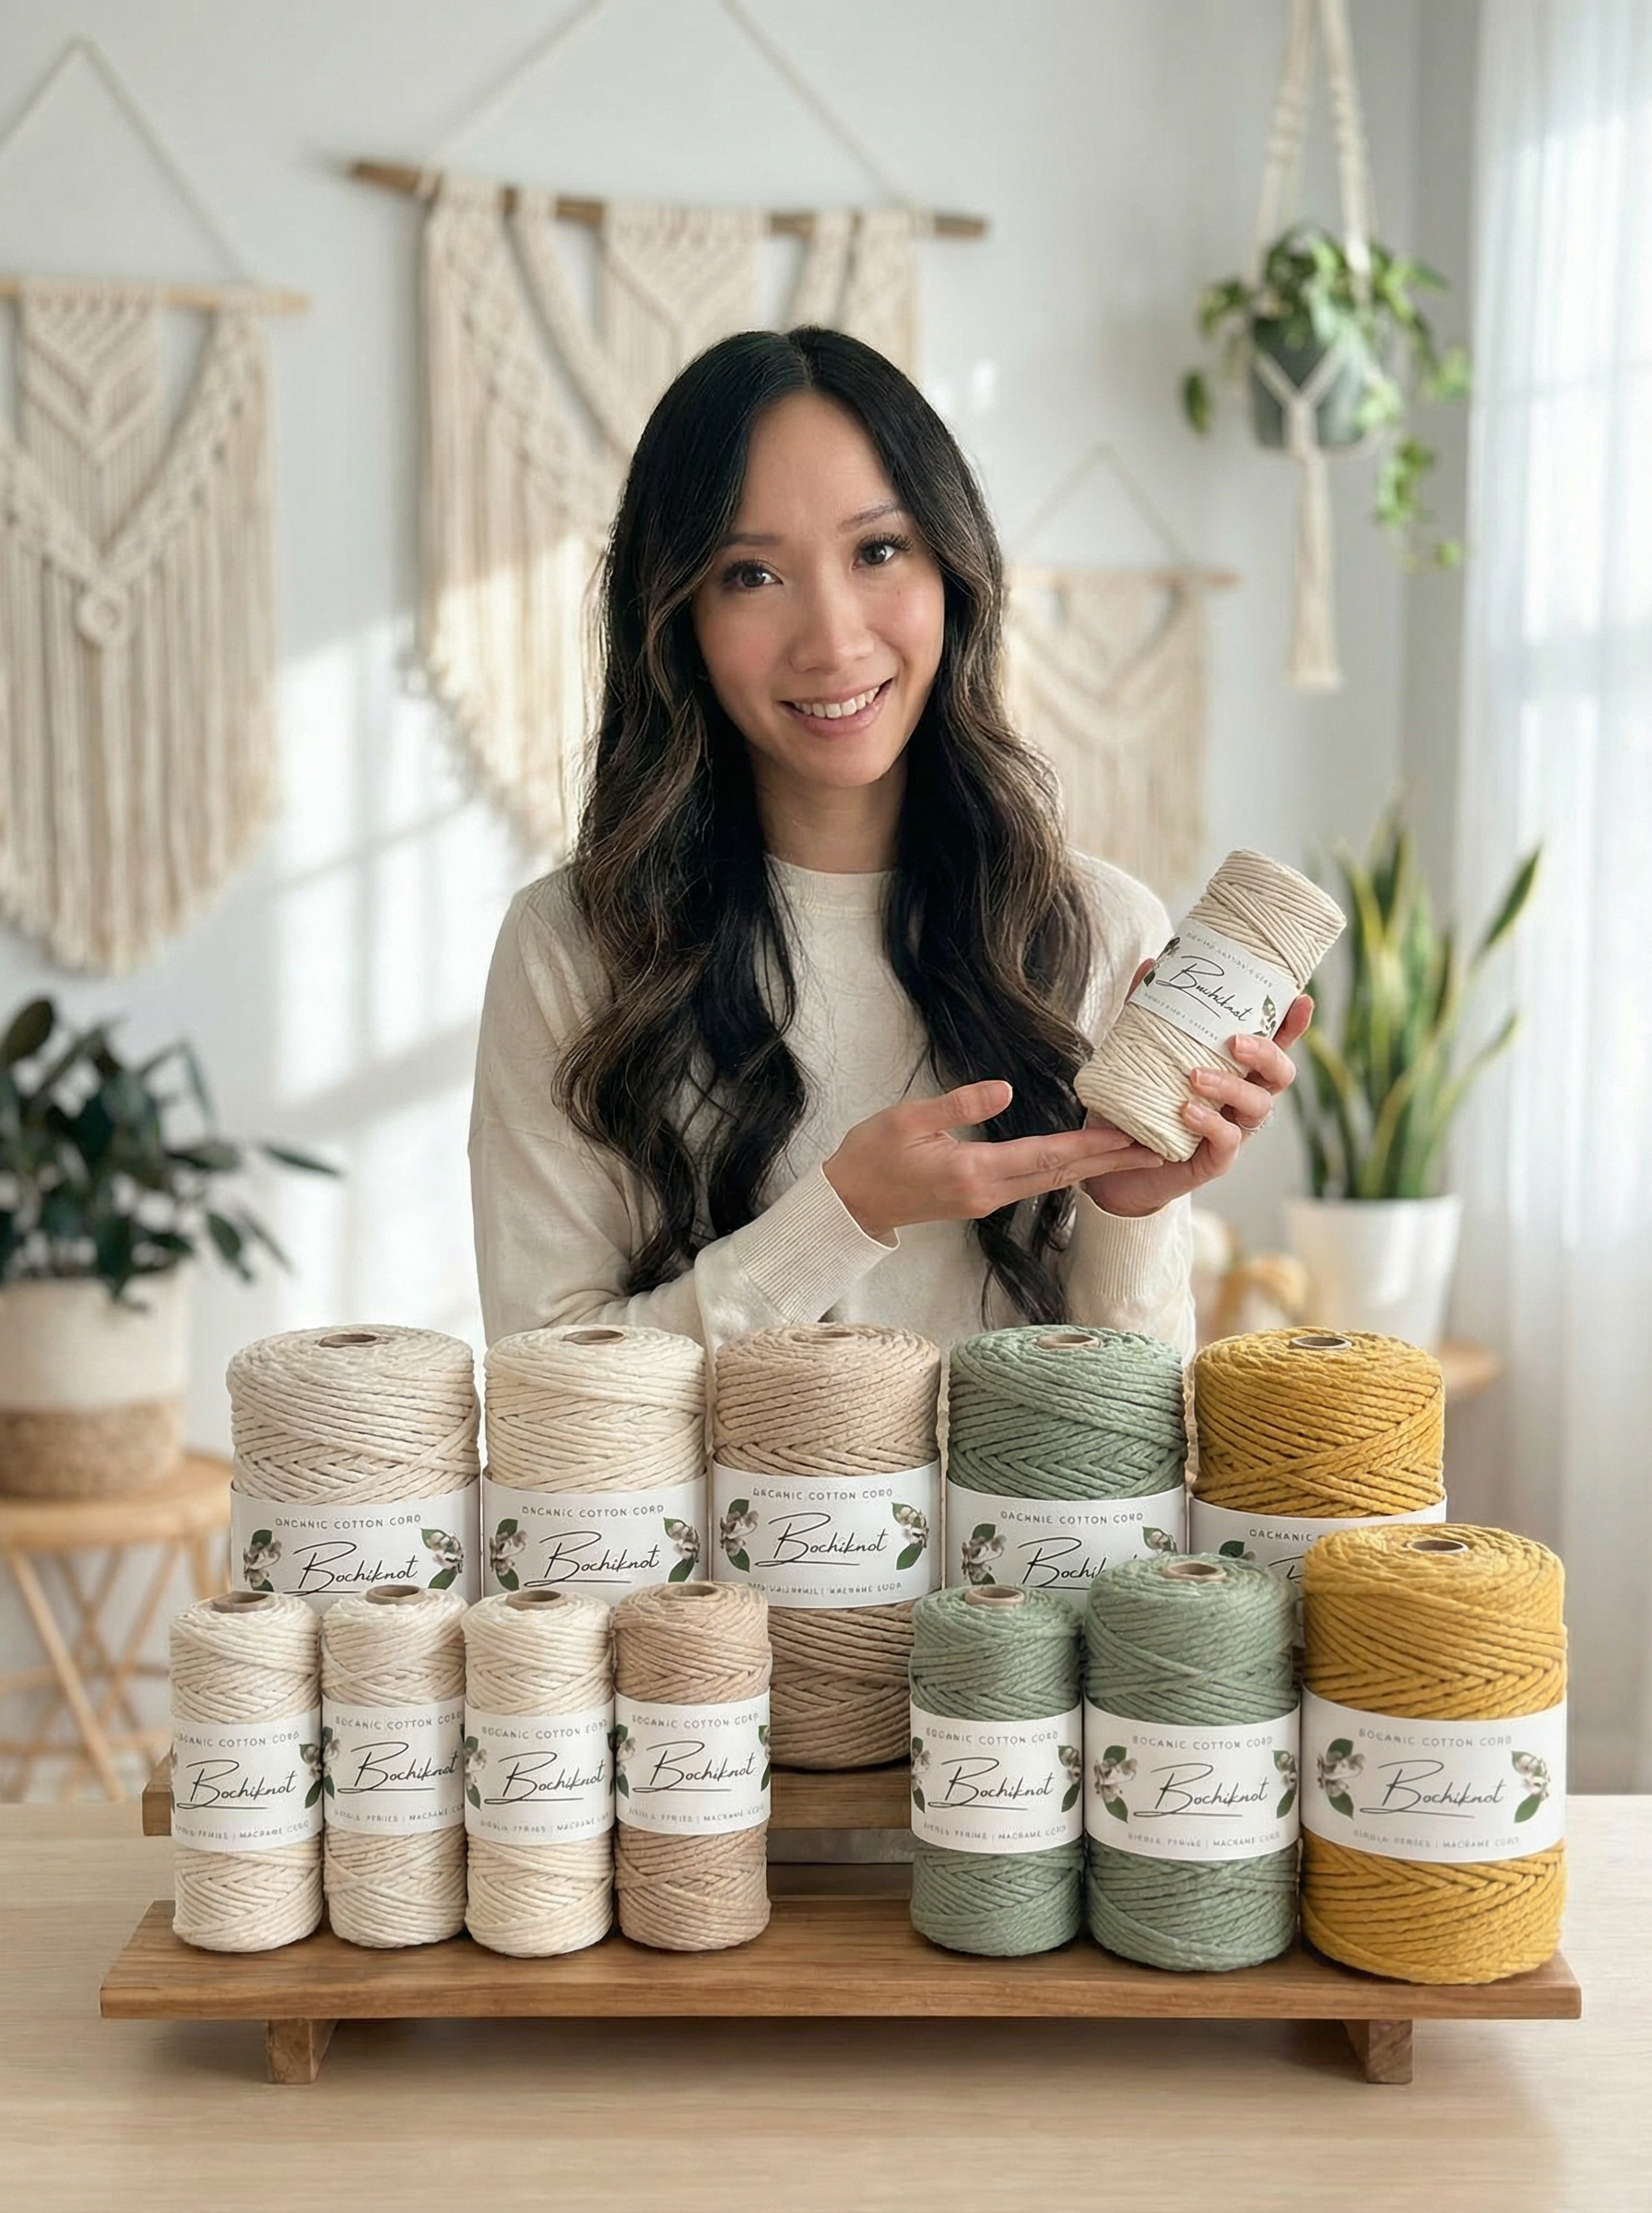
Use 4mm hollow braided macrame cord, a 40 cm ribbon, and glue suitable for the cord and ribbon. The video uses a braid with gold tinsel. A solid 4mm braid is an alternative with a quieter finish; match the thickness and construction before trying different sizes. No ring or frame is needed.
Some links are affiliate links. As an Amazon Associate, Bochiknot earns from qualifying purchases, at no extra cost to you.

4mm Braided Macrame Cord
Select the 4mm option. The three cut pieces use 3.10 m altogether. A solid-color braid changes the finish from the original tinsel mix.
Shop Braided Cord →
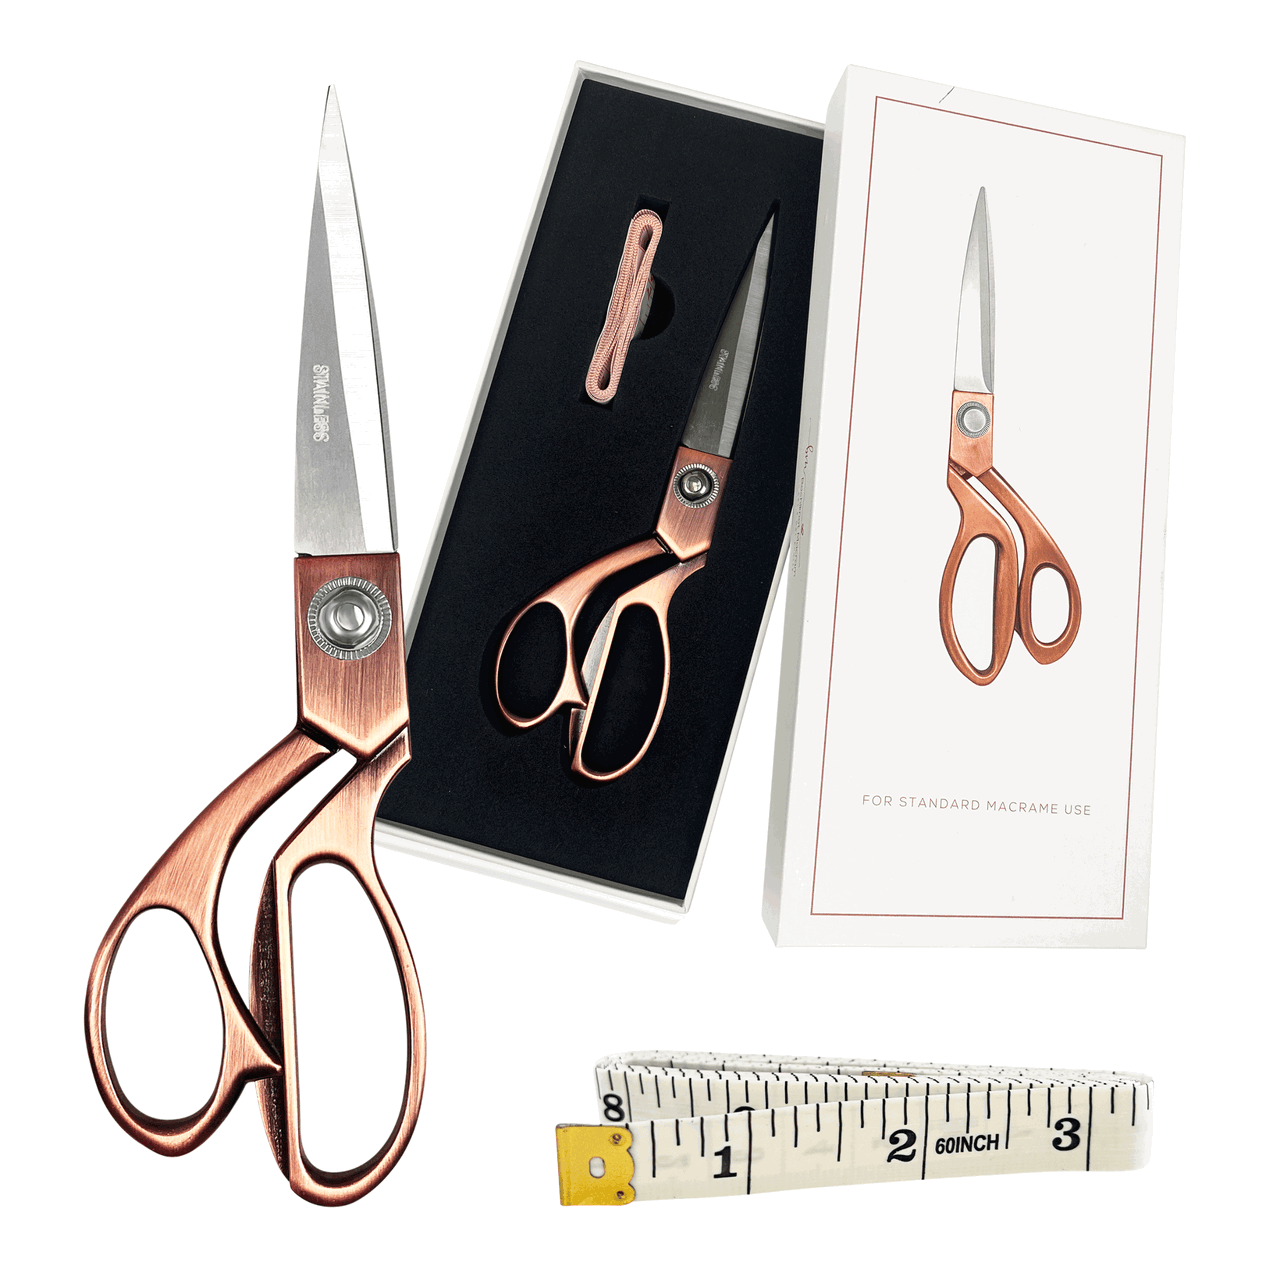
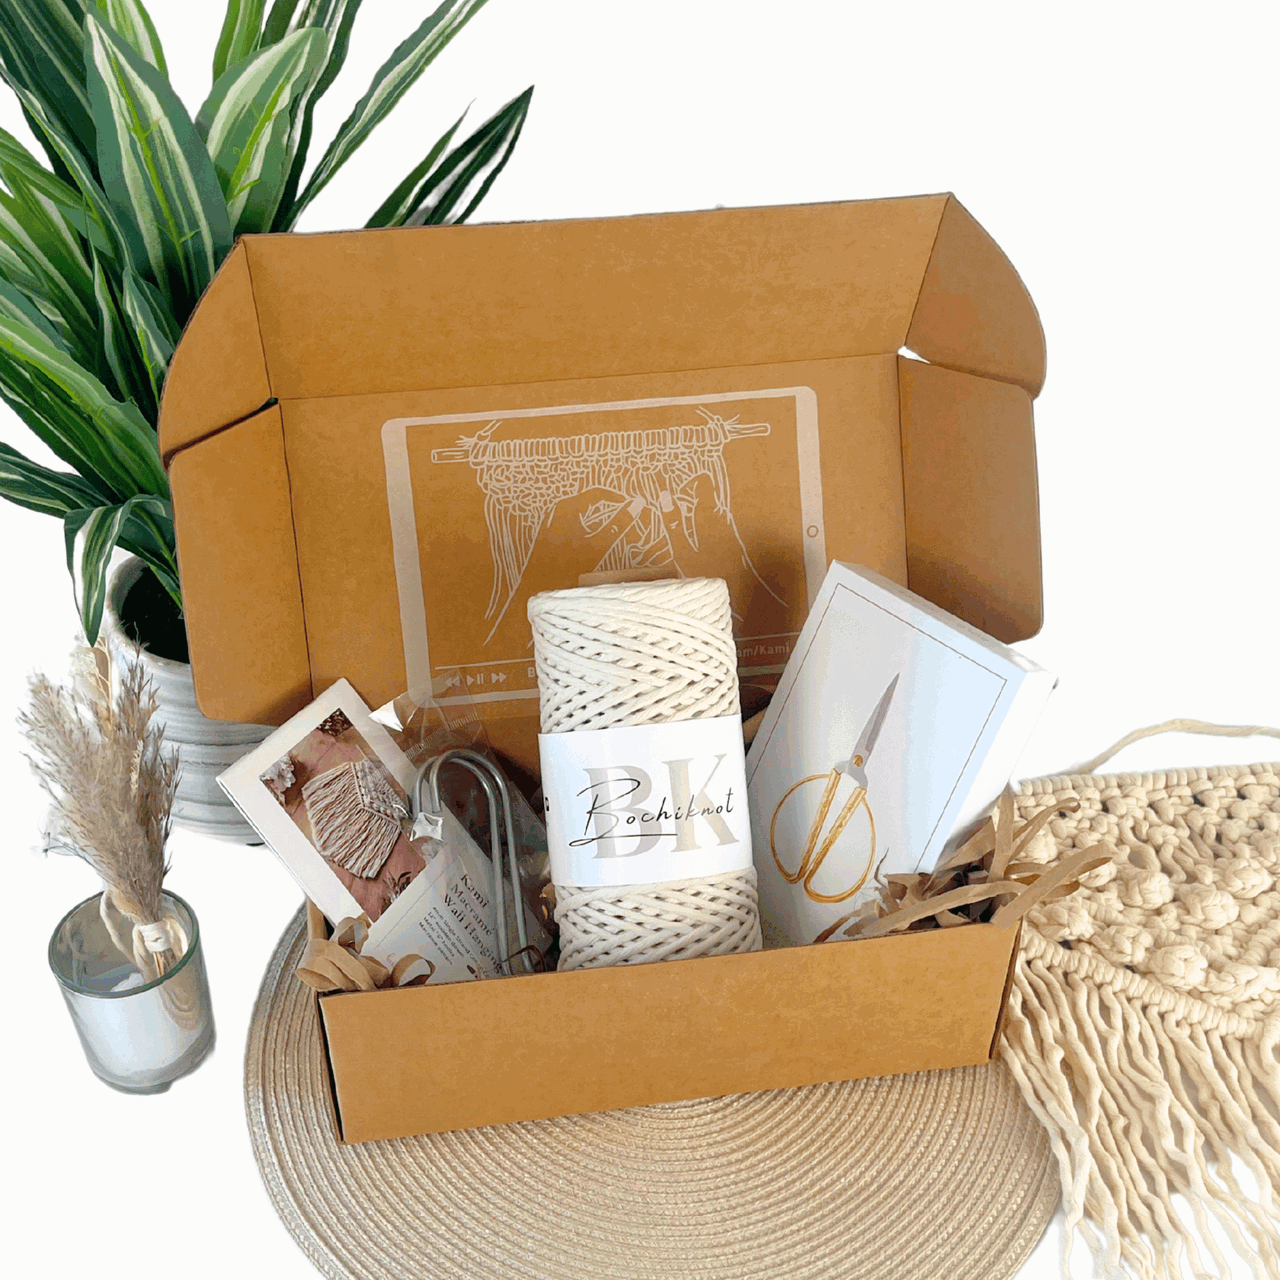
Gold Precision Scissors
Control the small finishing cuts near the join without cutting into the knotwork.
Shop Precision Scissors →
Macrame Measuring Tape
Measure the three unequal cord lengths and the ribbon before starting the repeating pattern.
Shop Measuring Tape →Your Remaining Tools
You also need 40 cm of ribbon, a glue gun or compatible craft glue, and tape or pins to secure the setup. Check the glue instructions and protect the work surface. Glue is part of this design’s ring closure.
Use supplies you already own where possible. For other craft essentials, browse the Bochiknot Amazon US storefront.
Cut Your Cord Before You Start
| Use | Cut length | Approximate conversion | Notes |
|---|---|---|---|
| Horizontal anchor | 1 × 50 cm | About 20 in | Secure horizontally |
| First working cord | 1 × 110 cm | About 43 in | Attach with DHH |
| Second working cord | 1 × 150 cm | About 59 in | Attach beside the first |
| Ribbon | 1 × 40 cm | About 16 in | Tie the finishing bow |
Total macrame cord: 3.10 m (about 10.2 ft), plus 40 cm of ribbon. The 150 cm cord is attached once, not twice. Keep the initial short ends available for the hanger.
Understand the Knots Before You Combine Them

Double Half Hitch
Tie two half hitches with the working strand around an anchor. The anchor sets the direction.
See The Knot Tutorial →The hanging loop uses an overhand knot; follow the close-up in the linked finishing step.
Secure the 50 cm cord horizontally. The starting tails are intentionally uneven; preserve approximately 4 inches (10 cm) at the top and left as demonstrated. Watch the first setup before tightening.

Watch Nicole Make It
Use the full video for an overview, or click the timestamp beside any step to jump directly to that demonstration.
No-Ring Mini Wreath: Step-by-Step Pattern
Read the instruction, compare the original step photos, then use the linked video whenever you need to see the cord move. Clicking a step photo also opens that step in the video.
1. Attach the two working cords
Place the 50 cm anchor cord horizontally. Attach the 110 cm cord and then the 150 cm cord with DHH knots. Keep them in that order; you are using only the three cords in the cutting list.


2. Check the starting tails
Leave about 4 inches (10 cm) at the top and left of the setup, following the video close-up. These short ends have a purpose later. Slide the knots into place and secure the work before forming the first turn.


3. Work the first turn to the left
Bring the right end over toward the left as the anchor. Tie two DHH knots around it. Hold the anchor in its intended curve rather than pulling the whole section flat.


4. Make the small U
Use the second cord from the right for one DHH to the right, then one DHH back toward the left. This creates the smaller turn in the alternating pattern. Compare its direction with the close-up before tightening.


5. Make the large U
Bring the original anchor cord toward the right and tie two DHH knots, then bring it back toward the left for two more. This wider turn forms the larger scallop.


6. Repeat one small and one large U
Make another small U and another large U using the same sequence. Pause to compare the repeat with the first one; consistent spacing helps the strip curve evenly into a wreath.


7. Continue to seven of each
Repeat until you have seven small U sections and seven large U sections. Count both types separately. Gently curve the strip into a circle to check the shape before finishing the ends.

8. Trim and close the wreath
Following the video, snip the bottom four cord ends and glue the sides of the strip together to form the ring. Preserve the top two cords for the hanger. Use a small amount of glue and hold the join according to the adhesive instructions until secure.


9. Tie the hanging loop
Use the top two cord ends to tie an overhand knot, forming a hanging loop above the wreath. Check that the circular knotwork sits evenly and the glued join is secure before lifting it by the loop.

10. Add the ribbon bow
Tie the 40 cm ribbon into a bow and glue it over the top join. Let the glue set completely. Trim the ribbon ends neatly and hang the wreath to check the final balance.

Check the shape from the front and back, secure every attachment, and hang the ornament before your final trim.
If Your No-Ring Mini Wreath Looks Different
My strip will not form a round wreath.
Count seven small and seven large U sections, then compare their spacing. Uneven tension can make one side tighter. Adjust the knotwork before gluing rather than forcing the ends together.
I ran out of a working cord.
Check the three starting lengths and the short-tail placement at 3:21. Equalizing all the tails at the start can leave too little working cord for the repeats. Different cord thicknesses also change consumption.
The join looks messy.
Dry-fit the circle first and use only enough glue for a secure join. Keep excess adhesive off the front. Position the bow over the join after the circle has set.

Display It, Gift It, Make It Yours
Tie the finished wreath onto a gift or hang it on a small Christmas tree. Change the ribbon to coordinate several ornaments without changing the knot pattern. Pack it flat so the bow and scalloped outline keep their shape.
Share your finished piece and tag @bochiknot on Instagram. Seeing how a familiar pattern looks in another maker’s colors is part of the fun.
Questions Before You Start?
Does this macrame wreath need a ring?
No. Its structure comes from the repeating knotted strip, which is curved into a circle and glued at the join. It is different from the six-leaf wreath that uses a wooden ring.
Can I make it without glue?
The demonstrated construction uses glue to close the circle and attach the bow. A sewn or knotted closure would be a modification, not the method shown in this tutorial.
How much cord do I need?
Use one 50 cm, one 110 cm and one 150 cm piece of 4mm braided cord: 3.10 m total. Add 40 cm of ribbon for the bow.
Can I change to single-strand cord?
Single-strand cord behaves differently and can fray at the short finishing cuts. For your first wreath, use the specified hollow braided construction. Test any substitution before making a batch.
What Would You Like to Make Next?
Keep exploring with another free Christmas macrame tutorial. Choose a different construction to build on what you just practiced.

Mini Macrame Wreath Ornament: Free 3D Leaf Pattern
Make a mini macrame wreath ornament by knotting six small leaves and tying them around a 2-inch wooden ring.
Try This Free Pattern →
DIY Macrame Angel Ornament: Free Wooden Ring Pattern
This DIY macrame angel ornament combines a wooden ring halo, a wooden bead head, two knotted wings, and a soft tassel skirt.
Try This Free Pattern →
Macrame Christmas Tree Ornament: Free Metallic Cord Pattern
Make a macrame Christmas tree ornament with layered diagonal knots, a star bead, and a wrapped tassel trunk.
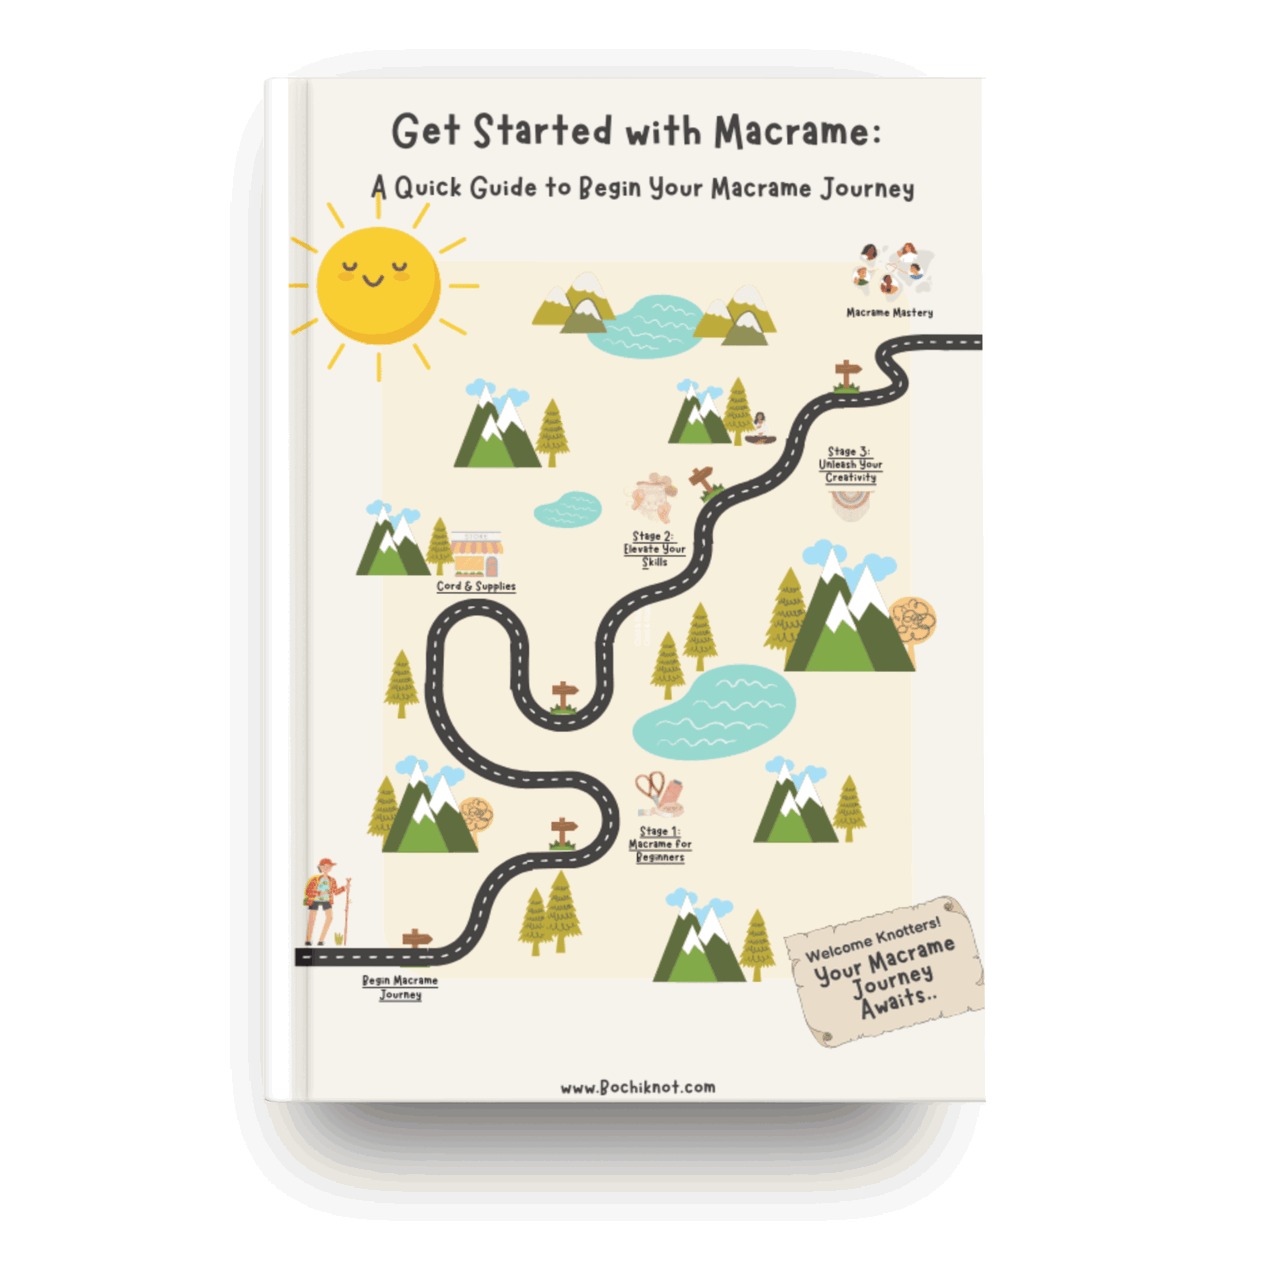
Try This Free Pattern →Browse all Christmas macrame tutorials, or follow the Macrame Journey to choose your next learning stage.
KEEP A KNOT REFERENCE NEARBY
A Little Help Between Tutorial Pauses
Revisit a knot before repeating it across your project. Our free 50 Macrame Knots & Sennits guide gives you a reference to return to as you learn.
Get The Free Knot Guide →A LITTLE SUPPORT FOR YOUR NEXT PROJECT
Keep Learning With The Bochiknot Patreon Community
If you would like a regular reason to pick up your cord, explore the Bochiknot community on Patreon. Choose the level of guidance that fits the projects you want to make.

TIER 1
Mini-Macrame Creations
Explore smaller projects with patterns and video guidance.

TIER 2
Mastering Macrame Skills
Build your technique through guided projects, lessons, and creative challenges.

TIER 3
Macrame Masterpiece
Explore a learning and materials-kit option. Compare the kit schedule and shipping details on Patreon.
Tier 3 also has Macrame Masterpiece Lite (S2) and Macrame Masterpiece Bundle (S1) options. See Patreon for the current inclusions, availability, and pricing.

NICOLE WOO · BOCHIKNOT
Enjoy making something personal for your Christmas tree. Take your time with the shaping, and let the first ornament be your practice piece.

A Little Inspiration Between Projects
Follow Bochiknot for tutorials, new ideas, and more ways to keep knotting.
Pattern and instruction: Nicole Woo, Bochiknot. Original step photographs accompany the linked tutorial. Lifestyle scenes are styled illustrations of the finished project.

Leave a comment