























Macrame Christmas Tree Ornament: Free Metallic Cord Pattern

FREE CHRISTMAS MACRAME PATTERN · BY NICOLE WOO
Imagine hanging this little tree on an evergreen branch and turning it slightly toward the light. The metallic cord catches a glimmer, the diagonal rows stand out, and the star at the top gives it that final Christmas touch. There’s a lot of detail tucked into this macrame Christmas tree ornament.
The making has its own little reveal. We’ll start beneath the star, add pairs of cords as the tree grows wider, then bring the lower edges together and wrap the trunk. You can watch the silhouette develop with each row.
This is a project to settle into and enjoy at your own pace. I’ll guide you through the cord additions and closing rows, with photos and video timestamps whenever you need a closer look. Choose two colors you love together, and let’s give your Christmas tree a handmade tree of its own.
New to the knots? Keep our free 50 Macrame Knots & Sennits guide nearby while you follow the video.
The Project at a Glance
Finished measurements are approximate and depend on cord and tension. Allow extra time if you are learning the knots.
Cord and Materials for Your Metallic Tree Ornament
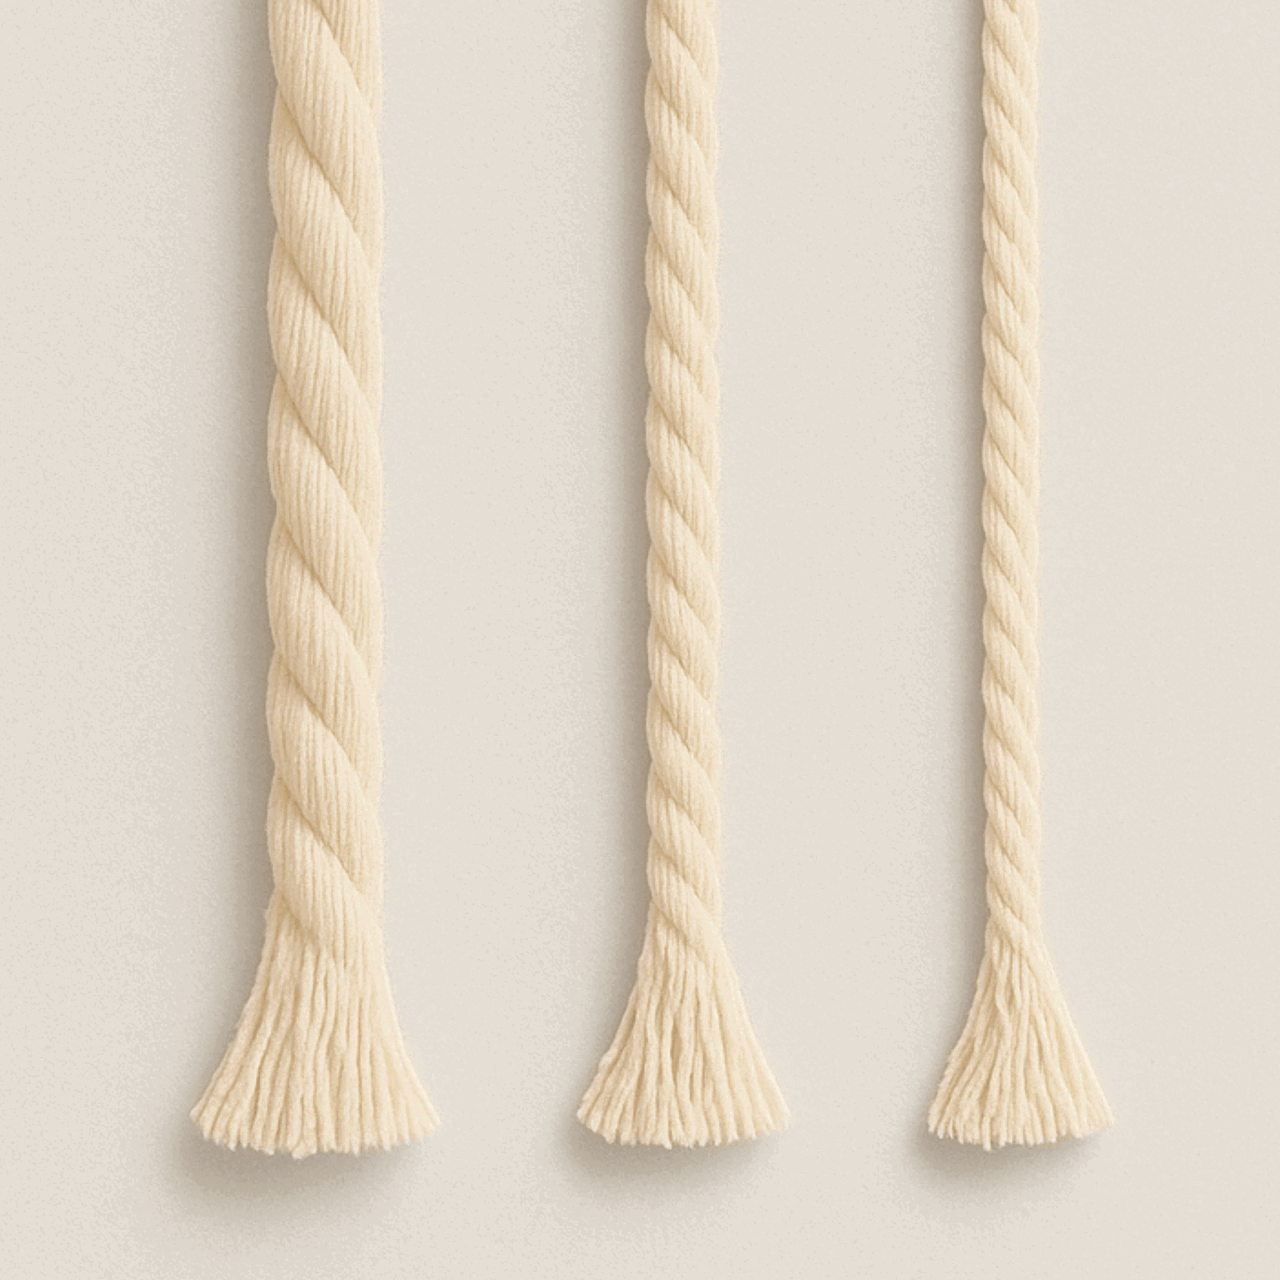
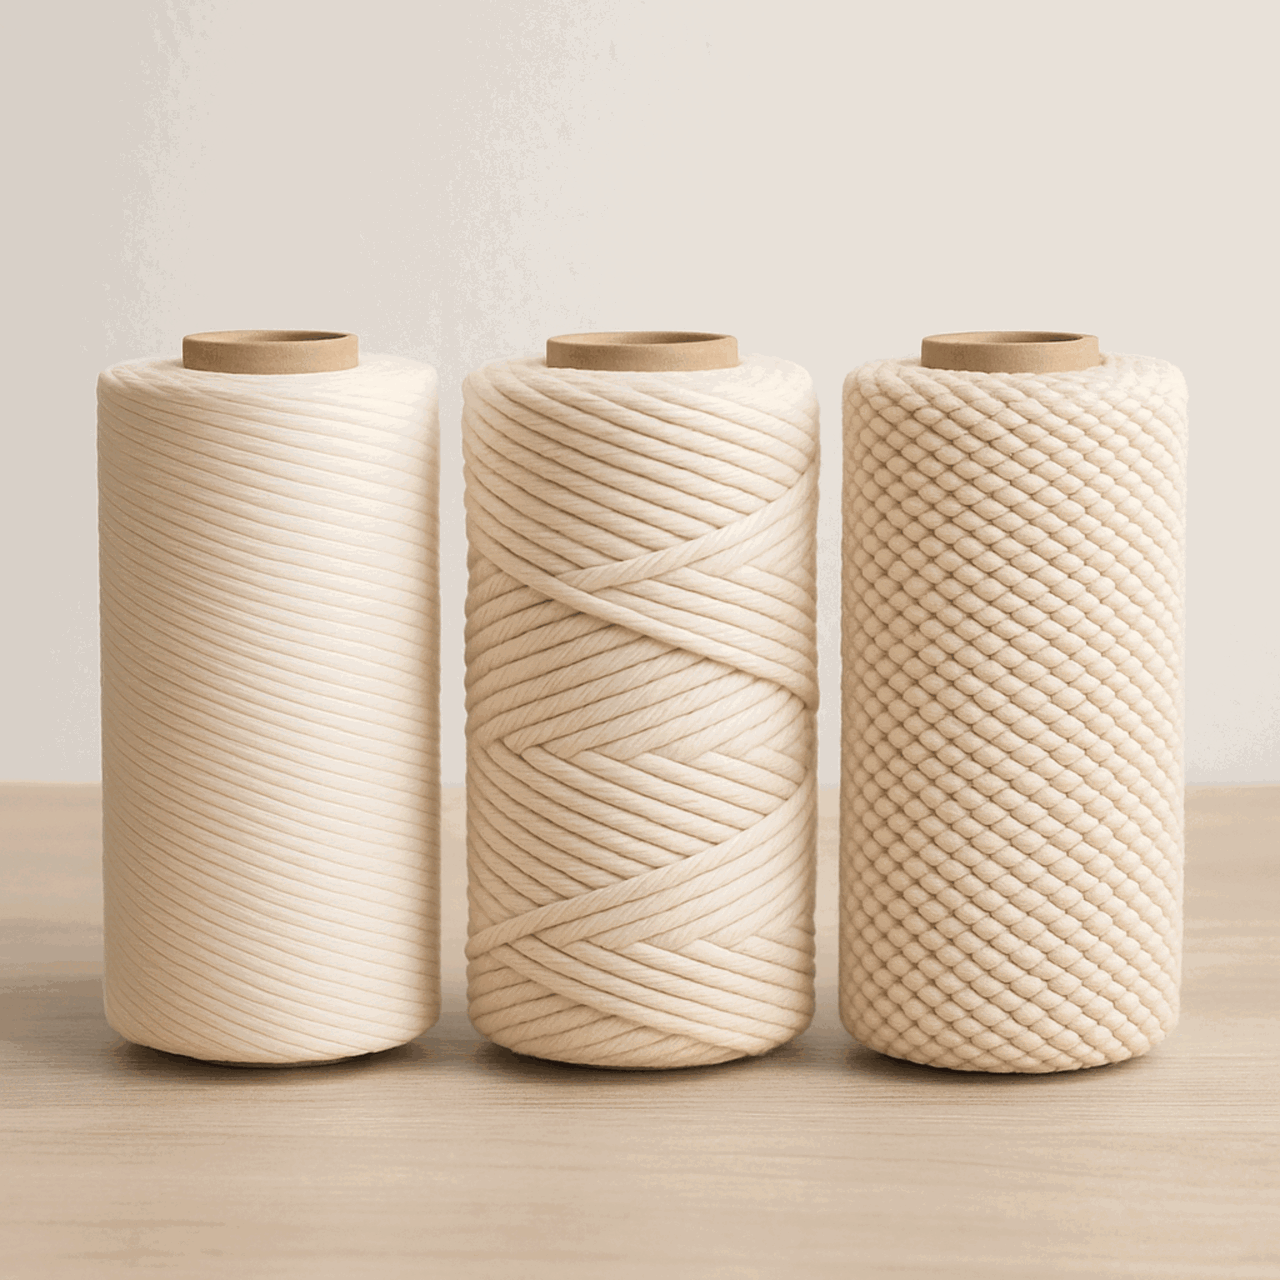
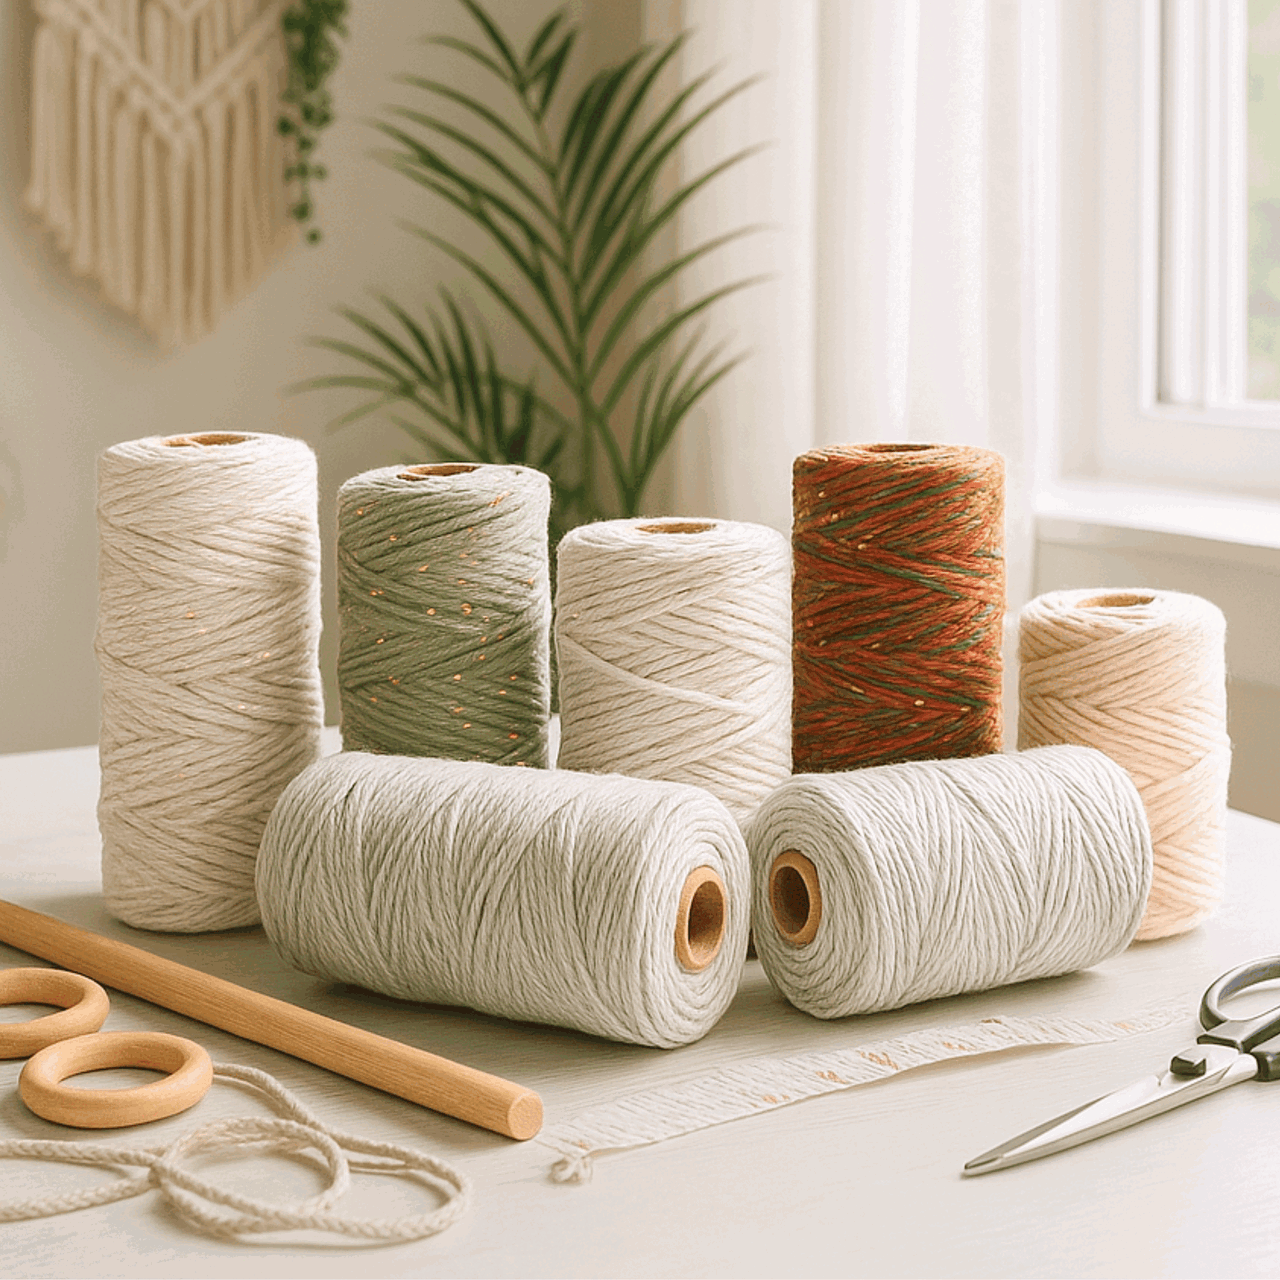
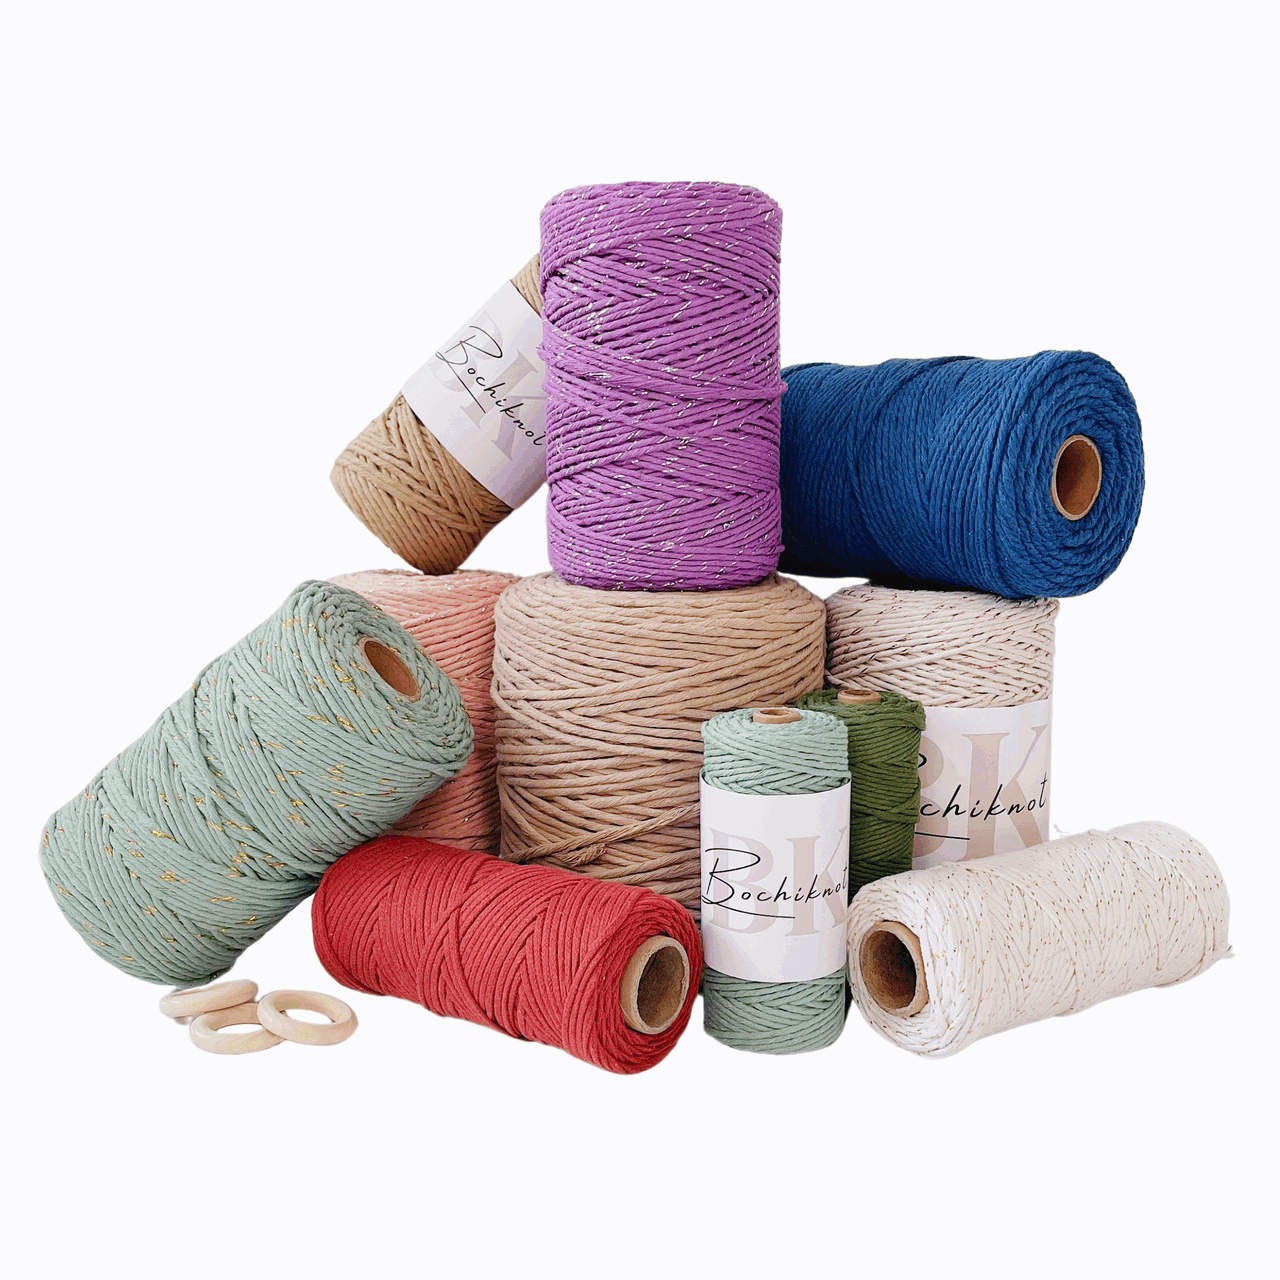
The original uses 3mm braided metallic cord in two colors and a 12mm star bead with a 5mm hole. The original metallic cord is currently sold out. A 3mm braided cotton alternative will have a different sheen and knot feel; make a sample before committing to a batch. Our current large star bead lists a 4mm hole, so it is not a guaranteed fit for the two tree strands.
Some links are affiliate links. As an Amazon Associate, Bochiknot earns from qualifying purchases, at no extra cost to you.

3mm Braided Cord Alternative
Choose 3mm and two colors. You need 7.20 m for the tree and 0.90 m for the hanger and trunk. This is a nonmetallic alternative to the video cord.
Shop Braided Cord →
Star Bead — Check the Hole
The video uses a 12mm bead with a 5mm hole. Current large star beads list 4mm holes. Test both cord ends before starting; choose a larger-hole bead if needed.
View Star Beads →
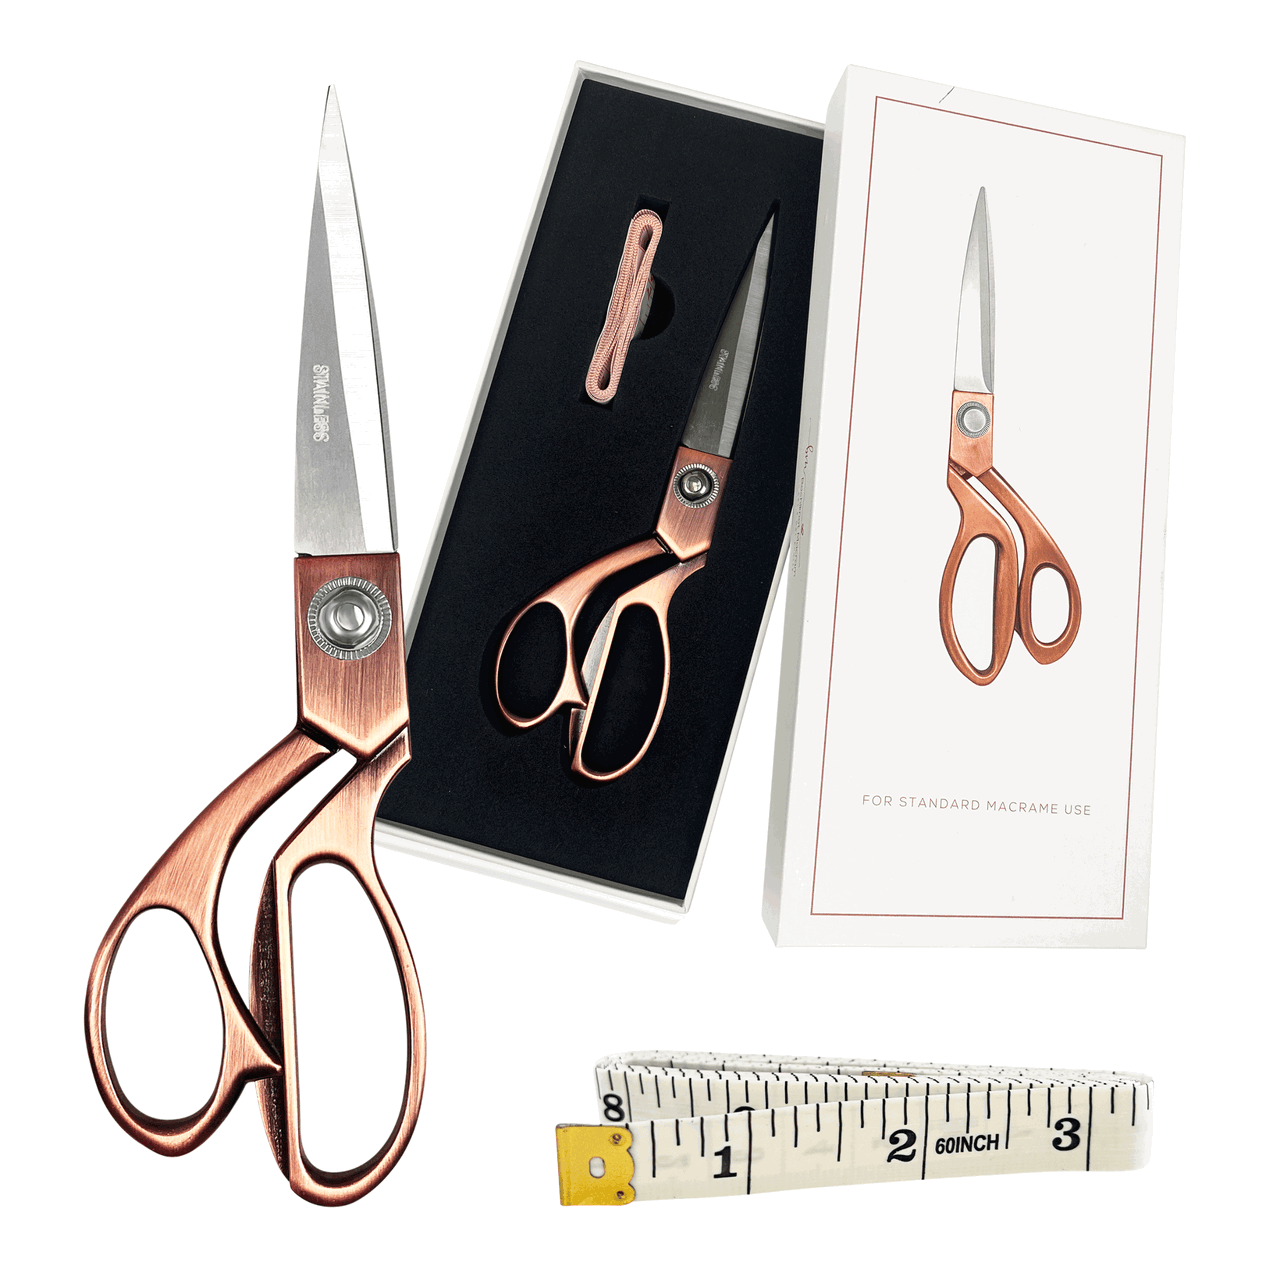
Gold Precision Scissors
Tidy the closing-row tails and trim the tassel in small passes once the trunk is secure.
Shop Precision Scissors →Your Remaining Tools
Have measuring tape and tape or pins for securing the hanger. The original metallic braided cord is linked for reference; check its availability before planning matching ornaments. No ring is used for this tree.
Use supplies you already own where possible. For other craft essentials, browse the Bochiknot Amazon US storefront.
Cut Your Cord Before You Start
| Use | Cut length | Approximate conversion | Notes |
|---|---|---|---|
| Tree — color 1 | 3 × 100 cm | About 39.5 in each | Center attachment plus first side pair |
| Tree — color 1 | 2 × 80 cm | About 31.5 in each | Second side pair |
| Tree — color 1 | 2 × 70 cm | About 27.5 in each | Third side pair |
| Tree — color 1 | 2 × 60 cm | About 24 in each | Fourth side pair |
| Hanger — color 2 | 1 × 30 cm | About 12 in | Fold and knot the ends |
| Trunk — color 2 | 1 × 60 cm | About 24 in | Gathering knot |
Total: 8.10 m (about 26.6 ft): 7.20 m in color 1 and 0.90 m in color 2. There is no 600 cm cord in this cutting list. Sort the side cords into equal pairs before you begin.
Understand the Knots Before You Combine Them

Reverse Lark’s Head + Half Hitch
Use the combined mounting knot shown in this pattern; it is different from a plain attachment.
See The Knot Tutorial →
Double Half Hitch
Tie two half hitches with the working strand around an anchor. The anchor sets the direction.
See The Knot Tutorial →
Gathering Knot
Wrap a bundle, feed the end through the loop and pull it beneath the wraps to secure.
See The Knot Tutorial →The first tree cord uses a Reverse Lark’s Head. The hanger begins with an overhand knot.
Test the bead with both ends of your tree cord. Mount the hanger securely, then set aside pairs of 100, 80, 70 and 60 cm cords in that order.

Watch Nicole Make It
Use the full video for an overview, or click the timestamp beside any step to jump directly to that demonstration.
Metallic Tree Ornament: Step-by-Step Pattern
Read the instruction, compare the original step photos, then use the linked video whenever you need to see the cord move. Clicking a step photo also opens that step in the video.
1. Tie the hanging loop
Fold the 30 cm color 2 cord in half and tie an overhand knot at the ends. This makes the loop that supports the ornament while you work and when it is displayed.


2. Add the first tree cord and bead
Fold one 100 cm color 1 cord and attach it to the handle with a Reverse Lark’s Head. Thread the large-hole star bead onto the two hanging ends. Check that it moves into position without damaging the cord.


3. Begin the triangle
Use the two vertical strands to make a diagonal DHH toward the left. Attach one 100 cm cord on each side with Reverse Lark’s Head Plus Half Hitch knots, then work from the middle outward to build the first diagonal row. Side attachments at 6:10 · First row at 7:09.


4. Widen the tree with paired cords
Attach the two 80 cm cords at the outer left and right, then work DHH rows from the middle toward both sides. Repeat with the 70 cm pair and its rows, then attach the 60 cm pair. Keep each pair at the same height. Rows after the 80 cm pair: 9:13 · 70 cm pair: 9:59 · 60 cm pair: 10:18.


5. Fill the lower middle
Work a row on both sides while leaving out the far-left two and far-right two strands. Add two more rows, skipping the last two strands of each row each time as demonstrated. These excluded strands remain available for the closing edge; do not cut them. Watch the repeated rows at 11:19.


6. Close the edges toward the center
Use the far-left cord as the anchor for a DHH. Include the working cord with the anchor for the next knot, continuing the sequence toward the middle and stopping at the position shown in the video. Mirror the closing row on the right. Pause to compare the outline before moving to the trunk. Mirror the right edge at 15:52.


7. Make the wrapped trunk
Bring the remaining center cords together and use the 60 cm color 2 cord to tie a large Gathering knot around them. Keep the wraps close and even, then pull the loop beneath the wraps to secure the binding.


8. Trim and display
Tidy excess cord ends and trim the bottom tassel after the Gathering knot is secure. Work a little at a time and check the shape hanging upright. Leave the metallic braid as a cord tassel rather than trying to brush it into cotton fringe.


Check the shape from the front and back, secure every attachment, and hang the ornament before your final trim.
If Your Metallic Tree Ornament Looks Different
My tree leans to one side.
Check that each pair of side cords was added at the same row and that the left and right anchors have matching angles. Correct the row before the closing knots lock the outline in place.
The bead hole is too small.
Do not assume a 12mm bead has the right hole. The video bead has a 5mm hole; the current product has a different listed hole size. Choose a bead that accepts both strands comfortably.
My closing edge looks bulky.
Follow the video one knot at a time and check which working strand joins the anchor bundle. Adding the wrong strands can build an oversized edge. Avoid trimming until you have confirmed the cord path.

Display It, Gift It, Make It Yours
Let the tree stand out against dark evergreen or use it as a reusable gift topper. Choose a contrasting hanger and trunk to emphasize the silhouette. Store the ornament flat and avoid crushing the star or bending the lower edge.
Share your finished piece and tag @bochiknot on Instagram. Seeing how a familiar pattern looks in another maker’s colors is part of the fun.
Questions Before You Start?
How much cord does this tree ornament use?
The pattern uses 8.10 m in total: 7.20 m for the tree and 0.90 m for its hanger and wrapped trunk. Keep additional cord for practicing the closing row.
Is this a 20-minute beginner project?
The tutorial video is about 21 minutes, but making the ornament takes longer when you pause, practice and trim. Treat it as a detailed project for a relaxed crafting session.
What is the finished size?
The source tutorial gives approximately 3.5 inches wide by 6 inches long, plus a 4-inch hanger. Cord choice and tension can change the result.
Can I use cotton instead of metallic cord?
A 3mm braided cotton cord is an alternative, but the finish, stiffness and cord consumption can differ. Make a sample with the listed lengths before cutting multiple sets.
What Would You Like to Make Next?
Keep exploring with another free Christmas macrame tutorial. Choose a different construction to build on what you just practiced.

Mini Macrame Wreath Ornament: Free 3D Leaf Pattern
Make a mini macrame wreath ornament by knotting six small leaves and tying them around a 2-inch wooden ring.
Try This Free Pattern →
DIY Macrame Angel Ornament: Free Wooden Ring Pattern
This DIY macrame angel ornament combines a wooden ring halo, a wooden bead head, two knotted wings, and a soft tassel skirt.
Try This Free Pattern →
Mini Macrame Wreath Ornament: Free Pattern Without a Ring
Create a mini macrame wreath ornament from three cords, a repeating scalloped knot pattern, and a ribbon bow.
Try This Free Pattern →Browse all Christmas macrame tutorials, or follow the Macrame Journey to choose your next learning stage.
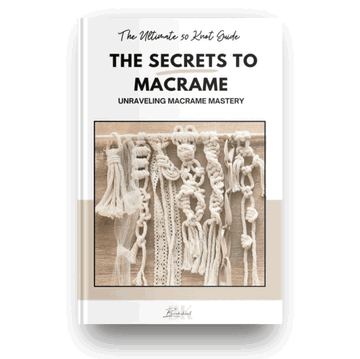
KEEP A KNOT REFERENCE NEARBY
A Little Help Between Tutorial Pauses
Revisit a knot before repeating it across your project. Our free 50 Macrame Knots & Sennits guide gives you a reference to return to as you learn.
Get The Free Knot Guide →A LITTLE SUPPORT FOR YOUR NEXT PROJECT
Keep Learning With The Bochiknot Patreon Community
If you would like a regular reason to pick up your cord, explore the Bochiknot community on Patreon. Choose the level of guidance that fits the projects you want to make.

TIER 1
Mini-Macrame Creations
Explore smaller projects with patterns and video guidance.

TIER 2
Mastering Macrame Skills
Build your technique through guided projects, lessons, and creative challenges.

TIER 3
Macrame Masterpiece
Explore a learning and materials-kit option. Compare the kit schedule and shipping details on Patreon.
Tier 3 also has Macrame Masterpiece Lite (S2) and Macrame Masterpiece Bundle (S1) options. See Patreon for the current inclusions, availability, and pricing.

NICOLE WOO · BOCHIKNOT
Enjoy making something personal for your Christmas tree. Take your time with the shaping, and let the first ornament be your practice piece.

A Little Inspiration Between Projects
Follow Bochiknot for tutorials, new ideas, and more ways to keep knotting.
Pattern and instruction: Nicole Woo, Bochiknot. Original step photographs accompany the linked tutorial. Lifestyle scenes are styled illustrations of the finished project.

Leave a comment