

































3 Macrame Knot Patterns: Colourful Sennits, Step by Step

A change in colour placement can make the same knot sequence look completely different. These three macrame knot patterns show you how: make a flowing wave braid, an interwoven fishtail braid, and an alternating side square-knot sennit, then compare six variations.
This is a free technique sampler with photo instructions and a video. Use the samples to choose a decorative strip for a wall hanging or to explore a future accessory design. The cutting lists are for practice samples, rather than a complete wall-hanging project.
New to knotting? Start with our free 50 Macrame Knots & Sennits downloadable guide and keep it nearby as a reference. Practise the lark’s head attachment and square knot before trying the variations below.
What you’ll learn3 pattern families · 6 variations
Suggested cord3mm cotton · 2–3 colours
Start hereChoose one sample before cutting
Which macramé sennit should you try?
A sennit is a repeated sequence of knots or braiding that forms a continuous strip. One knot is a building block; repeating the sequence creates the sennit. Here, the fishtail is braided, while the other patterns use knotting movements.
Wave braid
Choose this for soft curves and an asymmetric sweep of colour. One bundle of three working strands moves against a single working strand.
Fishtail braid
Choose this for a flat, interwoven strip. Four pairs of strands cross in a repeating over-and-under sequence.
Alternating side sennit
Choose this for a compact, textured chain. Try single strands first, then double the strands for a fuller result.
Affiliate note: As an Amazon Associate, we earn from qualifying purchases. Amazon product links below are affiliate links; there is no extra cost to you.
Cord and tools for your sennit samples
Use supplies you already own where possible. Choose two or three contrasting colours of the same thickness and construction so you can follow each strand. Our 3mm single-strand recycled cotton cord is an option for practice; changing cord or tension changes the finished size and cord consumption.

3mm single-strand cord
Choose 2–3 colours. The table below gives the lengths for each separate sample. Select the 3mm option on the product page.
Shop 3mm Cord →
Rose gold scissors
Cut the measured lengths cleanly, and save the final trim until you have chosen how to finish or use your sample.
Shop Rose Gold Scissors →
A secure work setup
Mount the samples on a dowel you already own and secure it so it cannot roll. Keep a measuring tape nearby for cutting and sample notes.
Shop Tools & Accessories →Shop these supplies on Amazon: 3mm single-strand cord ↗ · Rose gold scissors ↗
Prefer browsing the full range? Browse the Bochiknot Amazon US storefront or Amazon Canada storefront. Check the cord thickness, construction and colour before ordering.
Unsure which fibre or construction to choose? Read our guide to macrame cord and materials.
Cutting list: cords are not the same as strands
Count before you begin: one cut cord folded over the dowel produces two hanging strands. Three cut cords give you six strands; four cut cords give you eight. A “pair” below means two hanging strands held together.
| Sample | Cut cords | Hanging strands | Colour choice |
|---|---|---|---|
| Wave braid · 3 colours | 3 × 150cm (59in) | 6 | One cut cord in each colour |
| Wave braid · 2 colours | 3 × 150cm (59in) | 6 | Two cut cords in colour A; one in B |
| Fishtail · arrangement 1 | 4 × 150cm (59in) | 8 | Two cut cords each in A and B |
| Fishtail · arrangement 2 | 4 × 150cm (59in) | 8 | Two cut cords each in A and B |
| Side sennit · single | 2 × 200cm (79in) | 4 | One cut cord each in A and B |
| Side sennit · doubled | 4 × 200cm (79in) | 8 | Two cut cords each in A and B |
Making all six samples uses 33m of cut cord in total, before any extra practice allowance. You do not need to make them all. These lengths do not guarantee a particular finished length: your cord, tension, mounting and chosen finish all affect the result.
For a longer design, make a short sample and measure how much each working strand uses over several repeats. Scale from that sample, then allow extra for mounting and finishing. See how to measure cord for macrame before cutting an entire project.
Watch the three sennit patterns take shape
The watch links beside each variation and its photos open YouTube at the matching chapter in a new tab, so you can keep your place here.
Keep the video beside the photo instructions when checking a loop or crossing. Pause after each movement, then match the position of your strands before continuing.
1. Wave braid: three-colour and two-colour versions
The wave comes from using uneven working groups: a bundle of three on one side and a single strand on the other, with two filler strands in the middle. Keep the three-strand bundle together throughout.
Variation A: three-colour wave braid
Watch 3-colour wave braid · 02:06
Cut: 3 × 150cm cords, one in each colour.
- Mount the first two cords. Fold each in half and attach it to the dowel with a lark’s head knot.
- Add the third cord around the outside. Follow the mounting photos: before tightening its attachment, bring the middle four hanging strands through its loop. Tighten so the third cord’s two ends sit outside the other four.

Watch this variation · 02:06

Watch this variation · 02:06
- Make three groups. From left to right, separate 3 working strands, 2 centre filler strands and 1 working strand.
- Make the first half. Bring the three-strand bundle across the front of the centre fillers toward the right, leaving a loop on the left. Pass the single right strand behind the fillers and out through that left loop. Draw the two working groups gently apart.
- Mirror the movement. The bundle is now on the right. Bring it across the front toward the left, leaving a loop on the right. Pass the single strand behind the fillers and through the right loop.
- Repeat both halves. Alternate sides, keeping the two filler strands in the centre. Settle each repeat without crushing the curved bundle.

Watch this variation · 02:06

Watch this variation · 02:06

Watch this variation · 02:06

Watch this variation · 02:06

Watch this variation · 02:06

Watch this variation · 02:06
Variation B: two-colour wave braid
Watch 2-colour wave braid · 05:55
Cut: 3 × 150cm cords: two in colour A and one in B.
- Attach the two A cords on the left and the B cord on the right with lark’s head knots.
- Separate the six hanging strands into the same 3–2–1 groups. Count strands, not the three folded cords.
- Repeat the same mirrored wave-braid movements above. Keep the centre pair as fillers and the three working strands together.

Watch this variation · 05:55

Watch this variation · 05:55
If the wave looks uneven: check that one strand has not slipped out of the three-strand bundle. Compare several repeats at the same tension before changing the knot sequence.
2. Fishtail braid: change the colour placement
This version uses eight hanging strands in four pairs. Treat each pair as one unit; the two strands in a pair travel together. There are no stationary filler strands in this braid.
Variation A: grouped colours
Watch fishtail braid · grouped colours · 08:25
Cut: 4 × 150cm cords: two in A and two in B.
- Attach the cords with lark’s head knots in the order A–A–B–B. Divide the eight hanging strands into four adjacent pairs.
- Take the far-left pair over the next pair and under the following pair. Keep the two strands flat and together.
- Take the far-right pair over the next pair and under the following pair. Use the pairs’ new positions after the previous move.
- Alternate left and right. Ease the crossings upward evenly without pulling one edge tighter than the other.

Watch this variation · 08:25

Watch this variation · 08:25

Watch this variation · 08:25

Watch this variation · 08:25
Variation B: one colour in the centre
Watch fishtail braid · centre colour · 10:29
Cut another 4 × 150cm cords. This time mount them B–A–A–B: two A cords in the centre and a B cord at each outside edge. Make the same four pairs and repeat the identical over-and-under sequence. The starting arrangement changes where the colours appear.

Watch this variation · 10:29

Watch this variation · 10:29
If the colour pattern breaks: stop at the first irregular crossing. Check for a split pair or an over-crossing where an under-crossing belongs. Undo to that point rather than tightening later rows to disguise it.
3. Alternating side square-knot sennit
This lesson’s alternating side square-knot sennit switches the inner strand used between half-knots. Unlike a standard four-strand square knot worked around the same two fillers, these half-knots alternate around individual inner strands. Use the photos to track which strand stays clear.
Variation A: single strands
Watch side sennit · single strands · 11:27
Cut: 2 × 200cm cords, one in each colour.
- Attach both cords with lark’s head knots. You now have four hanging strands.
- Use the far-left and far-right strands as the working strands. Make the first half-knot around the left inner strand, keeping the other inner strand outside that knot.
- Using the same outer working strands, make the opposing half-knot around the right inner strand. Keep the left inner strand clear this time.
- Continue switching the inner strand used from side to side. Bring each half-knot into place with consistent tension.

Watch this variation · 11:27

Watch this variation · 11:27

Watch this variation · 11:27

Watch this variation · 11:27
Variation B: doubled strands
Watch side sennit · doubled strands · 13:51
Cut: 4 × 200cm cords: two in each colour.
- Mount the cords with matching colours together: A–A–B–B.
- Divide the eight hanging strands into four adjacent pairs. Each pair takes the place of one strand in the single version.
- Use the two outer pairs as the working groups. Alternate half-knots around the left inner pair and the right inner pair, keeping the unused inner pair clear.
- Keep both strands of each pair parallel. Repeat to compare the fuller texture with your first sample.

Watch this variation · 13:51

Watch this variation · 13:51
Before making it wider: practise the single version until you can identify the two working strands and the inner strand used in each half-knot. Doubling strands adds bulk; it does not remove the need to follow the same cord path.
Turn a sample into part of your own design
Frame a wall hanging
Try two matching sennit strips beside a central panel. Use the same repeat count and compare their finished lengths before trimming.
Add a layer
Place a coloured braid in front of a neutral panel. Decide where it joins the main piece before cutting or securing its ends.
Plan an accessory
Use a sample to explore a keychain or decorative strap. Choose a complete project pattern for the hardware, attachment and finishing.
For a next project, see how to add layers to a macrame wall hanging. To plan your own arrangement, work through our macrame design guide.
Finish deliberately: leave enough unworked cord for the attachment or ending your chosen project requires. Secure the sample before removing it from its support, and do not trim the working tails flush while you are still deciding how to use it.
Questions about macrame braids and sennits
Which pattern should a beginner try first?
Choose the two-colour wave braid if you already understand a square knot’s mirrored half-knots. If you prefer weaving movements, try the fishtail and keep its four pairs clearly separated. Practise one repeat slowly before making a long strip.
Can I use one colour instead of two or three?
Yes. The cord paths remain the same. Contrasting colours simply make it easier to track a working strand and see how the starting arrangement affects the result.
Can I use 4mm cord or three-ply rope?
You can experiment, but the samples will differ in width, texture and cord use. Make a test sample before scaling up, and keep the same thickness and construction across your colours for a first comparison.
Why is one strand running out before the others?
Working strands travel around or across other strands and may use more length than fillers. Stop before you lose enough tail to finish. For a new version, measure consumption by strand or group from a sample rather than assuming all positions need equal lengths.
Why does my sennit twist or pull to one side?
Check the sequence before adjusting tension. In the wave and side-knot patterns, confirm that you are alternating the intended movements. In the fishtail, check both the crossing order and whether each pair stayed together. Keep your mounting stable and ease the repeats into place evenly.
Is this a complete free wall-hanging pattern?
It is a free guide to three decorative pattern families with six samples. It does not provide the full cutting list, layout or finishing instructions for a complete wall hanging. Use the linked project tutorials when you are ready to make a finished piece.
How long will my finished sample be?
There is no single finished length for these cutting lists. Cord thickness, tension, mounting and the amount reserved for finishing all change the result. Measure your own sample and record the repeat count before planning a larger design.
KEEP YOUR CREATIVITY MOVING
Choose Your Next Free Macrame Tutorial
Ready to try another pattern? These free tutorials give you a next step—from another braid to a layered wall hanging or a small keychain project.
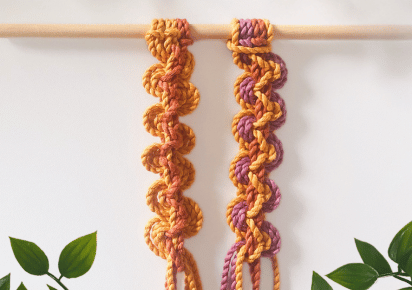
Explore More Wave-Braid Patterns
Build on your sennit practice with two more wave-braid variations and follow the cord movements in another lesson.
Try Wave-Braid Patterns →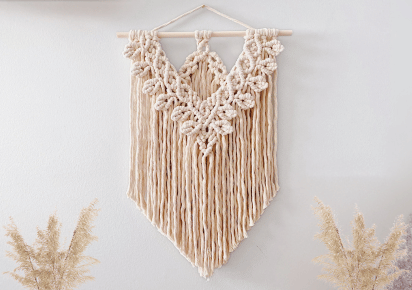
Make a Layered Wall Hanging
See how decorative strands and layers come together in a larger wall-hanging design.
Make This Wall Hanging →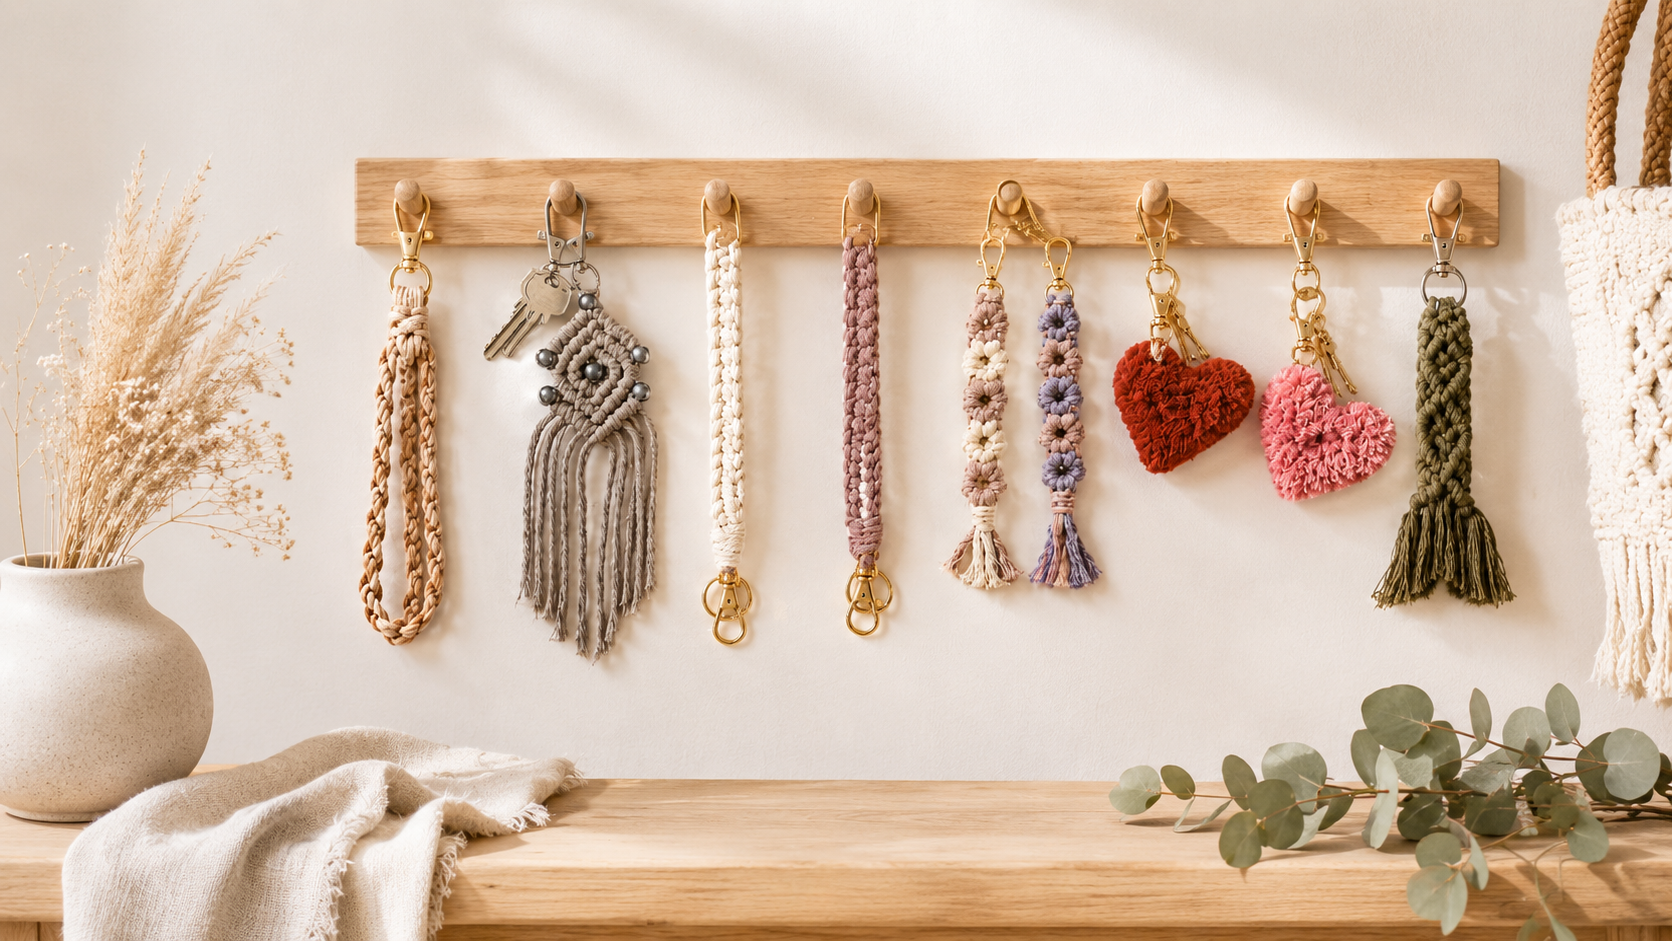
Try a Macrame Keychain
Turn your next practice session into a small project. Compare the keychain designs and choose the knots you want to try.
Browse Keychain Patterns →For a guided path through the basics, techniques and your own designs, explore the Macrame Journey. Keep your samples labelled so you can return to a favourite colour combination.
KEEP A KNOT REFERENCE NEARBY
A little help between tutorial pauses
Revisit a knot before repeating it across your project. Our free 50 Macrame Knots & Sennits guide gives you a reference to return to as you learn.
Get The Free Knot Guide →A LITTLE SUPPORT FOR YOUR NEXT PROJECT
Keep learning with the Bochiknot Patreon community
If you would like a regular reason to pick up your cord, explore the Bochiknot community on Patreon. Choose the level of guidance that fits the projects you want to make.
TIER 1
Mini-Macrame Creations
Explore smaller projects with patterns and video guidance.
TIER 2
Mastering Macrame Skills
Build your technique through guided projects, lessons, and creative challenges.
TIER 3
Macrame Masterpiece
Explore a learning and materials-kit option. Compare the kit schedule and shipping details on Patreon.
Tier 3 also has Macrame Masterpiece Lite (S2) and Macrame Masterpiece Bundle (S1) options. See Patreon for the current inclusions, availability, and pricing.

NICOLE WOO · BOCHIKNOT
Start with one sennit and a colour pairing you love. Keep your sample, note what you tried, and let that small experiment become the starting point for your next design. Happy knotting!

A little inspiration between projects
Follow Bochiknot for tutorials, new ideas, and more ways to keep knotting.

Leave a comment