How to Macrame a Diamond Lace Pattern – PERFECT for Wall Hangings & More

Transform Your Macrame Creations with the Intricate Diamond Lace Pattern
Have you ever felt like your macrame projects needed something extra to stand out?
I know I did.
As I was crafting a wall hanging, I couldn't shake the feeling that it was just too plain, lacking that striking statement piece I aimed for.
That’s when I discovered the Diamond Lace pattern—a perfect blend of elegance and structure that instantly gave my project a more polished, eye-catching look.
It’s a pattern every macrame knotter should have in their toolkit.
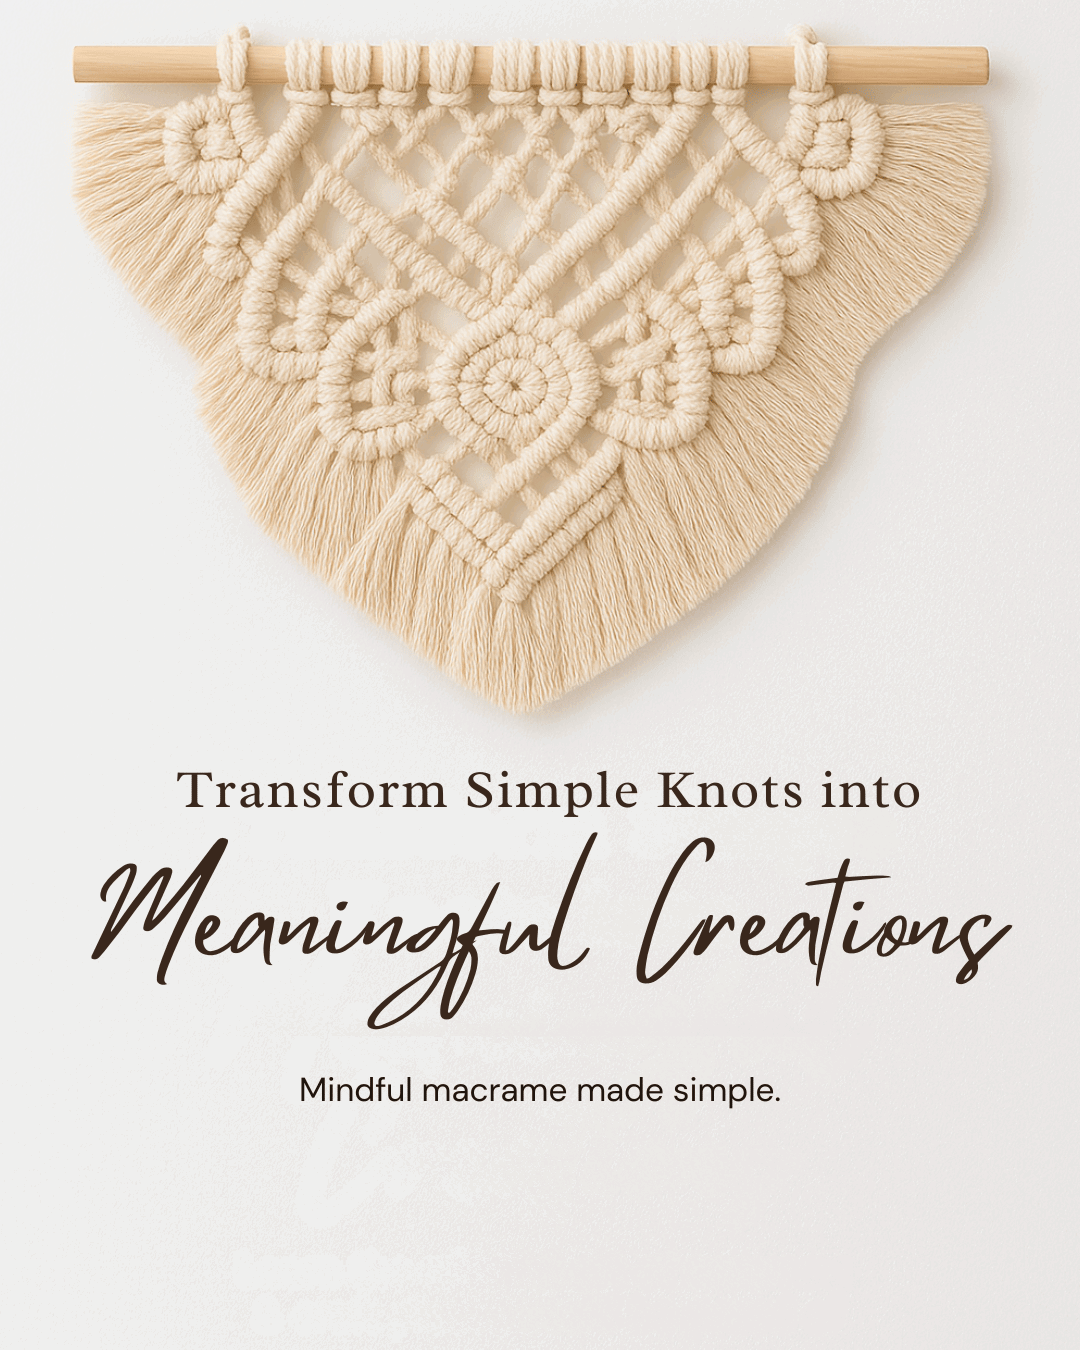
The Diamond Lace pattern is a beautiful geometric design made up of interlocking diamonds, creating a lace-like effect.
It’s versatile enough to be used in anything from wall hangings to plant holders, and it adds texture and intricacy without being overly complicated.
In this post, I’ll walk you through the process of creating the Diamond Lace pattern. So grab your cords, and let’s start knotting—this pattern will elevate your next project.
Key Takeaways
- Learn step-by-step instructions for creating a diamond lace pattern
- Discover useful tips for shaping and tightening knots
- Intricate knot pattern that can be used in your projects
Overview of Diamond Lace Pattern
The Diamond Lace Pattern is a stunning and intricate design that's a staple in the world of macramé.
Think of it as the little black dress of knotting—elegant, versatile, and always in style.
This pattern features symmetrical, diamond-shaped knots that come together to create a lace-like effect, perfect for adding a touch of sophistication to your macramé projects.
In the world of macrame, the Diamond Lace Pattern will be your go-to for creating gorgeous wall hangings, delicate jewelry, stylish plant hangers, and so much more.
It’s a personal favorite pattern of mine becasue with just some cord I'm able to transform simple knots into eye-catching projects.
Learning this pattern is a game-changer; it not only enhances your knot-tying skills but also enables you to create more intricate and sophisticated macramé that will be admired.
Mastering the Diamond Lace Pattern, you'll be able to tie neat, symmetrical knots that form a cohesive and beautiful design.
As you get the hang of it, you'll find yourself crafting intricate and elegant pieces that truly showcase your creativity and add a unique flair to your handmade creations.
Ready to dive in and make some magic with your macramé? Let's get started!
Macrame Knots You Will Need to Know to Create a Diamond Lace Pattern
For this project, you will need to know the following knots:
The above knots are basic knots widely used in many macrame projects.
The more you practice and repeat these knots, the more confident you'll become at tying them.
This confidence will open the door to experimenting with more complex patterns and designs.
More Macrame Knots
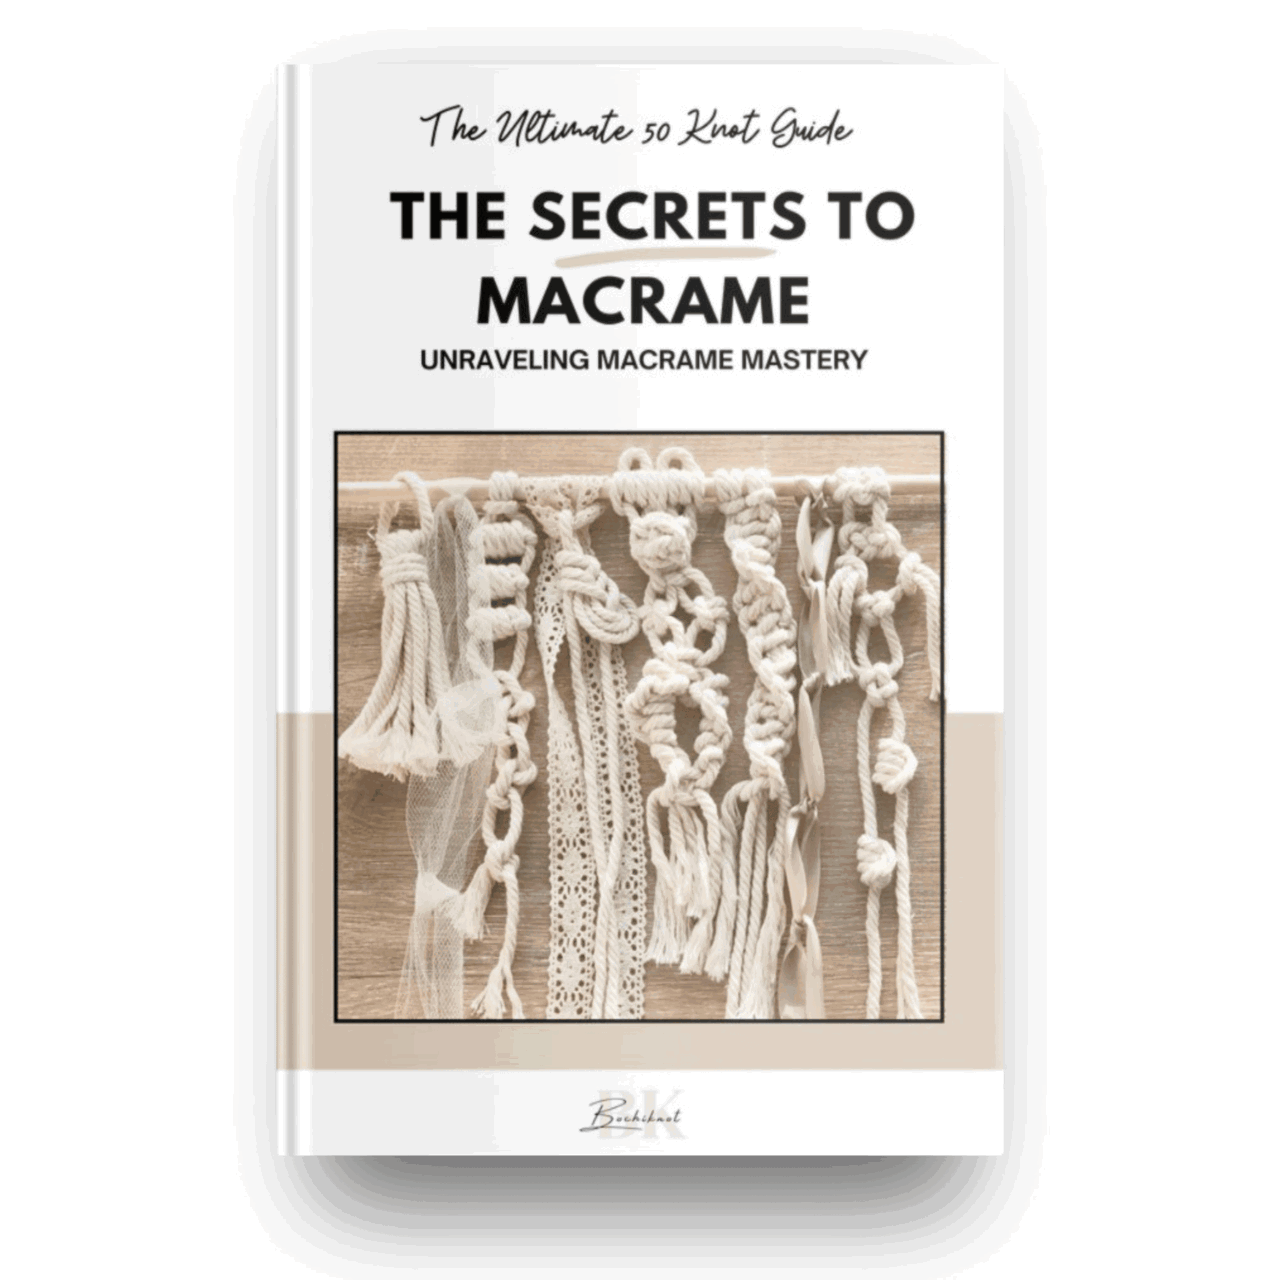
If you want to add more knots to your macrame designs, check out my free resource, "50 Macrame Knots & Sennit Guide."
It's packed with easy, step-by-step instructions to help you improve your skills and try new creative projects.
Access it here.
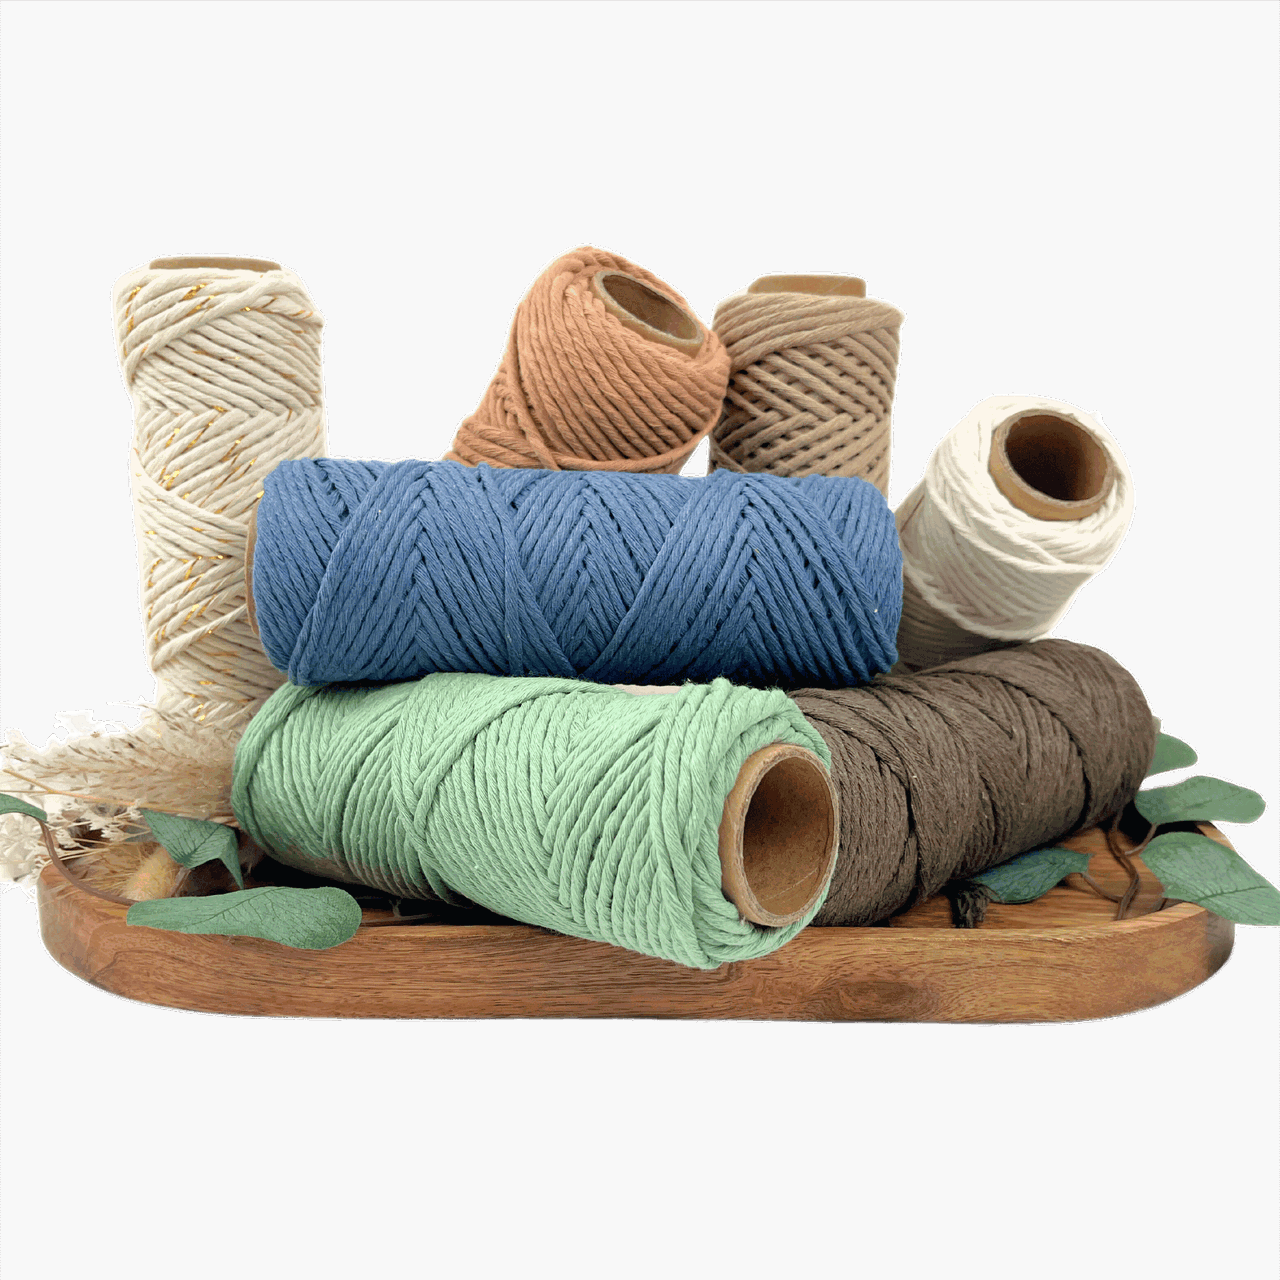
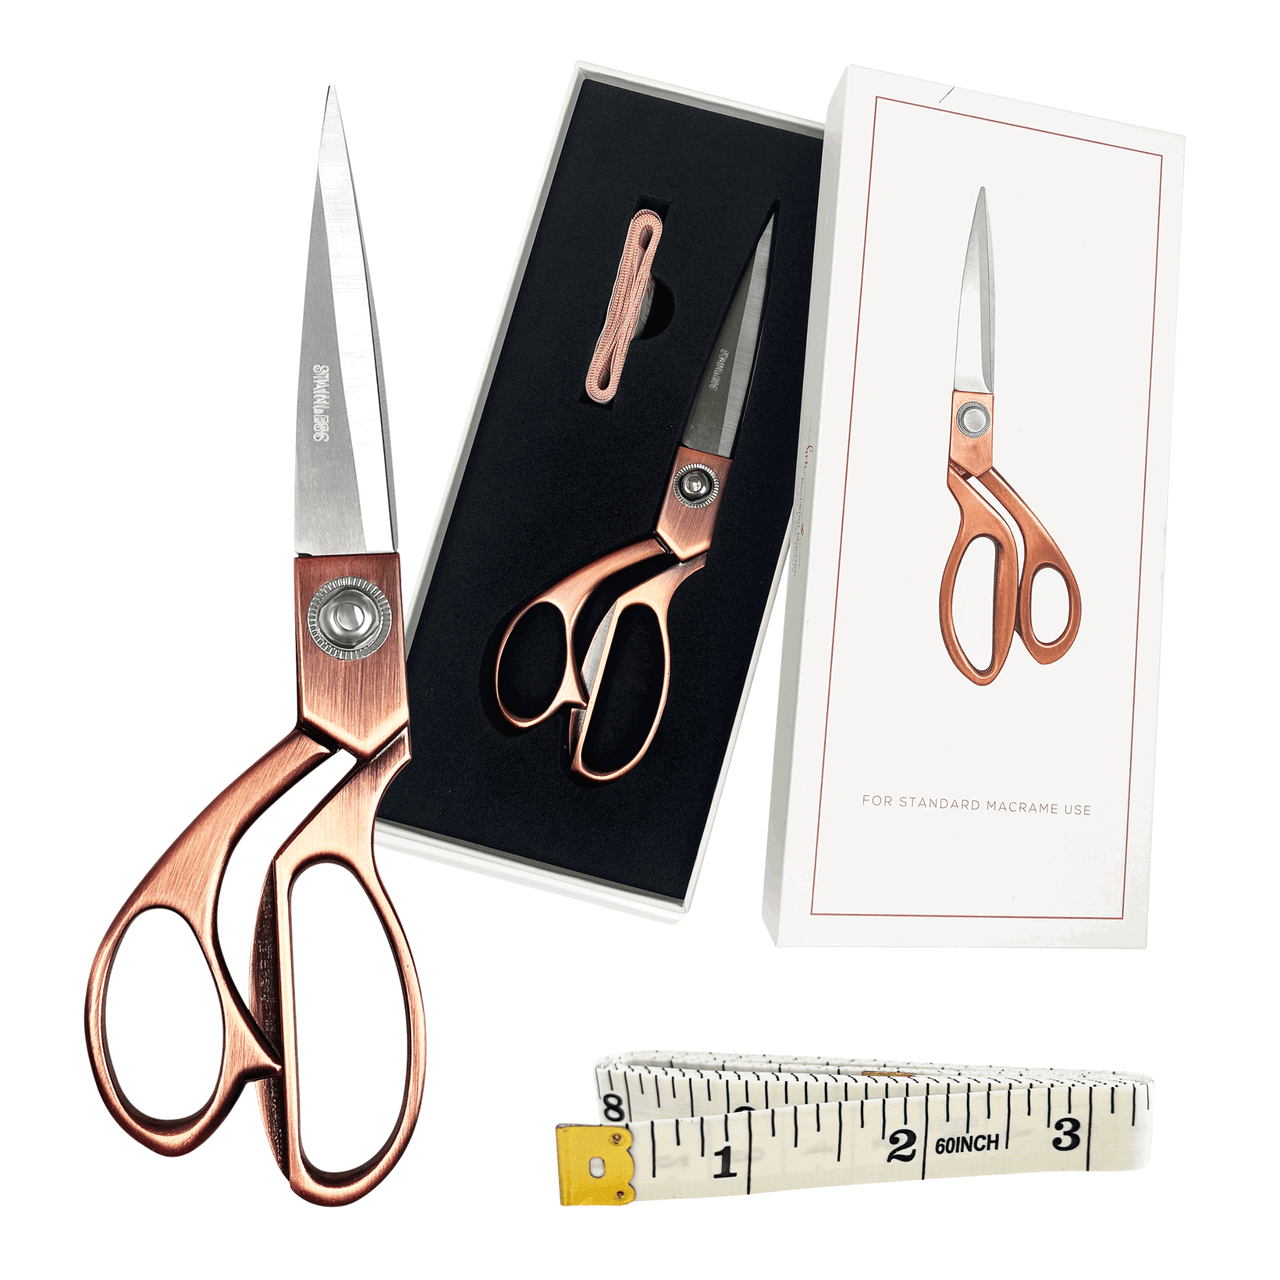
Macrame Cord & Materials Used
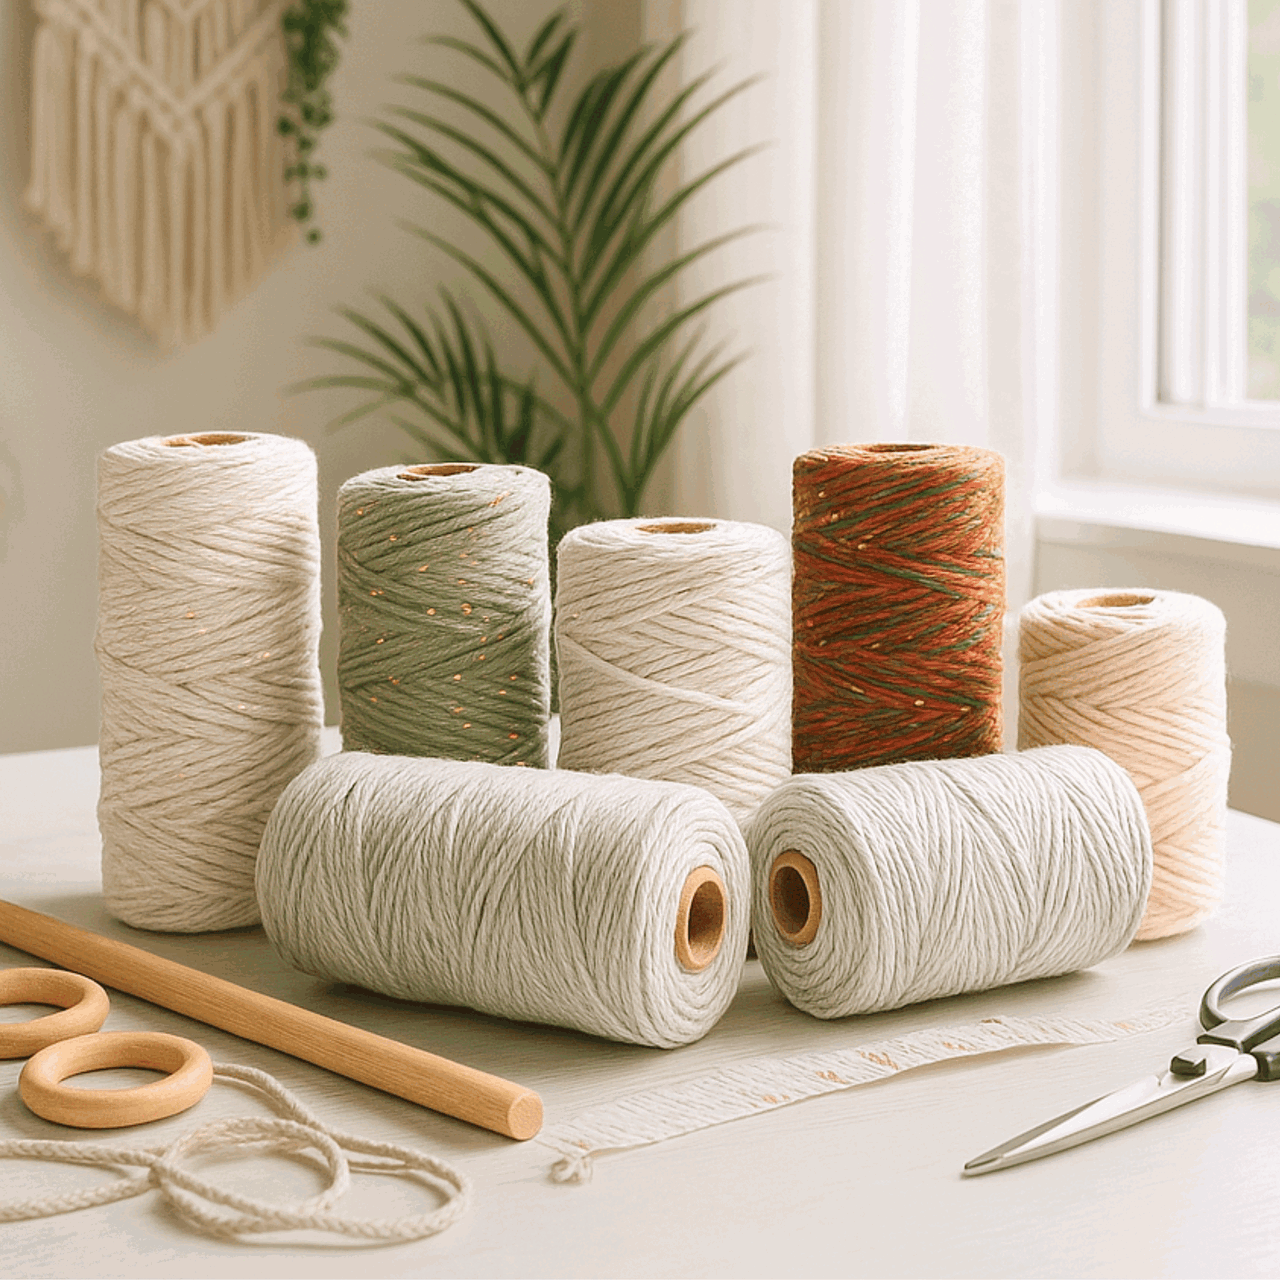
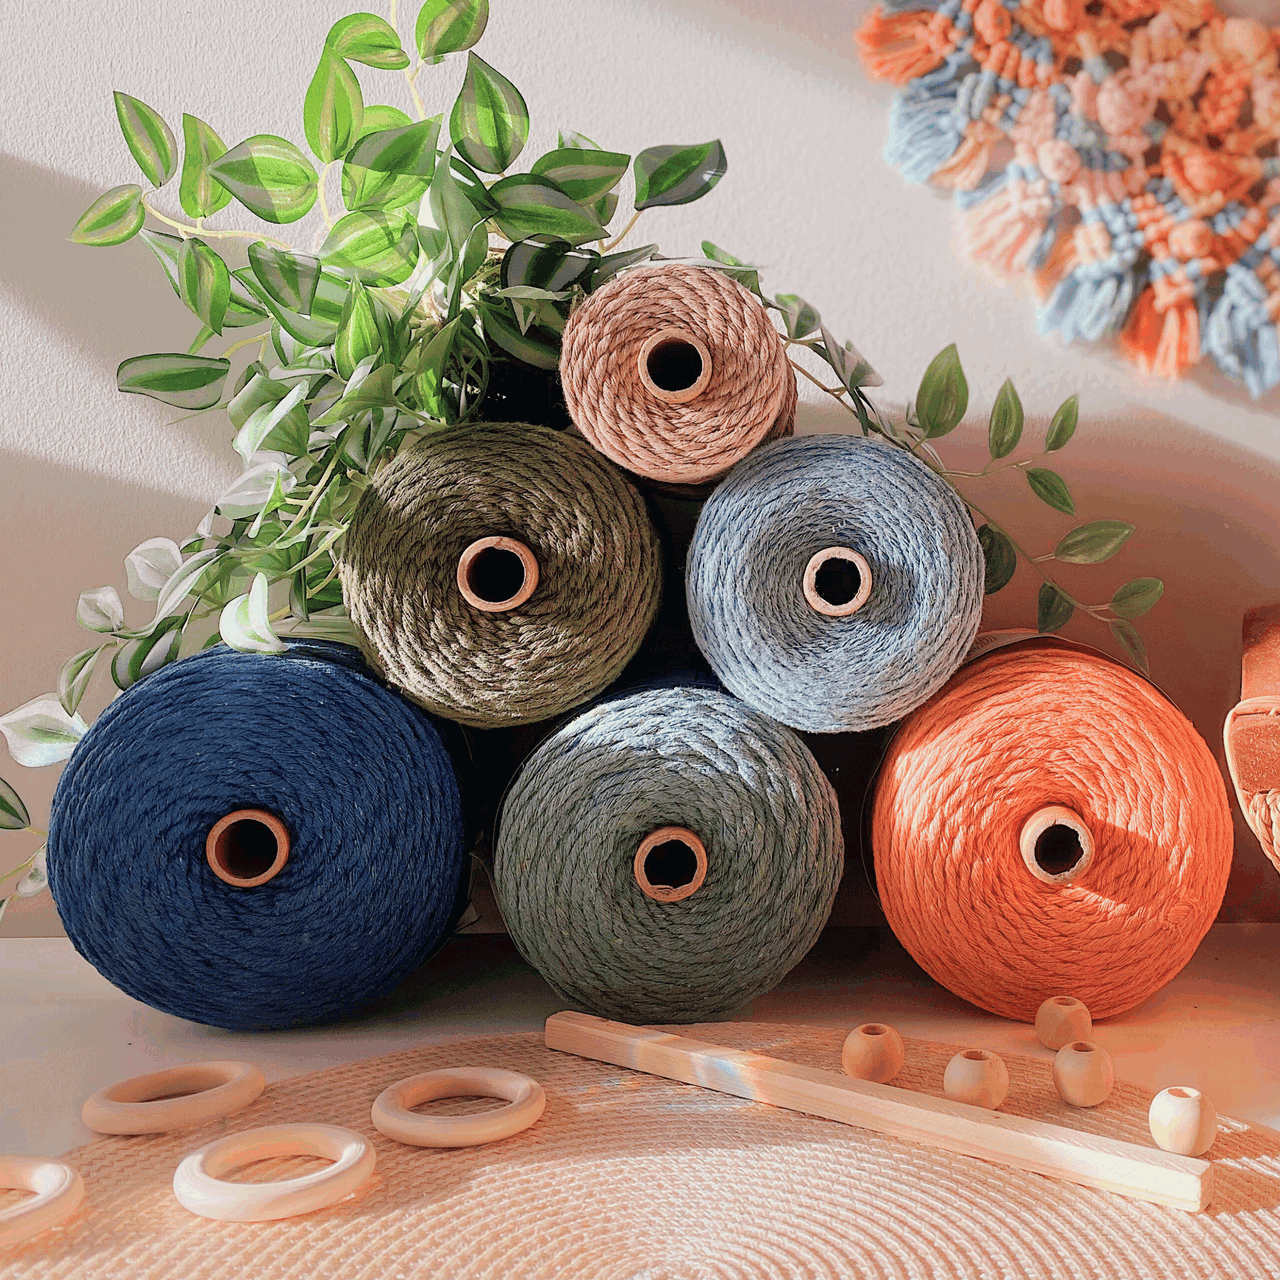
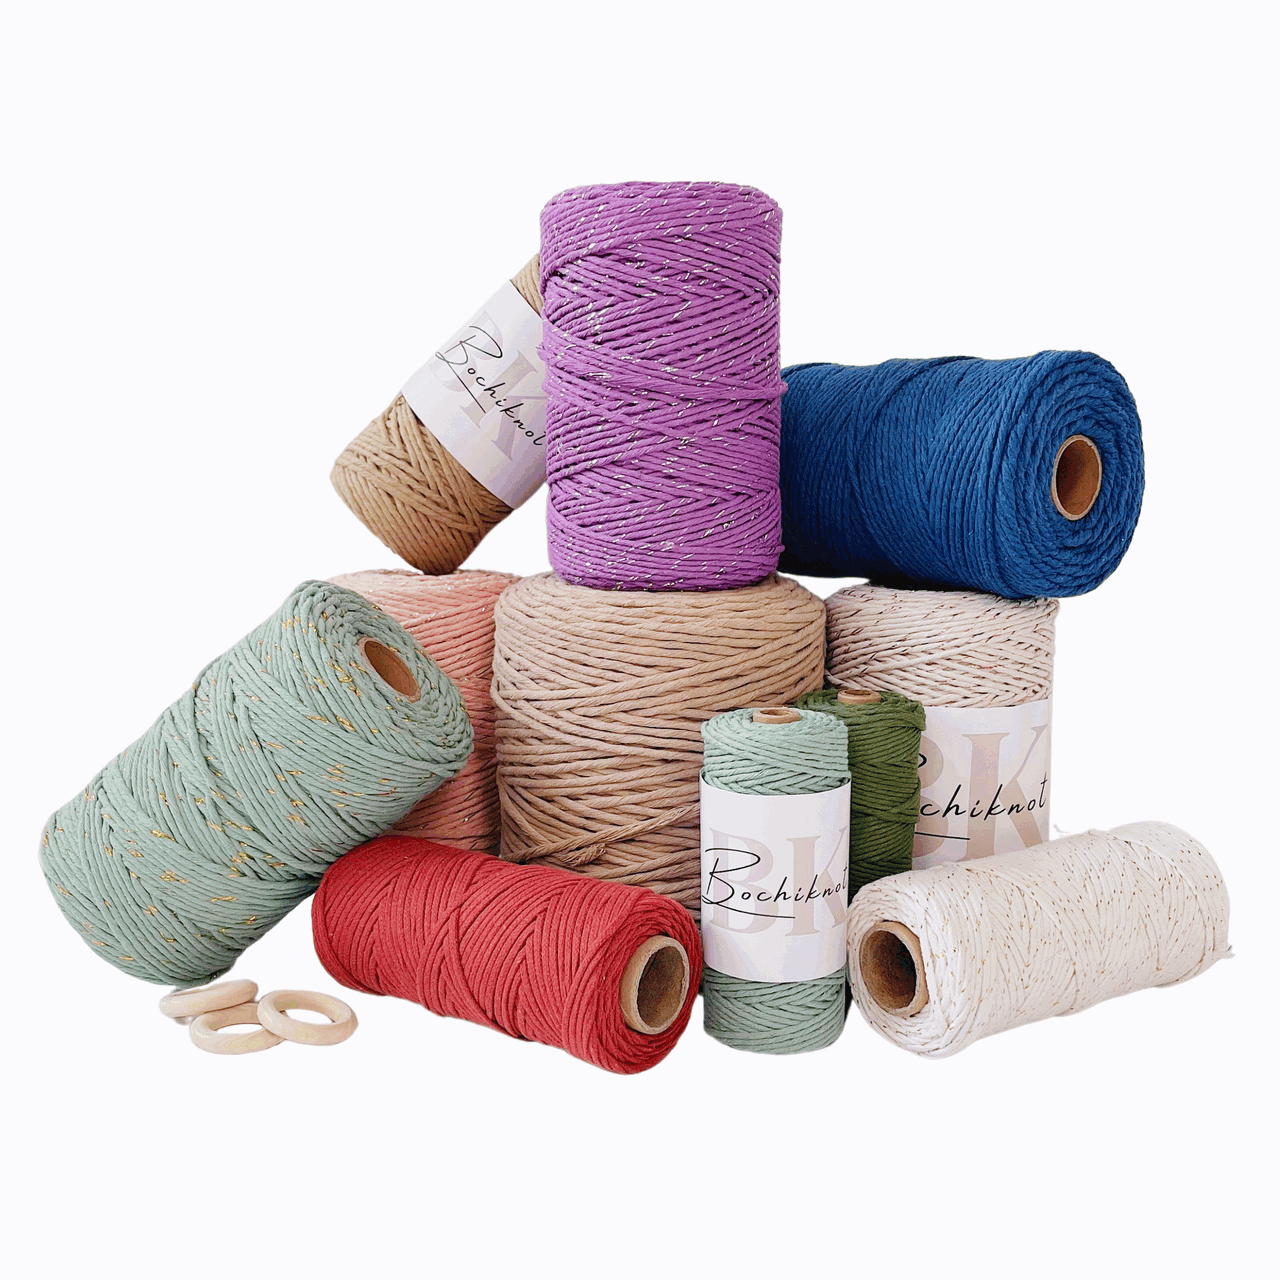
You will need the following materials to create the diamond lace pattern:
How to Tie a Diamond Lace Pattern | Video Tutorial
How to Tie a Diamond Lace Pattern | Step-by-Step Guide
*Note: We recommend following the tutorial video for more detailed instructions and to achieve the best results.
This will provide additional guidance and clarity as you work through each step.
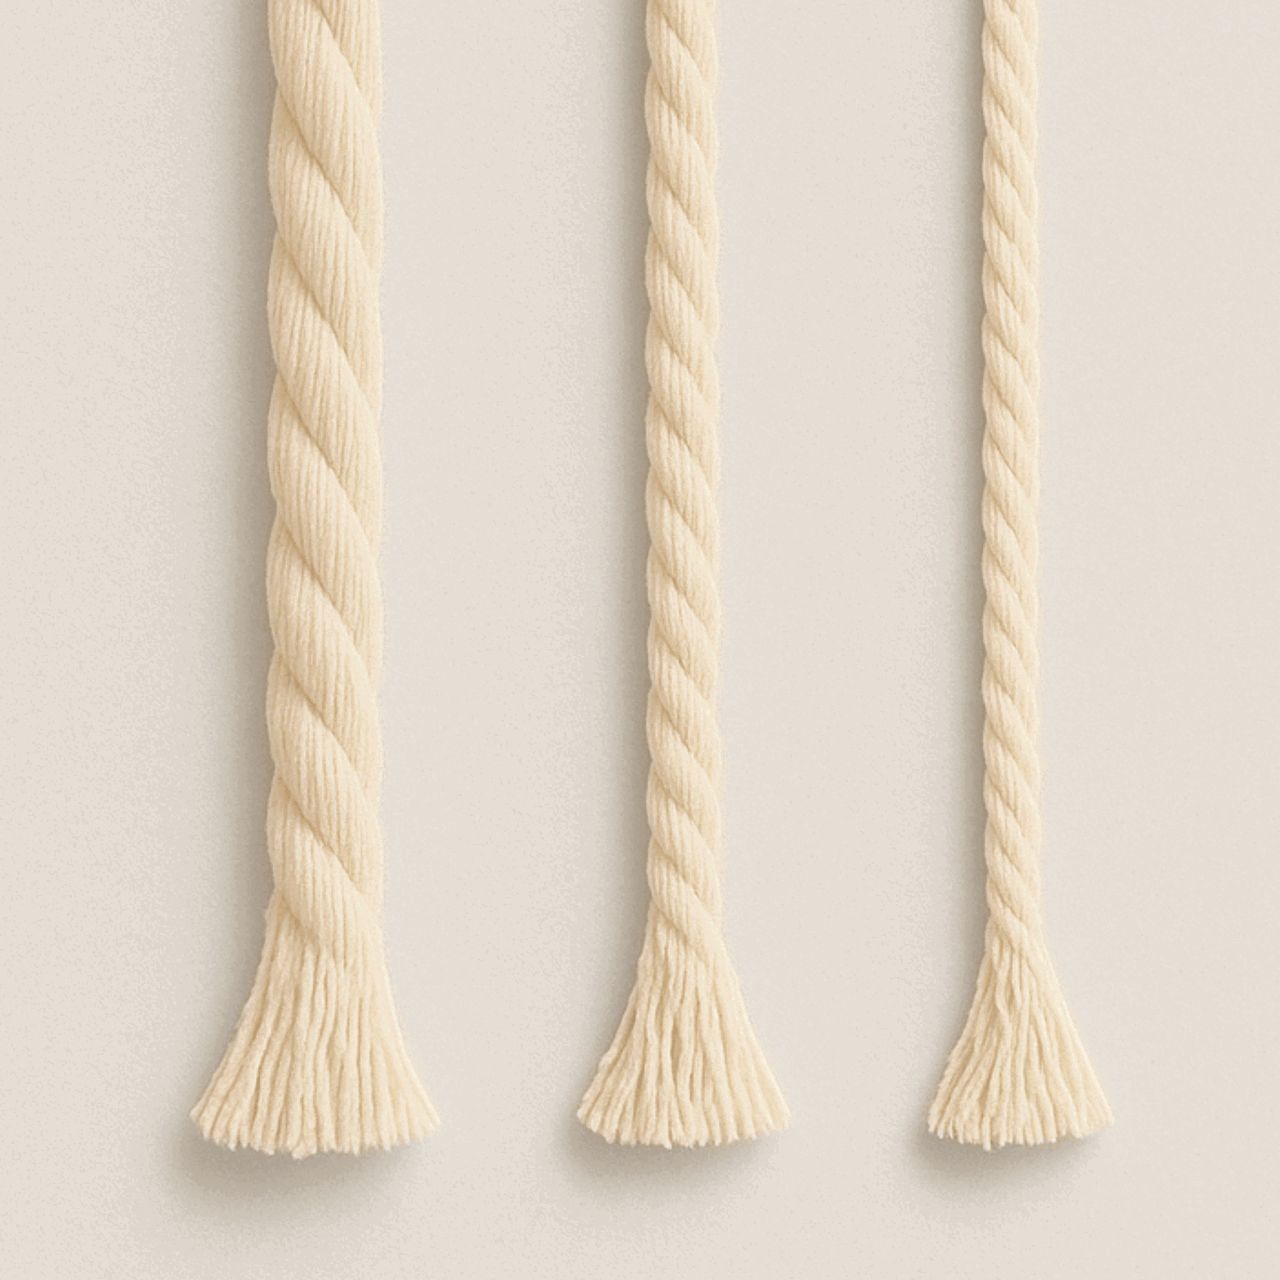
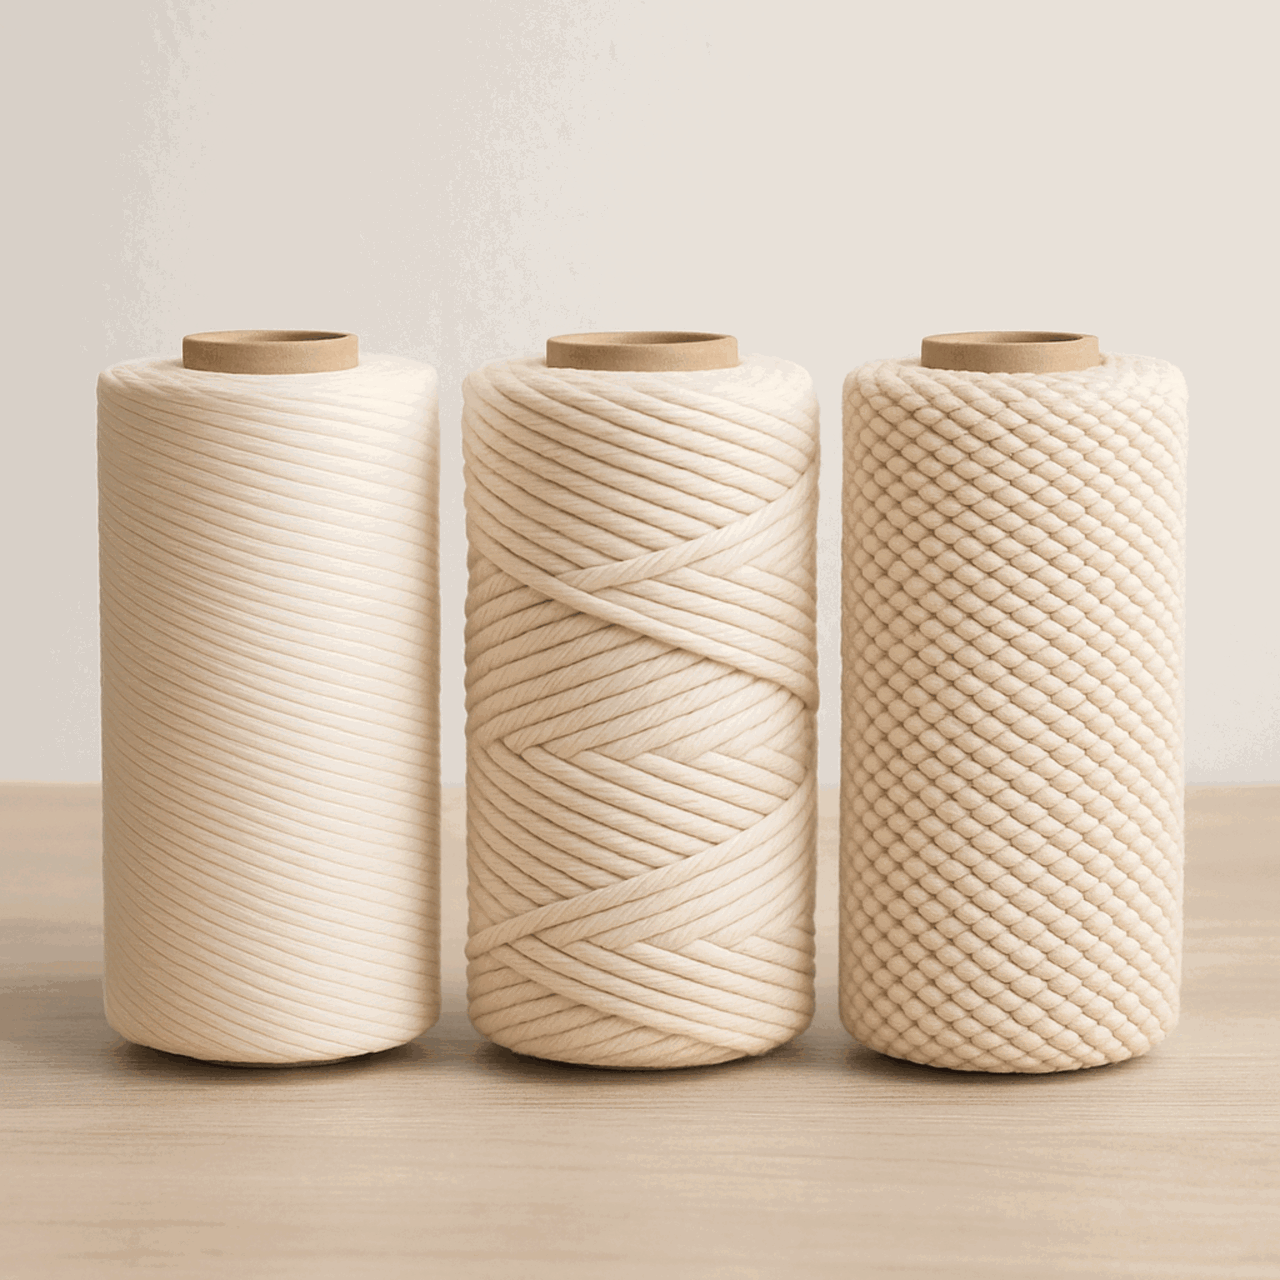
For this knot pattern, I’ll be using 3mm macrame cord in the color natural.
Creating the Diamond Lace Pattern
Starting with Diagonal Double Half Hitch Knots
Step 1
- Use four strands of 300 cm long cords folded in half and attached onto the dowel with lark's head knots.
- Using the two cord in the middle make a diagonal double half knot.
- Make three more diagonal double half hitch knots to the left.


Pro tip: After completing the row of diagonal double half hitch knots to the left, make sure to pull on the anchor cord to tighten the knots.
This will make the knots look neat and uniform.
Step 2
- Repeat the pattern on the right side, using the middle right cord as the anchor cord for three diagonal double half hitch knots to the right.
- Tighten the knots by pulling the anchor cord.

Step 3
- Start the next row of diagonal double half hitch knots with the middle two chords, making two knots to the left.
- Repeat on the right side using the middle right cord as the anchor cord for one knot.
- Close the inner diamond shape by making diagonal double half hitch knots in the opposite direction.
- *Note: Be careful not to over-tighten to maintain the diamond shape.


Step 4
- Use the inner cords to make three diagonal double half knots to the right on the right side.
- Maintain the tension to keep the diamond shape.
- On the right side, make three diagonal double half knots to the left.
- Close off the outer diamond with a diagonal double half knot to the left.
- Ensure the working cord is always at the back when making the loop.


Step 5
- Close off the outer diamond with a diagonal double half knot to the left.
- The Double Diamond is now complete.

Expanding the Pattern with Fan Out Design
Step 6
- To start the fan out pattern, take the third cord from the left as your anchor cord. Make two double half-hitch knots to the left using the next left cord.
- Now, you’ll flip it back over for two double half-hitch knots to the right.


Step 7
- Select the third cord from the right as the anchor cord, make two double half-hitch knots to the right.
- Follow a similar path, and fold it back down for two double half-hitch knots.
- Alternate sides right and left once more.

Finalizing the Pattern
Step 8
- diagonal double half knot.
- Make three more diagonal double half hitch knots to the left.
- After completing the knot on the left side, switch to the right side.
- Use the same technique with the middle left cord as the anchor, repeating the knot process. Make three DHHK to the right
- *Note: The goal is to create a balanced, symmetrical shape.


Step 9
- To close the inner diamond, take the anchor cord from the right side and make double half knots diagonally to the left.
- Mirror this on the left side, ensuring the knots are tight.


Great job mastering the Diamond Lace Pattern!
You've started with the basics and worked up to more detailed designs, showing off your creativity and skill in macrame.
By now, you should feel confident in tying symmetrical knots to create this beautiful pattern. Jump over to our macrame journey to find your next macrame project.
With more practice, you'll find endless ways to use the Diamond Lace Pattern in your projects—elegant wall hangings or intricate jewelry.
Macrame is all about patience and practice, so keep experimenting with different techniques and designs!
Thank you for following along with this tutorial.
I hope you enjoyed learning and creating as much as I loved sharing it!Much love,

Looking for Macrame Patterns and Projects?
I’ve got a fun variety of DIY macrame patterns for you to explore—whether you’re into creating unique wall hangings to spruce up your home or timeless plant hangers, there’s something for every skill level.
Each pattern is super easy to follow with step-by-step photos, clear instructions, and plenty of tips to help you along the way.
Ready to start knotting?
Browse DIY macrame patterns on Etsy and dive into your next project.

Join the Bochiknot Macrame Community: Your Gateway to Exclusive Tutorials & Inspiration
Discover the art of macrame like never before! Join our exclusive community of passionate macrame enthusiasts and unlock a world of creativity.
Gain access to a treasure trove of unique patterns, expert guidance, and a supportive network of fellow artists.














Leave a comment