DIY Macrame Christmas Wreath: Easy Beginner-Friendly Holiday Ornament
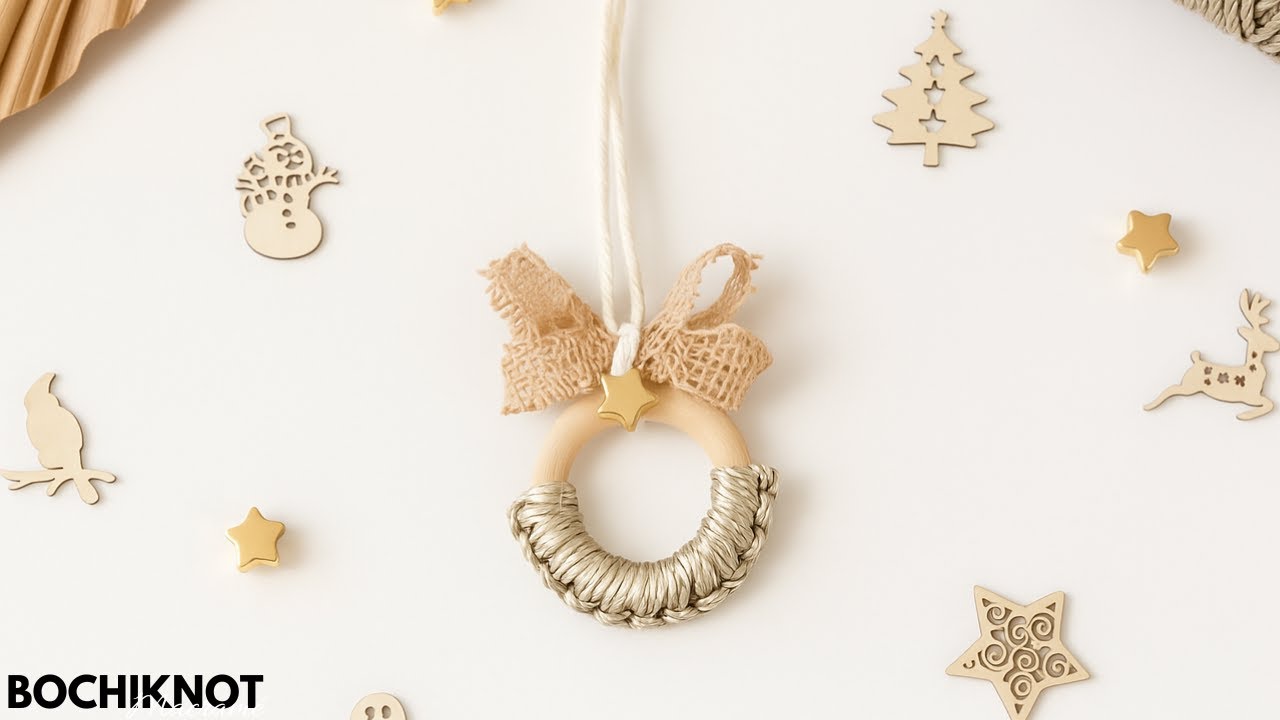
It’s November 1st — time to kick off the season with a tiny, joyful macrame Christmas wreath you can finish in under an hour.
This mini ornament is beginner-friendly, customizable, and uses only two knot types: the vertical Lark’s Head (for the wreath section) and simple overhand/double overhand knots to secure embellishments.
Follow along and make a festive macrame Christmas wreath you’ll want to hang on your tree or gift to a friend.
Table of Contents
- Step 1: Gather materials
- Step 2: Make the wreath section with Vertical Lark’s Head knots
- Step 3: Weave in and trim cord ends
- Step 4: Make a layered bow and secure it
- Step 5: Add the star bead and attach bow to the ring
- Step 6: Finish with a hanging knot and trim
- Final notes & next steps
Step 1: Gather materials
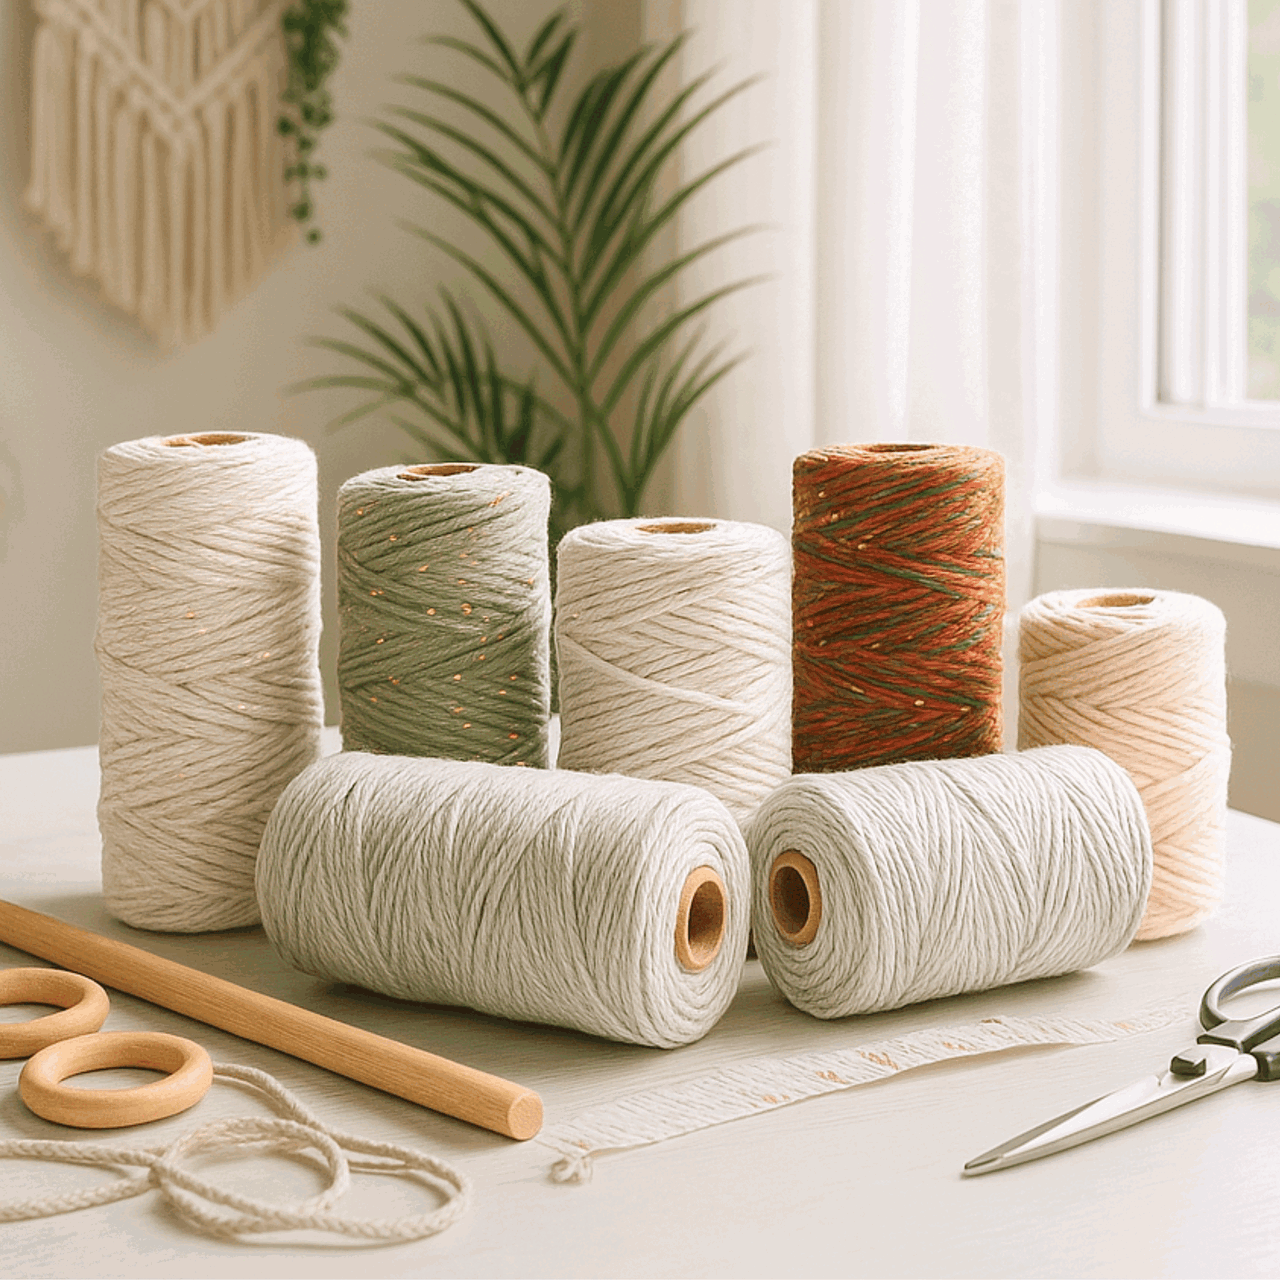
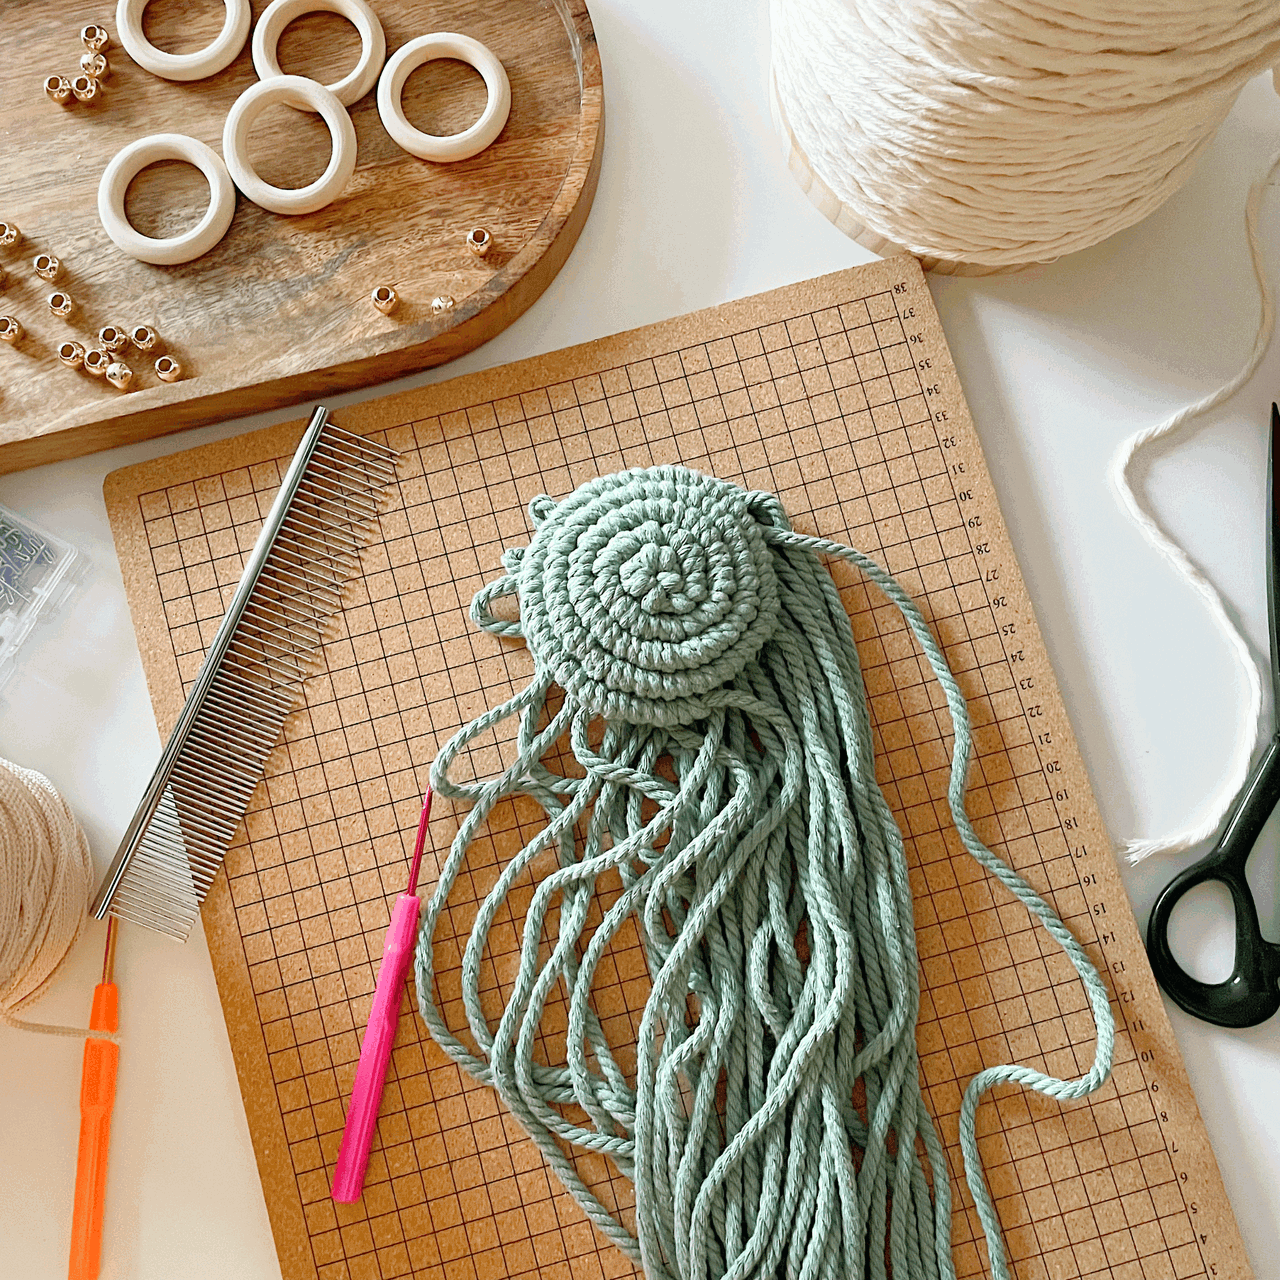
Before you knot, grab everything you’ll need. The whole project is small, inexpensive, and perfect for using leftover cord and ribbon.
- 1x 2-inch wooden ring
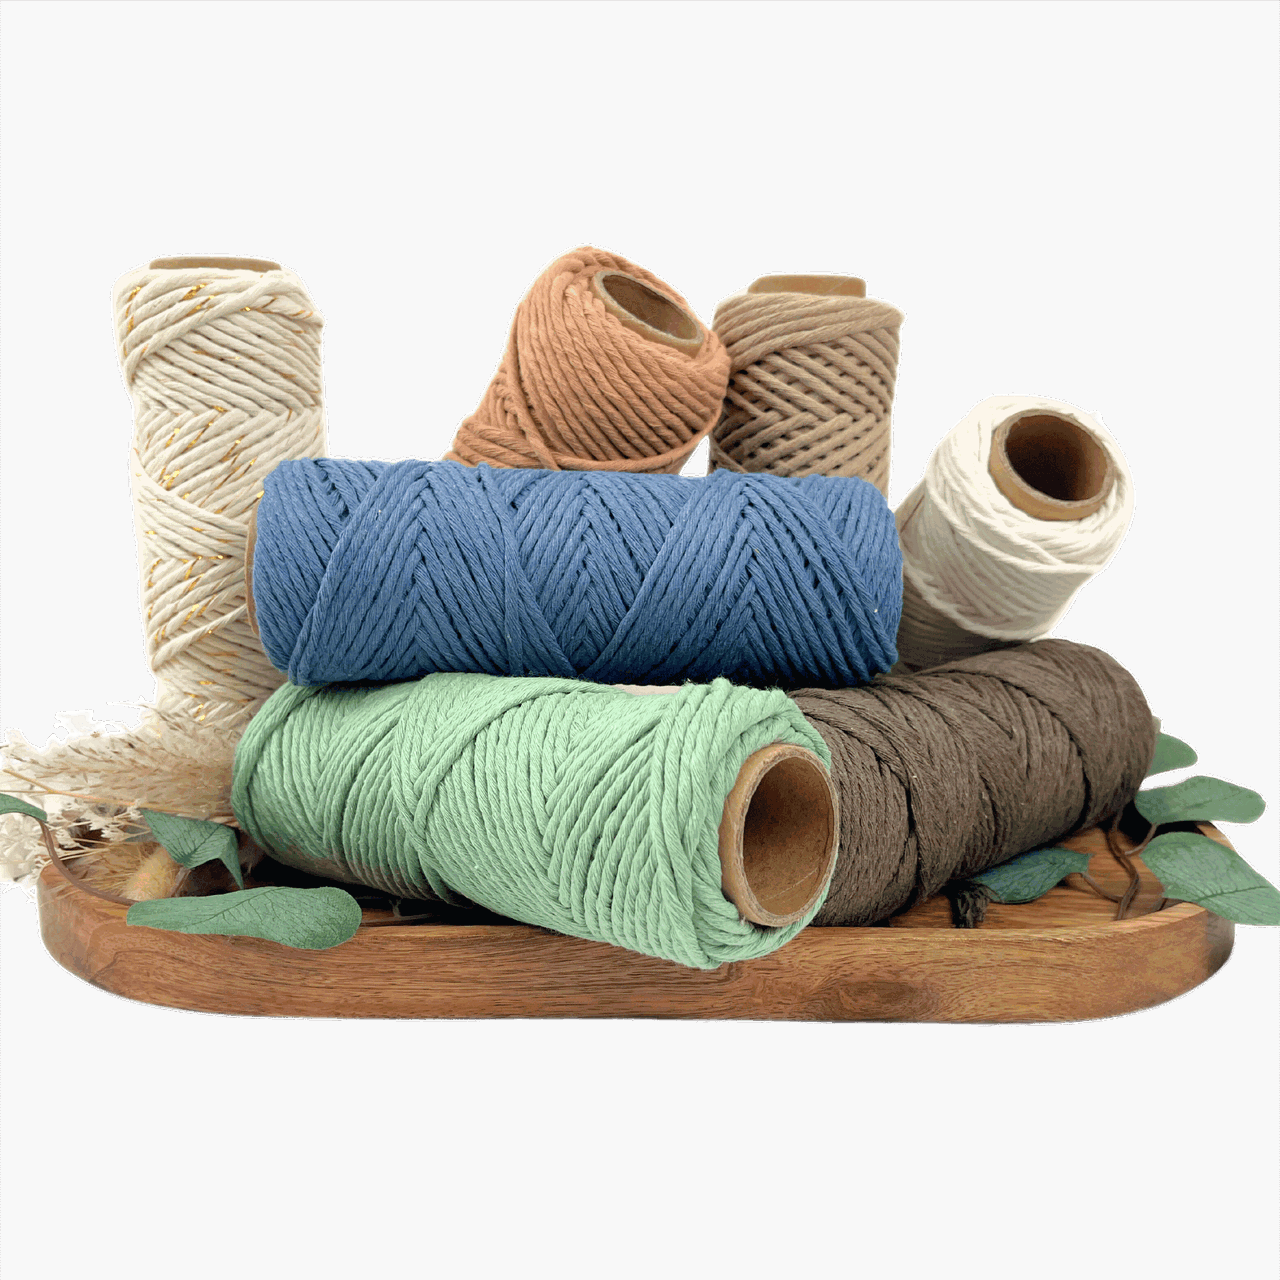
- 3mm metallic macrame cord (100 cm for the knotted section)
- 2mm single-strand string for tying and bows
- 30cm ribbon for a decorative bow
- Star bead (about 5mm hole)
- Small crochet hook (1.5 mm) (Optional)
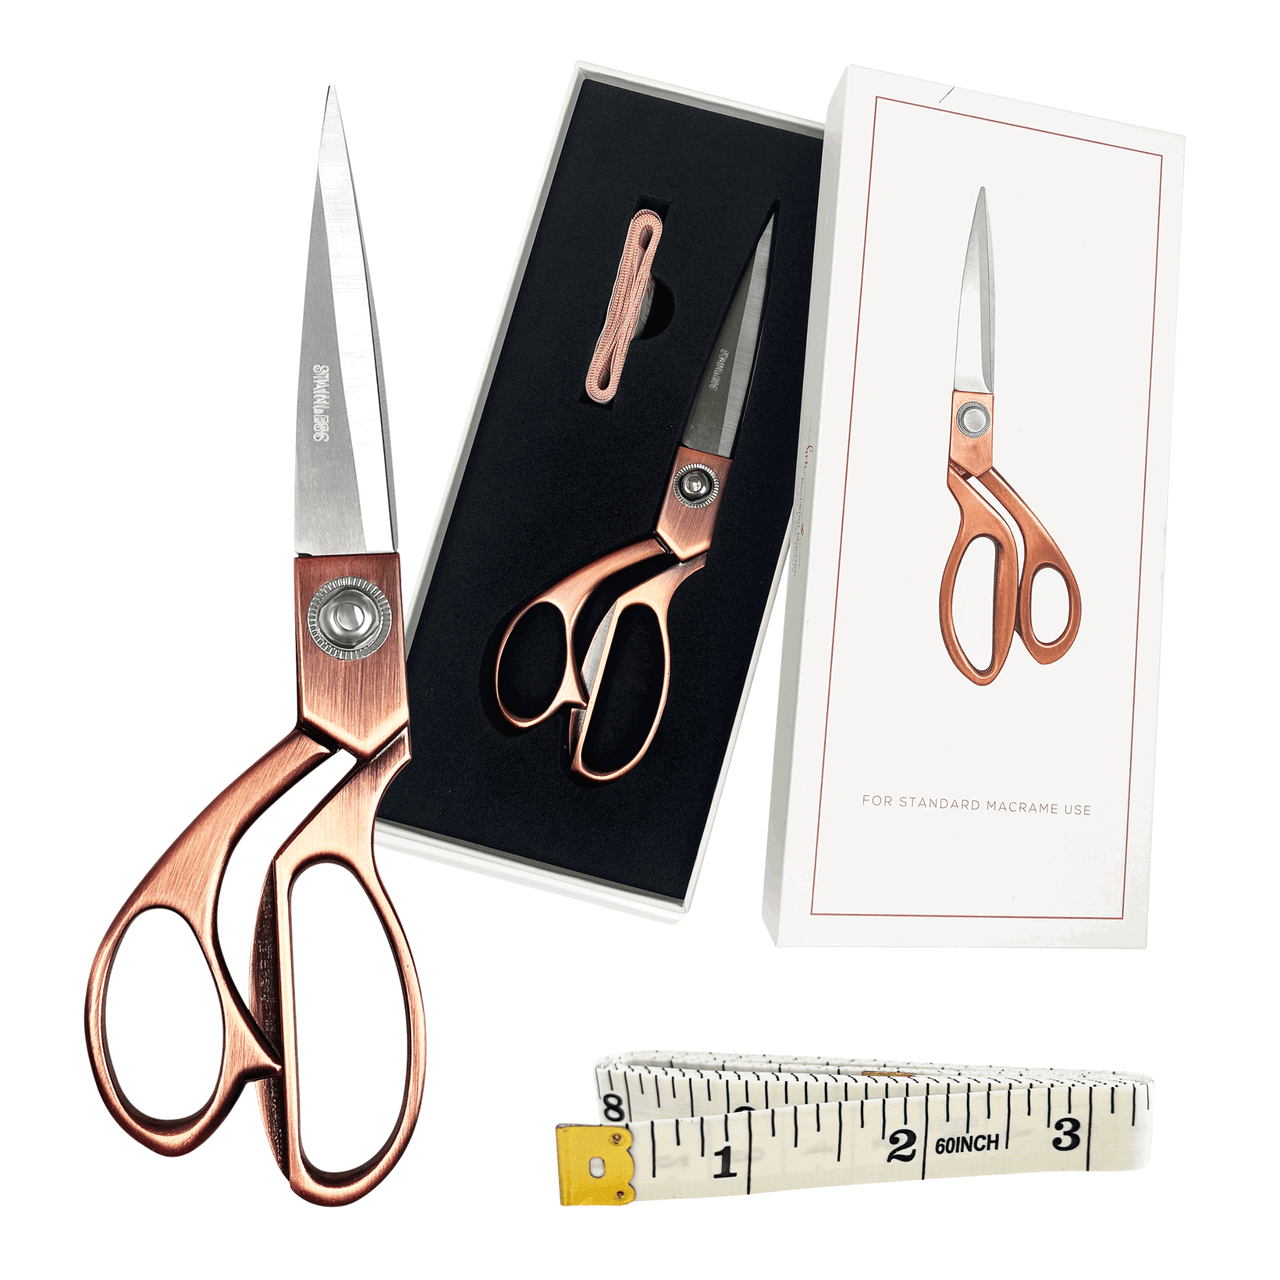
- A pair of sharp scissors (Optional)
These materials make a sparkling macrame Christmas wreath that’s easy to replicate in different colors or sizes.

Step 2: Make the wreath section with Vertical Lark’s Head knots
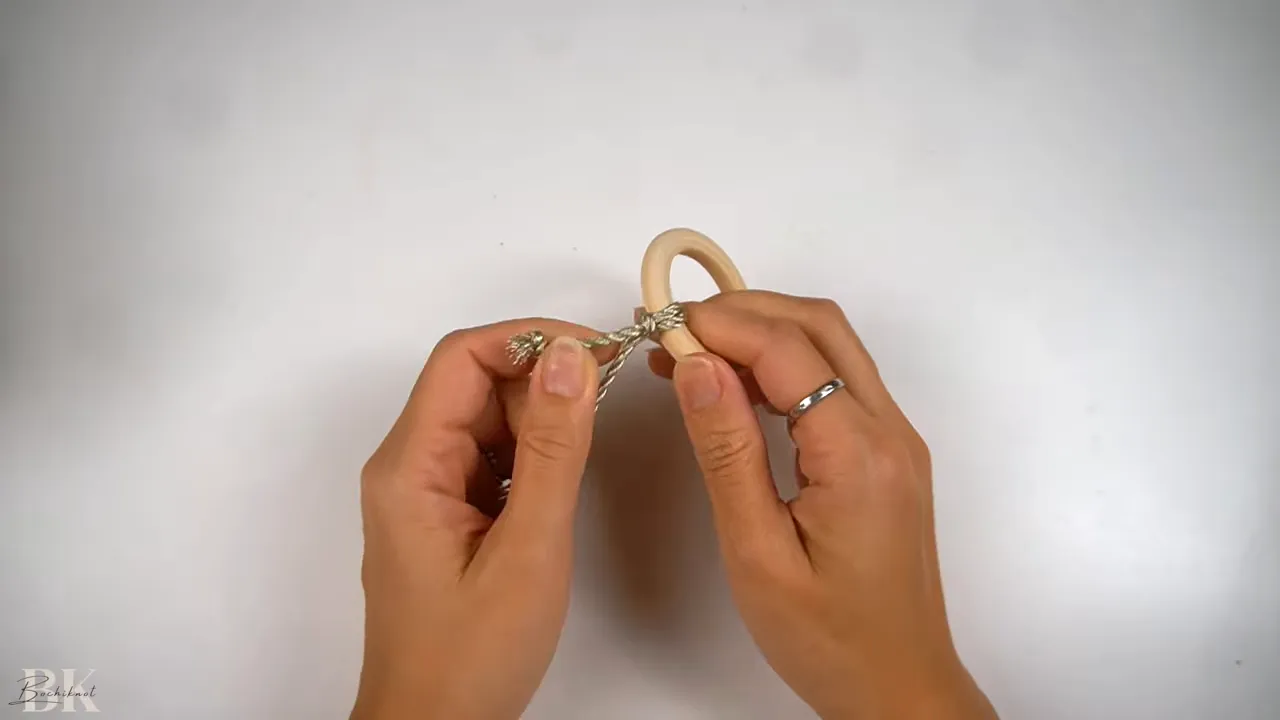
We’re only knotting a section of the wooden ring (about 1 inch covered). Use a 100 cm length of 3mm cord and create a series of vertical Lark’s Head knots around the ring. This gives that neat, circular wreath texture.
- Fold one end and start the first half of the vertical Lark’s Head knot onto the ring.
- Pull the working end through to finish the knot so the cord faces left.
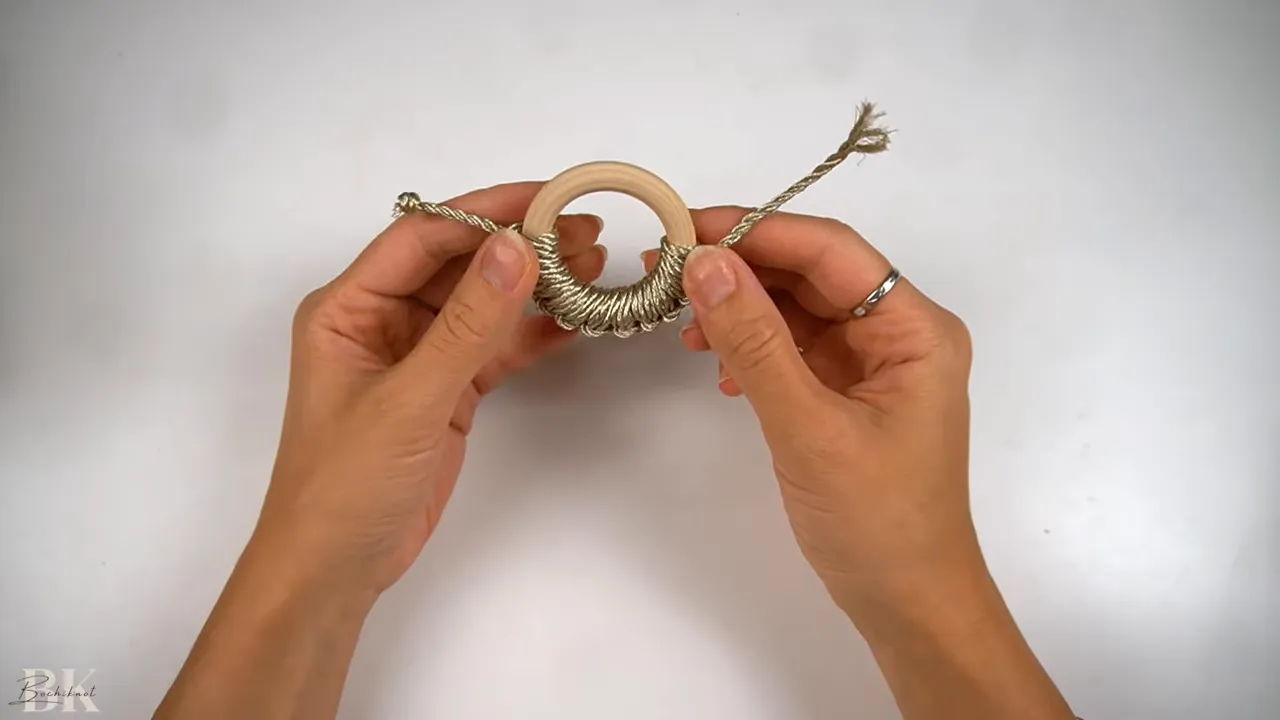
- For the next knot, start from the opposite side so the cord faces right — continue alternating for an even, stacked look.
- Repeat until you have about an inch of cord left; stop when you run out of length.
Keep even tension as you go — consistent spacing makes your macrame Christmas wreath look polished.

Step 3: Weave in and trim cord ends
Finish the wreath section cleanly by threading the cord ends through nearby knot loops.
- Use a 1.5 mm crochet hook to pull each cord end through two of the existing loops (one on each side).
- You may need to slightly loosen the last vertical Lark’s Head to create slack.
- When both ends are woven through, snip off any excess for a tidy finish.
This step hides loose ends and keeps the wreath compact — perfect for a small ornament.

Step 4: Make a layered bow and secure it
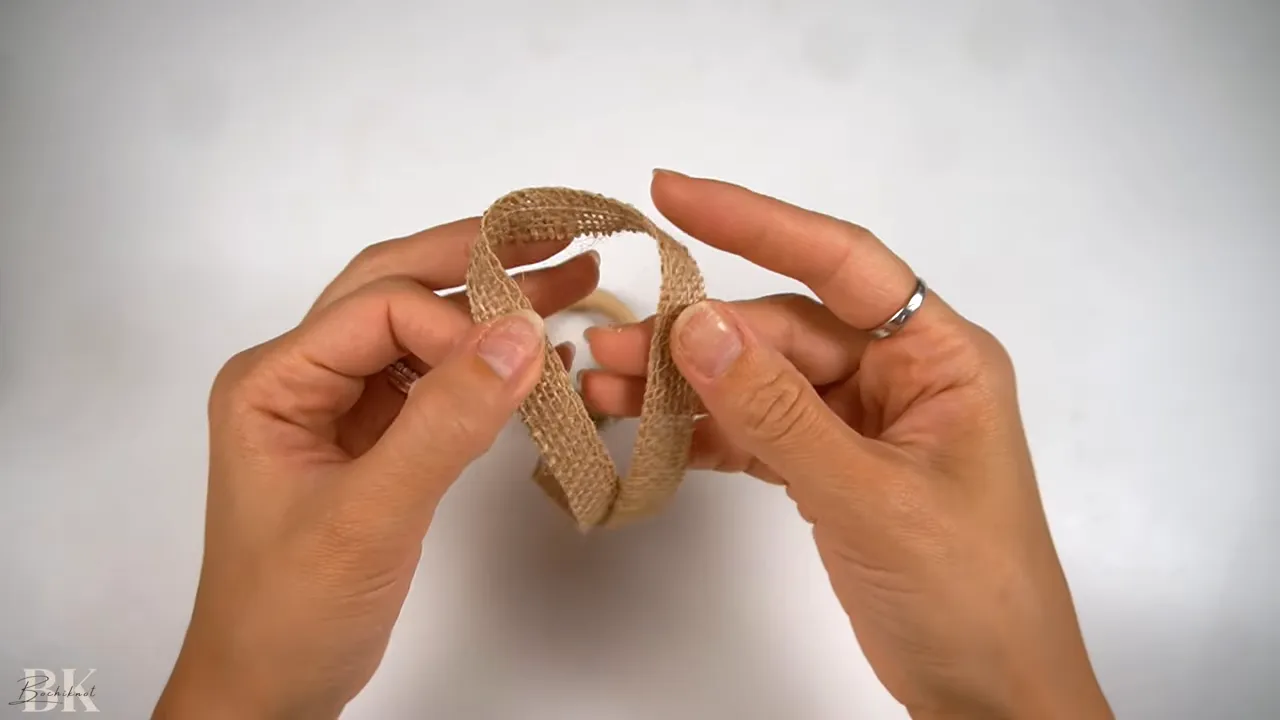
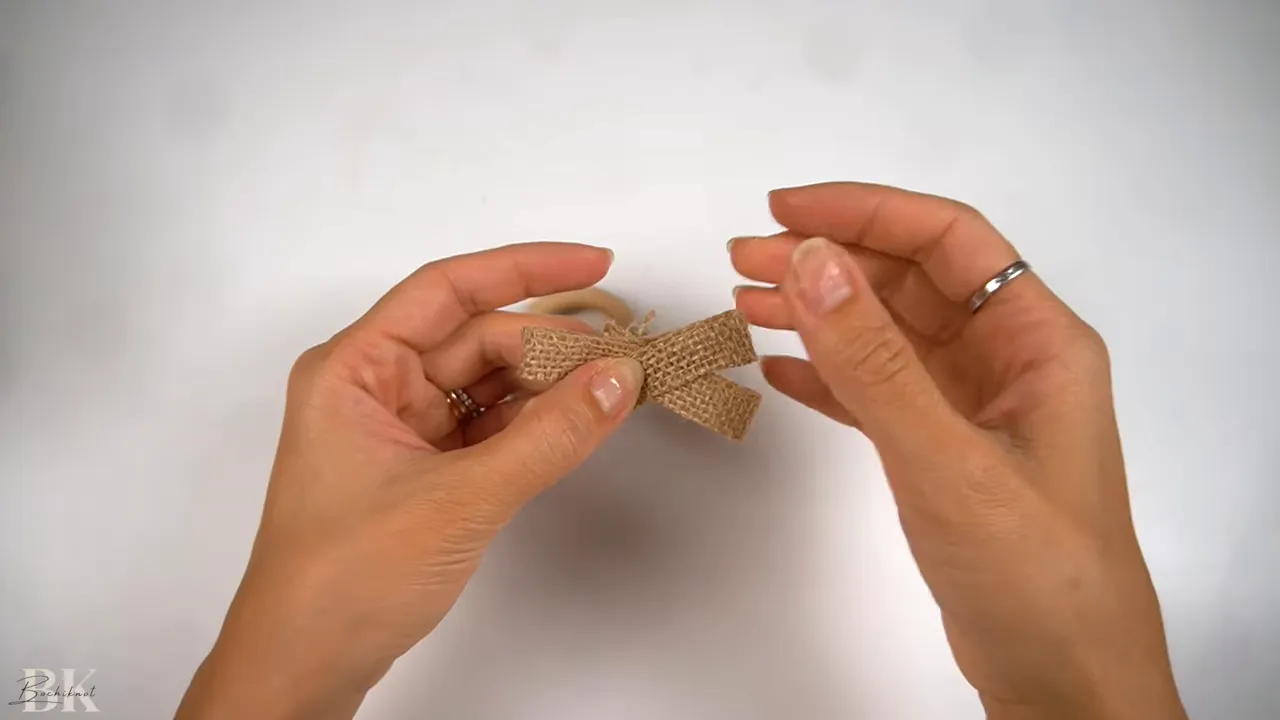
A 30 cm ribbon makes a charming layered bow that sits on top of the wreath. The layered look gives more dimension and feels festive.
- Fold the ribbon to create two paired loops — one slightly larger on top and a second, smaller layer beneath.
- Fold the ribbon ends into small loops so they sit neatly as tails.
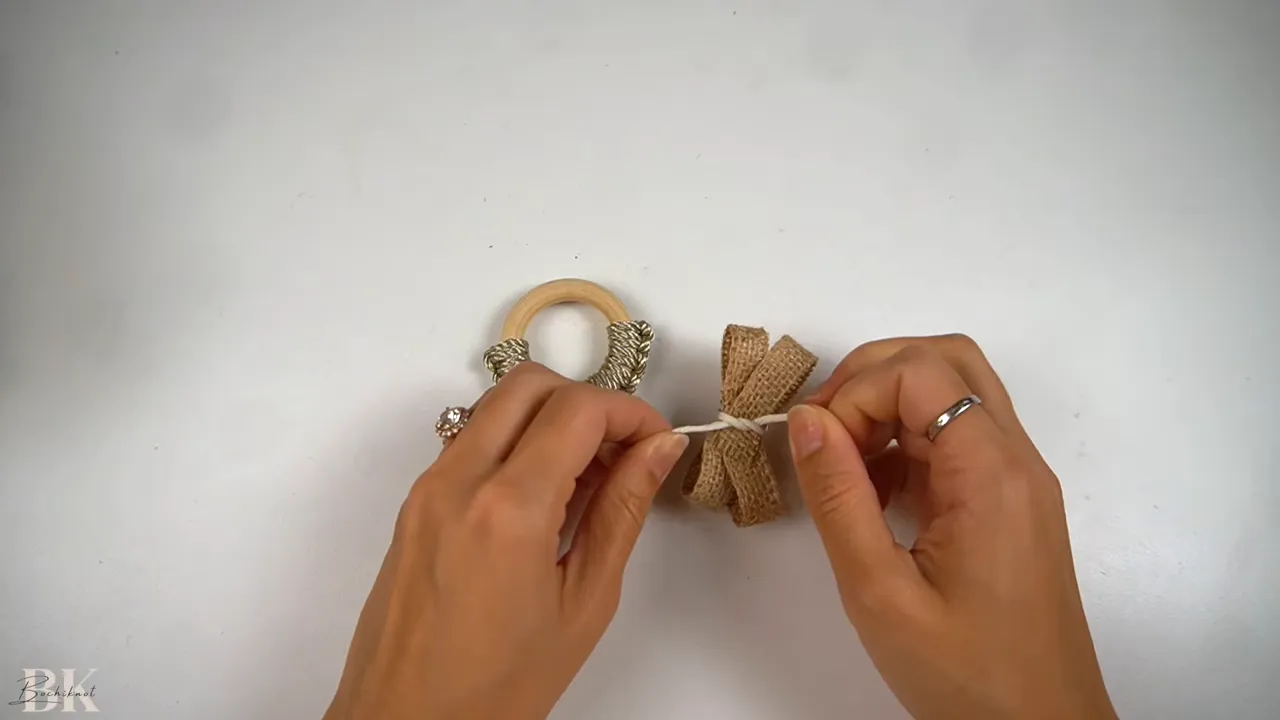
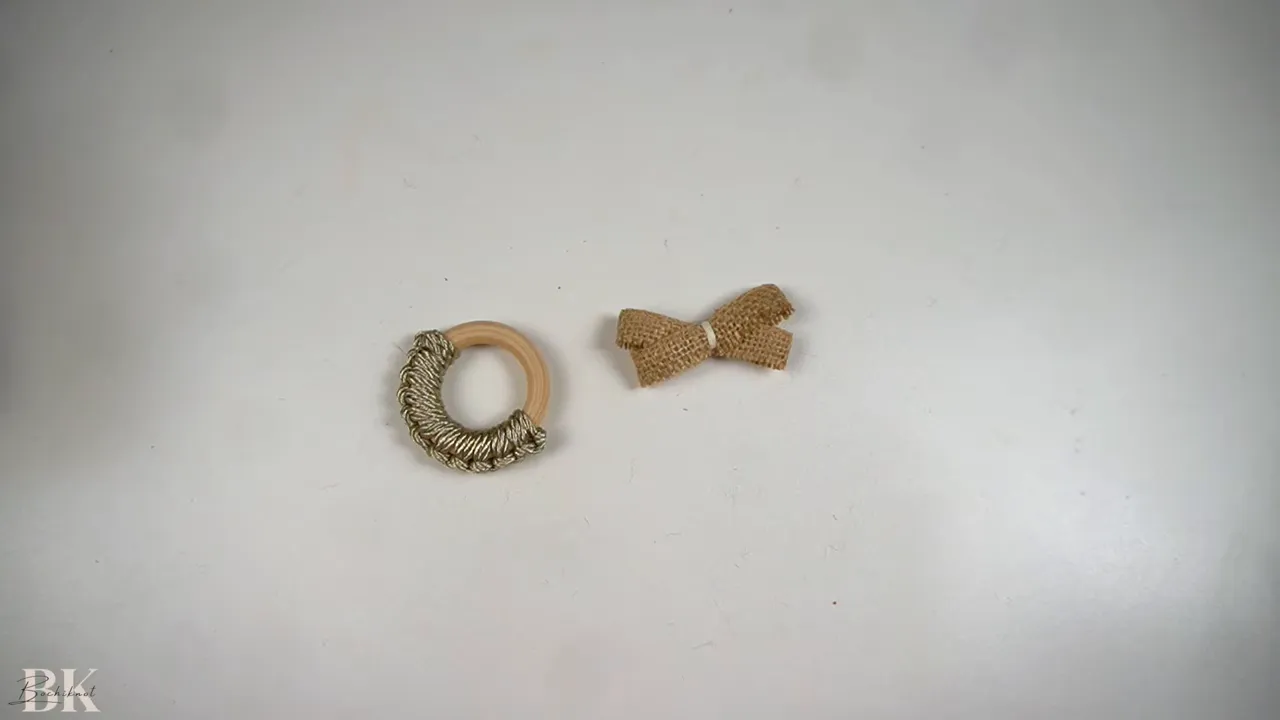
- Take a 15 cm strand of 2mm string and tie a tight double overhand knot through the center to secure all layers together.
Alternate ribbon colors for a bold holiday accent, or use vintage ribbon for a more subdued aesthetic.
Join Bochiknot Macrame Community |
|
The #1 online macrame community |
| Join Today |
Step 5: Add the star bead and attach bow to the ring
The little star bead gives that holiday sparkle and the bow completes the ornament’s personality.
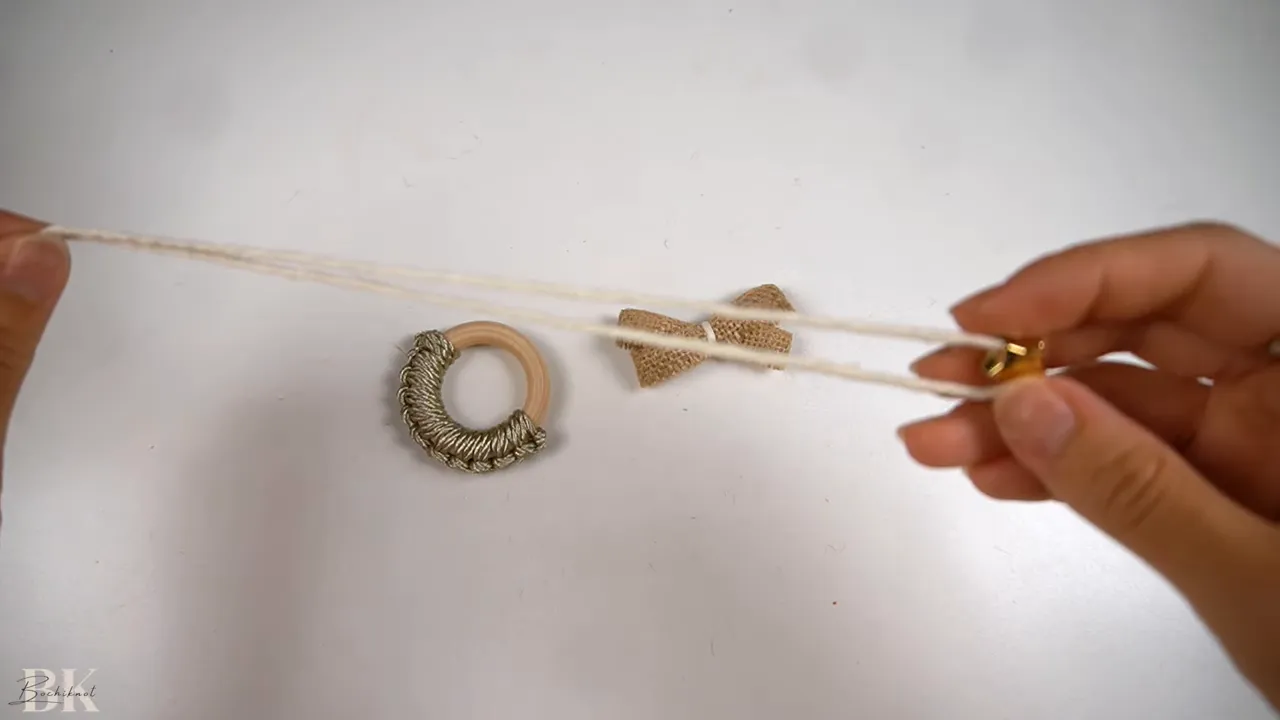
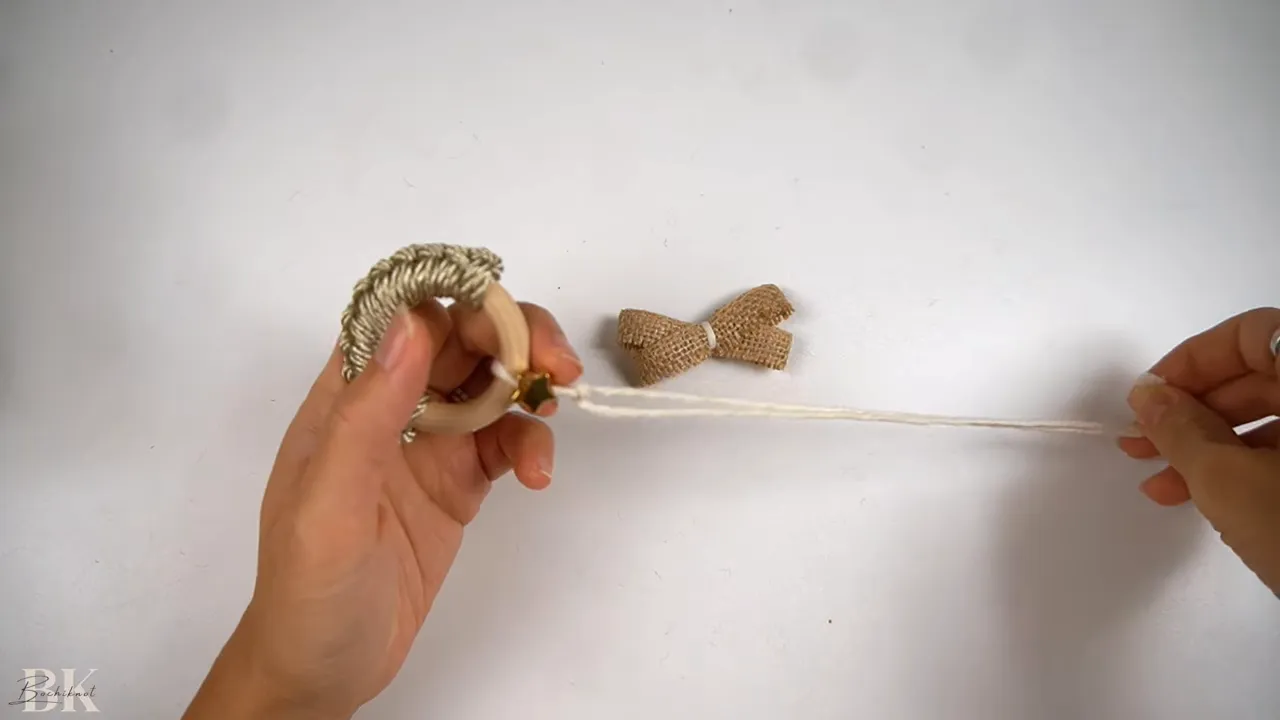
- Thread a 50 cm string through the star bead.
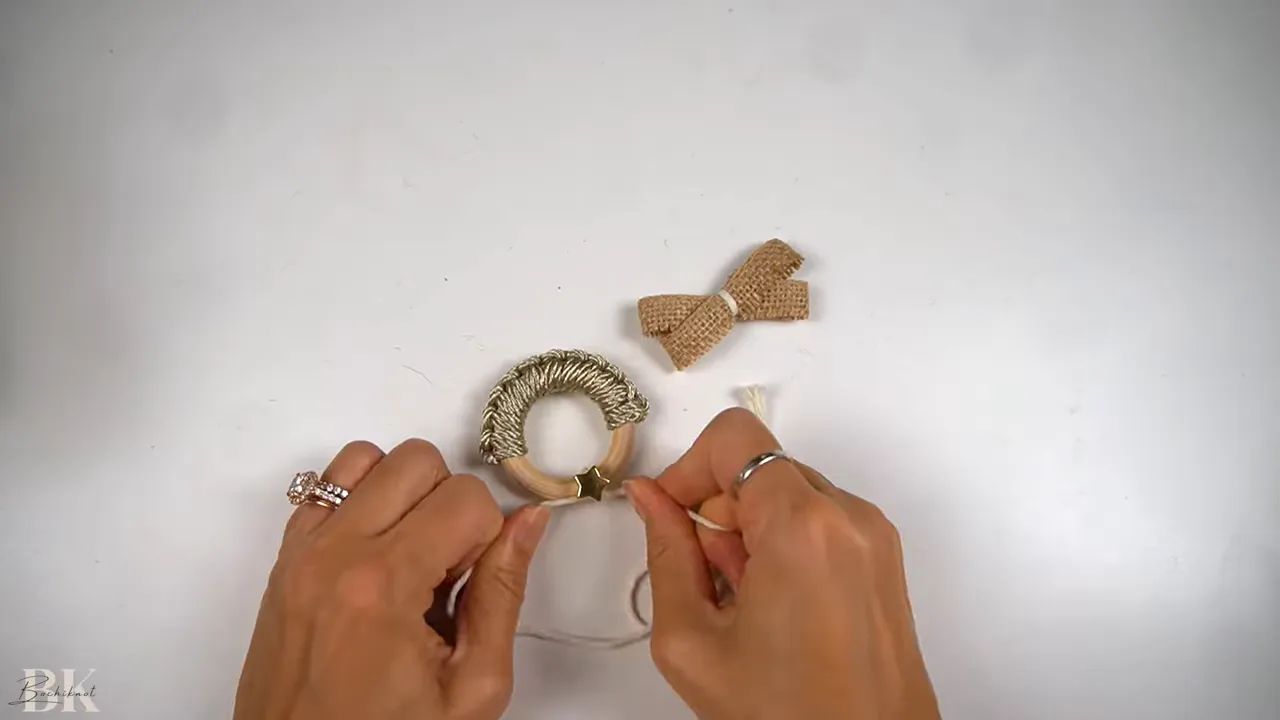
- Tie the string to the top of the wooden ring with a double overhand knot so the star sits facing forward. Add a second star on the back if you want it mirrored on both sides.
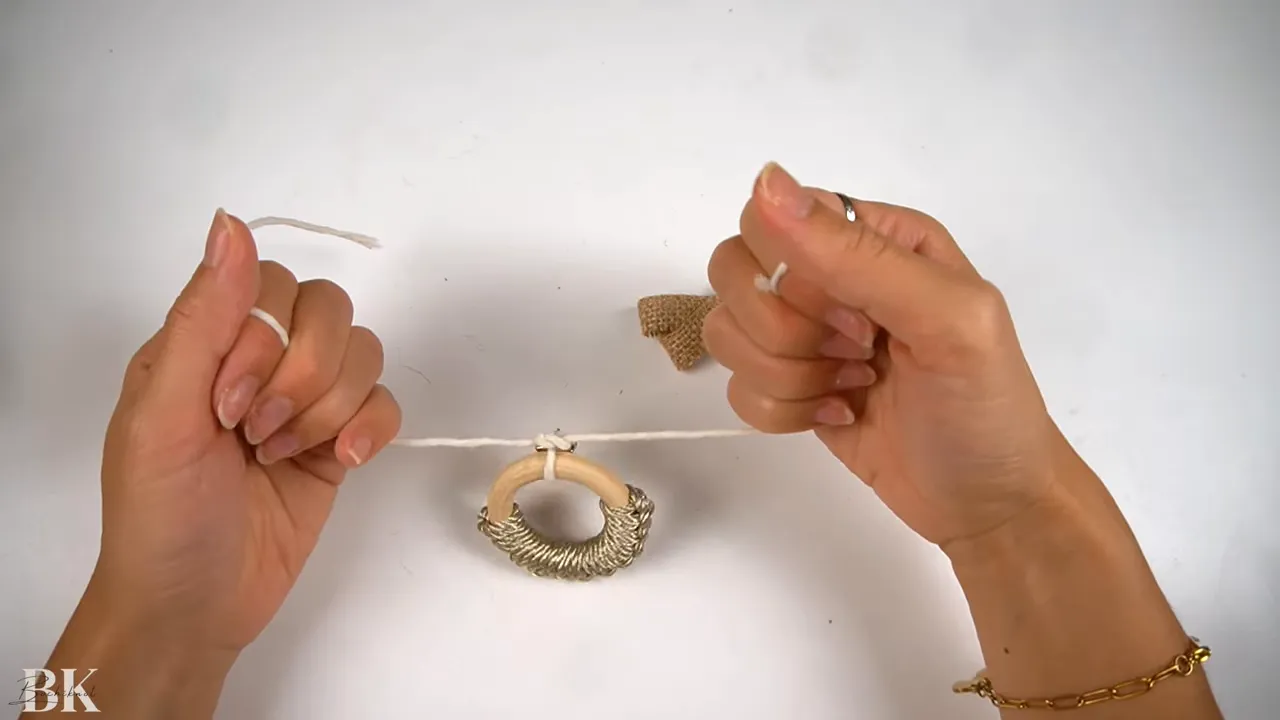
- Place the secured bow over the knot and tie another tight double overhand knot on top of the bow to lock it in place.
This combination of bead and ribbon makes a small but eye-catching macrame Christmas wreath that reads handmade and festive.

Step 6: Finish with a hanging knot and trim
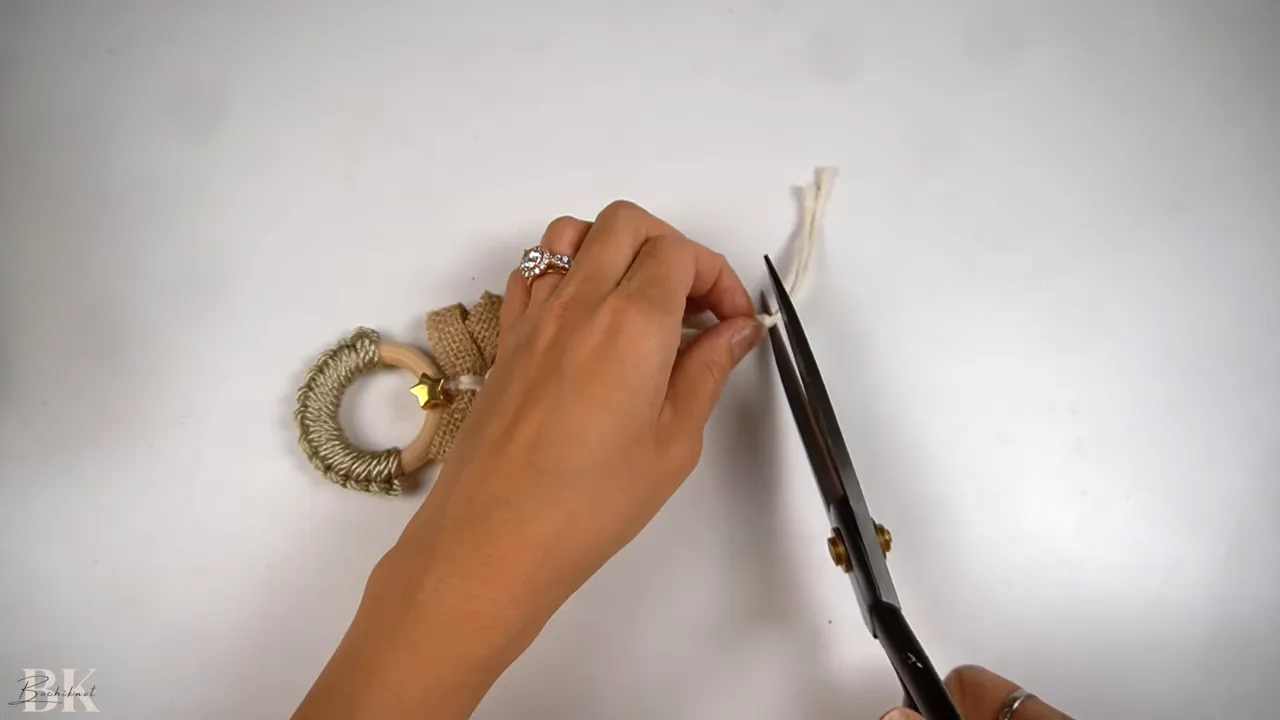
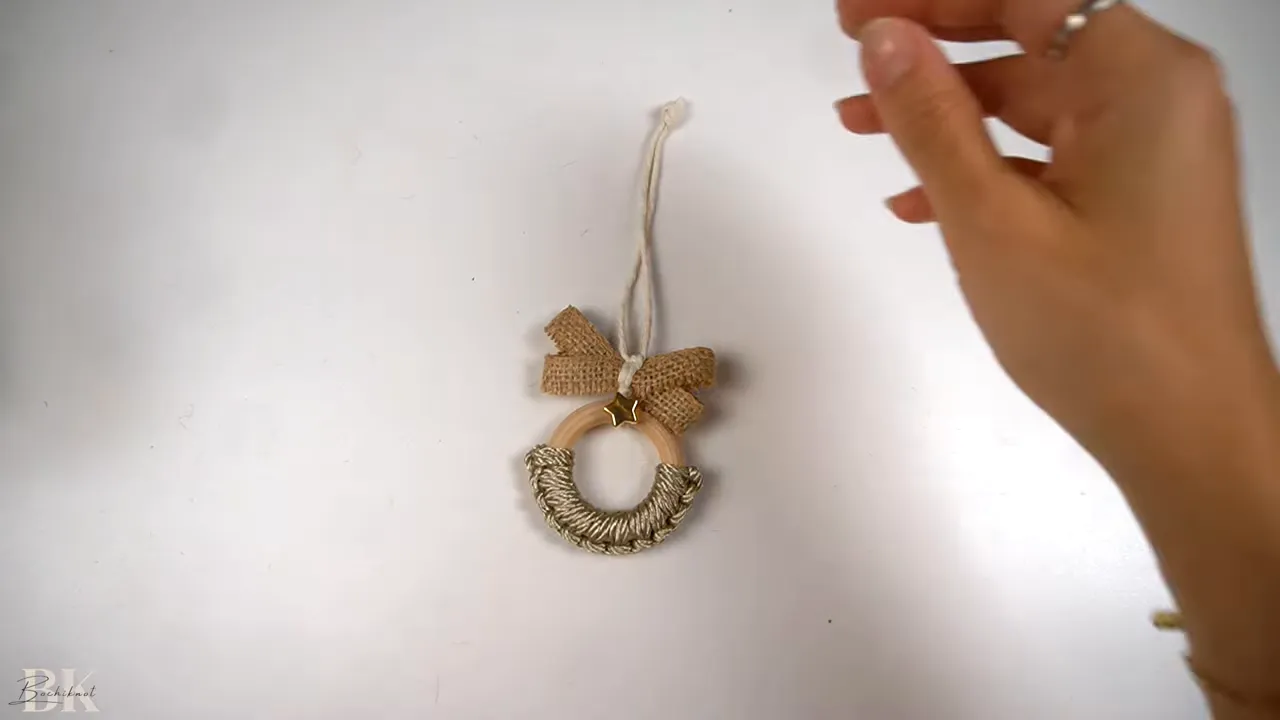
One final overhand knot and a neat trim turns the wreath into a ready-to-hang ornament.
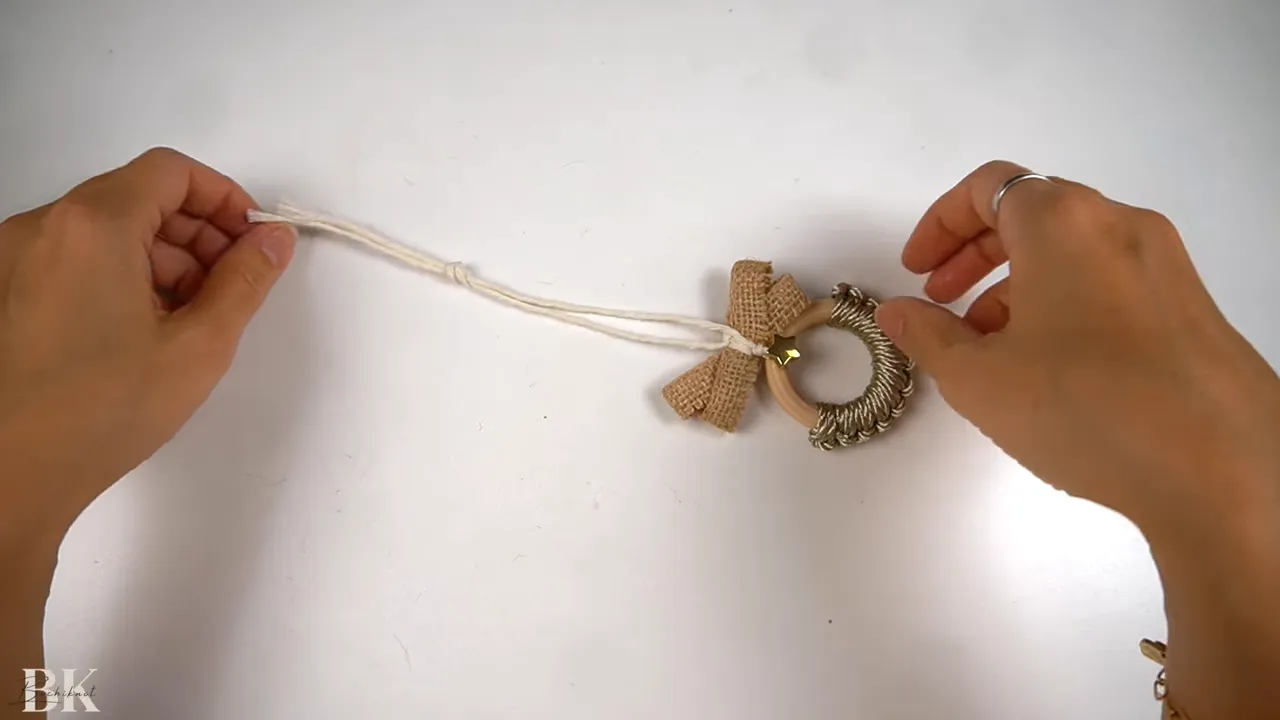
- With the two remaining string ends at the top, tie a large overhand knot as a hanger loop.
- Trim excess cord close to the knot for a clean finish.
- Your mini macrame Christmas wreath is complete — ready to hang on the tree, attach to a gift, or string across a holiday garland.

How long does it take to make this macrame Christmas wreath?
For beginners, plan 30–60 minutes. Once you’re familiar with the vertical Lark’s Head and overhand knots, you can finish in under 30 minutes.
What materials can I swap to change the look?
Use different cord thicknesses or colors, swap the metallic cord for cotton for a boho vibe, choose festive ribbon or burlap for rustic charm, and change the bead to a bell or wooden disc.
Can I make a larger wreath using the same technique?
Yes. Use a larger wooden ring and longer cords, and increase the number of vertical Lark’s Head knots to cover more of the ring.
Is this project beginner-friendly?
Absolutely. The project uses only two knot types and simple finishing. It’s a great first macrame Christmas wreath for new knotters.
Final notes & next steps
If you enjoyed making this tiny macrame Christmas wreath, try color variations or create sets to use as gift tags. This project is designed to be quick, relaxing, and very shareable — a tiny craft that spreads holiday cheer.
Want more holiday macrame projects? I’ll be posting angels, trees, and other festive ideas throughout November and December — be sure to follow along, and drop your project requests in the comments. Happy knotting!
Love,
Looking for Macrame Patterns and Projects?
I’ve got a fun variety of DIY macrame patterns for you to explore—whether you’re into creating unique wall hangings to spruce up your home or timeless plant hangers, there’s something for every skill level.
Each pattern is super easy to follow with step-by-step photos, clear instructions, and plenty of tips to help you along the way.
Ready to start creating?
Browse DIY macrame patterns on Etsy and dive into your next project.

Join the Bochiknot Macrame Community: Your Gateway to Exclusive Tutorials & Inspiration
Discover the art of macrame like never before! Join our exclusive community of passionate macrame enthusiasts and unlock a world of creativity.
Gain access to a treasure trove of unique patterns, expert guidance, and a supportive network of fellow artists.
















Leave a comment