1 Daisy Knot Pattern: 5 STUNNING Macrame Projects

Transform One Daisy Knot Pattern into 5 Stunning Macrame Creations
I still remember the moment I first stumbled upon the daisy knot pattern.
I was searching for a way to add that extra something to one of my early macrame projects—something that would make it stand out while keeping it simple.
Then, I found the daisy knot.
Its charm lies in its simplicity, yet its incredible ability to add softness and a natural, floral elegance completely transformed my piece.
It was the missing ingredient I didn’t even know I was looking for.
And now?
Fast forward to today, and I find myself weaving the daisy knot into nearly everything I make.
What if you could add that same beauty and uniqueness to your macrame creations?
What if a single knot could transform your projects, giving them a fresh, natural feel?
The daisy knot does just that.
It’s versatile, eye-catching, and surprisingly easy to learn.
Curious about how you can use the daisy knot to elevate your projects?
You’re in the right place!
In this post, I’m sharing five macrame projects that incorporate the daisy knot pattern, each offering a new way to use this stunning technique.
From headbands to plant hangers, you’ll discover how the daisy knot can add that floral touch to your work.
Ready to see what the daisy knot can do for your macrame?
Let’s dive in!
What is the Daisy Knot Flower Pattern?
Alright, let’s dive into the heart of this post—the daisy knot flower pattern!
If you’re starting your macrame journey, or even if you’ve been knotting for a while and want to add a new technique to your toolkit, this blog post article will cover all things daisy knot.
The daisy knot is one of those patterns that, once you learn, you’ll wonder how you ever knotted without it.
There’s just something so satisfying about creating a design that mimics the beauty of a flower.
It’s a simple but impactful pattern, and once you get the hang of it, you’ll find yourself adding daisy knots to everything!
I know I did when I first learned it—it became my go-to knot for adding that special, nature-inspired touch to my projects.
But don’t worry if you’re new to this—I will guide you step by step. By this end, you’ll be tying daisy knots like a seasoned macrame pro!
Macrame Knots You’ll Need to Know for the Daisy Knot Pattern
Now, before we jump into the daisy knot, let’s get comfortable with the basic macrame knots you’ll need to know.
Think of these as the building blocks of the daisy knot pattern.
Once you’ve mastered these, not only will the daisy knot come naturally, but you’ll also be well on your way to tackling more advanced macrame projects with confidence.
If you’re feeling a little unsure, don’t worry!
These knots may look intimidating at first, but once you practice them a few times, they’ll feel like second nature.
Let’s break them down:
Reverse Lark’s Head Knot
Ah, the trusty Reverse Lark’s Head knot.
This is often the first knot you’ll use in any macrame project because it’s how you attach your cords to your ring or holding structure.
It’s super easy—think of it the starting point for all the magic.
The daisy knot helps securely anchor your cords so your flower pattern stays steady.
Vertical Lark’s Head Knot
This knot is a little like its cousin, the regular lark’s head knot, but it creates neat vertical lines in your design.
In the daisy knot pattern, this knot will help form the structure around the flower’s petals, giving it that defined floral shape.
It’s like building a frame around your work of art.
Half Hitch Knot
The half-hitch knot is a macrame essential—it’s simple but powerful.
This knot is used to create delicate petal shapes around your daisy's bead or central knot.
Imagine drawing the petals of a flower around the center—this knot is the tool that lets you do that.
Don’t worry; it’s not as tricky as it sounds, and once you get into the flow, it’s actually quite fun!
Square Knot
Ah, the Square knot, the king (or queen!) of all macrame knots.
This knot is versatile and gives your piece a nice, clean, and polished look.
The daisy knot pattern is a strong anchor, pulling everything together and ensuring your design looks balanced and beautiful.
It’s also a knot you’ll use in many other macrame projects, so getting familiar with it early on is great.
More Macrame Knots
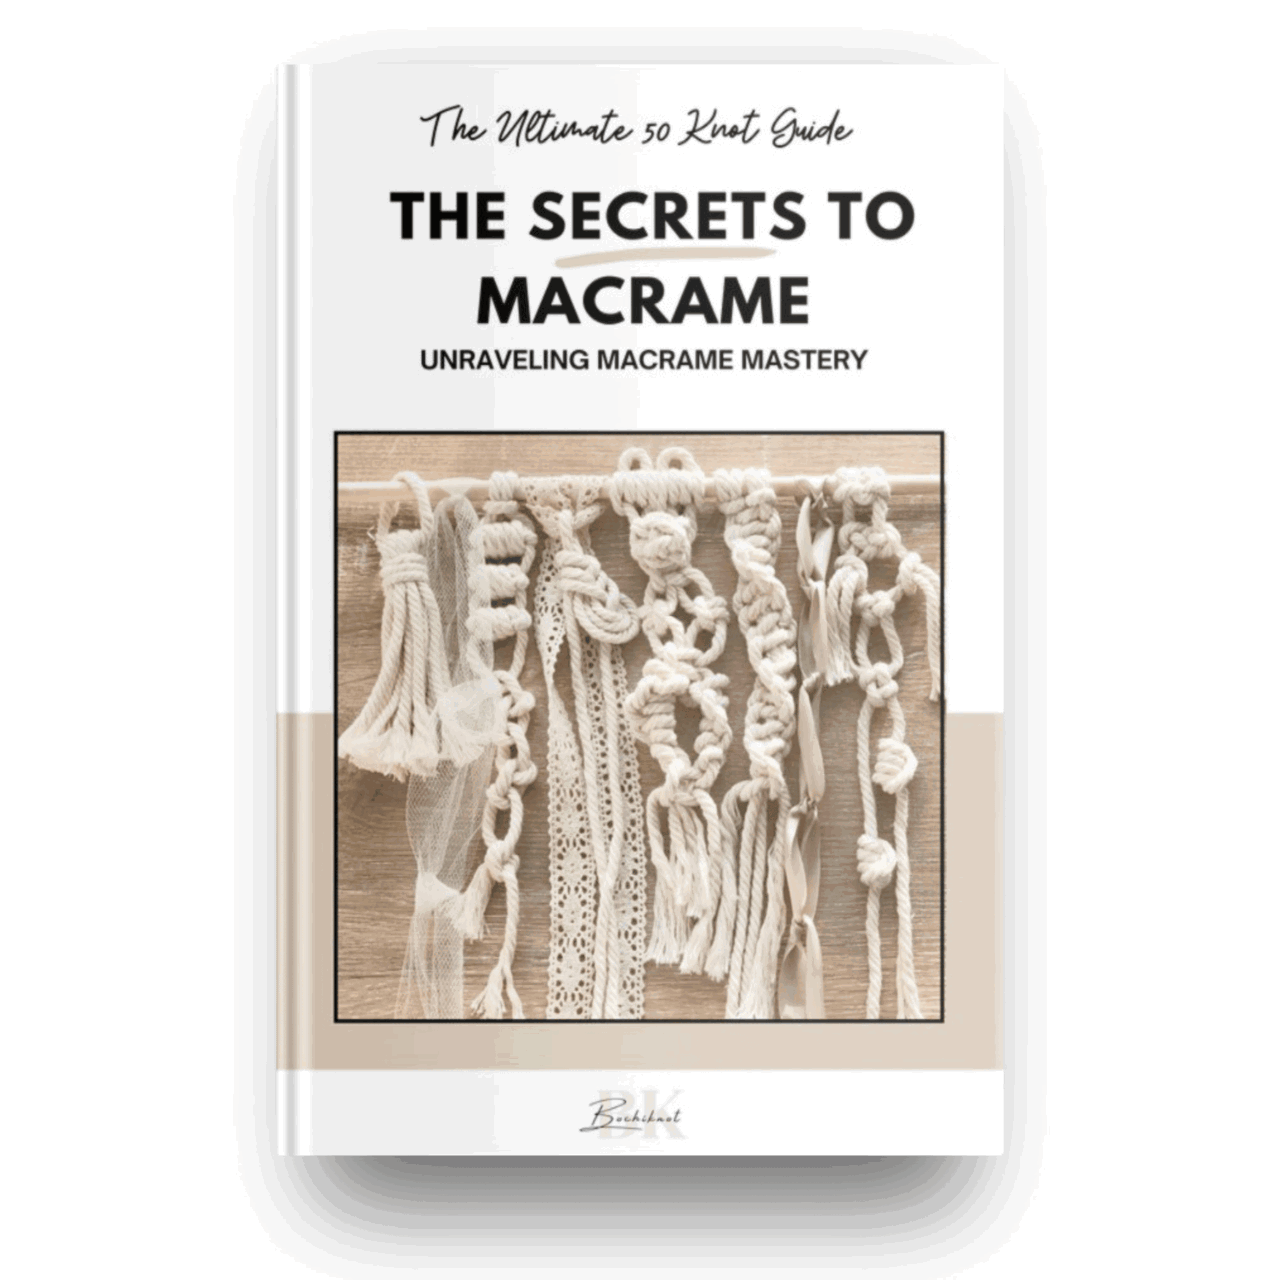
If you want to add more knots to your macrame designs, check out my free resource, "50 Macrame Knots & Sennit Guide."
It's packed with easy, step-by-step instructions to help you improve your skills and try new creative projects.
Access it here.
Important Macrame Terms for Beginners
Before we begin, it's probably best to go over a few important terms used in macrame.
This will help you understand the techniques more easily, follow patterns with confidence, and set a strong foundation for your macrame journey.
- Knots: Macrame involves various knots, like the overhand knot and alternating overhand knot. Learning these basic knots is key to building a strong foundation.Check the "Macrame Knots You Need to Know" section for the knots used in this pattern.
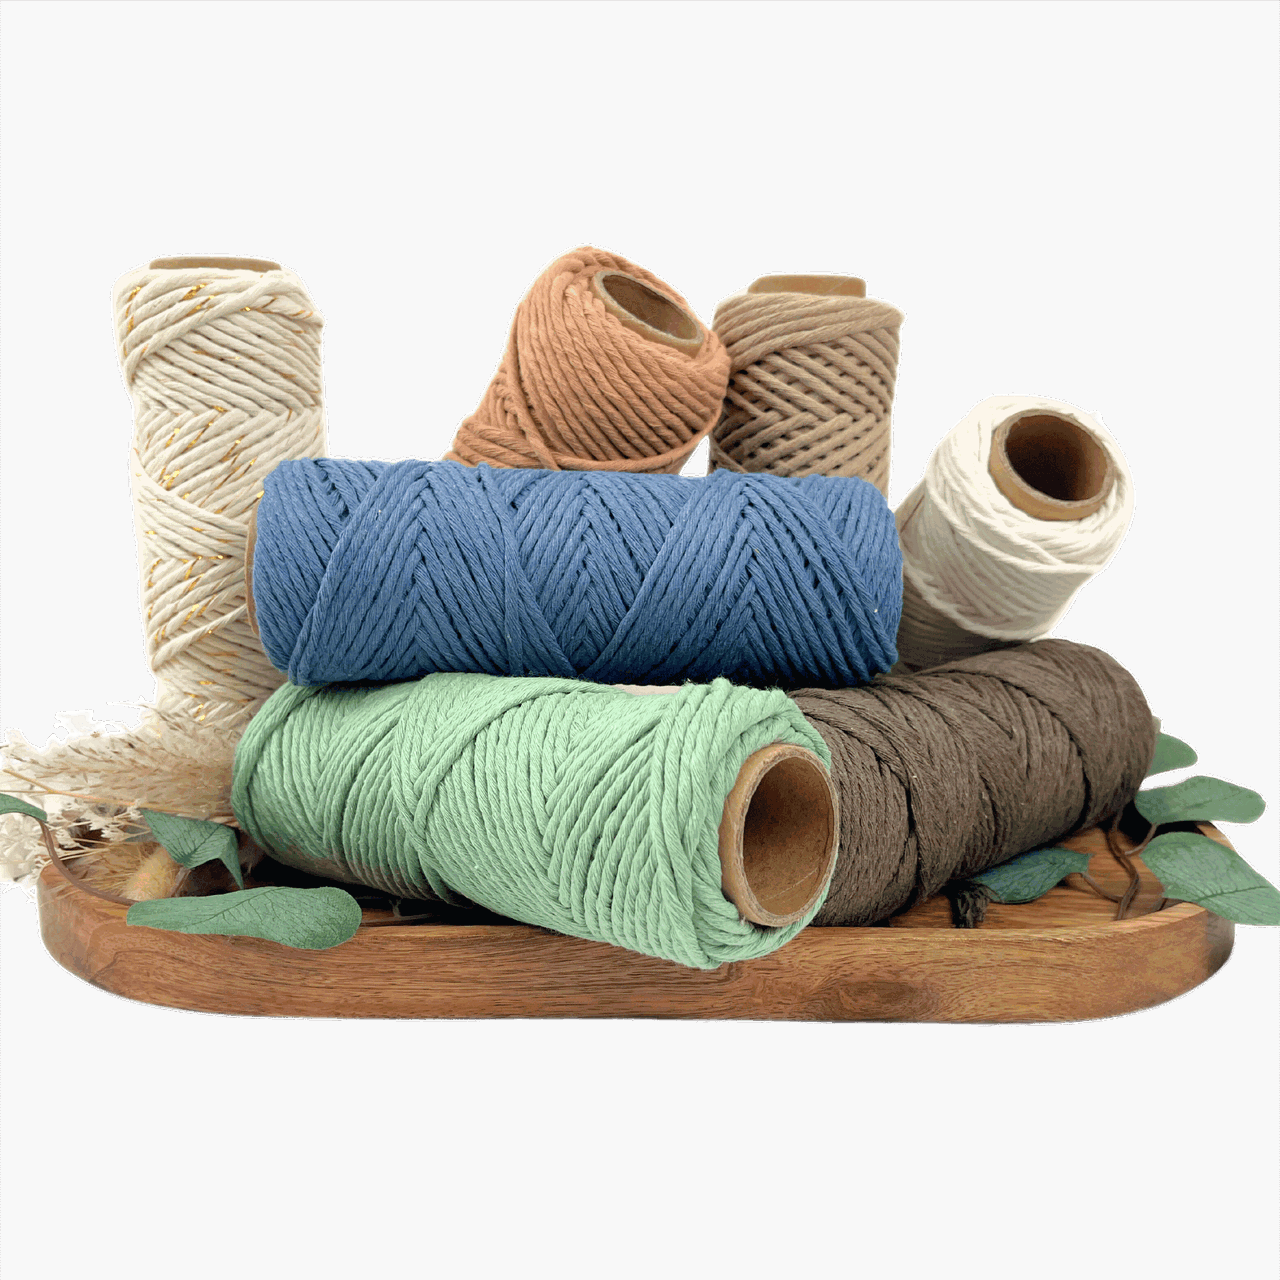
- Cords: The primary material in macrame is cords made from cotton, jute, nylon, or synthetic fibers. They come in different thicknesses and colors. You can learn more about macrame cord with our "Macrame ESSENTIALS: Everything You Need—Cord, Tools, & Materials" post.
- Loop: A loop is formed by crossing the cord over itself to create a ring-like shape. Loops are essential in many macrame designs.
- Fringe: The loose ends of cords that hang down, adding a decorative element. The fringe can be left as is or trimmed to your desired length. Want to learn more about fringe? here's "My Top 5 Secrets for Creating PERFECTLY Styled Fringe" post you might find helpful.
- Anchor Cord: The fixed cord or structure to which other cords are attached. It provides stability and support for your design.
- Working Cord: The cord that is actively manipulated to create knots and patterns throughout the project.
- Sennit: A series of knots grouped together to form a pattern or part of your macrame project.
- Frays and Tassels: The loose ends of your cords, often used intentionally as decorative elements like frays or tassels in your design.
How to Knot the Daisy Knot Pattern
Before we jump in, make sure you’re familiar with four basic macrame knots—trust me, they’re the building blocks for creating the daisy knot.
Once you master them, the sky’s the limit for your macrame creations.
We’ll start with the simplest version of the daisy knot to get you comfortable, and then I’ll show you three fun variations.
We’ll mix things up with different cord colors, techniques, and even accessories like beads to give your designs that extra wow factor.
For this tutorial, I’ll be working with a 4mm braided macrame cord.—it’s perfect for bringing out the details in this pattern.
Ready to get knotting?
Click the play button below to watch how to make the Daisy knot.
5 Macrame Projects to Make with the Daisy Knot Pattern
Now that you’ve mastered the daisy knot pattern let’s get to the really exciting part—putting it to use!
This beautiful knot is just waiting to be transformed into stunning macrame projects you’ll be proud to display or gift.
The possibilities are endless, from cute headbands and stylish keychains to elegant plant hangers and decorative wall pieces.
Whatever you create, adding the daisy knot brings a personalized, eye-catching flair that makes your work stand out.
In the following few sections, I’ll guide you through five awesome projects where the daisy knot is the star of the show.
Each one will demonstrate how versatile this knot can be and inspire you to experiment and make these designs your own.
Daisy Pattern Project 1: How to Create a Macrame Headband with a Daisy Knot
Creating a macrame headband with a daisy knot might sound tricky at first, especially with beads and other materials, but trust me, it’s much simpler than it looks—and a lot of fun!
If you love the BOHO-chic style like I do, this project is right up your alley.
If you’ve already mastered the four variations of the daisy knot from the video above, you’ll breeze through this headband project.
Materials You’ll Need:
- 1 x roll of 4mm braided macrame cord (I used Tuscan color)
- 1 x wide headband
- 12 x 14mm large hole (7mm hole) beads
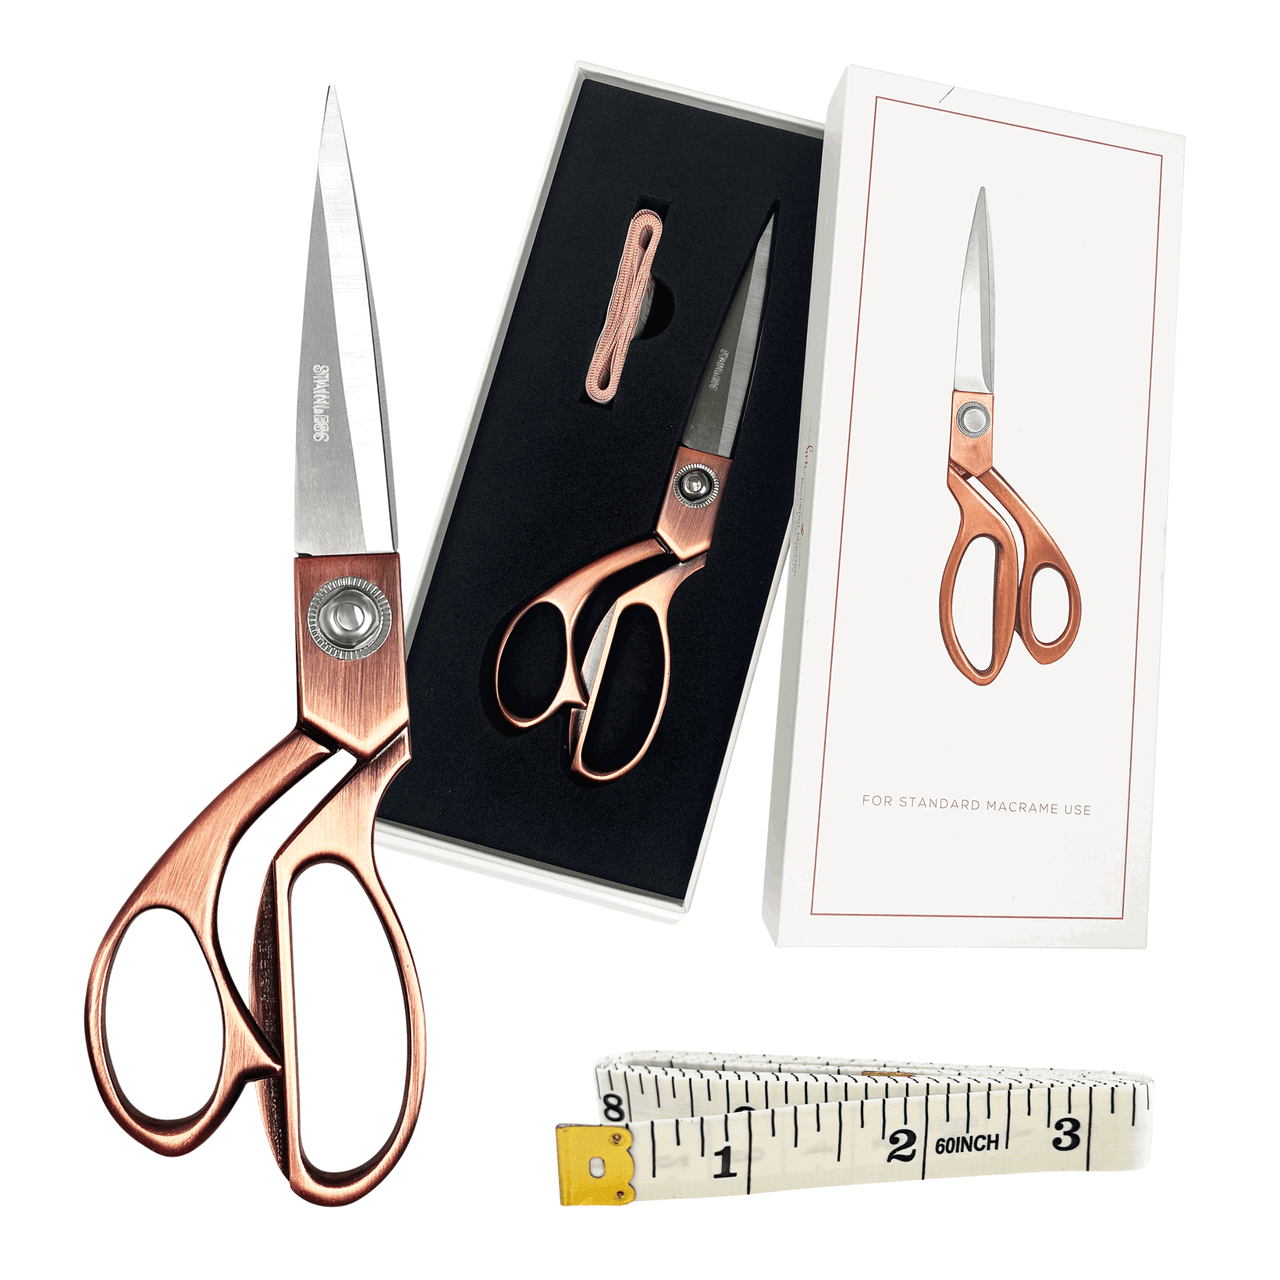
- A pair of sharp macrame scissors (Optional) - for clean and precision cord-cutting
- Glue gun or any strong glue
Time to Complete:
- About 1 hour
Skill level:
- Beginner - intermediate
Once you have all your supplies, you’re ready to start!
Follow along in the video below, where I’ll guide you step-by-step through the 10 easy steps to creating your own macrame headband with the daisy knot pattern.
Daisy Pattern Project 2: Knotting a Friendship Bracelet with the Daisy Knot Pattern
Next up we have a macrame friendship bracelet.
Next up, we’re making a macrame friendship bracelet!
But before we dive in, let’s take a quick trip down memory lane.
Remember those teenage days when friendship bracelets were the symbol of friendship?
I sure do. I was always making colorful bands and trading them with my besties, sealing our bond as lifelong friends.
Now, I’m reliving those memories by knotting them with my daughter.
This project will bring back those nostalgic vibes while teaching you how to create a beautiful bracelet using the daisy knot pattern.
Materials You’ll Need:
- 1.5 - 2mm macrame string
- 8-10 x 5mm beads (3mm hole)
-
A glue gun or any strong glue will do
Time to Complete:
- 1 hour
Skill level:
- Advanced-Beginner to intermediate
Finished Size:
- Approximately 7.5" when tightened, and up to 12" at the widest opening.
Join me in the video below, where I’ll walk you through the entire process of making this macrame friendship bracelet.
I’ll show you everything from choosing the right cords to tying the intricate daisy knot that makes this bracelet truly special.
Ready to create your own? Let’s get started!
Daisy Pattern Project 3: Macrame Keychain with the Daisy Knot Pattern
Keychains are more than just practical accessories—they’re with us every day, keeping our keys secure and adding a personal touch to our routine.
So why not give your keychain an upgrade with the beautiful and intricate daisy knot?
In this project, we’ll create a macrame keychain using the daisy knot pattern.
It’s a fun and creative way to turn an everyday item into something stylish and unique!
Materials You’ll Need:
Time to Complete:
- 1 hour
Skill level:
- Beginner to intermediate
Finished Size:
- 1.75" width and 8" length
In this project, you’ll learn how to weave the daisy knot pattern into a practical, everyday item.
The steps are simple, and by the end, you’ll have a beautiful keychain that adds a bit of boho charm to your day-to-day life.
Follow along in the video below as I guide you through the process, step by step.
Let’s get knotting and make your new favorite keychain!
Daisy Pattern Project 4: Macrame Plant Hanger with Beads Using the Daisy Knot Pattern
Looking to take your plant hanger from simple to stunning?
This project adds a touch of boho charm with the beautiful combination of macrame and beads, making it the perfect addition to your indoor space.
In this tutorial, we’ll show you how to create a macrame plant hanger that’s not only functional but also full of personality.
By adding beads and incorporating the daisy knot pattern, you’ll create a piece that’s as stylish as it is practical.
Materials You’ll Need:
Time to Complete:
- 1 - 2 hour
Skill level:
- Advanced beginner - intermediate
Finished Size:
- 6" width (with pot) and 34" length
Beads bring a beautiful accent to your macrame plant hanger, adding just the right touch of elegance and appeal.
They not only enhance the design but also give your piece a more personalized feel.
You can choose beads that match your home decor or opt for a bold contrast to make your hanger stand out even more.
Either way, the beads, combined with the intricate daisy knot pattern, will make this plant hanger truly unique.
Daisy Pattern Project 5: Tri-Colored Macrame Plant Hanger with the Daisy Knot Pattern
For our fifth and final daisy knot project, we’re kicking things up a notch!
We’re taking a classic macrame plant hanger and making it a showstopper by using three different colors of cord in a beautiful daisy knot pattern.
This is where you step up and separate yourself from the macrame crowd!
In this tutorial, we’ll be creating a tri-colored macrame plant hanger that’s anything but ordinary.
Not only will this piece take your home decor to the next level, but the mix of vibrant cord colors will also add a bold, dynamic twist that’s sure to make your space pop.
What sets this project apart?
It’s all in the use of three distinct colors.
While most macrame hangers stick to a single hue, we’re breaking tradition and bringing in a blend of shades that create a beautiful contrast, adding depth, personality, and a fresh, lively vibe to your design.
By weaving these colors together with the daisy knot, you’ll have a plant hanger that’s not just practical, but a genuine work of art.
This is perfect for anyone who wants to make their indoor space unique and personalized.
Materials You’ll Need:
Time to Complete:
- 1 - 2 hour
Skill level:
- Advanced beginner - intermediate
Finished Size:
- 6" width (with pot) and 34" length
I truly hope these five projects inspire you to dive deeper into the world of macrame and experiment with the beautiful daisy knot pattern.
Whether you’re looking to create something simple or bold, the daisy knot has the power to add that perfect floral touch to your work.
You can make each project your own by playing with colors, materials, and personal style. Let your creativity bloom!
So, which project are you most excited to start with?
A keychain, a headband, or maybe that stunning plant hanger?
I’d love to hear about your choice in the comments!
And don’t forget to share your daisy knot creations with me—I can’t wait to see how you bring this beautiful floral design to life in your own unique way.

Looking for Macrame Patterns and Projects?
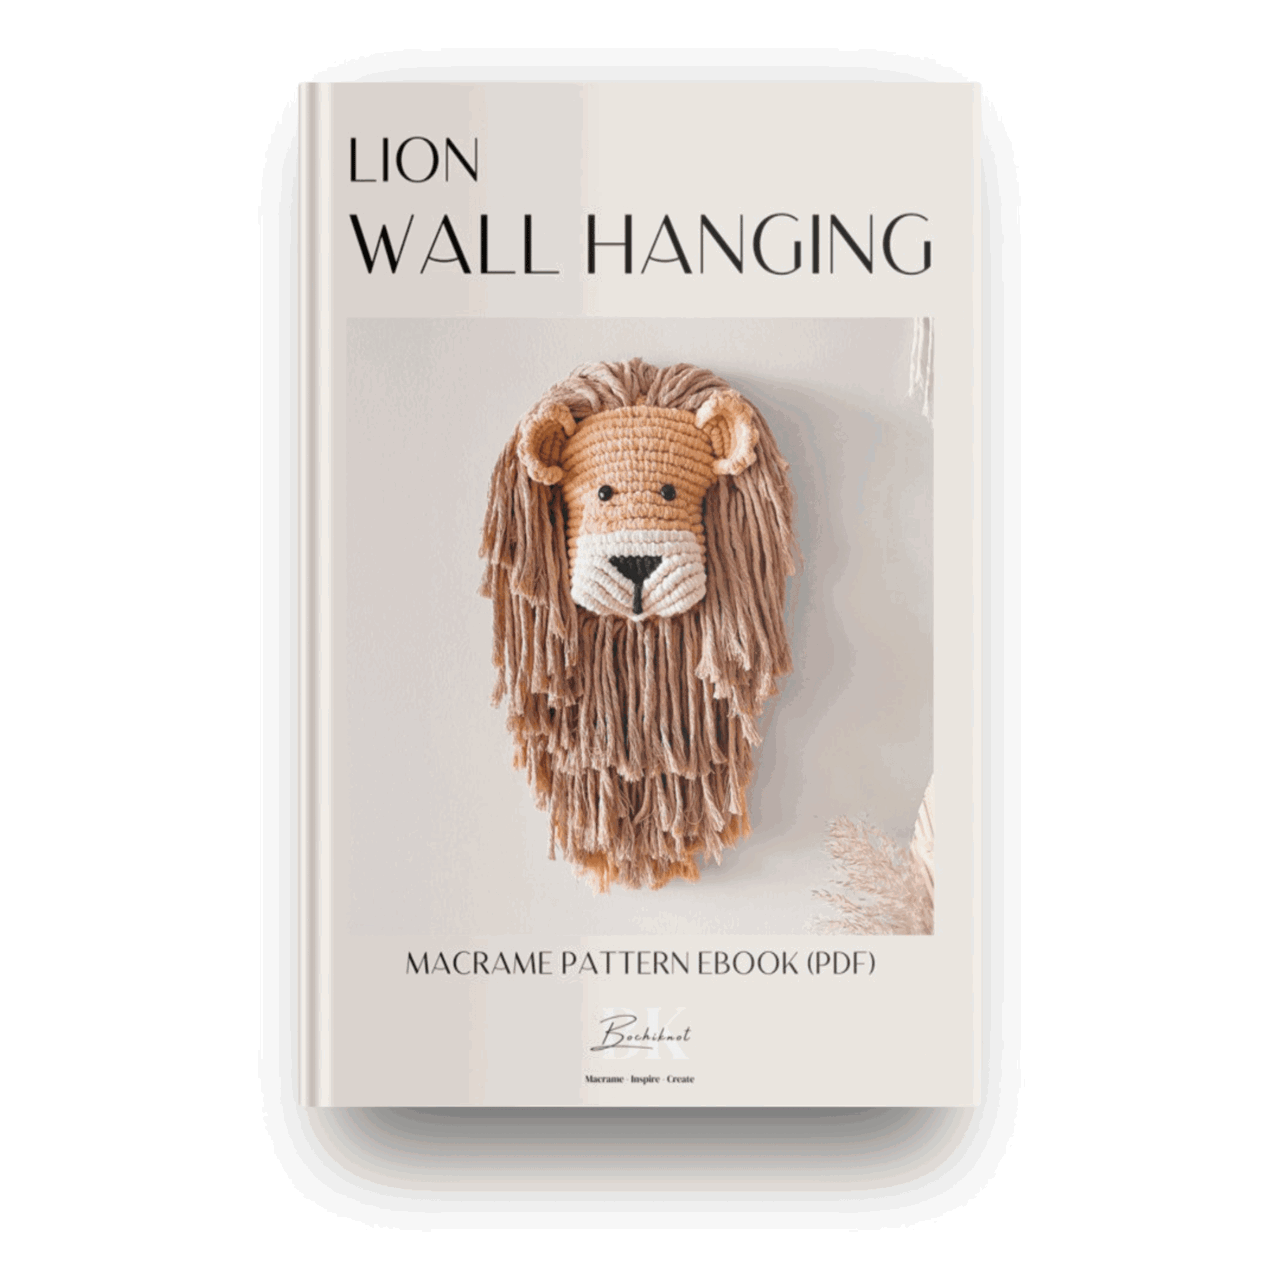
I’ve got a fun variety of DIY macrame patterns for you to explore—whether you’re into creating unique wall hangings to spruce up your home or timeless plant hangers, there’s something for every skill level.
Each pattern is super easy to follow with step-by-step photos, clear instructions, and plenty of tips to help you along the way.
Ready to start creating?
Browse DIY macrame patterns on Etsy and dive into your next project.

Join the Bochiknot Macrame Community: Your Gateway to Exclusive Tutorials & Inspiration
Discover the art of macrame like never before! Join our exclusive community of passionate macrame enthusiasts and unlock a world of creativity.
Gain access to a treasure trove of unique patterns, expert guidance, and a supportive network of fellow artists.
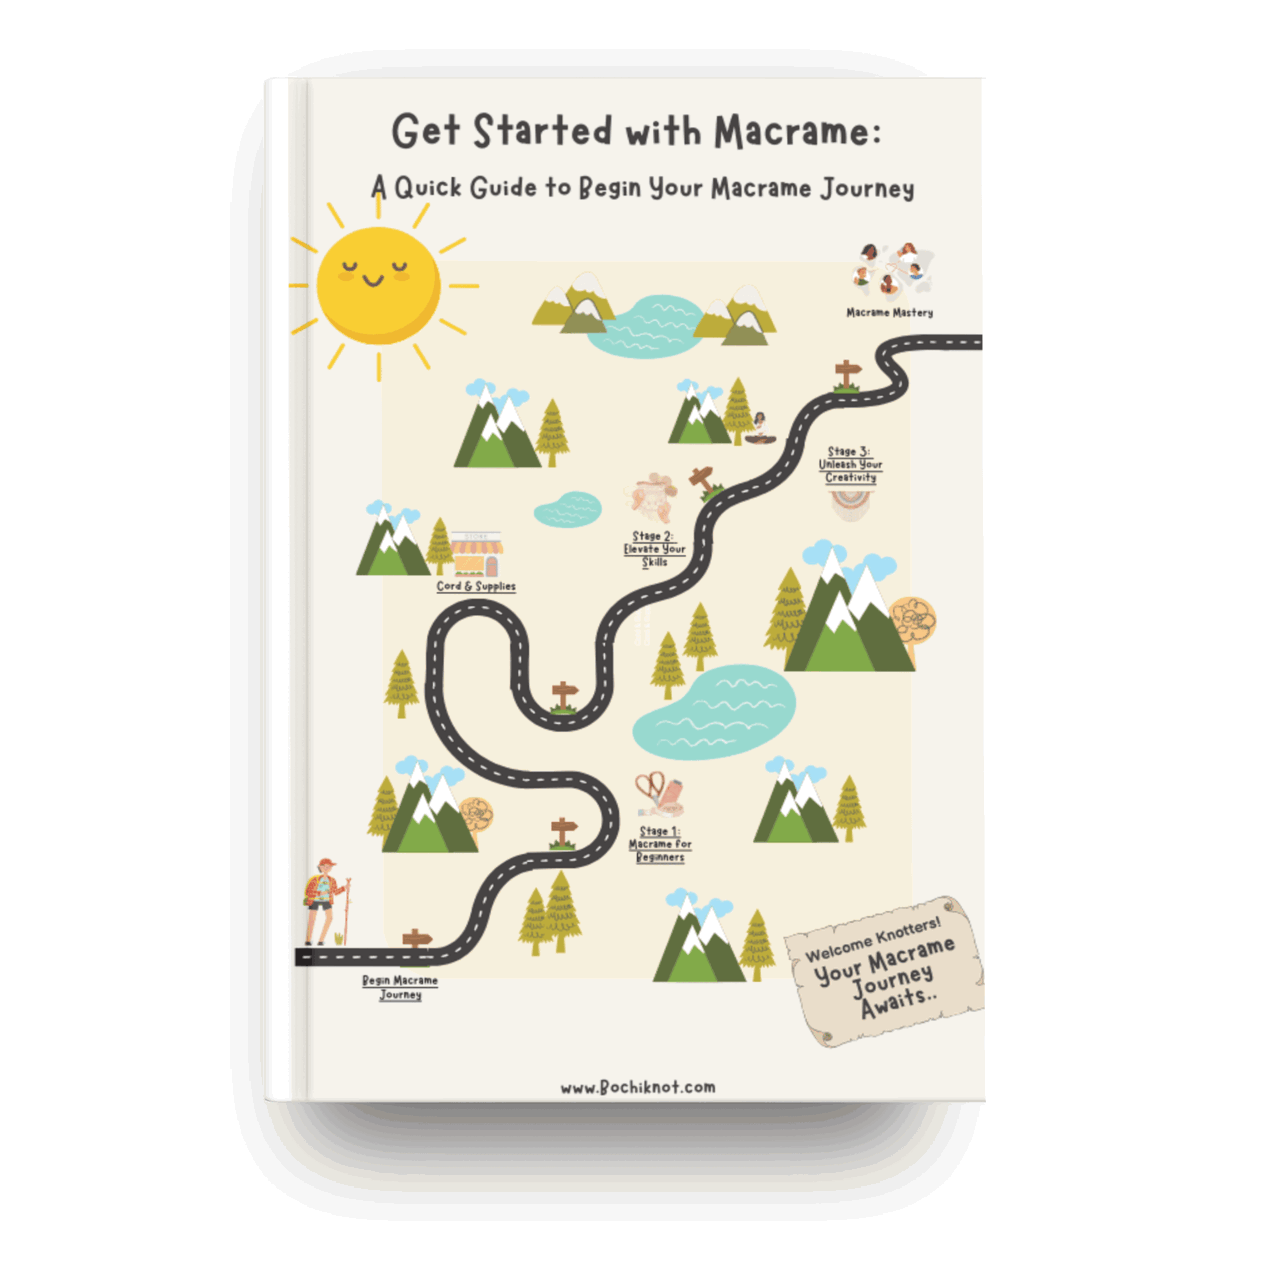
Join Today to Get Access to Our Library of Macrame Tutorials & Patterns












Leave a comment