4 Daisy Knot Flower Variations to TRANSFORM Your Macrame

There’s something magical about combining flowers and macrame—two of the most beautiful things!
The daisy knot flower is the perfect pattern to bring that magic to life, adding a sweet, floral touch to any macrame project.
Whether you want to add a little bloom to a wall hanging, create delicate jewelry, or craft a decorative piece for your space, daisy knots are versatile, fun, and charming.
In this post, I’ll take you through 4 unique daisy knot flower patterns that are simple, elegant, and doable—even if you’re new to macrame.
If you’ve been wanting to add some floral flair to your next project, you're in the right place.
Ready to get started?
Let’s dive into these beautiful, blooming daisy knot patterns and make something unforgettable!
What You’ll Need to Make These Daisy Knot Variations
To create these beautiful variations of the daisy knot pattern, we’ll need some materials and a basic understanding of macrame knots.
Don’t worry if you’ve never tied a macrame knot before—I’m here to guide you every step of the way. Just relax and leave any worries behind!
We’ll begin by learning a few essential macrame knots.
Macrame Knots You’ll Need to Know for Daisy Knot Patterns
Once you’ve got these down, everything will fall into place. Here are the knots you’ll need:
These knots may seem simple, but they’re the building blocks for crafting incredible macrame designs.
The more you practice them, the quicker they’ll become second nature.
And here’s the exciting part: as you practice and get more comfortable, you’ll start to feel more confident.
This confidence will open the door to new creative possibilities.
Your knotting skills will improve, and before you know it, you’ll be experimenting with even more intricate patterns.
More Macrame Knots
If you want to add more knots to your macrame designs, check out my free resource, "50 Macrame Knots & Sennit Guide."
It's packed with easy, step-by-step instructions to help you improve your skills and try new creative projects.
Access it here.
Important Macrame Terms for Beginners
Before we begin, it's probably best to go over a few important terms used in macrame.
This will help you understand the techniques more easily, follow patterns with confidence, and set a strong foundation for your macrame journey.
- Knots: Macrame involves various knots, like the overhand knot and alternating overhand knot. Learning these basic knots is key to building a strong foundation.Check the "Macrame Knots You Need to Know" section for the knots used in this pattern.
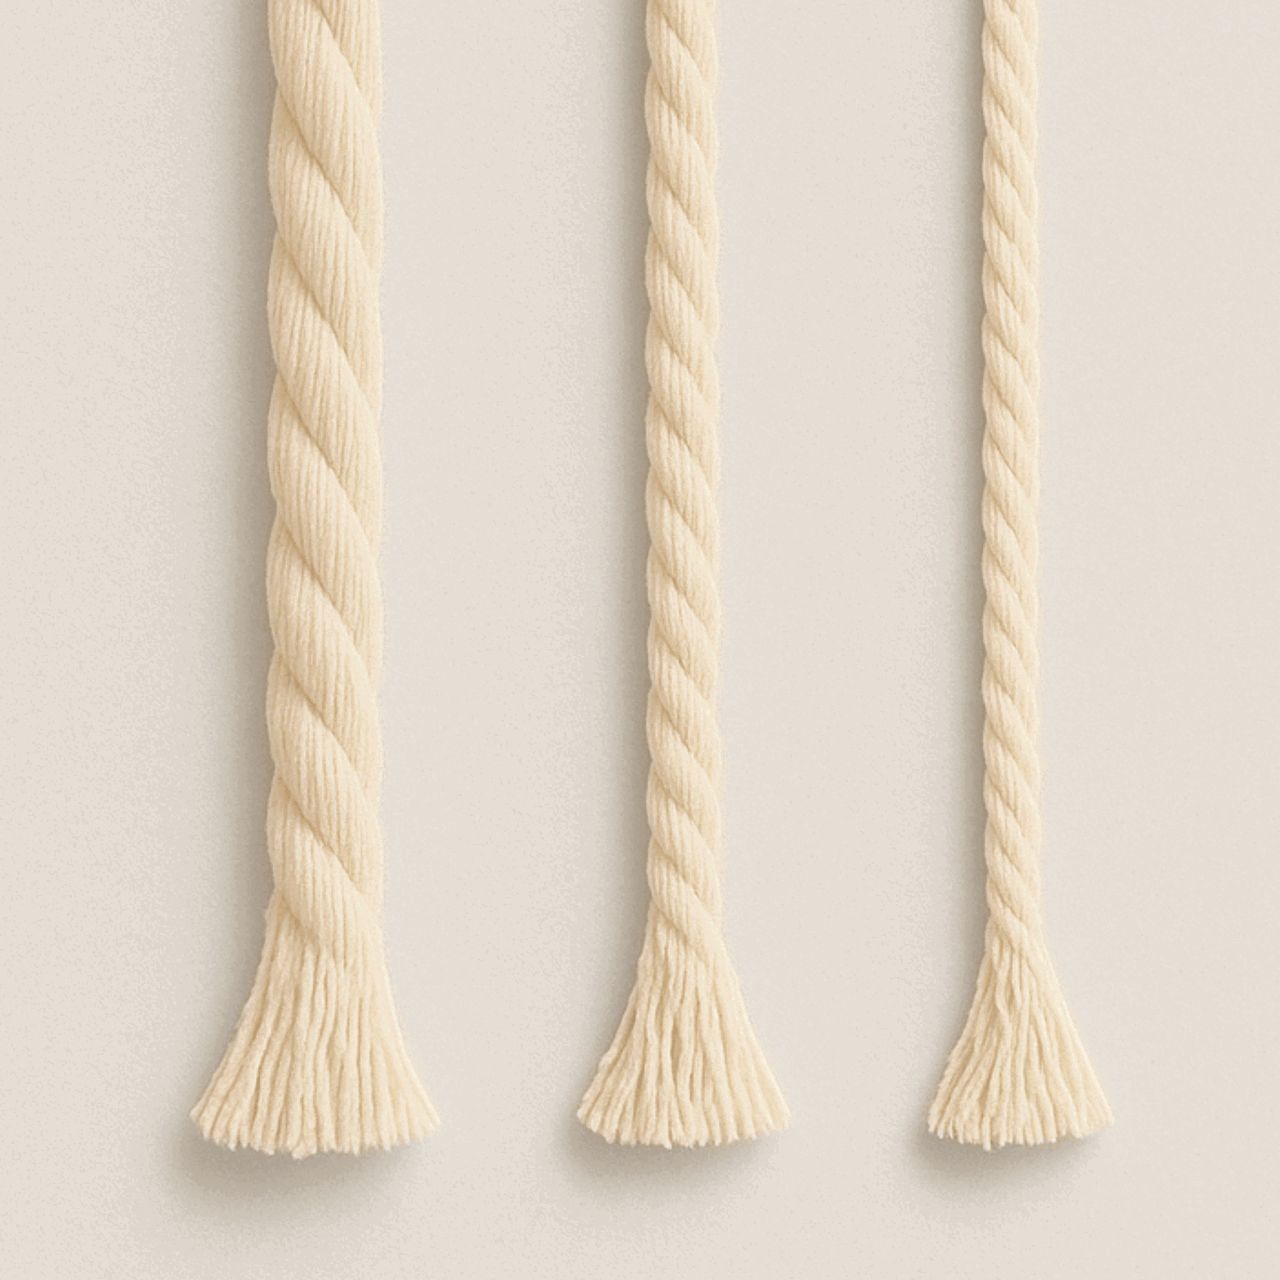
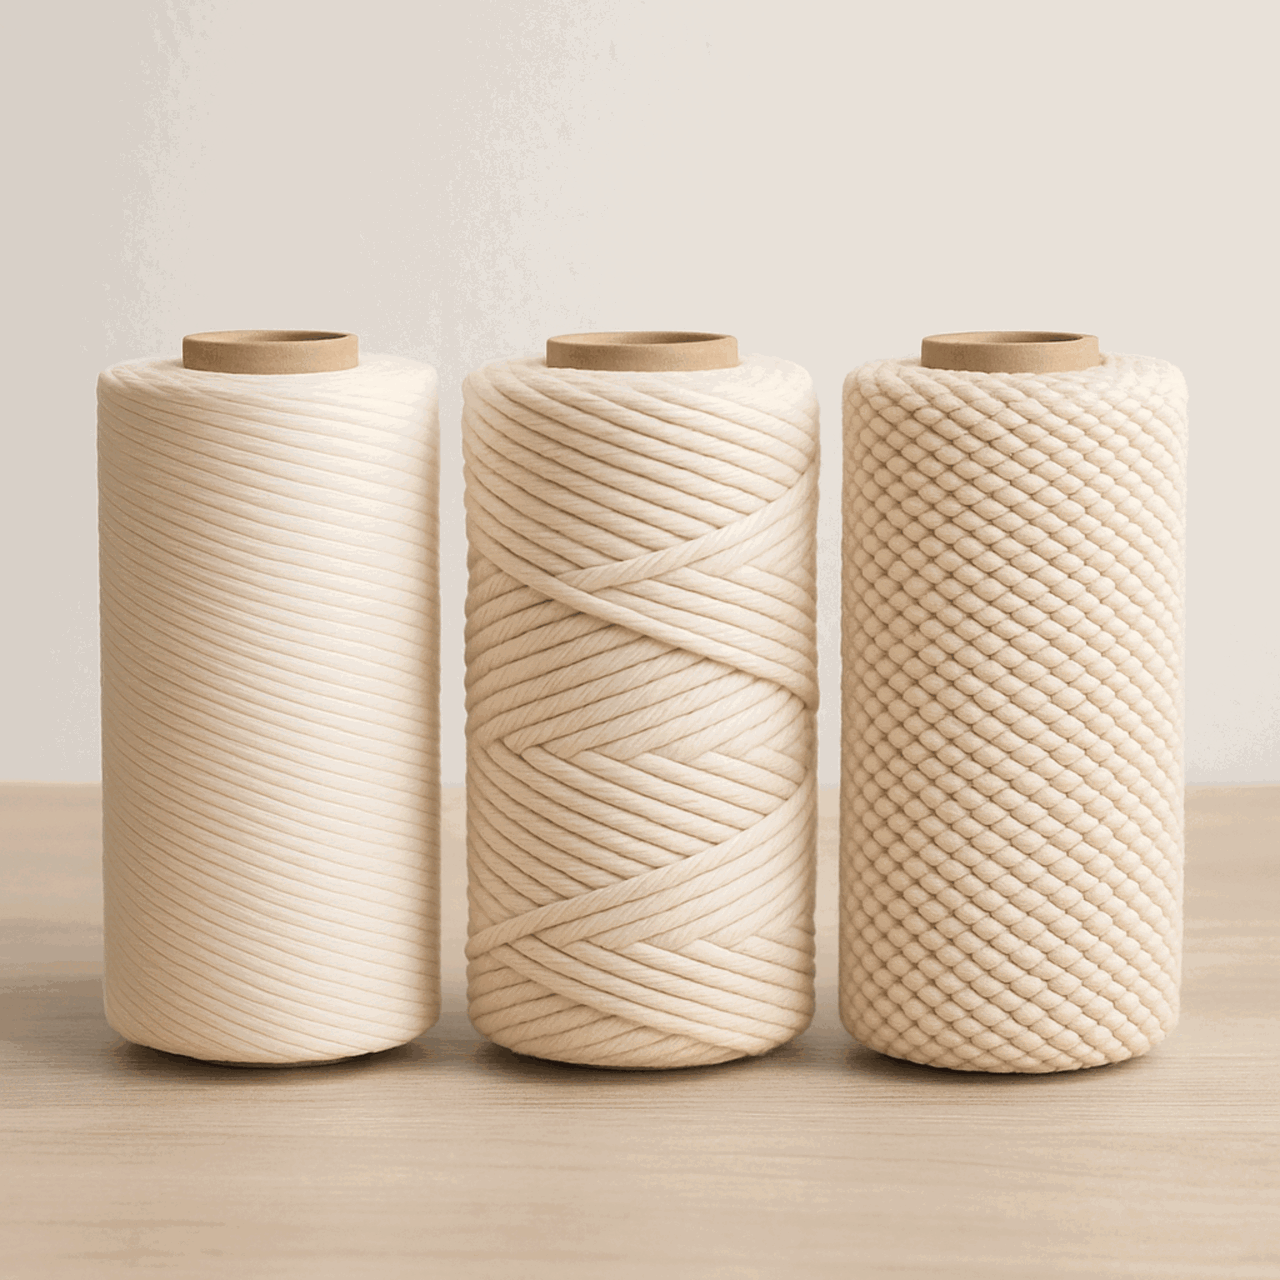
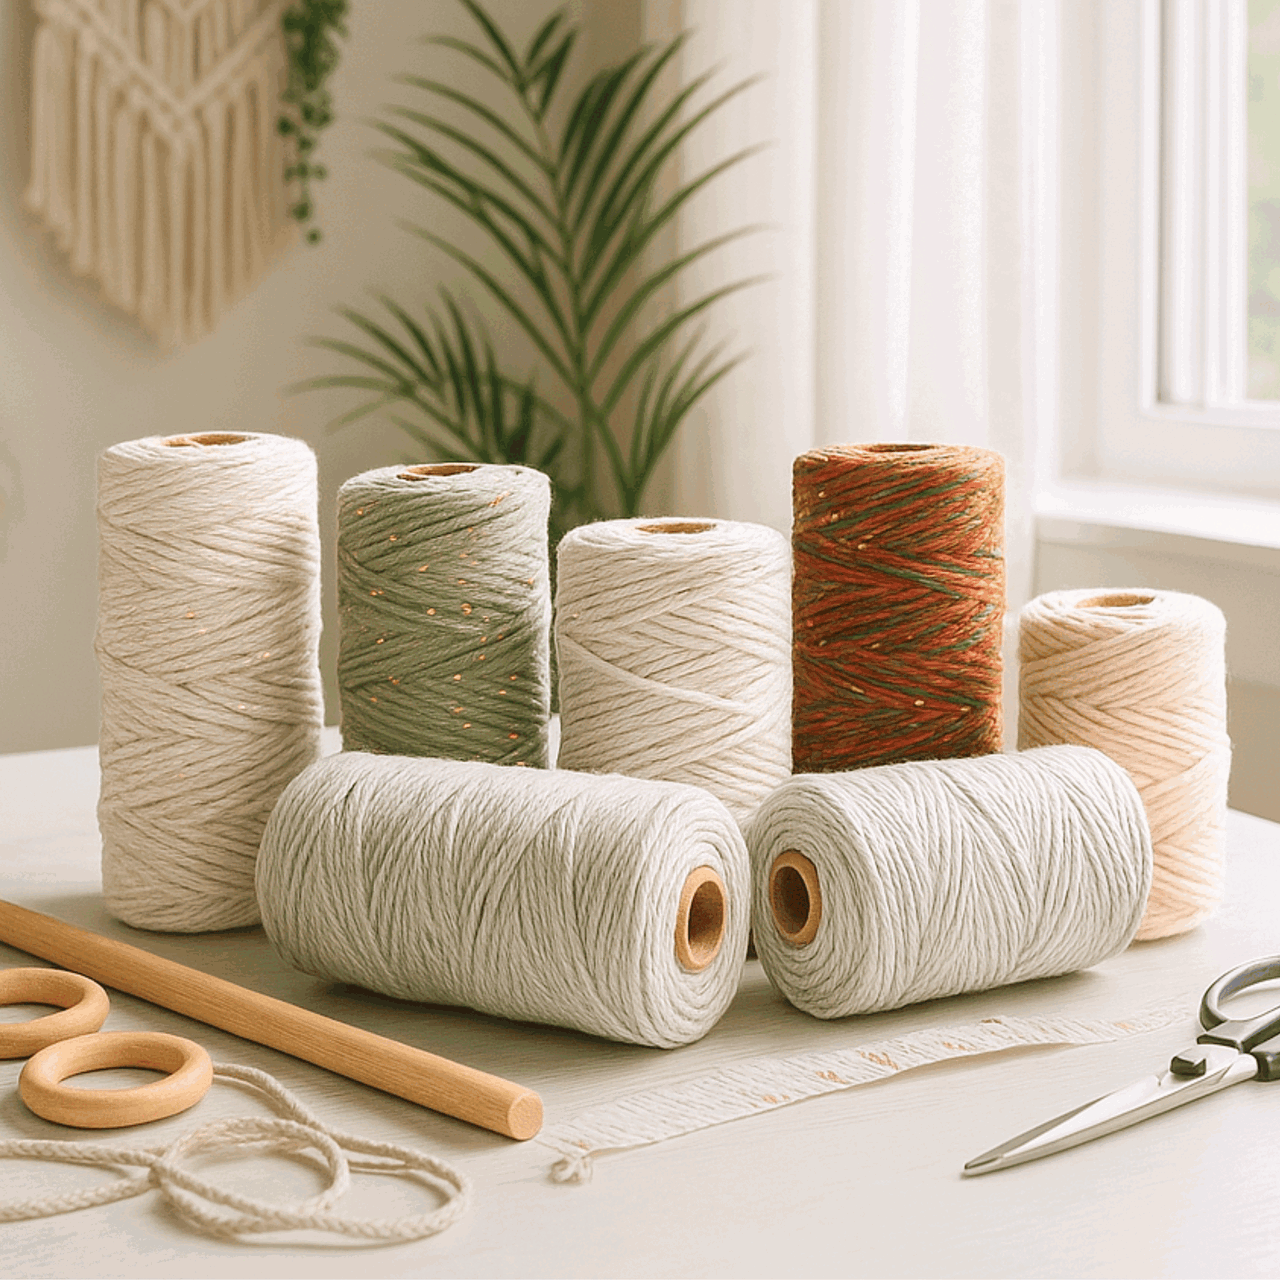
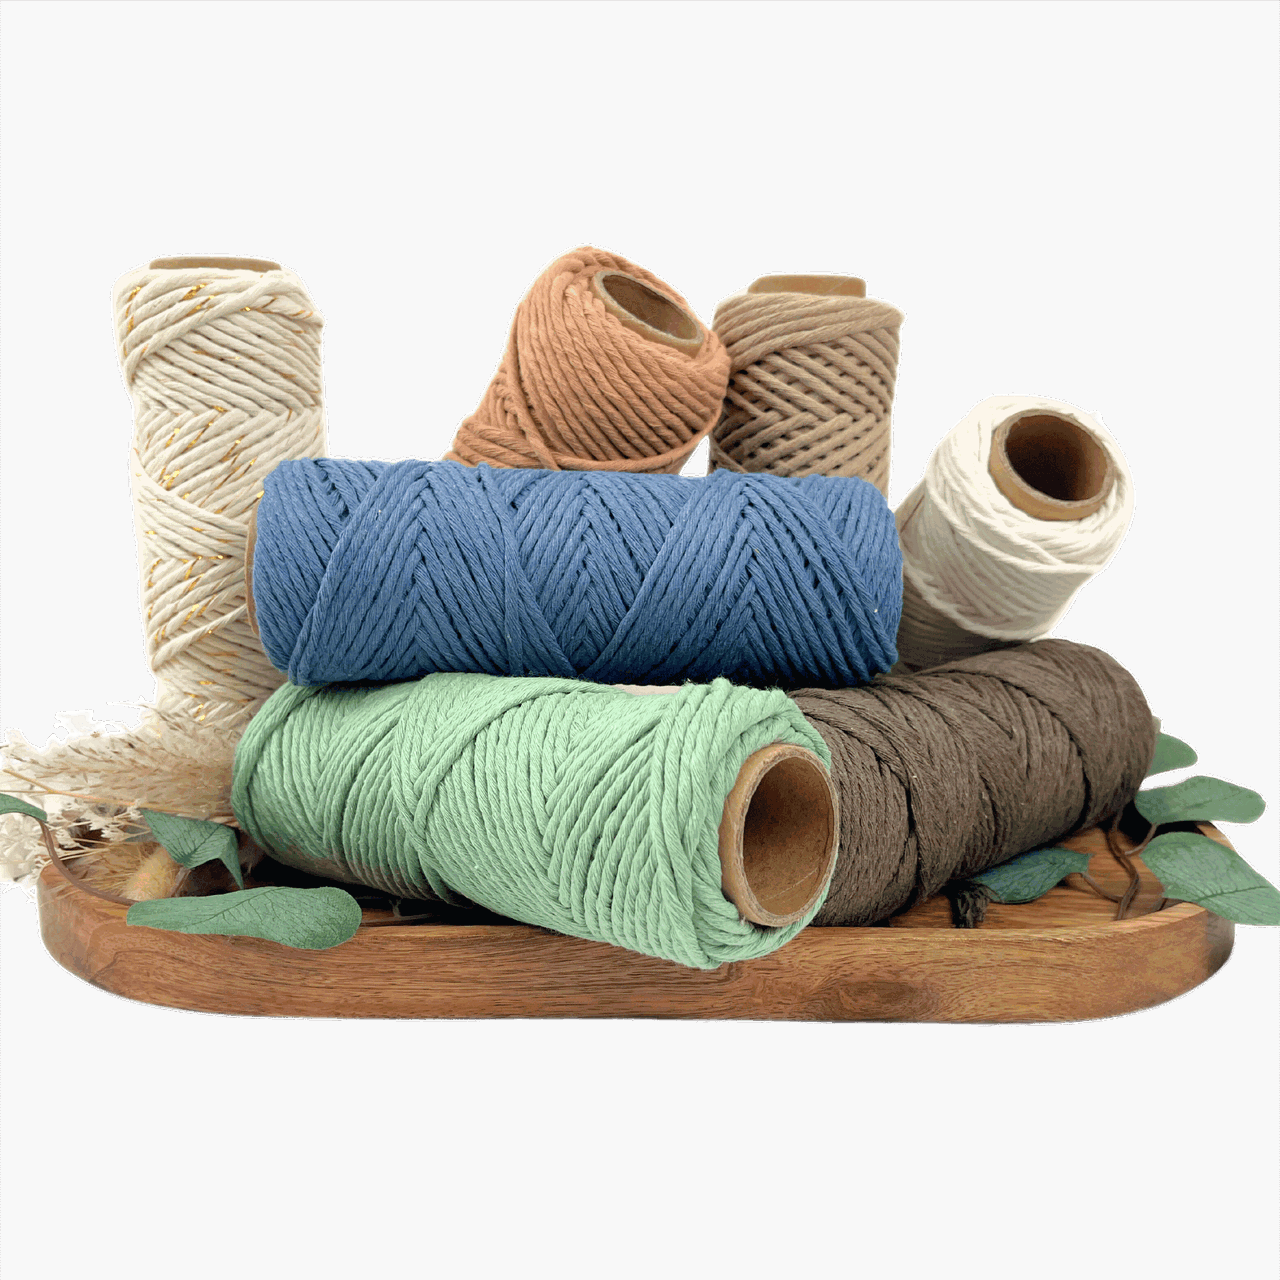
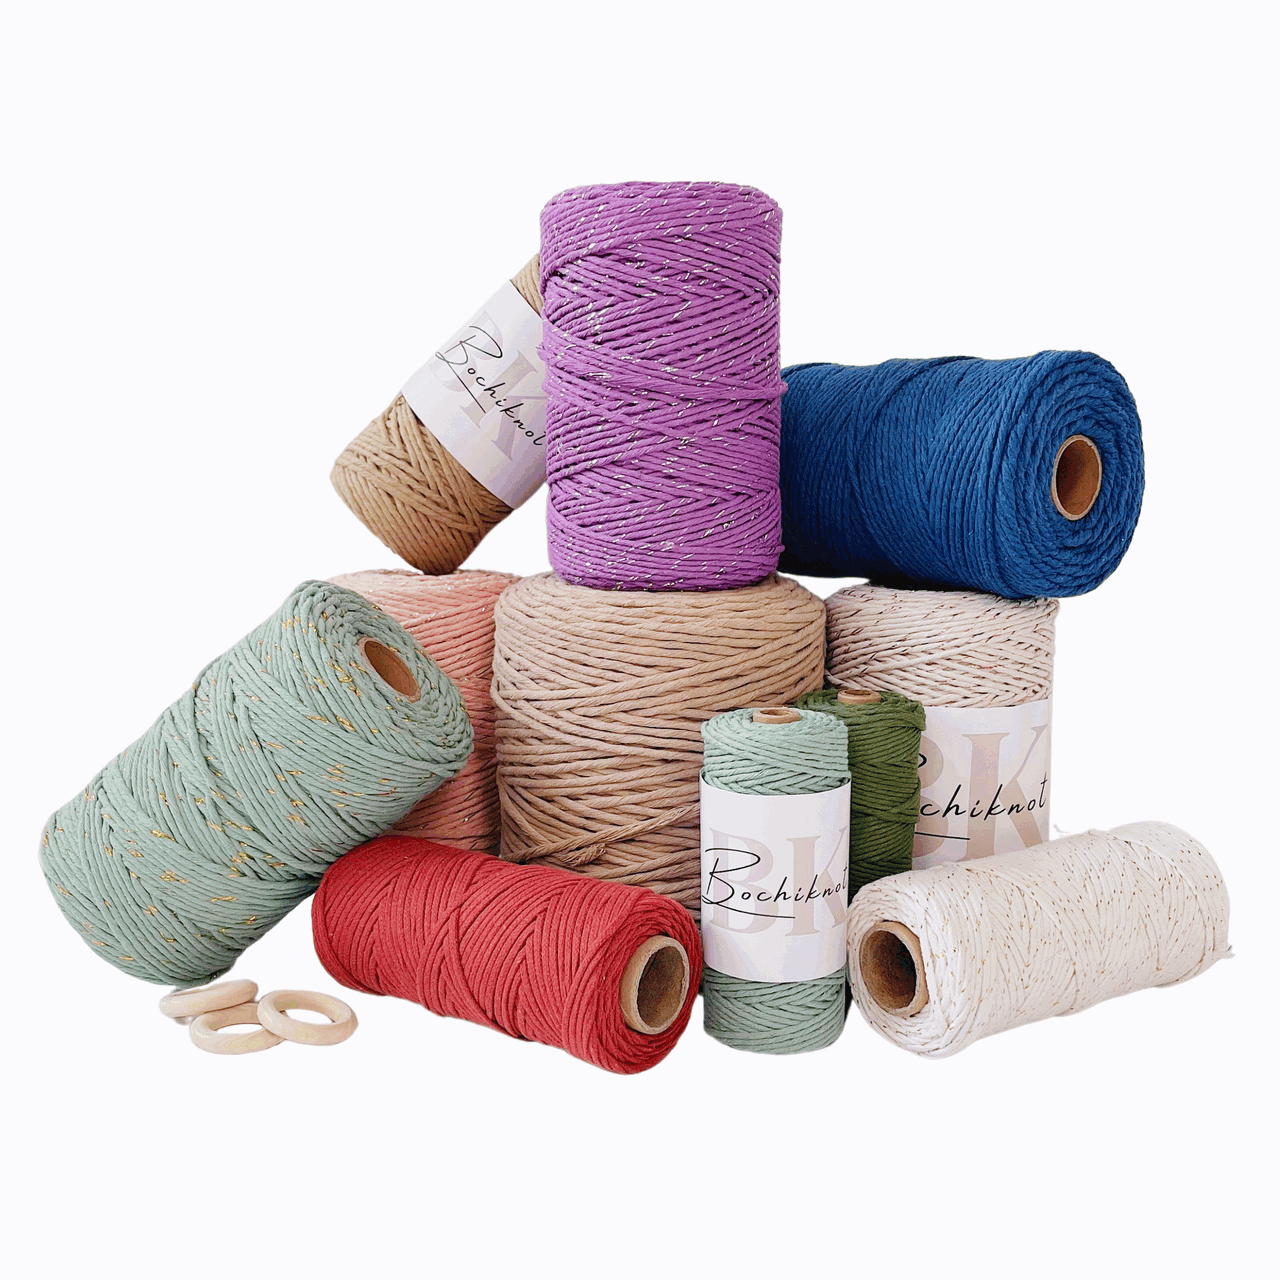
- Cords: The primary material in macrame is cords made from cotton, jute, nylon, or synthetic fibers. They come in different thicknesses and colors. You can learn more about macrame cord with our "Macrame ESSENTIALS: Everything You Need—Cord, Tools, & Materials" post.
- Loop: A loop is formed by crossing the cord over itself to create a ring-like shape. Loops are essential in many macrame designs.
- Fringe: The loose ends of cords that hang down, adding a decorative element. The fringe can be left as is or trimmed to your desired length.
- Anchor Cord: The fixed cord or structure to which other cords are attached. It provides stability and support for your design.
- Working Cord: The cord that is actively manipulated to create knots and patterns throughout the project.
- Sennit: A series of knots grouped together to form a pattern or part of your macrame project.
- Frays and Tassels: The loose ends of your cords, often used intentionally as decorative elements like frays or tassels in your design.
Now, let's move on to the cord and materials needed to make our 4 Daisy Knot Flower Pattern.
Macrame Cord & Materials Details

For demonstrating daisy knot patterns, I used the following materials:
- Wooden Dowel: Used for mounting the cords.
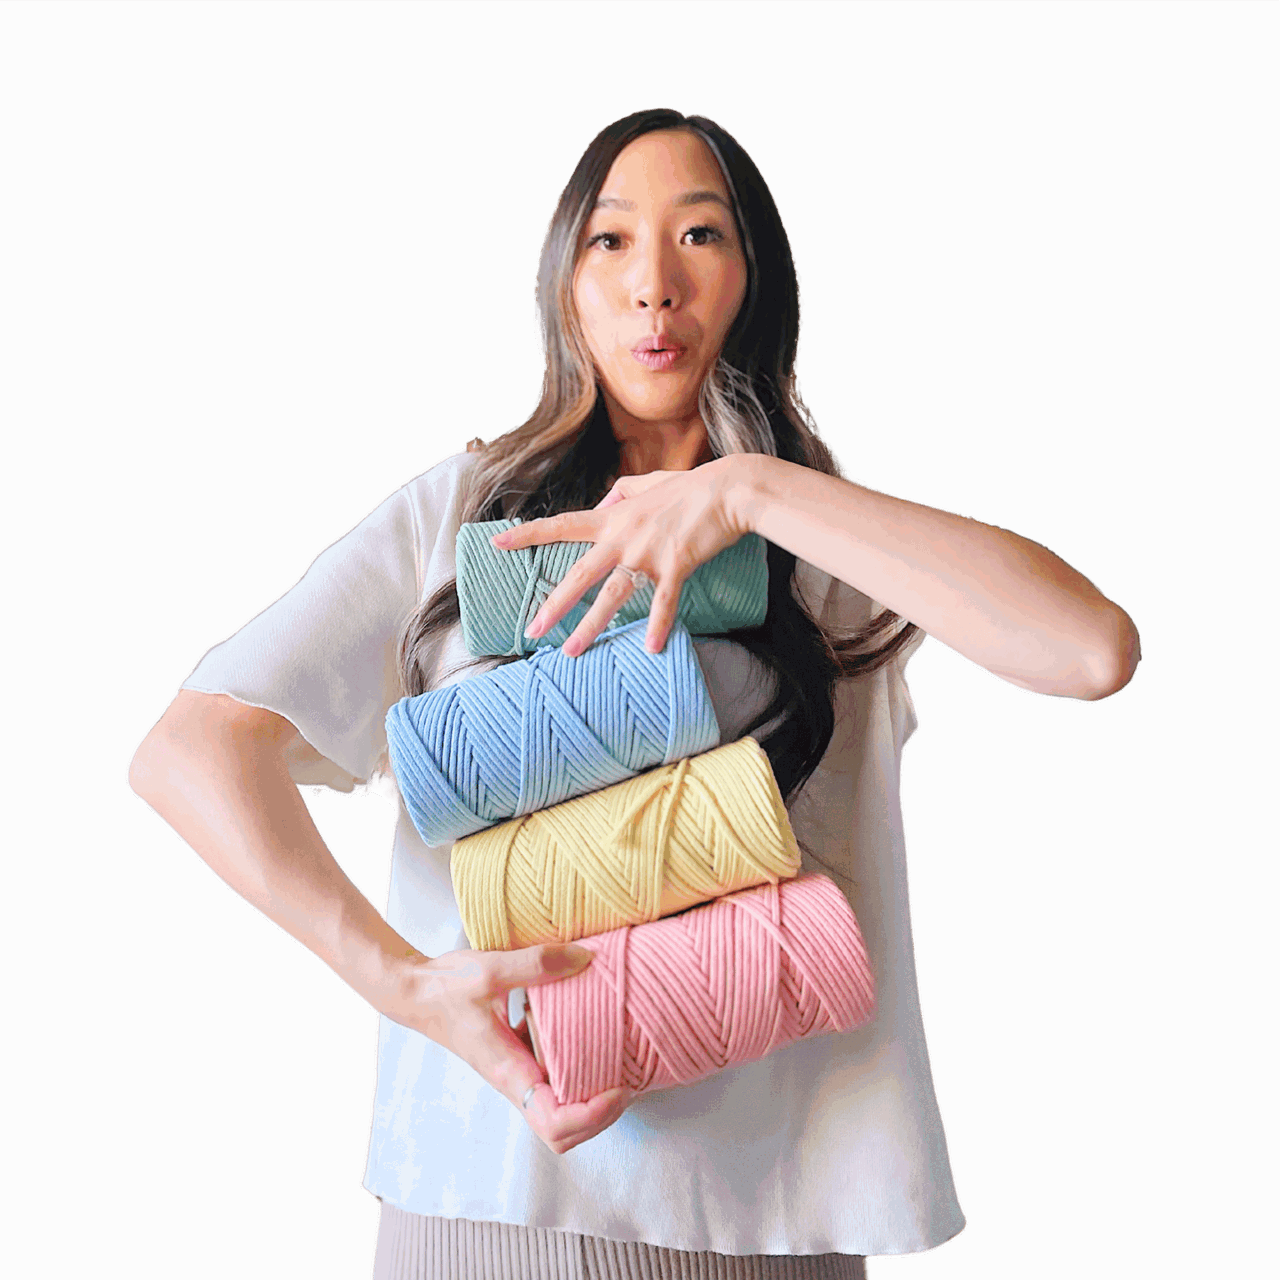
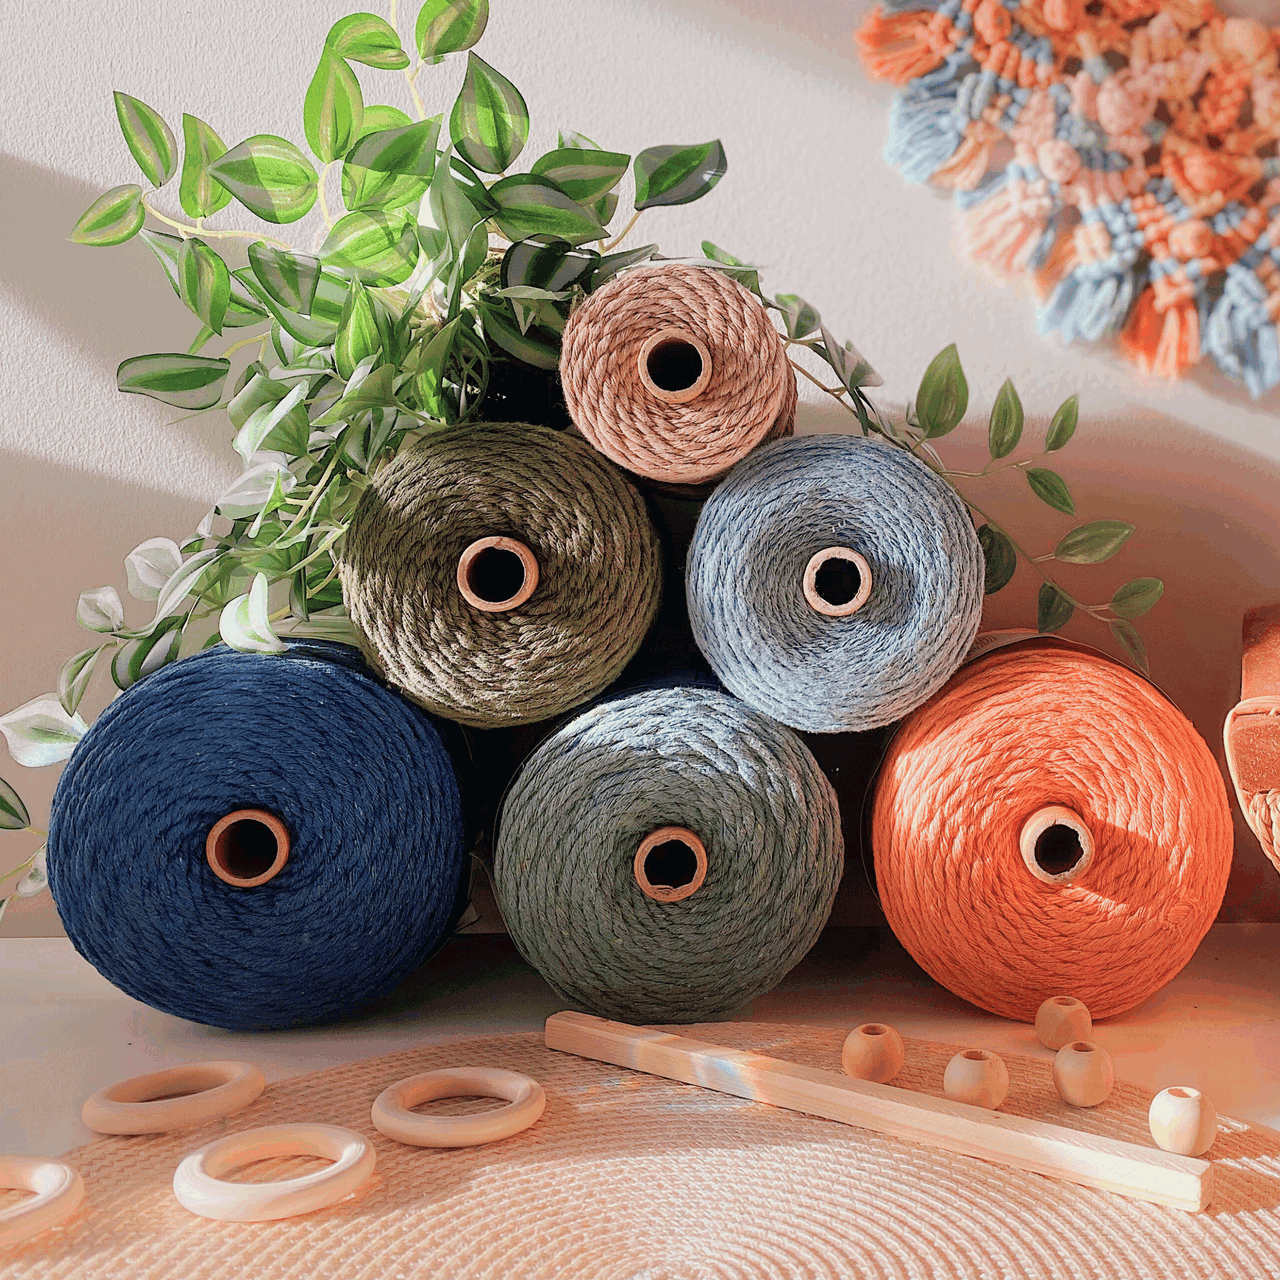
- 4mm Braided Cotton Cords: Flexible and soft, ideal for knotting.
- Small hole beads: Used for accessorizing the pattern
Colored Cord lengths used:
- Peachy Pink: 150cm & 175cm.
- Sea Green: 100cm & 125cm.
- Canary Yellow: 100cm.
- Sky Blue: 125cm.
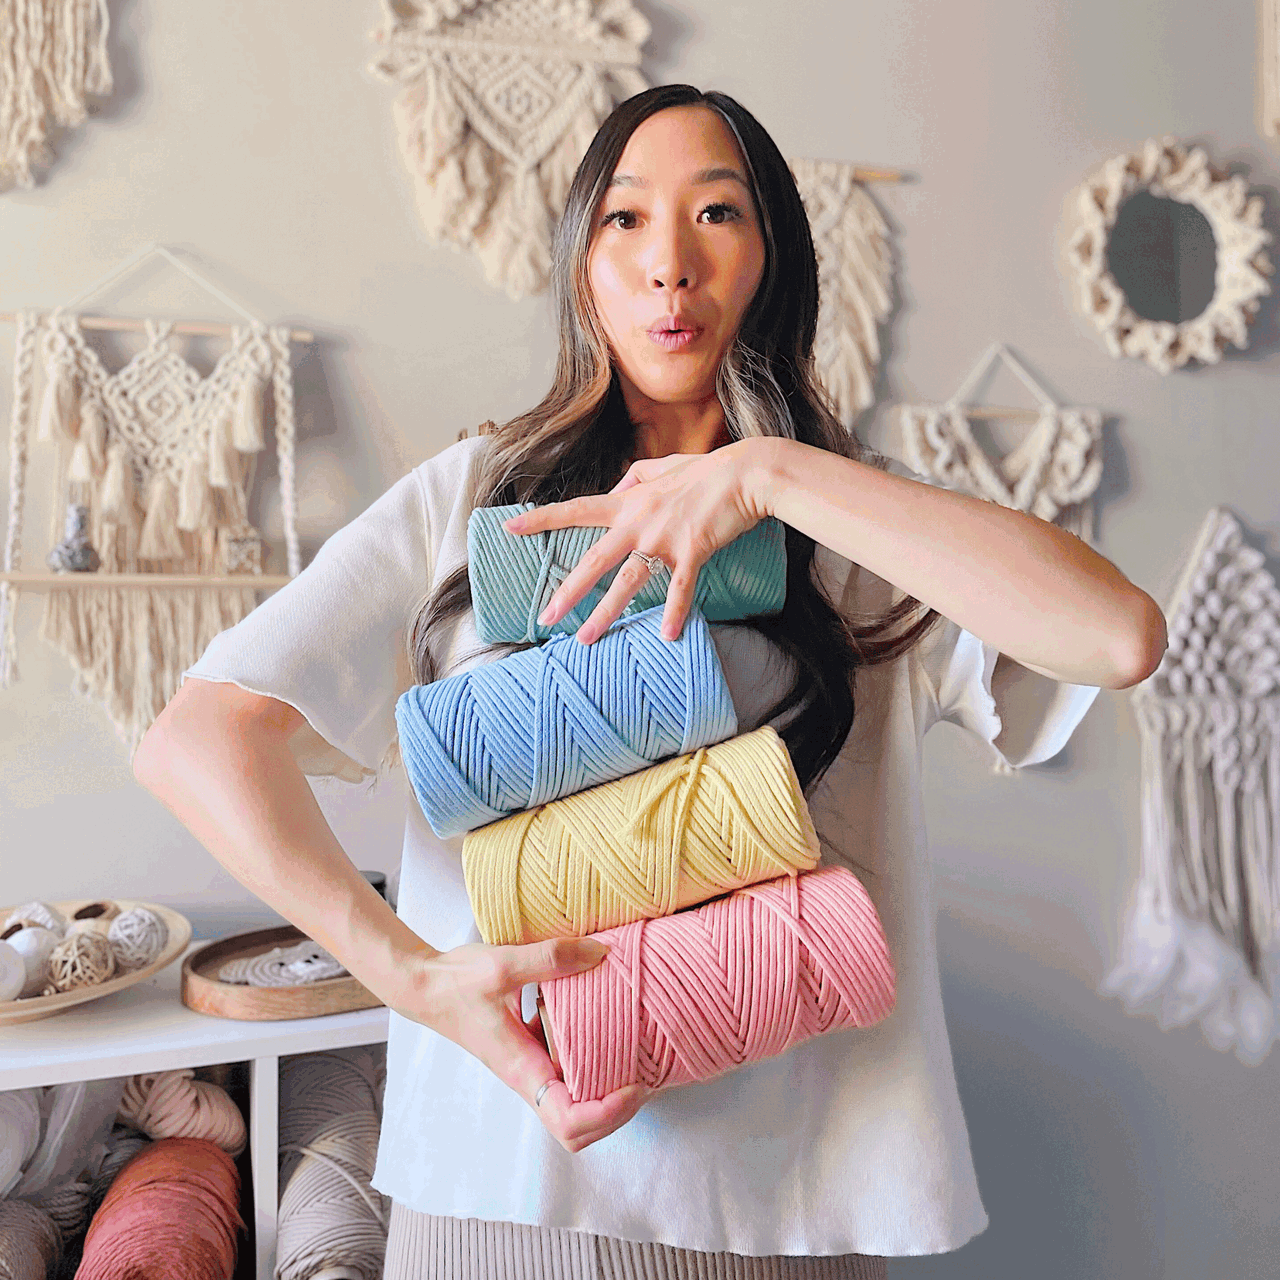
I used a braided macrame cord from our Rainbow Cord Collection for this tutorial to help prevent any unraveling.
However, feel free to use any macrame cord made available to you.
Now that we’ve gathered all the materials and gotten familiar with a few essential macrame knots, it’s time for the fun part—diving into our first daisy knot pattern!
You can start creating with everything in place and your knotting skills ready.
Don’t worry if this is your first time trying the daisy knot; I’ll guide you through each step so you can confidently craft these beautiful flower designs.
Let’s get started!
4 Daisy Knot Flower Variations to TRANSFORM Your Macrame | Video Tutorial
4 Daisy Knot Flower Variations to TRANSFORM Your Macrame | Step-by-Step Guide
*Note: We recommend following the tutorial video for more detailed instructions and to achieve the best results.
This will provide additional guidance and clarity as you work through each step.
First Daisy Knot Pattern
Let’s get started with the first daisy knot pattern! For this design, you’ll need two strands of cord in different colors to make your flower really stand out.
Here’s what you’ll need:
- One 150 cm pink cord: This will act as the primary color and help form the petals of the daisy.
- One 100 cm green cord: This will complement the pink, creating the perfect contrast for the flower’s center or base.
Using two different colors not only adds depth and dimension to your design but also makes the daisy knot pop, giving your macrame project a fresh and vibrant look.
These lengths will give you plenty of room to practice the knot and create a stunning, balanced flower. Let’s dive into the steps and bring this daisy to life!
Step 1:
- Fold the green cord in half and attach it to the dowel using a lark’s head knot.

Step 2
- Cross the two vertical green cords over each other.
- Fold the pink cord in half and attach it to the crossed green cords using a reverse lark’s head knot.

Step 3
- Using the middle right cord as your working cord, make a vertical lark’s head knot onto the far right cord, with the knot facing the inside.

Step 4
- Repeat the same step on the left side to mirror the knot.

Step 5
- Cross the anchor cords again.
- Use the middle right and left cords to tie a half hitch knot.
- You've completed your first daisy knot!


To continue: Cross the anchor cords and repeat the half hitch knots on both sides as many times as you like to continue the pattern.
Second Daisy Knot Pattern
For this pattern, you’ll need three different colored cords to create a beautiful layered look with your daisy knot.
Each cord will vary in length to give your design depth and texture.
Here’s what you’ll need:
- Pink cord: Cut to 150 cm. This will serve as the main focal cord for the knot, adding a pop of color.
- Green cord: Cut to 125 cm. This cord will complement the pink, providing balance and contrast.
- Yellow cord: Cut to 100 cm. This shorter cord adds a finishing touch, offering a subtle yet eye-catching detail to complete the pattern.
These varied lengths and colors will help create a dynamic and visually appealing daisy knot that adds dimension and flair to your macrame project.
Step 1
- Attach the green cord to a dowel using a Lark’s head knot.
- Fold the pink cord in half and attach it to the overlapped green cords with a reverse lark’s head knot, then pull to tighten.

Step 2
- Using the middle right cord as the working cord, make a vertical lark’s head knot on the far right cord, with the knot facing outward.
- Mirror the knot on the left side.


Step 3
- Add a third color by folding the yellow cord in half and attaching it in the center with a reverse lark’s head knot.


Step 4
- Use the green cords as anchors and the pink cords as working cords to create vertical lark’s head knots on both sides.
- Make a half hitch knot with the far-left and far-right cords.


Step 5
Sealing with a Square Knot
- To clean up the look, use a square knot.
- Overlap the green cords and use them to hide the other cords within the knot.
- Although using a square knot is optional, it can help tidy up and transition smoothly between sections of the daisy knot.

Sealing without a Square Knot
- Continue forming the daisy pattern like before.
- When the pattern reaches the middle again, use the yellow cords to make a half hitch knot on both sides, then finish up the pattern as usual.


Third Daisy Knot Pattern with Beads
We’ll take your daisy knot pattern to the next level for this third design by incorporating beads.
Adding beads enhances the texture and adds an extra layer of visual interest and charm to your macrame project.
The combination of knots and beads creates a beautifully balanced design that stands out, making it perfect for wall hangings, jewelry, or even small decorative pieces.
The beads will act as focal points within the pattern, giving your daisy knots a polished, decorative look.
Get ready to add a touch of elegance to your macrame with this creative addition!
Step 1
- Use a 125 cm blue cord and a 175 cm pink cord.
- Attach the blue cord to the dowel using a lark’s head knot.
- Fold the pink cord in half and attach it to the crossed blue cords with a reverse lark’s head knot.
-

Step 2
- Make outward-facing vertical lark’s head knots on both sides using the pink cords.

Step 3
- Bring the pink cords to the center.
- Thread the cords through a bead with a hole at least 7mm wide (left cord from left to right, right cord from right to left) and tighten so the bead sits snugly in the center.

Step 4
- Make another vertical lark’s head knot on both sides.
- Cross the anchor cords at the bottom and make two half hitch knots.
To continue: Repeat the pattern as needed, crossing the anchor cords and tying half hitch knots.


Fourth Daisy Knot Pattern
Try this larger daisy knot using two strands of cord in the middle for a bold and intricate look.
This variation adds depth and makes your macrame design stand out, perfect for when you want your daisy knots to be the centerpiece of a project.
It’s an elegant way to enhance your macrame skills and create something eye-catching.
Ready to start?
Let’s dive in!
Step 1
- To create a bigger daisy knot, you'll need two pink cords of 175 cm each and two blue cords of 125 cm each.
- Attach the blue cords to the dowel using a lark's head knot.

Step 2
- Fold each pink cord in half.
- Take the middle right pink cord and make 2 vertical lark's head knot on the far right blue cord.
- Repeat this step on the left side using the left pink cord.


Step 3
- Take middle two pink cord, thread bead through.
- Make vertical lark's head knot pattern around the bead on both sides.
- Close off the pattern with 4 half hitch knots at the bottom.
- Pull on anchor cords to tighten.


Step 4
- To start the next pattern underneath, start by how we ended of with 4 half-hitch knots
- Cross the blue cords over and start again with the half hitch knots.
- Repeat to finish off the pattern.


And there you have it—4 beautiful daisy knot flower patterns that are guaranteed to bring a fresh, floral vibe to your macrame projects!
Try mixing and matching different cord colors, incorporating beads, or layering the flowers for added dimension.
You can even use these patterns as the foundation for more complex designs, making them perfect for both beginners and experienced knotters alike.
Macrame is all about creativity and personal expression, and these daisy knot patterns are the perfect way to let your imagination run wild.
So don’t stop here—keep exploring, keep experimenting, and most importantly, keep having fun!
The more you create, the more confident you’ll become, and soon you’ll be designing unique macrame pieces that truly reflect your own style.
I can’t wait to see what you create next! Happy knotting!

Looking for Macrame Patterns and Projects?
I’ve got a fun variety of DIY macrame patterns for you to explore—whether you’re into creating unique wall hangings to spruce up your home or timeless plant hangers, there’s something for every skill level.
Each pattern is super easy to follow with step-by-step photos, clear instructions, and plenty of tips to help you along the way.
Ready to start knotting?
Browse DIY macrame patterns on Etsy and dive into your next project.

Join the Bochiknot Macrame Community: Your Gateway to Exclusive Tutorials & Inspiration
Discover the art of macrame like never before! Join our exclusive community of passionate macrame enthusiasts and unlock a world of creativity.
Gain access to a treasure trove of unique patterns, expert guidance, and a supportive network of fellow artists.












Leave a comment