Beginner’s Guide: 5 Ways to Start a Macrame Plant Hanger
Hey there, fellow macrame enthusiast! Let me take you back to the first time I decided to make a macrame plant hanger.
I had just picked up the most adorable little fern at the plant shop, and I was SO excited to give it a stylish new home.
I had my macrame cord all ready, feeling pretty confident, thinking, “This will be a breeze!”
But then… reality hit.
There I was, sitting on the floor with what felt like miles of tangled cord, wondering, “Where on earth do I even start?”
I’m not gonna lie—it took a few messy knots and more than a couple of failed attempts before I finally figured out how to get that first knot right.
But once I got the hang of it, it felt like magic.
That little fern got its cozy, handmade home, and I was officially hooked on macrame!
Now, after creating more plant hangers than I can count, I’ve learned a few things—starting your project the right way can make all the difference.
There are actually quite a few ways to kick off a macrame plant hanger, each with its own vibe and style.
And honestly?
Once you know how to start, the rest just flows. It’s like building the foundation of a house—get that right, and you can create anything you want.
In this guide, I’m going to walk you through 5 simple ways to start your macrame plant hanger.
By the end, you’ll be ready to create a beautiful, sturdy plant hanger that’s as unique as you are—and have fun while doing it!
Ready to get knotty? Let’s dive in!
Soo...Why Make a Macrame Plant Hanger?
There’s something special about macrame plant hangers—they’re the perfect blend of handmade beauty and functional decor.
Imagine your favorite plants hanging elegantly in a beautiful knot pattern that you created.
It instantly adds charm and warmth to any room.
The best part?
You don’t need to be a macrame pro to make one.
With just a few simple knots, you can create something stunning. It’s a creative, calming process that lets you add your own personal touch to your space.
Plus, once you start, you’ll want one for every corner of your home!
Macrame Knots You Need to Know for Starting a Plant Hanger

Macrame knots are the backbone of every project, and starting your plant hanger with the right knot (or knot pattern) can make all the difference.
If you’re going for a sleek minimalist look or something more intricate, the knots you choose will set the tone for the entire design.
Today, we’re going to focus on 4 essential knots that will help you get started on your macrame plant hanger.
Each one brings its own unique flair, and mastering them will give you a solid foundation for countless macrame creations.
-
Gathering Knot: This knot is perfect for bringing together multiple cords neatly. It’s often used to tie off the top of your plant hanger, ensuring a clean and sturdy start. Not only does it provide structure, but it also gives your hanger a polished look.
-
Crown Knot: While the Crown Knot isn’t considered one of the basic macrame knots, it’s a go-to for plant hangers. It’s popular for its beautiful twisted design, adding texture and an eye-catching element to your project. Plus, it’s super fun to make!
-
Square Knot: The Square Knot is a macrame classic. This knot is the bread and butter of most macrame projects, providing strength and a visually balanced look. It’s incredibly versatile and is often used to create the body of the plant hanger, holding everything securely in place.
-
Overhand Knot: The Overhand Knot may be simple, but it’s a real workhorse. It’s used to tie off ends, create loops, or even add decorative touches. You’ll find yourself reaching for this knot time and time again as you get deeper into your macrame journey.
These knots are the foundation of many macrame designs, and once you’re comfortable with them, the possibilities are endless.
Whether you’re creating your first plant hanger or your tenth, starting with these knots will set you up for success—and a beautiful final piece!
More Macrame Knots
If you want to add more knots to your macrame designs, check out my free resource, "50 Macrame Knots & Sennit Guide."
It's packed with easy, step-by-step instructions to help you improve your skills and try new creative projects.
Access it here.
Important Macrame Terms for Beginners
Before we begin, we should review a few important terms used in macrame.
This will help you understand the techniques more easily, follow patterns confidently, and set a strong foundation for your macrame journey.
- Knots: Macrame involves various knots, like the overhand knot and alternating overhand knot. Learning these basic knots is key to building a solid foundation. Check the "Macrame Knots You Need to Know" section for the knots used in this pattern.
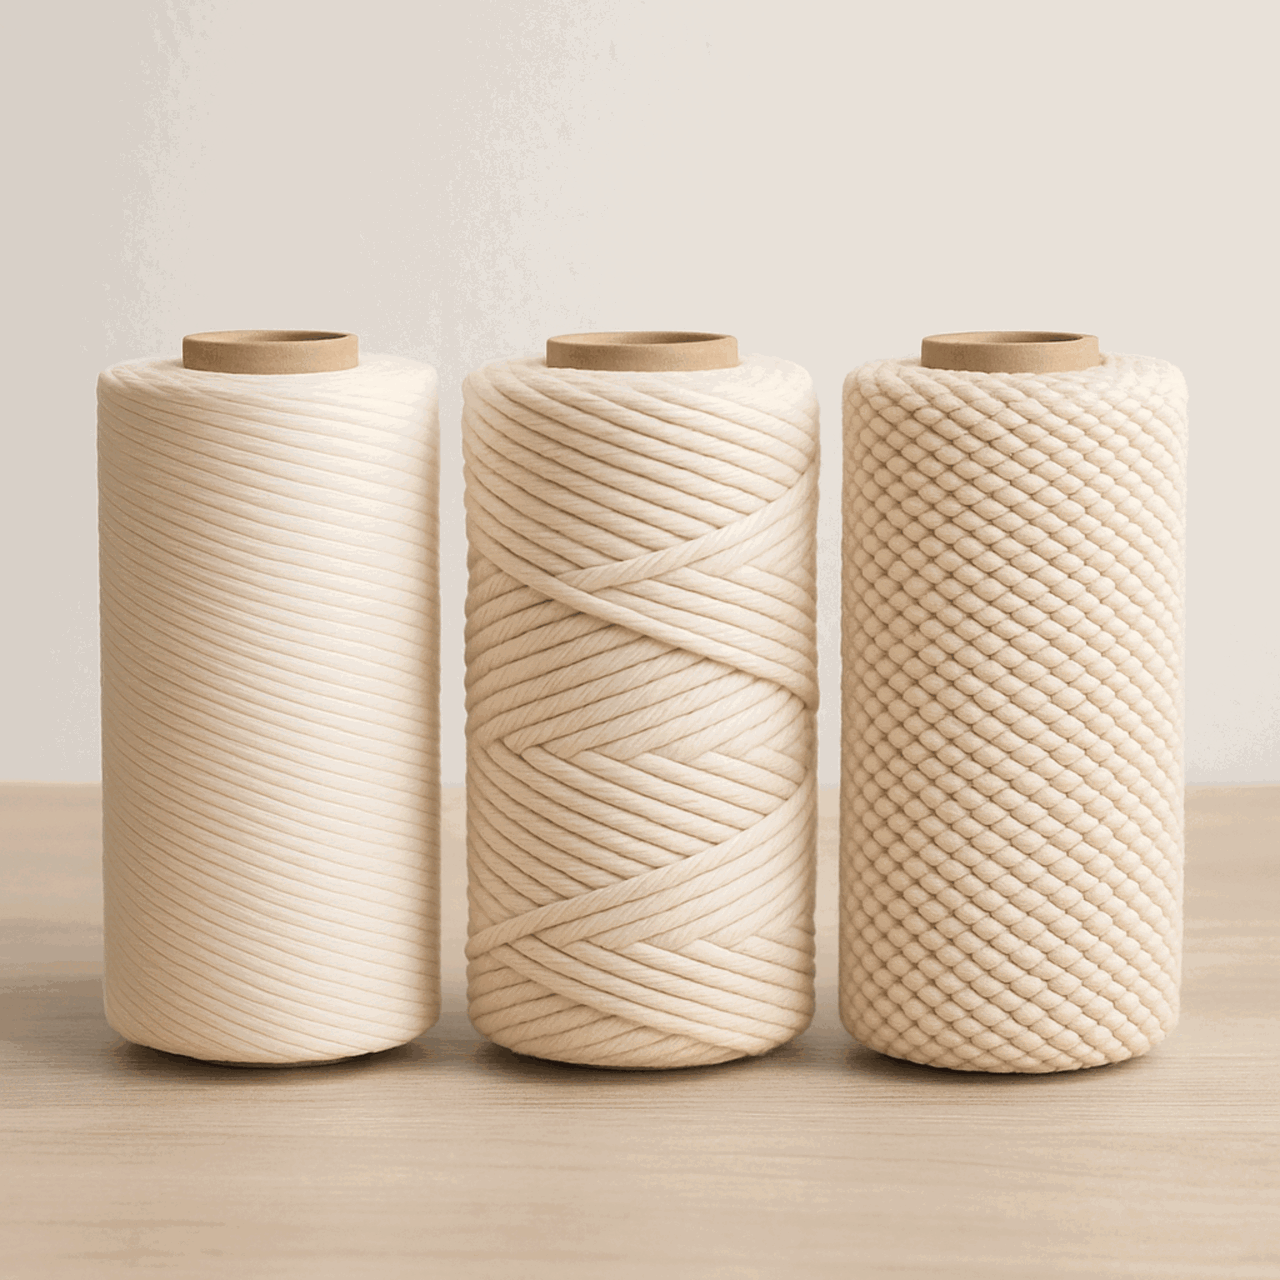
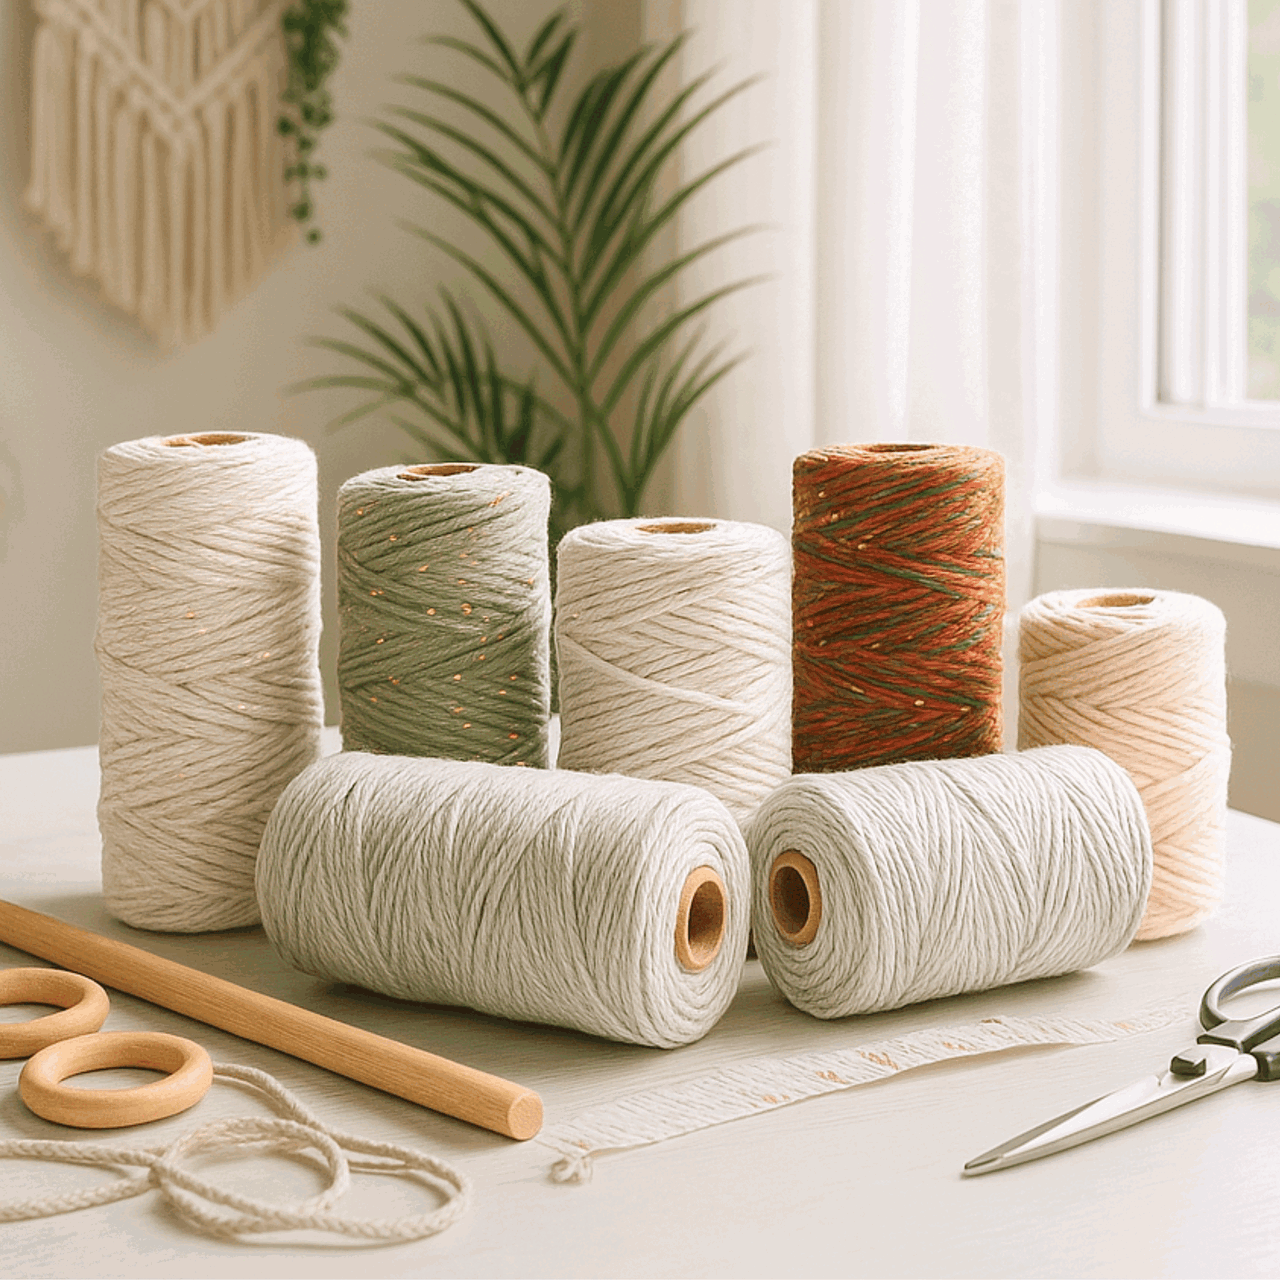
- Cords: The primary material in macrame is cords made from cotton, jute, nylon, or synthetic fibers. They come in different thicknesses and colors. You can learn more about macrame cords with our "Macrame ESSENTIALS: Everything You Need—Cord, Tools, & Materials" post.
- Loop: A loop is formed by crossing the cord over itself to create a ring-like shape. Loops are essential in many macrame designs.
- Fringe: The loose ends of cords that hang down, adding a decorative element. The fringe can be left as is or trimmed to your desired length. Want to learn more about fringe? Here's "My Top 5 Secrets for Creating PERFECTLY Styled Fringe" post you might find helpful.
- Anchor Cord: The fixed cord or structure to which other cords are attached. It provides stability and support for your design.
- Working Cord: The cord that is actively manipulated to create knots and patterns throughout the project.
- Sennit: A series of knots grouped together to form a pattern or part of your macrame project.
- Frays and Tassels: The loose ends of your cords are often used intentionally as decorative elements like frays or tassels in your design.
Materials You’ll Need to Get Started

When it comes to starting your macrame plant hanger, we’re keeping things refreshingly simple.
You’ll only need two basic materials to get started, but don’t let the simplicity fool you—these materials will be the foundation for a beautiful, functional plant hanger that you’ll be proud to display.
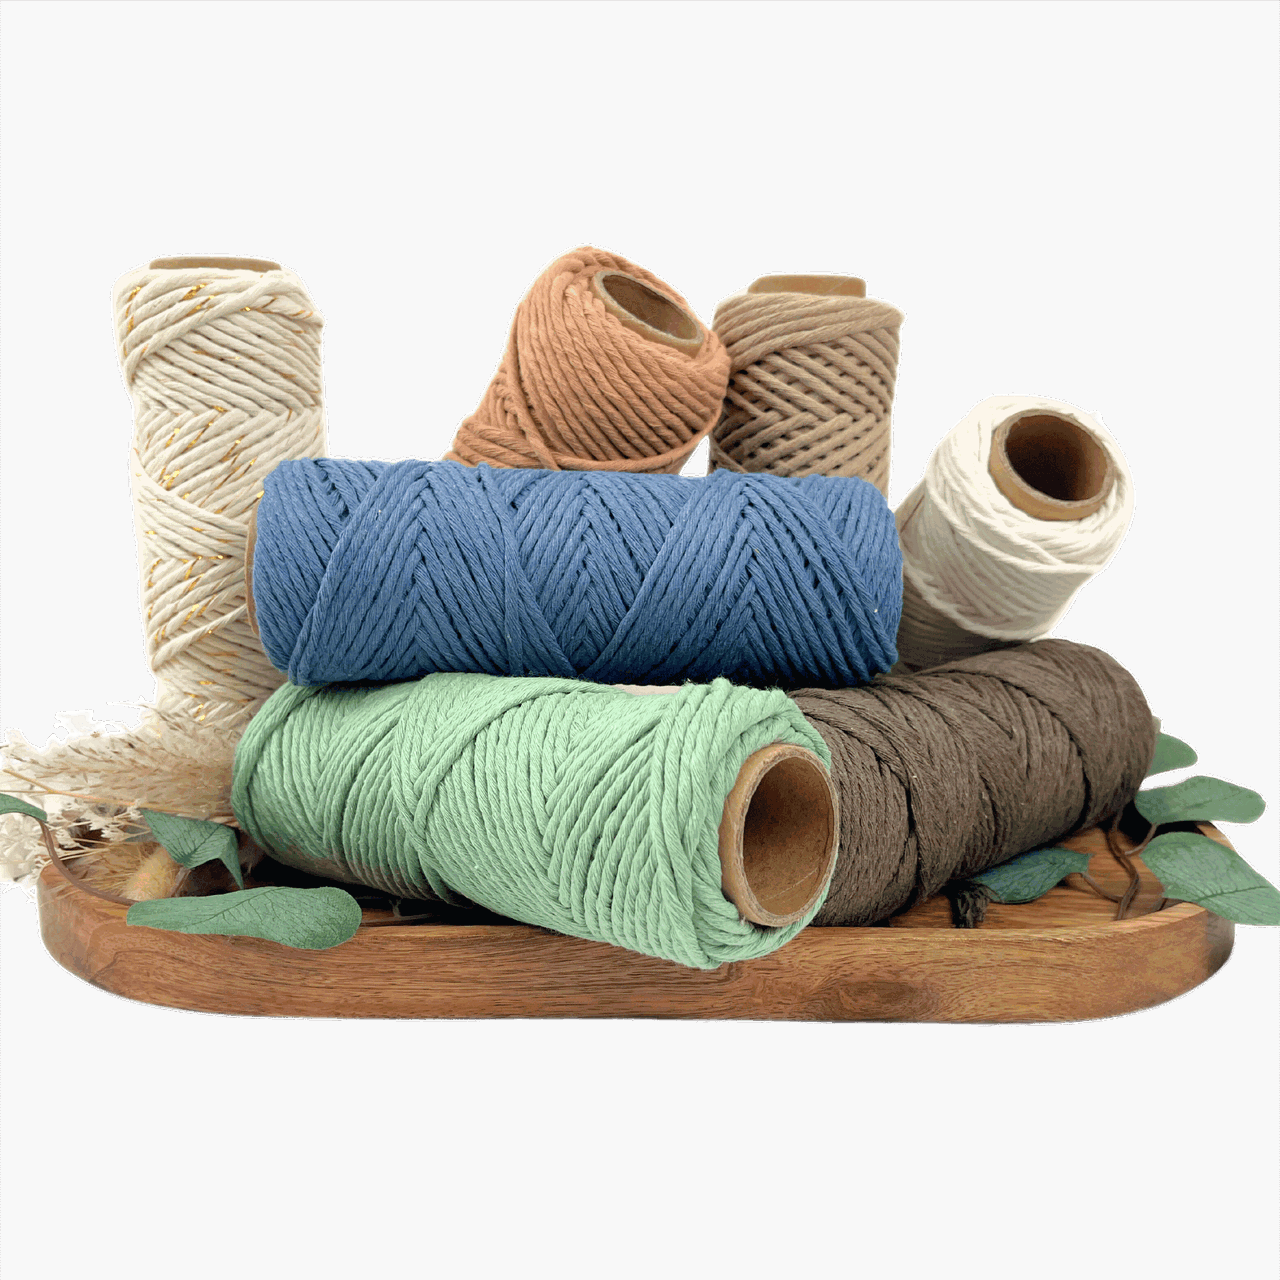
Macrame Cord
The cord is the star of the show when it comes to macrame.
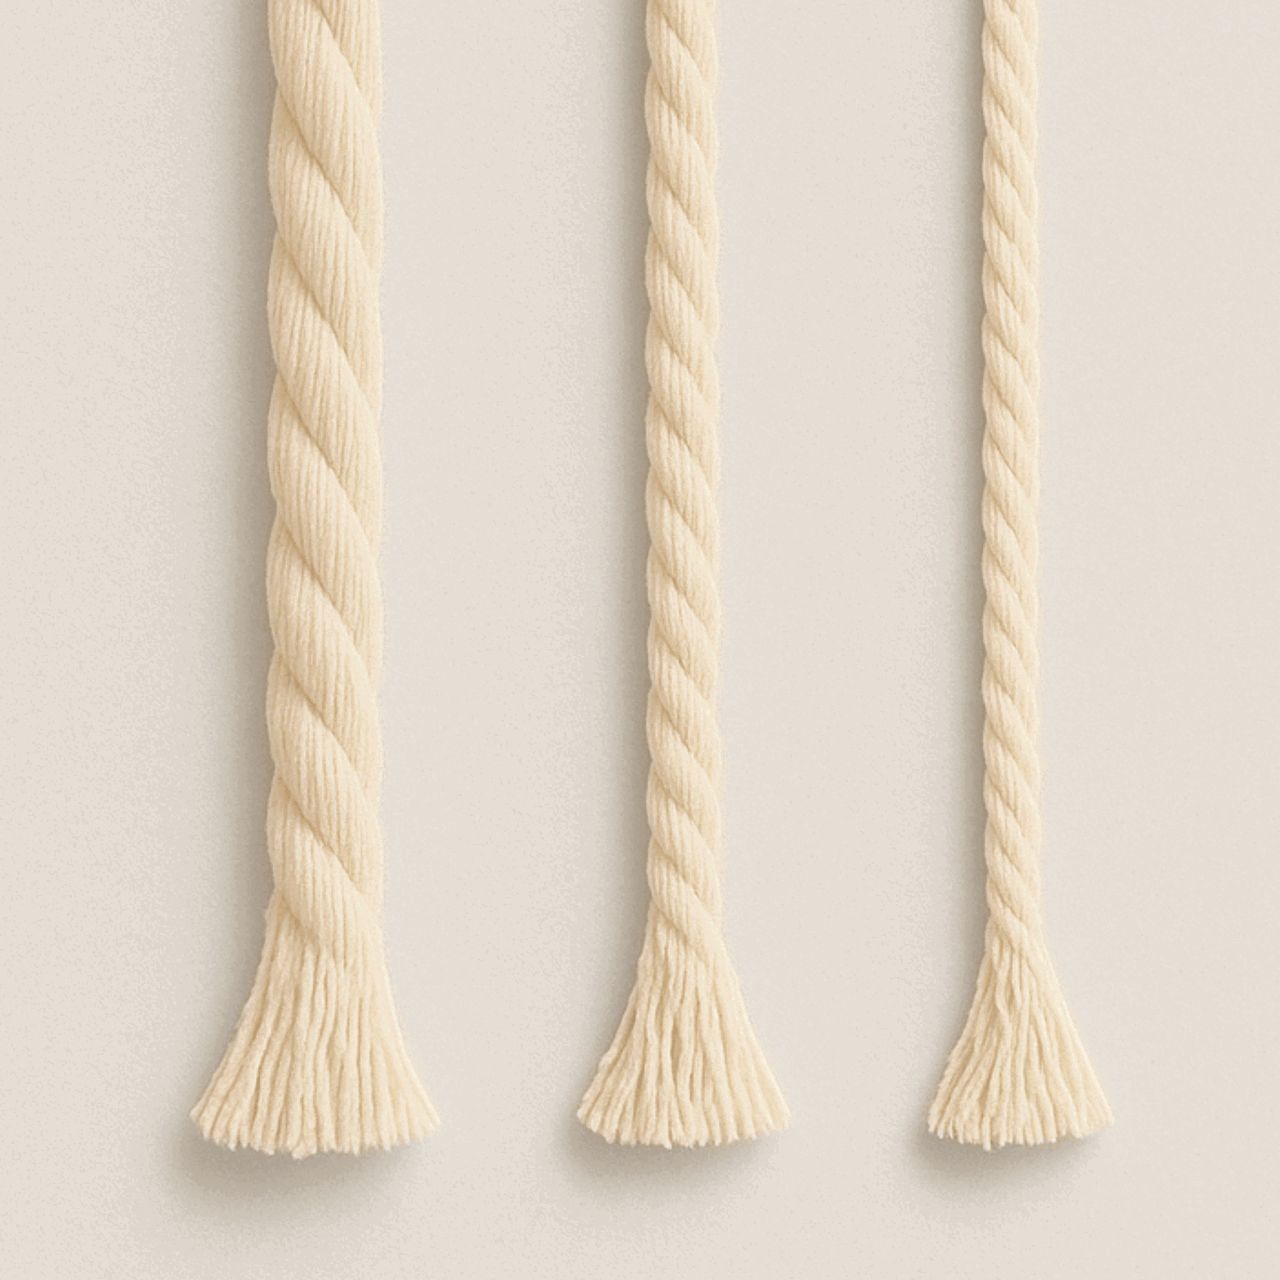
For this project, I recommend using 3mm or 5mm cotton macrame cord.
The size you choose will depend on the look you want.
Thicker cord (5mm) will give your plant hanger a chunkier, more rustic feel, while thinner cord (3mm) will create a more delicate and intricate design.
I love using natural cotton because it’s soft, easy to work with, and gives your final piece a clean, smooth finish.
You’ll want to have plenty of cord—macrame plant hangers can use quite a bit depending on the length and number of knots you include.
A good rule of thumb is to start with about 6-8 times the length of your desired finished piece.
If you’re unsure, it’s always better to cut a little extra—you can trim excess later, but it’s hard to add more cord once you’ve started knotting!
Wooden Ring
The wooden ring is essential for creating the base of your plant hanger.
This will be where all your cords come together, forming the structure that will hold your plant.
I usually go for a 2-3 inch wooden ring—the size is perfect for providing enough support without overwhelming the design.
Plus, the natural wood adds a beautiful, earthy touch to the final look.
If you don’t have a wooden ring, don’t stress! You can easily substitute it with other items like a metal ring, a sturdy hoop, or even a key ring if you’re making a smaller plant hanger.
If you don’t have a ring or don’t want to use one to start a plant hanger, that’s okay - we have some ideas below on how to start a plant hanger without one!
Macrame Tools
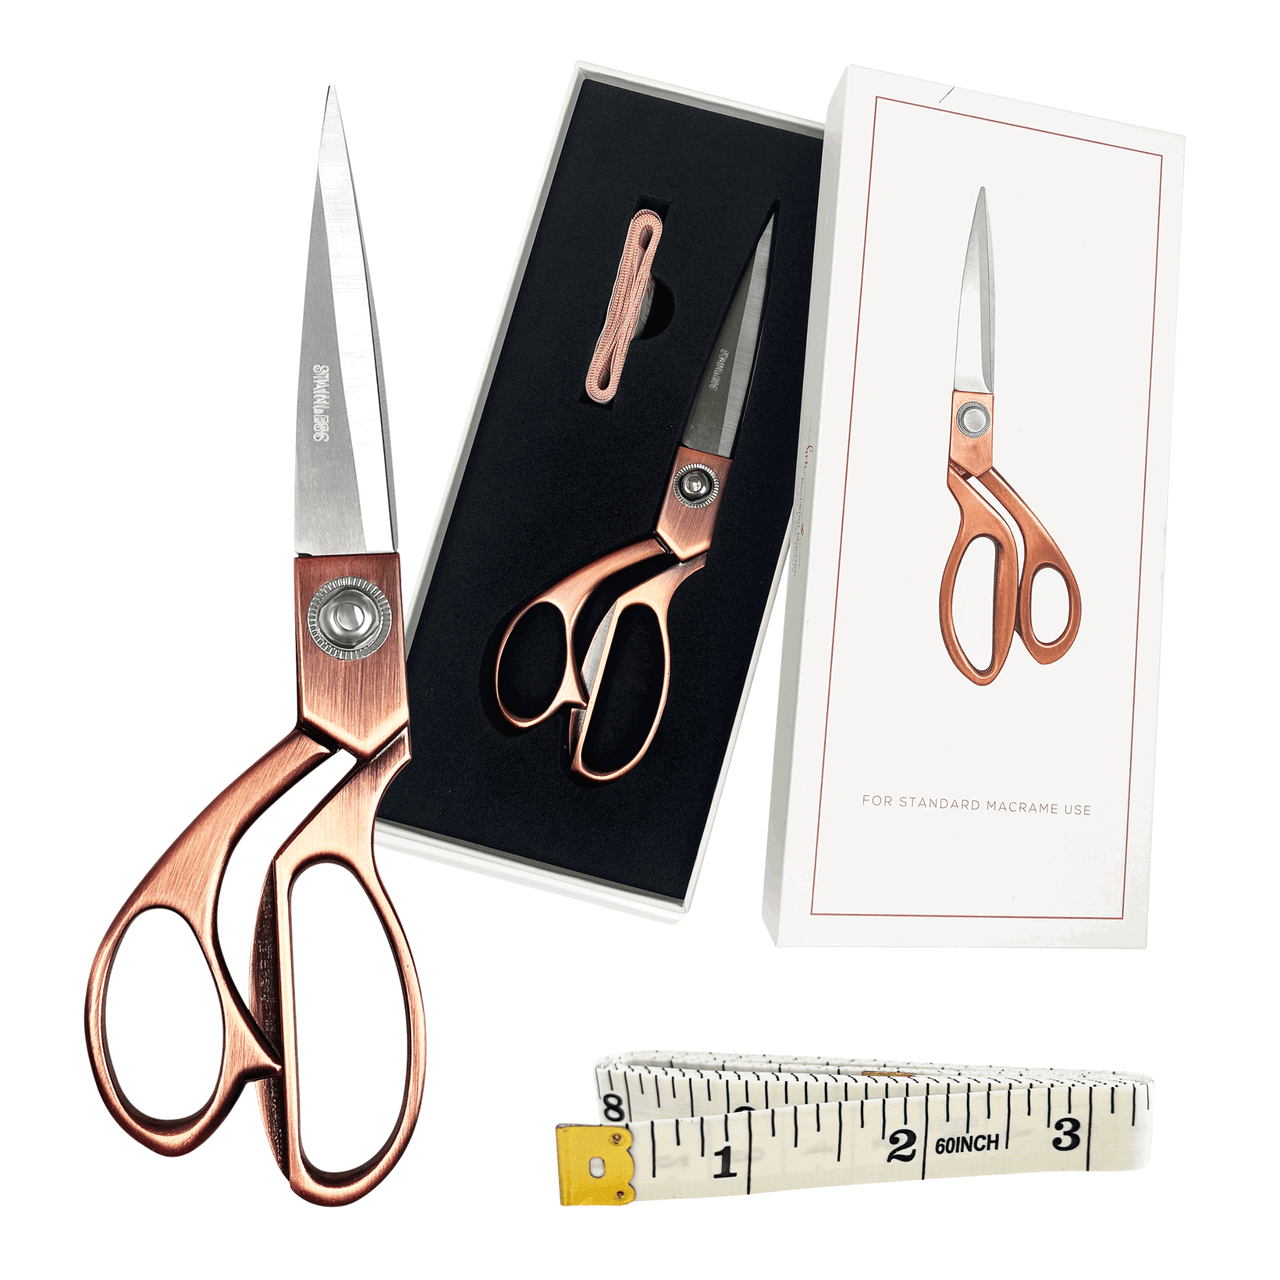
You will also need some essential tools:
Now that we’ve gathered all the cord, materials, and tools, it’s time to dive into the exciting part—learning the 5 ways to start your macrame plant hanger!

Recommended Cord Lengths
One of the most common questions I get asked is, “How much cord do I need for my macrame project?”
It’s a great question because getting the cord length right is key to making sure your project comes together smoothly without running out of material (or having way too much left over).
For this particular plant hanger project, we’ll be using 300 cm (118") cord lengths.
This length is a fantastic starting point, especially when practicing different ways to begin your plant hanger.
With 300 cm of cord, you’ll have plenty of material to explore techniques like the Gathering Knot, Crown Knot, and Square Knot without worrying about coming up short.
These lengths offer versatility while giving you enough room to experiment with patterns and adjustments as you go.
Plus, it’s a manageable length for beginners, so you won’t feel overwhelmed by handling too much cord.
However, every macrame project is unique, and as you dive deeper into more intricate designs or larger pieces, you’ll likely need to adjust your cord lengths.
That’s where understanding macrame’s “golden ratio” comes into play.
The golden ratio is a handy rule of thumb that helps you calculate how much cord you’ll need based on the size and complexity of your project.
It’s all about ensuring you have just the right amount of material—neither too little nor too much.
If you’d like to take a deeper dive into how to precisely measure cord for your macrame projects, I’ve got you covered.
I’ve written a comprehensive guide that breaks down the process and explains the exact steps I use to calculate cord lengths for different designs.
Whether you're working on a simple plant hanger or something more elaborate, understanding how to determine the perfect cord length is a game-changer.
Give it a read, here—I’m confident you’ll find it incredibly useful for all your future macrame projects!
Now, let’s jump right in and get started on these plant hanger beginnings.
Beginner’s Guide: 5 Ways to Start a Macrame Plant Hanger | Video Tutorial
Beginner’s Guide: 5 Ways to Start a Macrame Plant Hanger | Step-by-Step Guide
*Note: We recommend following the tutorial video for more detailed instructions and to achieve the best results.
This will provide additional guidance and clarity as you work through each step.
1. The Gathering Knot with a Ring

The Gathering Knot with a wooden ring is one of the easiest and most popular ways to start a plant hanger.
It not only provides a secure anchor point but also adds a decorative touch, creating a strong and visually appealing foundation.
Here’s how to start:
- Gather multiple strands of cord (the number depends on how thick or intricate you want your plant hanger to be).
- Pull the strands through the wooden ring, so they hang down evenly.
- Take a separate shorter cord and wrap it around the other cords just beneath the ring to form the gathering knot.
- Wrap the cord tightly several times, then tuck the end into the wrapped section to secure it.
- Trim off any excess cord from the gathering knot.
This method offers both stability and style for your plant hanger!
2. Crown Knot with a Ring

The Crown Knot with a ring is a fantastic starting option for plant hangers due to its strength and intricate, decorative appearance.
This knot provides a secure foundation while adding elegance to your design.
Here’s how to do it:
- Use an even number of cords and pull them through the ring so they’re split in half (half on each side).
- Take one cord end from each side and fold them across each other, forming a square shape.
- Pull the ends tightly to secure the knot.
- Repeat this process to create 5-6 more crown knots, building a nice, stable base.
This method creates a beautiful twisted effect that adds visual interest to the hanger!
3. Square Knot Chain with a Ring

The Square Knot Chain with a ring is an ideal way to begin your plant hanger, offering a balanced and symmetrical look. This technique provides both stability and a polished, professional finish.
To create a square knot chain:
- Loop several strands of cord through the wooden ring and let them hang down evenly.
- Take the far-left and far-right cords (these will be your working cords) and use them to tie a Square Knot around the middle cords.
- Continue making Square Knots in a chain, repeating the process for 4-6 knots.
This method gives your plant hanger a clean, structured look right from the start.
4. Square Knot Loop (No Ring Needed)

If you prefer not to use a ring, the Square Knot Loop offers a simple and versatile way to start your plant hanger. It’s a great choice for beginners and allows for easy customization.
Here’s how to make it:
- Gather several cords together in the middle, ensuring your outer cords are longer (these will be your working cords).
- Using the outer cords, tie 8 Square Knots in the center.
- After making the square knots, form a loop with them by folding the knotted section back on itself.
- Take one cord from each side of the loop and use them to tie two large Square Knots beneath the loop to close it.
This method is both simple and flexible, letting you start your plant hanger without any extra materials.
5. Overhand Knot (No Ring Needed)

The Overhand Knot is one of the simplest ways to begin a plant hanger, perfect for those new to macrame. It creates a minimalist, clean start while giving your project the stability it needs.
Here’s how to do it:
- Take 4 strands of cord (which will become 8 strands when folded) and fold them in half.
- Make an overhand knot by pulling all the cords through the loop created by the fold.
- Pull the cords tightly to secure the knot and form a loop.
This quick and easy method allows you to dive straight into knotting, making it perfect for beginners.
Wrapping Up: Your Macrame Journey Begins Here
And there you have it—5 simple yet effective ways to start your macrame plant hanger!
If you’re just starting out or looking to try a new technique, mastering these foundational knots is the perfect way to kick off your macrame journey.
Each method offers its own unique style, from the sturdy Gathering Knot to the intricate Crown Knot, and gives you the flexibility to customize your design however you like.
Remember, the beauty of macrame is in its creativity and versatility—don’t be afraid to experiment with different cord types, colors, and knot combinations to make your plant hanger truly one-of-a-kind.
The more you practice, the more confident you’ll feel with each knot, and soon enough, you’ll be creating macrame projects that will add warmth and charm to your home.
I hope this guide has inspired you to get knotting and bring a little handmade magic to your space.
If you give any of these techniques a try, I’d love to see your creations! Share them with me and let’s keep the macrame inspiration flowing.
Happy knotting!

Looking for Macrame Patterns and Projects?
I’ve got a fun variety of DIY macrame patterns for you to explore—whether you’re into creating unique wall hangings to spruce up your home or timeless plant hangers, there’s something for every skill level.
Each pattern is super easy to follow with step-by-step photos, clear instructions, and plenty of tips to help you along the way.
Ready to start creating?
Browse DIY macrame patterns on Etsy and dive into your next project.

Join the Bochiknot Macrame Community: Your Gateway to Exclusive Tutorials & Inspiration
Discover the art of macrame like never before! Join our exclusive community of passionate macrame enthusiasts and unlock a world of creativity.
Gain access to a treasure trove of unique patterns, expert guidance, and a supportive network of fellow artists.










Leave a comment