7 Ways to START and FINISH Your Macrame Wall Hanging

From Start to Finish: 7 Must-Know Techniques for Macrame Wall Hangings
I remember when I first started creating macrame wall hangings, I’d spend hours perfecting the middle section, only to feel a bit lost when it came to the beginning and end.
It’s like having a beautiful story but not knowing how to open or close it!
Over time, I realized how you start and end your macrame project can completely transform its look and give it that polished, professional touch.
That’s when I started experimenting with different methods, and I’m excited to share them with you today.
In this post, we’ll explore 7 creative ways to both start and finish your macrame wall hanging so you can not only make your piece look gorgeous but also ensure it has a clean, cohesive finish.
Whether you're a beginner or have been knotting for years, these techniques will help you improve your wall hangings!
What You’ll Learn
In this tutorial, you’ll discover how to start and end your macrame wall hanging in unique and stylish ways. You’ll learn:
- 7 different techniques to begin and finish a project
- How to create strong foundations and polished endings
- Ways to match your start and finish for a seamless, professional look
Ready to dive in? Let’s get started with how to open and close your next macrame masterpiece!
A Bit About Macrame Wall Hangings: History and Modern Macrame
Macrame’s roots go back centuries.
Originally crafted by sailors to create decorative knots, it was later embraced in Victorian homes for making curtains, plant hangers, and more.
Wall hangings became especially popular in the 1970s during the bohemian movement, adding texture and warmth to home decor.
Today, macrame wall hangings have made a comeback, blending vintage charm with modern design.
They bring a handmade, personal touch to any space, offering an opportunity to slow down and create something meaningful.
In our busy digital world, macrame provides a mindful escape. It connects us to a craft with a long-standing tradition while allowing room for creativity and self-expression.
As you explore these 7 ways to start and end a wall hanging, you add your modern twist to this timeless art!
Macrame Knots You Need to Know

How you start and finish your macrame wall hanging can make all the difference.
It’s not just about how pretty it looks—it’s also about making sure your piece is strong, balanced, and easy to craft.
Choosing the suitable knots will set you up for success, giving your wall hanging a solid foundation and a polished, professional finish.
The basic knots—like the Lark’s Head Knot, Half Hitch Knot, and Square Knot—are your go-to building blocks.
But if you’re feeling adventurous, unique knots like the Triple Loop Knot and Cat’s Paw Hitch will take your design to the next level, adding texture and personality from the very start.
These knots are essential because they control your project's spacing, tension, and overall vibe.
Whether you want something sleek and minimal or intricate and boho-chic, the knots you choose will set the tone for the entire piece.
Your wall hanging’s beginning is like its introduction—it must make a statement.
When it comes to finishing your wall hanging, that’s where the magic happens.
The ending knots—like the Gathering Knot, Overhand Knot, Barrel Knot, Figure 8 Knot, and Rain Knot—are not just functional; they’re also an opportunity to add a little extra flair.
These knots hold everything together, ensuring your masterpiece stays intact and doesn’t unravel.
Plus, they give your work that final, polished touch that makes it look professional and ready to hang.
The best part?
You can get creative with these knots and make your piece totally unique.
Knots to Start a Wall Hanging:
- Lark’s Head Knot: The perfect way to start—simple and neat.
- Half Hitch Knot: Great for adding lines and structure to your design.
- Triple Loop Knot: Adds an eye-catching twist right at the beginning.
- Cat’s Paw Hitch: A fun, unique knot that gives extra texture.
- Square Knot: Classic and versatile, great for almost any design.
Knots to End a Wall Hanging:
- Gathering Knot: The go-to for tying everything together at the end.
- Overhand Knot: Simple but effective, adding a bold touch.
- Barrel Knot: A decorative knot that adds a textured finish.
- Figure 8 Knot: Strong and stylish, perfect for a secure ending.
- Rain Knot: An excellent, decorative way to wrap things up.
Mastering these knots will take your macrame wall hanging from "nice" to "wow!"
Whether you're a beginner or an experienced macrame artist, these techniques will help you create something beautiful, strong, and totally your own.
Don’t worry—our tutorials will guide you through each one step by step!
More Macrame Knots
If you want to add more knots to your macrame designs, check out my free resource, "50 Macrame Knots & Sennit Guide."
It's packed with easy, step-by-step instructions to help you improve your skills and try new creative projects.
Access it here.
Important Macrame Terms for Beginners
Before we begin, it's probably best to go over a few important terms used in macrame.
This will help you understand the techniques more easily, follow patterns with confidence, and set a strong foundation for your macrame journey.
- Knots: Macrame involves various knots, like the overhand knot and alternating overhand knot. Learning these basic knots is key to building a strong foundation.Check the "Macrame Knots You Need to Know" section for the knots used in this pattern.
- Cords: The primary material in macrame is cords made from cotton, jute, nylon, or synthetic fibers. They come in different thicknesses and colors. You can learn more about macrame cord with our "Macrame ESSENTIALS: Everything You Need—Cord, Tools, & Materials" post.
- Loop: A loop is formed by crossing the cord over itself to create a ring-like shape. Loops are essential in many macrame designs.
- Fringe: The loose ends of cords that hang down, adding a decorative element. The fringe can be left as is or trimmed to your desired length.
- Anchor Cord: The fixed cord or structure to which other cords are attached. It provides stability and support for your design.
- Working Cord: The cord that is actively manipulated to create knots and patterns throughout the project.
- Sennit: A series of knots grouped together to form a pattern or part of your macrame project.
- Frays and Tassels: The loose ends of your cords, often used intentionally as decorative elements like frays or tassels in your design.
Cord, Supplies, & Tools to Start-and-End a Wall Hanging
The cord
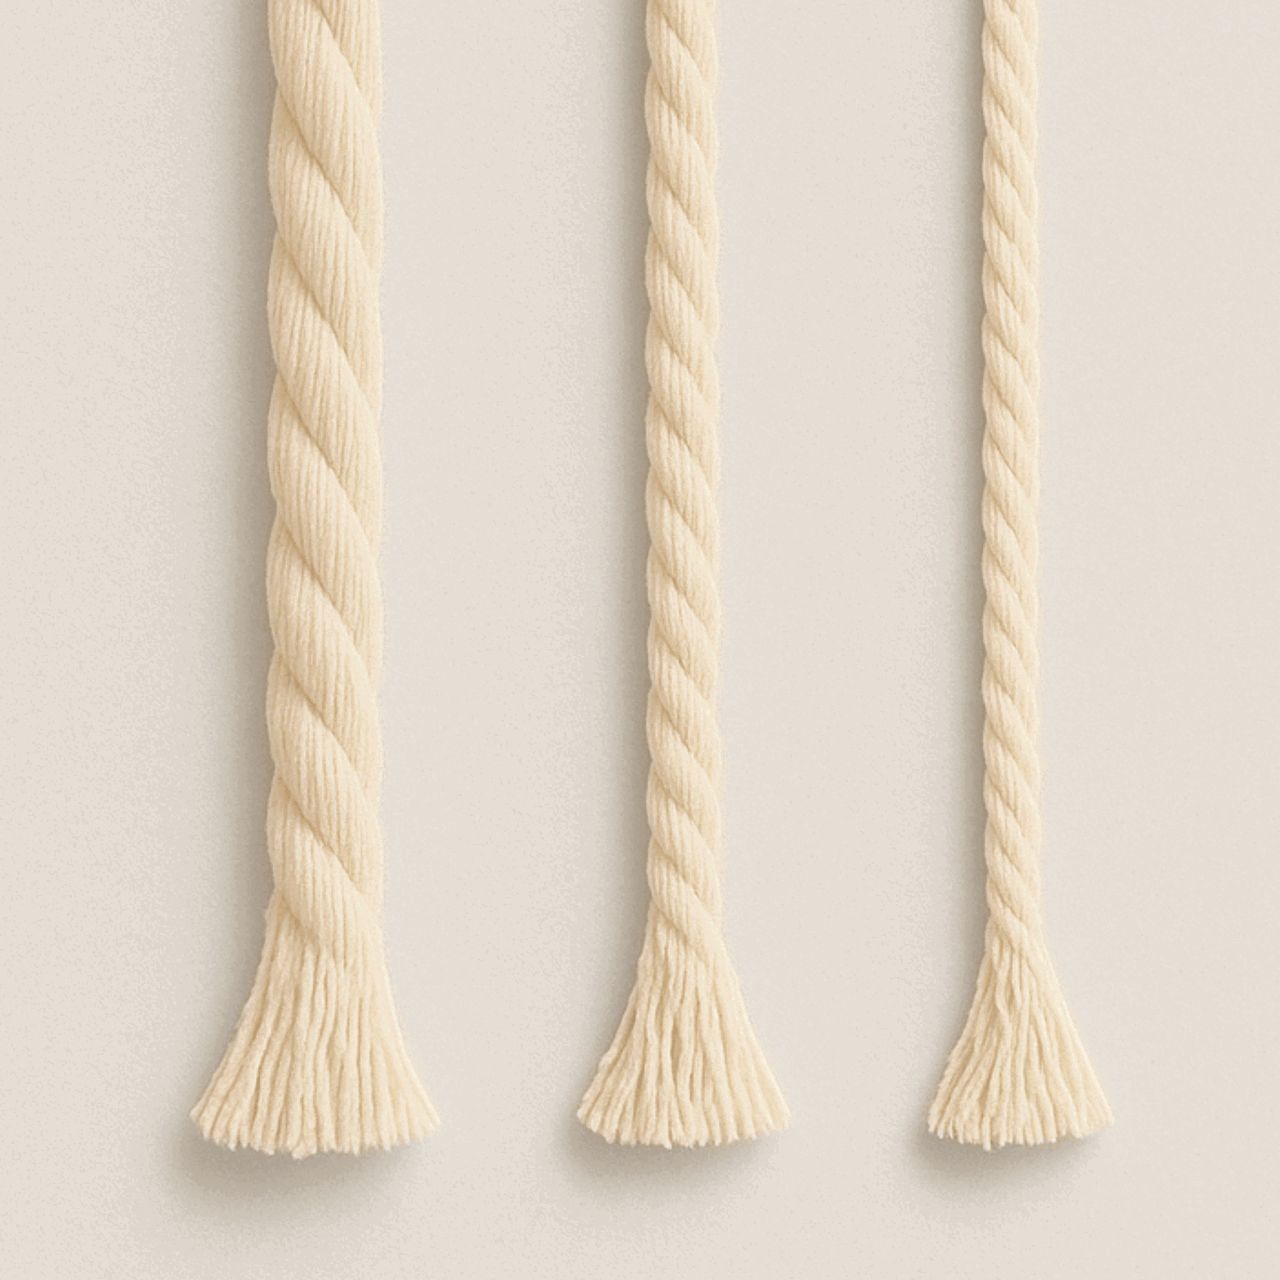
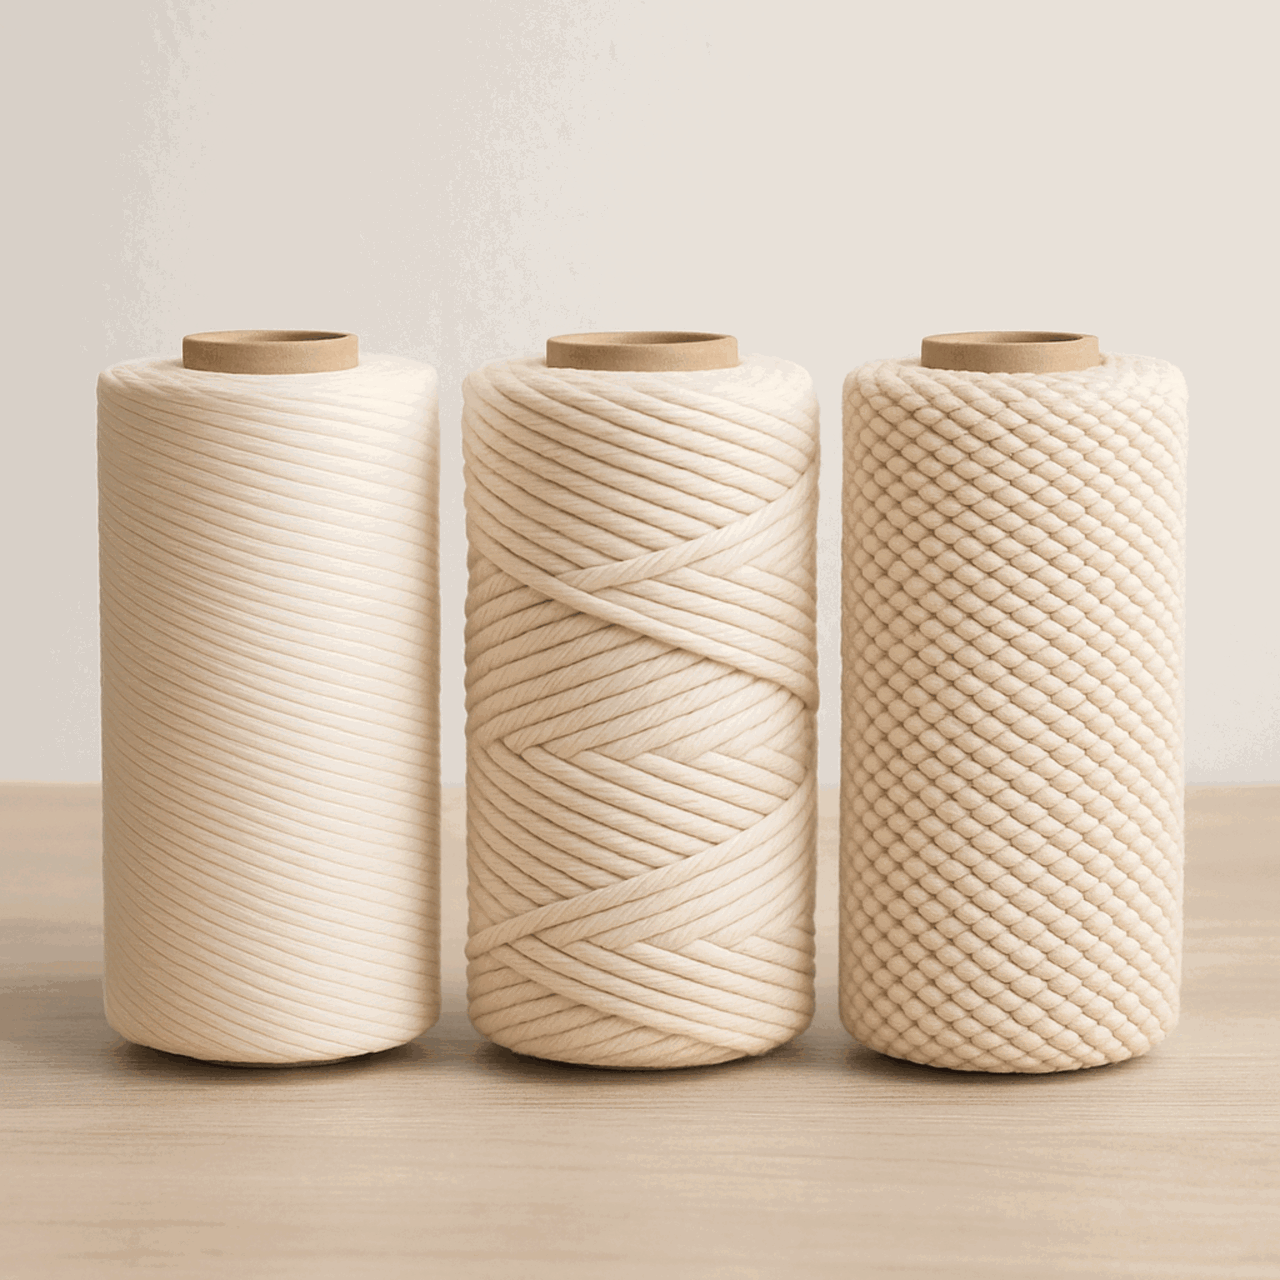
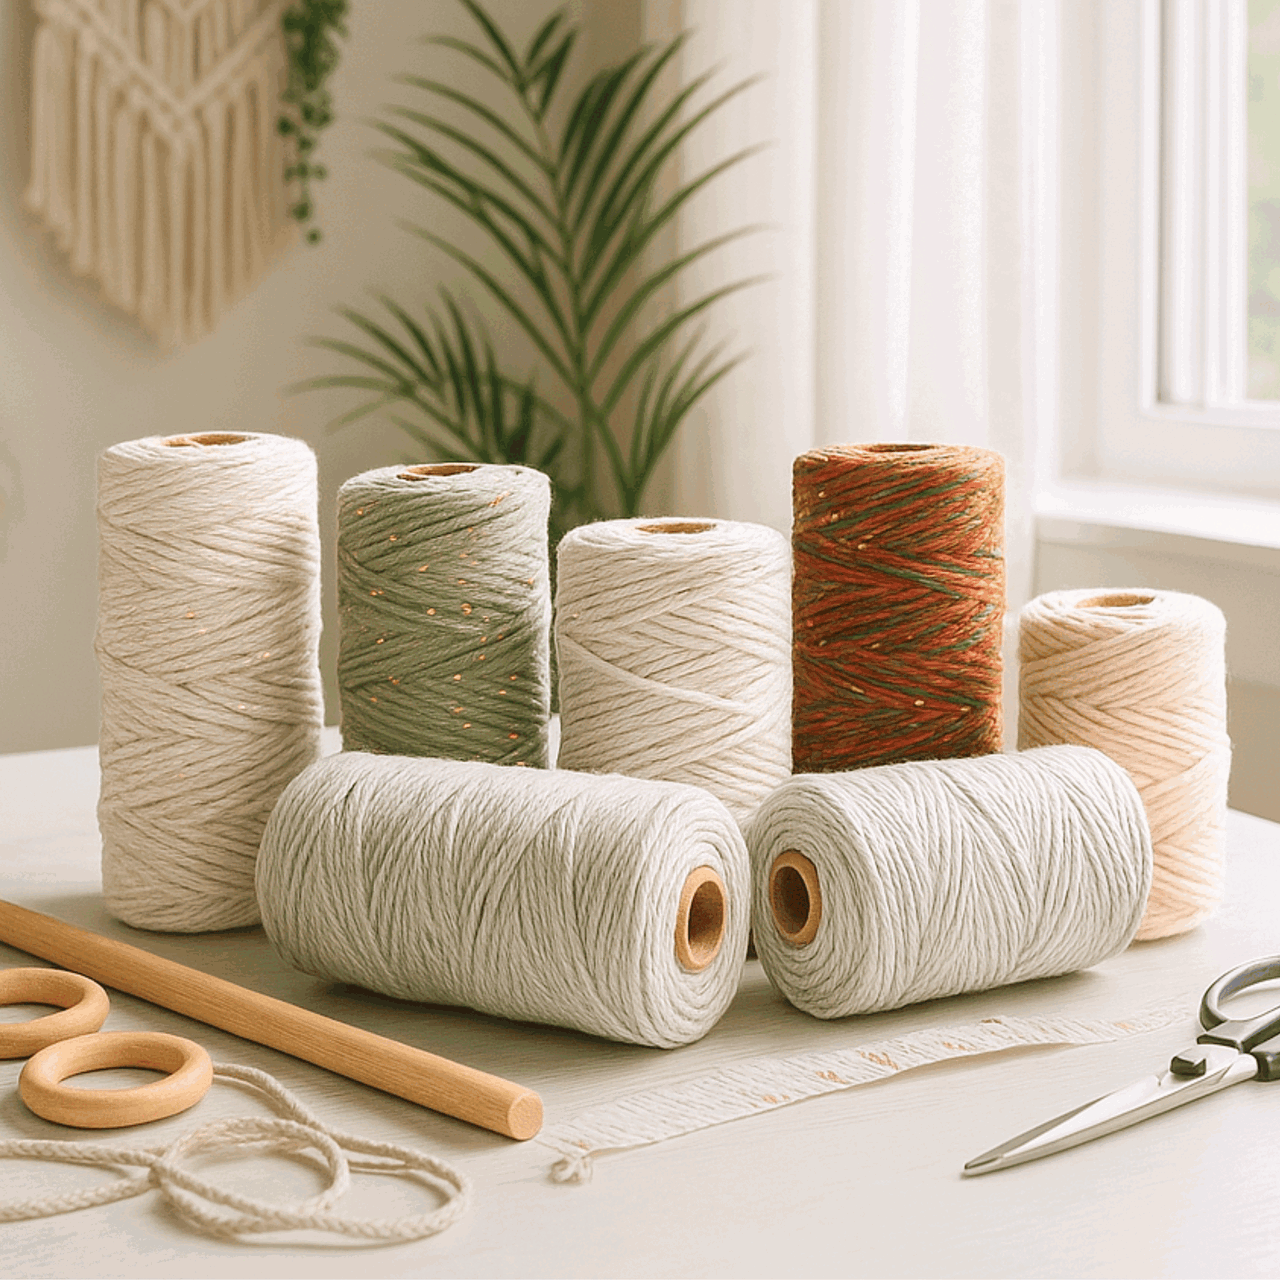
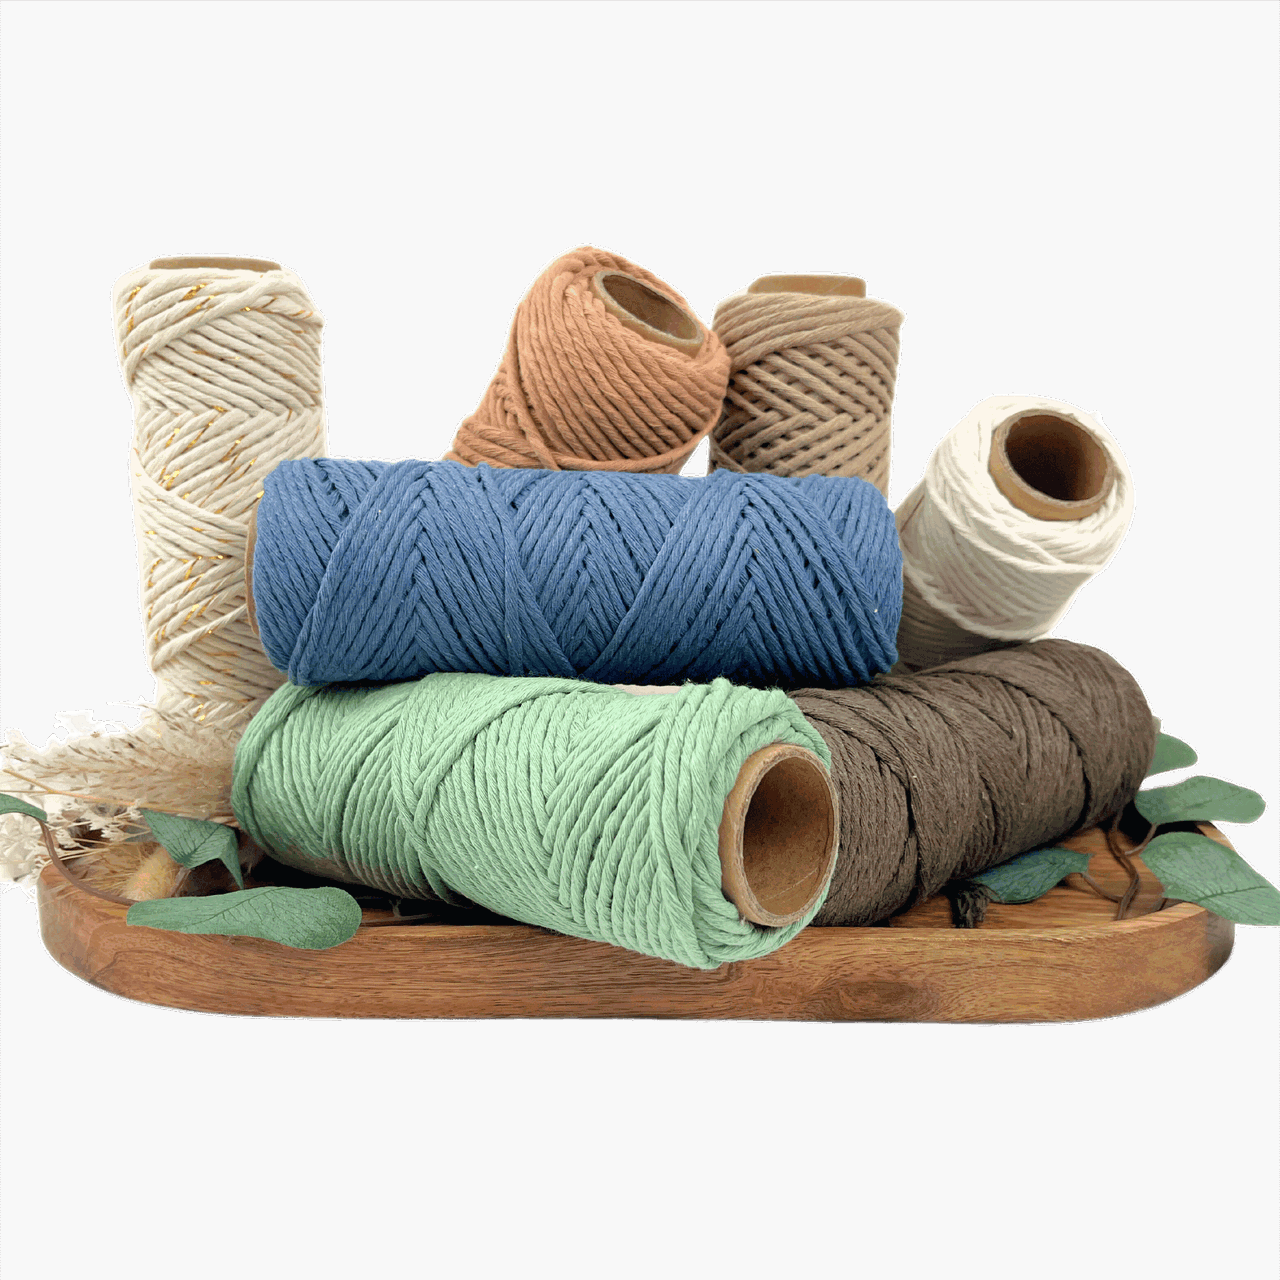
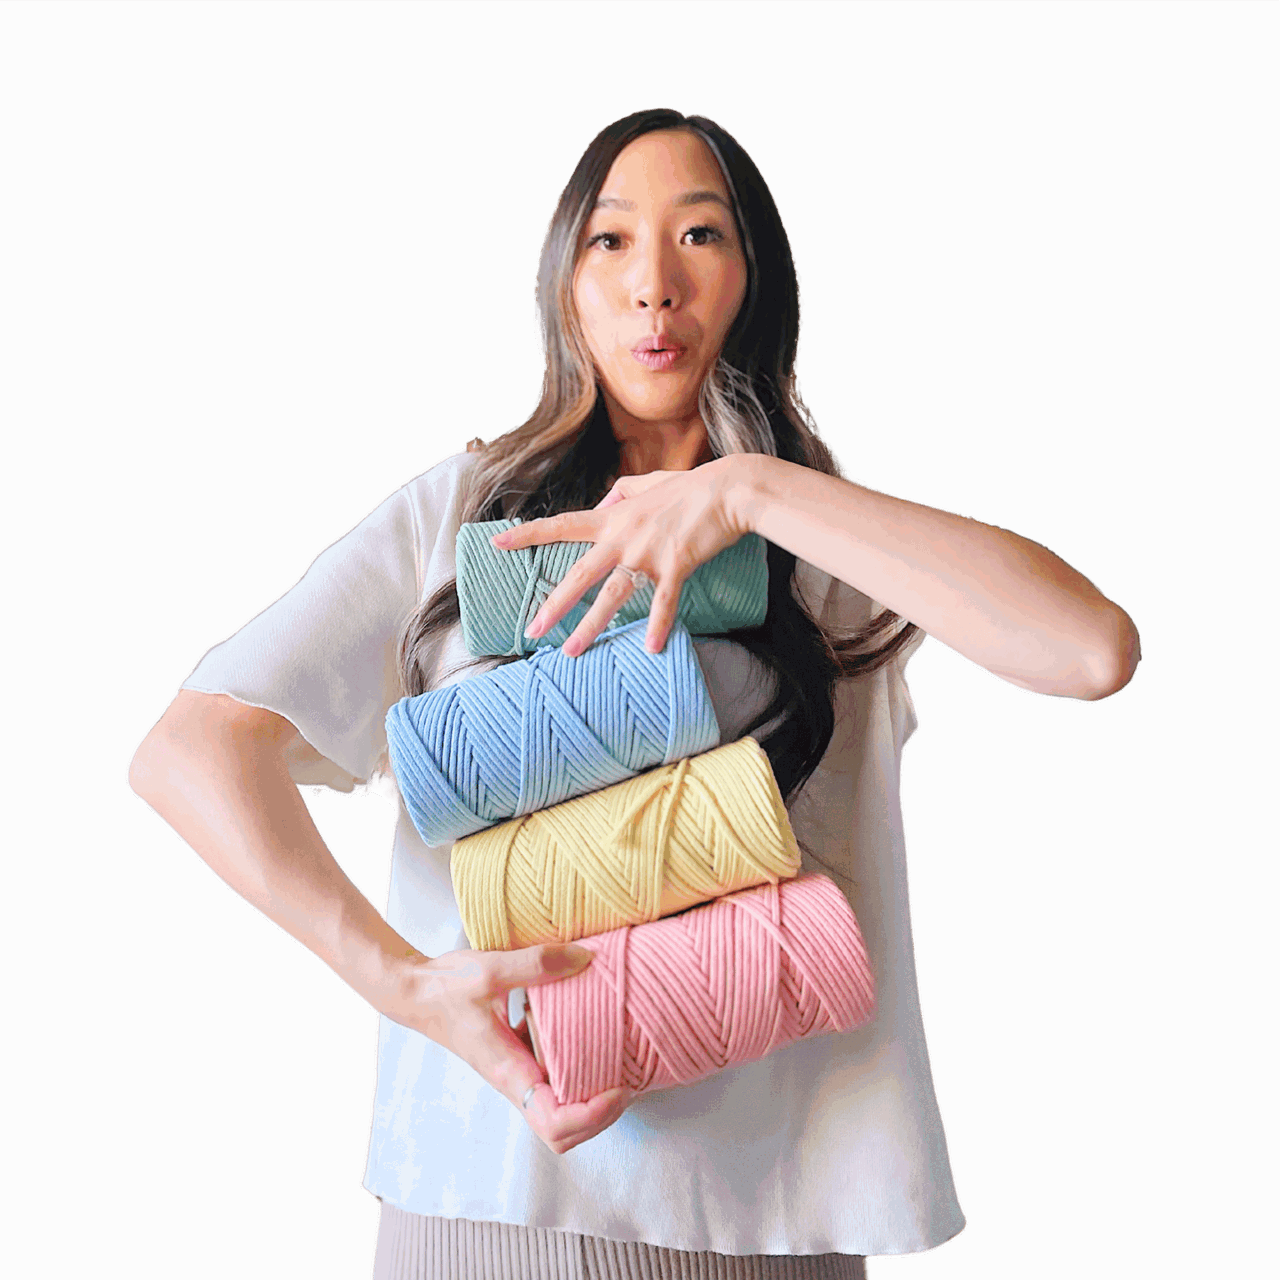
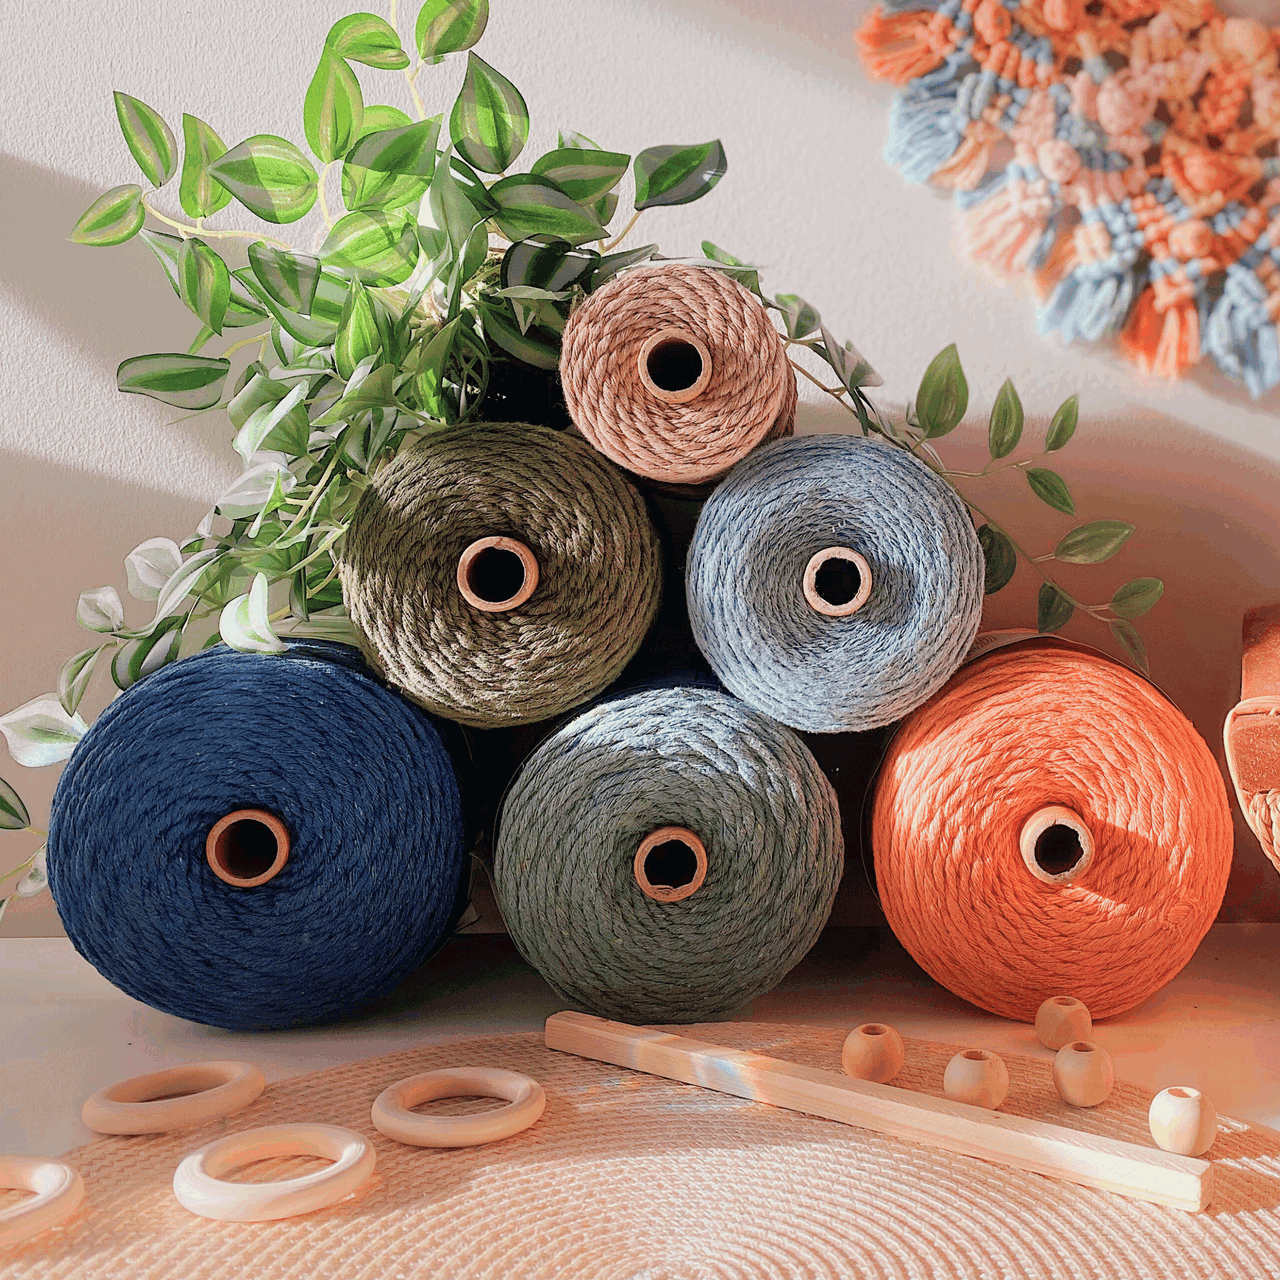
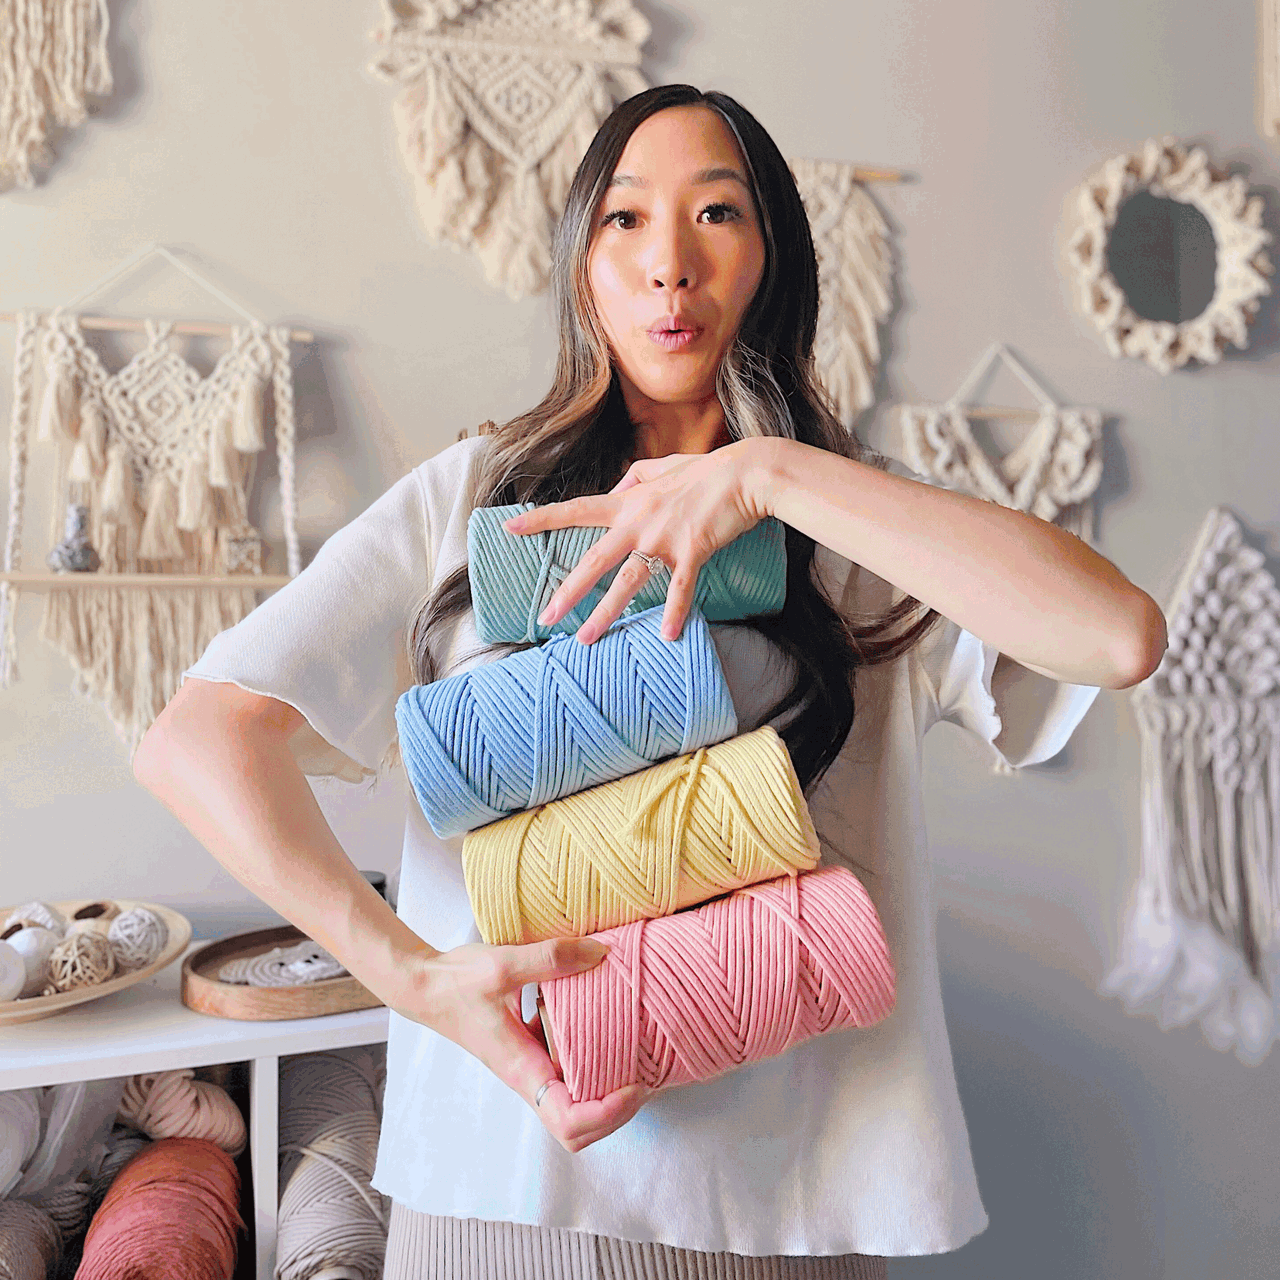
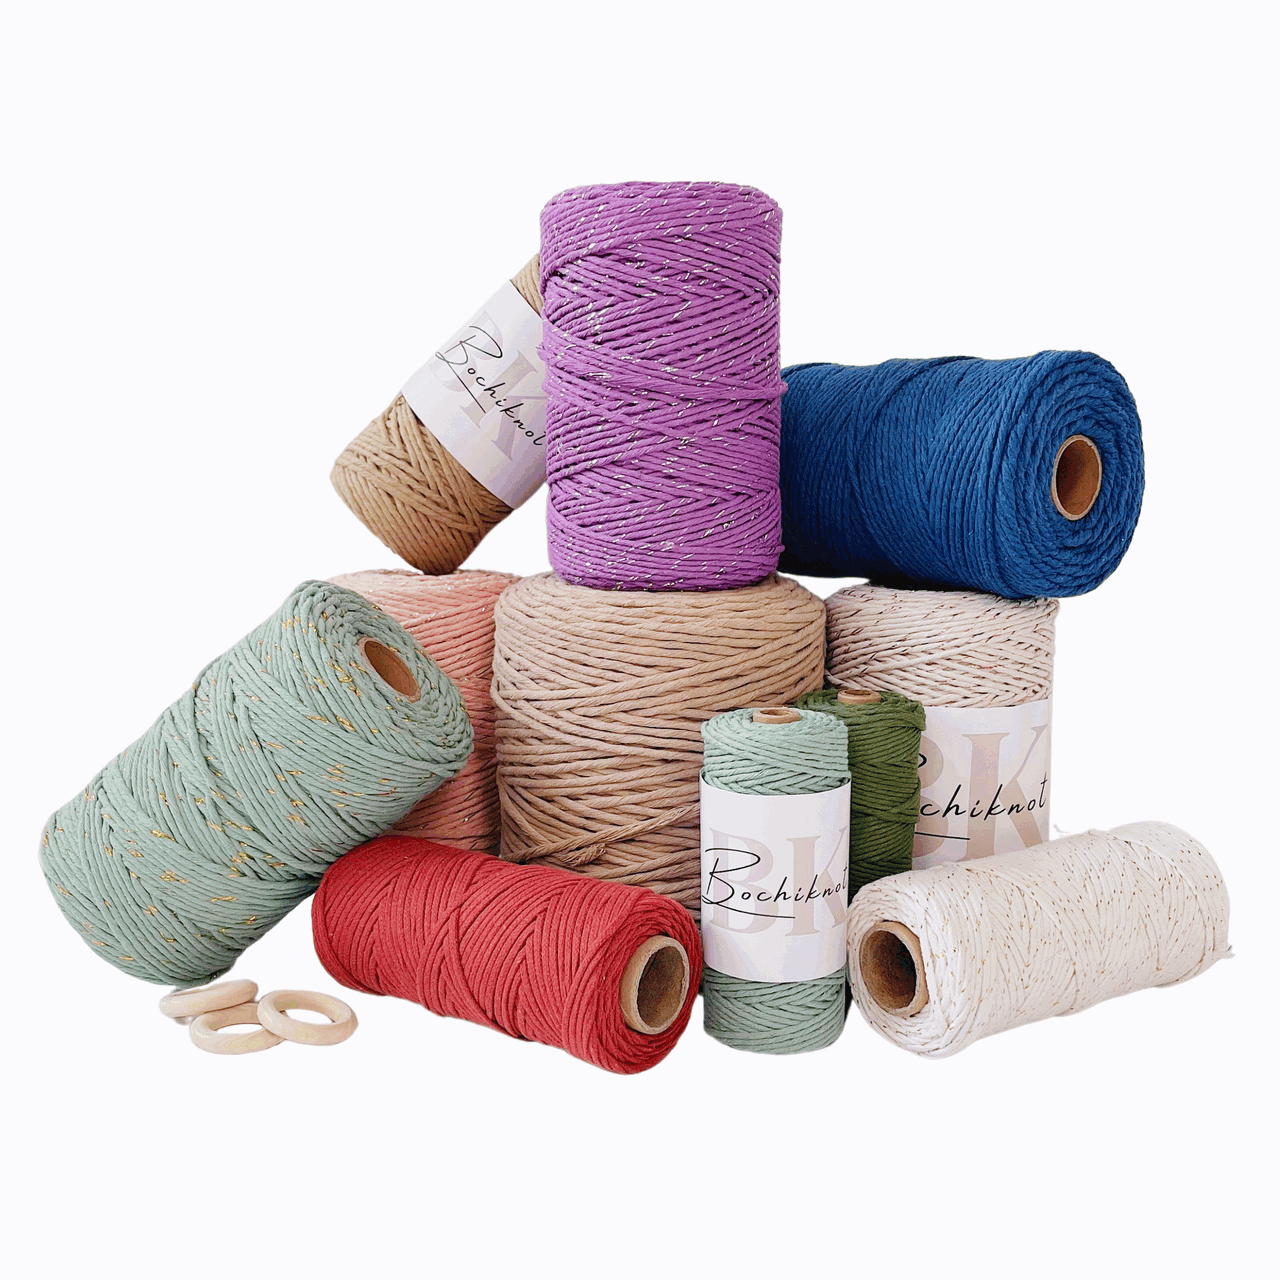
The most crucial material is the cord. Macrame cords, sometimes called macrame rope can be made from various materials such as cotton, jute, or nylon, each offering a different texture and appearance.
Choosing a cord that is soft, sturdy, and suitable for your wall hanging is essential, ensuring durability and functionality.
For this lesson, we'll be using single-strand macrame cord.
Essential Macrame Tools
There are a few tools that can be considered indispensable in the world of macrame, they enable you to measure accurately, cut cleanly, and maintain the integrity of your work, ensuring your macrame projects turn out beautifully.
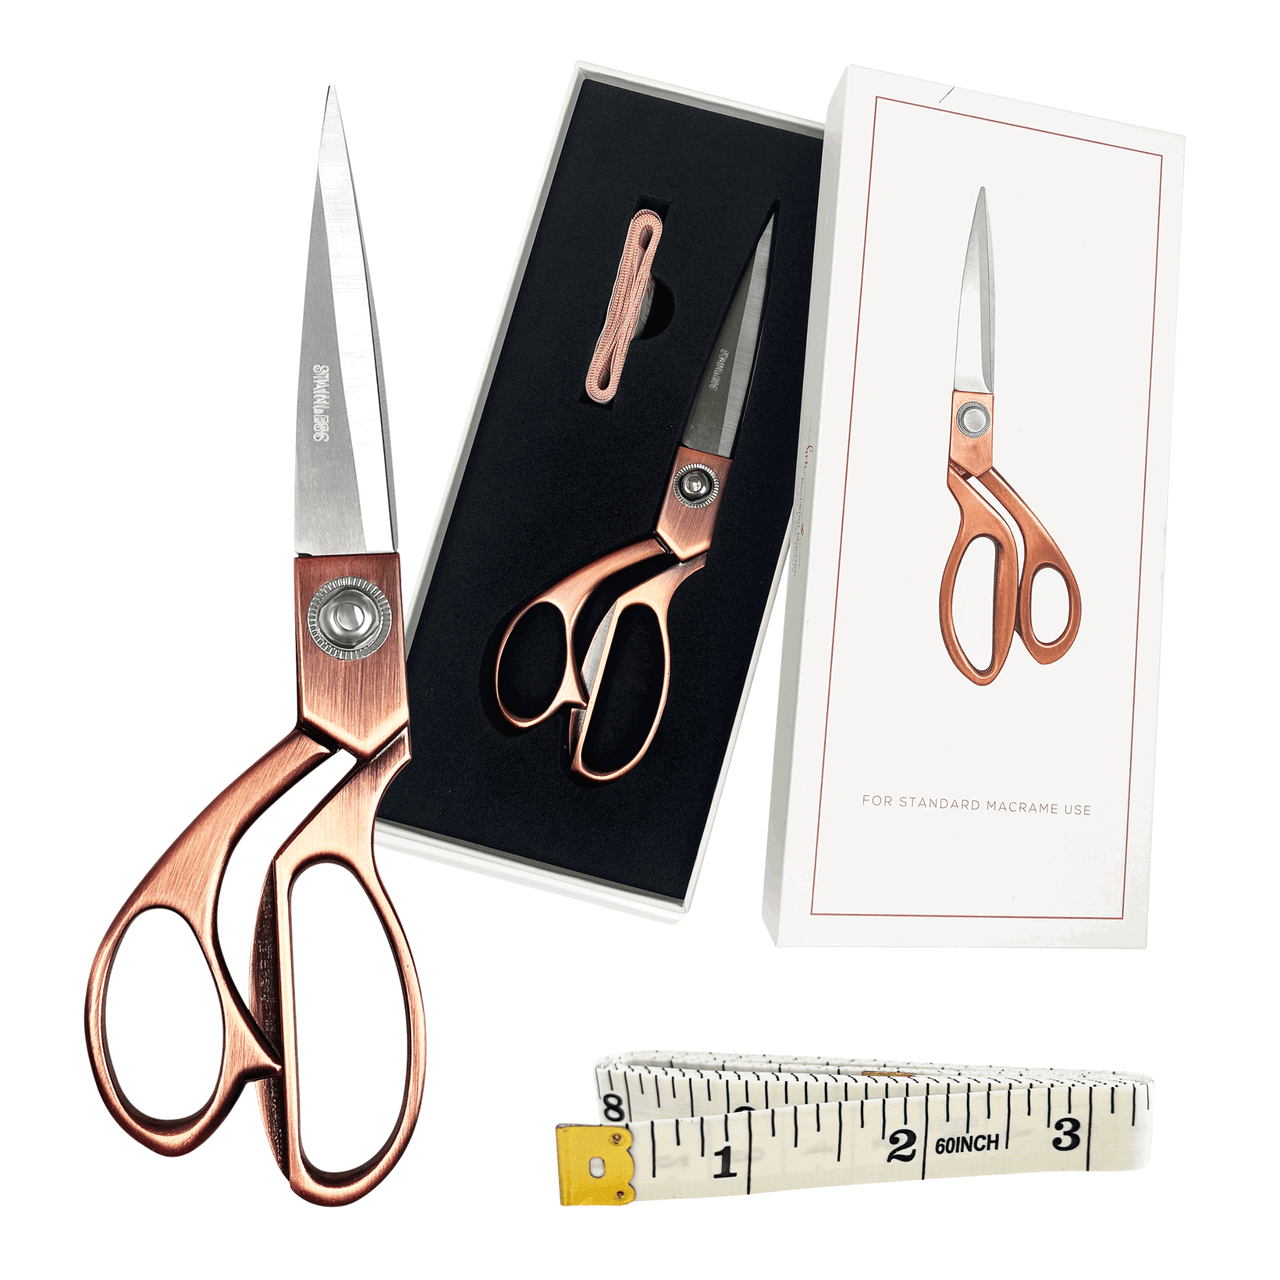
- Measuring tape: A measuring tape ensures that you can accurately measure and cut your cords to the desired lengths, helping maintain consistency and symmetry in your macrame project. It's especially crucial for larger or more complex designs where precise measurements are essential.
- Scissors: Sharp scissors are a must for cleanly cutting a cord or rope, ensuring that the ends are neat and fray-free. This is crucial for achieving a polished look in your macrame creations.
- Tape: Tape can be used to secure the ends of cords while you work on your project. It prevents fraying and helps maintain tension in your knots, making your macrame work smoother and more professional-looking. It can also serve as a helpful marker for specific measurements or patterns, or to keep your project in place on a board while you work.
Macrame, as an art, is not very ‘tool heavy’, while there are lots of tools you can use these three are the only three we would say you can’t go without!
If you’re interested in learning about more tools check out our Macrame Tools blog.
Recommended Cord Lengths

Measuring Cord for Your Macrame Wall Hanging
One of the most common questions macrame artists face when starting a wall-hanging project is, "How much cord should I prepare?"
Don’t worry—you’re not alone!
Getting the right cord length can make or break your project, and it's one of the first steps to ensuring a smooth crafting experience.
Here’s a quick tip: Cord lengths around 300 cm (118 inches) are a great starting point for most average designs.
This length offers plenty of flexibility whether you’re using the Lark’s Head Knot, Half Hitch Knot, Triple Loop Knot, Cat’s Paw Hitch, or Square Knot.
It gives you enough material to experiment with different techniques while ensuring you have the room to adjust your design as needed.
However, we understand that not all projects are created equal—some intricate designs or larger wall hangings might require more or less cord.
That’s where the “golden ratio” comes into play.
Using a systematic approach to determine how much cord you’ll need based on the size and complexity of your wall hanging can save you time and frustration.
To explore this further, check out our guide, "How to Precisely Measure Cord for Your Macrame"
In it, we walk you through the step-by-step process of calculating the perfect cord lengths for any project, helping you avoid the guesswork.
So, whether you watch our tutorial videos or read the blog post, you’ll be equipped with the knowledge to start your macrame journey with the perfect cord lengths, ensuring your creation comes together just as you envisioned!
7 Ways to Start a Macrame Wall Hang | Video Tutorial
7 Ways to Start a Macrame Wall Hang | Step-By-Step Guide
*Note: We recommend following the tutorial video for more detailed instructions and to achieve the best results.
This will provide additional guidance and clarity as you work through each step.

1. Lark's Head Knot
- Attach all your cords to your chosen object (like a wooden dowel) using the Lark’s Head Knot.
- Once all cords are attached, you’re ready to start your wall hanging.


2. Lark's Head Knot with 2 Sections
- Attach the cords to the dowel using Lark's Head Knots.
- Divide the cords into two equal sections for a V-shaped pattern, keeping space in the middle.
- Now, you can begin working on your wall hanging design.


3. Lark's Head Knot Plus Half Hitch Knot
- Attach each cord with a Lark’s Head Knot.
- Then, using the two cords from each knot, tie a Half Hitch Knot on both sides.
- Continue making Half Hitch knots until you fill the dowel, and then start your project.


4. Triple Loop Knot
- Take three cords, fold them in half, and gather the looped ends together.
- Use the outer left and right cords to tie a Square Knot, leaving three loops at the top.
- Mount the cords onto the dowel using Double Half Hitch Knots, and you’re ready to start your project.


5. Cat’s Paw Hitch Knot
- Fold one cord in half and attach it to the dowel like a Lark’s Head Knot.
- Take the right cord end and wrap it around the middle loop three times.
- Repeat with the left cord, tighten both ends, and begin your project.


6. Lark's Head Scallop
- Attach a long cord to the dowel with a vertical Lark’s Head Knot on one end.
- Leave a gap, then make another vertical Lark’s Head Knot with the same cord.
- Repeat for as many scallops as you’d like. You can then attach other cords to these scallops using Lark’s Head Knots.


7. Square Knot Triangle
- Attach 10 cords to the dowel using Lark’s Head Knots.
- Divide them into 5 groups of 4 cords.
- Under each group, tie a Square Knot.
- A few inches below, tie another row of alternating Square Knots.
- Continue alternating rows, leaving a few inches of space, until you finish with a single Square Knot at the bottom.
- Once your triangle is complete, attach the cords to any space between the square knot rows to start your main design.


Each method gives your macrame project a unique look and lets you customize it to match your style.
Now that we’ve covered the essential knots to start your macrame, it’s time to focus on another important part: the knots that finish your design.
Like the beginning knots set up the structure, the ending knots secure everything and add the final touch that makes your piece durable and polished.
Let’s dive into finishing your macrame projects with style and precision.
7 Ways to End a Macrame Wall Hang | Video Tutorial
*Note: We recommend following the tutorial video for more detailed instructions and to achieve the best results.
This will provide additional guidance and clarity as you work through each step.
7 Ways to End a Macrame Wall Hang | Step-by-Step Guide
From the soft finish of a fringe to the playful touch of feathers secured with a Gathering Knot or the added flair of beads tied with an Overhand Knot, we’ve got the perfect ways to end your macrame wall hanging.
Discover different finishing techniques, such as the sturdy Barrel Knot, the intricate Figure 8 Knot, the unique Rain Knot, and the decorative charm of tassels.
The final details can truly elevate the look of your piece.
Whether you prefer a simple, clean finish or want to add a creative touch, we’ll help you complete your macrame masterpiece with style and ease!
1. Fringe
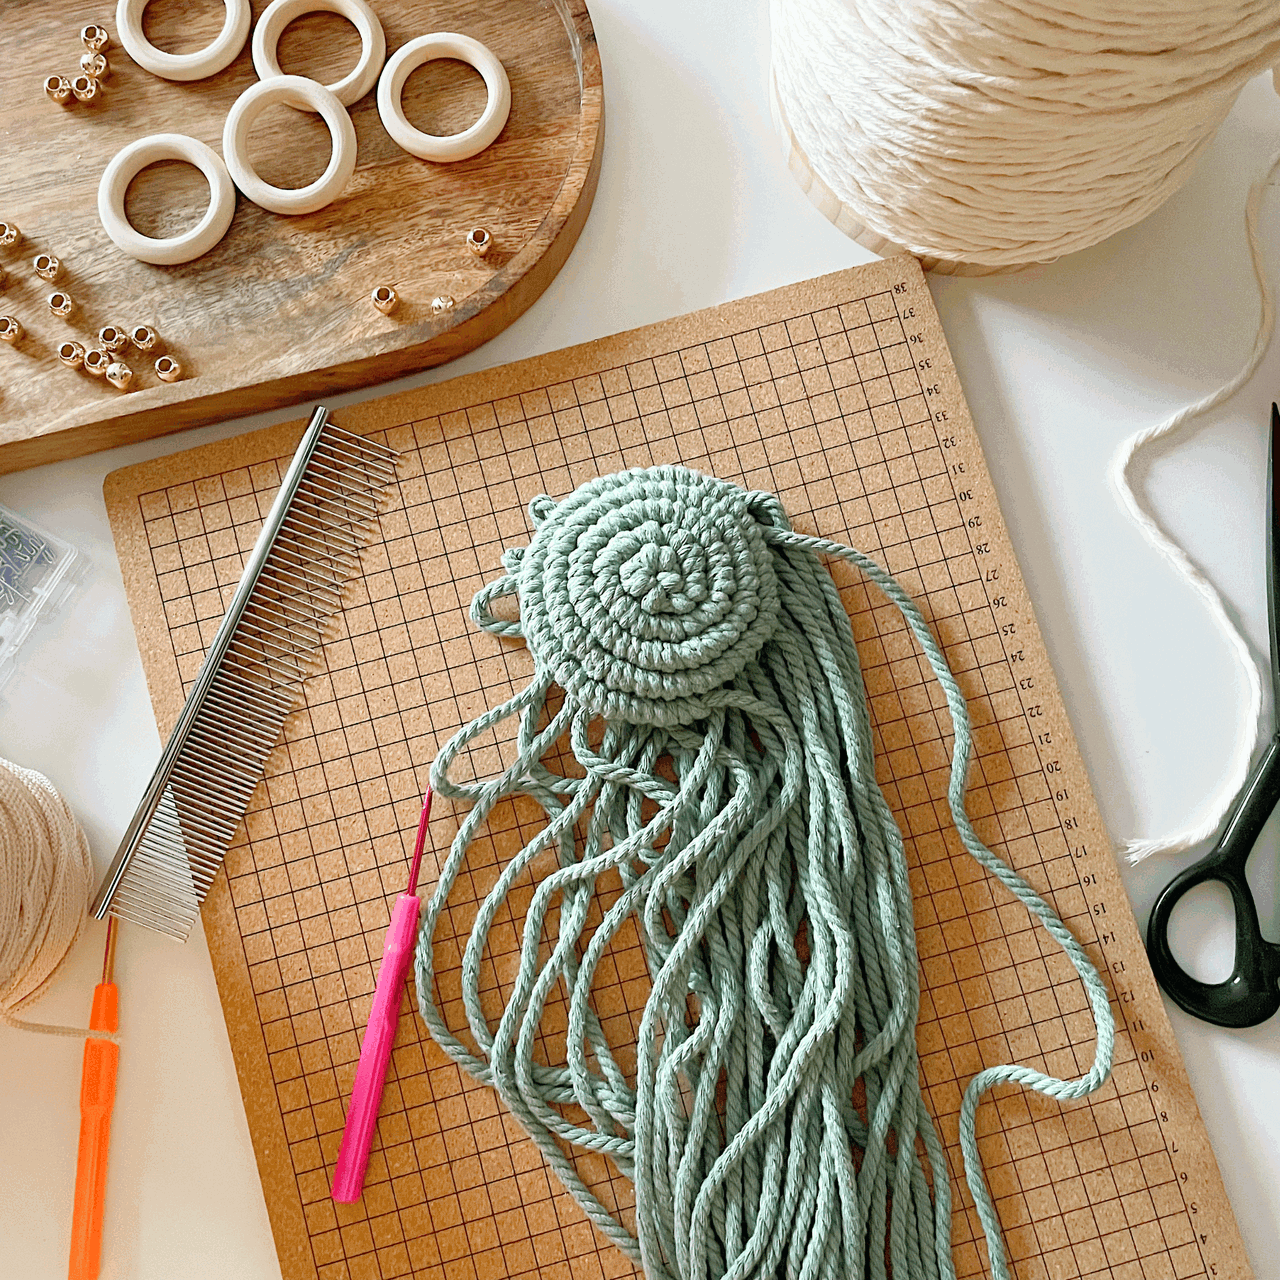
- If you're using a 3-ply cord, unravel the strands before combing.
- For single-strand cord, comb through directly.
- A fringe adds a soft, boho touch to your design and provides a smooth transition from the knotted section to the loose ends, giving your piece a relaxed, inviting look.


Finishing your macrame project with a fringe adds a soft, bohemian touch, giving it a relaxed and inviting feel.
The fringe also helps highlight the detailed knots in your design, creating a smooth and eye-catching transition from the main pattern to the loose ends.
2. Feathers Using a Gathering Knot
- Attach a feather to the end of a cord using a Gathering Knot.
- Use a thinner string like hemp cord, embroidery thread, or 1mm cotton cord for the knot.
- This gives your piece a natural, earthy vibe while adding unique texture and visual appeal.


Adding feathers to the end of your macrame project with a gathering knot brings a natural, earthy vibe full of rustic charm.
The feathers add a unique texture and create a bold contrast against the knots, making your piece stand out and giving it that extra bit of visual flair.
It’s the perfect finishing touch for anyone looking to add wild elegance to their creation!
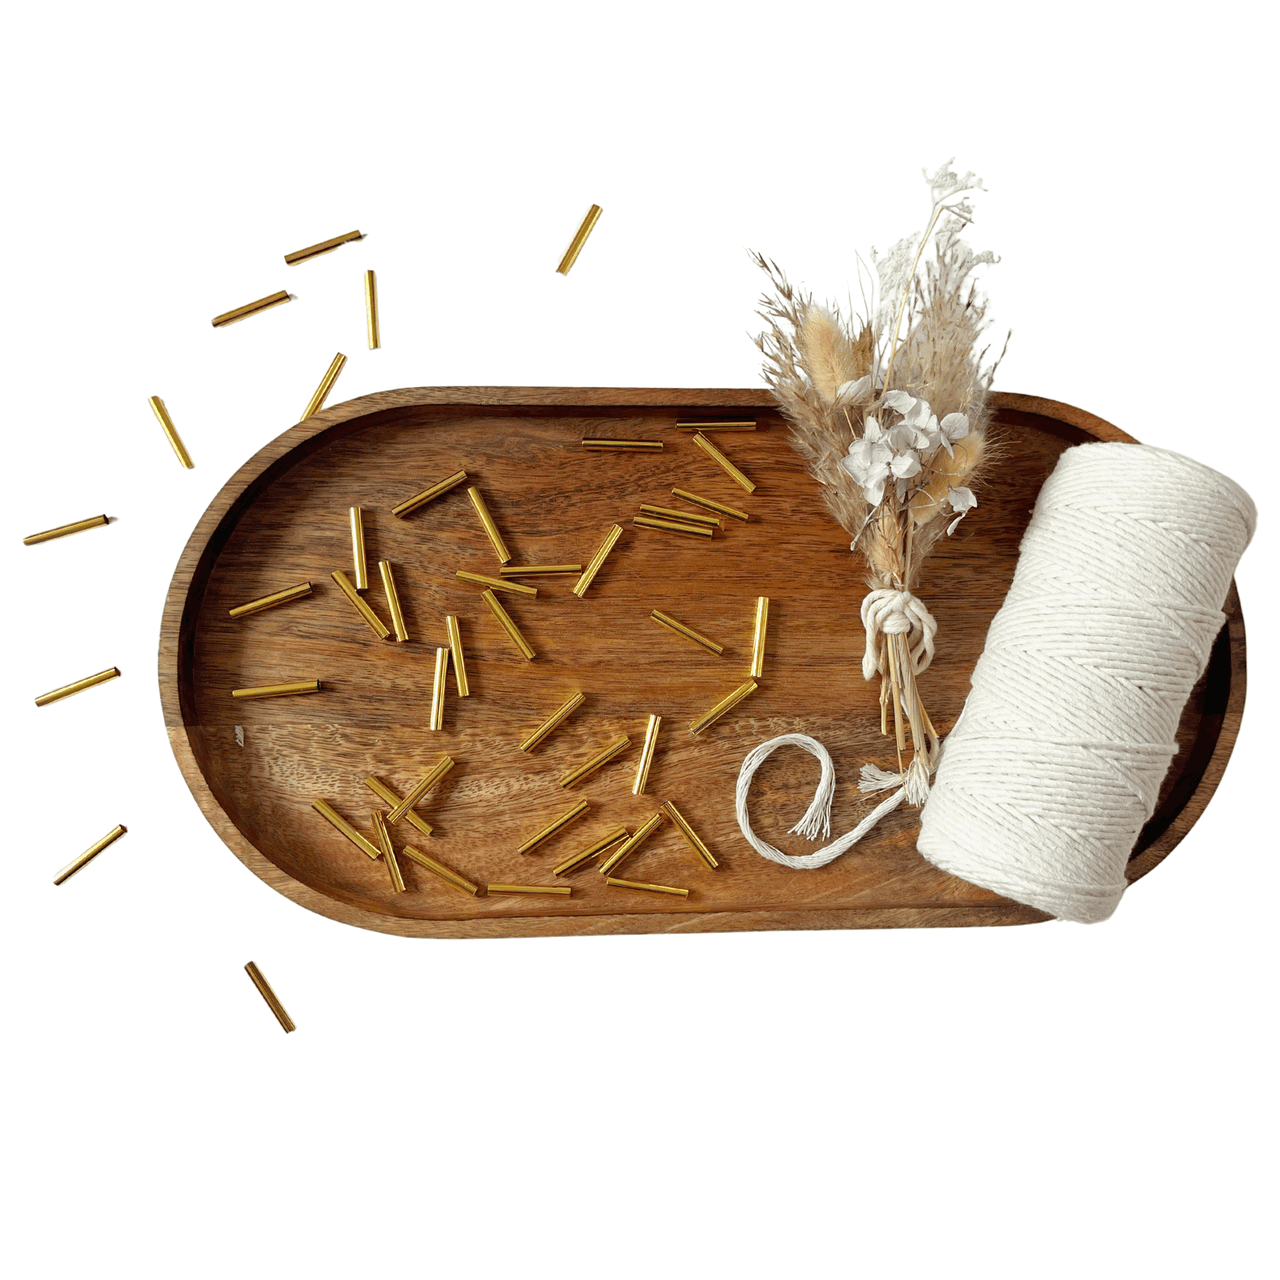
3. Beads Using an Overhand Knot
- Tape the end of the cord, then thread the beads onto it.
- Secure the beads in place with an overhand knot.
- Beads add a personalized touch, bringing color, texture, and a bit of sophistication to your macrame creation.

Finishing your macrame project with beads and an overhand knot is a simple way to add a personal and elegant touch to your piece.
The beads let you introduce pops of color, interesting textures, or even meaningful symbols, giving your design a unique and customized flair.
Using an overhand knot to secure the beads not only keeps them in place but also adds a neat, stylish finish that complements the rest of your work.
This method is perfect for creating a subtle yet sophisticated statement, making your macrame project stand out with that little extra detail that truly reflects your personal style.
4. Barrel Knot
- Make a loop, wrap the cord end through the middle a few times, then pull to tighten.
- This knot gives your project a strong, reliable finish with a clean and sleek look, perfect for a modern and minimalist design.

Ever wonder how to give your macrame project a sleek, professional finish that also ensures it lasts?
Ending with a barrel knot not only provides a sturdy and reliable closure but also guarantees the durability of your creation.
Its smooth, compact design adds a polished, clean look that seamlessly blends into your piece, making it ideal for those who love a minimalist or modern aesthetic.
With this simple yet effective knot, you’ll not only secure your macrame but also elevate its overall appearance, leaving people wondering just how you achieved such a flawless finish.
5. Figure-8 Knot
- Create a figure 8 shape with your cord and pull the end through both loops.
- This knot adds both security and style, giving your piece a symmetrical and decorative finish while holding everything in place.

Finishing your macrame project with a figure 8 knot gives it both security and style. The knot’s unique shape adds a bit of symmetry and flair, making your design stand out.
The figure 8 knot is strong and holds your cords securely in place, while also acting as a decorative element.
It’s a great choice for adding a neat, eye-catching finish that keeps your work looking polished and well-anchored.
6. Rain Knot
- Wrap a strand of cord around another, creating a loop on both ends, then pull to tighten.
- The rain knot adds texture and movement, mimicking the look of cascading raindrops for a whimsical and artistic finish.

Ending your macrame project with a rain knot adds a unique, artistic touch that will catch your attention.
This intricate knot creates the look of cascading raindrops, adding texture and a sense of movement to your design.
It’s perfect to give your piece a whimsical, flowing feel.
If you're looking for a finishing touch that's both playful and visually stunning, the rain knot is your go-to!
7. Tassels
- Take two cords and tie an overhand knot.
- Pull additional strands through the loop to create the tassel, then secure it with a gathering knot using another strand.
- Trim the tassel for a neat finish. Tassels are a fun and decorative way to finish your project, adding flair and volume.

Finishing a macrame project with tassels adds the perfect touch of boho chic and flair, instantly giving your piece a playful, stylish vibe.
Tassels not only bring movement and texture, but they also create a sense of fun and personality, transforming even the simplest design into something trendy and eye-catching.
Tassels add that extra layer of character to your macrame, elevating your work from a basic wall hanging to a boho-inspired statement piece.
It’s a versatile and effortless way to give your project that carefree, yet polished, look!
Now that you’ve explored 7 creative ways to start and end a macrame wall hanging, you have all the tools to elevate your next project from start to finish.
Whether you’re going for a sleek, minimalist look or a more detailed, boho-inspired piece, the way you begin and complete your macrame design can make all the difference in its final appearance and durability.
Remember, the knots you choose set the tone for your entire piece, while the finishing techniques bring it all together, adding that last bit of flair or subtle elegance.
So, don’t be afraid to experiment with different methods and make each wall hanging uniquely yours!

Looking for Macrame Patterns and Projects?
I’ve got a fun variety of DIY macrame patterns for you to explore—whether you’re into creating unique wall hangings to spruce up your home or timeless plant hangers, there’s something for every skill level.
Each pattern is super easy to follow with step-by-step photos, clear instructions, and plenty of tips to help you along the way.
Ready to start knotting?
Browse DIY macrame patterns on Etsy and dive into your next project.

Join the Bochiknot Macrame Community: Your Gateway to Exclusive Tutorials & Inspiration
Discover the art of macrame like never before! Join our exclusive community of passionate macrame enthusiasts and unlock a world of creativity.
Gain access to a treasure trove of unique patterns, expert guidance, and a supportive network of fellow artists.










Leave a comment