





DIY Macrame Christmas Ornaments That Smell as Good as They Look

FREE MACRAME CHRISTMAS PATTERN · BY NICOLE WOO
Three cinnamon sticks might look like a small beginning for a Christmas decoration. Add two knotted holly leaves and a few golden berries, though, and suddenly you have a little ornament that feels ready for the tree—or the ribbon on a thoughtfully wrapped gift.
In this tutorial, I’ll walk you through making the leaves first, then bringing everything together. The detail is in the curved rows: instead of brushing cord into a leaf outline, we shape the edges with the knots themselves. You get a compact, textured leaf without a fringe to comb.
We’ll make the two-leaf macrame holly ornament from start to finish, with photos and clickable video timestamps at every step. Once you understand the construction, you can experiment with the single-leaf arrangement shown beside it.
New to knotting? Download our free 50 Macrame Knots & Sennits PDF for a reference you can keep beside your project.
A cinnamon-stick Christmas ornament with two green macrame holly leaves and three gold bead berries. The finished example is approximately 3 inches wide by 4 inches long (7.6 × 10.2 cm), with size varying according to your cord, tension and arrangement.
The Project at a Glance
The video running time is not an estimated making time. Allow extra time to pause, practice the curves and make your second leaf.

Cord and Materials for Your Holly Ornament
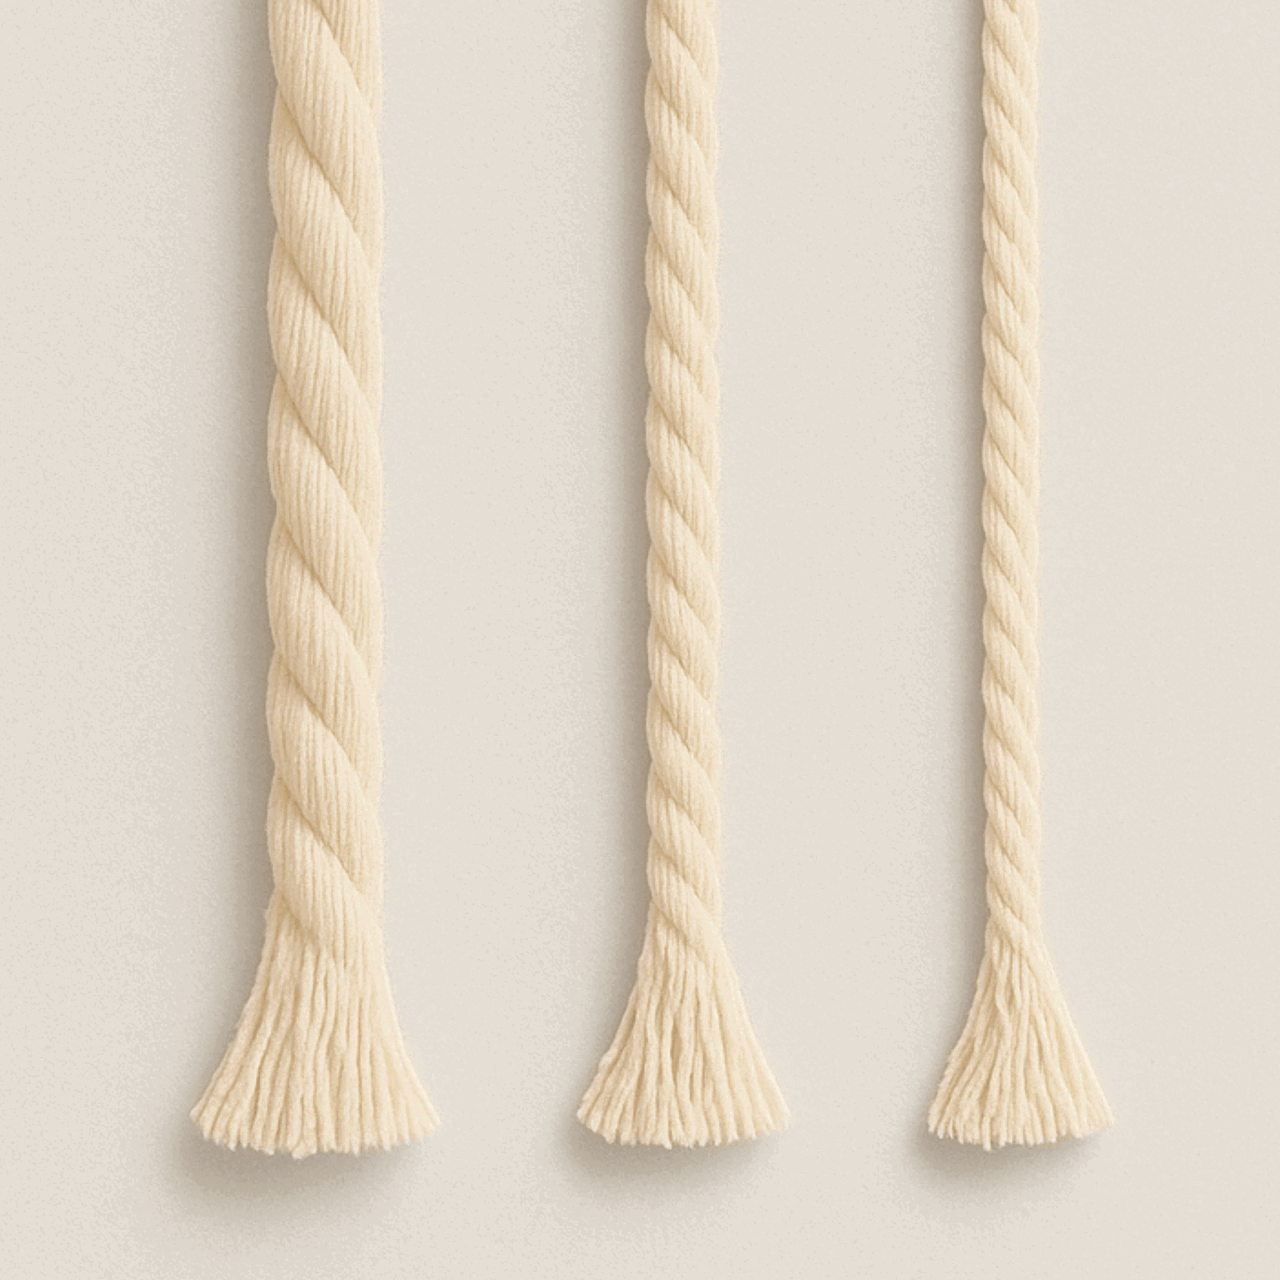
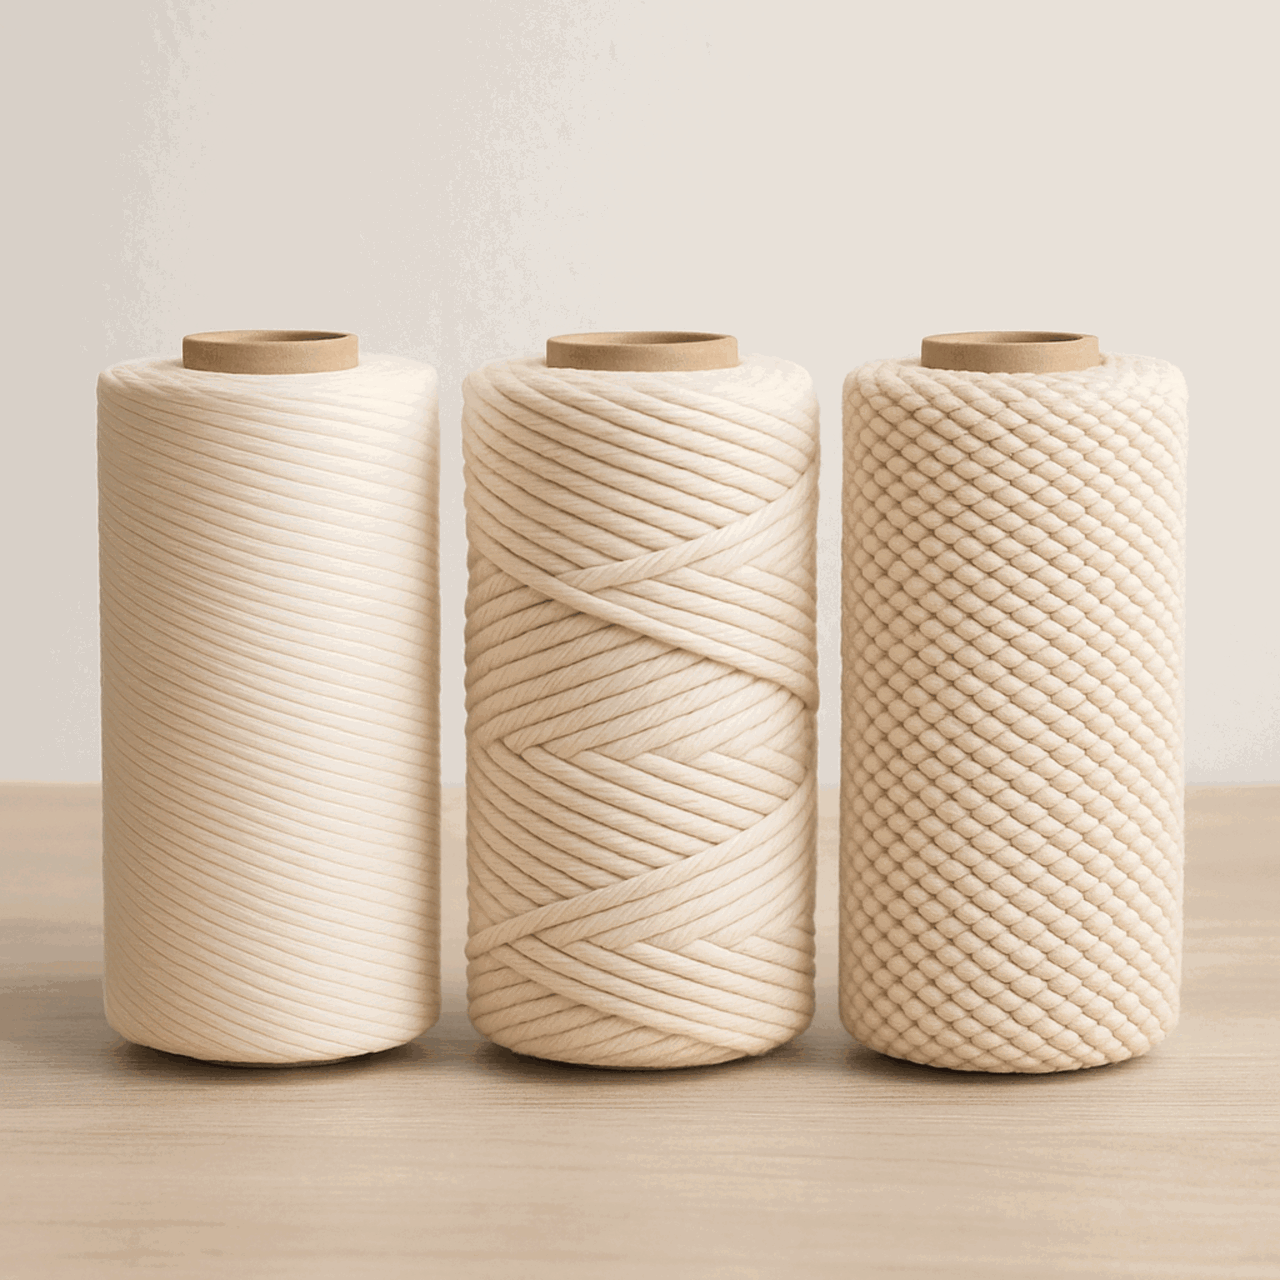
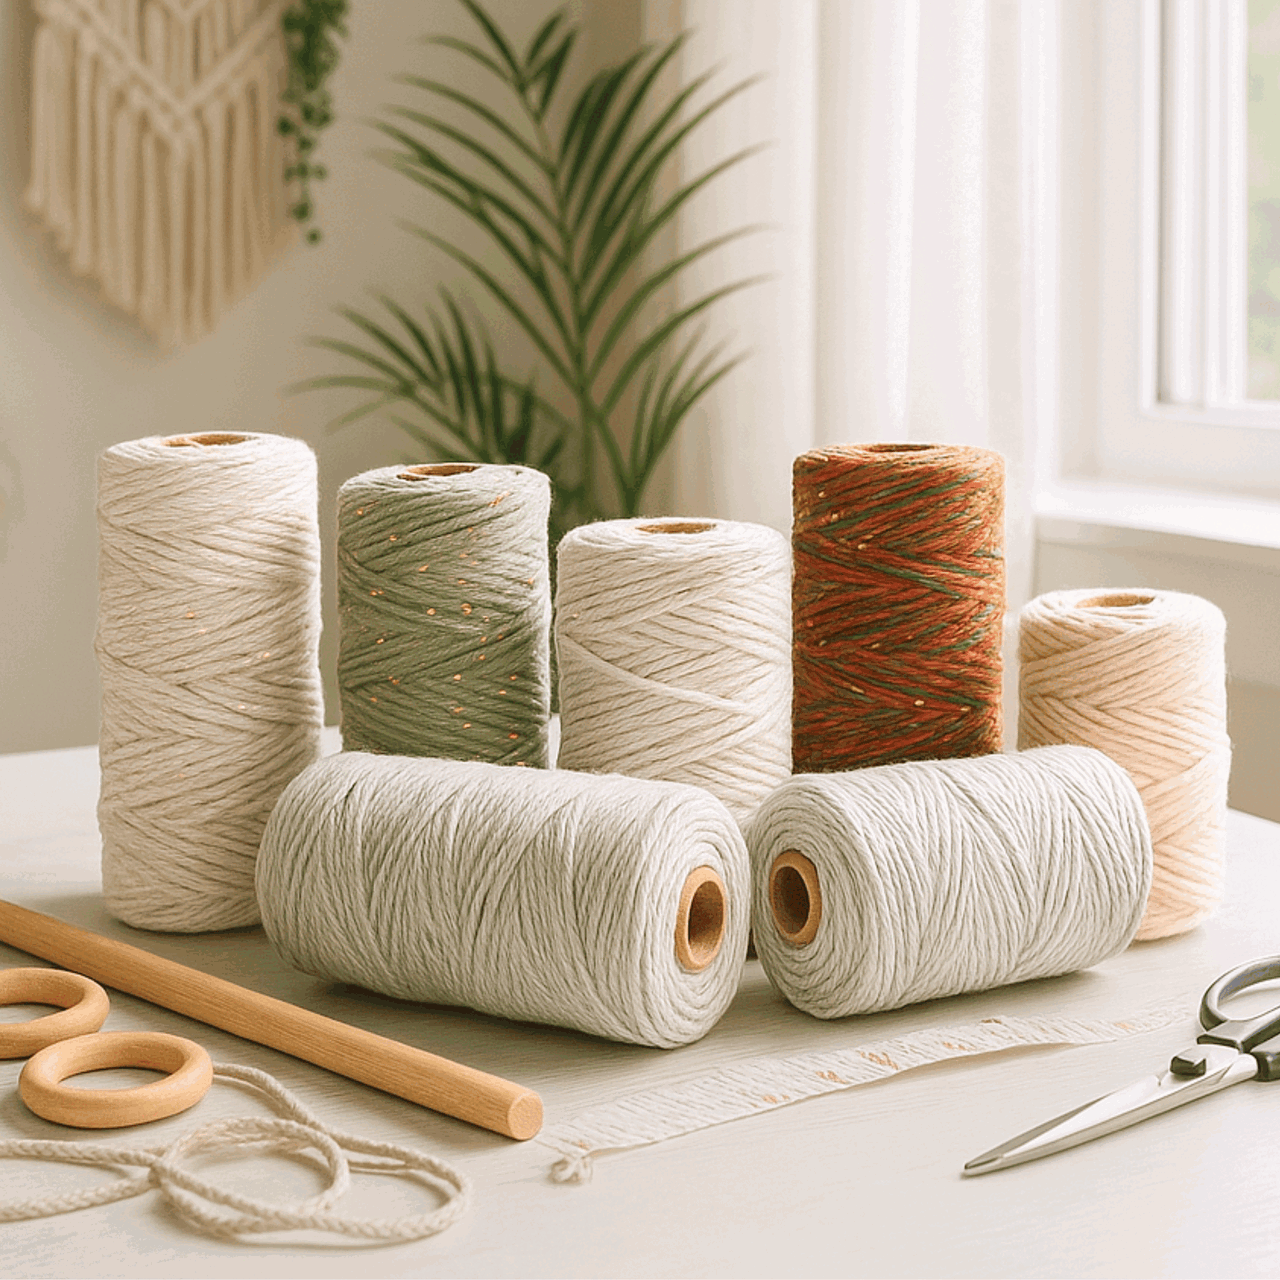
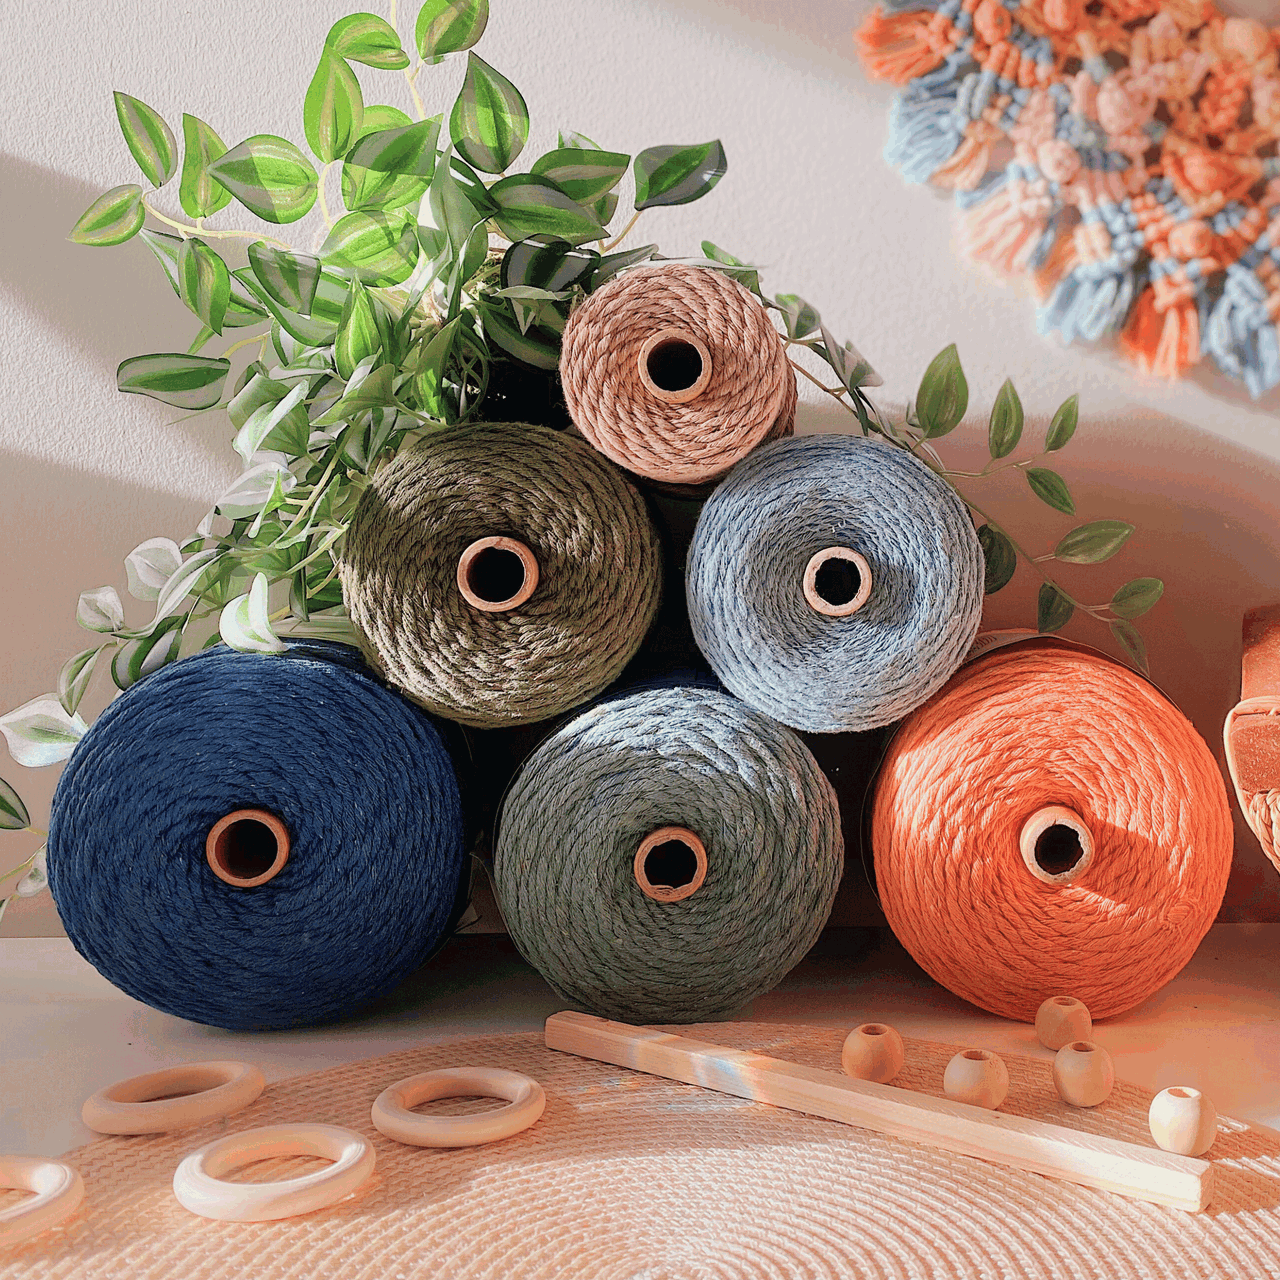
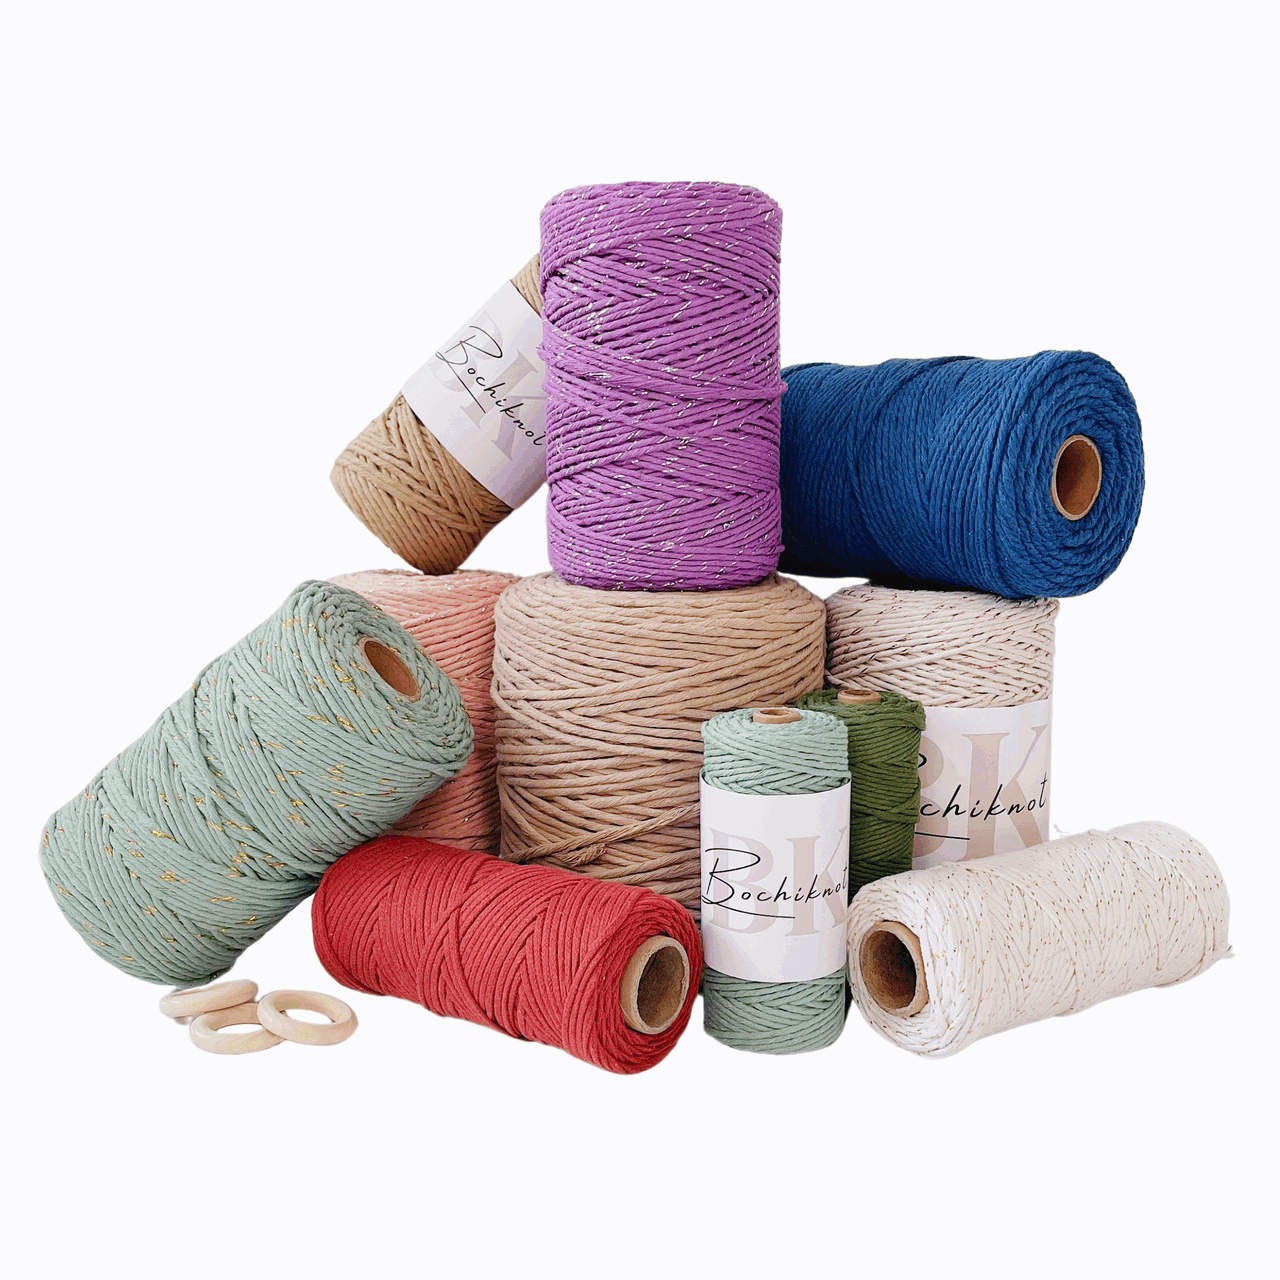
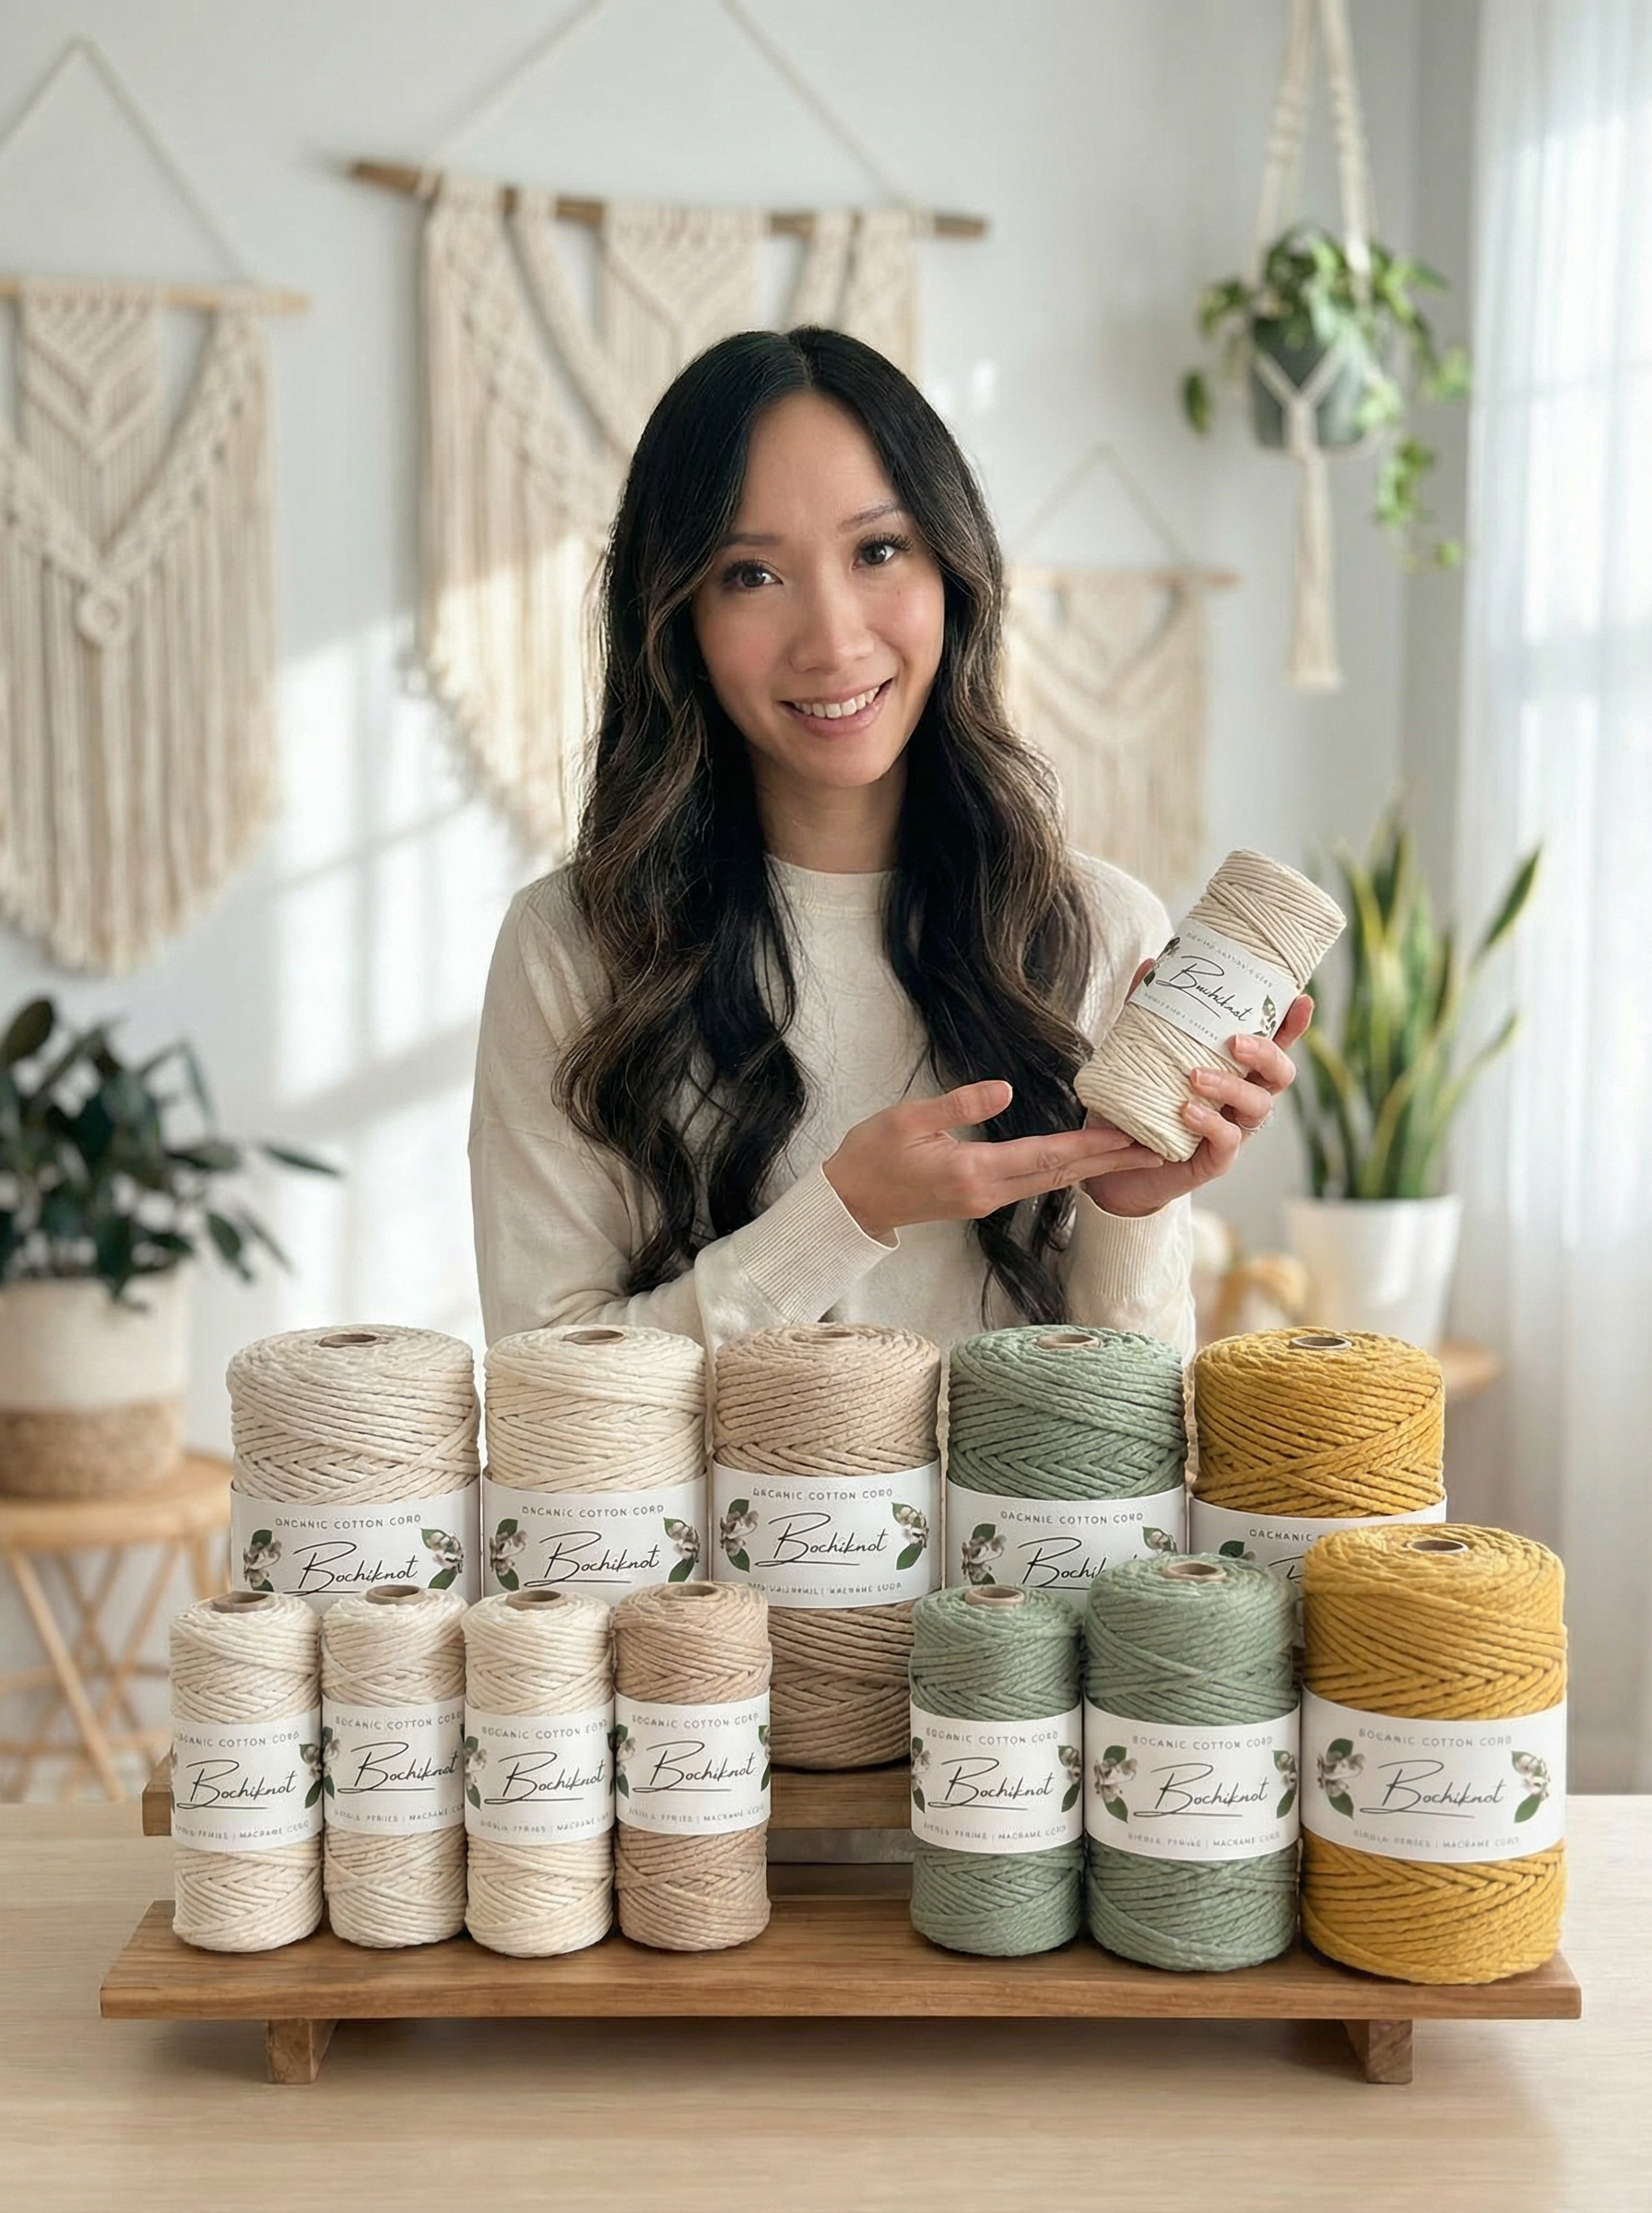
The demonstration uses 3 mm hollow braided cord in Army Green and Natural & Gold. The pattern also lists 2 mm macrame cord as an alternative. Choose two contrasting colors, and test a leaf if you change the cord construction: the texture and finished size will differ.
Some links below are affiliate links. As an Amazon Associate, Bochiknot earns from qualifying purchases at no extra cost to you.

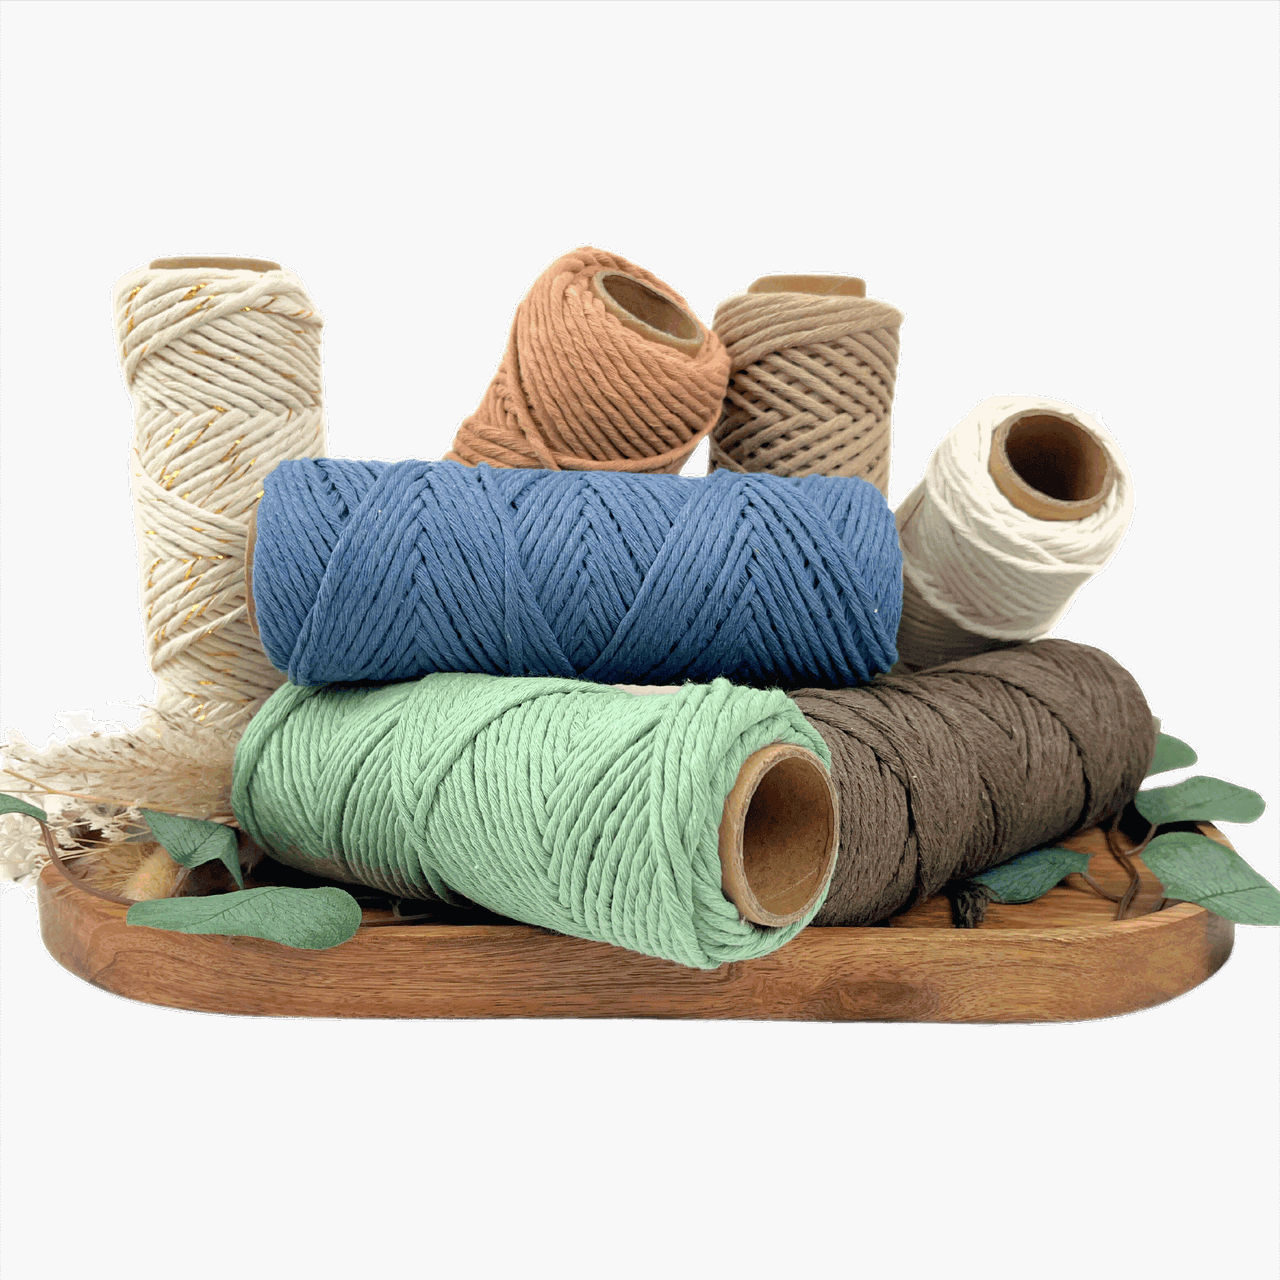
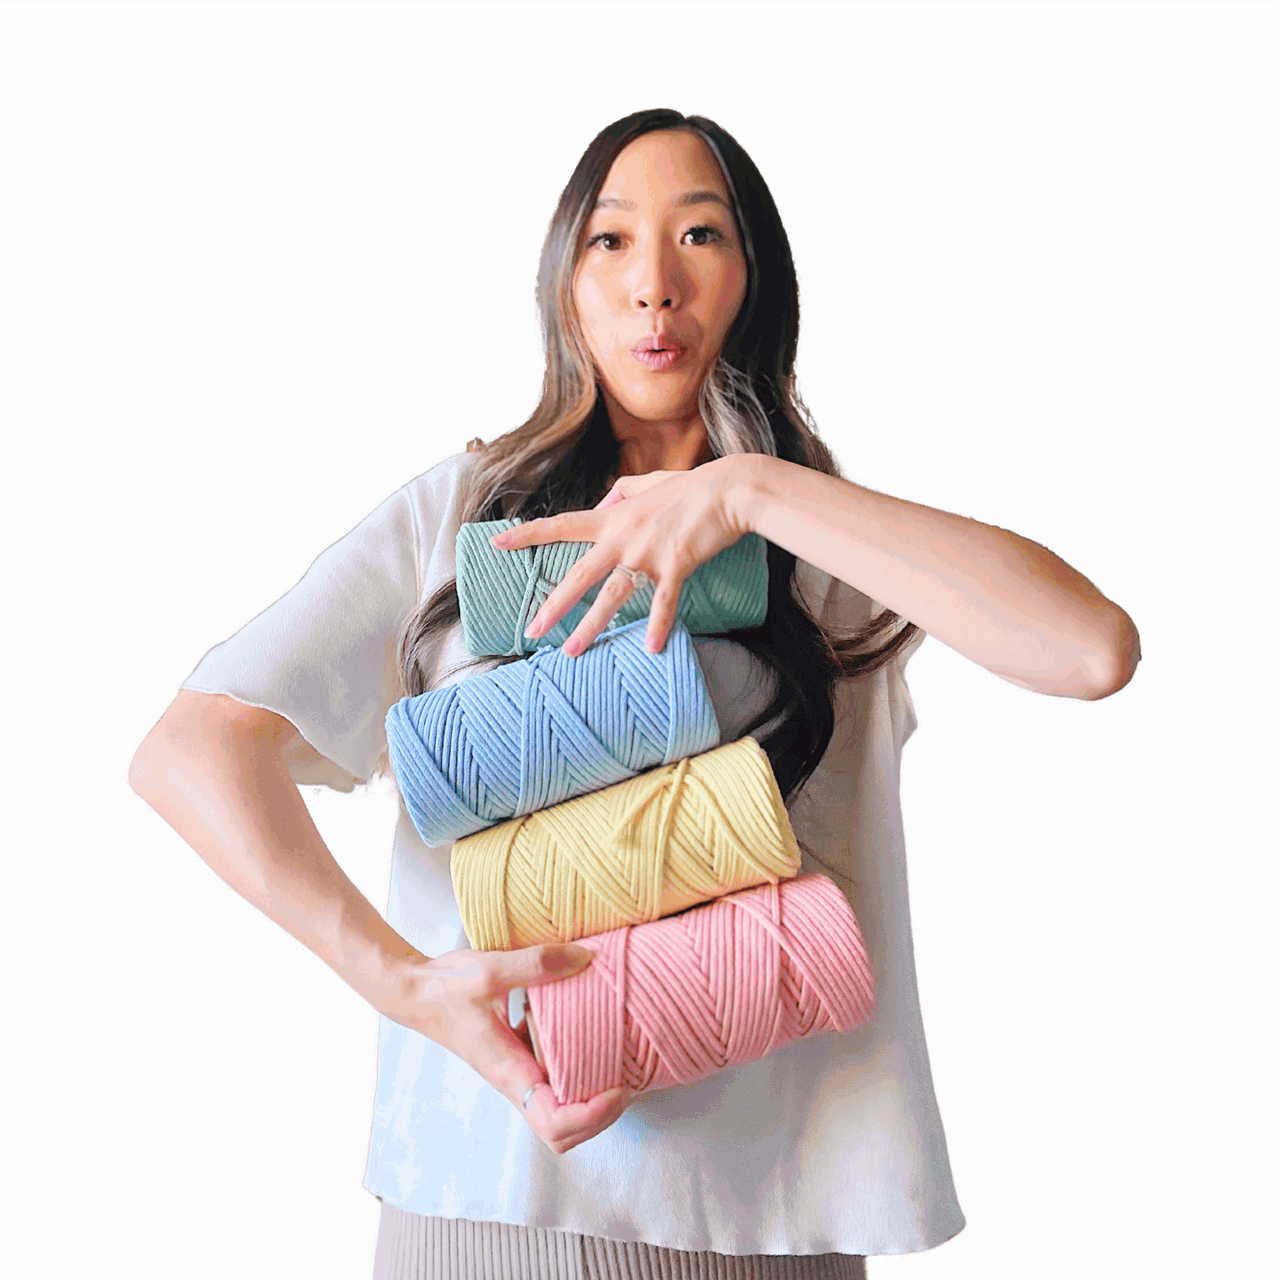
3 mm Hollow Braided Cord
Use green for the leaves and berry stems, plus a contrasting shade for the wrap and hanger. Select the appropriate size and your preferred available colors.
Shop Braided Cord →
Gold Beads for Three Berries
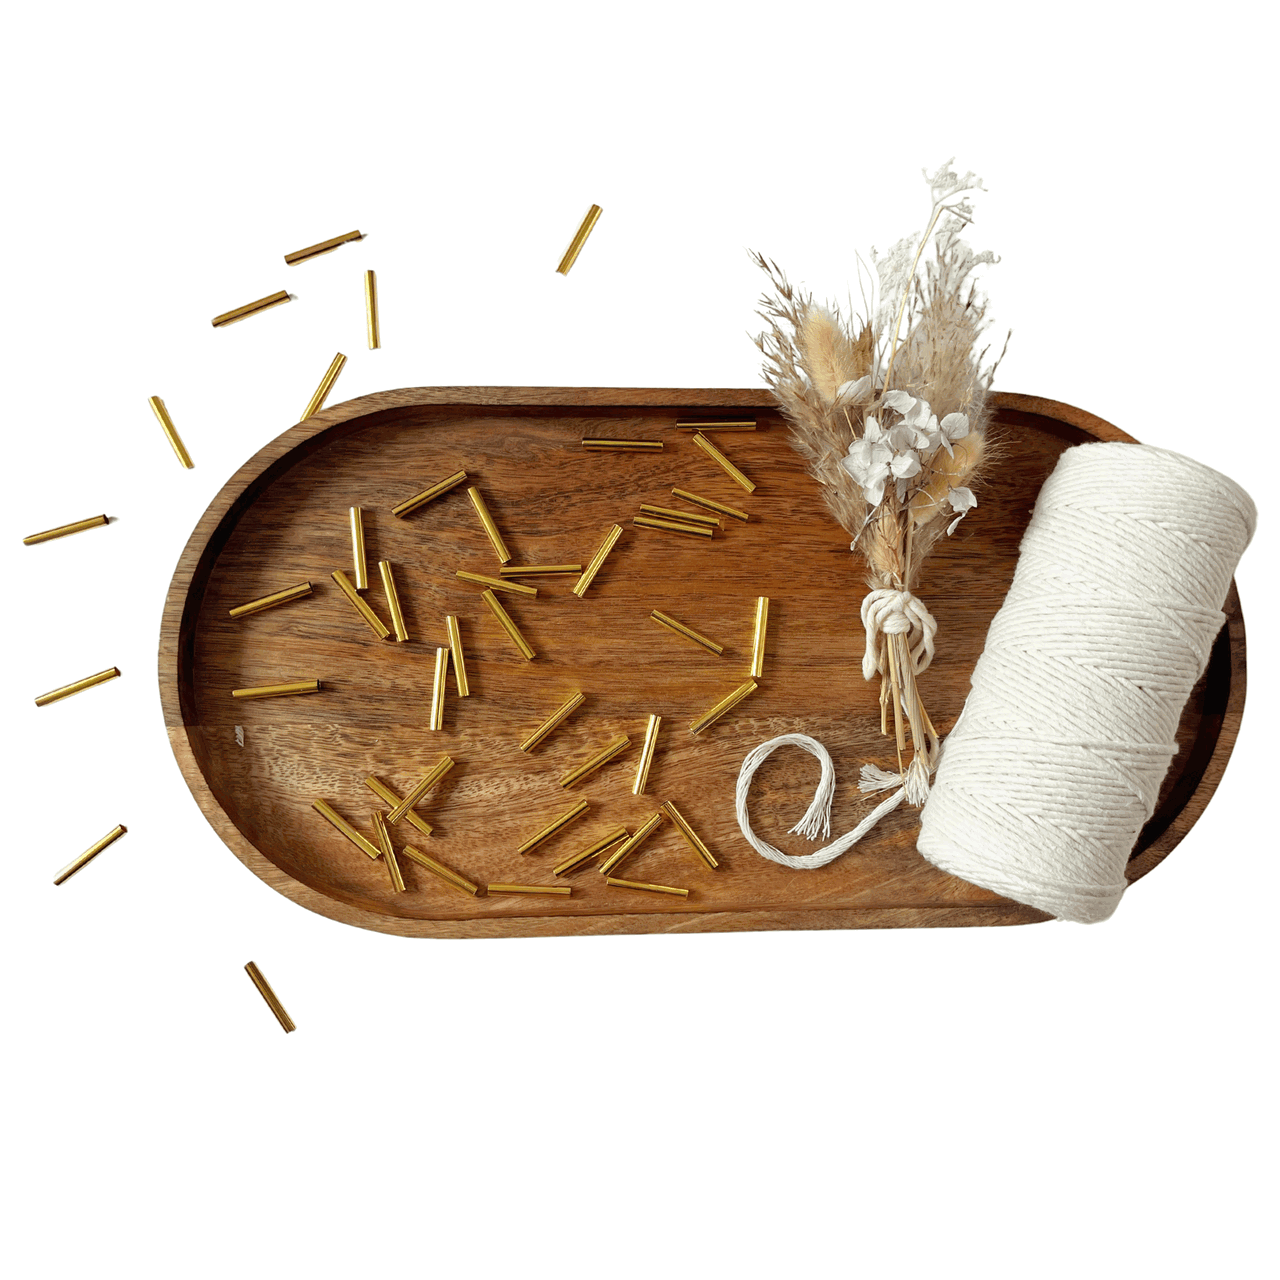
You need three 9 mm beads with 5 mm holes. Check the color option and test the hole with your chosen cord before starting.
Shop Metallic Beads →
Three Cinnamon Sticks
Cinnamon sticks add a warm, naturally spicy scent and form the ornament’s base. Arrange three together before wrapping, then place the leaves and berries over the bundle.
Find Cinnamon Sticks →Tools to Keep Beside You

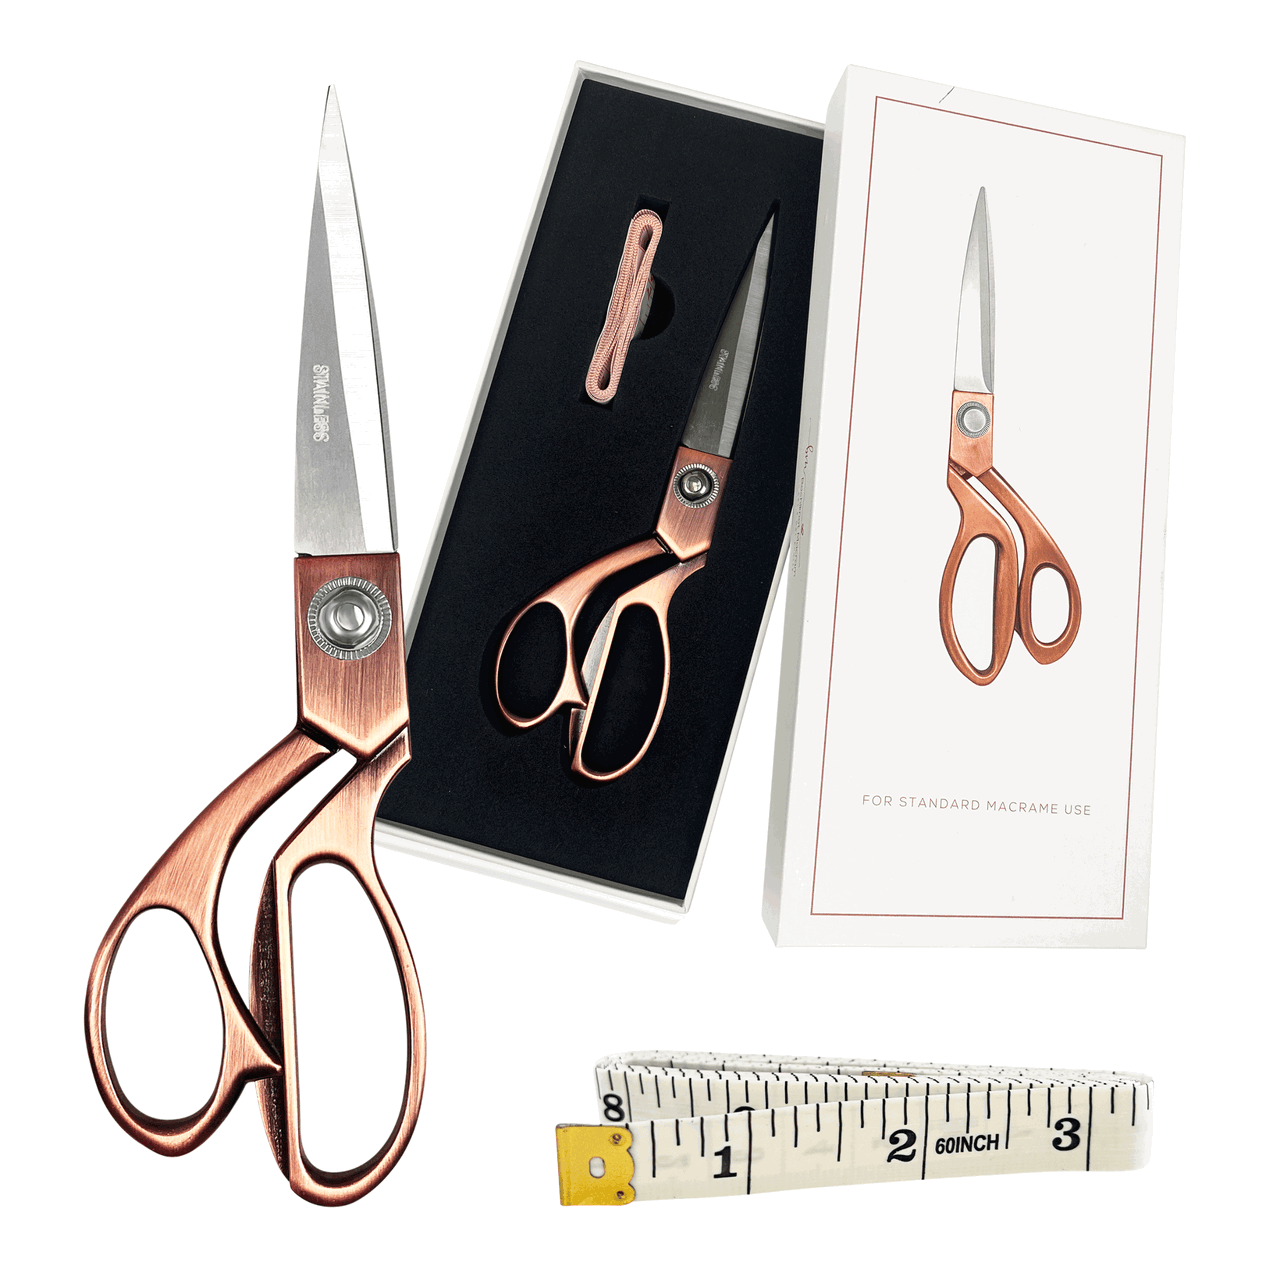
Precision Scissors
Small, controlled cuts help you trim the leaf ends and finish close to the wrap. Identify the strand before snipping.
Shop Detail Scissors →
Measuring Tape
Measure the 60 cm leaf cords accurately, then keep the shorter berry and finishing cords in separate groups.
Shop Measuring Tape →
Optional Macrame Board
Secure the anchor while you practice the curved rows. Nicole uses tape on her work surface; a board and pins offer another way to support the cords.
Shop The Macrame Board →Have removable tape nearby if you are working on a tabletop. For other craft essentials, browse the Bochiknot Amazon storefront.
Cutting List for One Two-Leaf Ornament
Measure in centimeters for consistency; inch measurements are rounded. Separate the cords by purpose before you start.
| Color | Quantity × length | Purpose |
|---|---|---|
| Army Green | 6 × 60 cm (about 24″ each) | Two leaves: three cords per leaf |
| Army Green | 3 × 15 cm (about 6″ each) | One cord through each bead berry |
| Natural & Gold | 1 × 40 cm (about 16″) | Gathering wrap around the bundle |
| Natural & Gold | 1 × 40 cm (about 16″) | Finishing wrap and hanging loop |
Allow 4.05 m of green and 0.80 m of contrasting cord, plus extra for practice and measuring errors. These lengths are for the two-leaf design. Thicker cord or a larger ornament will need a fresh test.
Understand the Knots Before You Combine Them
Most of the leaf is made with double half hitch knots. The challenge is choosing and redirecting the anchor—not learning a different knot for every row.

Double Half Hitch Knot
Practice two half hitches around the same anchor, then guide that anchor to change the row’s direction.
Review The Knot →
Gathering Knot
Use a wrapped finishing knot to hold the leaves, berries and cinnamon sticks together.
Review The Knot →Working cord or anchor cord?
The anchor sets the direction of the row. The working cord makes the two half hitches around it. These roles change as you turn the rows, so identify the anchor before each new section.
You will also use a double overhand knot to secure the back and the hanger: pass through the loop twice before tightening. The final hanging loop uses a regular overhand knot. Both finishing movements are shown at their step timestamps below.
Watch Nicole Make the Ornament
Watch the full tutorial, or use the button beside any step to jump to that movement. Clicking a step photo opens the same video chapter.
How to Make a Cinnamon-Stick Macrame Holly Ornament
Start with one leaf. Take your time at the turns, and leave the final trimming until the securing knots are in place.
1. Start the first leaf with two cords
- Lay one 60 cm Army Green cord horizontally as your anchor. Place a second 60 cm cord underneath it, running vertically.
- Tie a double half hitch (DHH) knot around the horizontal anchor. Position the vertical cord so its bottom end is about 1½ inches (4 cm) longer than its top end.

Identify the anchor before tightening: it stays in position while the working cord makes two half hitches around it.
2. Add the third 60 cm cord
- Use the third 60 cm green cord to tie another DHH knot at the middle of the horizontal anchor.
- Bring the right end of the horizontal cord across to match the left end, then slide the two DHH knots to the right, following Nicole’s orientation in the video.

Keep the three original cords distinct. You will redirect the strands as the leaf grows; there is no need to add another long cord to this leaf.
3. Knot onto the bottom horizontal cord
- Use the bottom horizontal cord as the anchor.
- Make two DHH knots toward the left, seating them beside one another without pulling the anchor out of position.

The anchor sets the line. Pull the working strand to snug each knot, rather than tugging every strand equally.
4. Bring both sides toward the middle
- Make two DHH knots toward the middle on one side.
- Repeat with two DHH knots on the other side so the two sides meet centrally.

Compare the two sides before moving on. Gentle adjustments now are easier than correcting a lopsided leaf after it is closed.
5. Join the two middle cords
- Take the two middle cords and make a diagonal DHH knot toward the left.
- Keep this center join compact so the next curved rows can sit neatly around it.

This is one complete DHH knot: two half hitches using the same working cord around the same anchor.
6. Build the first curved row on the right
- On the right side, choose the second cord from the right as the anchor and make a DHH knot toward the right.
- Turn that anchor toward the left and make two DHH knots onto it. Follow the anchor’s change of direction to form the curved edge.

Let the row curve as you guide the anchor. Forcing it into a straight line removes the shaping that makes this holly leaf distinctive.
7. Mirror the curve on the left
- Repeat the same curved-row pattern on the left, mirroring the right-hand side.
- Pause with the leaf facing you and compare the position of the two edges.

Mirror the movement rather than copying the same direction. The two sides should turn toward one another.
8. Work another row toward the center
- Make a diagonal DHH knot with the two middle cords.
- Bring the top cord down on each side to act as an anchor. Work a row of DHH knots toward the center on both sides.

Check which cord comes from the top before starting each row. Using a different anchor changes the cord path and the leaf outline.
9. Shape the second curved row
- Make another diagonal DHH knot in the middle.
- Begin the next curved row on the right: make a DHH knot toward the right, then redirect the anchor and work a DHH knot toward the left.

Use the timestamp to follow the turn closely. Keep the new row snug against the previous row without crushing its curve.
10. Close the lower edges of the leaf
- For the last DHH knot on this side, include the previous working cord together with the anchor cord. Knot around the combined anchor as demonstrated.
- Repeat the same pattern on the left, mirroring the right side.

The added strand should sit inside the final knot. Before trimming in the next step, compare your cord arrangement with the video.
11. Trim the added strands and finish the center
- Snip the newly included anchor strand on each side, identifying it carefully before cutting.
- With the two remaining center cords, make a diagonal DHH knot in the middle.

Do not trim all the hanging tails. Some strands are still needed to secure the leaf and assemble the ornament.
12. Secure the back of the leaf
- Bring the top cord from each side to the back of the leaf.
- Tie them together with a tight double overhand knot. Make the extra pass through the loop before tightening, then settle the knot at the back.

Keep the front facing cleanly outward and the securing knot on the reverse. Use the video to confirm the two strands before tightening.
13. Make a matching second leaf
- Use the remaining three 60 cm green cords to repeat steps 1–12.
- Place the two leaves together and compare their size and shaping before assembling them.

Aim for similar tension, not a mathematically identical leaf. Small handmade differences are fine; a large size difference is a sign to check the knot sequence.
14. Thread the three golden berries
- Thread one 9 mm bead onto each of the three 15 cm green cords.
- Fold each cord in half so the bead sits at the fold, leaving a pair of tails beneath it.

Test a bead with your chosen cord before cutting the full project. The tutorial specifies a 5 mm bead hole.
15. Gather the leaves and berries onto the sticks
- Arrange the three beaded strands on top of the two leaves. Place the bunch over the three cinnamon sticks, keeping the leaf tips and berries visible.
- Use one 40 cm Natural & Gold cord to tie a gathering knot around the middle. Lay a finishing loop along the bundle, wrap over it, feed the working end through the loop, then draw the loop underneath the wraps.

Check the arrangement from the front before fully tightening. The wrap should hold the leaves, beaded strands and cinnamon sticks as one bundle.
16. Tighten the bundle and trim the excess
- Gently tighten the gathered cords underneath the wrap. Check that the leaves and berries stay where you placed them.
- Trim the excess ends once the bundle is secure. Work in small cuts so you can keep checking the front.

If the bundle shifts, adjust and tighten it before cutting. Trimming first removes the tails you need for those adjustments.
17. Add the hanging loop
- Take the second 40 cm Natural & Gold cord and wrap it around the beads, then bring it up behind the leaves.
- Secure it with a double overhand knot. Tie an overhand knot near the ends to create the hanging loop.

Hold the ornament up by the loop and check its balance. Adjust the leaves gently before the final trim.
18. Give the ornament its final trim
- Trim any remaining excess cord without cutting into the securing knots.
- Check the front, back and hanging loop. Your two-leaf cinnamon-stick holly ornament is ready to hang or tie onto a gift.

The sticks and decorations should stay secure when lifted by the loop. Keep the finished ornament away from candles and open flames.
Three Ways to Use Your Finished Ornament
Hang it on the tree
Use the loop to hang it where the leaf texture and gold berries catch the light. Keep it clear of heat sources.
Finish a wrapped gift
Tie the loop into a ribbon on a gift. The decoration becomes a small keepsake the recipient can hang afterward.
Explore a single leaf
The outro shows a one-leaf arrangement as an idea for your next ornament. It is a variation to experiment with, rather than a second fully demonstrated pattern.
Share your version and tag @bochiknot on Instagram. A different green, bead finish or leaf angle can give the same pattern a new personality.

Questions About the Holly Ornament?
Is this a free macrame Christmas ornament pattern?
Yes. The cutting list, written instructions, 18 step photos and full YouTube tutorial are free to follow here. You supply the cord, cinnamon sticks, beads and tools.
Can a beginner make the holly leaves?
A beginner who has practiced double half hitch knots can follow along slowly. The curved rows and changing anchors make this more involved than a straight-row starter project. Make one practice leaf before preparing several ornaments.
How much cord do I need?
The listed cuts total 4.85 m: 4.05 m in green and 0.80 m in the contrasting color. Keep additional cord for practice. Each leaf uses three 60 cm cords.
Can I use 2 mm cord instead of hollow braided cord?
Yes—the tutorial lists 2 mm macrame cord as an alternative to 3 mm hollow braided cord. The surface texture, firmness and finished dimensions can change, so test one leaf before making a batch. Do not assume thicker cord will work with the same cut lengths.
Why does one leaf look larger than the other?
First compare the knot sequence and anchor choices, then check your tension. Repeat the same sequence on both leaves and use a similar snugness throughout. Avoid pulling the second leaf tighter just because you are more familiar with the steps.
Why are my curved rows coming out straight?
Check that you are redirecting the anchor cord at the turn instead of continuing along a straight anchor. Pause steps 6–10 and follow the cord path. For more help, visit our double half hitch troubleshooting guide.
Do I need glue to assemble the ornament?
The demonstrated assembly uses knots: the leaves are secured at the back, the bundle is held with a gathering knot and the hanger is knotted. Check that the bundle is secure before trimming the tails.
Does the tutorial teach both ornaments in the featured photo?
The step-by-step tutorial teaches the two-leaf version. The single-leaf version appears as a design variation at the end; its full assembly is not taught separately.
What size beads should I use?
Use three beads measuring 9 mm with a 5 mm hole, as listed in the tutorial. Check the hole with your actual cord before beginning, especially if you substitute a different cord construction.
Build a Little Collection of Christmas Makes
Enjoyed shaping these leaves? Try a project that builds on the same attention to cord direction, or choose a different ornament for your next gift.

Mini 3D Macrame Christmas Tree Ornament: Free Leaf Pattern
Follow Nicole’s tutorial and add another handmade shape to your Christmas collection.
Make This Next →
Macrame Christmas Tree Ornament: Free Metallic Cord Pattern
Follow Nicole’s tutorial and add another handmade shape to your Christmas collection.
Make This Next →
Mini Macrame Wreath Ornament: Free 3D Leaf Pattern
Follow Nicole’s tutorial and add another handmade shape to your Christmas collection.
Make This Next →Explore more free Christmas macrame tutorials, or follow our Macrame Journey for your next learning step.
KEEP A KNOT REFERENCE NEARBY
A Little Help Between Tutorial Pauses
Revisit a knot before repeating it across your project. Our free 50 Macrame Knots & Sennits guide gives you a reference to return to as you learn.
Get The Free Knot Guide →A LITTLE SUPPORT FOR YOUR NEXT PROJECT
Keep Learning With The Bochiknot Patreon Community
If you would like a regular reason to pick up your cord, explore the Bochiknot community on Patreon. Choose the level of guidance that fits the projects you want to make.

TIER 1
Mini-Macrame Creations
Explore smaller projects with patterns and video guidance.

TIER 2
Mastering Macrame Skills
Build your technique through guided projects, lessons, and creative challenges.

TIER 3
Macrame Masterpiece
Explore a learning and materials-kit option. Compare the kit schedule and shipping details on Patreon.
Tier 3 also has Macrame Masterpiece Lite (S2) and Macrame Masterpiece Bundle (S1) options. See Patreon for the current inclusions, availability, and pricing.

NICOLE WOO · BOCHIKNOT
One small leaf is a lovely way to practice guiding your cord with intention. Make the first one slowly, enjoy the rhythm of the second, and let the finished pair become something you can hang or give. I’d love to see the colors you choose.

A Little Inspiration Between Projects
Follow Bochiknot for tutorials, new ideas, and more ways to keep knotting.
Pattern and instruction: Nicole Woo, Bochiknot. Step photographs are captured from the original video tutorial. Finished dimensions are approximate.

Leave a comment