How to Make a Macrame Keychain Wristlet

DIY Macrame Keychain Wristlet: Easy, Stylish, and Perfect for Beginners
Have you ever found yourself rummaging around, trying to fish out your keys just when you need them most?
Or wished you could keep your keys close without having to juggle them along with everything else?
Enter the macrame keychain wristlet!
This little project is not only practical but adds a fun, boho-chic touch to your everyday essentials.
Imagine grabbing your keys with ease—and doing it in style.
I’ll walk you through each step, from picking out the best cord to tying those knots like a pro.
Ready to create something that’s both beautiful and functional?
Let’s get started!
Macrame Knots You Need for a Keychain Wristlet
To make this keychain wristlet, you’ll need to know three key macrame knots:
- Lark's Head Knot – Used to secure your cords to a base, providing a stable start for your design.
- Double Half Hitch Knot – Essential for creating structured patterns, adding style to your project.
- Gathering Knot – A finishing knot that wraps and secures all cords, giving your design a polished end.
These basic knots are widely used across macrame projects.
Take a moment to practice each, as mastering them here will open up a world of macrame possibilities!
Interested in More Macrame Knots?
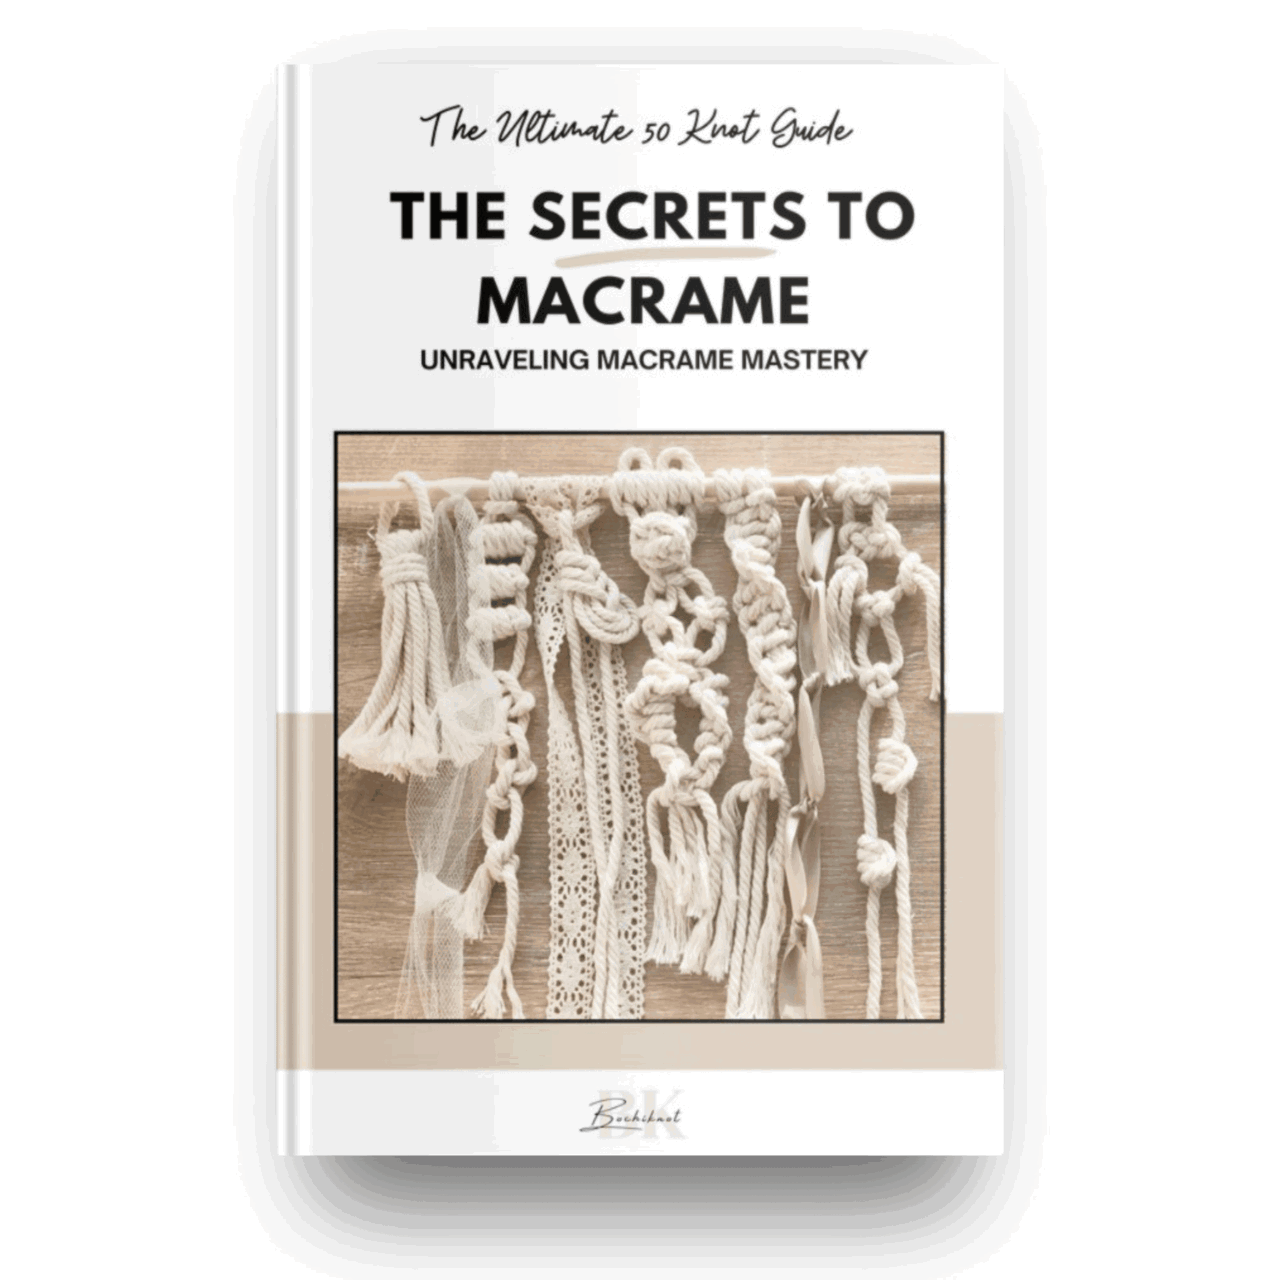
If you want to add more knots to your macrame designs, check out my free resource, "50 Macrame Knots & Sennit Guide."
It's packed with easy, step-by-step instructions to help you improve your skills and try new creative projects.
Access it here.
Important Macrame Terms for Beginners
Before we begin, we should review a few important terms used in macrame.
This will help you understand the techniques more easily, follow patterns confidently, and set a strong foundation for your macrame journey.
- Knots: Macrame involves various knots, like the overhand knot and alternating overhand knot. Learning these basic knots is key to building a solid foundation. Check the "Macrame Knots You Need to Know" section for the knots used in this pattern.
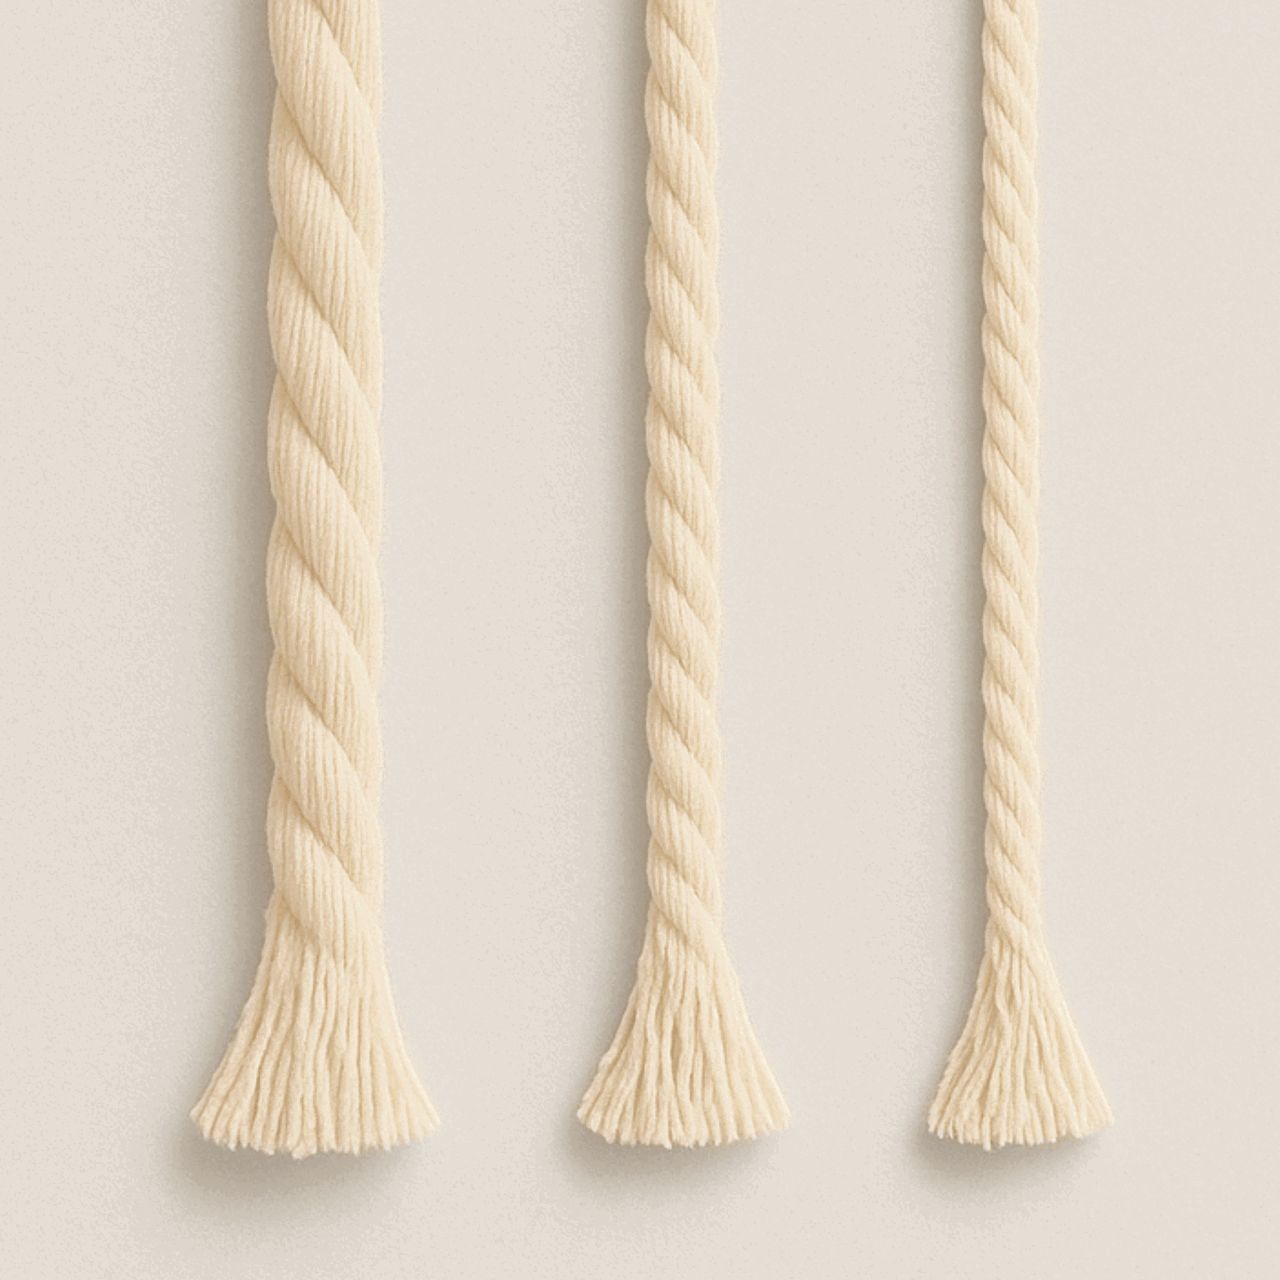
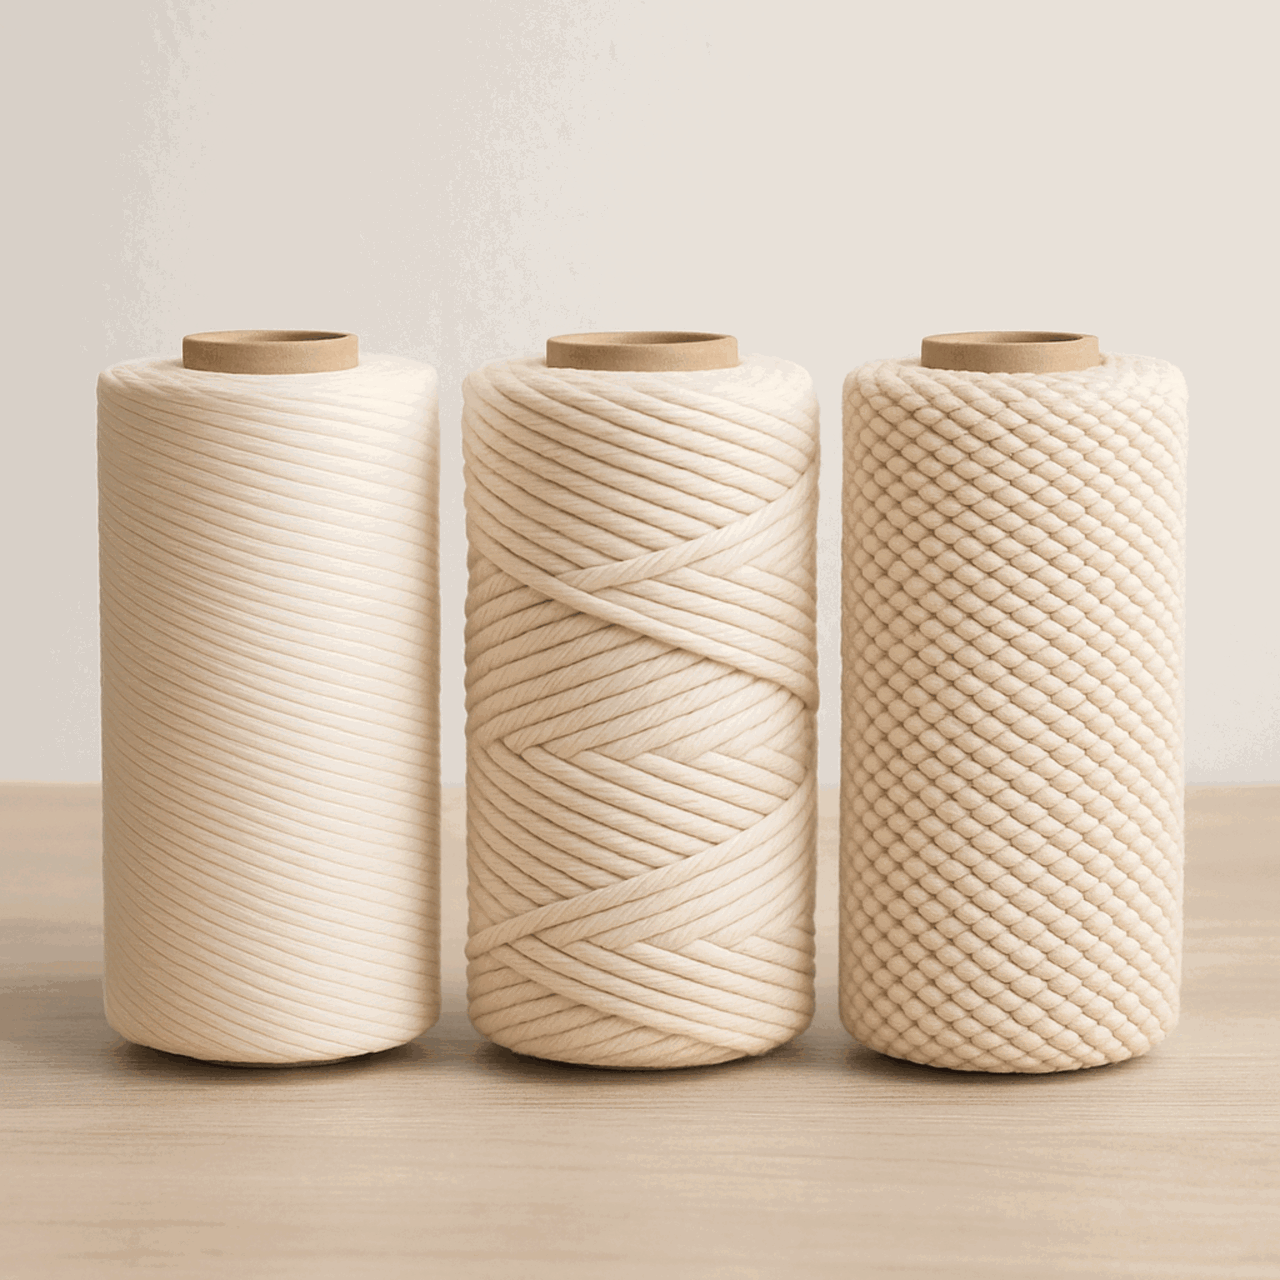
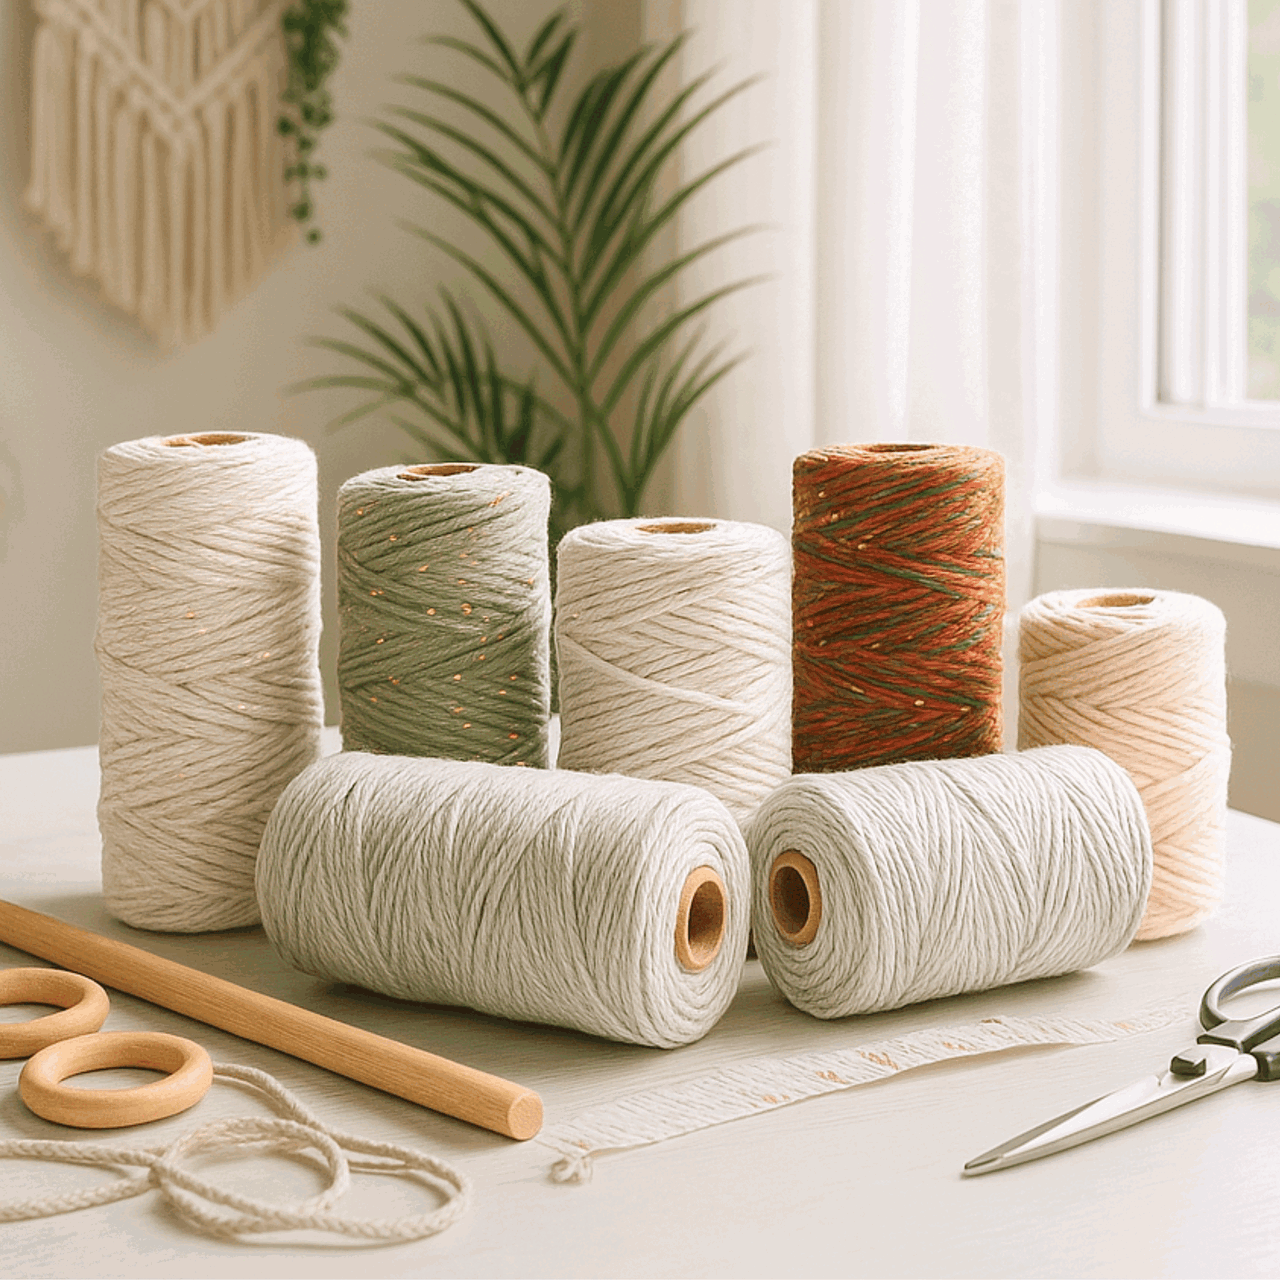
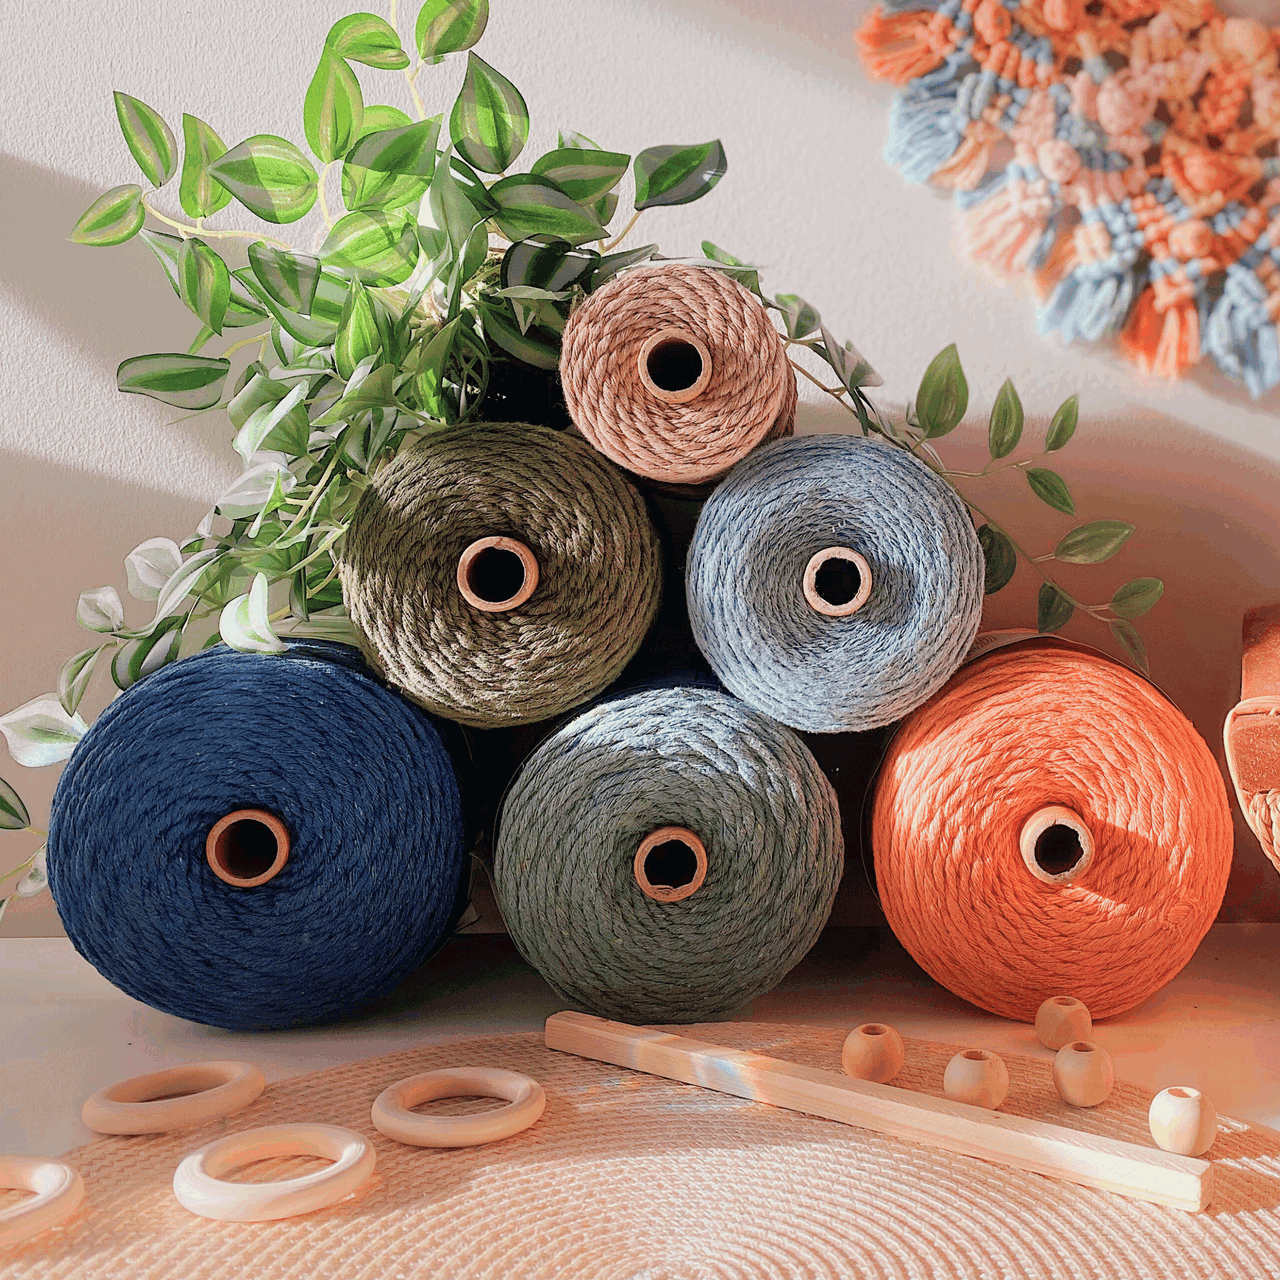
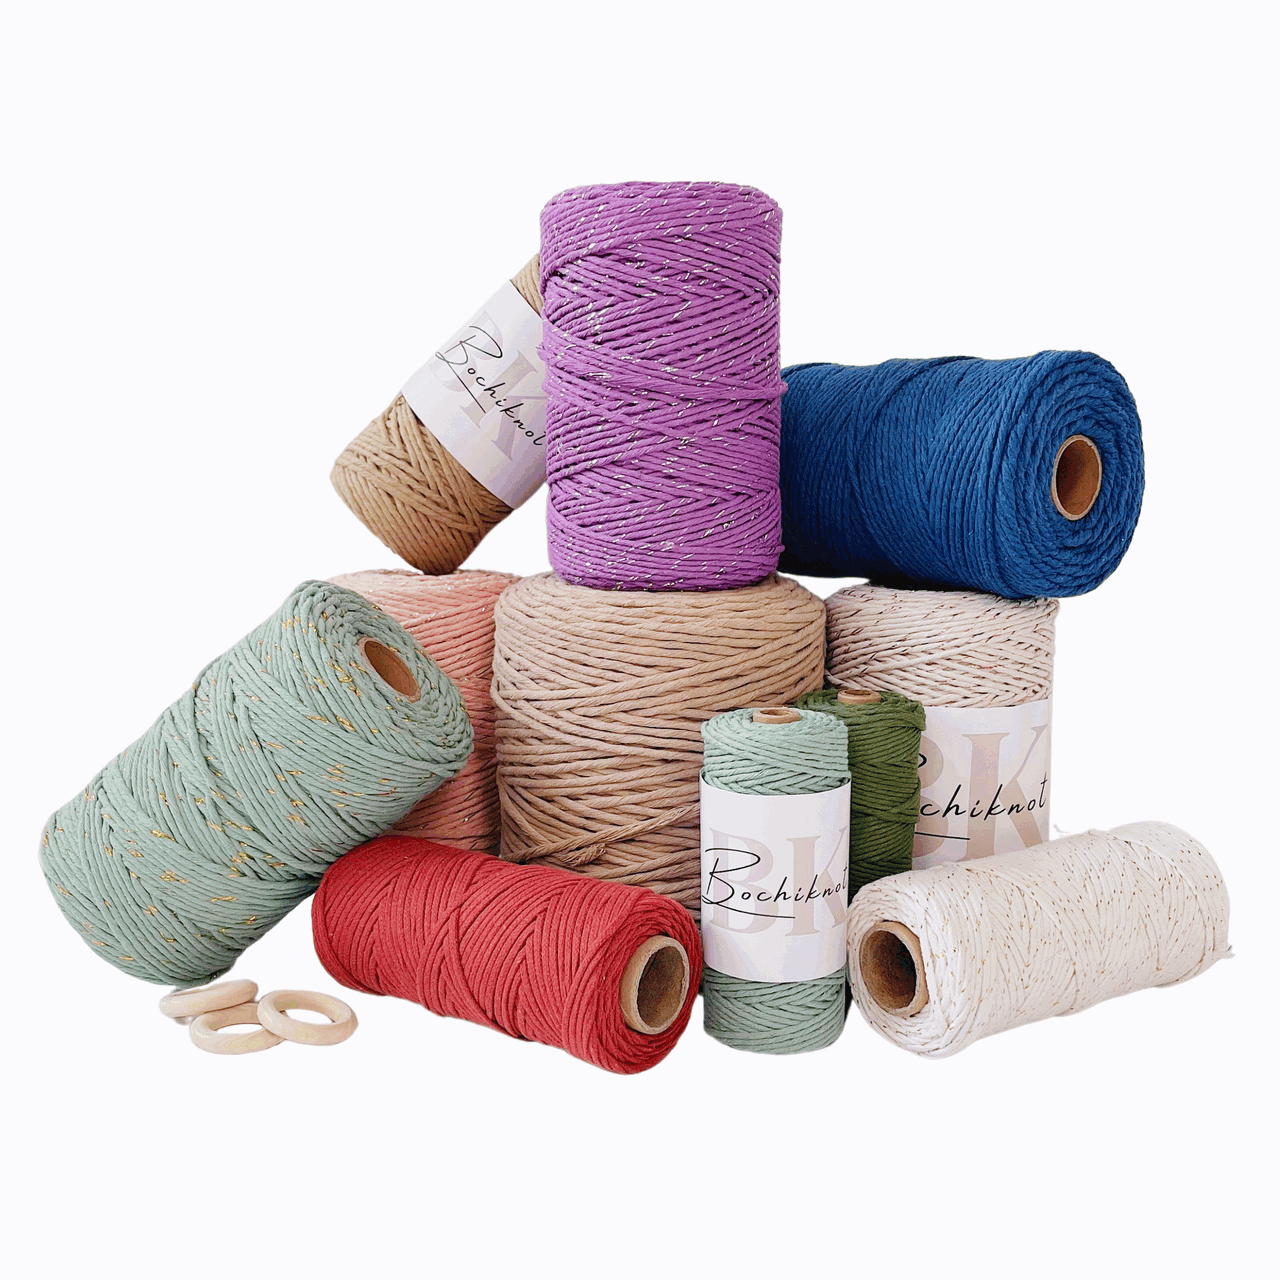
- Cords: The primary material in macrame is cords made from cotton, jute, nylon, or synthetic fibers. They come in different thicknesses and colors. You can learn more about macrame cords with our "Macrame ESSENTIALS: Everything You Need—Cord, Tools, & Materials" post.
- Loop: A loop is formed by crossing the cord over itself to create a ring-like shape. Loops are essential in many macrame designs.
- Fringe: The loose ends of cords that hang down, adding a decorative element. The fringe can be left as is or trimmed to your desired length. Want to learn more about fringe? Here's "My Top 5 Secrets for Creating PERFECTLY Styled Fringe" post you might find helpful.
- Anchor Cord: The fixed cord or structure to which other cords are attached. It provides stability and support for your design.
- Working Cord: The cord that is actively manipulated to create knots and patterns throughout the project.
- Sennit: A series of knots grouped together to form a pattern or part of your macrame project.
- Frays and Tassels: The loose ends of your cords are often used intentionally as decorative elements like frays or tassels in your design.
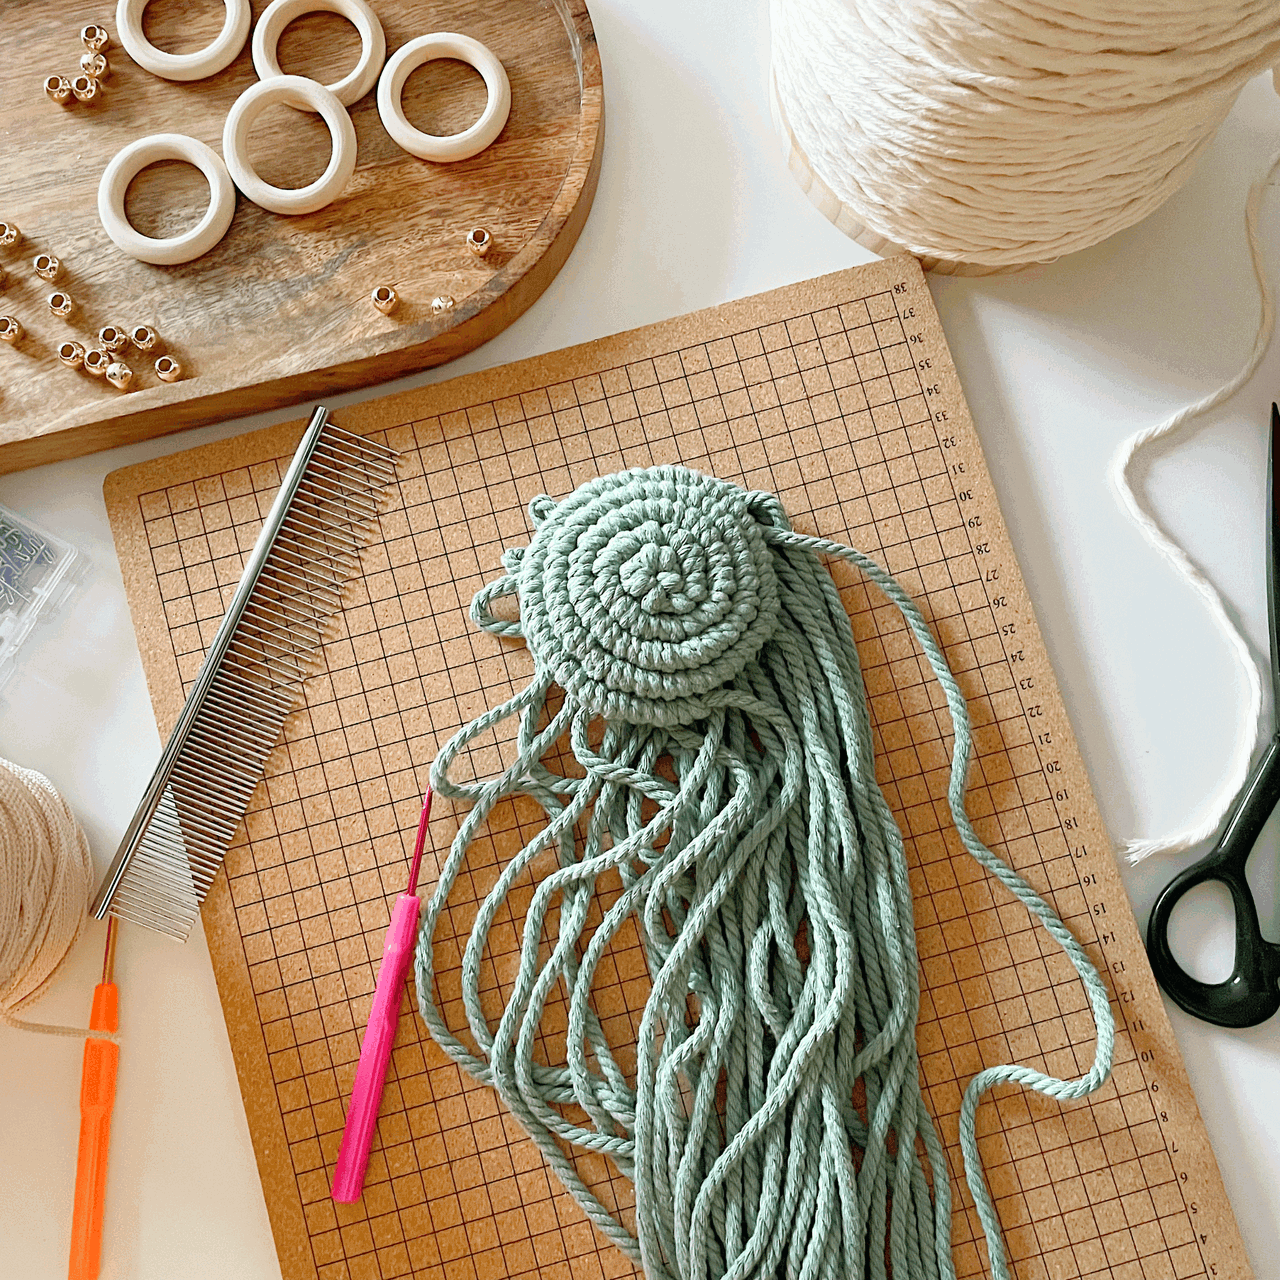
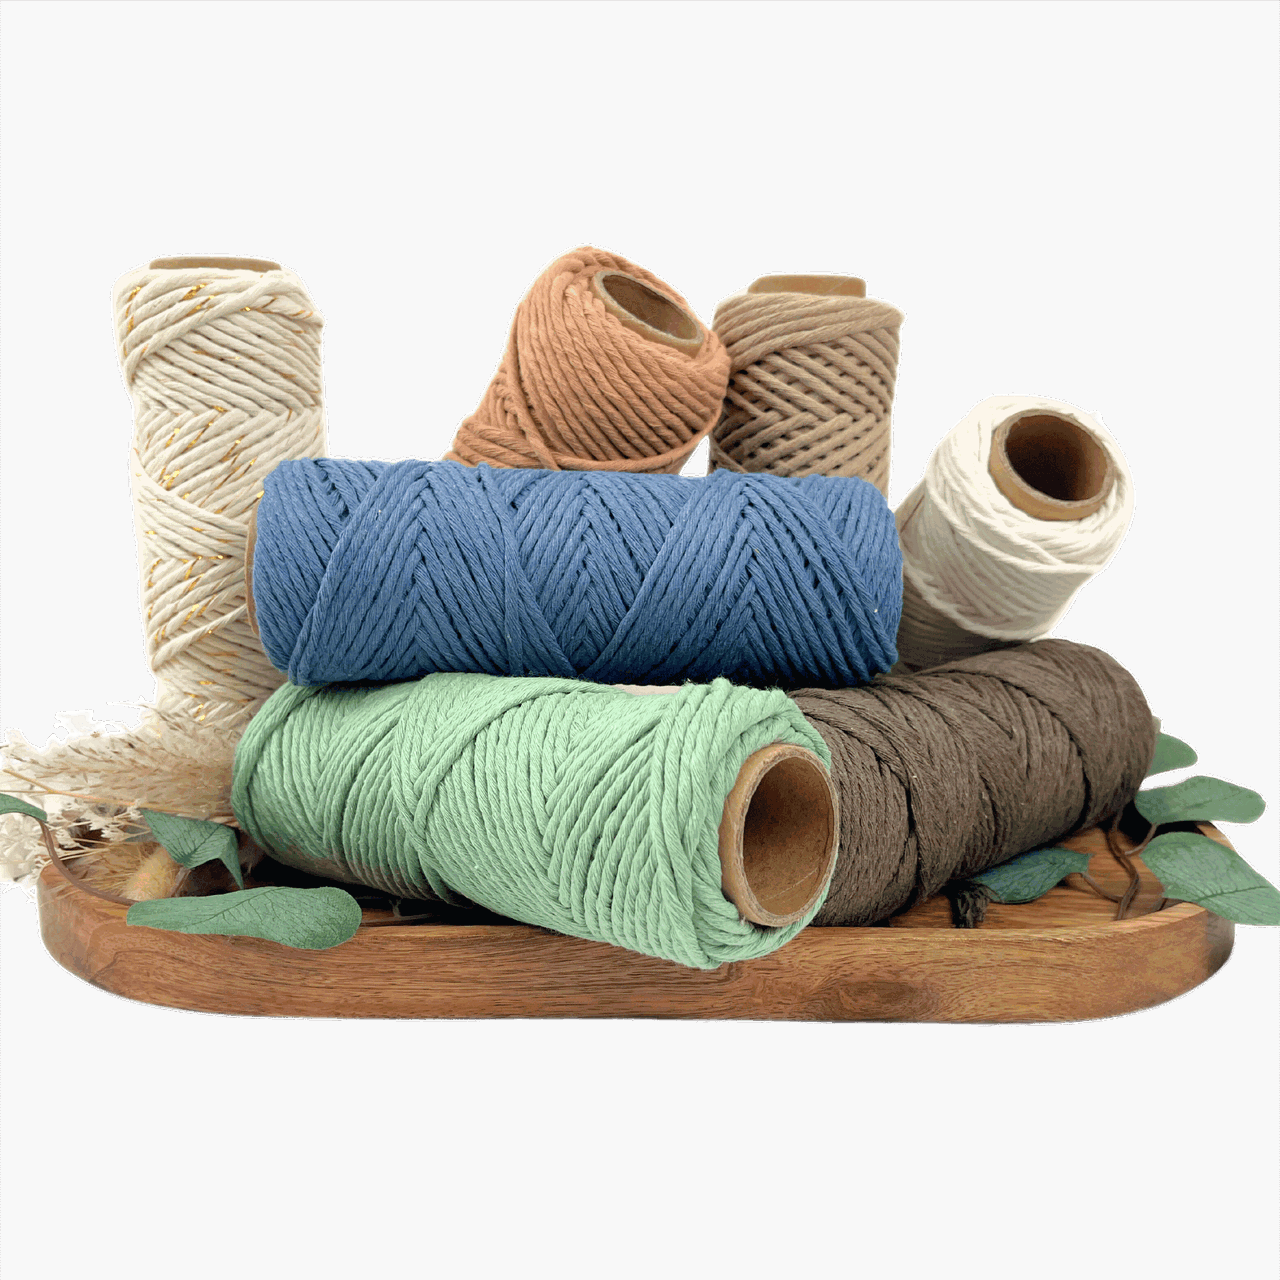
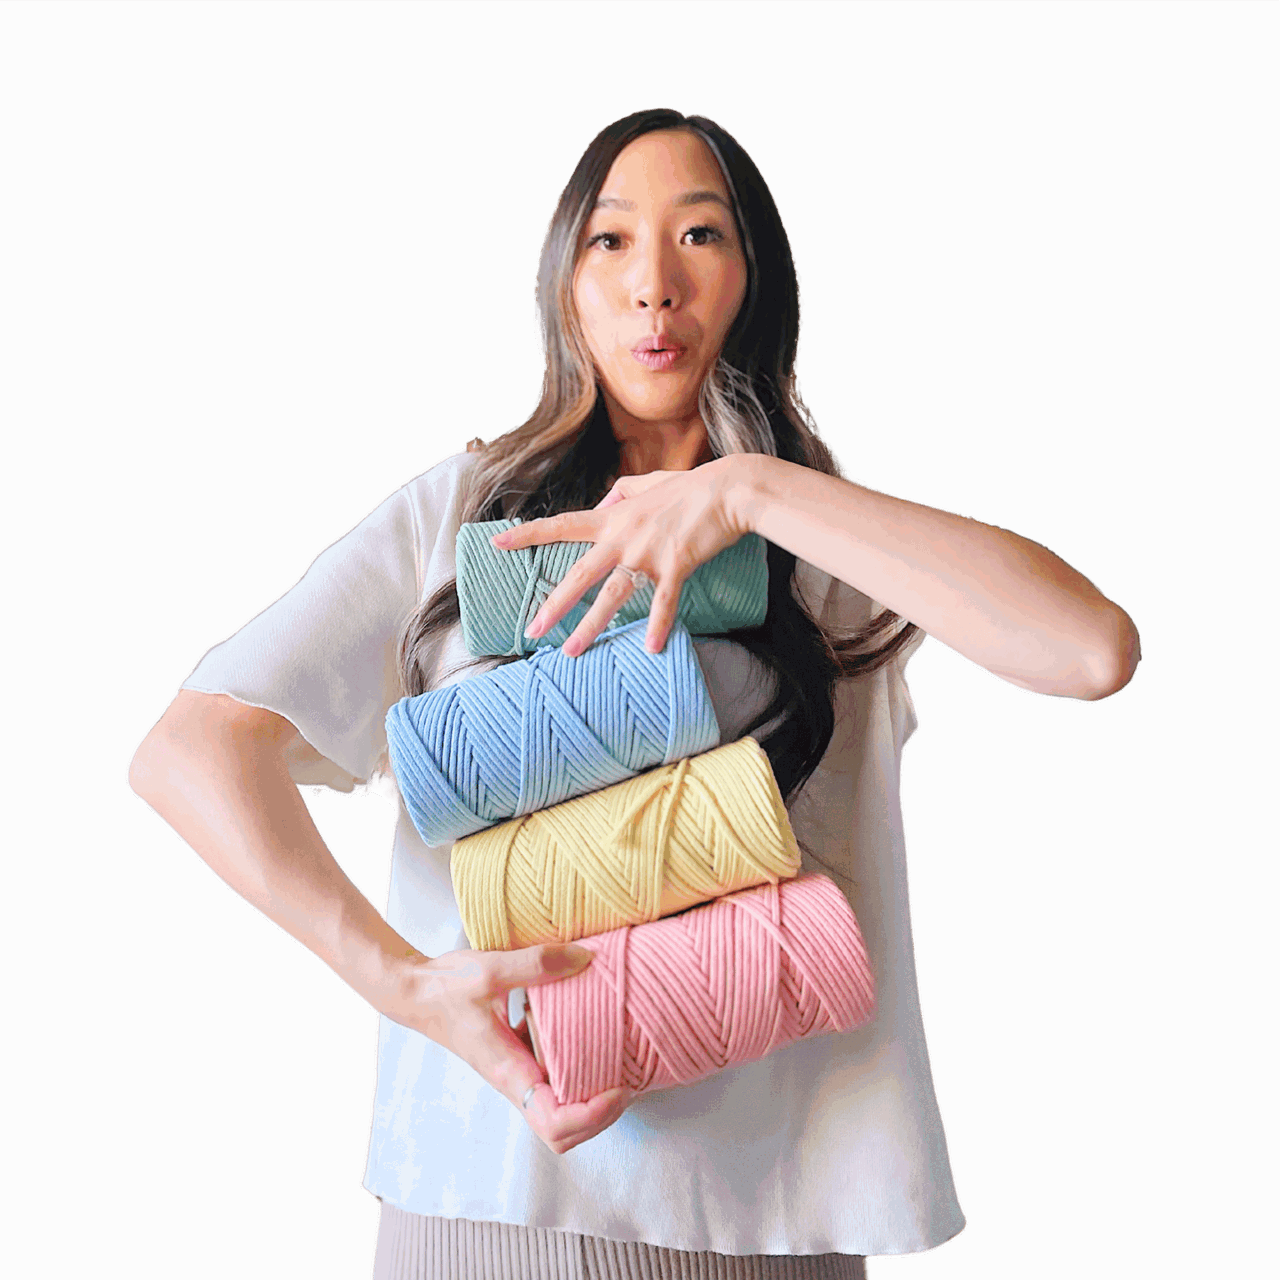
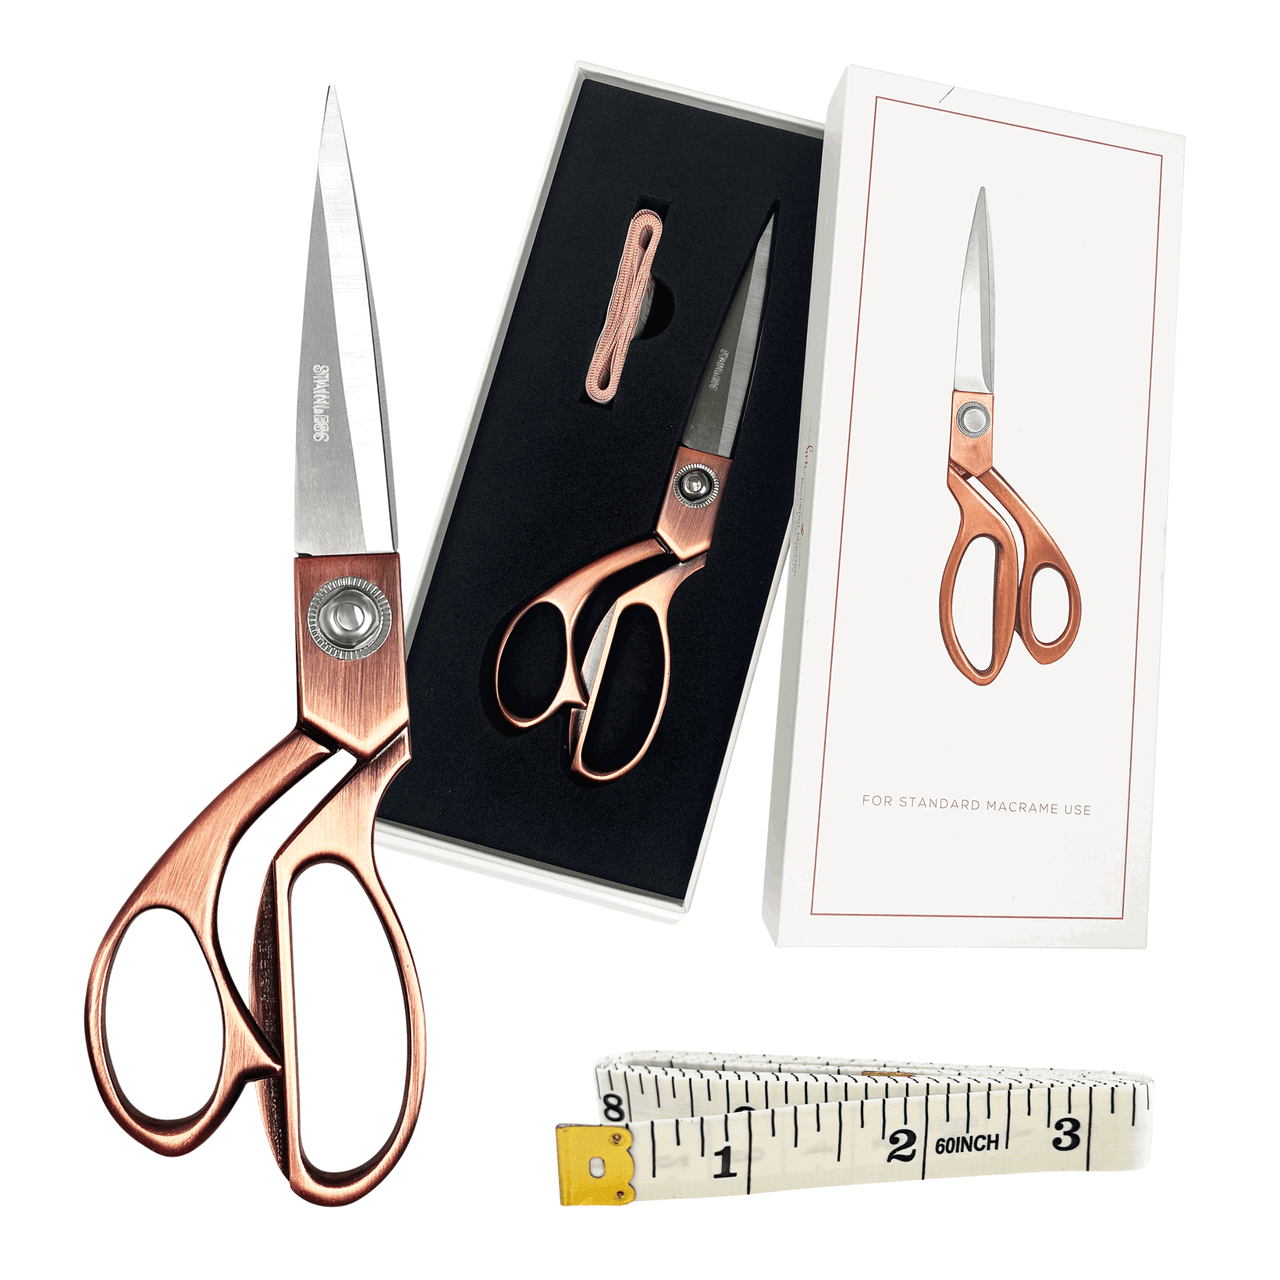
Macrame Keychain Wristlet Cords and Materials
*Note: We recommend following the tutorial video for more detailed instructions and to achieve the best results.
This will provide additional guidance and clarity as you work through each step.
Step 1:
- Take both 450 cm cords, fold them in half, and attach each to the bottom of the keyring with a Lark's Head knot.

Step 2:
- Secure the keyring to your workstation with tape.
- About an inch to an inch and a half down, make a row of diagonal Double Half Hitch (DHH) knots to the right, using the far-left cord as the anchor.

Step 3:
- Now, use the second cord from the right as an anchor and make 2 DHH knots to the left.
- Finish with one DHH knot to the right.


Step 4:
-
Create one DHH knot to the left, then add 2 DHH knots to the right.


Step 5:
-
Attach each vertical cord onto the far-right anchor cord using DHH knots.

Step 6:
-
Make a Heart pattern to the right side.


Step 7:
-
Repeat this Heart pattern 11 more times, alternating sides.

Step 8:
- Fold the bottom of the pattern upwards, then cut a 60 cm cord to use next.

Step 9:
-
With the 60 cm cord, make a Gathering knot around the folded section at the top.


Step 10:
-
Trim any excess cords to finish and neaten the design.

And there you have it—a gorgeous, handmade macrame keychain wristlet, crafted with your own two hands!
Not only is it practical, but it also brings a bit of that handmade magic into your everyday routine.
As you carry your keys, you’re also carrying a little piece of art, a small reminder of the creative time you invested just for you.
This project is just the beginning of what you can do with a few simple knots and a bit of imagination!
If you enjoyed making this wristlet, why not try some other fun macrame projects?
There’s a whole world of designs to explore, each one a little different, and each one a chance to bring your unique style to life.
Here’s to more knots, more creativity, and the joy of making something beautiful!
Frequently Asked Questions
How to Use This Heart-Wave Pattern in Other Macrame Projects
Now that you've mastered this heart-wave pattern, you might be wondering how to use it in other macrame designs.
Check out the tutorials below, where I’ve applied this pattern in different projects.
Feel free to get creative and add this heart-wave pattern to any type of macrame project—wall hangings, plant hangers, or even keychains!
Where to Find More Knot Patterns for Your Macrame Projects
You can find a wide variety of macrame knot patterns and tutorials on our website, Etsy, and within our macrame community.
For free tutorials, check us out on Pinterest, YouTube, Instagram, and Facebook. I share lots of patterns and ideas to inspire and elevate your macrame creations!
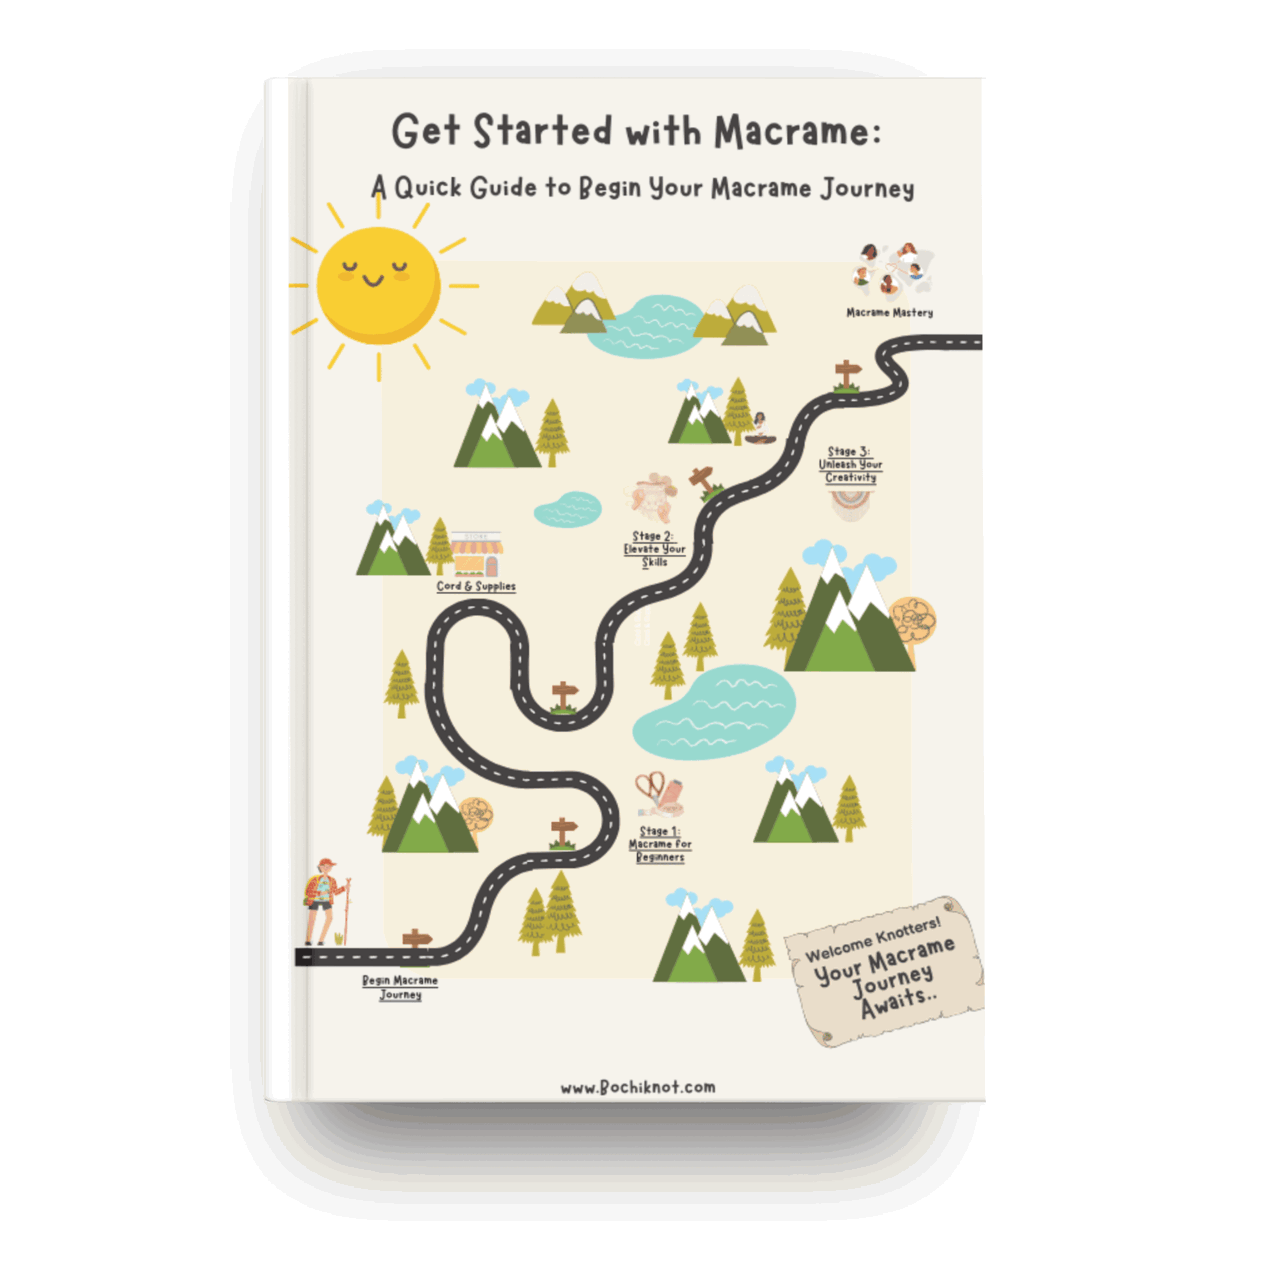
How to Get Started for Macrame Beginners
I have an excellent post to help anyone looking to start with Macrame. In the post, I go over the following:
- START HERE: The Complete Beginner’s Guide to Macrame
- Macrame's GOLDEN Ratio: How to PRECISELY Measure Cord for Projects
-
Top 5 (MUST-KNOW) Tips for Macrame Beginners
- Tips, Tricks, and Knot-Tying Techniques
- Macrame ESSENTIALS: Everything You Need—Cord, Tools, & Materials
To learn more about Macrame and how to get started, read our post: Macrame Journey

Looking for Macrame Patterns and Projects?
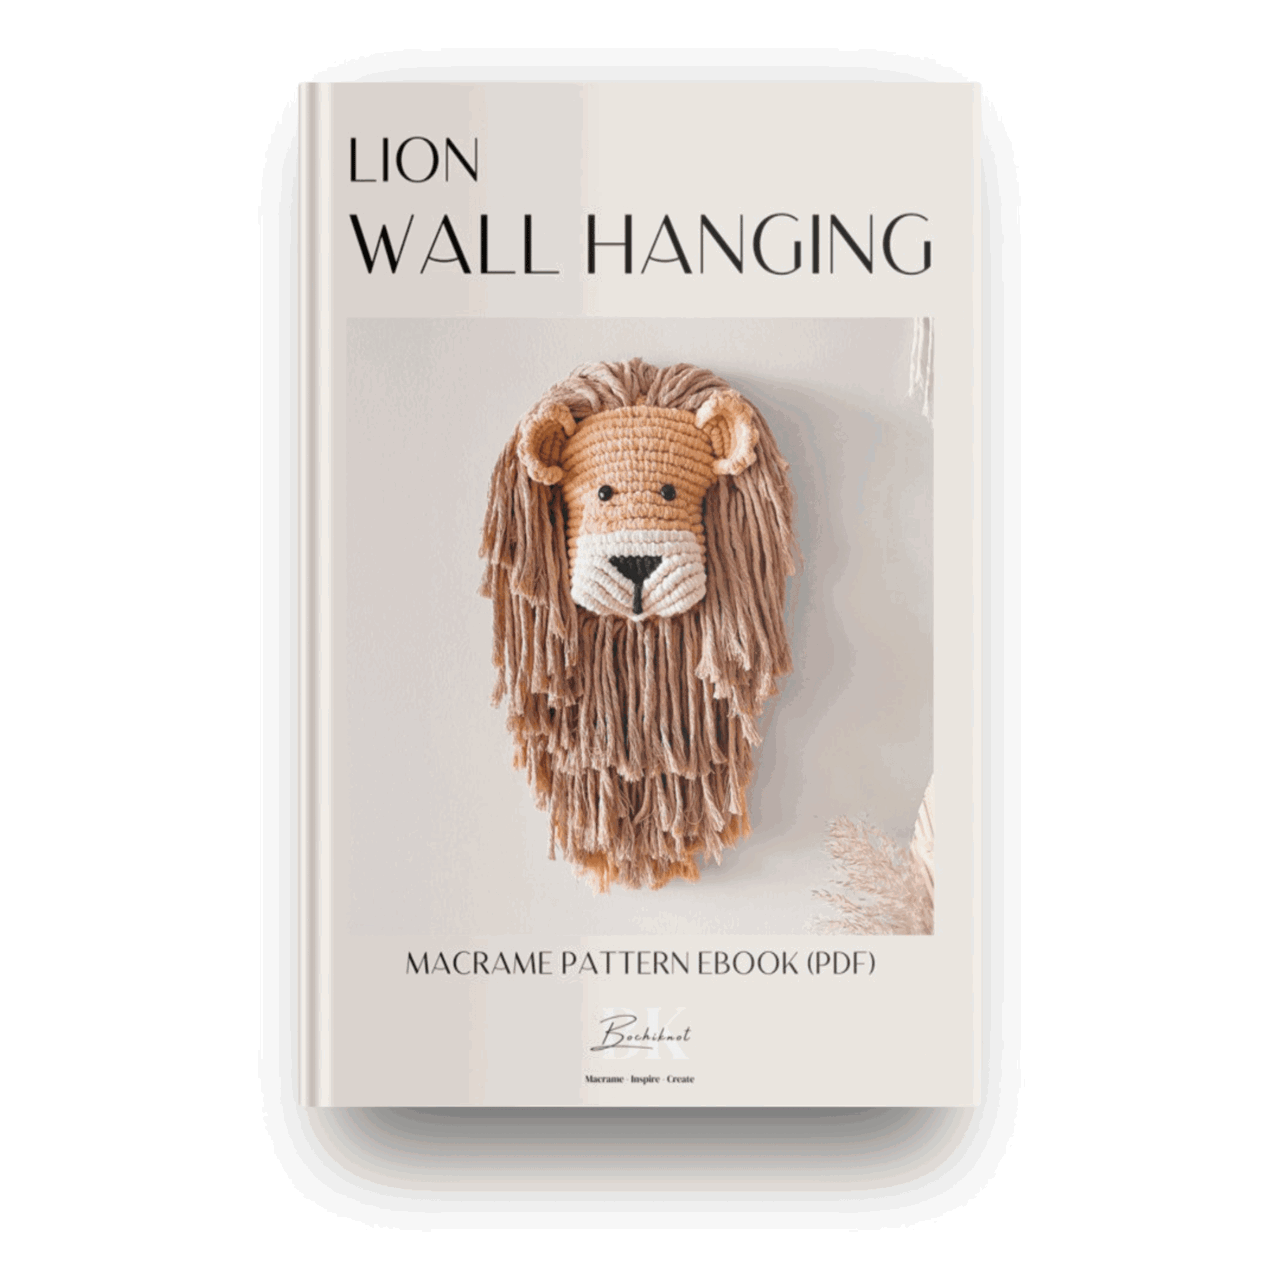
I’ve got a fun variety of DIY macrame patterns for you to explore—whether you’re into creating unique wall hangings to spruce up your home or timeless plant hangers, there’s something for every skill level.
Each pattern is super easy to follow with step-by-step photos, clear instructions, and plenty of tips to help you along the way.
Ready to start creating?
Browse DIY macrame patterns on Etsy and dive into your next project.

Join the Bochiknot Macrame Community: Your Gateway to Exclusive Tutorials & Inspiration
Discover the art of macrame like never before! Join our exclusive community of passionate macrame enthusiasts and unlock a world of creativity.
Gain access to a treasure trove of unique patterns, expert guidance, and a supportive network of fellow artists.









Leave a comment