The 3 Must-Know Macrame Knots Every Beginner Should Master

The Foundation of Every Beautiful Macramé Project Starts Here
When I first dipped my hands into macrame, I’ll be honest—I was completely overwhelmed.
There seemed to be a million different knots, each with its own technique and purpose, and I didn’t know where to start.
But as soon as I began focusing on just a few key knots, something clicked.
Those complex designs I admired started to feel achievable, and learning just three foundational knots gave me the confidence to start creating pieces that felt truly “me.”
If you’re just starting out, I can tell you from experience that mastering a few basics can unlock a world of possibilities in macrame.
In this post, I’m sharing the three must-know macrame knots that every beginner should start with.
These knots aren’t just building blocks; they’re the foundation for nearly every macrame project you’ll take on, whether it’s a simple wall hanging or an intricate plant hanger. I
’ll guide you through each knot step-by-step, breaking down the techniques so that even if you’re completely new to macrame, you’ll feel comfortable following along.
By the end, you’ll not only have these essential knots under your belt but also a boost in confidence and a toolkit you can rely on for any project you dream up.
Before We Dive into the Knots: My 6 Top Tips for a Smooth Macrame Start

Before you jump into knot-tying, let me share a few tips that have helped me immensely in my macramé journey.
Trust me, keeping these in mind will make learning easier and, more importantly, so much more enjoyable!
Start with the Basics
I know it’s tempting to dive straight into fancy designs, but trust me—starting with the three foundational knots (Lark’s Head, Square Knot, and Double Half-Hitch) is key.
These knots are the building blocks of macrame, and once you’ve mastered them, you’ll be ready to take on almost any design!
Mind the Tension
One of the most common struggles in macrame is tension.
I’ve learned (sometimes the hard way) that balancing tension is essential.
Pull too tight, and you risk fraying or breaking the cord; keep it too loose, and your knots might look uneven or feel unstable.
A balanced tension gives your work a polished, professional look.
Practice Makes Perfect
Before jumping into your main project, take a few minutes to practice on scrap cord.
It’s a great way to get comfortable with the knots and work out any kinks before committing to your final piece.
Plus, you’ll feel more confident when you start!
Be Patient and Persistent
Macrame is as much about the journey as it is about the finished piece. If a knot doesn’t look perfect right away, that’s okay!
It’s all part of the learning process, and each project will make you a better knotter.
So take your time, enjoy each knot, and remember that practice will bring progress.
Seek Inspiration
Whenever I feel creatively stuck, I turn to my favorite macramé books, online tutorials, and social media for inspiration.
There are so many amazing ideas out there to explore, and sometimes just seeing a new technique or design can open up creative possibilities!
Invest in Quality Materials
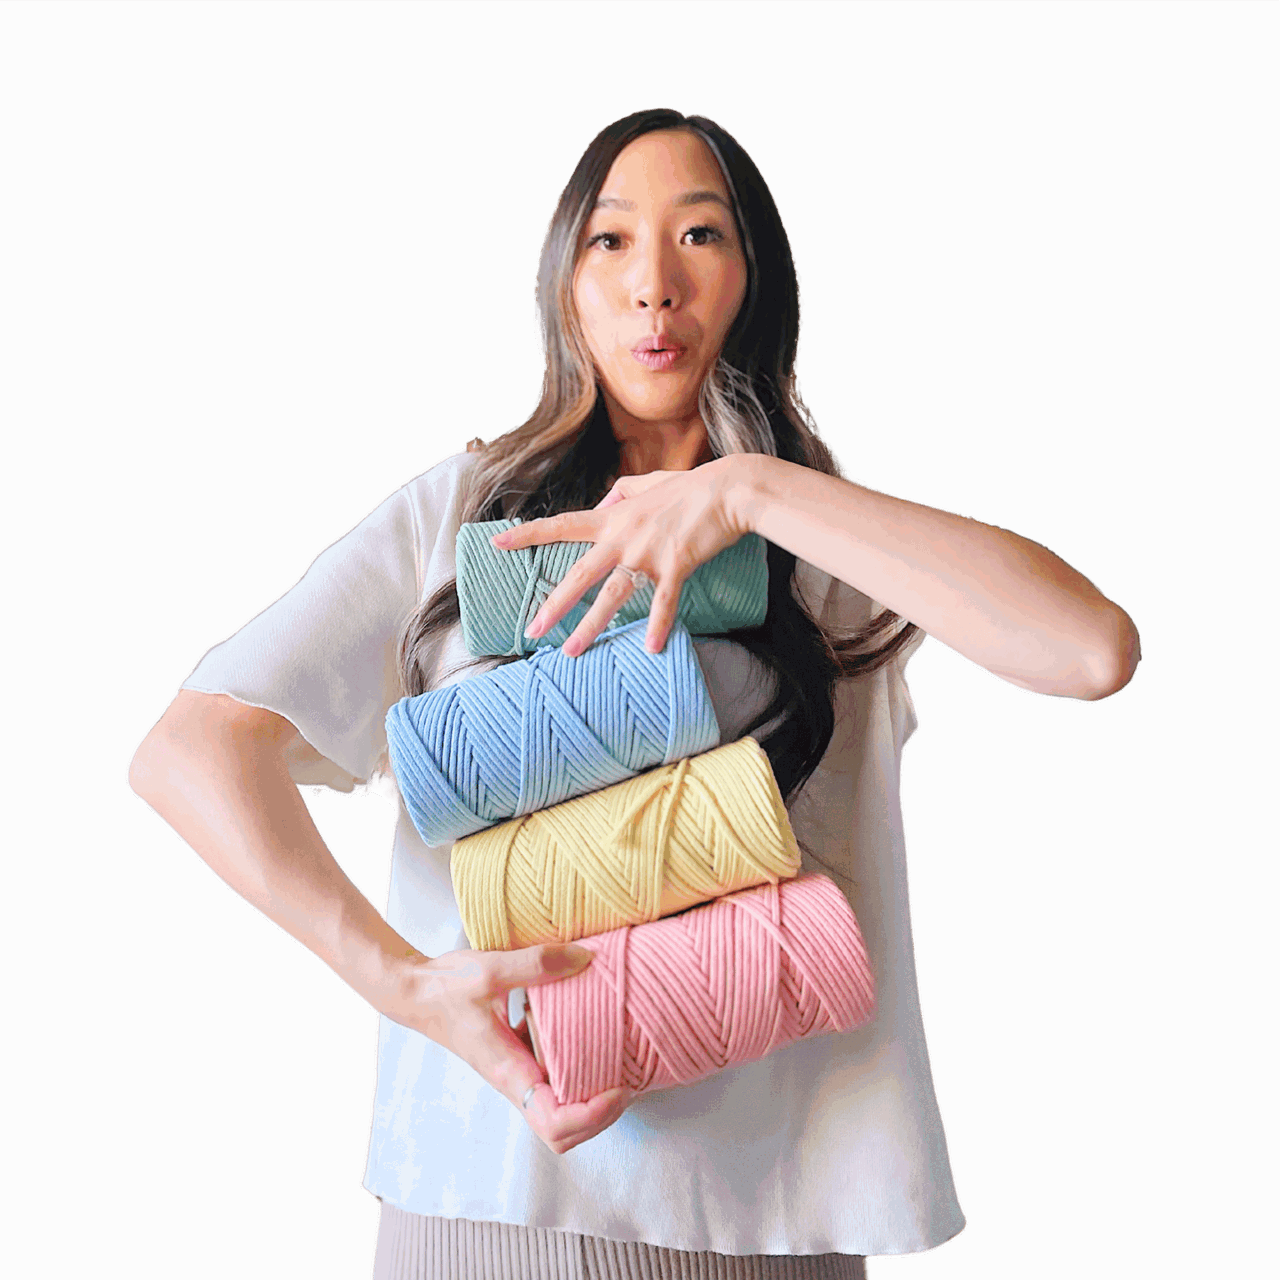
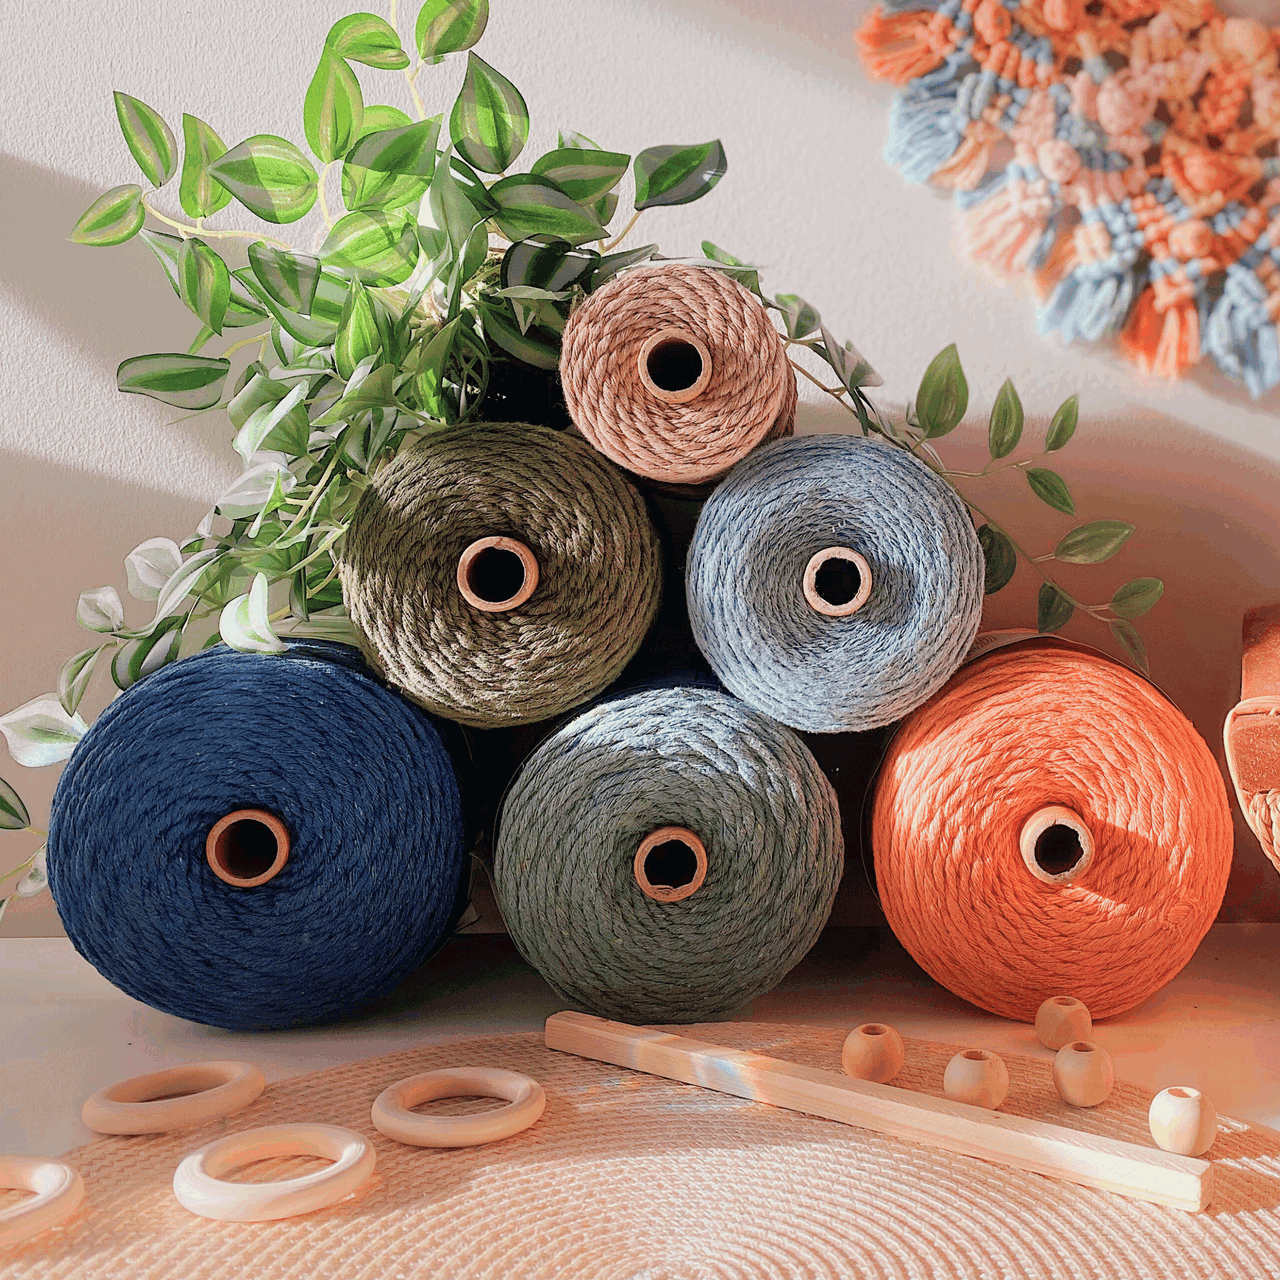
This might seem simple, but high-quality cord makes a world of difference.
Investing in good macrame cords and materials will not only make your work easier but will also elevate your finished pieces in both durability and appearance.
You’re putting your time and love into this, so it’s worth it!
Macrame is a journey of creativity and self-discovery, so take it one knot at a time, enjoy each step, and embrace the process.
Macrame Cord & Supplies
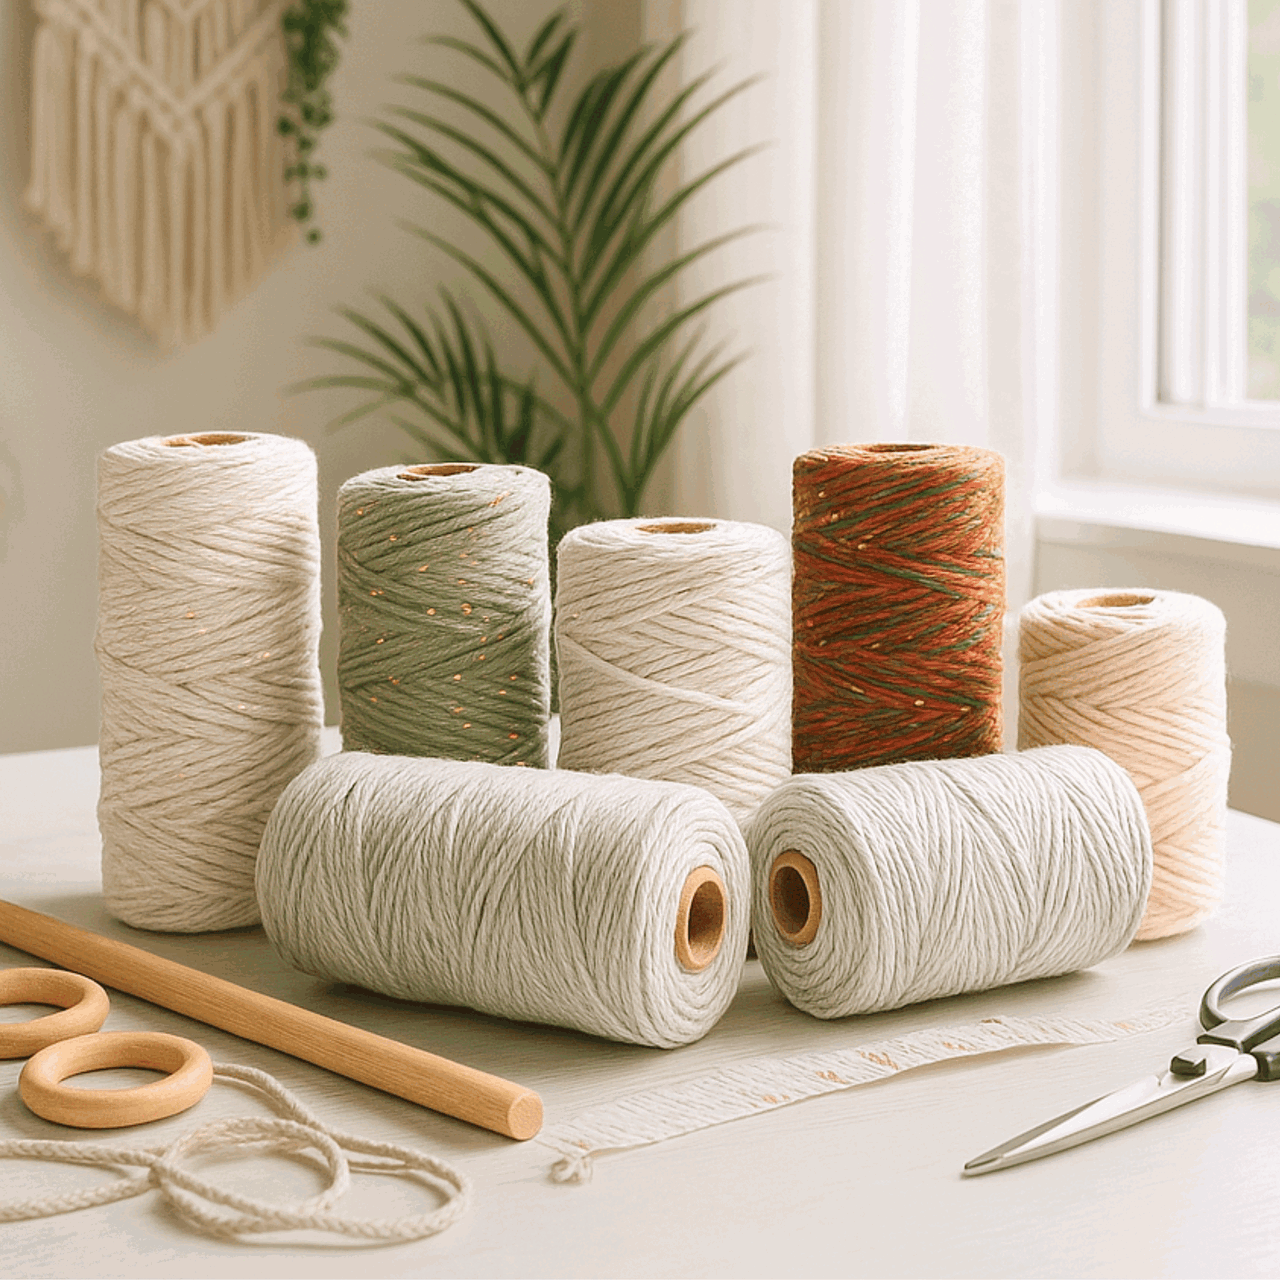
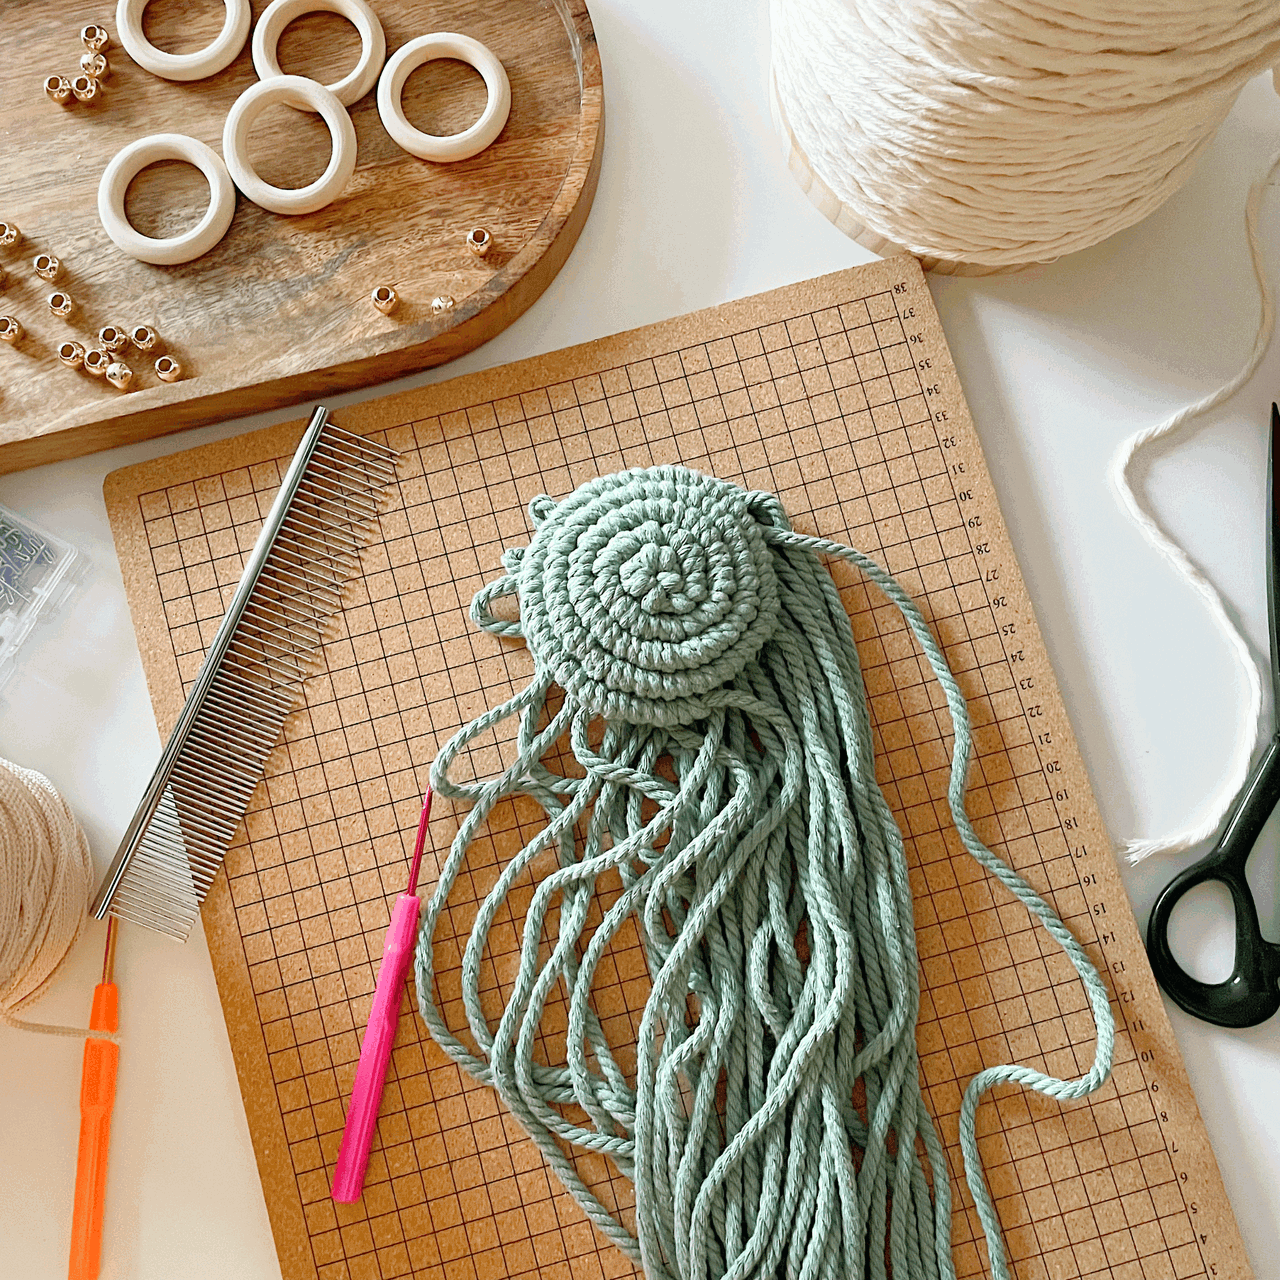
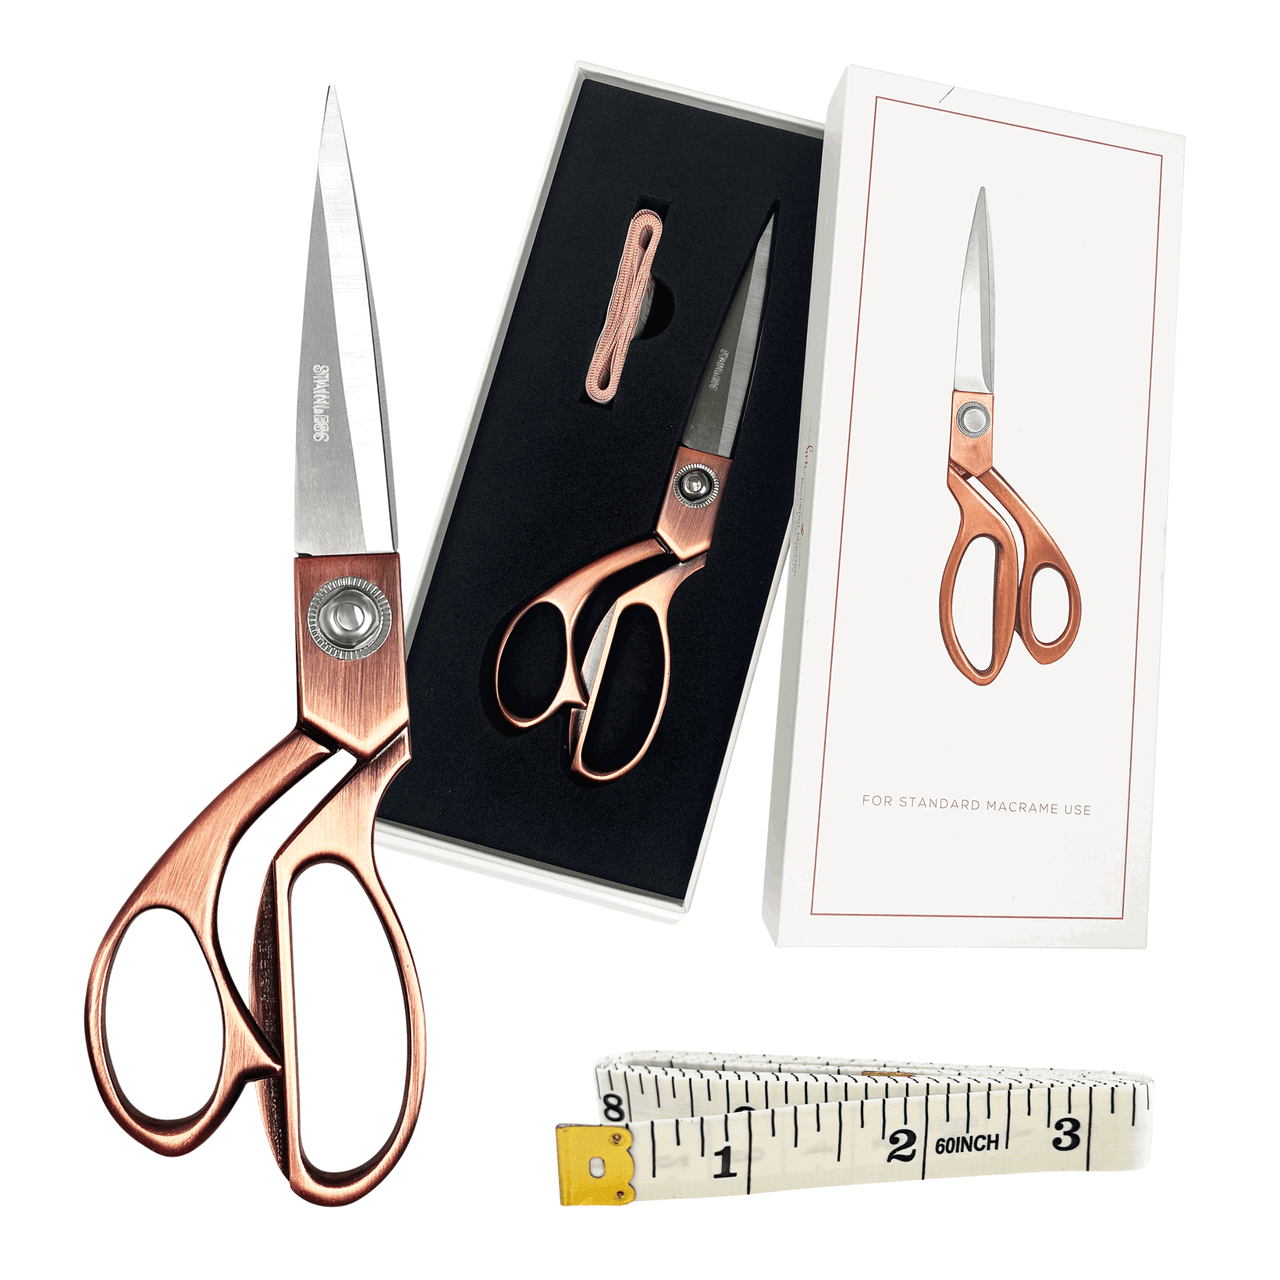
Starting your macrame journey is wonderfully simple because you don’t need a long list of supplies to get going!
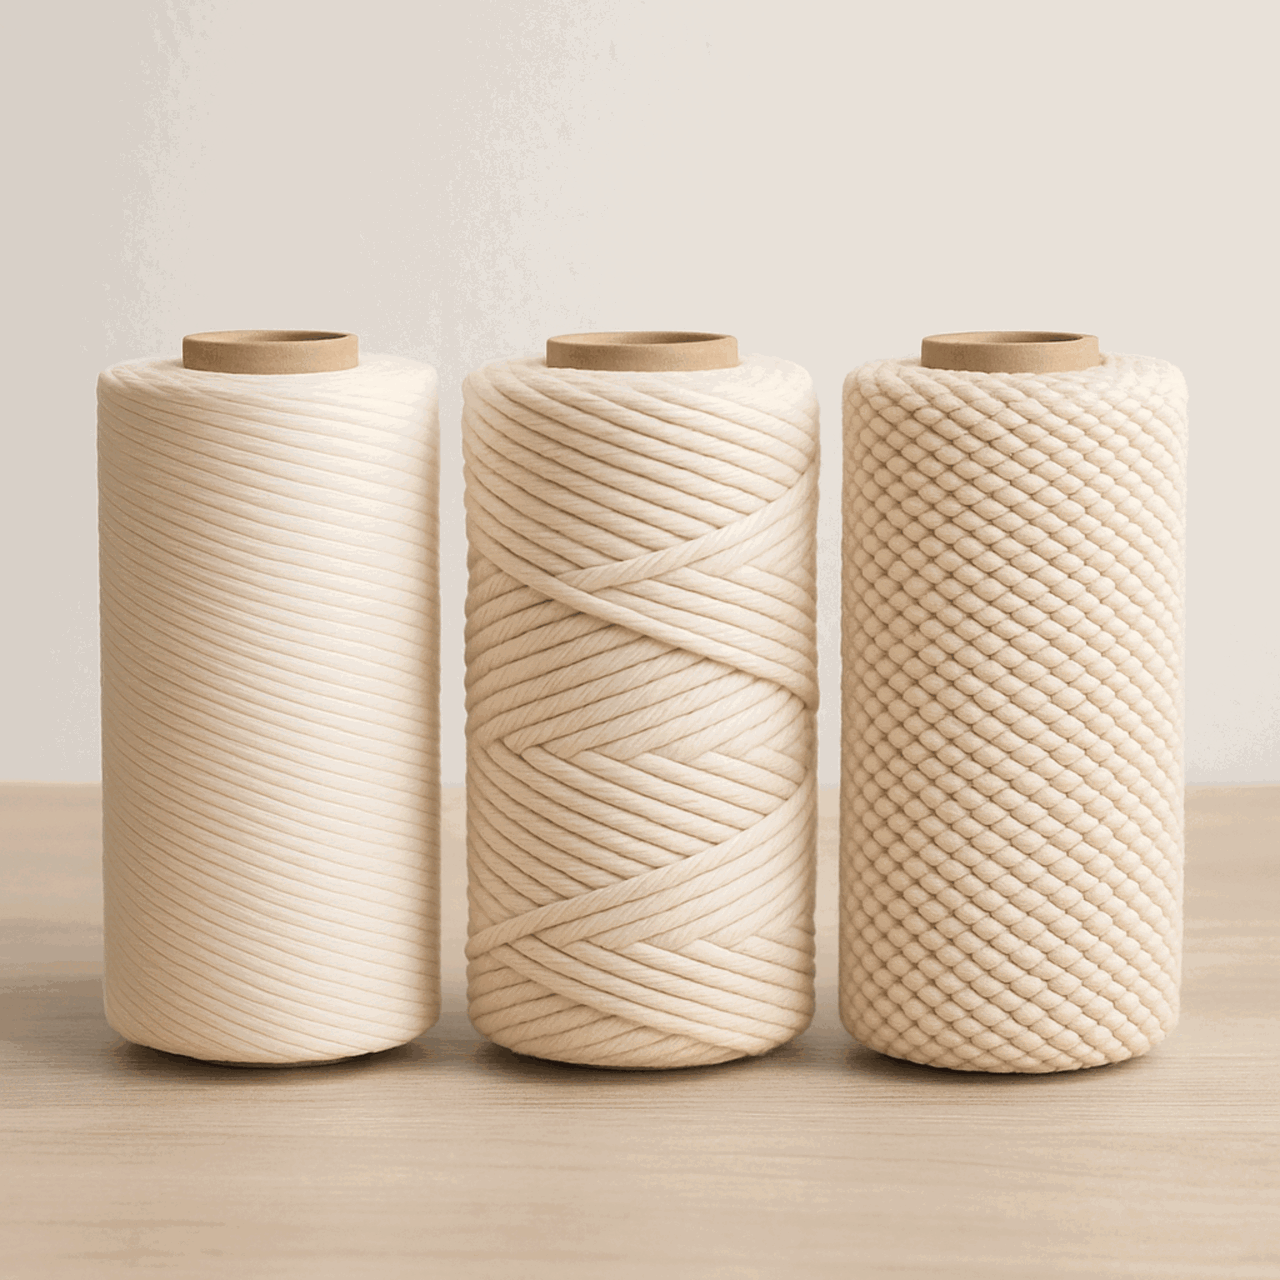
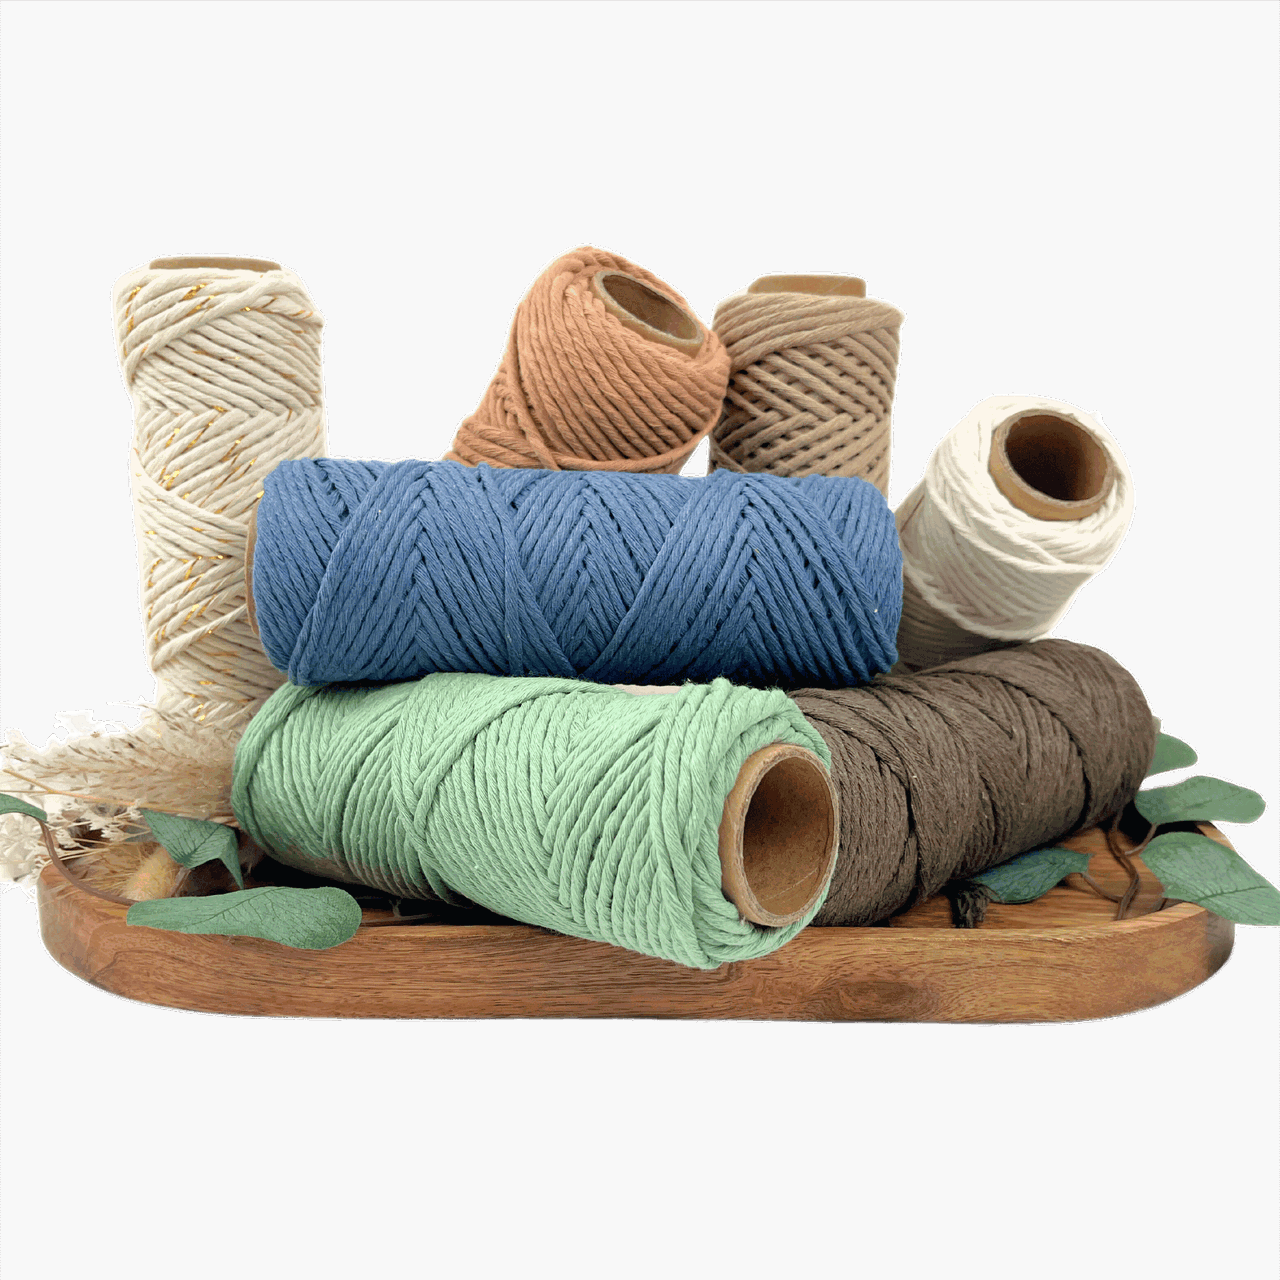
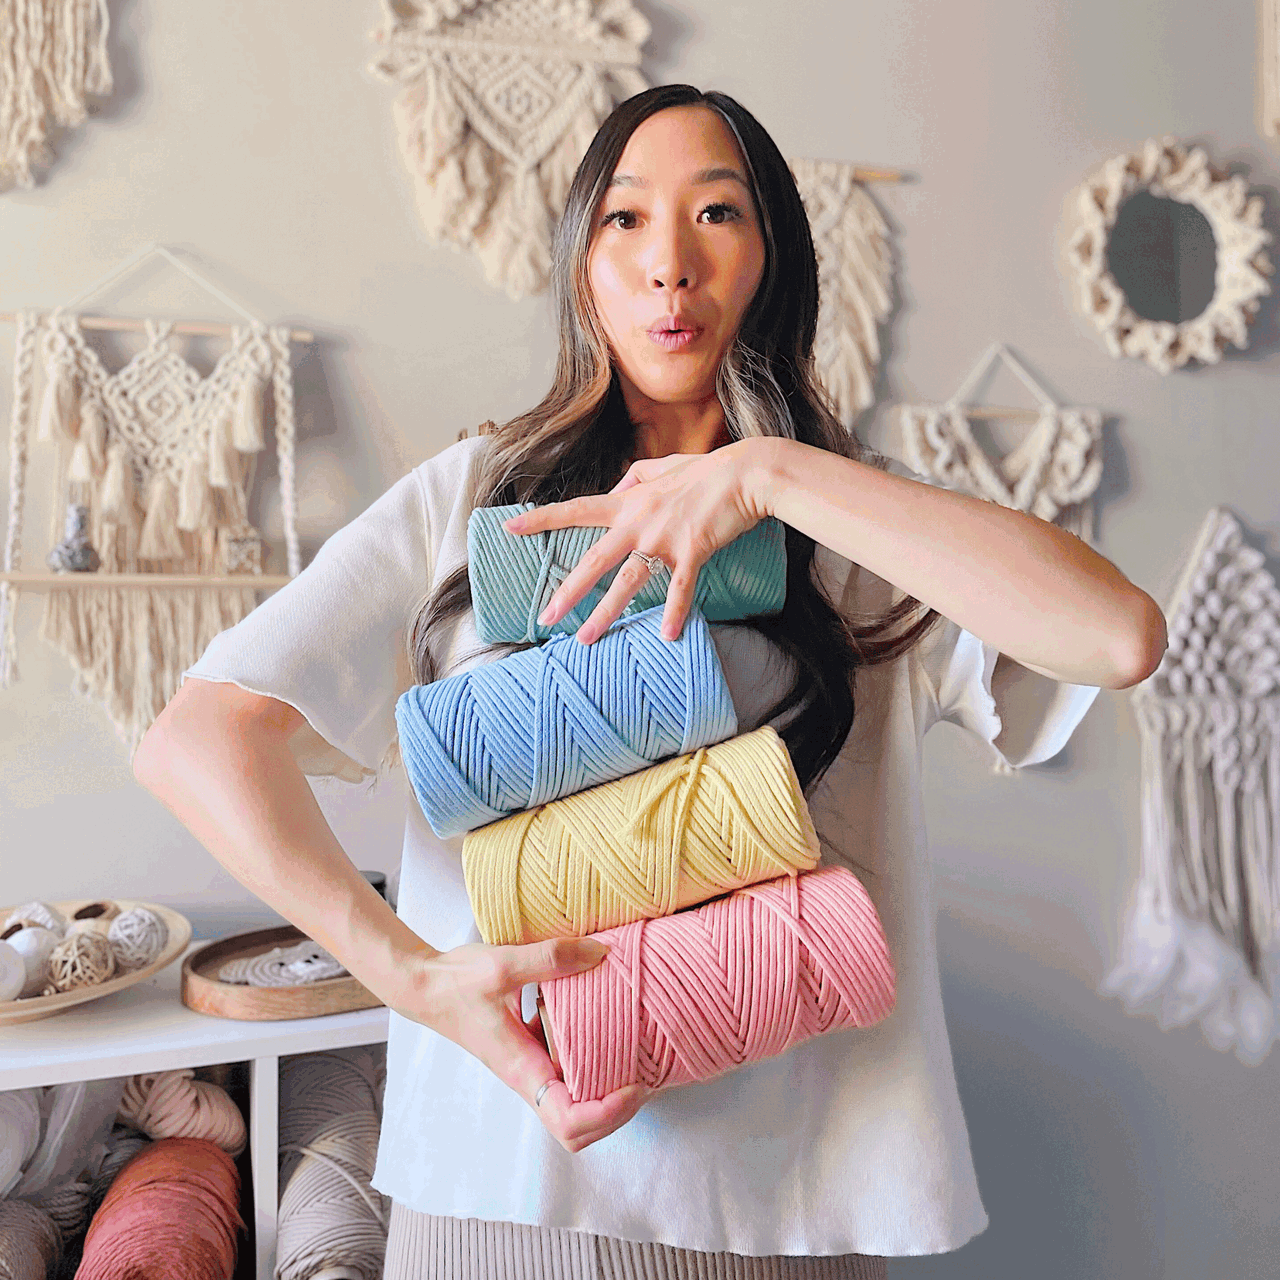
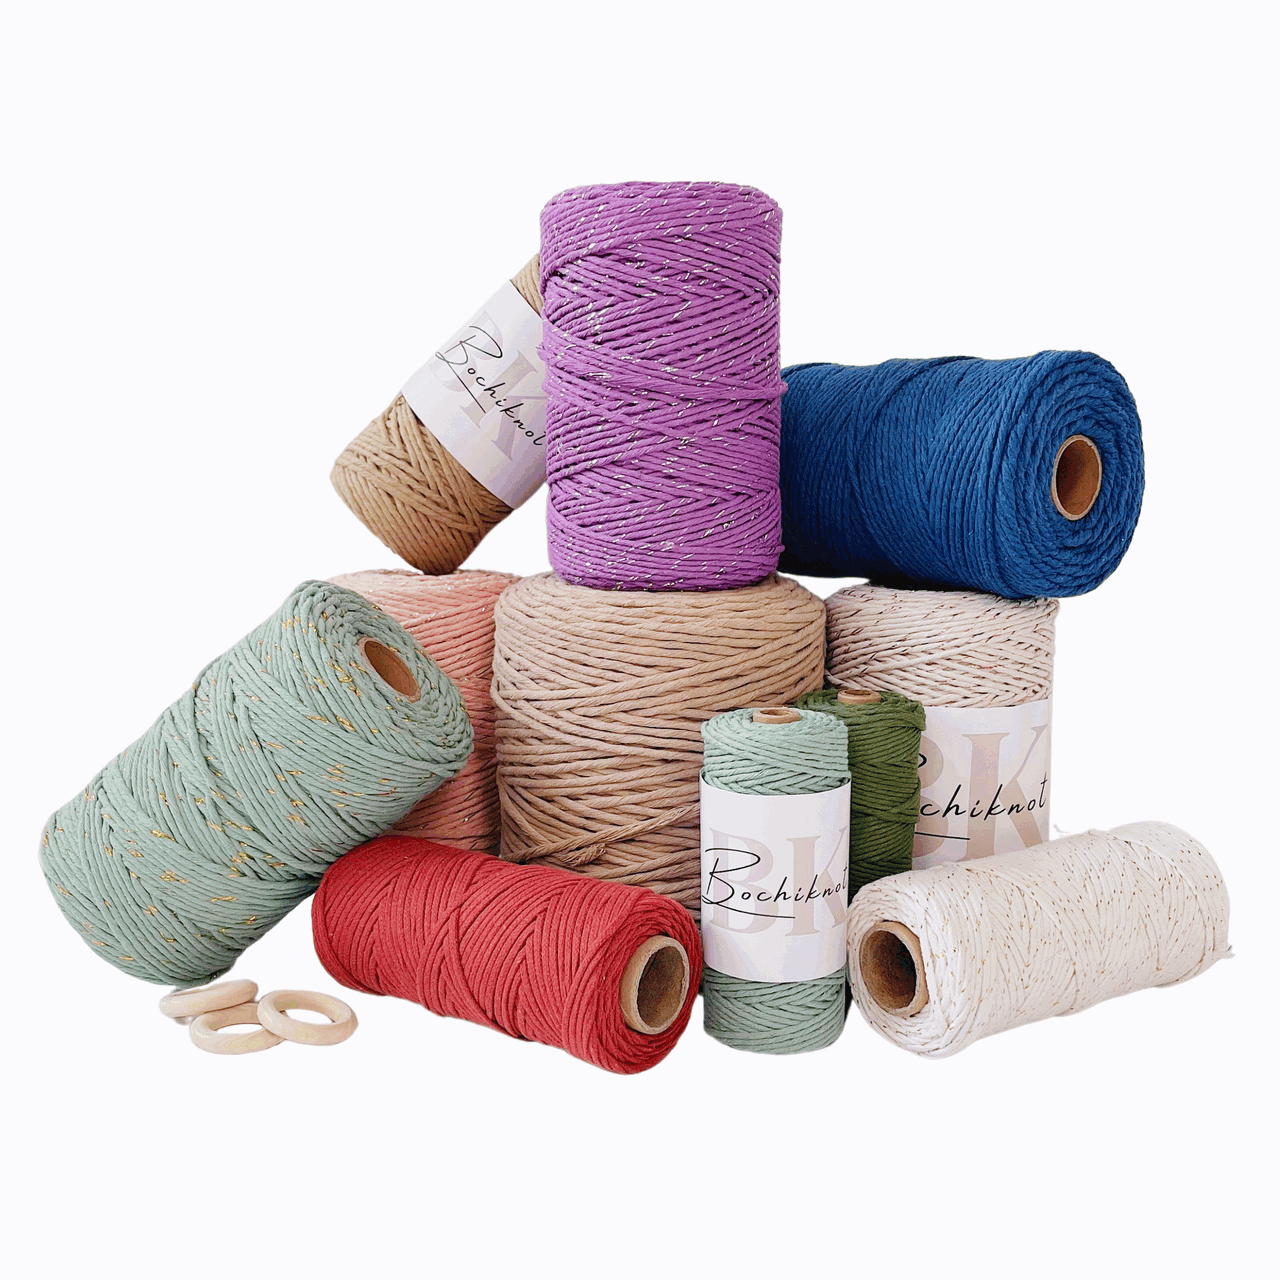
Really, all you need is a good roll of cotton cord, and if you’d like, a wooden dowel to mount your project (though it’s totally optional).
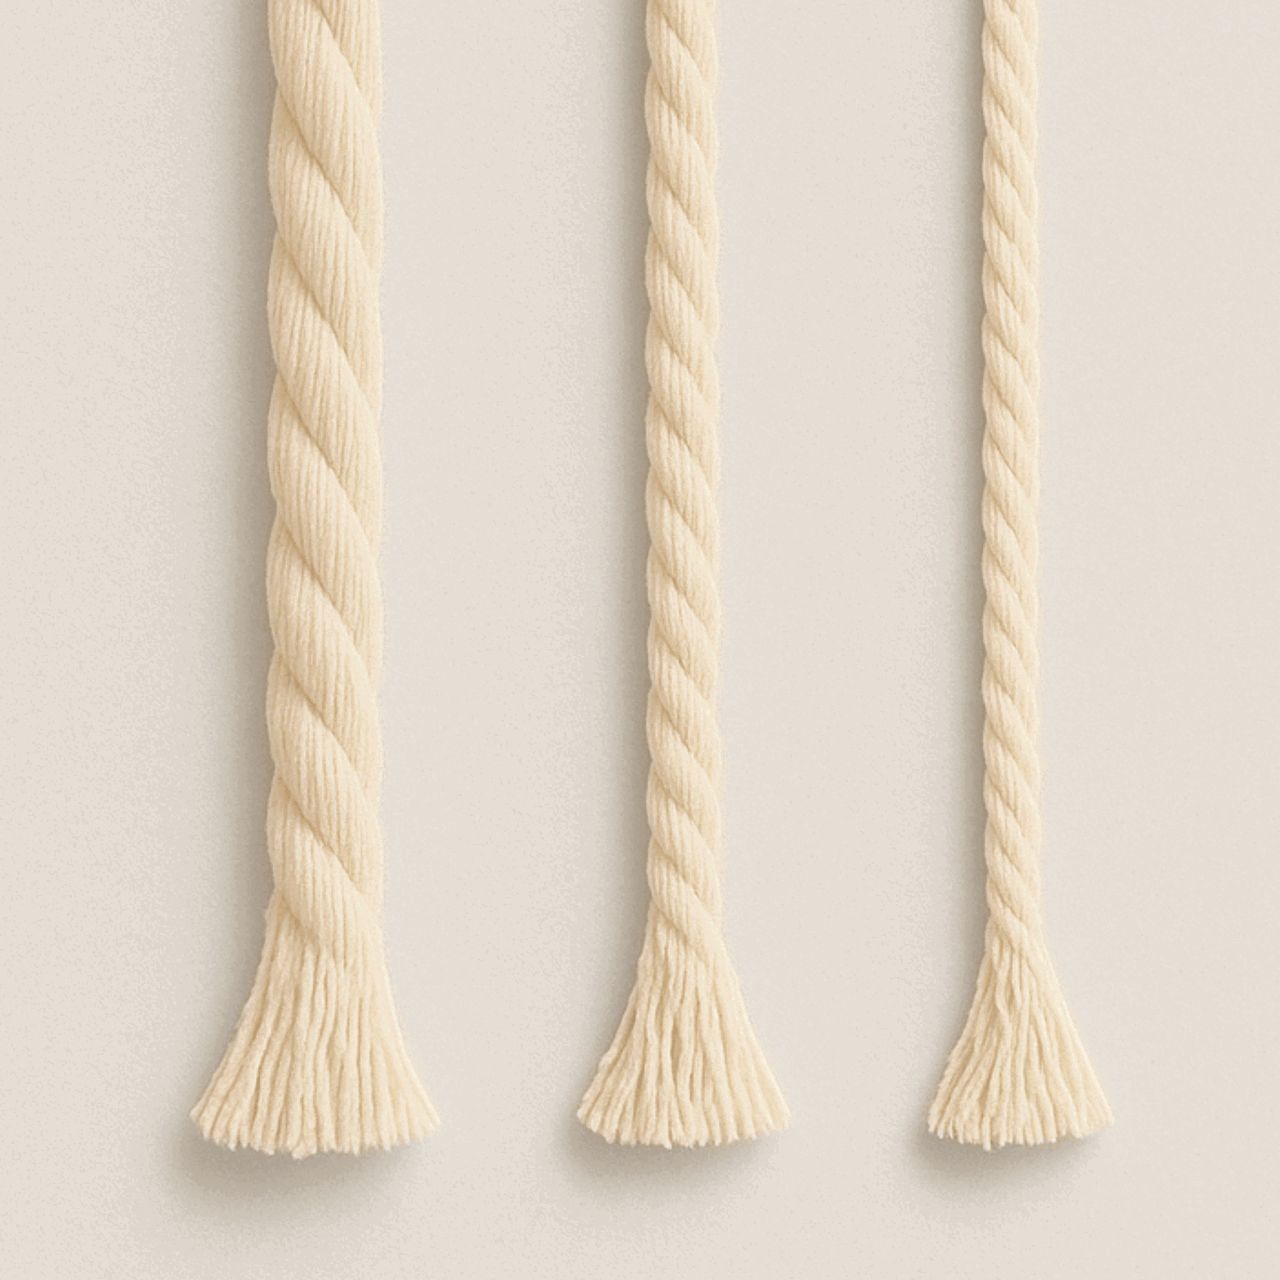
For this project, I’m using 3mm cotton cord, but feel free to choose any size or style that matches your vision.
Thicker cords create a chunkier look, while thinner cords allow for more intricate designs—it’s all about finding what feels right for you!
If you’re curious about exploring different cord types and which ones work best for various projects, check out my in-depth guide:
Blog Post Article: How to Choose the BEST Macrame Cord for Your Next Project
In it, I break down cord options, helping you make confident choices as you dive deeper into macrame.
3 Must-Know Macrame Knots Every Beginner Should Master | Video Tutorial
3 Must-Know Macrame Knots Every Beginner Should Master | Step-by-Step Guide
*Note: We recommend following the tutorial video for more detailed instructions and to achieve the best results.
This will provide additional guidance and clarity as you work through each step.
1. The Larks Head Knot

This knot is all about simplicity and strength.
It’s the starting point for most macrame projects because it securely attaches cords to your base, making it ideal for everything from wall hangings to plant hangers.
Once you know this knot, you’ll use it in countless designs, adding to its versatility and practicality.
Step-by-Step Guide: How to Tie a Lark’s Head Knot
-
Fold Your Cord
Start with a strand of cord and fold it in half, creating a loop at the top and two loose ends hanging down. Make sure the loose ends are equal in length for balanced knotting. -
Position the Loop
Place the loop behind your anchor object, such as a dowel, ring, or rod, so it hangs over the top. -
Pull Through the Loop
Take the two loose ends of the cord and pass them through the loop you created. -
Tighten the Knot
Pull down on the cord ends to tighten the knot, adjusting it so it sits snugly against your anchor.

This knot serves as the starting point for various macrame designs, allowing you to attach multiple cords and begin crafting intricate patterns and textures.
Reverse Lark's Head knot
Also known as the Cow Hitch Knot, it is essentially the Lark's Head knot viewed from the opposite side.
Since these two common macrame knots are identical in their structure, deciding whether to use the Lark's Head or the Reverse Lark's Head knot boils down to personal preference.
How to Tie a Reverse Larks Head Knot Step-by-Step
- Fold a strand of cord in half to form a loop, and place the loop behind the object, such as a dowel or ring, bottom up.
- Take the vertical ends and pass them through the loop
- Pull on the cord ends to tighten.

Both knots serve the same purpose and offer equal efficiency, allowing you to choose the one that best suits your crafting style and project requirements.
2. The Square Knot

The Square Knot is a true macrame classic—simple yet incredibly versatile.
This knot is a staple in almost every macramé project, from wall hangings to jewelry, because it’s easy to learn and creates a beautiful, balanced pattern.
Once you get the hang of it, the Square Knot will become a go-to technique that you can repeat, layer, and combine to create intricate designs.
Step-by-Step Guide: How to Tie an Square Knot
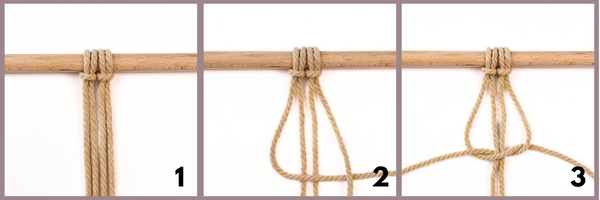
Start with Four Cords- To tie a Square Knot, you’ll need four cords: two center cords that stay stationary (they’re the base) and two outer cords that you’ll use for knotting.
- Arrange these cords so that the outer cords are on the left and right of the two middle cords.
Form the First Half of the Knot
- Take the left cord and cross it over the two center cords, creating a loop on the left side.
- Then, take the right cord, cross it over the left cord, and bring it behind the two center cords.
- Pull the right cord through the loop on the left side.
Tighten the First Half
- Gently pull both outer cords to tighten this first half of the knot, making sure it sits snugly against the base.
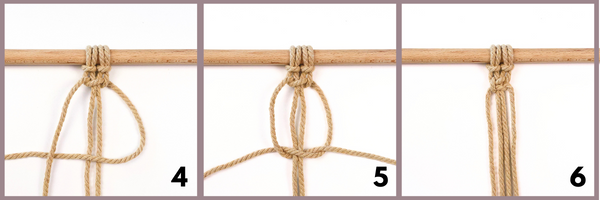
Form the Second Half of the Knot
- Now, reverse the process to complete the Square Knot.
- Take the right cord and cross it over the two center cords, creating a loop on the right side.
- Bring the left cord over the right cord, then pass it behind the two center cords.
- Pull the left cord through the loop on the right side.
- Pull both outer cords again to tighten and finish the Square Knot. When done correctly, you should see a balanced, symmetrical knot with a flat, smooth appearance.
Alternating Square Knot
An Alternating Square Knot is a popular knot pattern made with the classic square knot.

This knot pattern is often used to add visual interest to macrame designs, such as wall hangings, plant hangers, and bracelets.
It's a versatile knot that can add a touch of elegance and complexity to your macrame projects.
How to Tie an Alternating Square Knot Pattern Step-by-Step

- Make 2 Square knots side by side
- In between and underneath the 2 Square knots, make an Alternating Square knot.
Square knots are commonly used in Macrame to create a flat, woven pattern, and they are beneficial for making plant hangers, wall hangings and hand bags.
Mastering the square knot opens up a world of design possibilities and allows you to add texture and structure to your macrame projects.
3. The Double Half-Hitch Knot

Variation 1: Horizontal Double Half-Hitch Knot
The double half hitch knot is a fundamental and highly versatile knot in macrame. It serves as the building block for many intricate knot patterns, making it an essential technique for creating beautiful macrame designs.
I'm going to show you how to make a double half-hitch knot and it's different variations.
The Double Half Hitch knot can be tied in several directions, namely horizontally, diagonally and vertically. I will go through each of these directions below
How to Tie a Horizontal Double Half Hitch Knot Step-by-Step
- Place a separate horizontal anchor cord across your vertical working cord(s).
- Take the far left vertical cord, as a working cord, and make a half-hitch knot
- Then bring the same cord back through the top and through the loop to complete the second half-hitch knot
- Pull on cords to tighten
Repeat for as many knots until the desired pattern is achieved.

Variation 2: Diagonal Double Half-Hitch Knot

How to Tie a Diagonal Double Half-Hitch Knot Step-by-Step
- Take the far left cord, as anchor cord and place it diagonally downwards to the right.
- Take the cord beside it as the working cord and make a half-hitch knot.
- Pull on the working cord to tighten
- Bring the same working cord to the top and through the loop on the left to complete the second half-hitch knot
- Pull on the working cord to tighten
- Repeat these steps until desired knot pattern is achieved

Variation 3: Vertical Double Half-Hitch Knot

How to Tie a Vertical Double Half-Hitch Knot Step-by-Step
- Use a separate strand of cord as the working cord and place it horizontally and underneath the vertical anchor cord.
- Take the right end of the horizontal anchor cord and make a Half Hitch knot by wrapping it above, through the left, to the back and to the right.
- Wrap the same cord-end underneath, through the left to the back and through the right loop.
- Pull on the working cord end to tighten.
- Repeat a few more times.
- Repeat until the desired pattern is achieved.

The Double Half-Hitch Knot, along with its variations, can feel a bit tricky when you’re just starting out, but don’t worry—with a little practice, you’ll have it mastered in no time!
This knot is incredibly versatile, opening up endless creative possibilities.
Once you’ve got it down, you can use it to craft stunning wall hangings, plant hangers, and so many other decorative pieces.
Stick with it, and soon it’ll become one of your favorite go-to knots!
Putting the 3 Basic Macramé Knots to Use: Beginner-Friendly Projects

With just three basic macramé knots—the Lark's Head Knot, Square Knot, and Double Half Hitch Knot—you can create a wide range of beautiful patterns and projects.
Macrame Wall Hanging
Use Square and Double Half Hitch Knots to build intricate patterns and textures that bring depth to a wall hanging.
By experimenting with different knot combinations and cord lengths, you can design unique, eye-catching pieces that enhance any space.
Give this feather wall hanging pattern a try.
Macrame Plant Hangers
The Lark's Head Knot and Square Knot are perfect for creating sturdy plant hangers.
Start by attaching cords to a ring or dowel with the Lark's Head Knot, then work a series of Square Knots to build a strong yet stylish hanger to hold your favorite plants.
With these three knots, you’re set to create everything from decorative wall art to functional plant hangers, adding beauty and charm to your home.

Interested in More Macrame Knots?
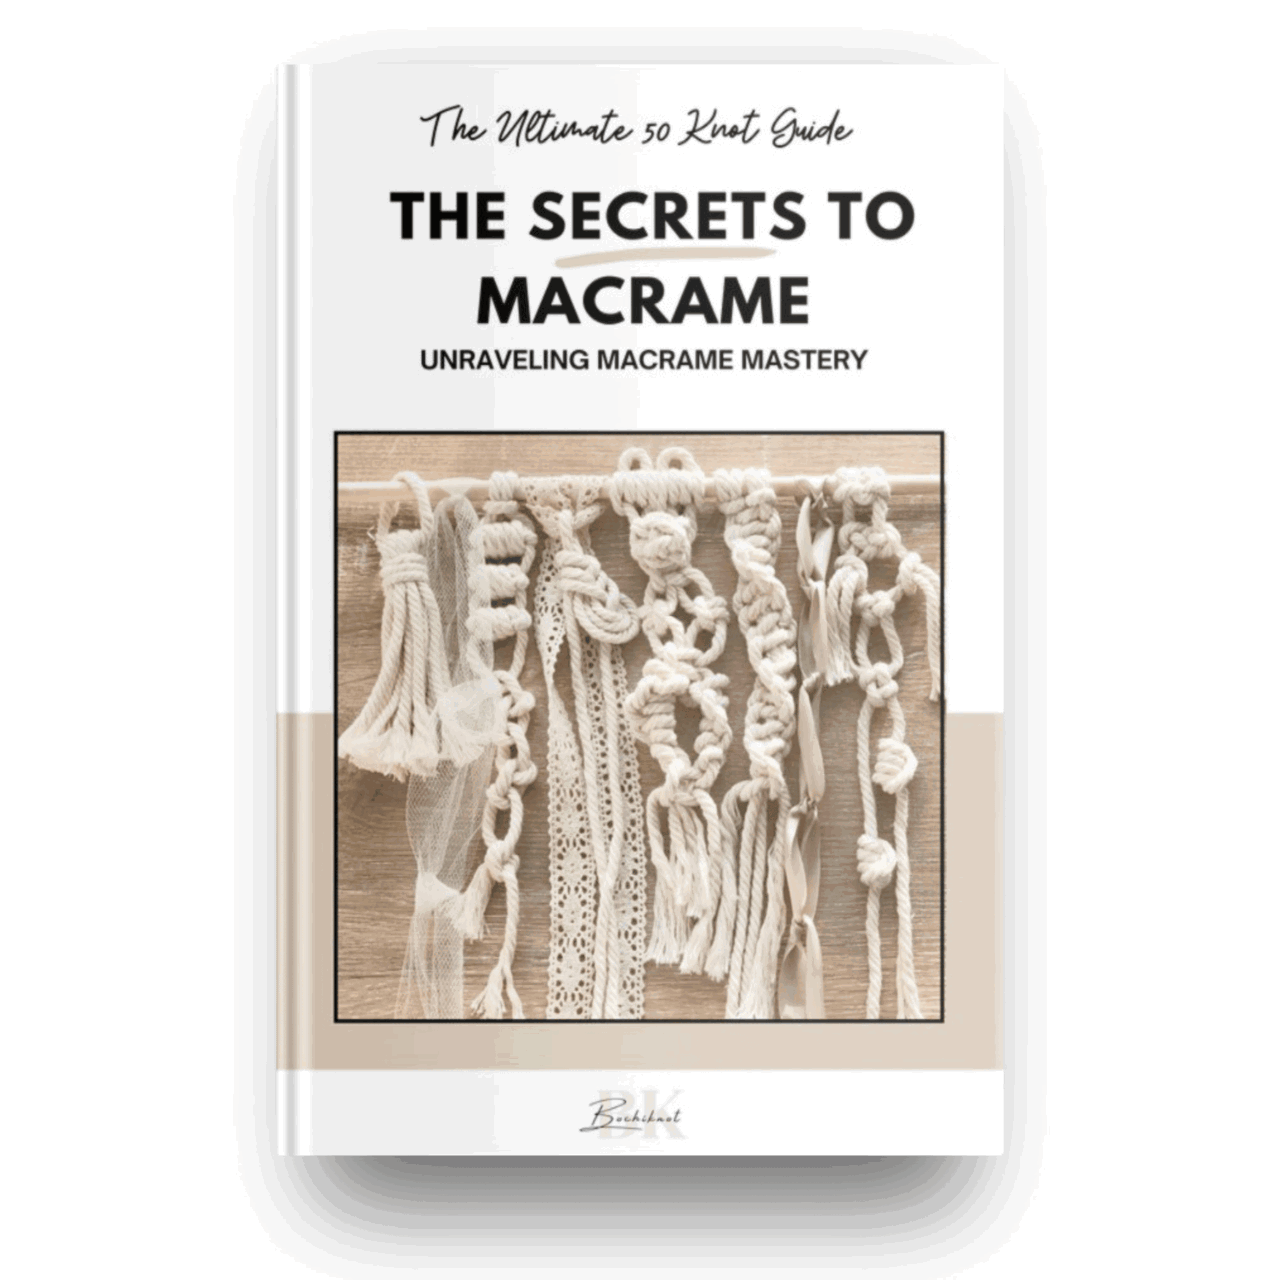
If you want to add more knots to your macrame designs, check out my free resource, "50 Macrame Knots & Sennit Guide."
It's packed with easy, step-by-step instructions to help you improve your skills and try new creative projects.
Access it here.
If you'd like to continue exploring the world of macramé, be sure to check out our Macrame Journey page, where you'll find tips, tutorials, and plenty of inspiration to fuel your creativity.

Looking for Macrame Patterns and Projects?
I’ve got a fun variety of DIY macrame patterns for you to explore—whether you’re into creating unique wall hangings to spruce up your home or timeless plant hangers, there’s something for every skill level.
Each pattern is super easy to follow with step-by-step photos, clear instructions, and plenty of tips to help you along the way.
Ready to start creating?
Browse DIY macrame patterns on Etsy and dive into your next project.

Join the Bochiknot Macrame Community: Your Gateway to Exclusive Tutorials & Inspiration
Discover the art of macrame like never before! Join our exclusive community of passionate macrame enthusiasts and unlock a world of creativity.
Gain access to a treasure trove of unique patterns, expert guidance, and a supportive network of fellow artists.


