

















3D Macrame Christmas Tree with Loops: Free Tabletop Pattern

FREE CHRISTMAS MACRAME PATTERN · BY NICOLE WOO
This little tree starts as one long strip of loops. As you coil and secure that strip, the loops become layered branches and a hollow wooden star finishes the top. It’s a three-dimensional tabletop decoration made with a repeating knot sequence.
The useful skill here is controlling the size of the loops: smaller near the top, gradually larger toward the base. You’ll learn how that change creates a tree silhouette, then assemble the strip into a compact decoration for a shelf, mantel, or festive place setting.
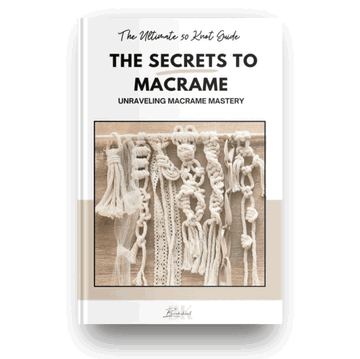
New to the knots? Keep our free 50 Macrame Knots & Sennits guide nearby while you follow the video.
The Project at a Glance
Finished dimensions are approximate. Loop size, knot tension, and how tightly you coil the strip all affect the final width and height. Allow extra time if you are learning the knots.
Cord and Materials for Your Macrame Christmas Tree
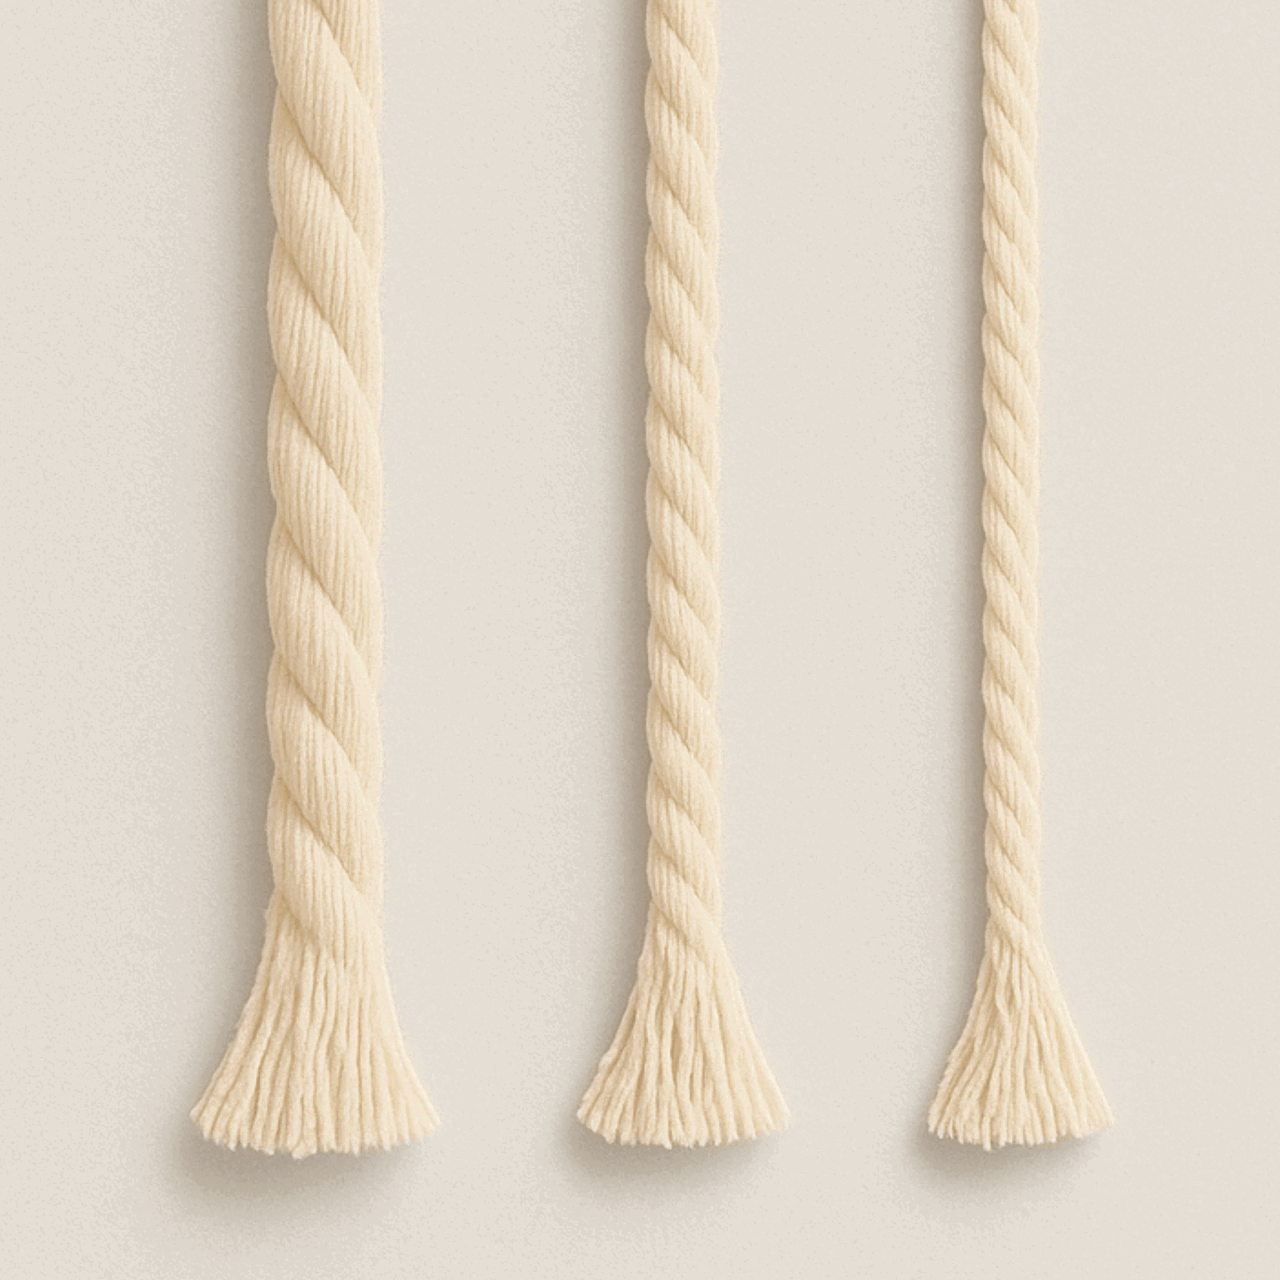
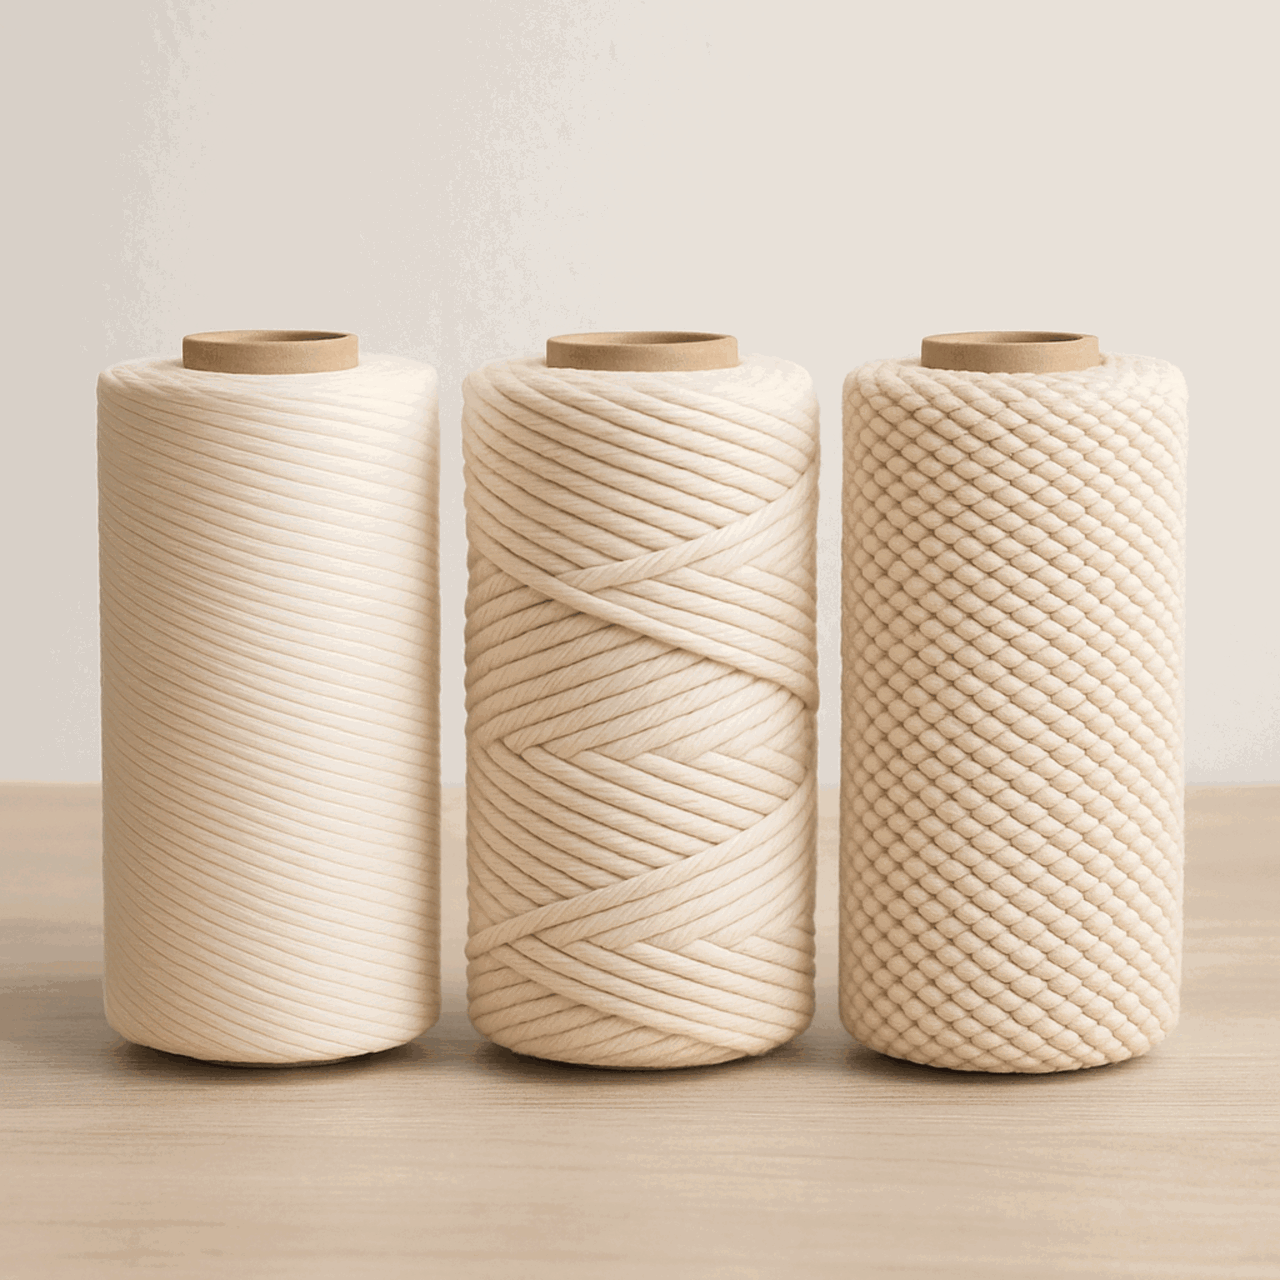
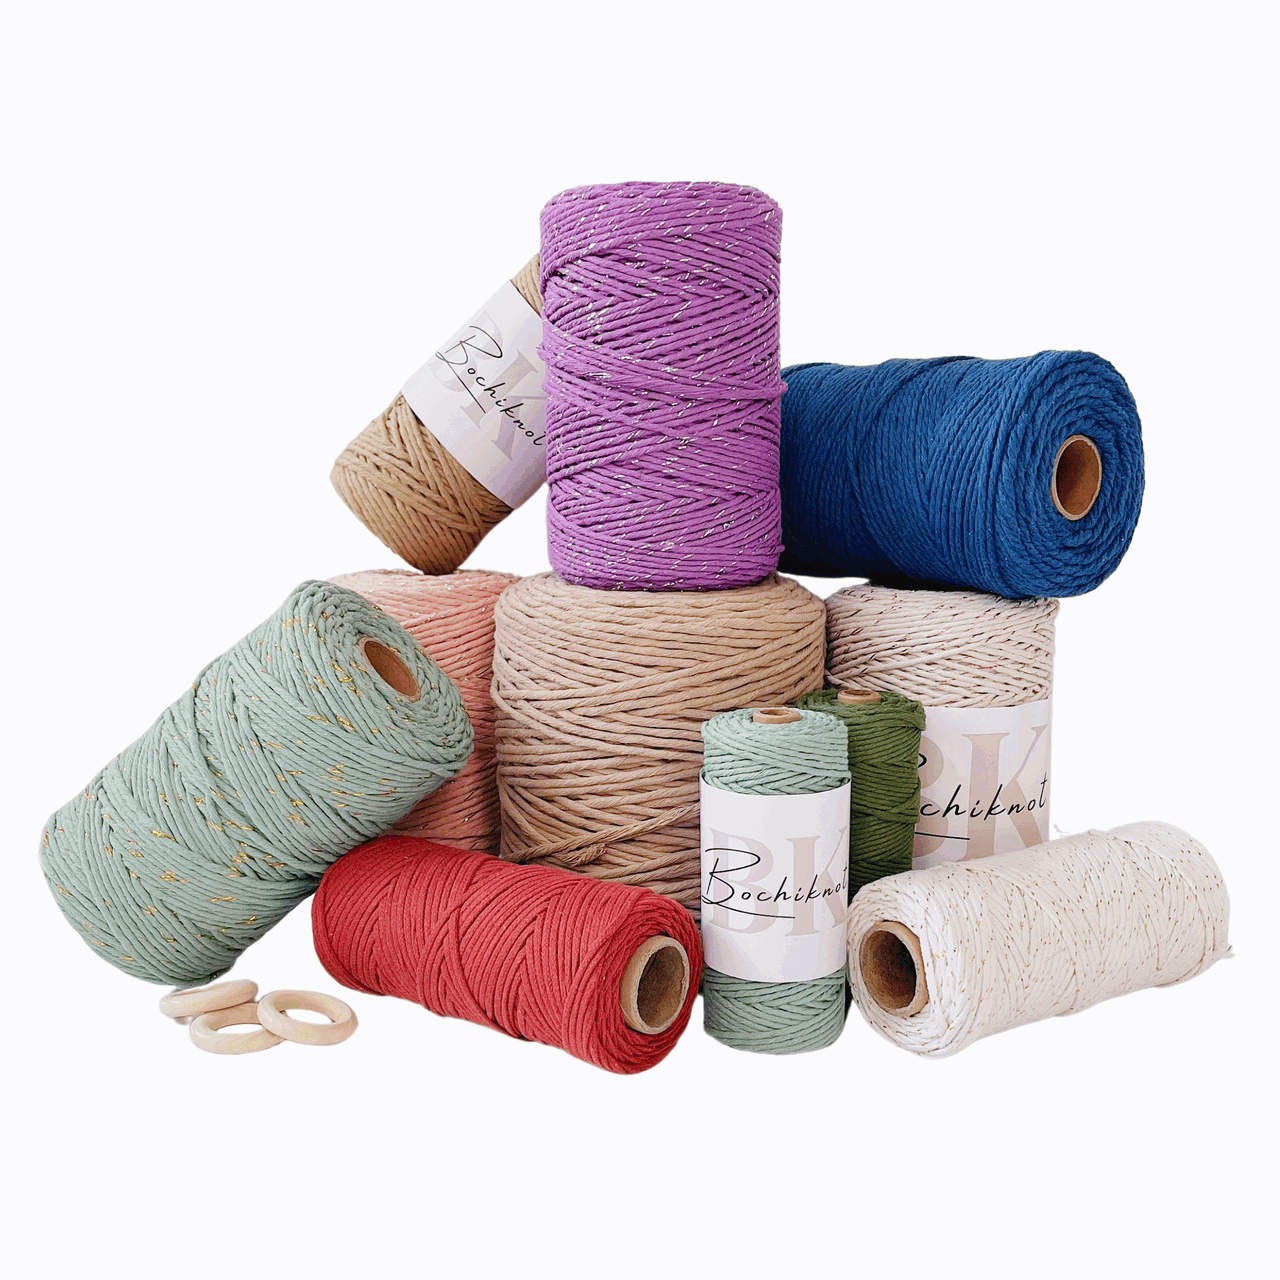
Choose 4mm braided macrame cord and one 2-inch hollow wooden star frame. Nicole uses army green in the tutorial. The smooth braided construction helps the open loops hold a clear outline; a softer replacement will give a different result.
Some links are affiliate links. As an Amazon Associate, Bochiknot earns from qualifying purchases, at no extra cost to you.

4mm Braided Macrame Cord
Choose 4mm and cut one continuous 8 m length. Check the current color options; army green is the tutorial shade.
Shop Braided Cord →
Wooden Star Frame
Use the small, approximately 2-inch star frame shown in the tutorial. The cord attaches to its lower edge.
Shop Wooden Stars →
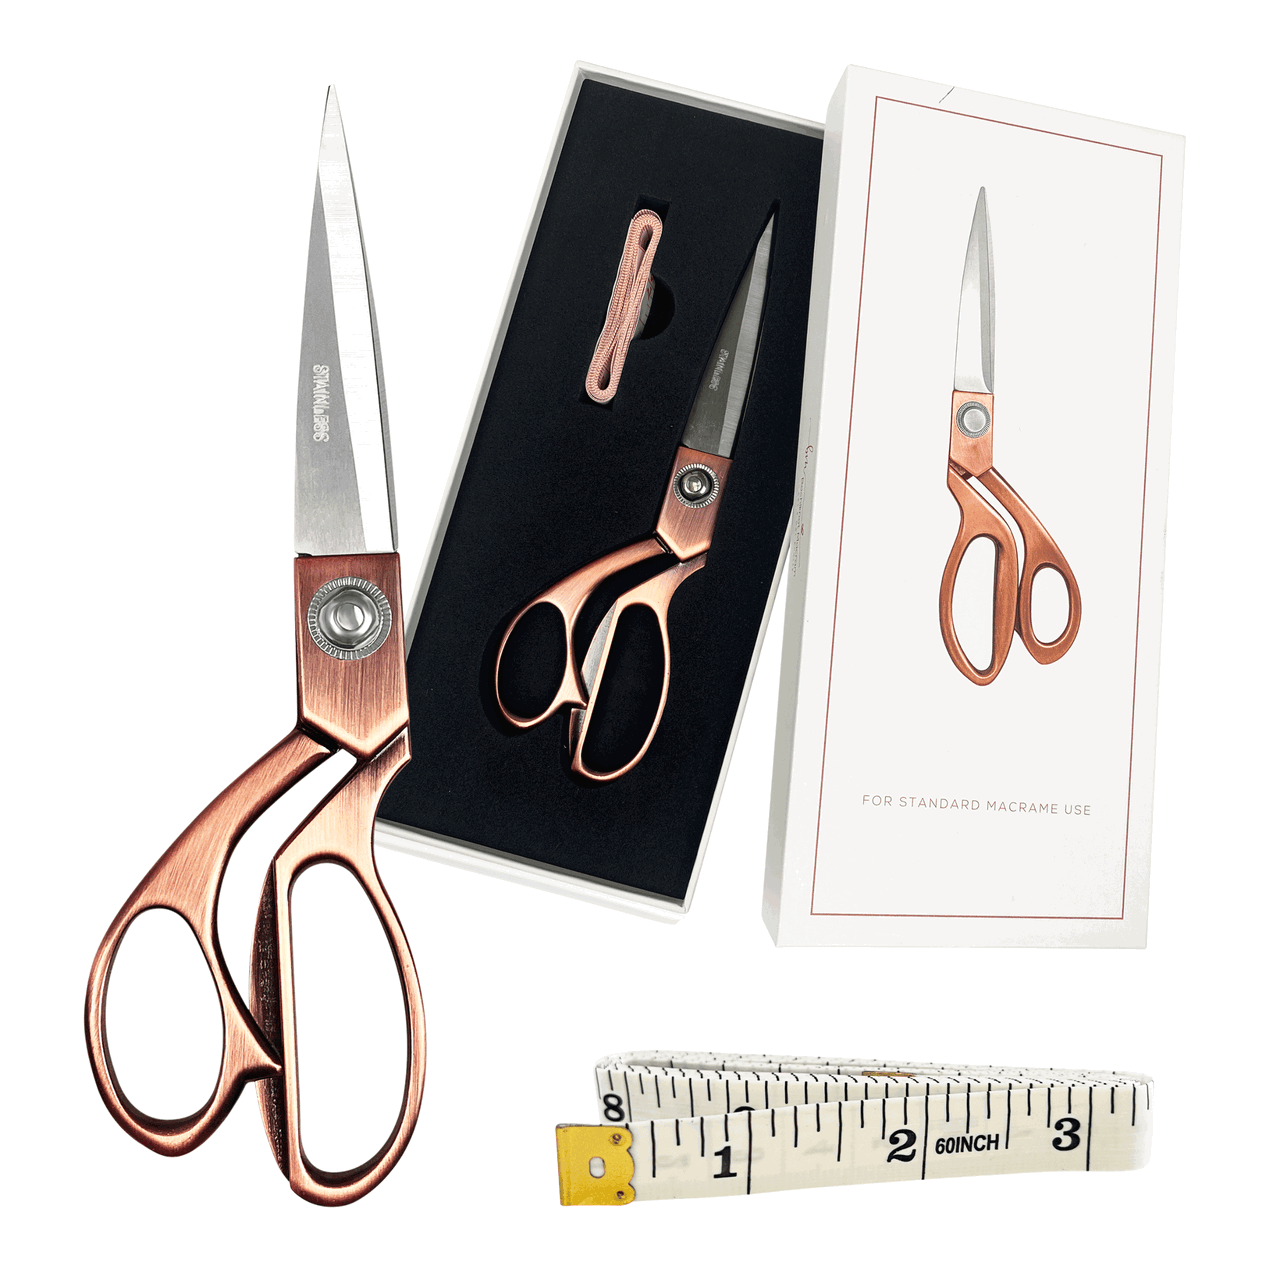
Rose Gold Macrame Scissors
Use everyday cutting scissors for the starting length and the final tails. Keep the working cord intact while knotting.
Shop Macrame Scissors →Your Remaining Tools
You’ll also need a measuring tape or ruler, a glue gun with compatible sticks, and a protected work surface for assembly. The glue is part of this design: it holds the spiral layers together. Have an adult handle hot-glue work when crafting with children.
Use supplies you already own where possible. For other craft essentials, browse the Bochiknot Amazon US storefront.
Cut Your Cord Before You Start
| Use | Cut length | Approximate conversion | Notes |
|---|---|---|---|
| Tree strip | 1 × 800 cm | 8 m / about 8.75 yd | 4mm braided cord |
Do not cut the 8 m length into shorter pieces. Measure 60 cm (about 24 in) from one end and fold there, leaving a long working end of about 740 cm. Bundle the long end so it is easier to pass through the loops. Keep a little extra cord separately if you want a hanging loop.
Understand the Knots Before You Combine Them

Reverse Lark’s Head
Attach a folded cord to a ring or frame. Check which side of the attachment should face you.
See The Knot Tutorial →The branches use a vertical lark’s head sequence with deliberately open loops. Watch Step 3 at 5:07 for the over-and-under cord path, then practice a few loops before making the full strip.
The short end is your anchor; the long end does the work. Some passes are snug and others stay open on purpose. Tightening every loop produces a narrow sennit instead of branches.

Watch Nicole Make It
Use the full video for an overview, or click the timestamp beside any step to jump directly to that demonstration.
Looped Christmas Tree: Step-by-Step Pattern
Read the instruction, compare the original step photos, then use the linked video whenever you need to see the cord move. Clicking a step photo also opens that step in the video.
1. Attach the cord to the star
Measure 60 cm from one end of your 800 cm cord and fold at that point. Attach the fold to the bottom of the star with a reverse lark’s head knot. Keep the short and long ends easy to identify.


2. Bundle the long working end
Bundle the longer cord end so you can move it through the loops without tangling. Leave enough loose cord to tie comfortably, releasing more from the bundle as needed.

3. Make the first snug pass
Use the long end as the working cord. Start the vertical lark’s head sequence by taking it over and through the loop, then tighten this pass around the anchor.


4. Leave an open branch loop
Take the working end under and through the next loop. This time, leave an open loop of about ½ inch (1.3 cm). Keep it loose instead of pulling it completely closed.


5. Secure the loop with the next pass
Bring the working cord over and through again, and tighten this pass. Check that the open loop beside it has kept its shape.


6. Repeat and gradually enlarge the loops
Continue the same sequence down the cord. Gradually increase the open loops toward approximately 1 inch (2.5 cm) in the latter half. Compare neighboring loops as you work so the change is gradual, not a sudden jump.


7. Coil and glue the tree
Dry-fit the strip into a spiral beneath the star, with the smaller loops near the top and the larger loops toward the base. Once the shape looks balanced, glue the spiral layers together a little at a time, following the video. Let each section set before adjusting it.


8. Finish the base
Use the two bottom ends to create two final loops and glue them to the bottom of the tree. Stand it on a flat surface while the glue sets. Check its balance, then tidy any visible glue threads and excess tails.


The star should sit above a gradually widening stack of loops. The base should rest evenly on a level surface, and the glued layers should stay together when you gently move the tree.
If Your Tree Looks Different
My tree looks narrow or cylindrical
Check whether the lower loops are larger than the upper ones. An even loop size all the way down creates less taper. Also check that you have not coiled the lower layers too tightly.
My open loops keep closing
Revisit the snug-pass/open-loop sequence in Steps 3–5. Hold each open loop at the size you want while tightening the neighboring securing pass.
The tree leans to one side
Dry-fit it on a level surface before adding glue. Align the star over the base and distribute the spiral evenly; once glue has set, avoid pulling hard on the loops.
I run out of cord earlier than expected
Confirm the starting length was 8 m and the short end was 60 cm. Oversized early loops, a thicker cord, or loose spacing can use the working length more quickly. Keep the first loops close to the demonstrated size.

Display It, Gift It, Make It Yours
Set one beside a place card, on a narrow mantel, or on a small shelf. The star and looped branches give it enough detail without extra beads. For storage, place it upright in a small box so the loops are not crushed.
Share your finished piece and tag @bochiknot on Instagram. Seeing how a familiar pattern looks in another maker’s colors is part of the fun.
Questions Before You Start?
How much cord does this macrame Christmas tree use?
Cut one continuous 8 m length of 4mm braided cord. Fold it 60 cm from one end to create the short anchor and long working end. Any optional hanging loop is extra.
Is this a no-glue macrame Christmas tree?
No. The strip is knotted, but glue secures it into the three-dimensional spiral. Have the glue gun ready before you start assembly.
Can I hang this tree instead of standing it up?
You can add a separate hanging loop to the wooden star. Check that the frame and glued layers are secure and that the tree hangs upright before displaying it.
Can I make a larger version with the same cutting list?
The 8 m cutting length is for the small tutorial size. A larger tree requires a new cord estimate and may need a different frame or support. Make this version first instead of simply stretching the loops.
What Would You Like to Make Next?
Keep exploring with another free Christmas macrame tutorial. Choose a different construction to build on what you just practiced.

Mini 3D Macrame Christmas Tree Ornament: Free Leaf Pattern
Practice small leaf motifs and build them into a hanging 3D tree.
Try This Free Pattern →
Macrame Star Snowflake Ornament: Free Step-by-Step Pattern
Repeat a geometric knot motif around a ring to create six points.
Try This Free Pattern →
Daisy Knot Christmas Wreath
Try a wreath ornament with a different decorative knot pattern.
Make The Wreath →Browse all Christmas macrame tutorials, or follow the Macrame Journey to choose your next learning stage.
KEEP A KNOT REFERENCE NEARBY
A Little Help Between Tutorial Pauses
Revisit a knot before repeating it across your project. Our free 50 Macrame Knots & Sennits guide gives you a reference to return to as you learn.
Get The Free Knot Guide →A LITTLE SUPPORT FOR YOUR NEXT PROJECT
Keep Learning With The Bochiknot Patreon Community
If you would like a regular reason to pick up your cord, explore the Bochiknot community on Patreon. Choose the level of guidance that fits the projects you want to make.

TIER 1
Mini-Macrame Creations
Explore smaller projects with patterns and video guidance.

TIER 2
Mastering Macrame Skills
Build your technique through guided projects, lessons, and creative challenges.

TIER 3
Macrame Masterpiece
Explore a learning and materials-kit option. Compare the kit schedule and shipping details on Patreon.
Tier 3 also has Macrame Masterpiece Lite (S2) and Macrame Masterpiece Bundle (S1) options. See Patreon for the current inclusions, availability, and pricing.

NICOLE WOO · BOCHIKNOT
Start with a few even loops, then enjoy seeing a simple strip become a little tree. Dry-fitting before gluing makes the finishing stage much easier. Happy knotting!

A Little Inspiration Between Projects
Follow Bochiknot for tutorials, new ideas, and more ways to keep knotting.
Pattern and instruction: Nicole Woo, Bochiknot. Original step photographs accompany the linked tutorial. Lifestyle scenes are styled illustrations of the finished project.

Leave a comment