START HERE: The Complete Beginner’s Guide to Macrame

Macrame Made Easy: Your Ultimate Beginner's Guide to Macrame
Picture this: you're cozy at home, sipping your favorite tea, while beautiful knots and patterns begin to take shape right in front of you.
Macrame is not just a hobby; it’s a delightful and therapeutic way to express your creativity and unwind after a long day.
If you're excited about macrame but feeling a bit lost, don’t worry!
This guide is here to walk you through everything you need, step by step. From setting up your own workspace to mastering essential knots, we’ll cover it all.
You’ll also discover the best types of cord to use and where to find free, easy patterns to get you started.
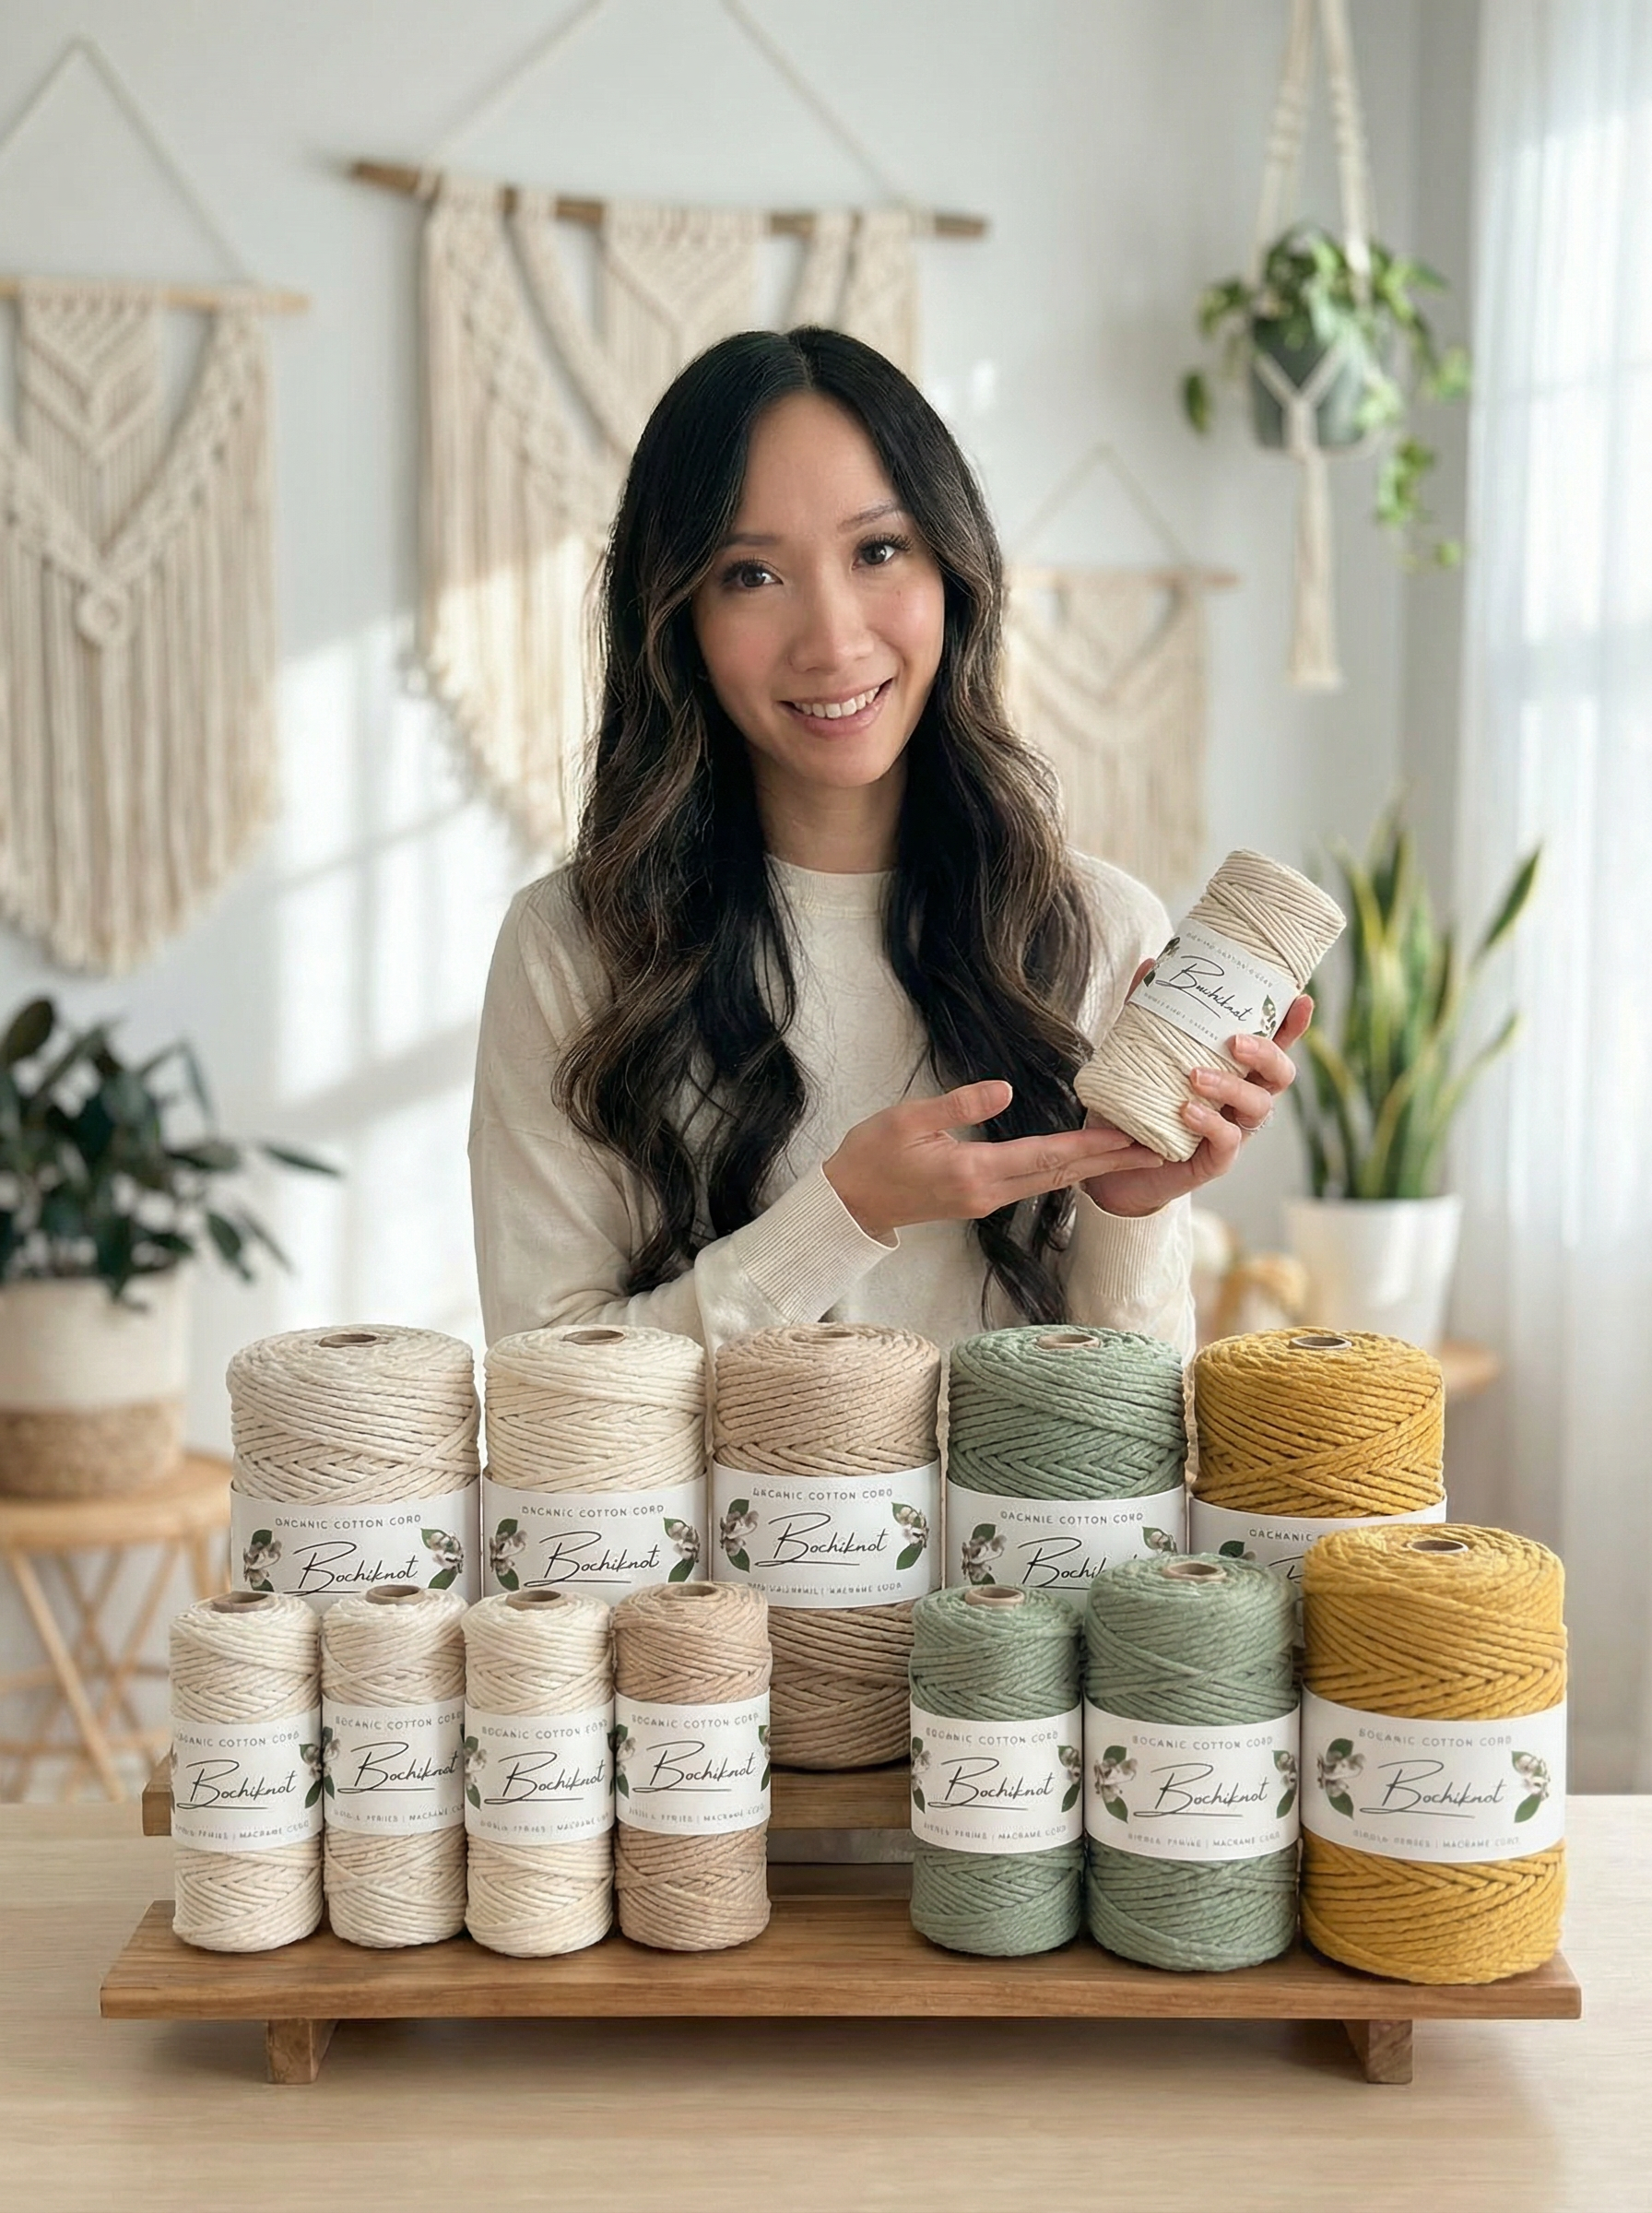
At Bochiknot, our mission is to help you embrace the artistry of macrame and express your unique style.
After all, finding a hobby that calms your mind and sparks joy is always a win!
By the end of this macrame starter guide, you’ll be ready to create beautiful pieces like wall hangings, plant hangers, and keychains.
Let’s get started on this exciting journey together!
Where it All Began: My Macrame Journey
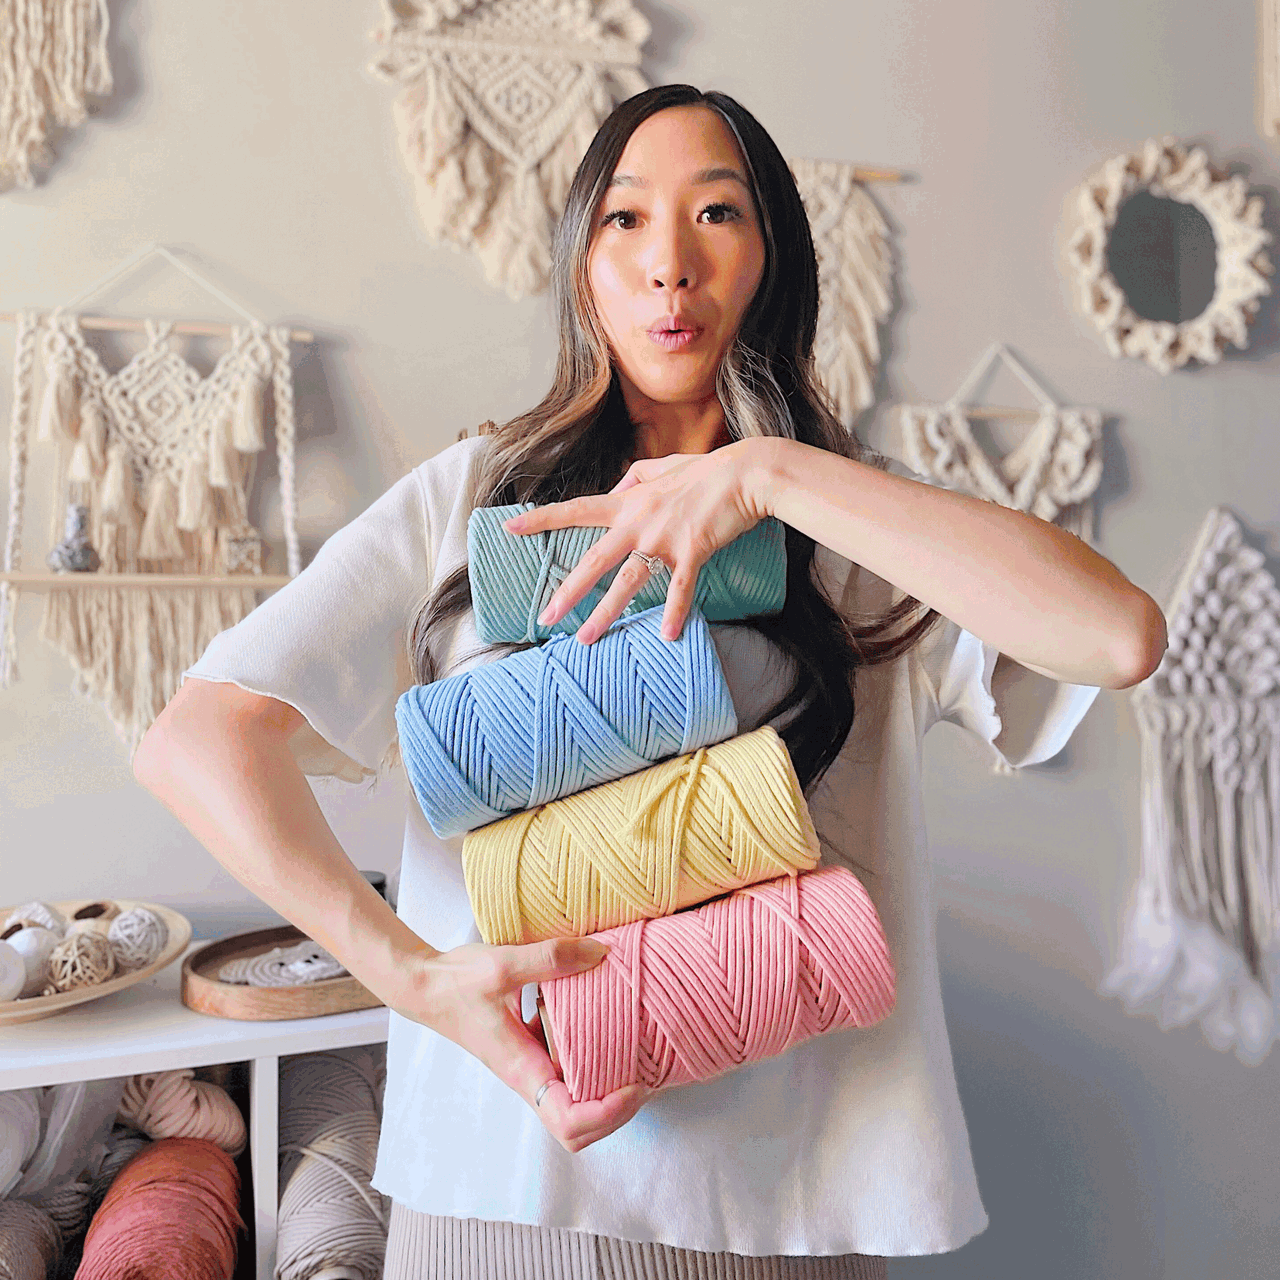
My name is Nicole, and I am super excited to introduce you to the world of Macrame. This craft is not anonymous; it was made to be shared with everyone.
I hope that sharing my knowledge and experience with all of you will save you from making the same mistakes I’ve made – and trust me, there have been countless my-knots.

I was also once a beginner – this may seem like an obvious statement, but I think it is so often overlooked and forgotten.
By day, I was crunching numbers as a Chartered Public Accountant, but the allure of crafting was never far… I wanted to do more than play with spreadsheets.
I imagined a world where spreadsheets met intricate knots, and creativity became more meaningful.
I was born and bred in Calgary, Canada. I had a thing for finance and artistic flair, and that's where my macrame journey started.
It started with a Pinterest deep dive into wall art for my new home and some popcorn.
The boho off-white wall hangings appeared on my radar via my Pinterest Feed. As soon as I saw one wall hanging, I ventured deeper into the world of macrame.
It pulled me in without me realizing, and I was ready to start knotting. I just had a feeling I was going to love it.

I started with small keychain patterns that looked easy to make.
While I purchased the wrong type of cord for those macrame keychains, I felt that I could get a good grasp on the knots, and from there, I knew I was ready to take on something more significant.
The peace, calm, and satisfaction this project gave me had me hooked.
I wanted more, and I wanted to help others find theirs.
So I carried on, and do you know what?
- Many, many mistakes were made.
- Countless hours were spent practicing behind the scenes.
- I made progress my only mantra – not perfection!
Fast forward, and I'm here to share my journey with you today.
Macrame isn't about perfection; it's about embracing the process, from tangles to triumphs – knotting to un-knotting!
So, What is Macrame?
I often get asked this, so let me explain what macrame is and what it means to me.
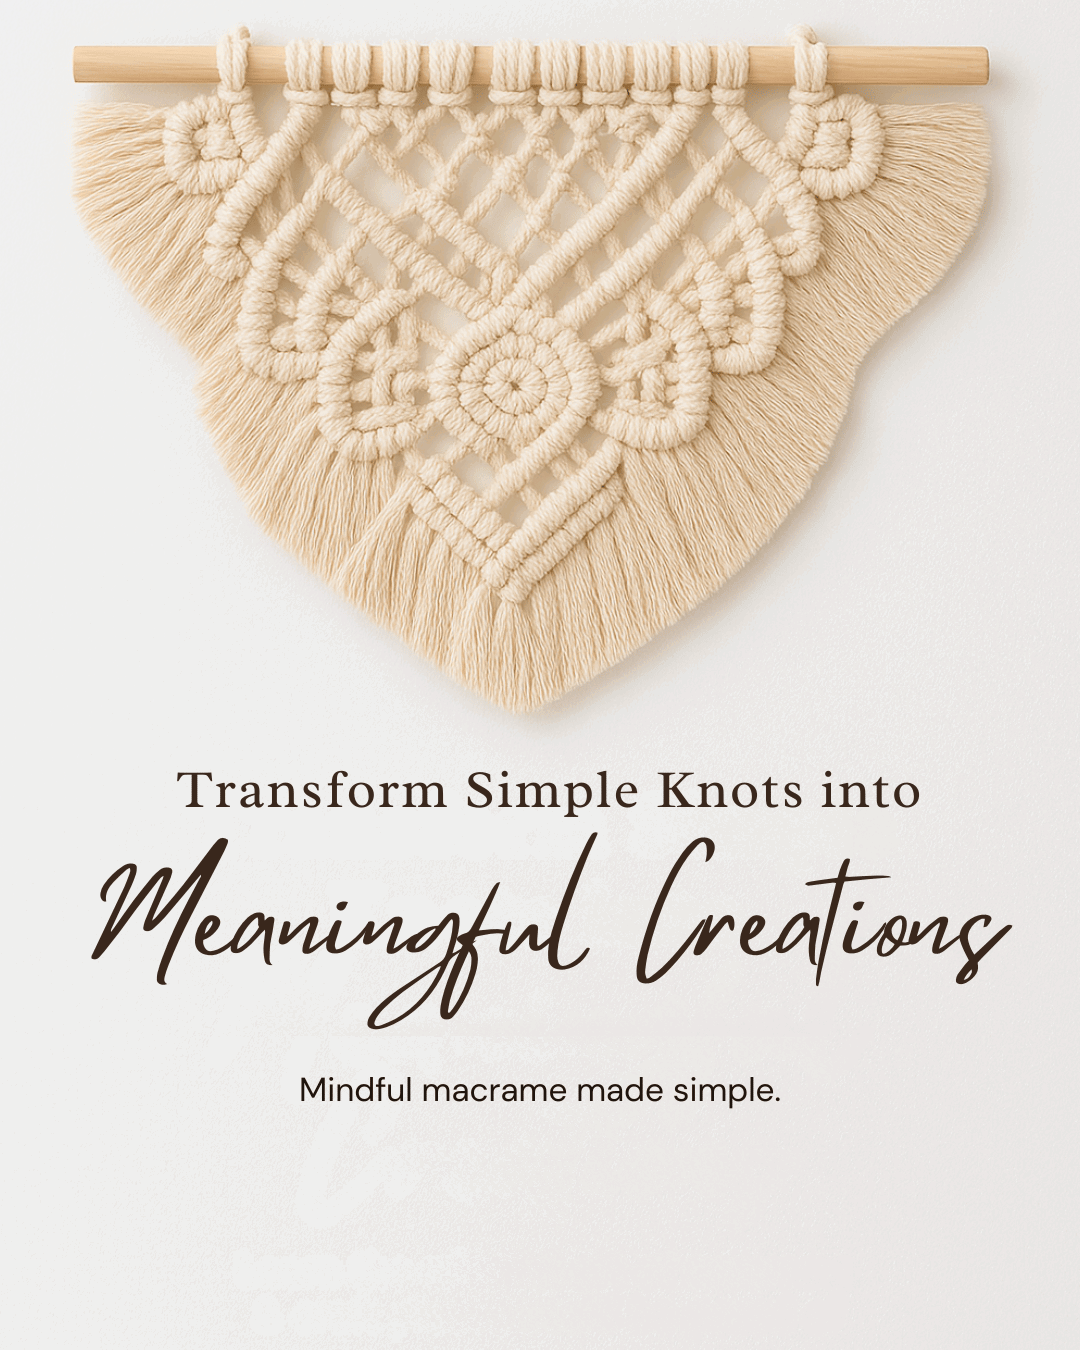
Macrame is the art of tying knots to create beautiful designs.
You can make countless things, but they all use the same basic knots in different ways to form unique patterns and textures.
For me, macrame is a way to find calm.
I was asked why I love knotting during a recent discussion with my macrame community.
My answer is simple: it gives me a peaceful space to create and helps me clear my mind.
I find it very meditative, calling it my “mind yoga.”
History and Art of Macrame
Macrame has a fascinating history that stretches back centuries and crosses continents.
It’s believed to have started with Arab weavers in the 13th century, who cleverly used leftover thread and yarn to create beautiful decorative fringes on textiles.
The term "macrame" comes from the Arabic word "migramah," which means "striped towel" or "embroidered veil." How cool is that?
As time passed, macrame went from the Arab regions to Spain and Italy, spreading across Europe like wildfire.
During the Victorian era, it took off and became super popular.
One standout was Sylvia's Book of Macrame Lace, published in 1890, showcasing how to create stunning clothing trims and decry out Victorian homes with macrame tablecloths, bedspreads, and curtains.
Today, macrame continues to inspire artists and enthusiasts alike.
It’s a beautiful blend of history and creativity, filled with intricate knotting techniques that keep us all coming back for more!
Discover Macrame Magic: How Macrame Can Brighten Your Life
Starting your macrame journey is not just about making art; it has many rewarding benefits. Here are some great reasons to give it a try:
- Creative Outlet: Macrame lets you express your imagination and show your unique style. You can tap into your artistic side and create beautiful pieces that reflect your identity.
- Relaxation and Mindfulness: Knitting and creating patterns can be a calming activity. It helps you focus, reduces stress, and creates peace.
- Sense of Achievement: Completing a project gives you great accomplishment. Watching your creations come to life boosts your confidence and shows how much you’ve grown.
- Versatile Craft Projects: Macrame offers endless possibilities for fun projects. Whether you want to make jewelry, plant hangers, or clothing decorations, you can use macrame techniques to explore your creativity.
Engaging in macrame has many benefits, but we especially love how it nurtures your creativity and promotes relaxation.
Getting Started with Macrame
Now that you know a bit about me and why macrame is fantastic, let’s start!
Here are some simple steps to begin your macrame journey:
- Gather Your Tools and Supplies: Collect everything you need for macrame.
- Set Up Your Workstation: Create a comfortable space to work on your projects.
- Learn Basic Knots: Start practicing the essential knots used in the macrame.
- Pick a Beginner Project: Choose a simple project to start with.
- Start Creating! Now it’s time to make your macrame piece!
In this guide, we will focus on the first three steps.
These steps will help you build a strong foundation for your macrame journey and give you the skills and confidence to complete your first project!
Language of Macrame: Must-Know Terms for Beginners
When starting with macrame, it’s helpful to know some key terms.
Here are the basics you should understand:
- Knots: Macrame uses different knots, like the Square knot, Lark's head knot, and Double Half Hitch knot. These knots are the building blocks of macrame.
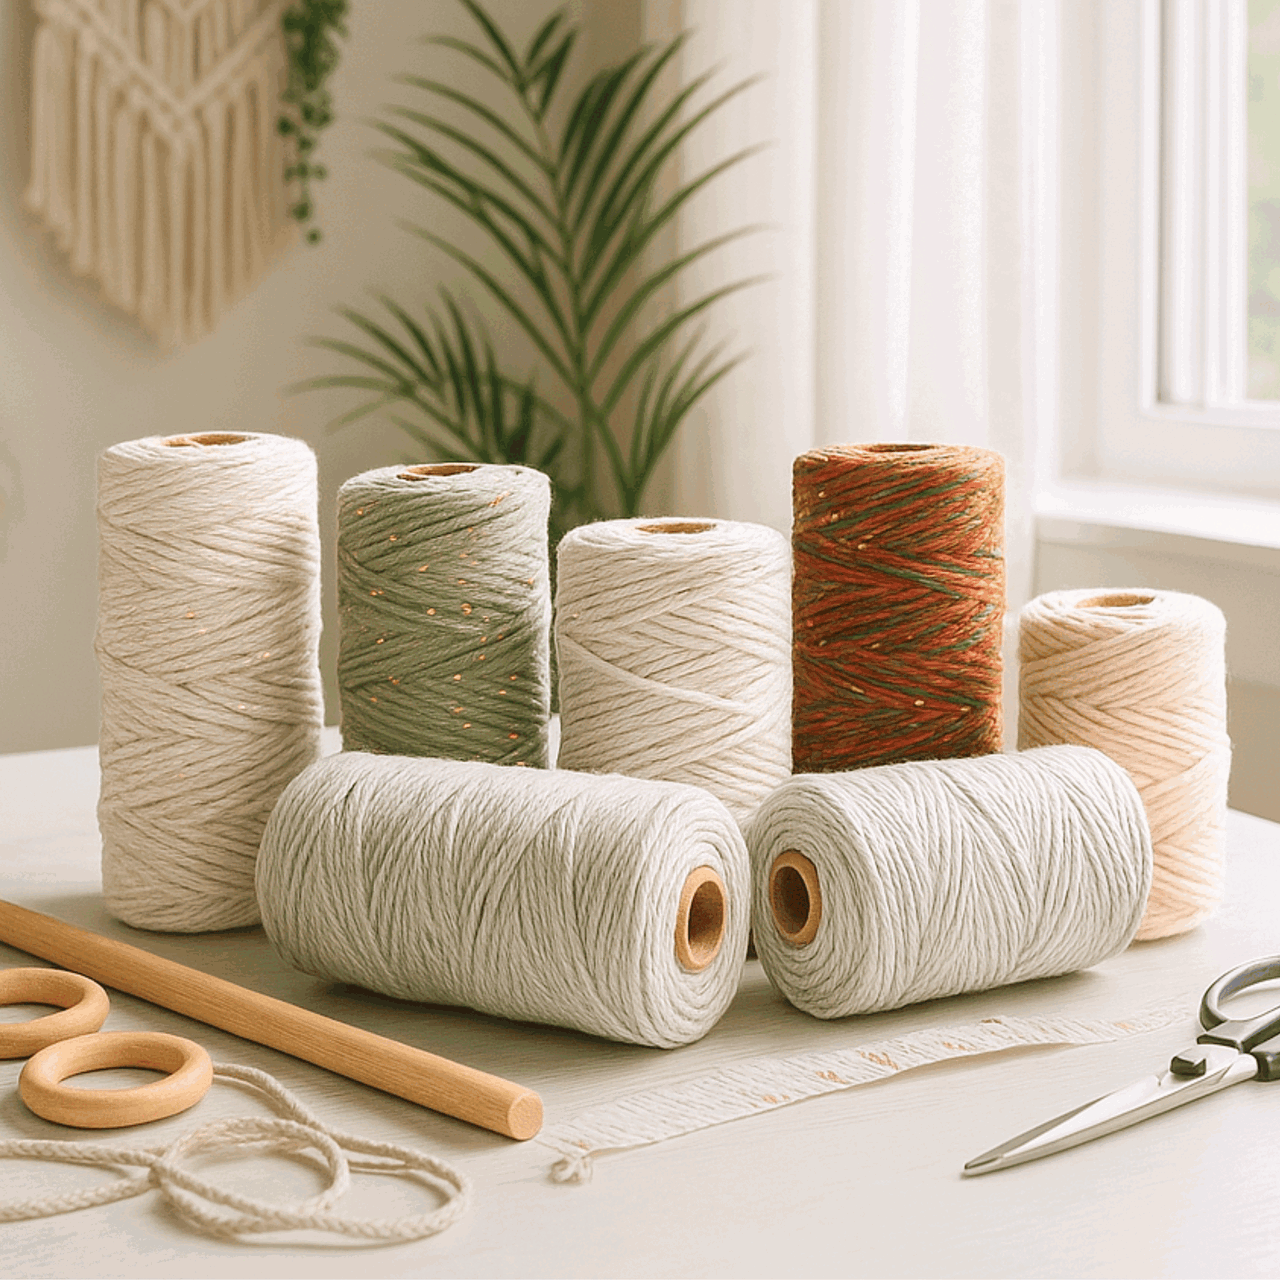
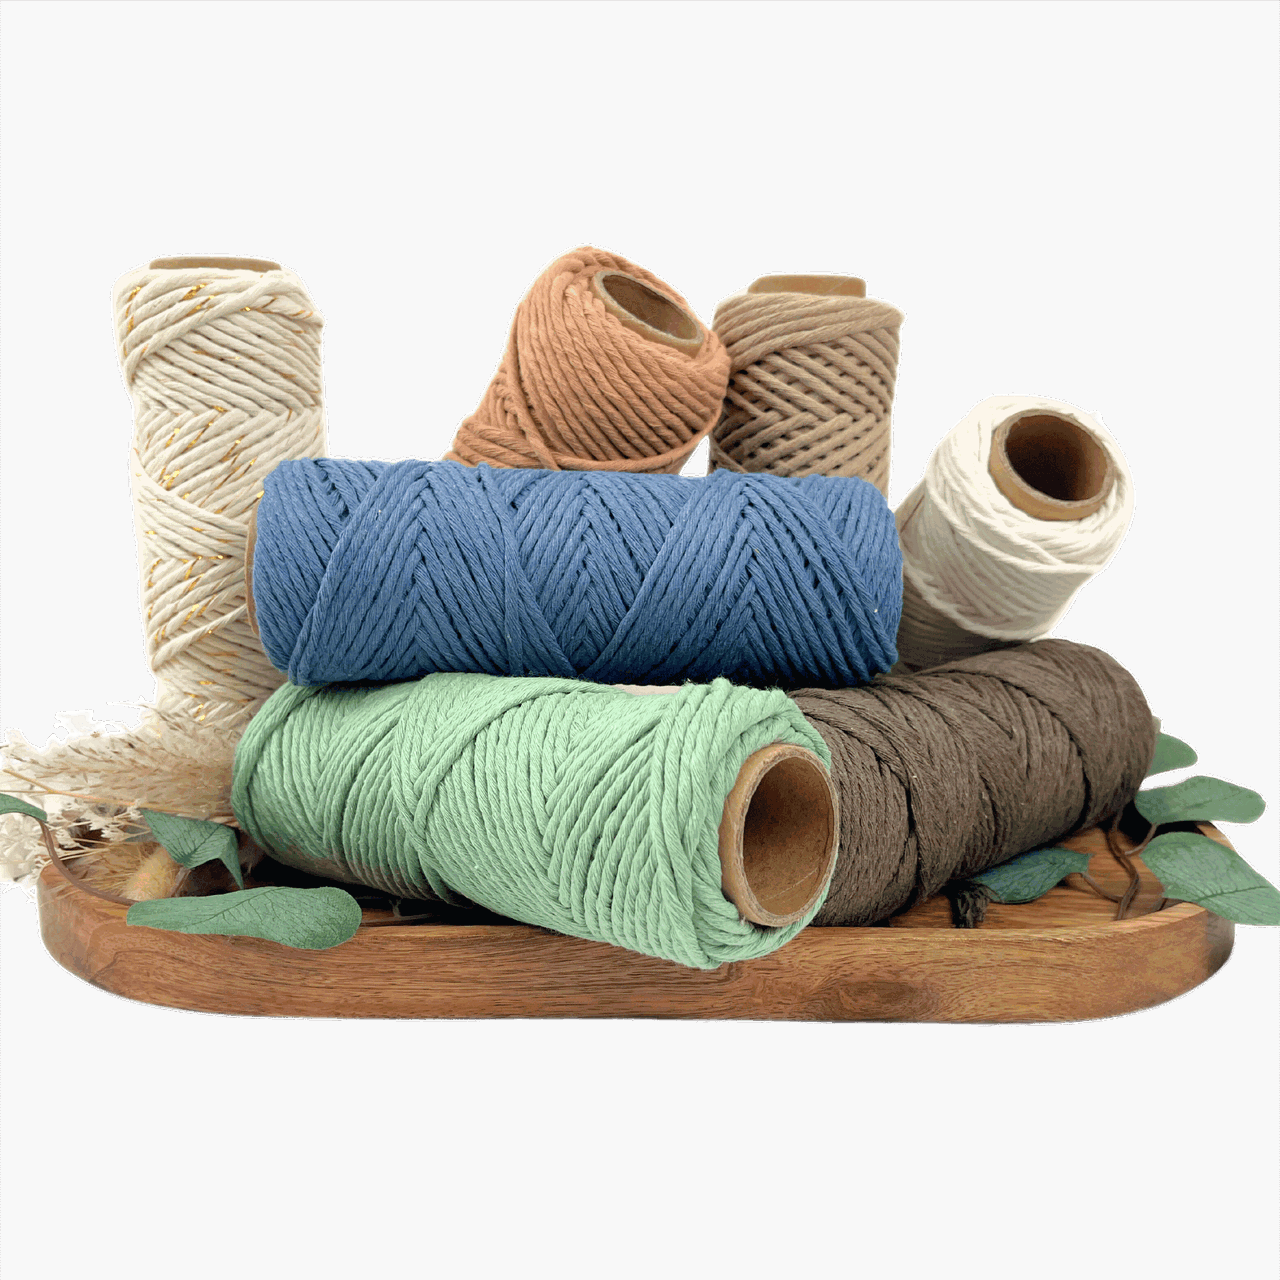
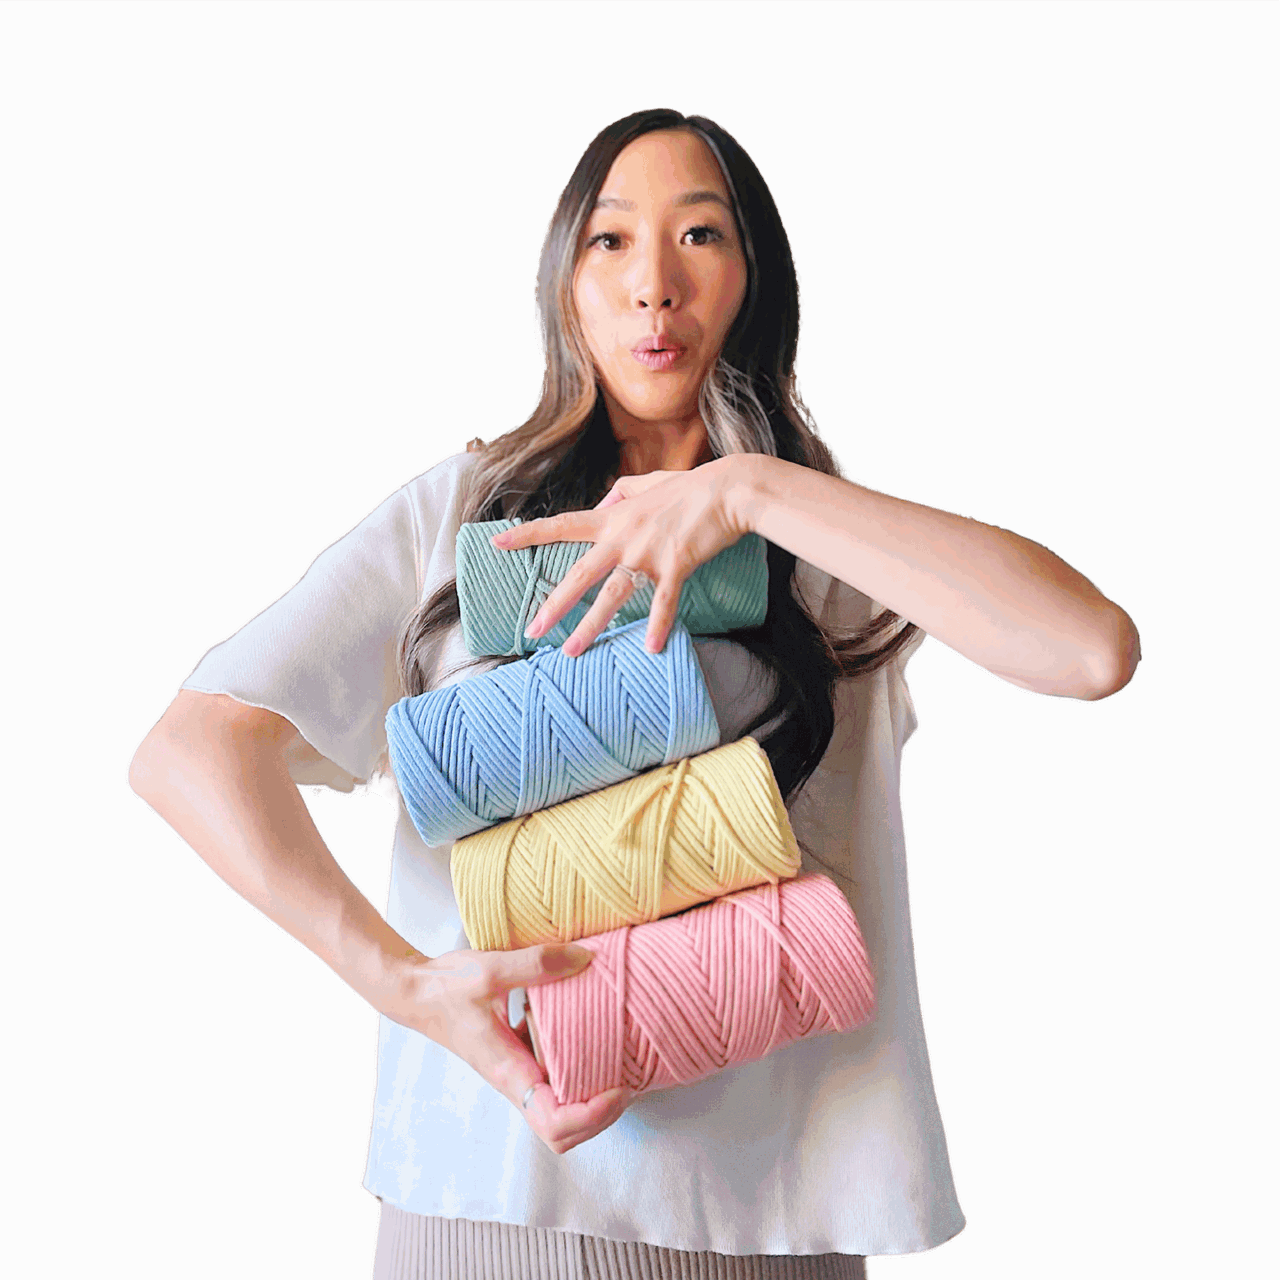
- Cords: Cords are the primary material for macrame. They can be made of cotton, jute, nylon, or synthetic fibers and come in various thicknesses and colors (check out our store for options).
- Fringe: Fringe is the loose ends of cords that hang down, adding a decorative touch to your projects. You can leave the fringe as is or trim it to your desired length.
- Tension refers to how tight or loose the cords are while you work. Keeping consistent tension is essential for making your knots look neat.
- Sennit: A sennit is a series of knotted cords, often used in plant hangers and sometimes in wall hangings. It adds texture and interest to your designs.
- Spacer: A spacer is an object that keeps a consistent distance between knots or cords, helping you create even patterns.
- Anchor Cord: The fixed cord or structure holds other cords in place, giving your design stability.
- Working Cord: This is the cord you actively use to create knots and patterns as you work on your project.
- Mounting Knot: This knot secures your macrame project to a dowel, ring, or other support.
- Decorative Knot: These knots serve a purpose and add beauty to your designs, like the Berry knot.
As you continue your macrame journey, you’ll learn more specific terms and techniques, but these are the essential ones to know for now.
Essential Materials, Tools, and Supplies for Macrame Beginners
You’ll need a few essential tools and supplies to start your macrame journey. You might already have some of these at home:
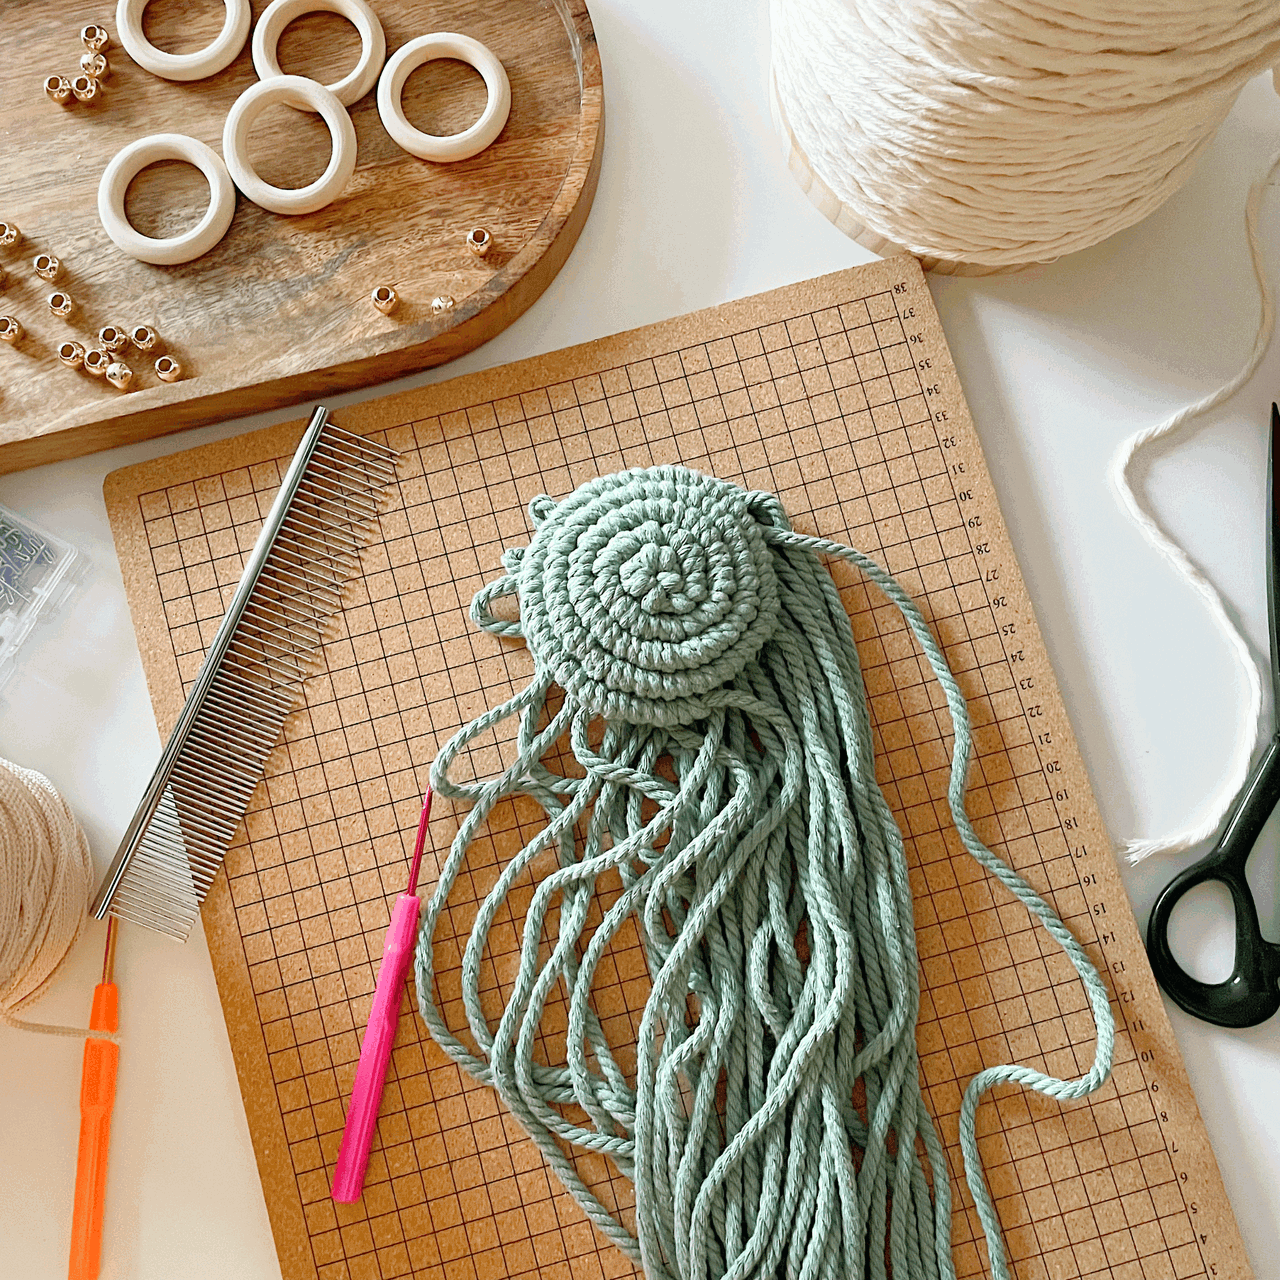
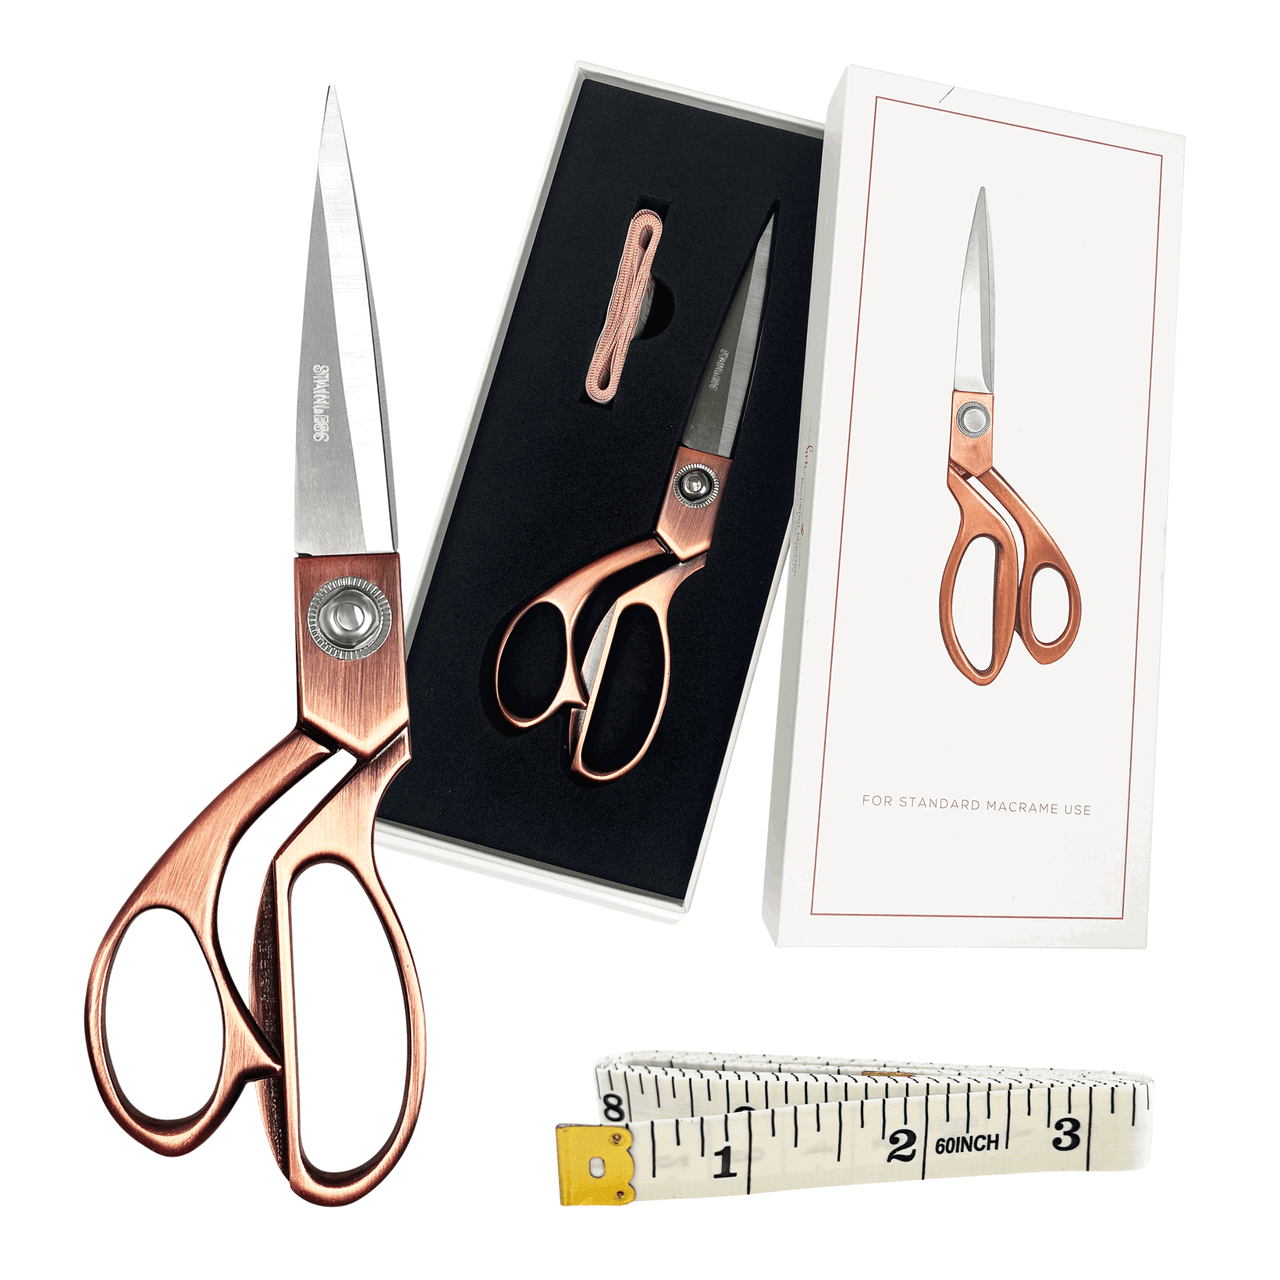
- Scissors: A good pair of sharp scissors is essential for cutting cords quickly. Macrame scissors are great, but kitchen or craft scissors will work if you don’t have them. Make sure they’re sharp to save time significantly when cutting several cords.
- Measuring Tape: This helps you accurately measure and cut your cords, saving material. A ruler can work for now if you don’t have a measuring tape.
- Comb: A fringe comb or brush helps untangle and straighten cords, especially when making fringes.
- Tape: Packaging tape is handy for securing your project to a stable surface while you work.
- S-Hooks: These can hold a dowel stick in place for larger projects like wall hangings or plant hangers, but they’re not necessary for beginners.
If you don’t have scissors or measuring tape at home, I recommend these heavy-duty, super-sharp scissors.
They’re great for macrame and also work well as regular household scissors!
Additional Tools and Supplies for Your Macrame Projects
You might need extra tools and supplies depending on your chosen project.
Our patterns always list what you need, but here are some common materials you might use:
- Key Ring or Swivel Lobster Clasp: If you’re starting with a keychain project, you’ll need one to attach your cords.
- Wooden Dowel: You’ll need a wooden dowel or rod for wall hangings. You can even use a sturdy branch you find outside as a hanger.
- Small Ring: If you’re making a plant hanger, a small (2-inch) wooden or metal ring can be helpful. However, many patterns let you use knots to create a loop instead, which makes it easier for beginners.
As you get started with macrame, you might also consider these additional tools:
- Crochet Hook: This tool is great for adding details, weaving loose ends, and manipulating cords when making complex designs. I would highly recommend having a crochet hook by your side.
- Clothespins, Binder Clips, or Paper Clips: These can help secure cords in place while you work.
- Tape: Use tape to mark measurements, guide your knotting, or temporarily hold cords in place. It helps keep everything stable as you create.
These tools will help you on your macrame journey and make your projects easier!
Macrame Cords
Macrame cords have journeyed through time, evolving along with artistic trends.
In the vibrant era of the '70s, macrame boasted a kaleidoscope of vibrant synthetic cords, igniting an explosion of colorful creations.
Fast forward to the revival of macrame in the 2010s, and a new aesthetic emerged.
Modern macrame embraced a more subdued and natural palette, with cords predominantly in neutral, off-white tones.
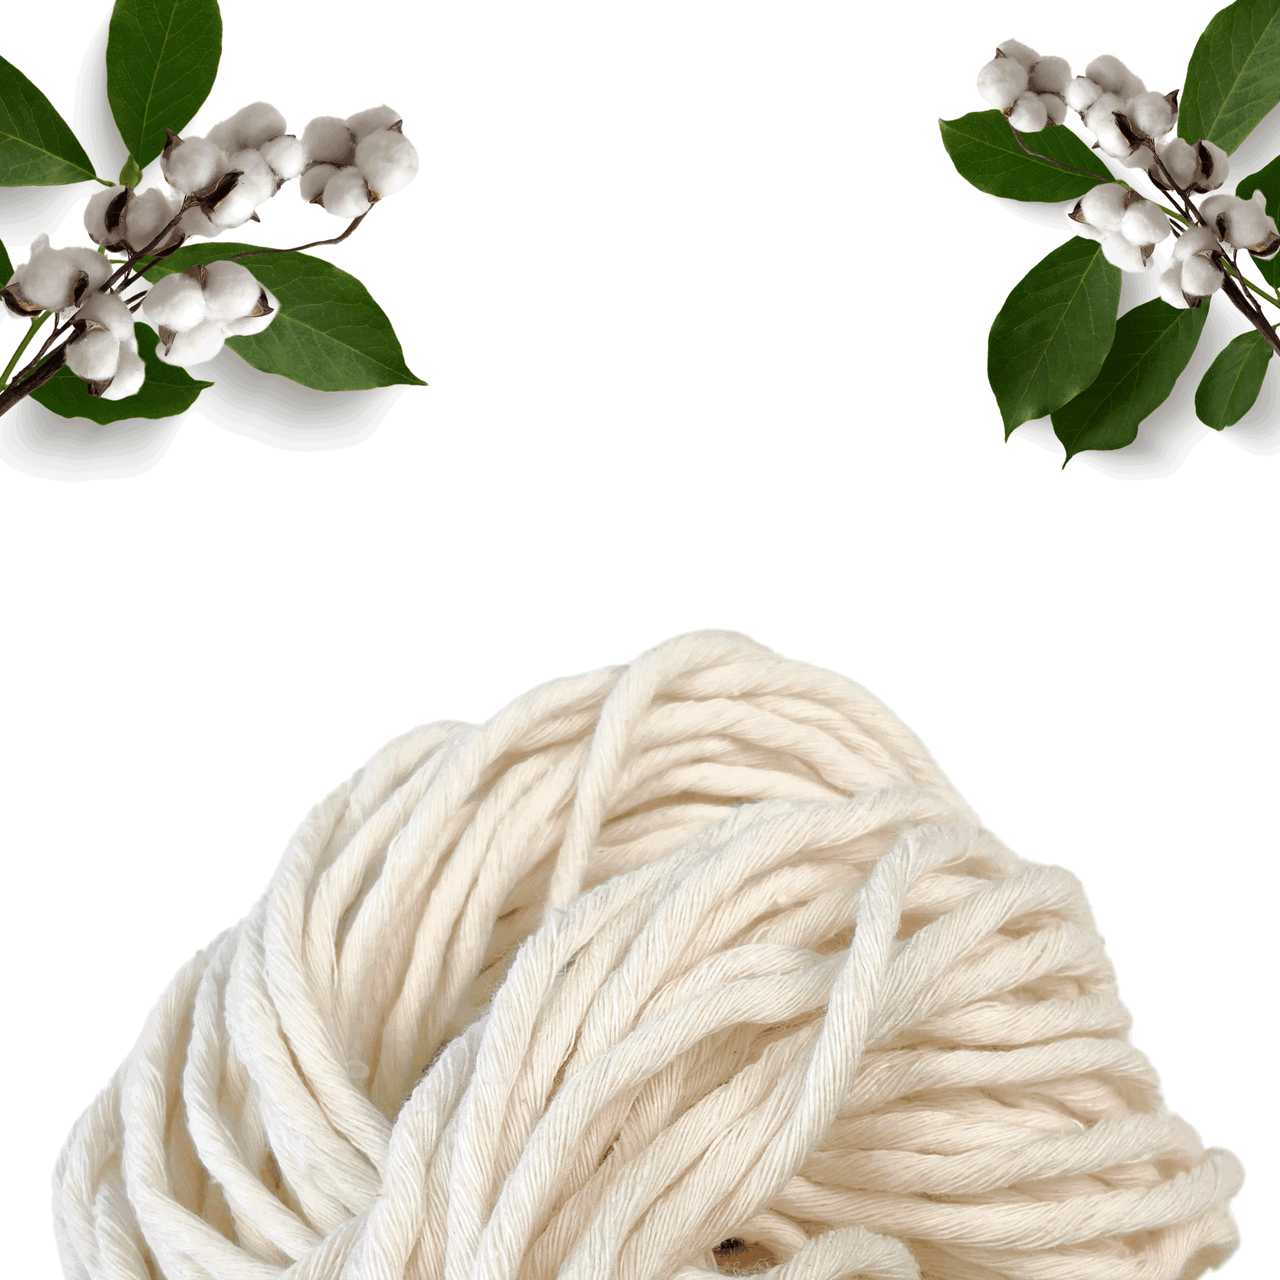
Cotton is the favored material for "modern macrame" enthusiasts such as myself today.
Cotton cords offer a soft yet durable texture, allowing for smooth knotting and intricate designs.
Types of Macrame Cord
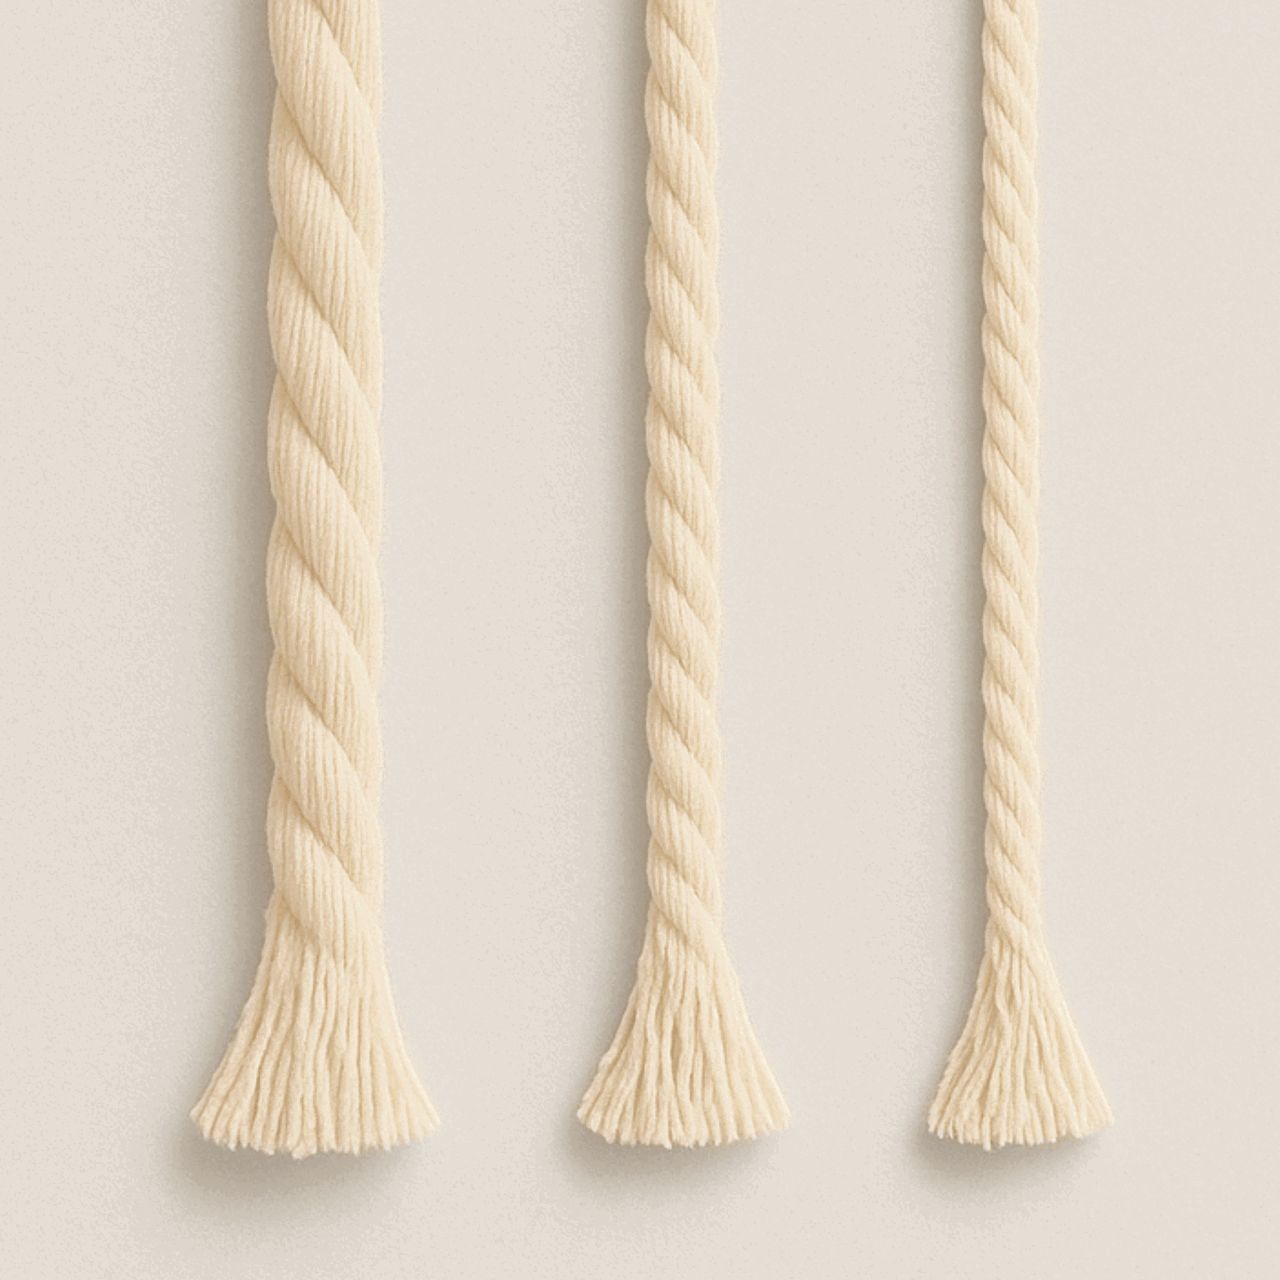
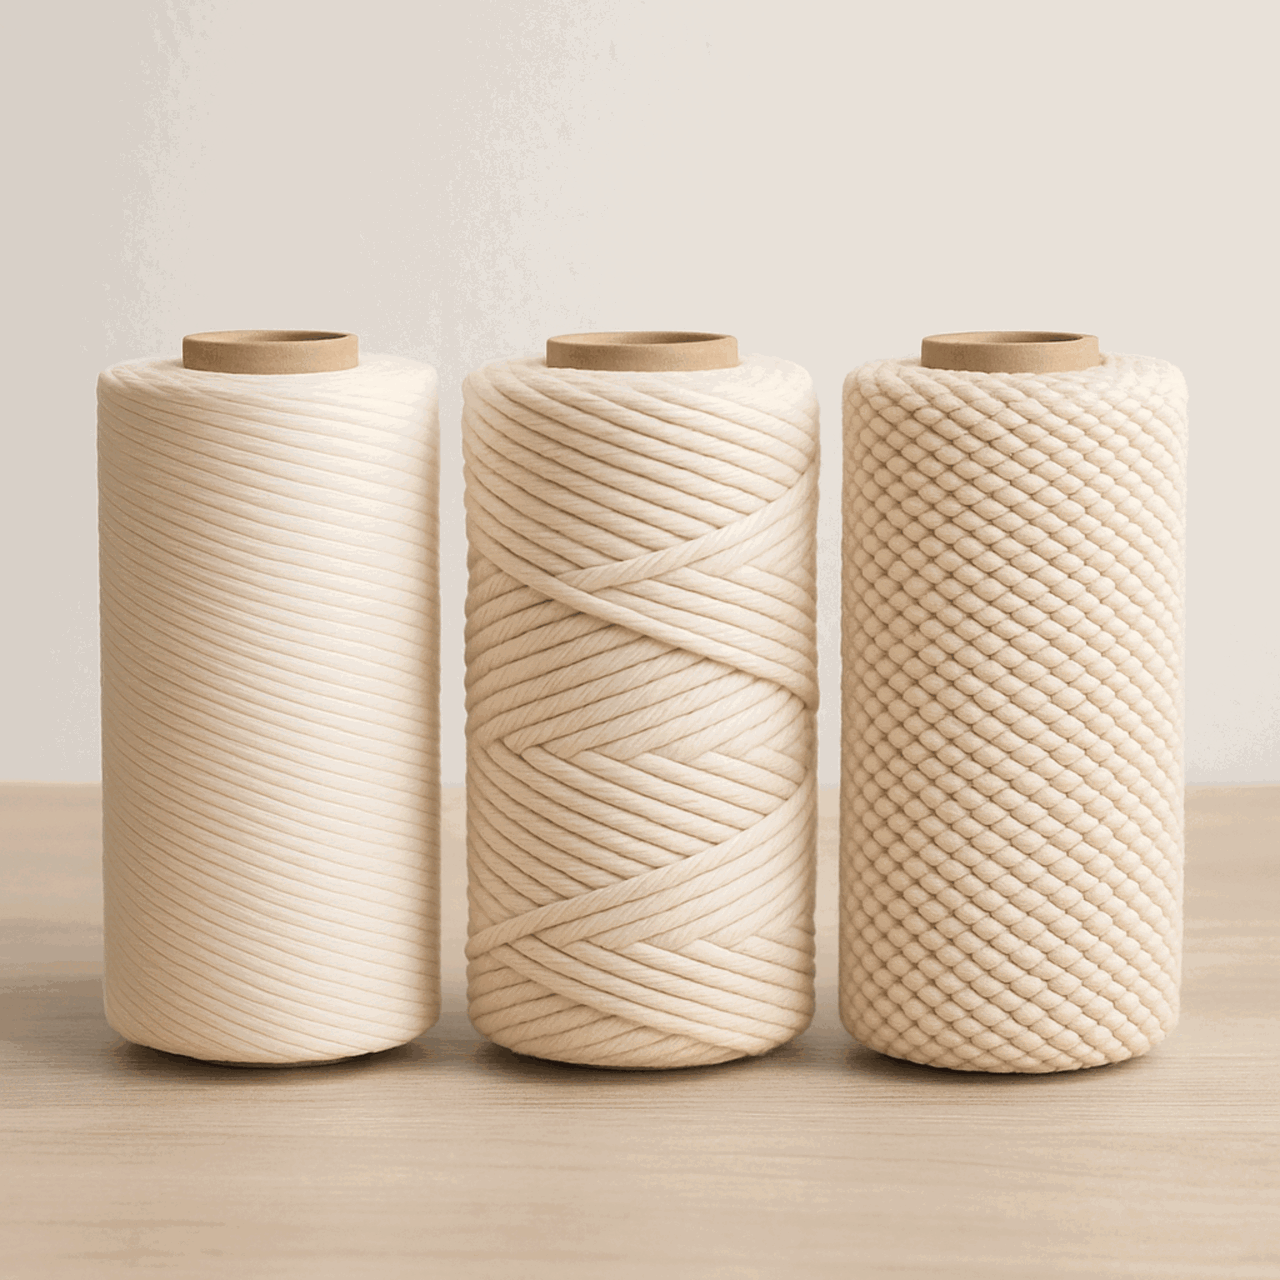
There are three main types of macrame cord to consider:
- Single-Strand: This is the most common type used in modern macrame projects. It is made of many tiny fibers twisted together into one cord. Single-strand cords are easy to work with, soft, versatile, and strong.

- 3-Ply: The 3-ply cord consists of three groups of tiny fibres twisted into a strand. It offers enhanced strength and durability, enabling it to withstand more tension and weight than single-strand cotton cords. It also has a slightly textured aesthetic compared to single-strand cords' flat and smooth aesthetic.

- Braided: Braided cord is made of even smaller groups of fibres weaved together in a braid to create a strand of cord. It is the sturdiest cord of the three types of macrame cords. This type of cord offers enhanced durability, consistent thickness, flexibility, a textured aesthetic, and versatility.

Macrame Cord Sizes
Macrame cords come in different sizes, which affect how your projects look and feel. Here’s a quick guide:
- Thicker Cords (5mm - 9mm): These create a bold and sturdy look, making them great for larger pieces like wall hangings or plant hangers.
- Medium-Sized Cords (3mm - 4mm): These offer a nice balance between thickness and detail, suitable for many macrame projects.
- Thin Cords (1mm - 2mm): These are great for delicate designs and intricate patterns, perfect for smaller projects or micro-macrame.
You can choose from single-strand, 3-ply, or braided cords in these sizes.
For beginners, many projects use 3mm or 4mm cords, which work well for wall hangings, plant hangers, and keychains.
I like using 4mm single-strand cords when starting. They are soft and comfortable to hold, making knotting easier on your hands.
They’re also strong enough to handle mistakes and re-tying, which is helpful for beginners.
This thickness strikes an outstanding balance, perfect for creating basic macrame patterns.
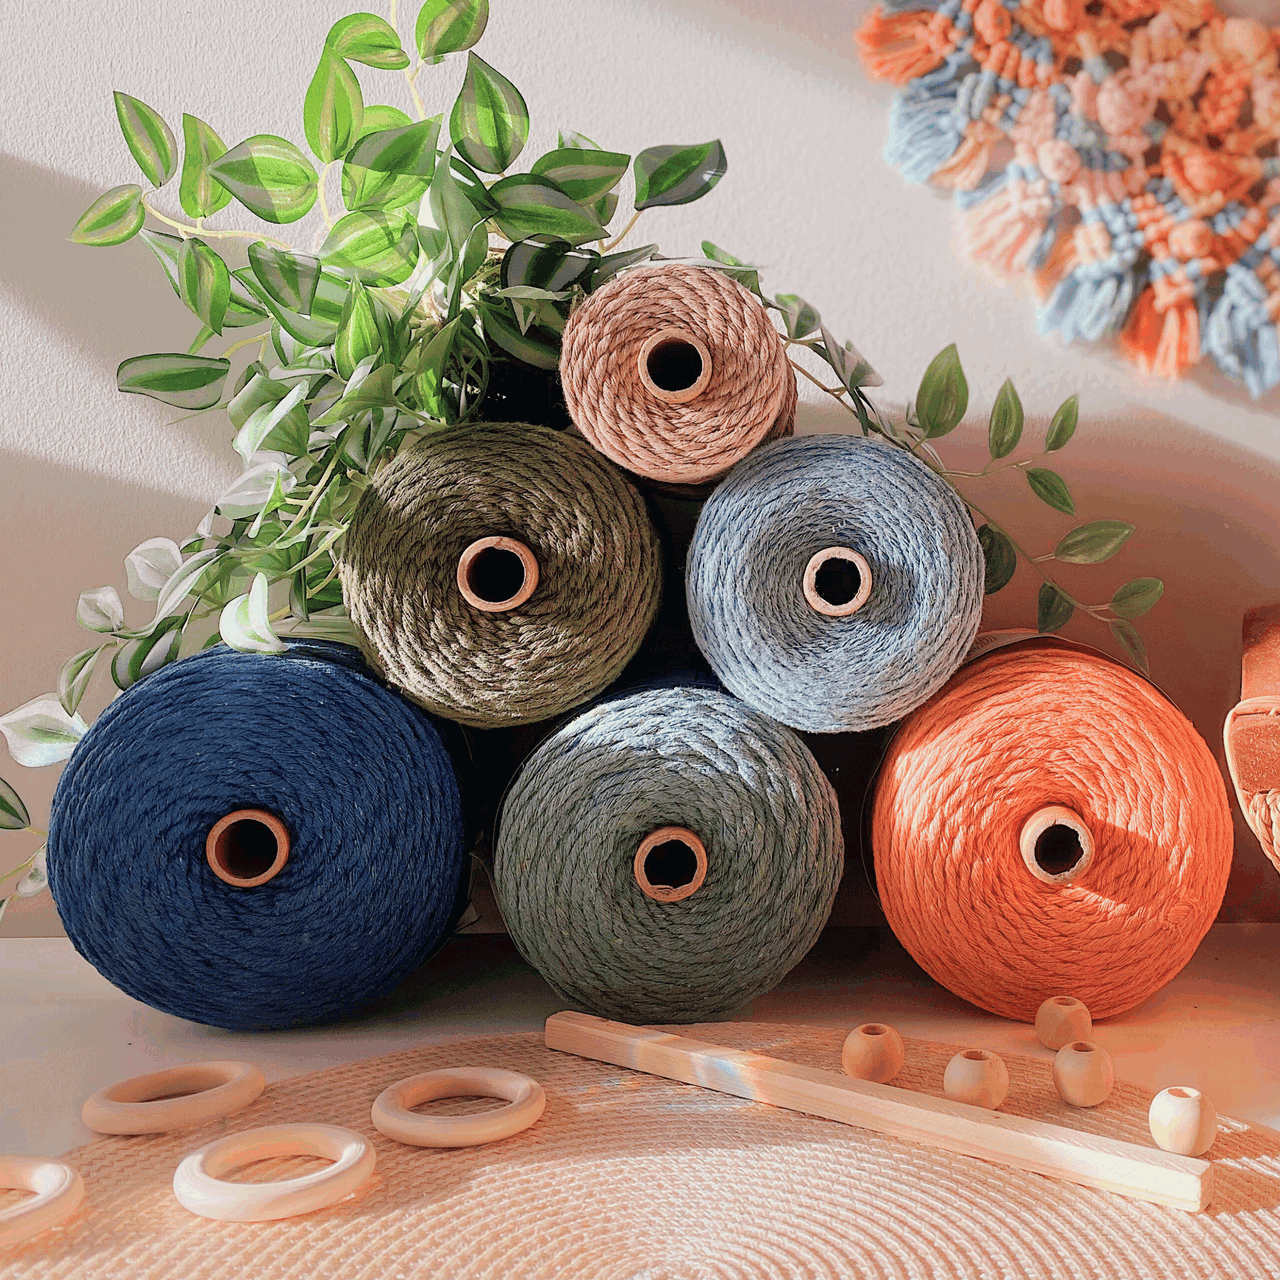
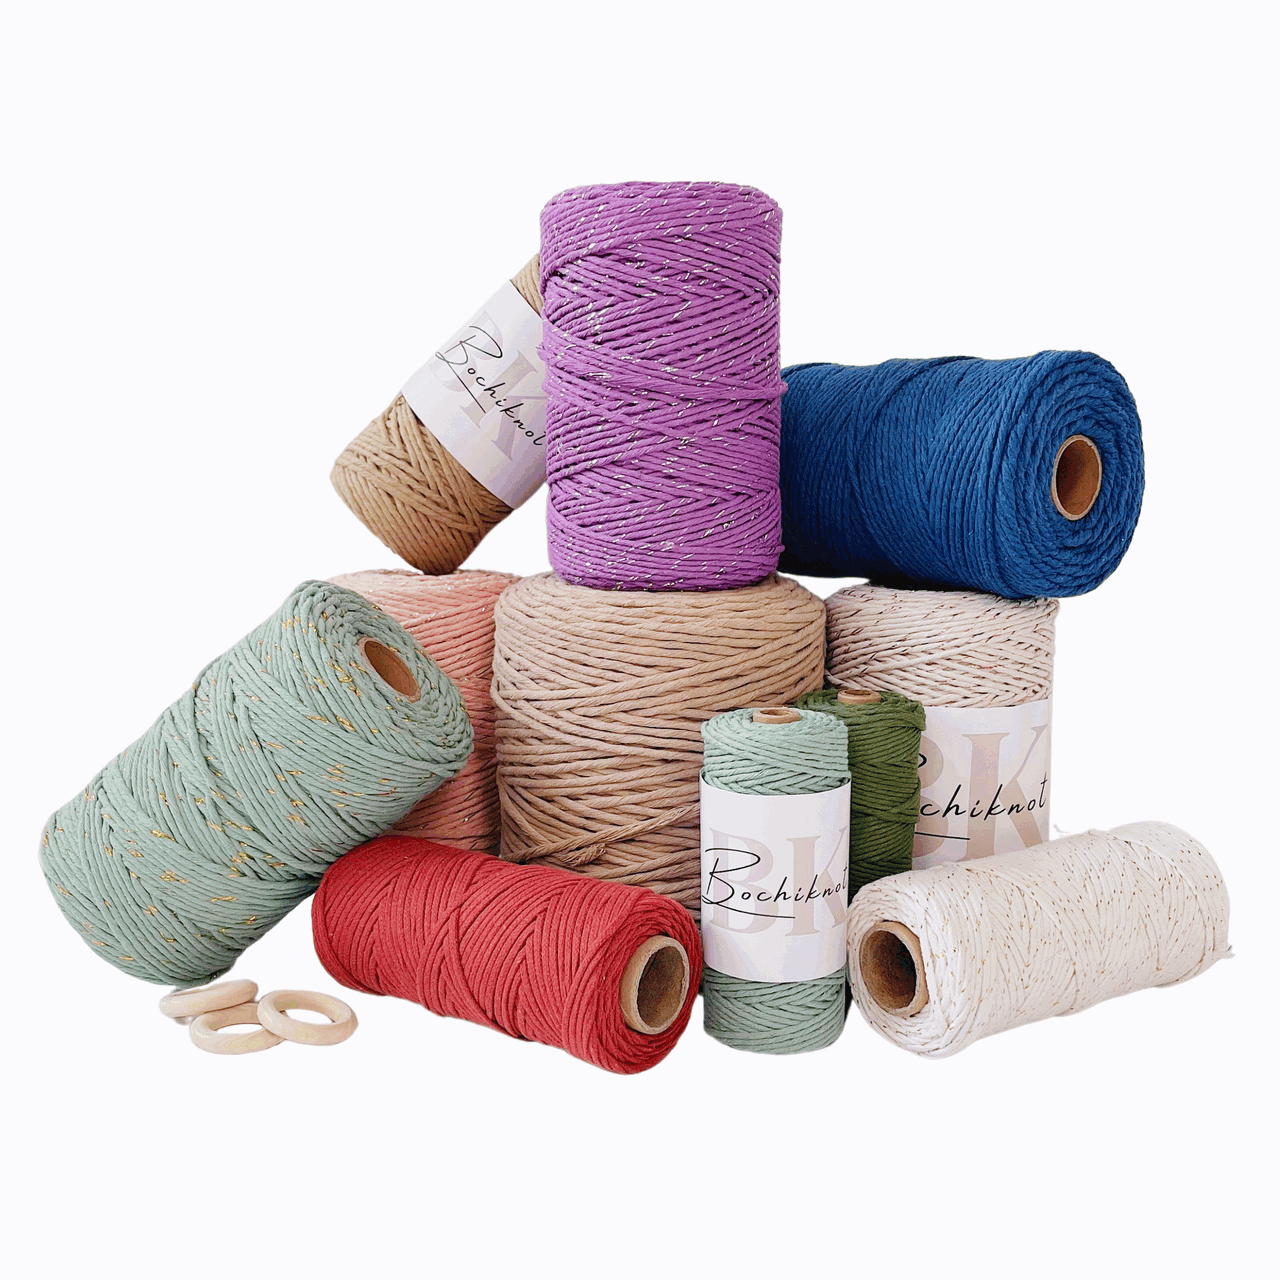
SHOP BOCHIKNOT: Macrame Cord Collection

Other Optional Tools and Materials
As you get more comfortable with macrame, add some extra materials and tools to make your projects even more special.
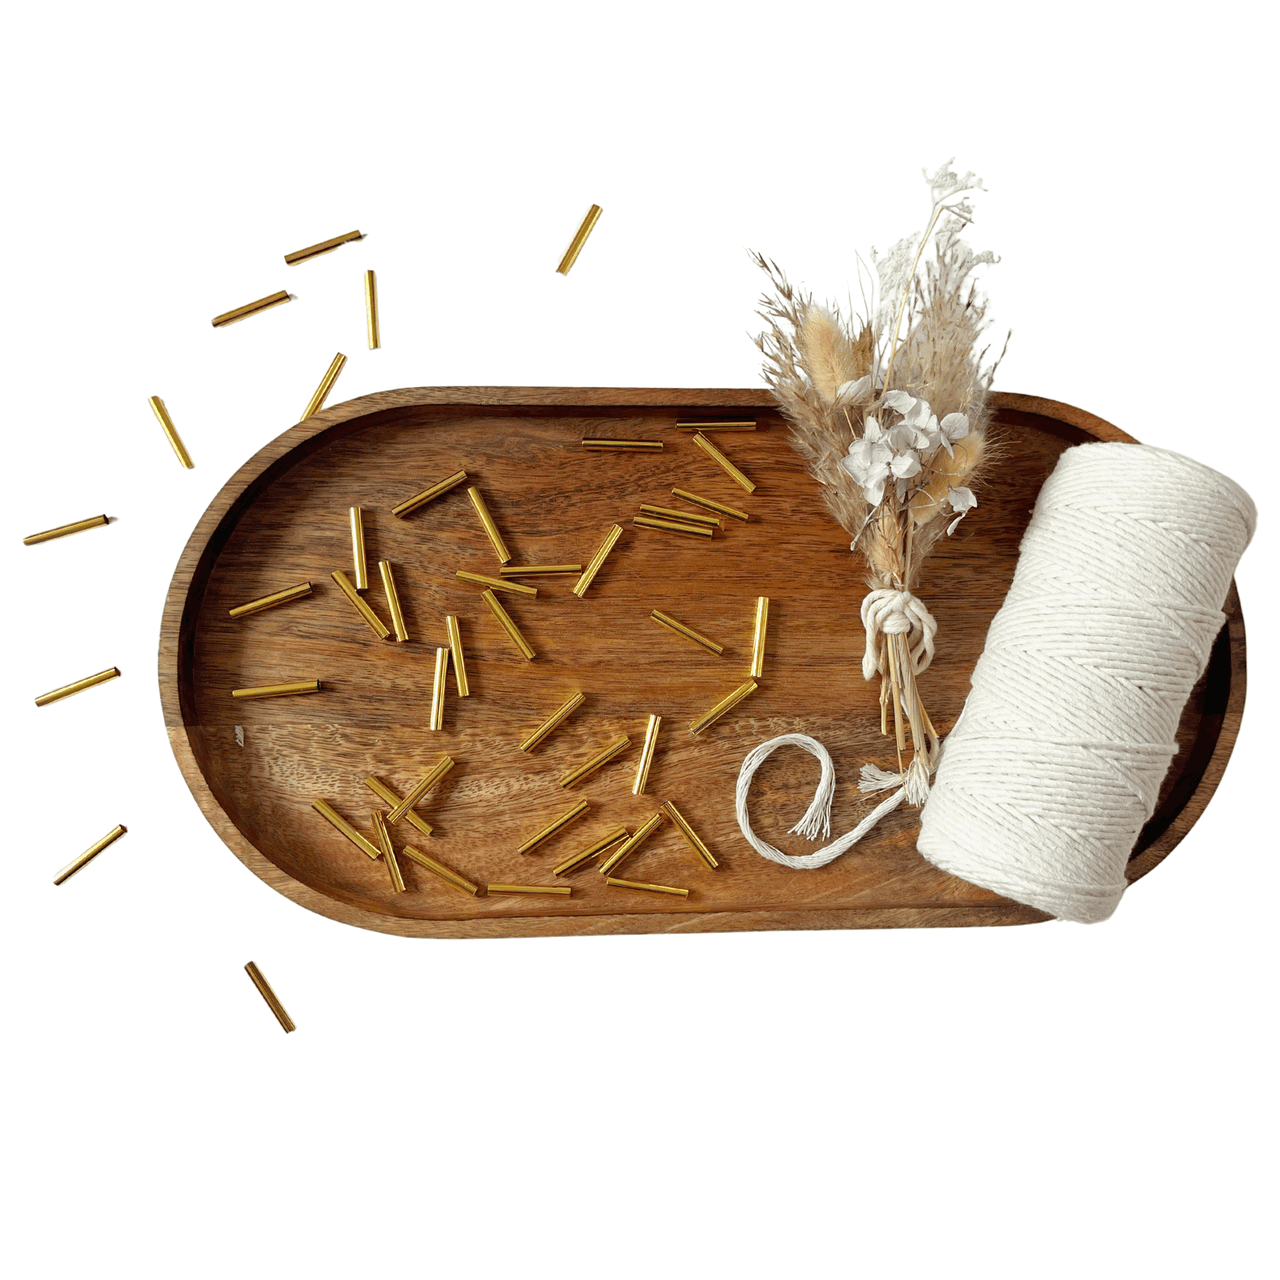
Consider using metal hoops, beads, and other decorative items to add your personal touch to your designs.
These additions can help showcase your macrame work's unique style and creativity.
Where to Find Macrame Supplies
As a beginner, one of the first steps is to gather the right supplies. Luckily, there are many places to find what you need.
Here are some recommendations to help you find macrame supplies, especially if you can’t shop directly on Bochiknot.com.
Online Marketplaces
Explore popular online marketplaces like Amazon and Etsy, where you can find a wide selection of macrame cords, beads, wooden dowels, and other essential supplies.
Local Craft Stores
Visit your local craft stores to find macrame supplies like cords, beads, and wooden dowels.
Shopping locally supports your community and allows you to see and feel the materials before you buy them.
This is especially helpful for beginners.
Touching the cords will help you choose the right one for your desired texture.
Thrift Stores and Second-hand Markets
Get creative and eco-friendly by checking out thrift stores, flea markets, or online second-hand sites.
You might find unique macrame supplies like cords, beads, or even vintage items that you can use in your designs.
As you start your macrame journey, remember that you can also use free or recycled materials.
Look around your home for things like old yarn or driftwood that you can turn into cool macrame hangers.
Let your imagination guide you, and you’ll discover endless possibilities for your macrame projects.
SHOP BOCHIKNOT: Macrame Tools & Supplies
Setting Up a Macrame Workstation
Creating a dedicated macrame workstation is the first step toward building your creative sanctuary.
To immerse yourself in knotting, find a stable surface, such as a sturdy table or desk.
Step 1: Clear the space, allowing your dreams to unfold.
Step 2: Gather your essential materials: a trusty pair of sharp scissors, a measuring tape, and your macrame cords.

If you're ready to take your setup to the next level, consider adding a touch of organization with a macrame board and pins.
This handy tool is perfect for smaller projects, allowing you to secure and keep your cords tangle-free.
Alternatively, for larger or vertical projects, a macrame rack offers a versatile and convenient setup, giving you the freedom to create on a grander scale.
But remember, these tools are not required to get started — your passion and determination are all you truly need.
As you create your macrame sanctuary, infuse it with your personal touch.
Surround yourself with inspiration, whether it's a mood board filled with captivating designs or a collection of natural elements that ignite your creativity.
We wouldn’t suggest candles, but pretty lights and a nice cup of tea are always welcome.
Let your workstation reflect your artistic journey — a space where ideas flourish, knots intertwine, calm takes center stage, and beauty is brought to life.
Basic Workstation
When starting with macrame, you need an excellent workstation setup. Now, this doesn't have to be complicated.
You can again use household items to help set up your primary workstation.
Materials required:
- Stable surface on a table
- Packing tape
Step 1: Tie a strand of cord on both ends with Double Overhand knots onto both ends of the dowel.
Step 2: Place the top loop end of the cord onto your table and secure it to the table using strong packing tape.
Step 3: Once you have mounted the cord down at the top, you can attach your vertical cords and start your project.
Other Ideal Workstation Setups
Macrame Board and Pins
A macrame board, or a knotting board or work surface, is helpful for making even and neat knots in your macrame projects.
It is usually a flat, sturdy board made from wood, foam, or plastic materials.
This setup works well for smaller projects, such as keychains or jewelry.

Clothing Rack (Vertical Workstation)
If you have a clothing rack at home, you can hang your wall or plant hanger project on the rack to knot from.
If you don’t have one, that’s okay; investing in one now is unnecessary.
After your first few macrame projects, you’d like to take your skills up a notch, or if you decide you want to commit to more macrame, then a clothing rack is the ideal workstation setup for your macrame projects (and significantly larger macrame projects).

Learn the Basic Macrame Knots
Mastering a few basic macrame knots lays the groundwork for crafting stunning designs.
With these knots, you can effortlessly create intricate patterns and textures in your projects.
This section will explore the three most basic and essential macrame knots.
PRO TIP: To practice these knots, use 2 (or more) 3mm or 4mm cords at 200cm long each.
The Lark's Head Knot

The Lark's Head knot is the fundamental mounting knot for most macrame projects.
As a mounting knot, it creates a reliable and secure attachment point for your macrame design to a dowel, ring, or other supporting structure.
This knot lets you easily hang cords onto your macrame creation, providing a stable foundation for further knotting and design elements.
Uses and Applications
- Cord Mounting: Attach cords to a support like a dowel or ring.
- Starting Point for Patterns: Use knots to begin your designs.
- Cord Connections: Join different cords together.
- Hanging and Suspension: Use knots to hang your projects.
- Adding Embellishments: Decorate your macrame pieces with extra touches.
In addition to the classic Lark's Head knot, other variations are worth exploring as you progress on your macrame journey, such as the Reverse Lark's Head knot and the Vertical Lark's Head knot.
These variations offer different techniques and applications, each with unique benefits and visual effects.
We'll delve deeper into these variations in a separate blog post, where you'll discover how to incorporate them into your macrame projects to add even more depth and creativity to your designs.
How to Tie a Lark's Head Knot: Step-by-Step Guide

- Fold a piece of cord in half to make a loop.
- Place the loop behind the object (like a dowel or ring), with the top facing down.
- Take the two ends of the cord and pass them through the loop.
- Pull on the ends to tighten the knot.
The Double Half Hitch Knot

The double half hitch knot is fundamental and highly versatile in macrame.
It is the building block for many intricate knot patterns, making it an essential technique for creating beautiful macrame designs.
With its versatility, you can explore various possibilities and craft beautiful wall hangings, plant hangers, and other decorative pieces.
Uses and Applications
- Make Detailed Knot Patterns: Create beautiful and complex designs.
- Add Texture and Depth: Enhance your projects with different layers.
- Create 3D Designs: Craft pieces that have a three-dimensional look.
How to Tie a Double Half-Hitch Knot: Step-by-Step Guide

- Angle the anchor cord down and to the right.
- Take the working cord and wrap it over the anchor cord, then pull it through the loop on the left.
- Pull on the working cord to tighten the knot.
- Repeat the process: Wrap the working cord over the anchor cord again, this time pulling it through the loop on the right. Tighten the knot.
The Square Knot

The Square knot is an important decorative knot in macrame. It is the base for many patterns and designs, both on its own and when used with other knots.
Uses and Applications:
- Flat Patterns: Create net-like designs.
- Geometric Patterns: Make shapes and structures with knots.
- Large Tapestries: Use in bigger projects for added decoration.
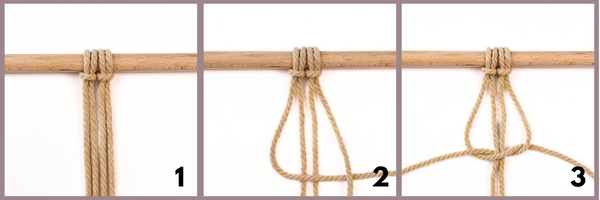
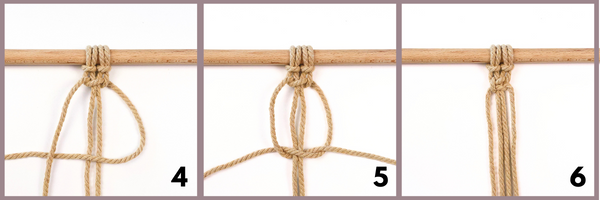
How to Tie a Square Knot: Step-by-Step Guide
-
You will need four cord ends to make a square knot. The outer left and right cords are the working cords, while the two inner cords are the anchor cords.
-
Bring the left working cord over the two anchor cords and under the right working cord.
-
Take the right working cord and pass it under the two anchor cords and up through the loop created by the left working cord. Note: at this point, a Half knot is formed.
-
Pull both working cords to tighten the first half of the square knot. Repeat the process in the opposite direction: Bring the right working cord over the two anchor cords and under the left working cord.
-
Take the left working cord and pass it under the two anchor cords and up through the loop created by the right working cord.
-
Pull both working cords to tighten the second half of the square knot.
Once you've completed these steps, you'll have tied a macrame square knot.
To create a pattern, continue tying square knots in rows to create an alternating Square knot pattern.

I’ve said this before, and I’ll say it again: When you're starting out, you will make mistakes and do a lot of unknotting and re-knotting.
The sooner you accept this, the less likely you'll be frustrated with the untying.
In our next blog, we’ll focus on choosing a beginner-friendly project and discuss Steps 4 and 5 in detail.
So, let's roll up our sleeves, grab those cords, and get ready to practice weaving some basic macrame magic—it will definitely leave you feeling accomplished and inspired.
Watch our How to Macrame 101 video to learn more about macrame basics.
More Macrame Knots
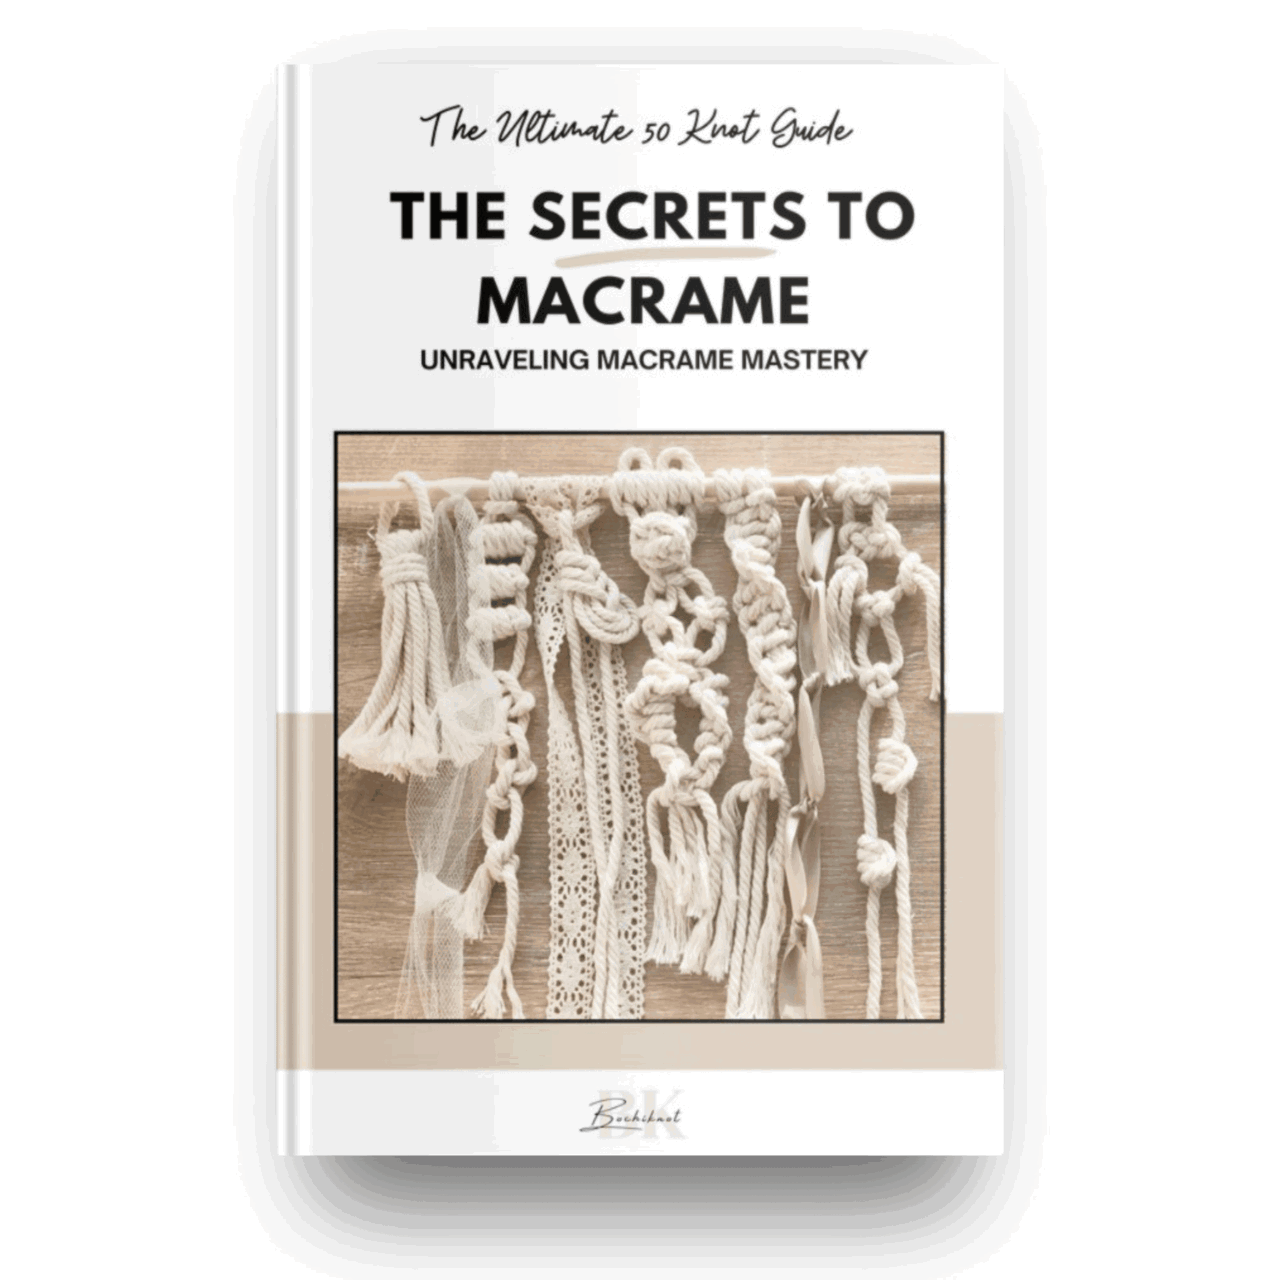
If you want to add more knots to your macrame designs, check out my free resource, "50 Macrame Knots & Sennit Guide."
It's packed with easy, step-by-step instructions to help you improve your skills and try new creative projects.
Access it here.
Frequently Asked Questions
Is macrame challenging to learn?
Macrame is easy to learn, even for beginners.
With some patience and practice, you can master the basic knots and techniques.
Start with simple projects and follow step-by-step tutorials to build your skills and confidence over time.
Is macrame different from crochet?
Yes, macrame and crochet are different crafts.
Macrame involves knotting cords to make decorative patterns, while crochet uses a hook to create stitches with yarn or thread.
Both are part of fiber arts, but they use different techniques and tools and produce different results.
What can you make with macrame?
Macrame allows for a lot of creative possibilities!
As a beginner, you can make keychains, bracelets, plant hangers, bags, and wall hangings.
Let your creativity flow as you explore various macrame projects.
Can I use regular yarn for macrame?
You can use regular yarn for macrame; I wouldn't recommend it because it will not have the same strength and texture as macrame cords.
Macrame cords are spun to handle the tension needed for knotting.
However, regular yarn can work fine if you’re practicing or making small decorative items.
Where can I find free macrame patterns?
You can find a lot of free beginner macrame projects, patterns, and tutorials on the Bochiknot YouTube channel, which has over 390 videos with step-by-step instructions.
You can also check our macrame blogs for helpful tips and inspiration for your macrame journey!

What size cord should I use?
The size of the cord you should use depends on the project and the desired look. I highly recommend using the 3mm and 4mm cords for beginners.
Here’s a video tutorial that walks you through creating simple designs using these cords.
How much cord do I need for a macrame project?
The amount of cord needed for a macrame project depends on various factors, including the project's size, complexity, and design.
Estimating the desired finished dimensions and considering any additional length required for knots, fringes, or embellishments is essential.
A rule of thumb: It's better to have slightly more cord than you think you'll need to avoid running out mid-project.
Consulting macrame patterns or tutorials specific to your desired project can guide the approximate amount of cord required.
If you want to use a cord size different from the pattern, my cord sizing walks you through the amount of cord you will need to adjust for changes in cord sizes.
How do I keep my knots looking uniform, symmetrical, and neat?
Pay attention to the tension you apply when creating each knot is essential. Then, make sure it remains consistent throughout your project.
Repeating the same knotting technique will also help develop muscle memory and result in more uniform knots.
Regular practice sessions will improve the overall appearance of your macrame knots.
Is a macrame rope the same as yarn?
Macrame cord and yarn are not the same.
Macrame cord is typically thicker, sturdier, and explicitly designed for knotting.
On the other hand, yarn is generally softer, finer, and more suitable for other crafts like knitting or crocheting.
Using a macrame cord for optimal results in your macrame art projects is essential.
Learn Macrame with Bochiknot
Are you ready to dive deeper into the world of macrame?
If you have questions or want to connect with others on the same journey, we invite you to join the Macrame Journey Community!
I truly hope you found this article helpful and inspiring.
If you have any more questions or need guidance, our private macrame group is the perfect place for you.
This community is designed with your needs in mind, providing a supportive space where you can:
- Share Your Work: Show off your latest macrame creations and get feedback from fellow knotters.
- Ask Questions: Don’t hesitate to seek advice or tips from experienced members. Everyone was a beginner once!
- Exchange Ideas: Learn new techniques, discover unique patterns, and share your favorite resources with each other.
- Find Inspiration: Browse through projects from other members to spark your creativity and motivate your next macrame piece.
We’re excited to have you join our vibrant and growing community!
CLICK HERE: Be part of the Macrame Journey Community
Much love,
P.S:
Psst!
We’ve created a dedicated series of blogs to help guide you through every stage of your macrame journey!
You have just completed the Learn How to Macrame: The Ultimate Guide for Absolute Beginners of your Bochiknot Macrame journey.
To catch up on the other blogs in this series, check them out here:
- 12 Fun & Easy Macrame Projects to HELP YOU Get Started
- Macrame ESSENTIALS: Everything You Need—Cord, Tools, & Materials
- 9 SECRET Macrame Tips You’ve Likely Never Heard Of
- Turn Ordinary into EXTRAORDINARY: Adding Embellishments to Macrame
- Knots & Knot-Tying Techniques for STUNNING Patterns
- Macrame's GOLDEN Ratio: How to PRECISELY Measure Cord for Projects
- How to Choose the BEST Macrame Cord for Your Next Project
- Introduction to Intricate Macrame Knot Patterns (MADE-EASY)
- INSPIRATION to CREATION: Your Macrame Design Guide
- Transform Your Macrame with EYE-CATCHING Design Elements
Remember to subscribe to our email newsletter at the bottom of this page to stay updated on all the latest tips, tutorials, and updates.
You won’t want to miss out.



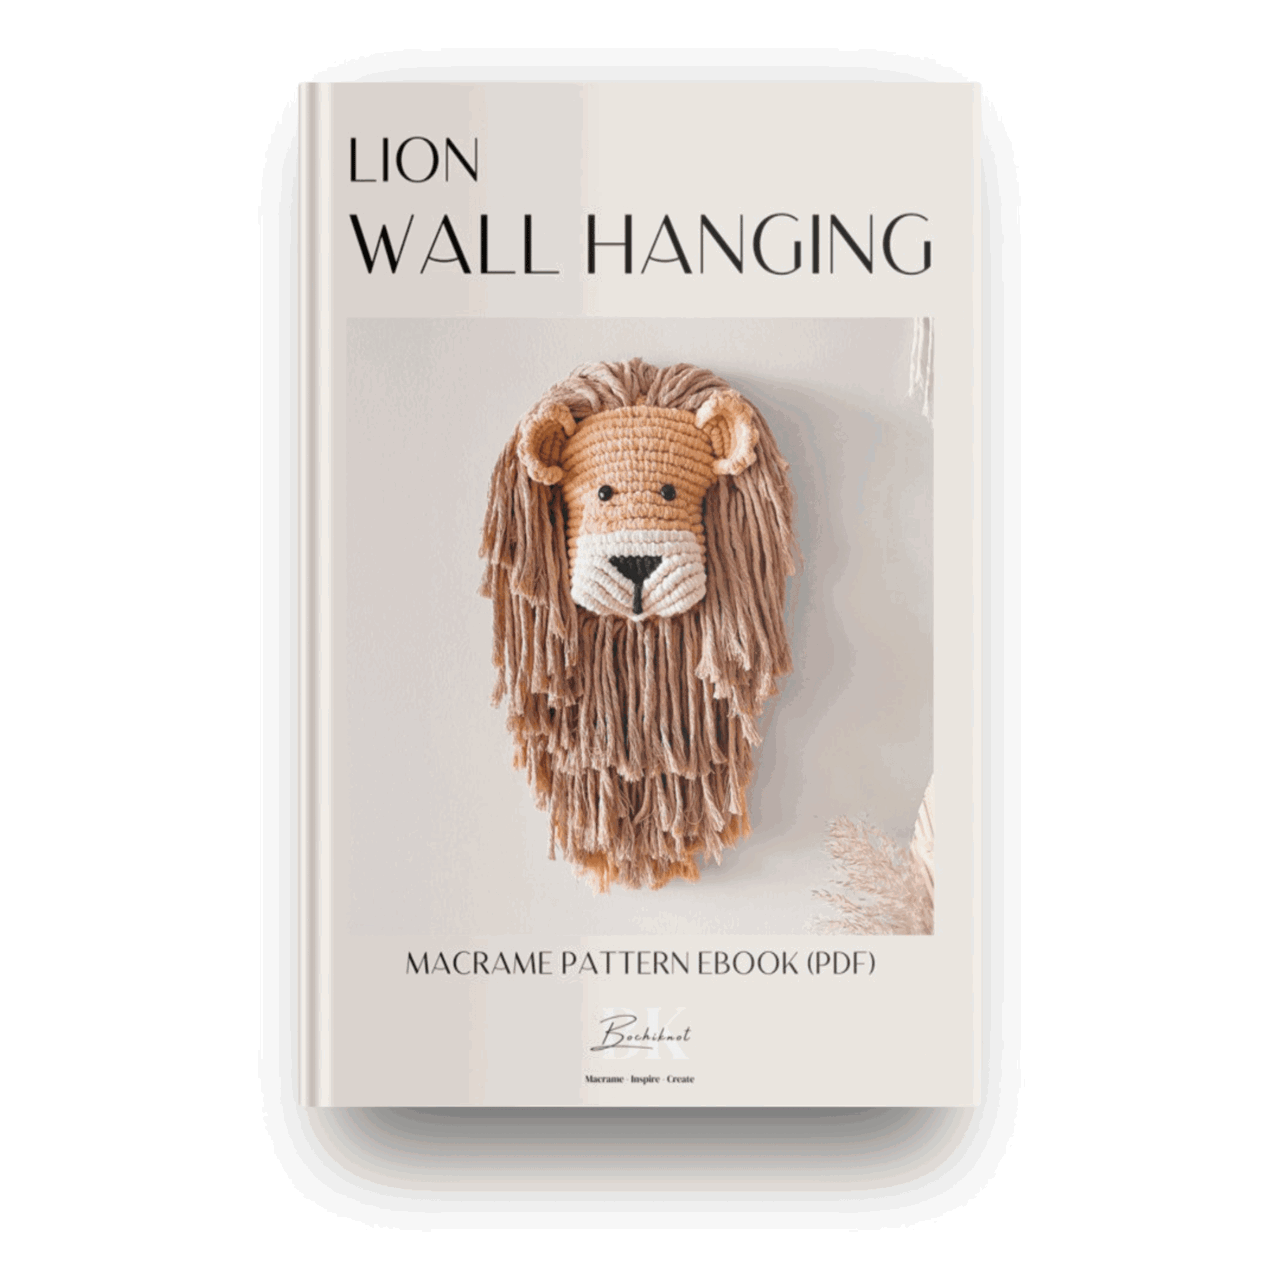







Hola, podrías venderme un tutorial de león que he visto en algún video?. Ya tengo un nivel avanzado de macrame y me gustaría hacer cosas diferentes. . También vi un azteca, ese también me gustaria aprender a ahacerlo
. En alguna ocasión te compré el de atrapasueños que es color rosita.
Thank you from Greece
Is this available in a hard copy? I work in a library and feel this would be an excellent addition to nour collection.
Leave a comment